DIY Book Covers: The Easiest DIY You’ll Ever Do
Hi Friends! I’ve got the easiest DIY project you’ve ever done for you today! DIY book covers are nothing new to the home decor scene, but I have a little secret that will simplify your project immensely.
I was actually surprised to find that most people don’t know about this little secret. When I casually talked about it on my Instagram stories while styling my shelves for my Cozy Christmas Home Tour I had a flood of comments from women thanking me for the tip! So I thought I’d share it with my blog buddies as well!

Post may contain affiliate links where I earn a small commission at no extra cost to you on your purchases.
You know how you always see beautifully styled shelves in designer houses? What is the one thing they most often have in common? Cohesive books.
Even in casual farmhouse style decor the books have been covered or the bindings have been ripped off to make them cohesive. Often times people spend laborious hours measuring, cutting and folding kraft paper to make their own book covers to achieve that cohesive look. However, I’ve never been one to do more work than I have to! HA!
DIY Book Covers
So here it is: my little secret. Ready? I know, you’re on the edge of your seat. 😉
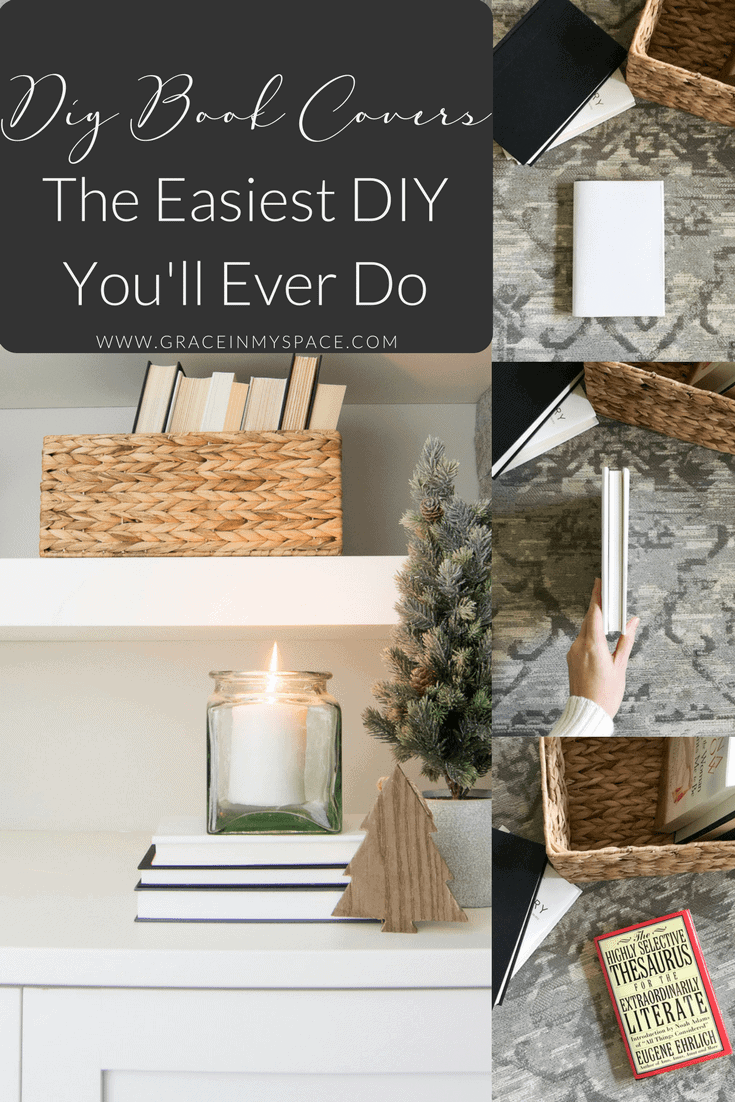
Use the dust jacket that comes with the book.
I know. Mind blown.
We all have shelves of ugly books, am I right? Old textbooks, books from when we were teenagers, novels we’ll probably never read again, books we actually bought in person before such things as electronic books came on the scene. 😉 Most of the time those books are just stuffed away, but I’d rather make use of my old books than have them collect dust. So here is what ya do.
Find books with dust jackets (The flap of paper covering the binding).
Make sure the inside of the dust jacket is white (as 99% of them are).
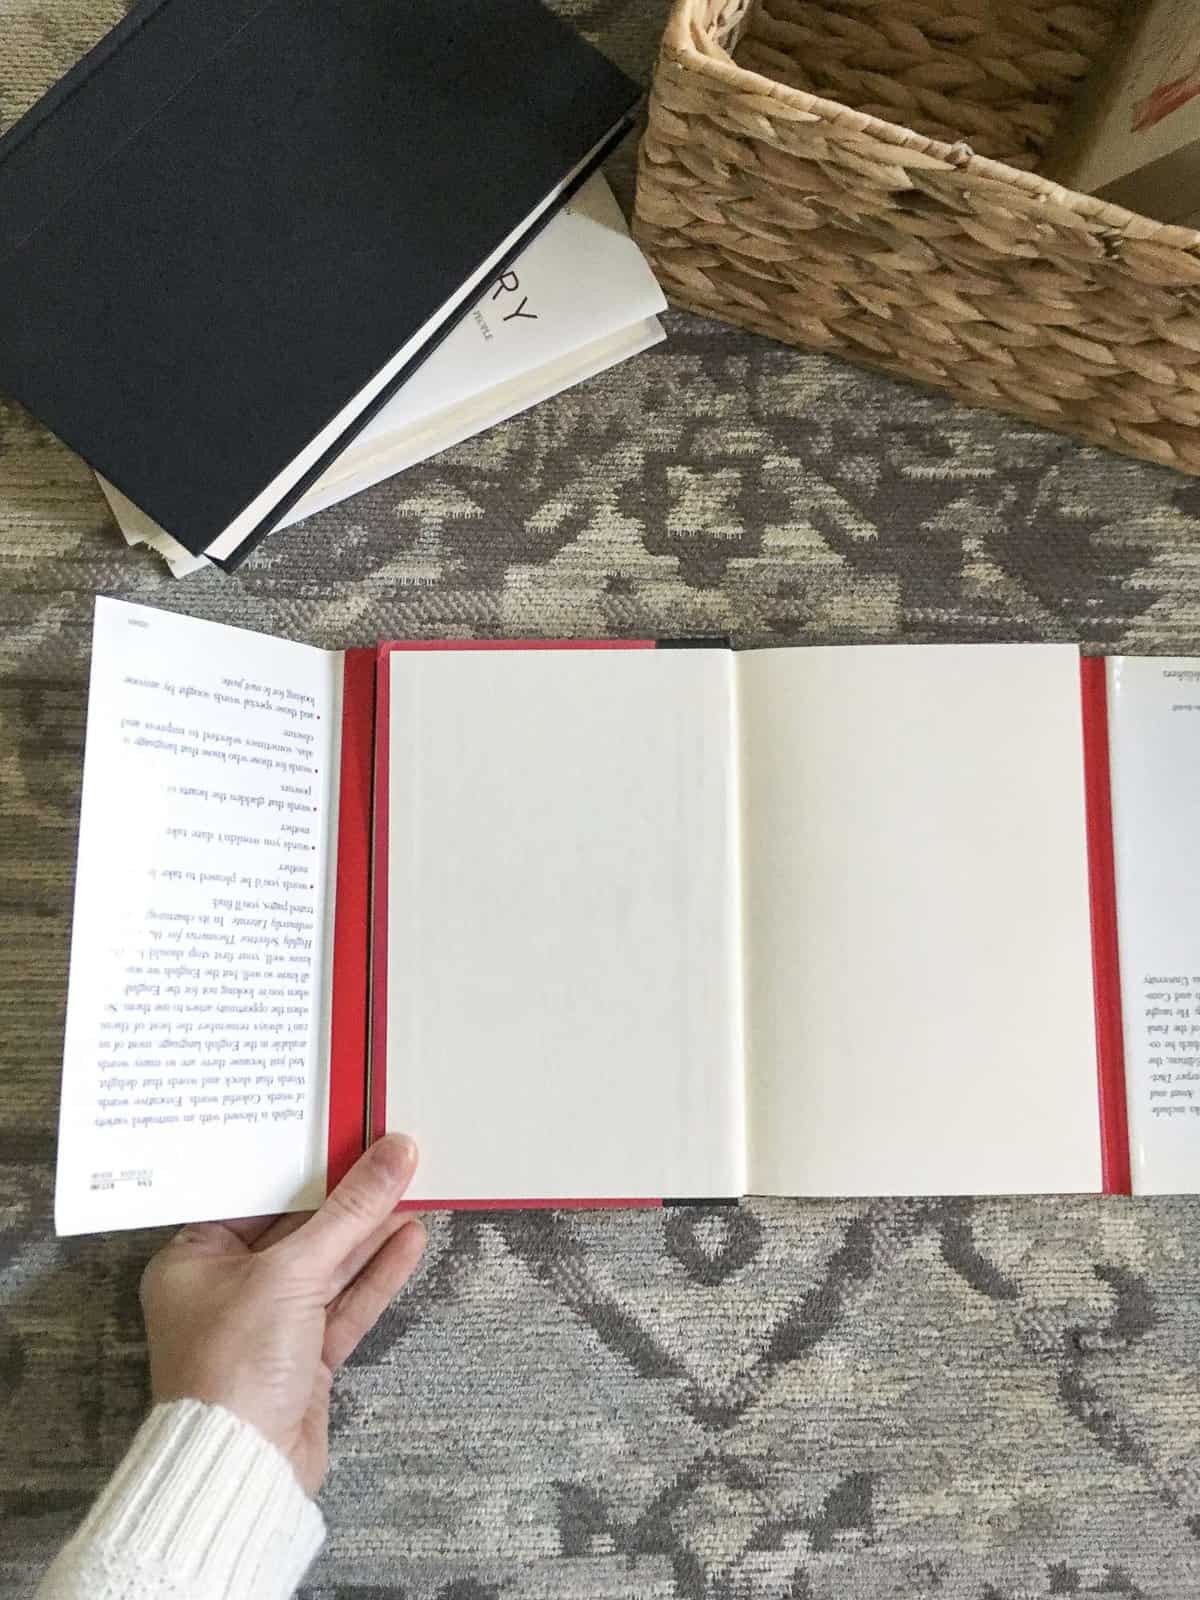
Turn the dust jacket inside out so you are placing the book on top of the words/photo.
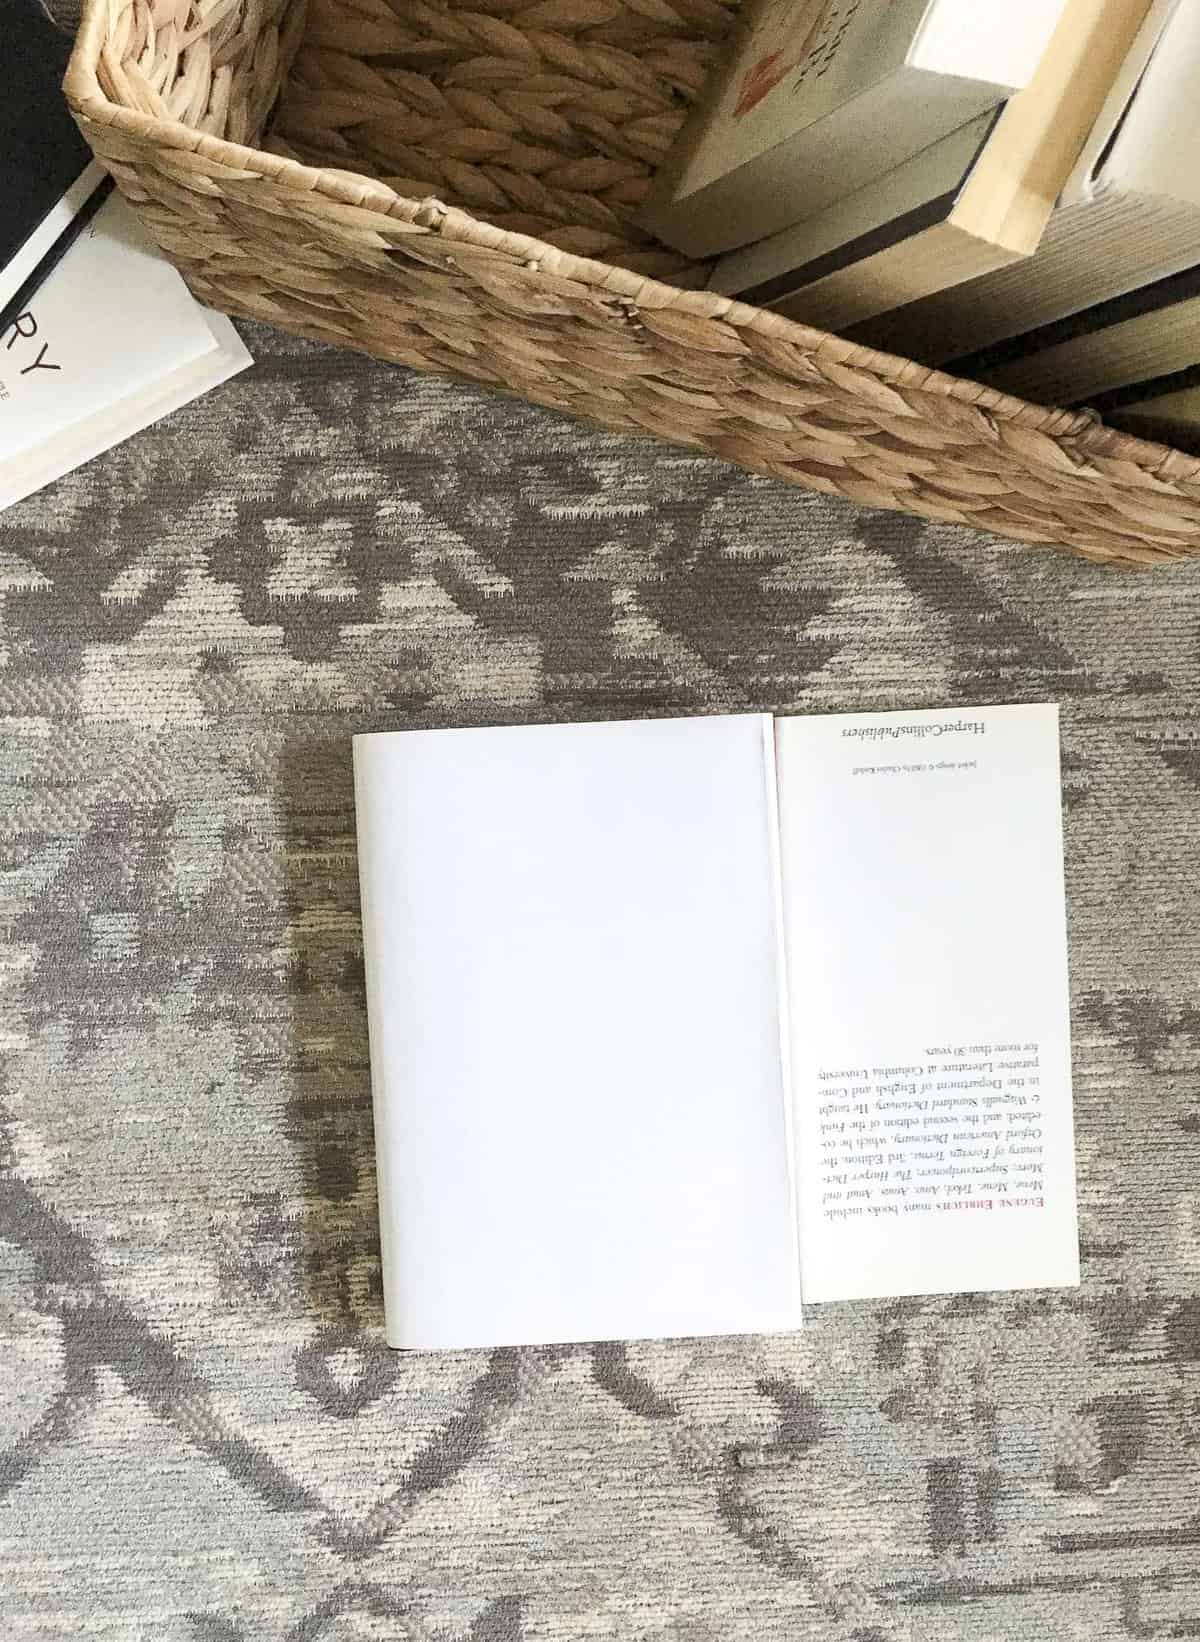
Fold the flaps and tuck them back into the book binding.
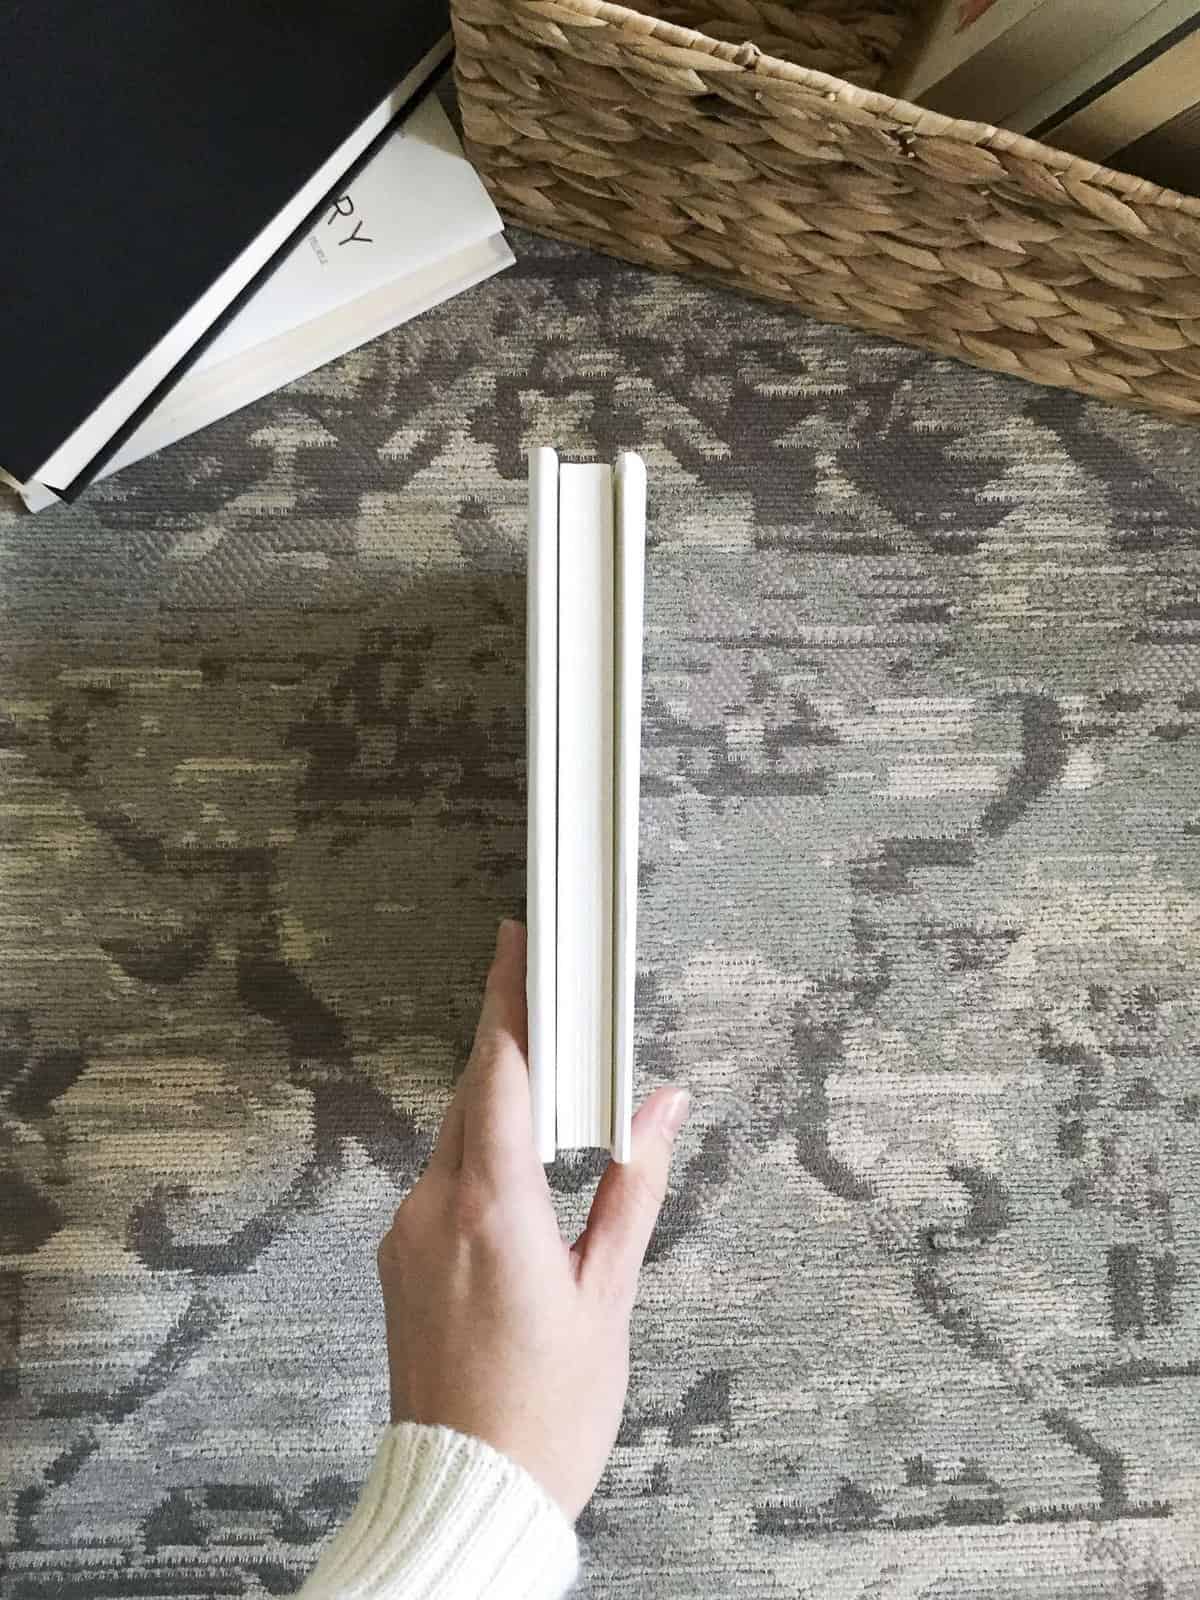
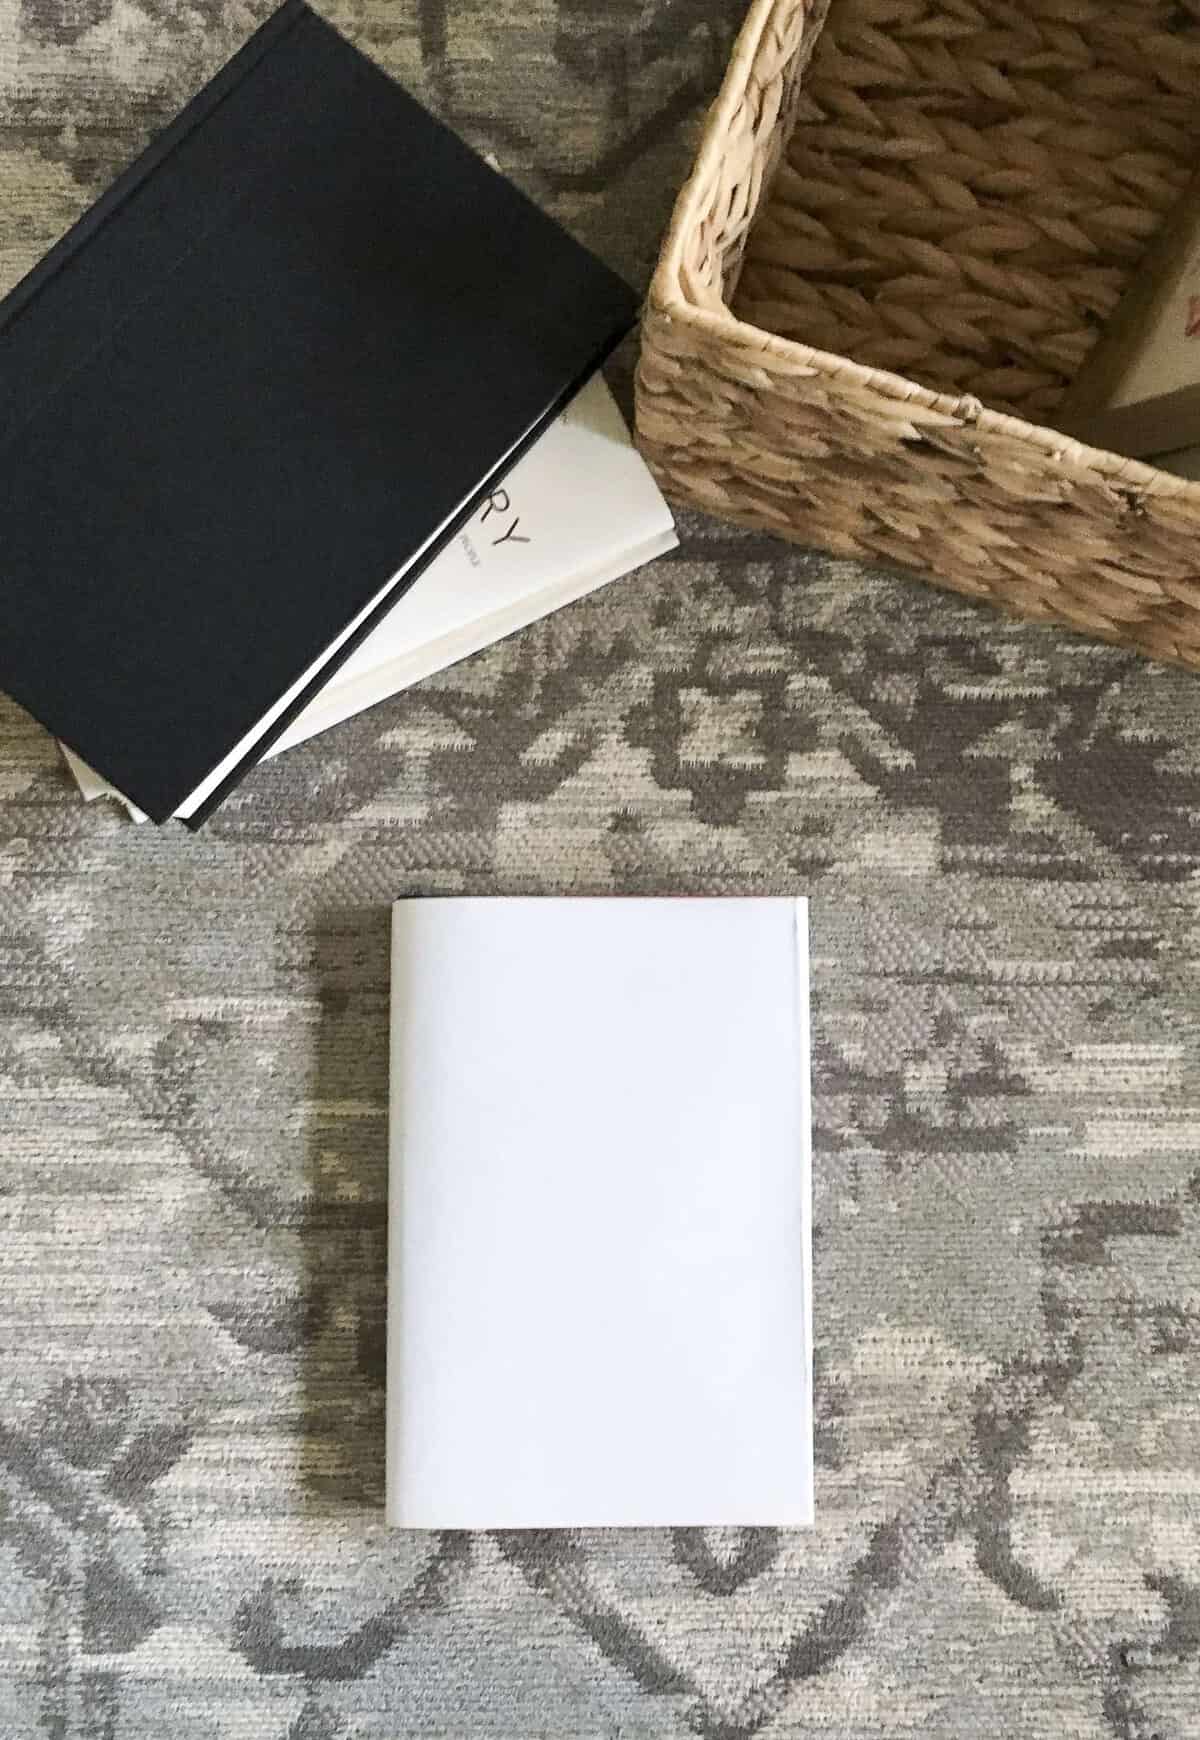
Voila!! You have a cohesive and neutral book to use in your decor! Didn’t I tell you it would be simple? No measuring, no cutting, no back breaking time spent trying to cover each edge. Just a simple flip, fold, and you’re done.
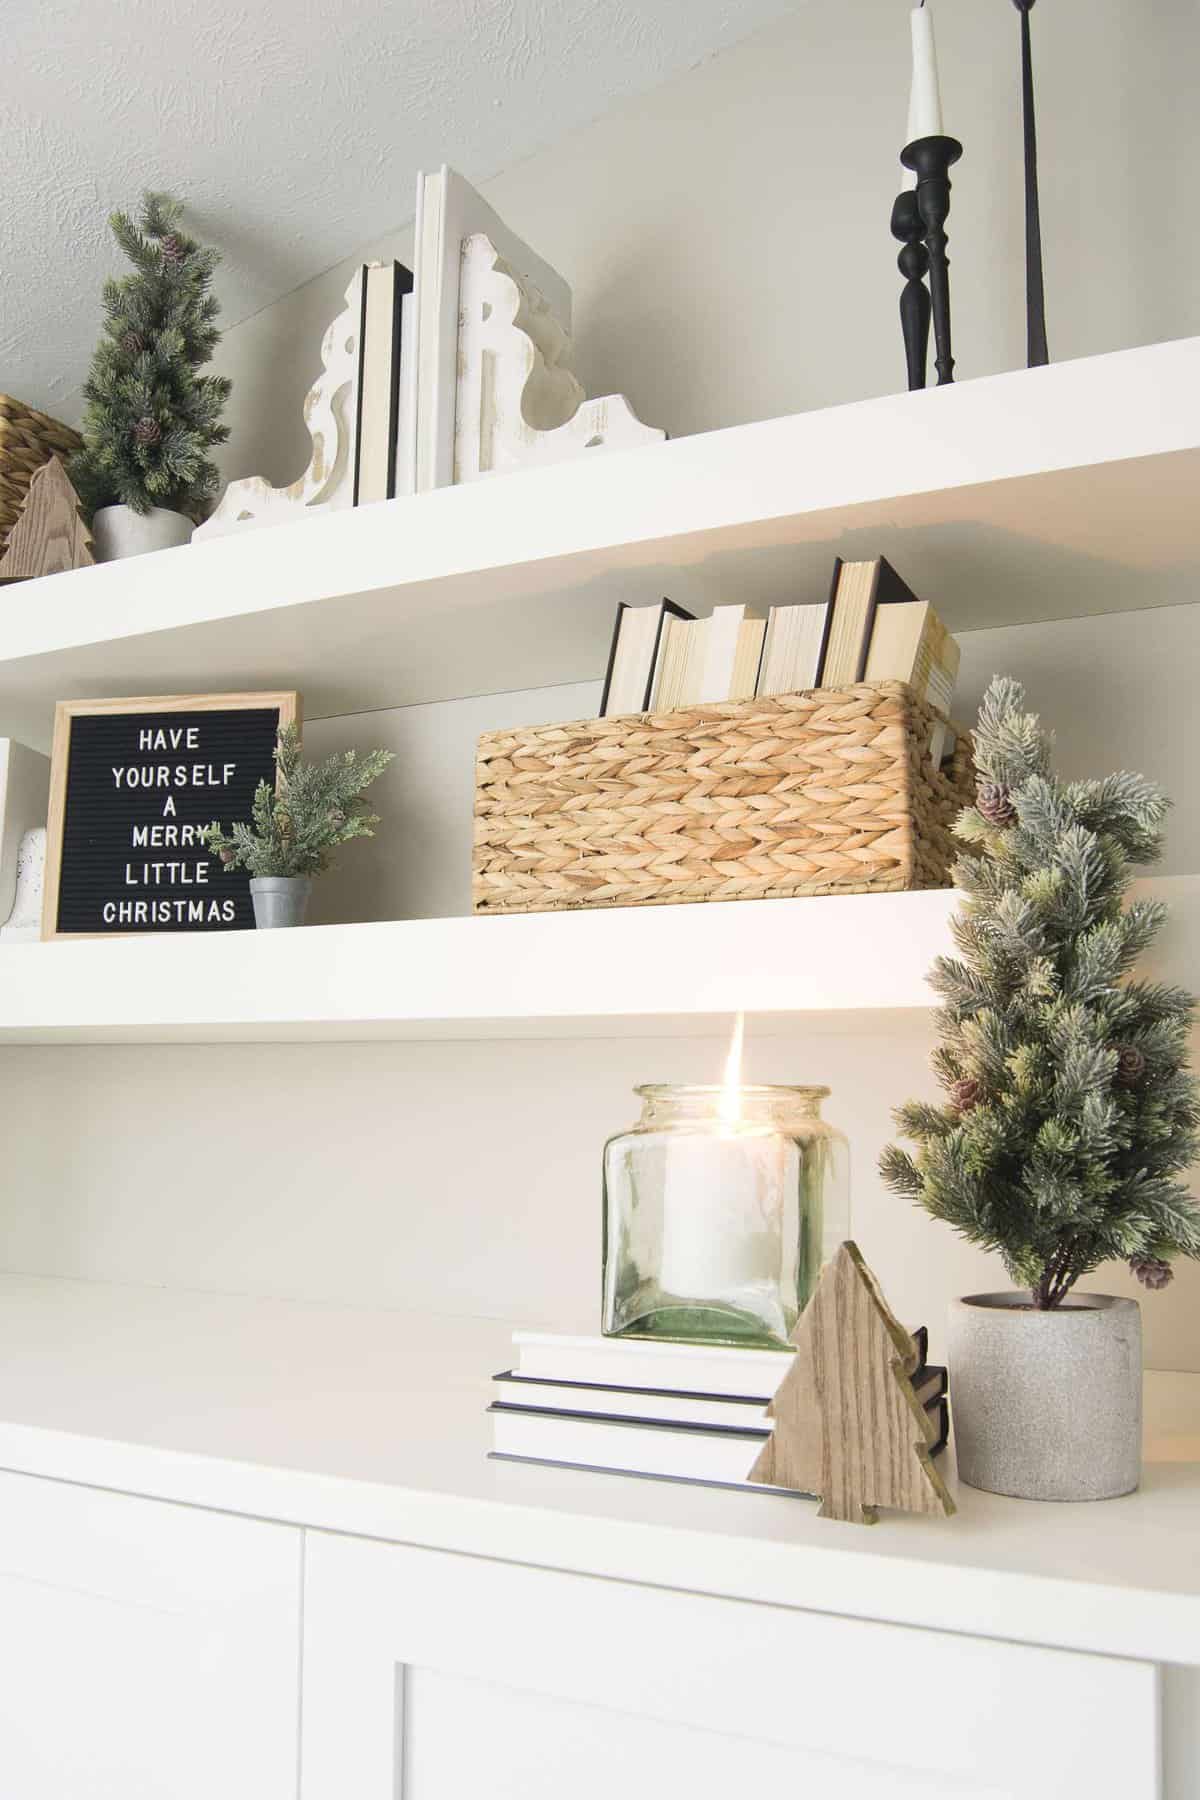
Now I will say that this creates a crisp look. Most interiors of dust jackets are stark white so if you are looking for an aged/vintage look then you may have to get creative in aging the paper. But I personally don’t think it’s worth the extra work.
My strategy for making sure this doesn’t look too modern is to flip the books backwards when displaying and incorporating books that have white, yellowed, or fringed book pages. I also like to add in a few books with black binding to break it up.
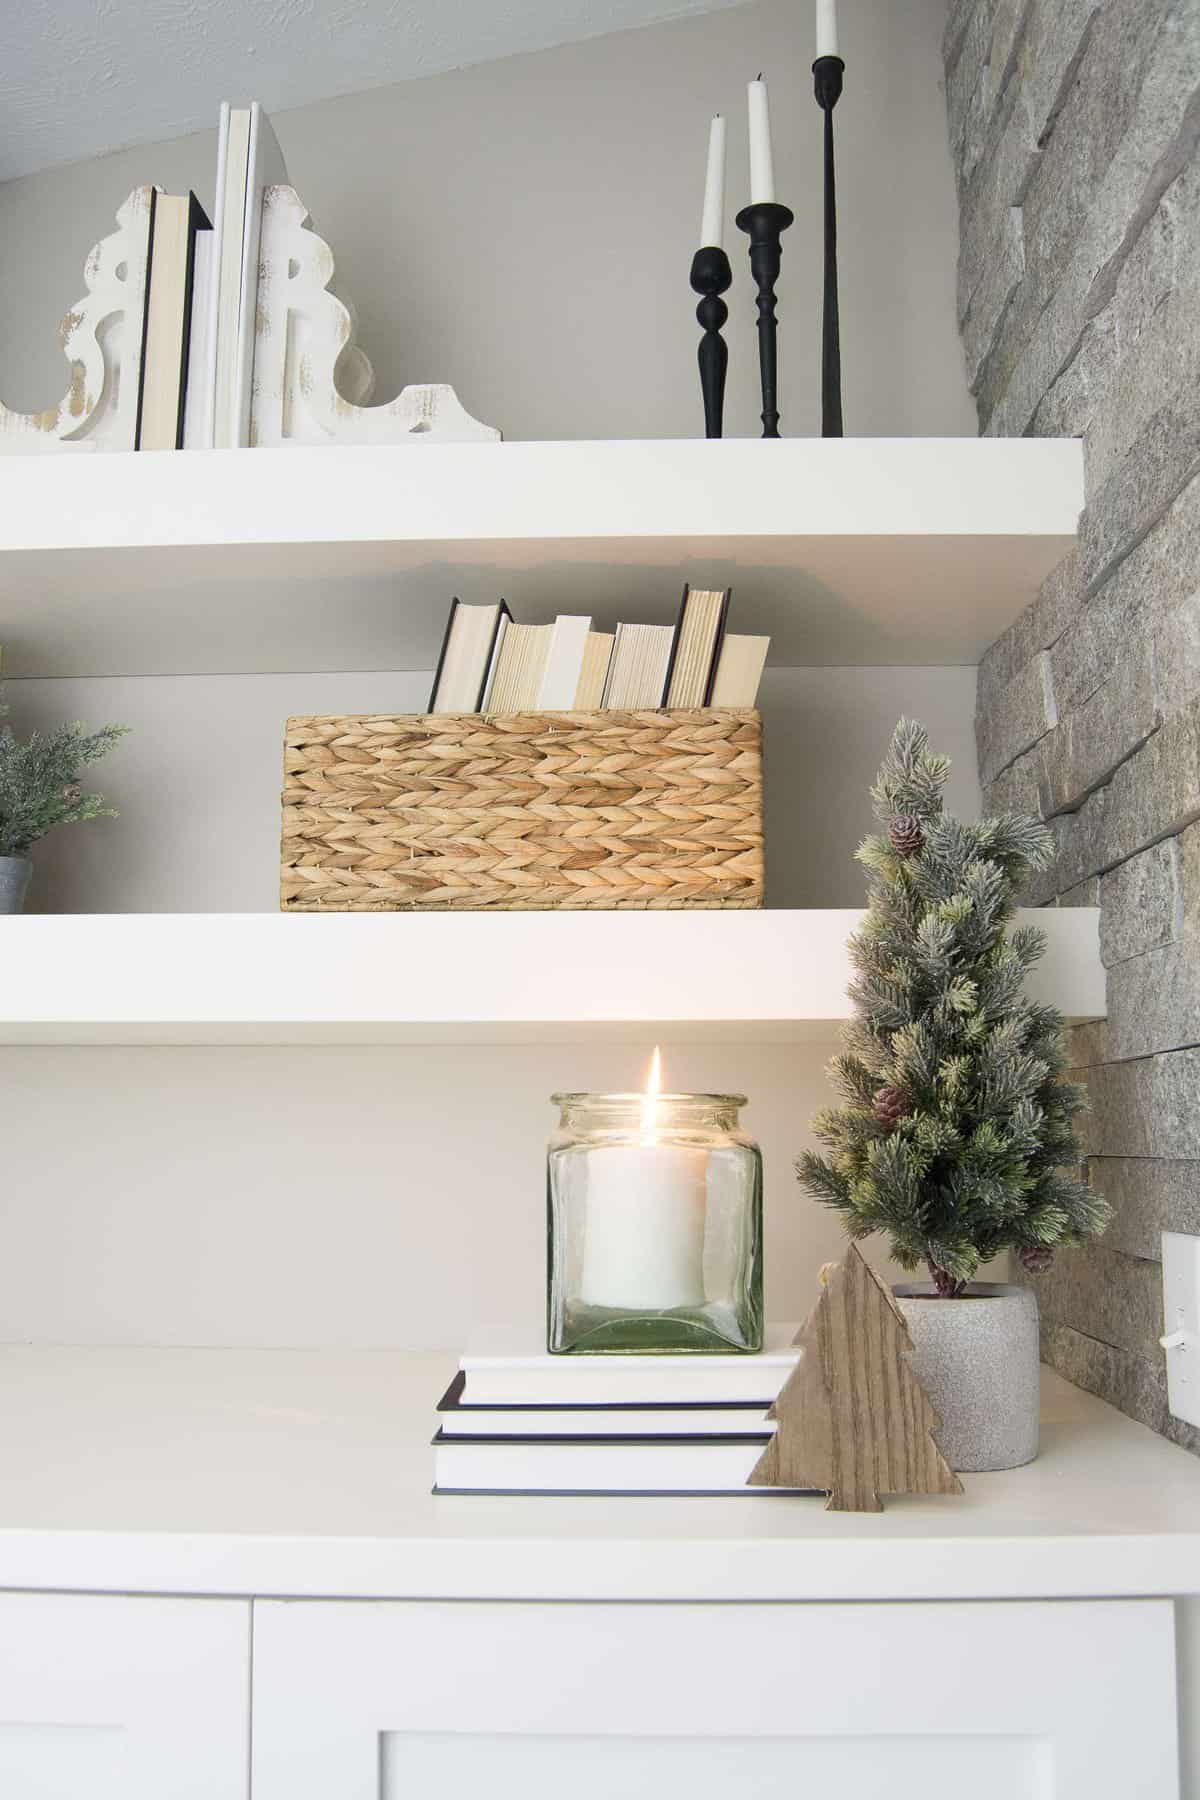
(Quick tip: Often times hard cover novels already have a plain black book binding under those colorful dust jackets!)
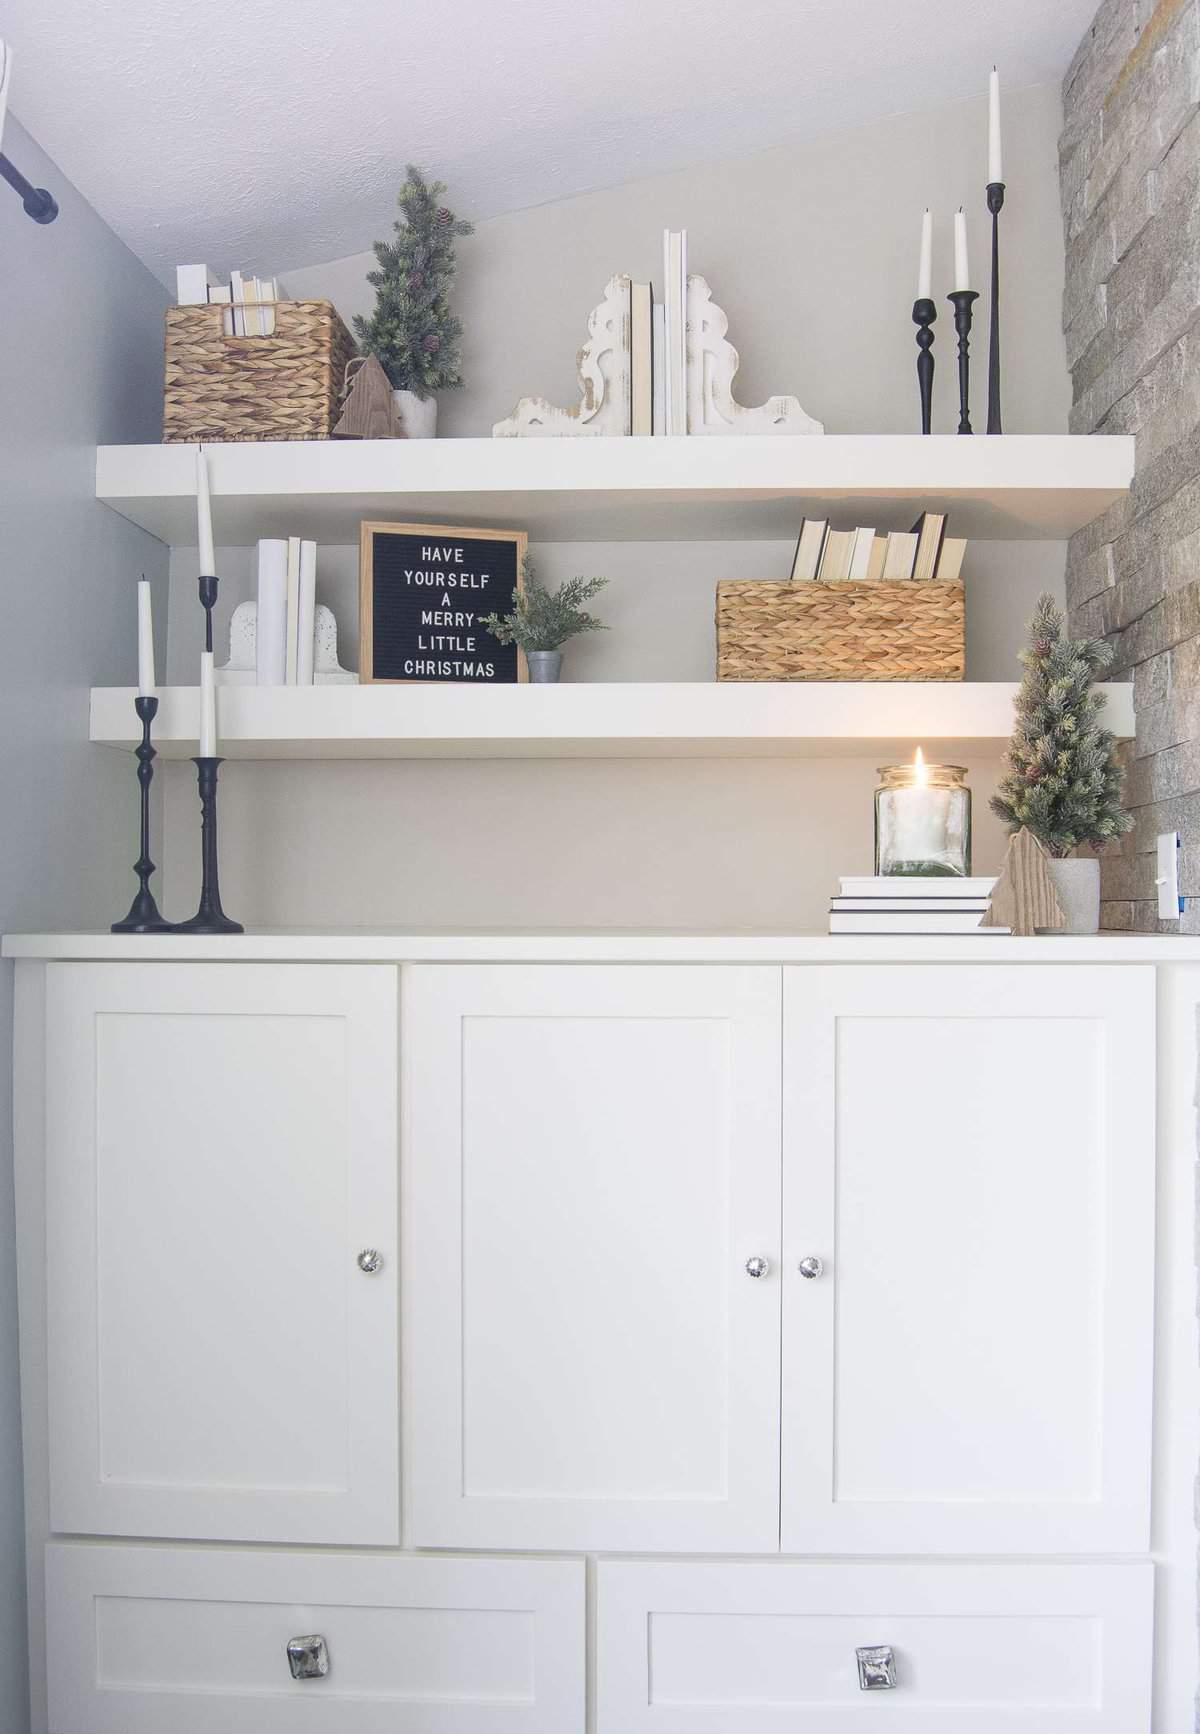
Shop This Space
All of the books on my living room shelves have been styled using this method! Several of them are old college textbooks and those are great to add some height and thickness.
Now, run to your storage tote from college and pull out all those unused books! 😉 You’ll be surprised how many of them you can incorporate into your decor with this little trick.
Blessings to you!

{If one cannot enjoy reading a book over and over again, there is no use in reading it at all. – Oscar Wilde}

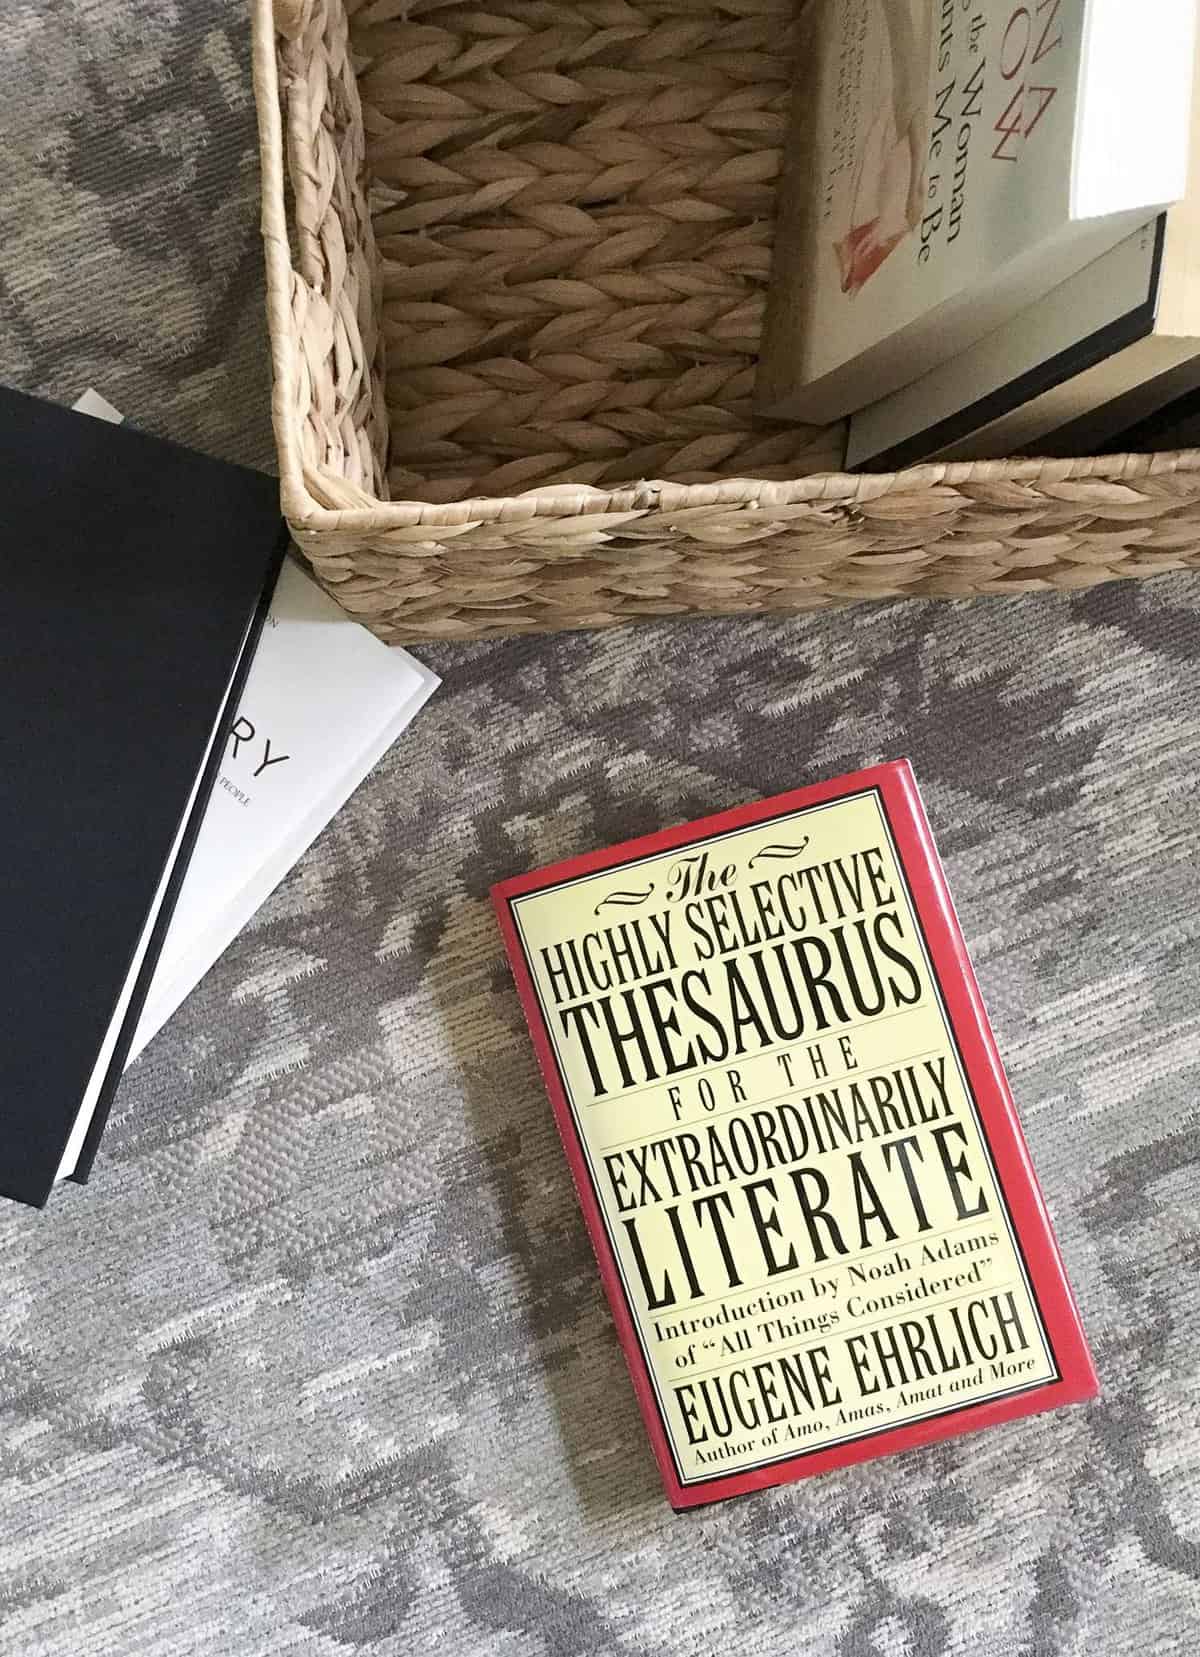

It makes the design process fun and easy, while helping you develop your creative projects and talents. Filled with step-by-step instructions and beautiful visuals, this resource offers everything you need to design your own book covers. If you also want to create your own original book covers, this book is for you.
While the majority of dust jackets have bright white inside, if you want the dust jackets themselves to have an old or vintage appearance, you may need to get creative in order to age the paper.