How to German Schmear a River Rock Hearth
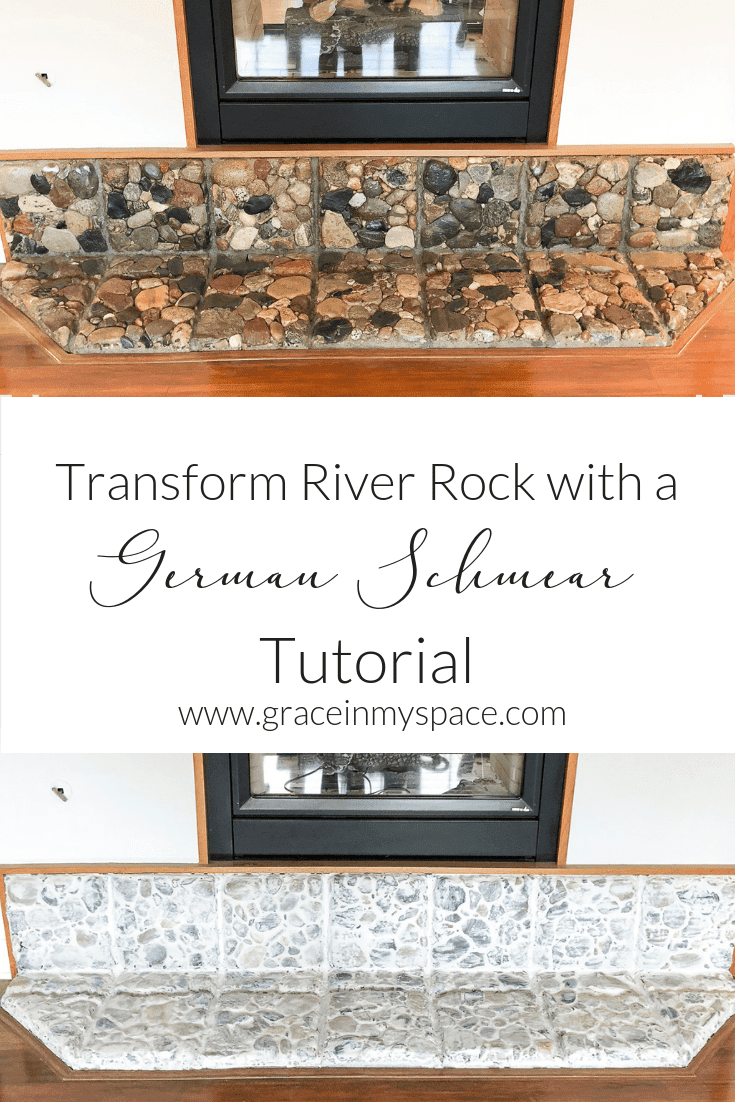
Are you looking for an easy way to update a river rock hearth? After almost a year of living with a hearth I don’t love, I decided to try my hand at the german schmear technique to update it on a budget! I’m so happy with how it turned out and am excited to share an easy tutorial with you.
Post may contain affiliate links where I earn a small commission on your purchases at no additional cost to you.
German Schmear Tutorial
River rock is a lovely landscaping rock, however, I wasn’t loving it on our hearth. The multi-colored look wasn’t my style and the shape of the rocks felt very busy. After seeing so many beautiful german schmear updates on brick fireplaces it dawned on me that I could do the same thing! It is definitely a different look, but it has a lovely European country style that I am enjoying.
After writing my book, Designing a Life: From House to Haven, I decided to follow my own advice and start doing small projects to help move my home towards becoming a haven. I’m so glad I did! Now, on to the tutorial!
Materials
You’ll need the following items.
- Sponge
- Bucket for water
- Trowel
- Thin-set Mortar in White
- Towels for clean up
- Painters tape if you need to protect areas around your rocks
Tips & Tricks
I highly recommend two people doing this project. I had my mom’s help and it was so amazing to have a second set of hands to ensure that the mortar doesn’t dry before you perfect the look you want.
You may read other tutorials that recommend using plaster patch or a similar product in lieu of mortar. I have not tried to use that product, however I believe it works well on bricks because the grooves and gaps are shallow.
When updating river rock, the mortar was the right choice because it set up and dried fully in those deep grooves. It also dries hard whereas the plaster patch can leave a chalky finish and may not stand up to water if exposed. I used this mortar in white.
I only needed a small amount because my hearth is small. However, if you plan to update a large area, you may want to consider the large bags of mortar instead of the pre-mixed option for a more economical project.
Step 1
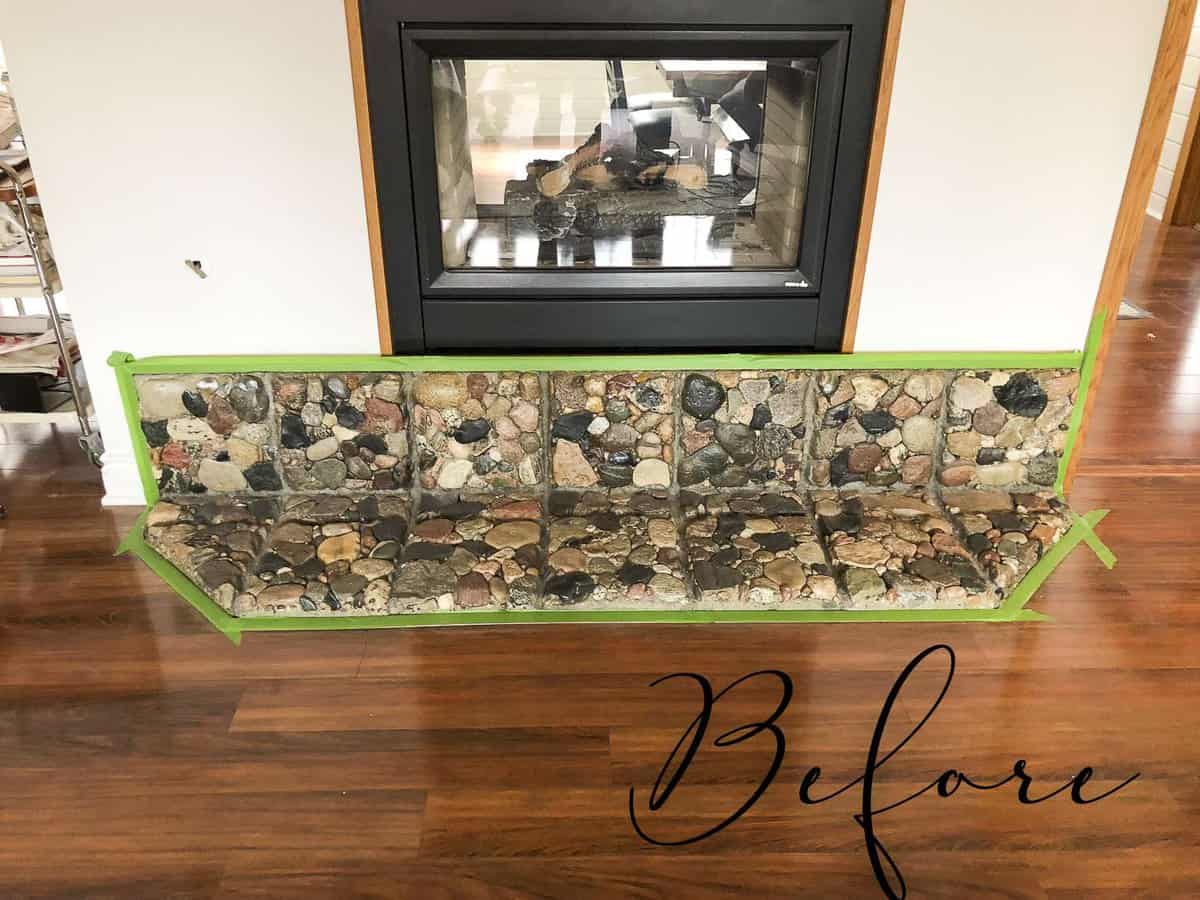
Protect your surfaces. Tape where you want to protect surrounding areas and cover the floors to prevent clumps of mortar from falling on them.
Step 2
Have a large bucket of water and durable sponge ready. Then, take your trowel and spread a thick layer of mortar onto the rock. You’ll need to apply it thick to begin with to fill the deep grooves and then you can scrape off the excess from the surface.
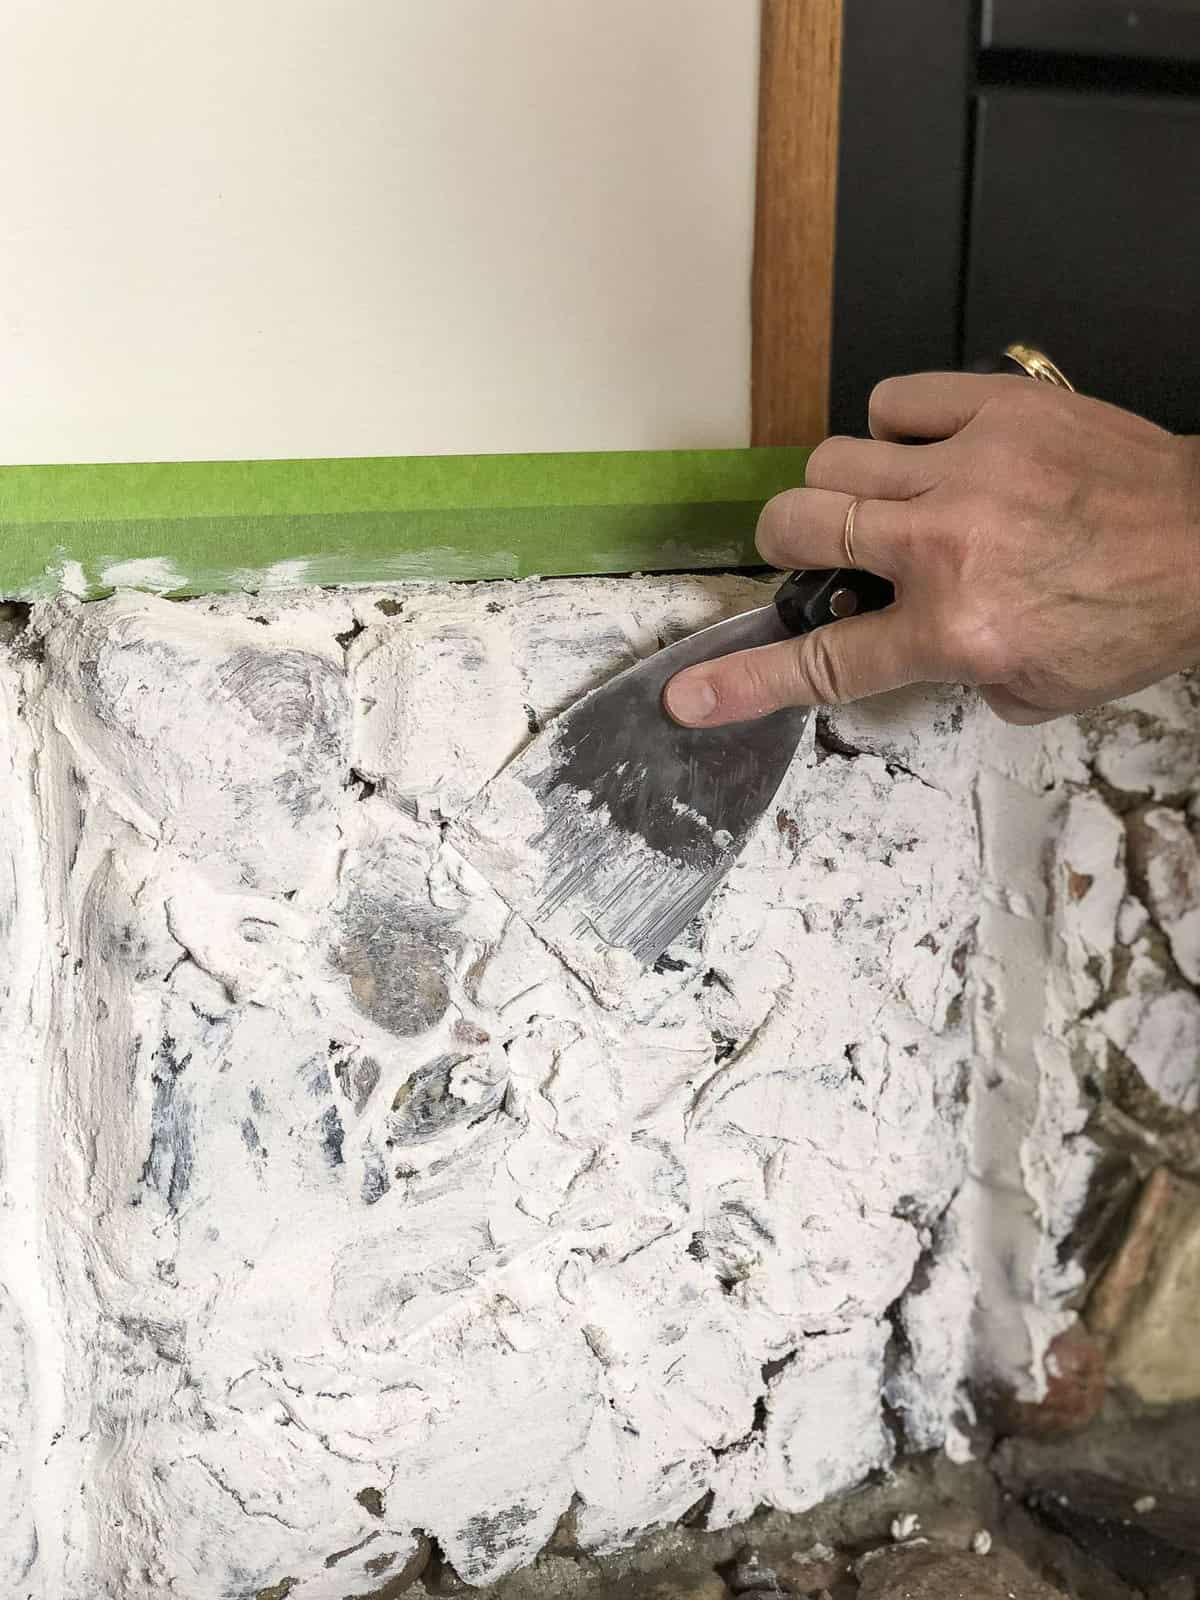
Work in small sections as the mortar will dry quickly. We did one square section at a time, starting with the top in case any of the mortar fell down onto the bottom space.
Step 3
Using a damp sponge, wipe off and smooth down the mortar you’ve just applied. This is where the german schmear comes in! We found after a few sections that the easiest way to apply the mortar is to put it on heavy, scrape off the excess with the trowel, use our fingers to force mortar into the tight spaces, and then wipe with the sponge.
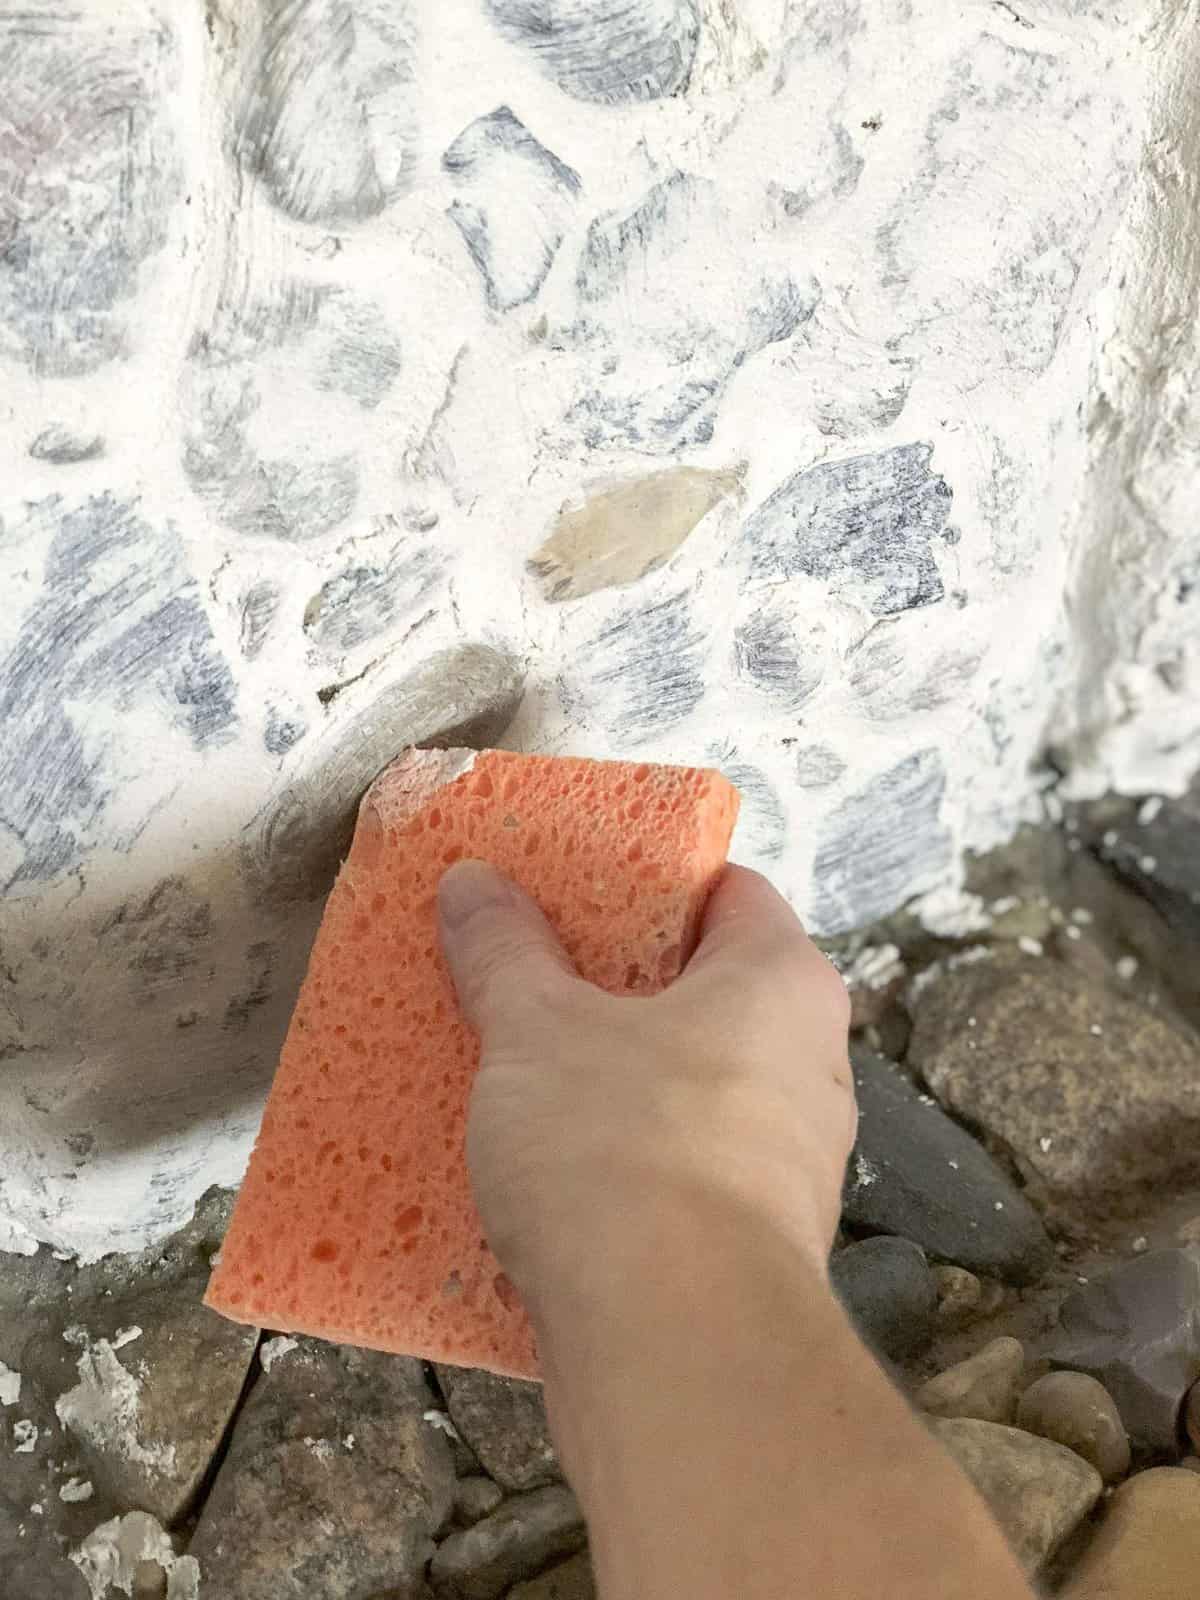
Once you’ve removed as much mortar as you want from the entire section, you can use the tip of your sponge to remove more mortar from specific areas that you might want to show through more than others.
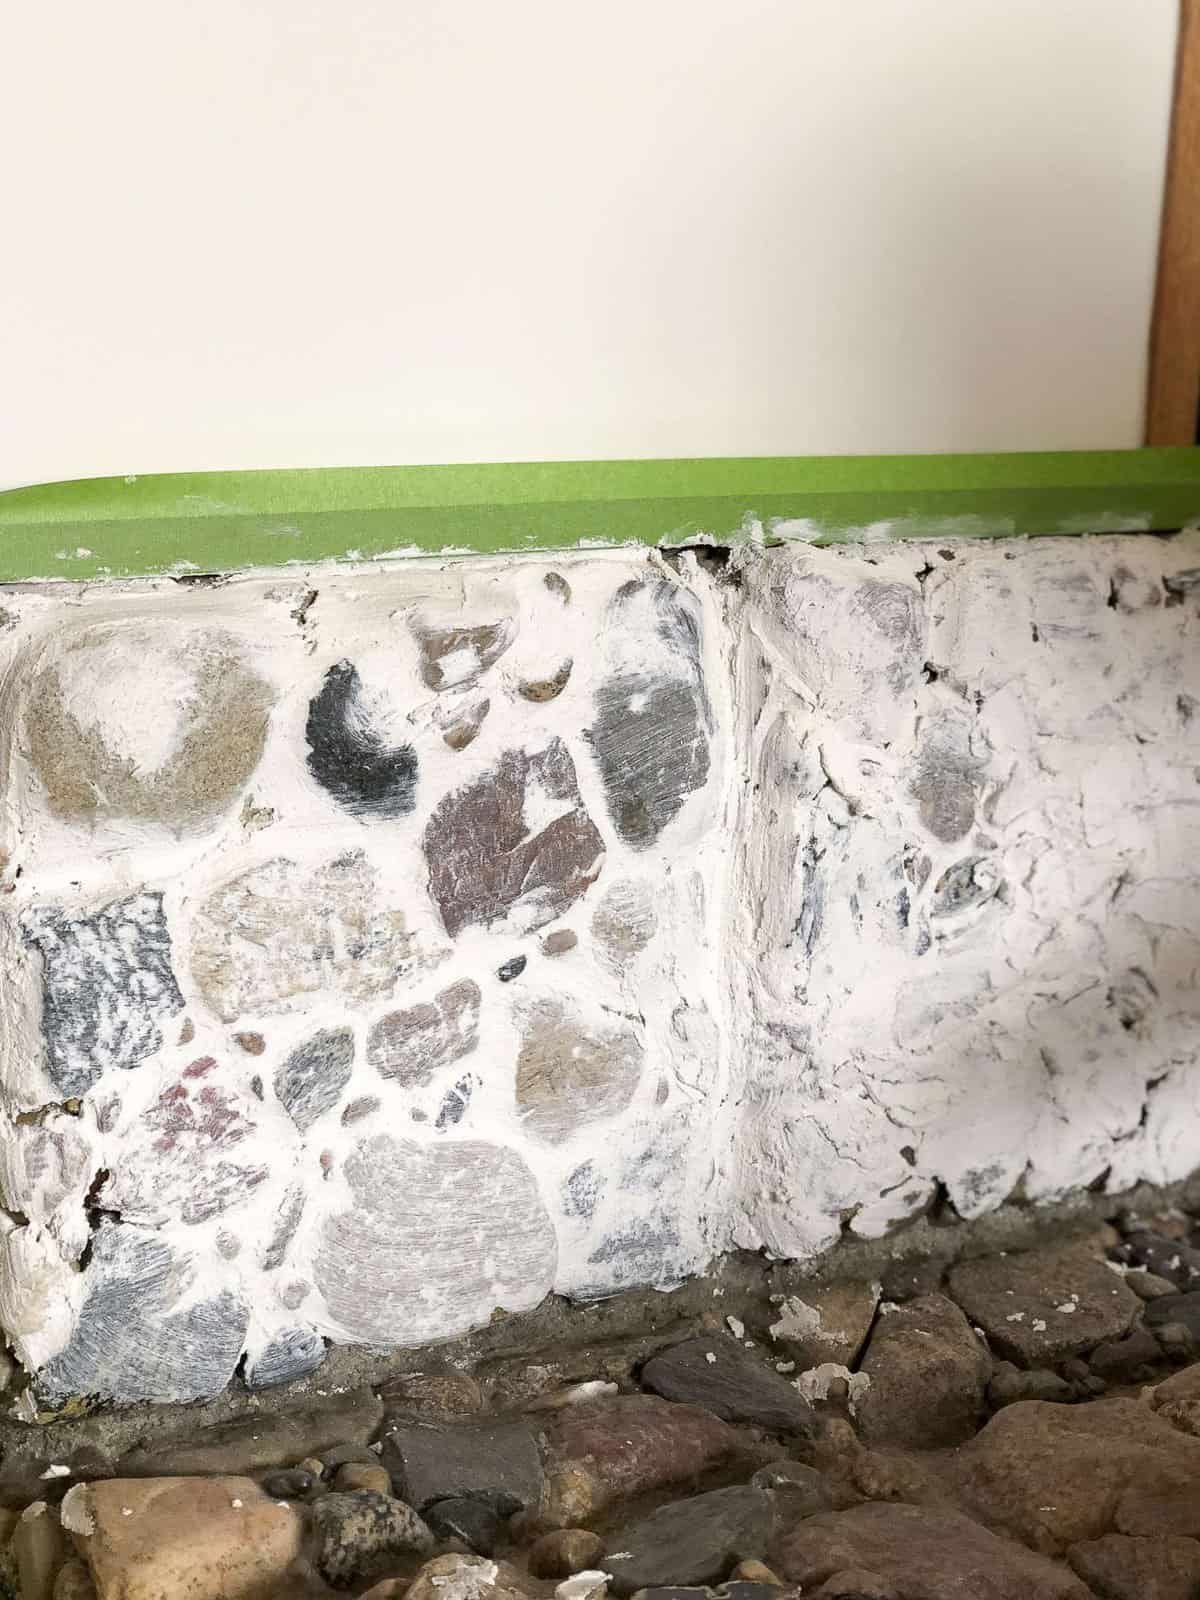
The below image shows the difference between a section that has been wiped down and one that has the thick layer of mortar applied before scraping.
Step 4
Keep working in small sections, ensuring that you love the appearance before you move on to the next section. The mortar will dry and be harder to remove if you don’t take a step back and make sure you’ve applied it evenly and each section is cohesive as you go.
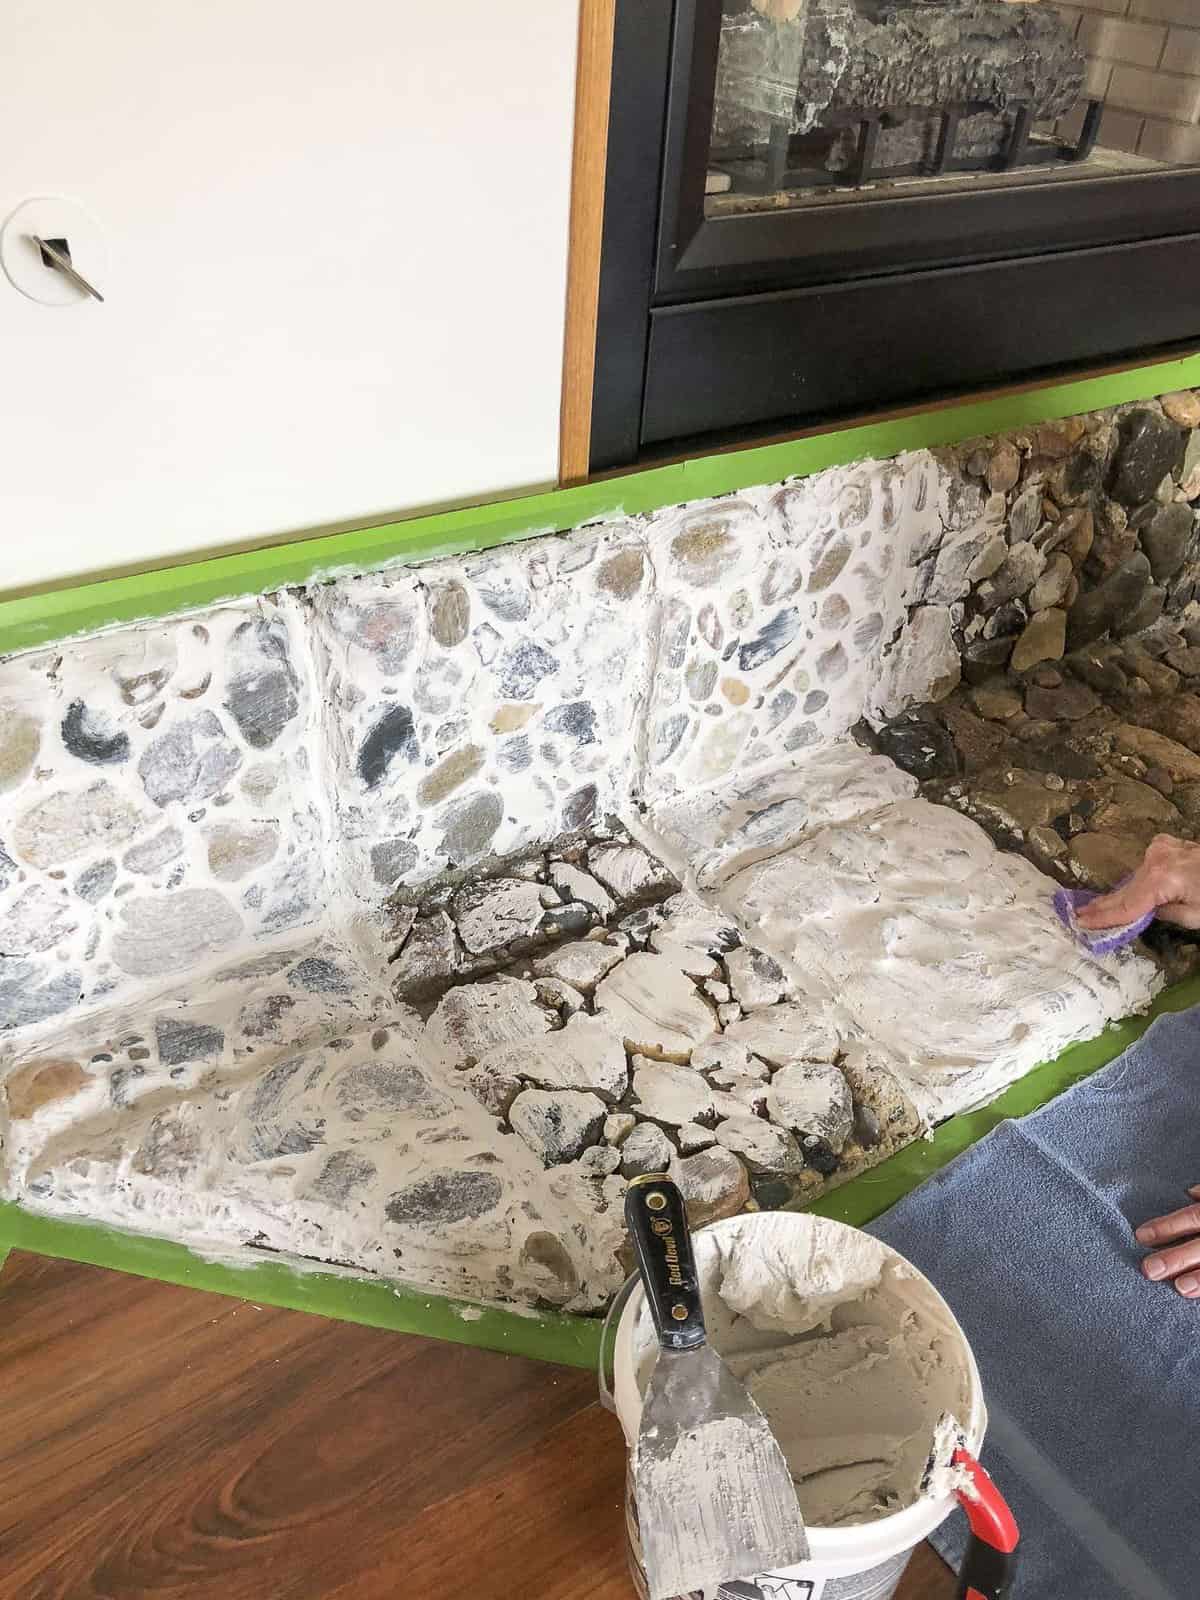
You can always add more mortar later if you want to cover the rocks more fully. However, you can’t take it away once it dries! You can see above that we started out wiping more of the mortar off to reveal the color of the rocks. About halfway through I took a step back and realized I wanted less color. Thankfully, we were able to go back and “schmear” more mortar on top to mute the rocks.
German Schmear Reveal
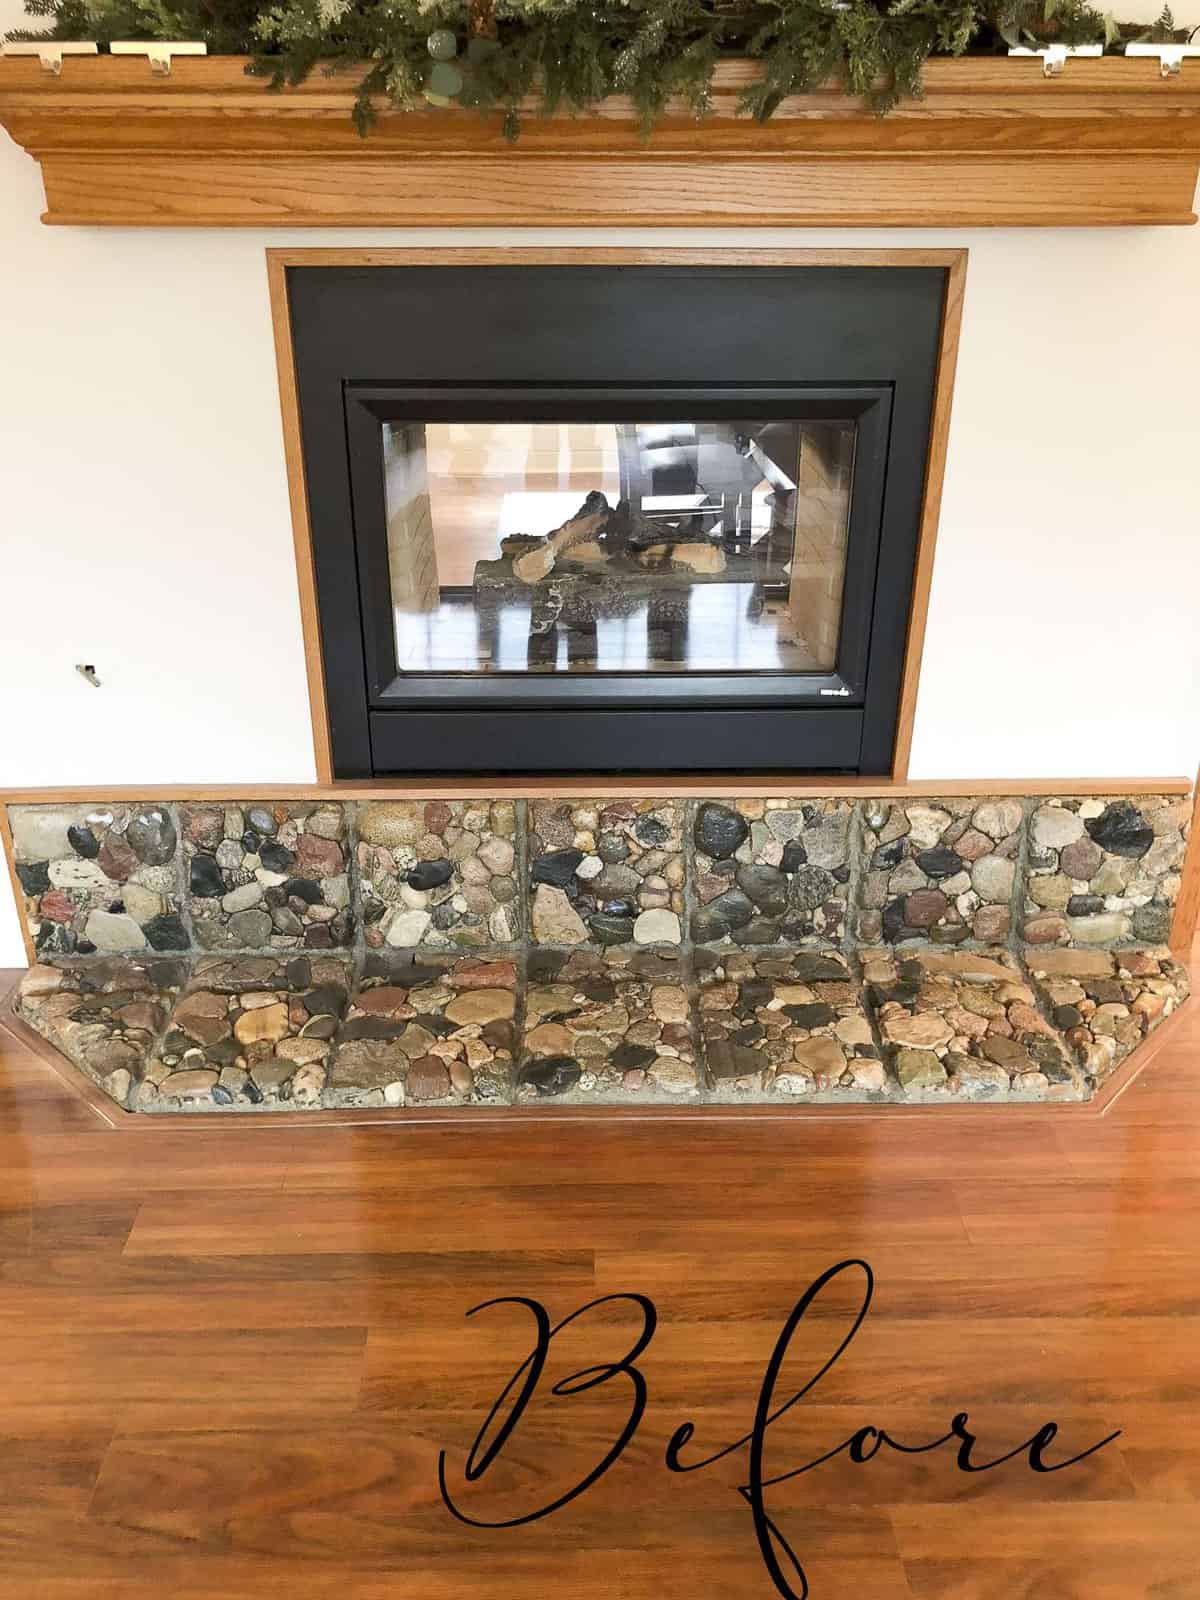
That’s all there is to it! It was such a simple project and took less than 2 hours for two of us to complete. We ended up working as an assembly line and one applied the mortar while the other person wiped it off. Here is the before as a reminder!
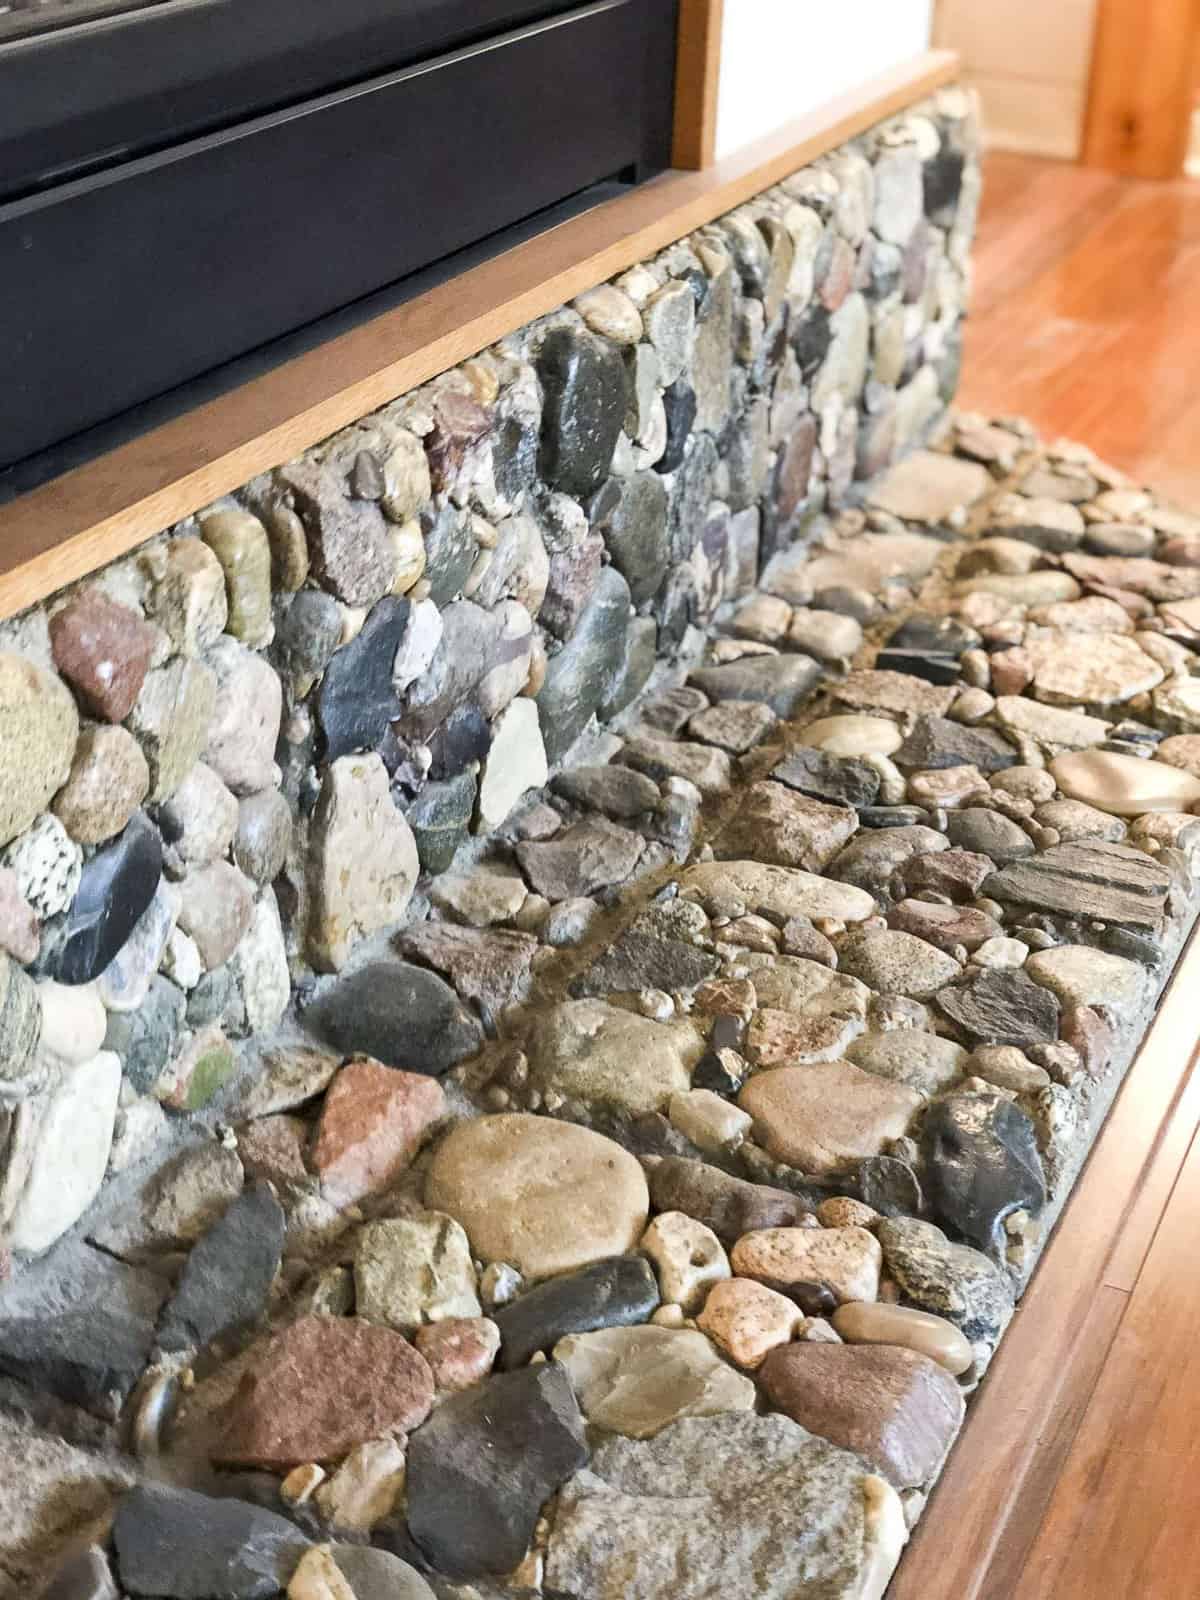
And the after!
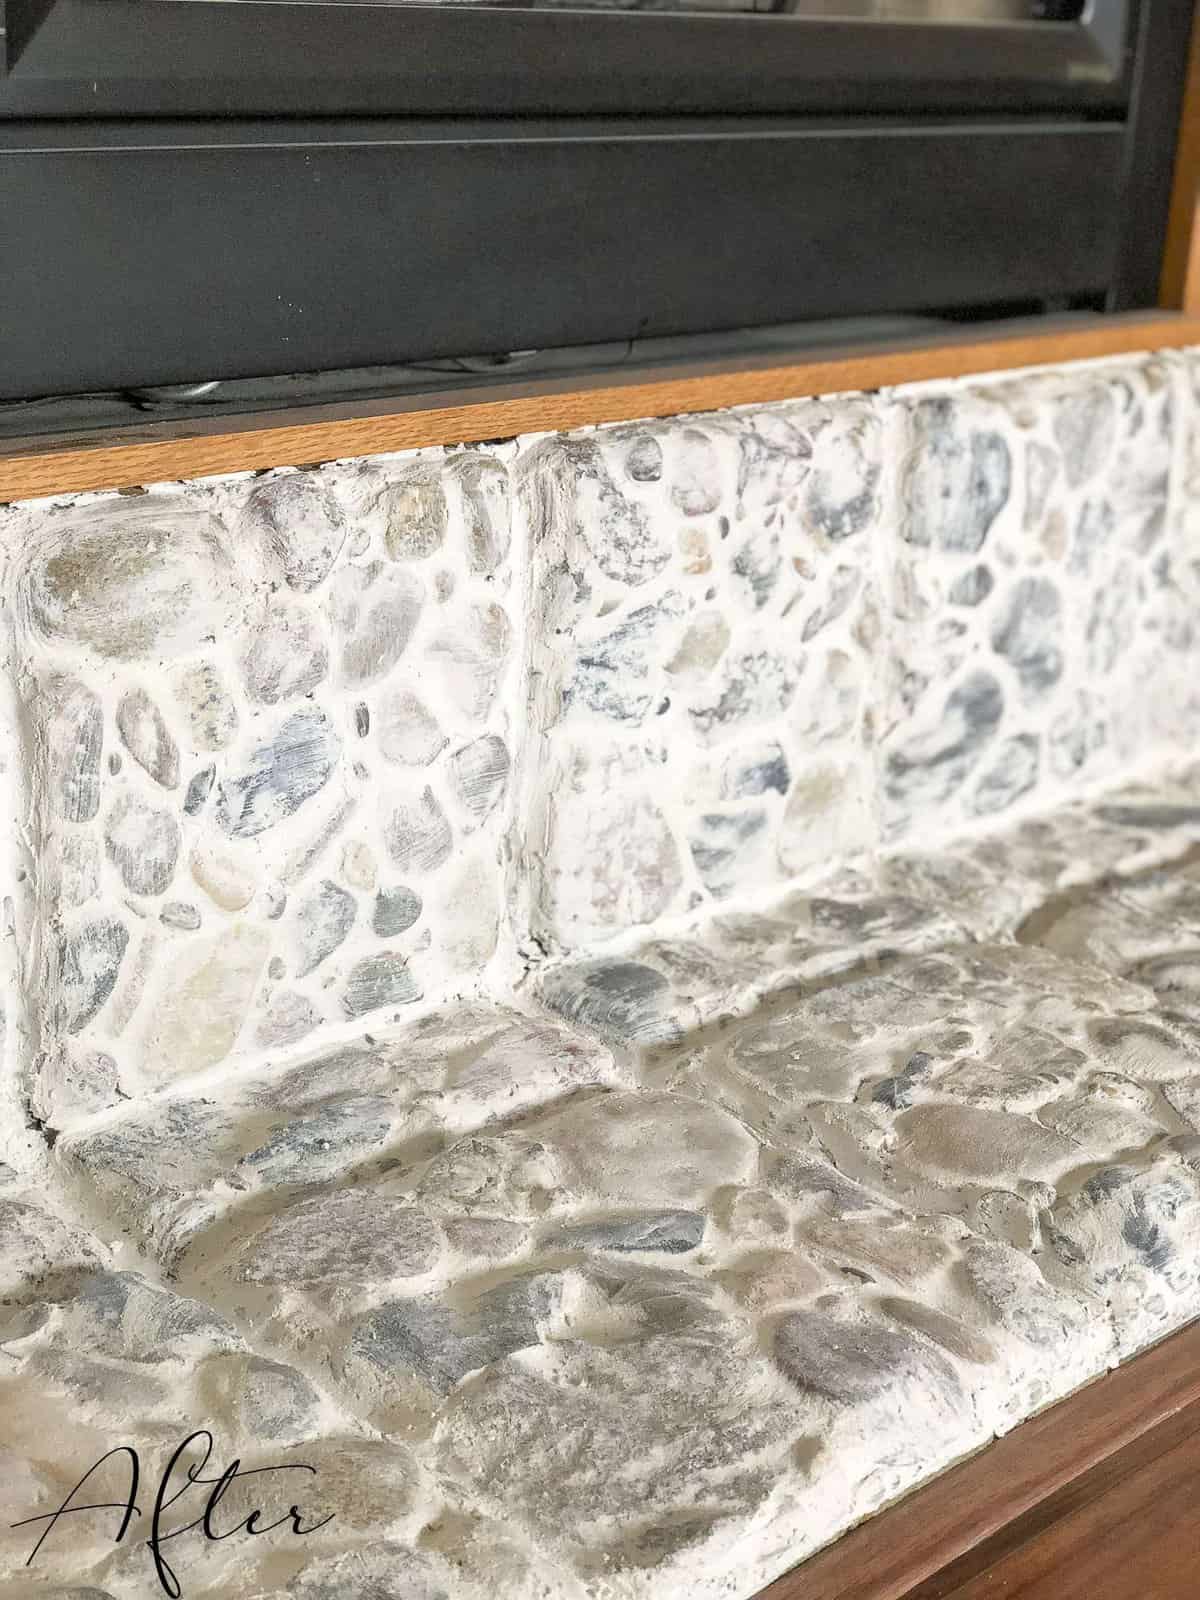
This was certainly one of those projects that I wish I had thought of sooner! I love how cozy and calming it feels in comparison to the busy river rock. It makes me feel like I’m visiting Europe all over again as this method is used in much of their old masonry.
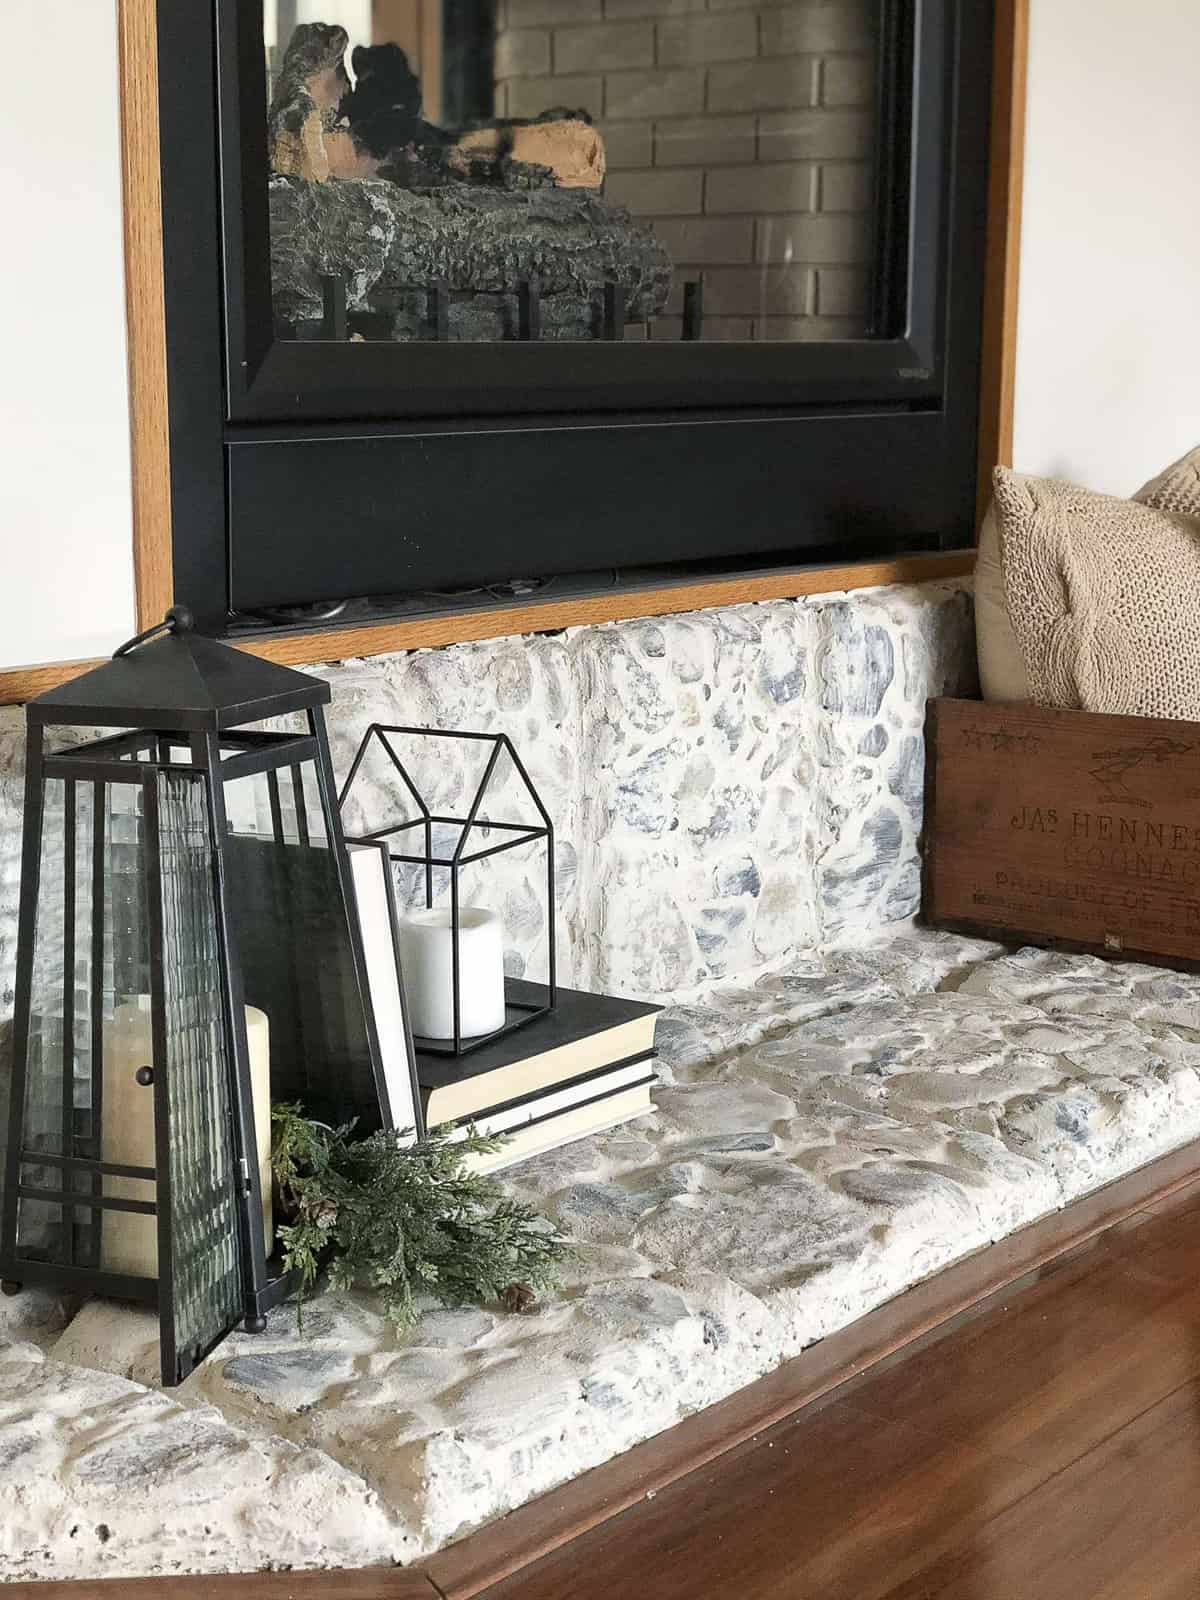
The more muted tones also make it easier to layer decor on the hearth. Before everything seemed to compete with the river rock, but now it’s a lovely backdrop for some cozy elements.
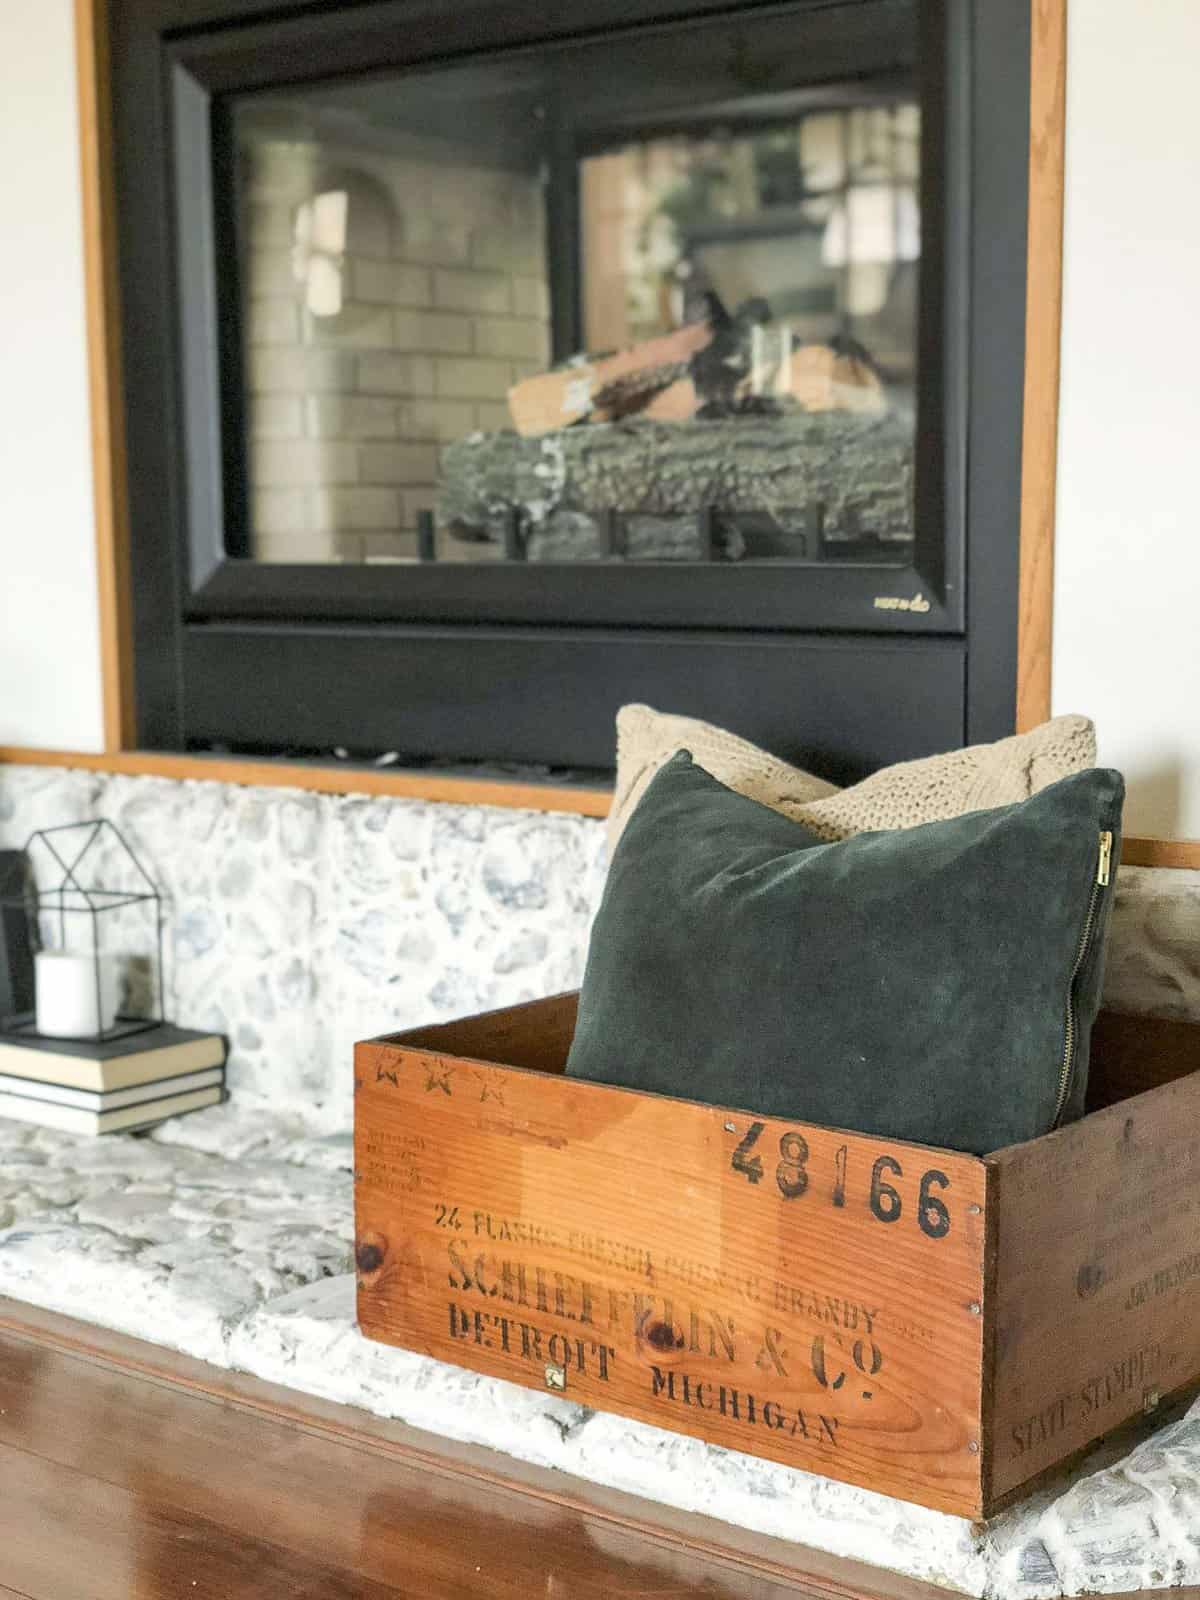
And here is a little sneak peek at my pre-Christmas mantel! This isn’t the finished product but I love the direction it’s heading! My full Christmas home tour will be on the blog next week!
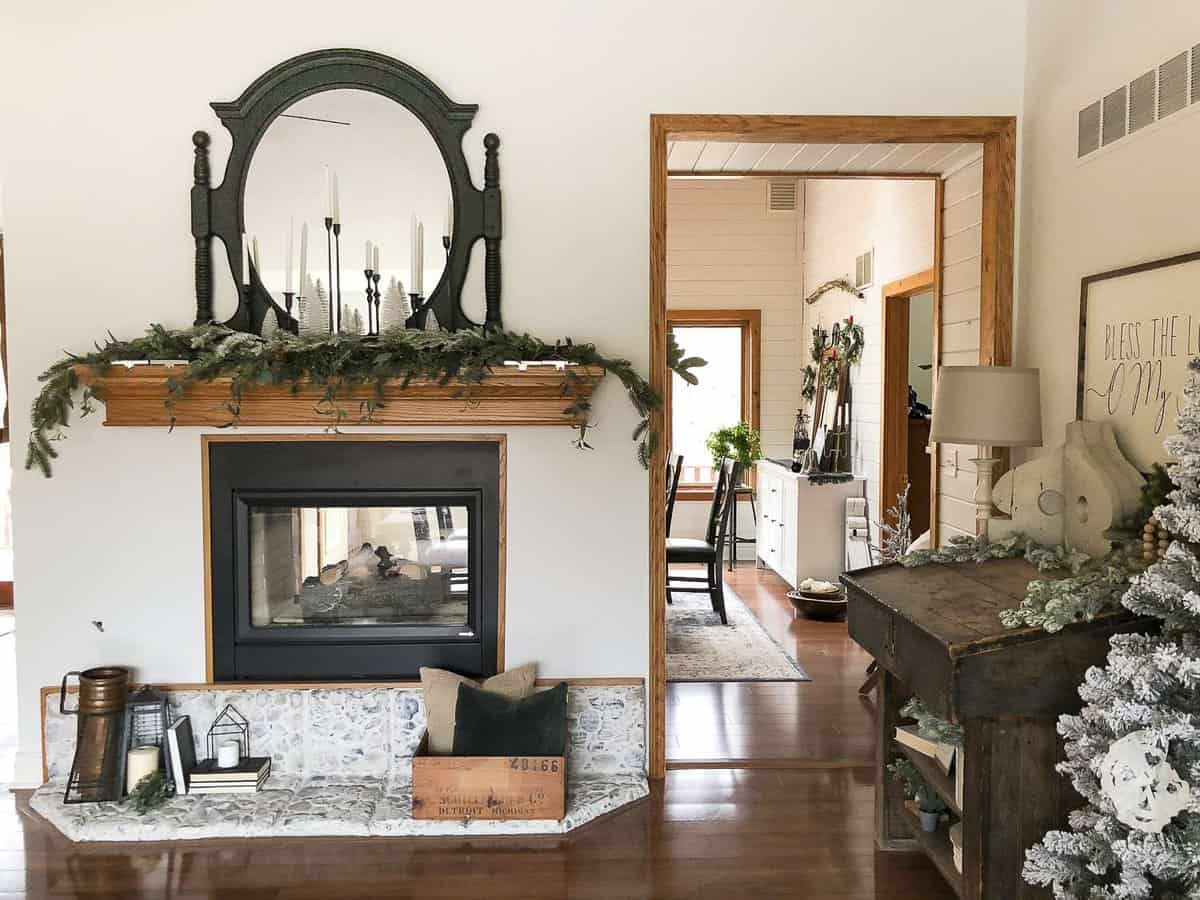
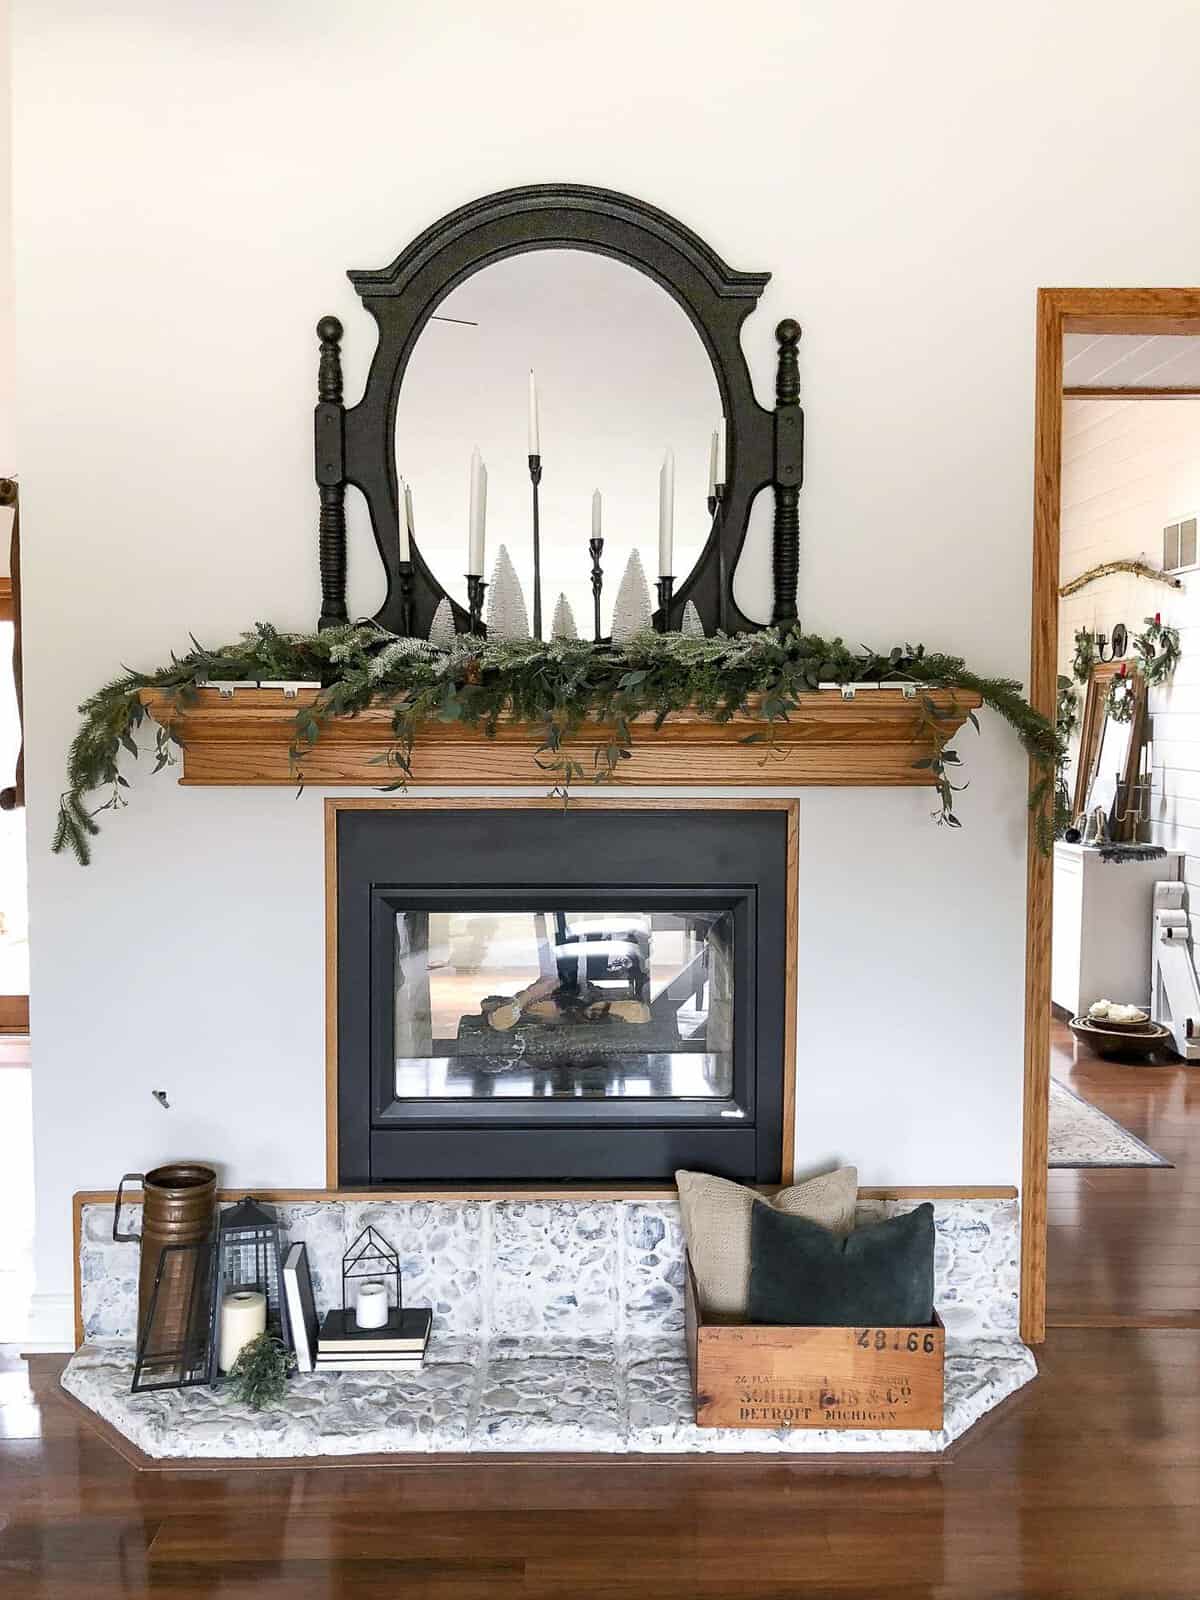
What do you think? Do you like the update? Have you tried the german schmear technique before? It really was a simple project so if you’re looking for an economical way to update your dated river rock then give it a try! I’d love to see it if you do so make sure to tag me on Instagram and show me!
You can find many more DIY projects here as well! Until next time friends,


Im currently giving this makeover to a fireplace in a flip house. It looks awesome. However im a little concerned with what its gonna feel like to sit on the hearth. Scratchy sand paper! Did u use the same mortar on the seated part? Im tempted to match paint for the top so that its still usable as a seat.
It does have a texture. However, I would compare it more to a soft limestone. 🙂
This is exactly what I’m looking to do with a stone fire place. Looks lovely!! Do you mind sharing how much you spent on mortar and tools?
I love that you can now decorate the hearth without the decor competing with the rocks – they were beautiful before, but I can definitely see how this works much better. I love the European feel it brings to the space!
Thank you! Yes, I love that it doesn’t compete anymore as well. Makes it so much easier to style without that strong accent.
Love your simple but beautiful holiday decor!?
Thank you so much Becky! I appreciate your kind words!