
How to Modernize a Space with Painted Trim
Hello friends! We are plugging along on our basement remodel. Today I’m showing the before and afters, plus a few tips, on my update with painted trim!
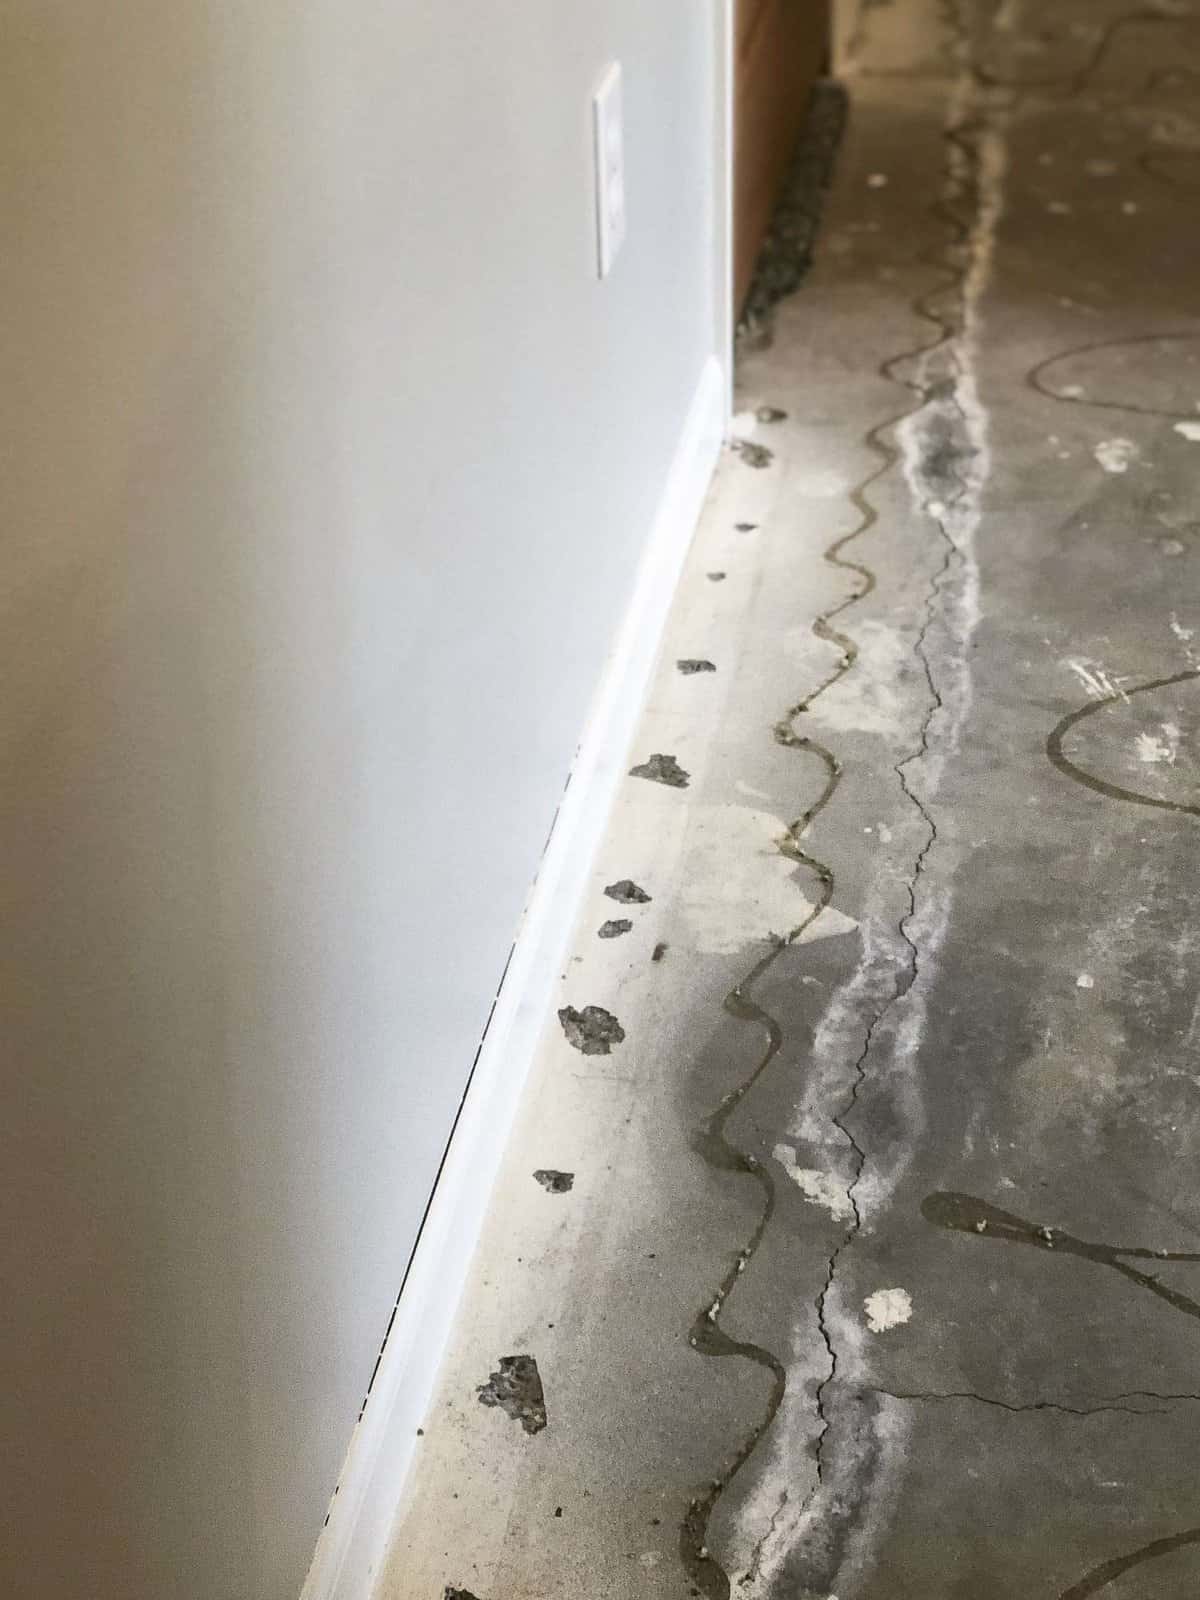
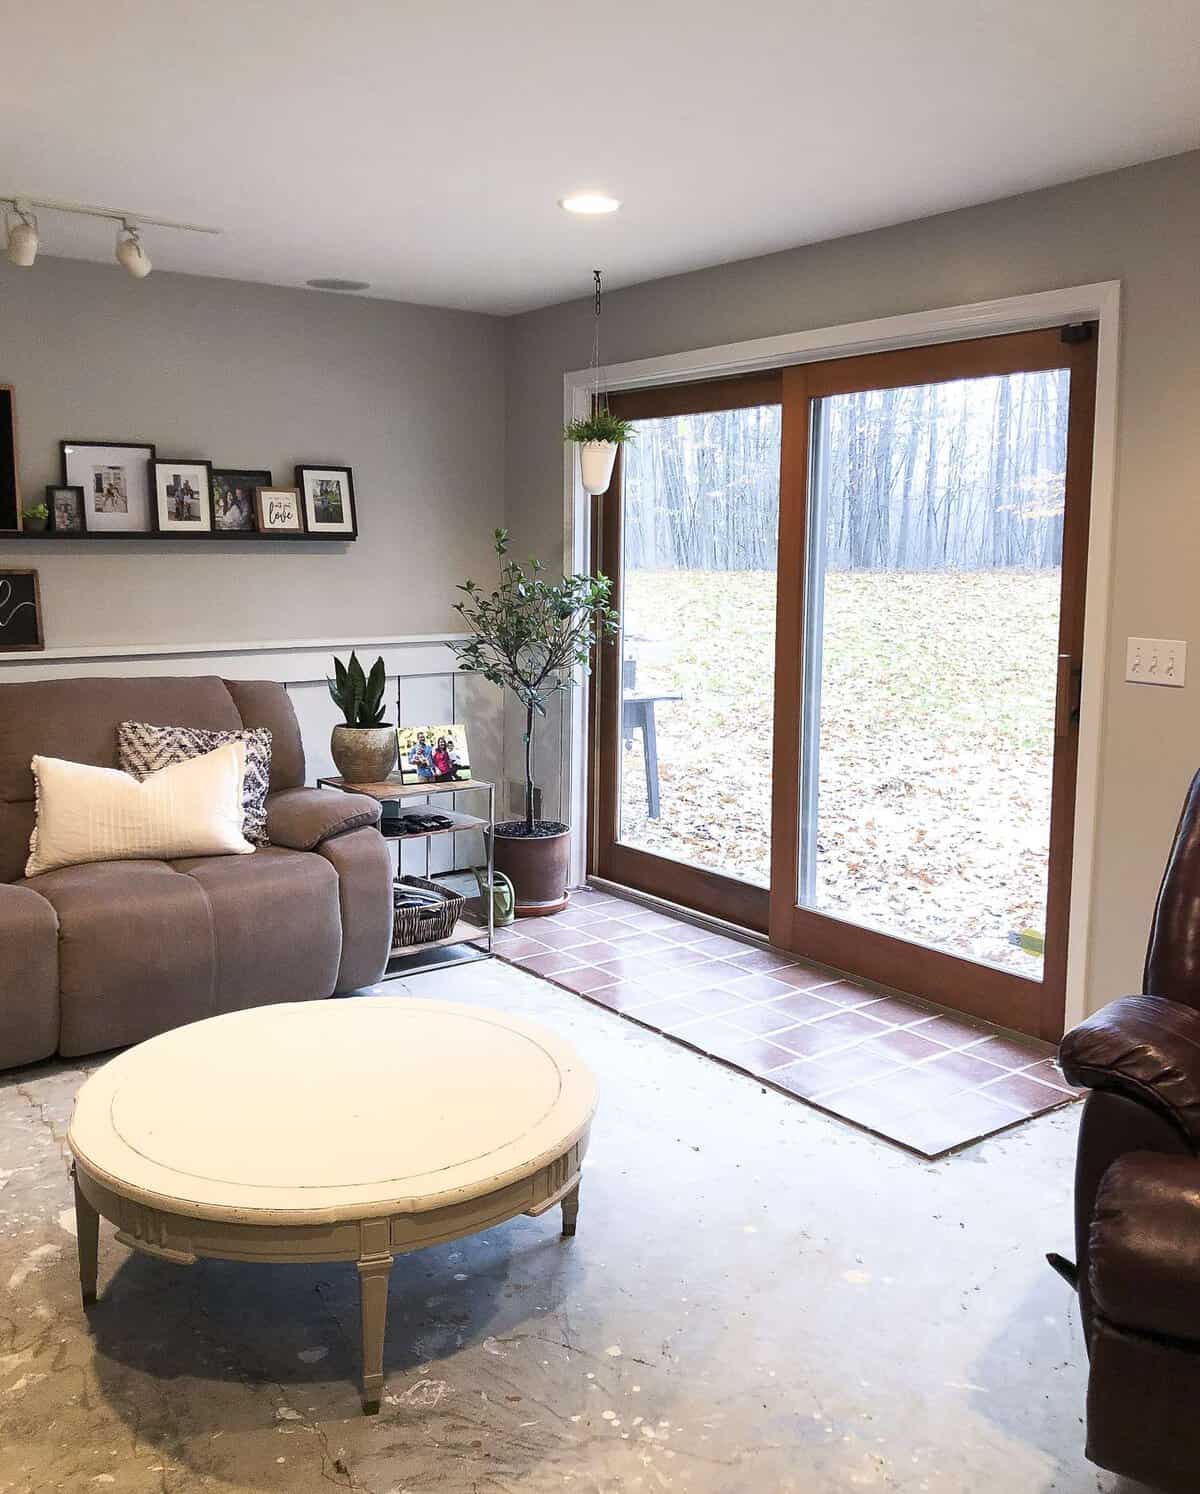
You can see the design plans and all the before photos for this large remodel in my first post of the series. So far, I’ve painted all of the trim and completed a revamp of our barnwood wall. It’s coming together! The flooring will be installed this week and then I’ll be able to do the fun part: decorate!
This post may contain affiliate links where I earn a small commission on your purchases at no additional cost to you.
Modernizing the Basement with Painted Trim
Our entire home had honey oak trim. While I lived with it for awhile, I decided that I wanted to modernize the basement by painting the trim white. You can see the reasoning behind that decision here. It was a HUGE project for one person to take on. But I’m so glad I did it! And I’m also glad I made the effort to get it done before our new flooring is installed.
Not having to worry about getting paint on the floors made the process much faster. Less taping, less floor covering to mess with, and less time being detailed and extra careful!
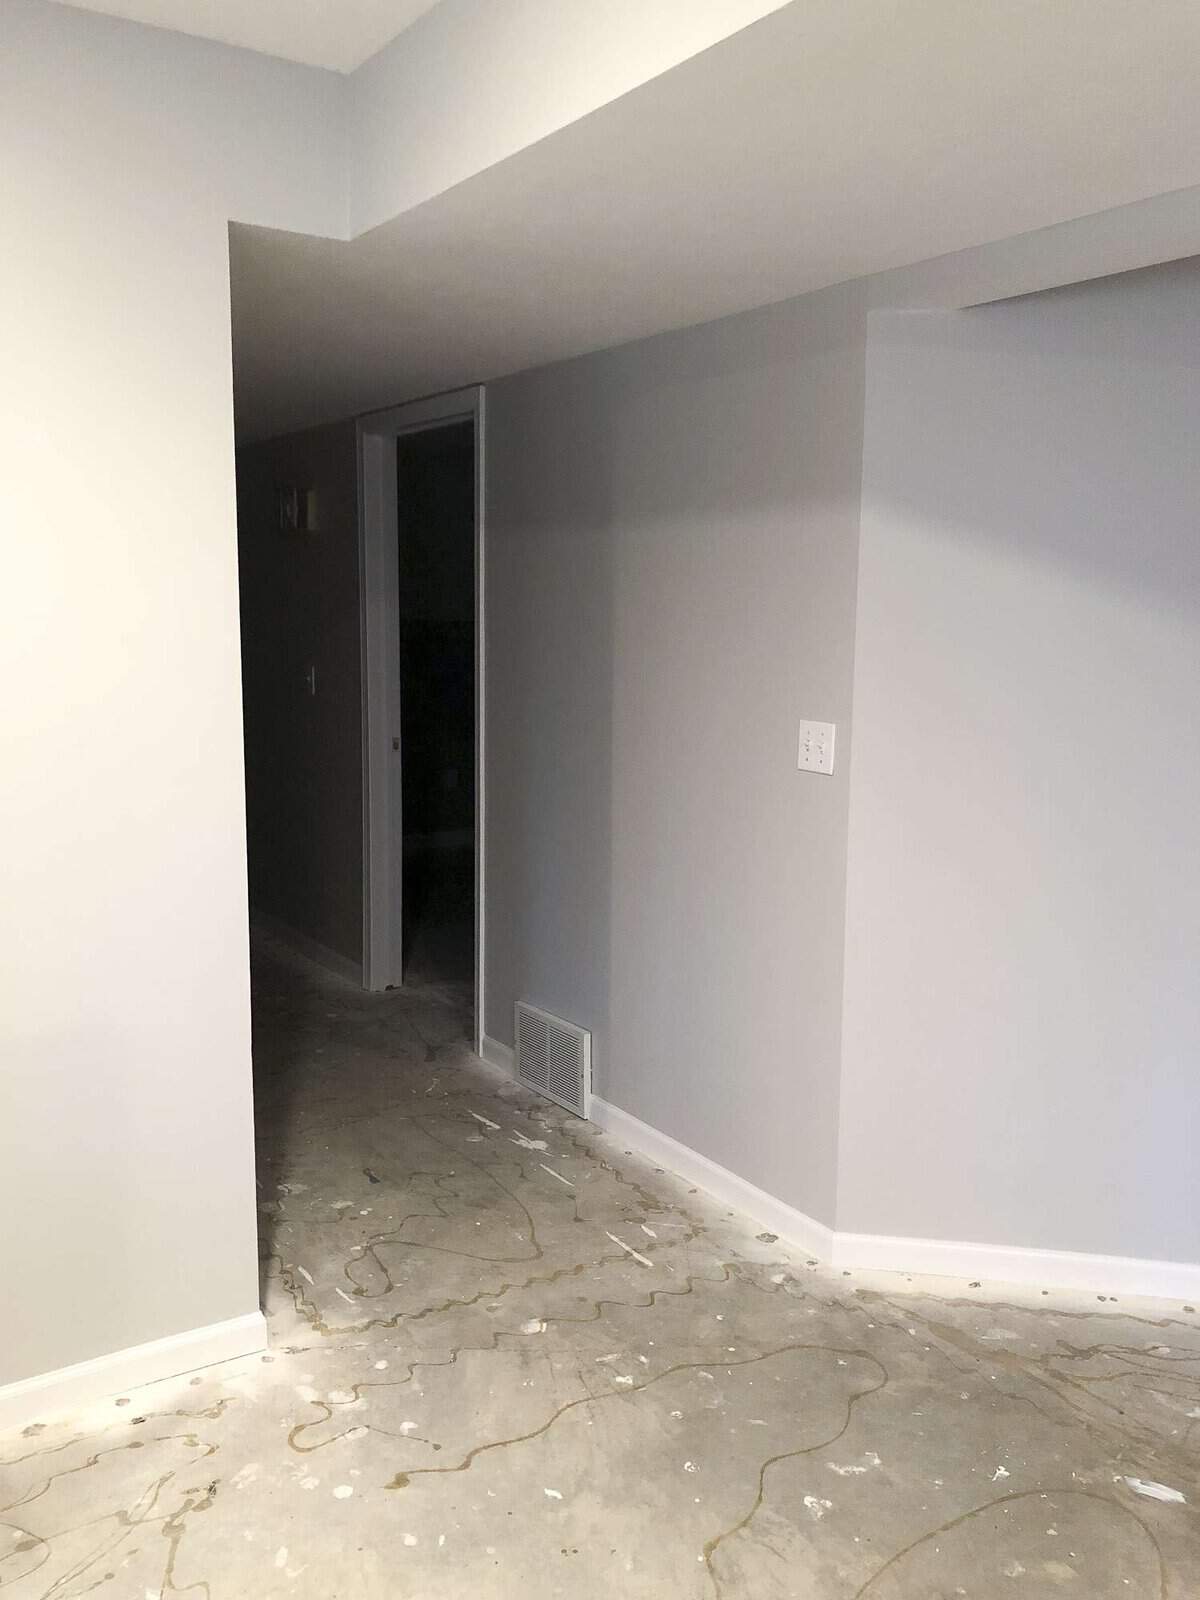
Before

Rather than making this a full tutorial on how to paint trim, I just wanted to share some quick tips.
Painted Trim Quick Tips
There are many amazing tutorials on how to paint wood trim, but it all boils down to this process.
- Sand or de-gloss
- Use a deglosser or medium grit sand paper to rough up your wood trim. This helps the primer adhere for long term durability.
- Tape
- Using painter’s tape, tape your walls and floor to avoid overpainting. Use a credit card or other flat surface to get a clean seal on your tape by running it along the edges.
- Prime
- For wood trim, an oil-based primer works best for durability. Prime your trim fully before applying paint.
- Caulk
- Once your primer is dry, caulk any gaps that are now visible. Ensure that you use paintable caulk or your paint will not adhere to the caulked gaps.
- Paint
- Now you simply apply your paint! Oil based or water based are fine to apply, using a semi-gloss sheen for best durability. Paint two coats for full coverage.
You can find all of my favorite painting supplies linked in my Amazon Storefront for easy shopping!
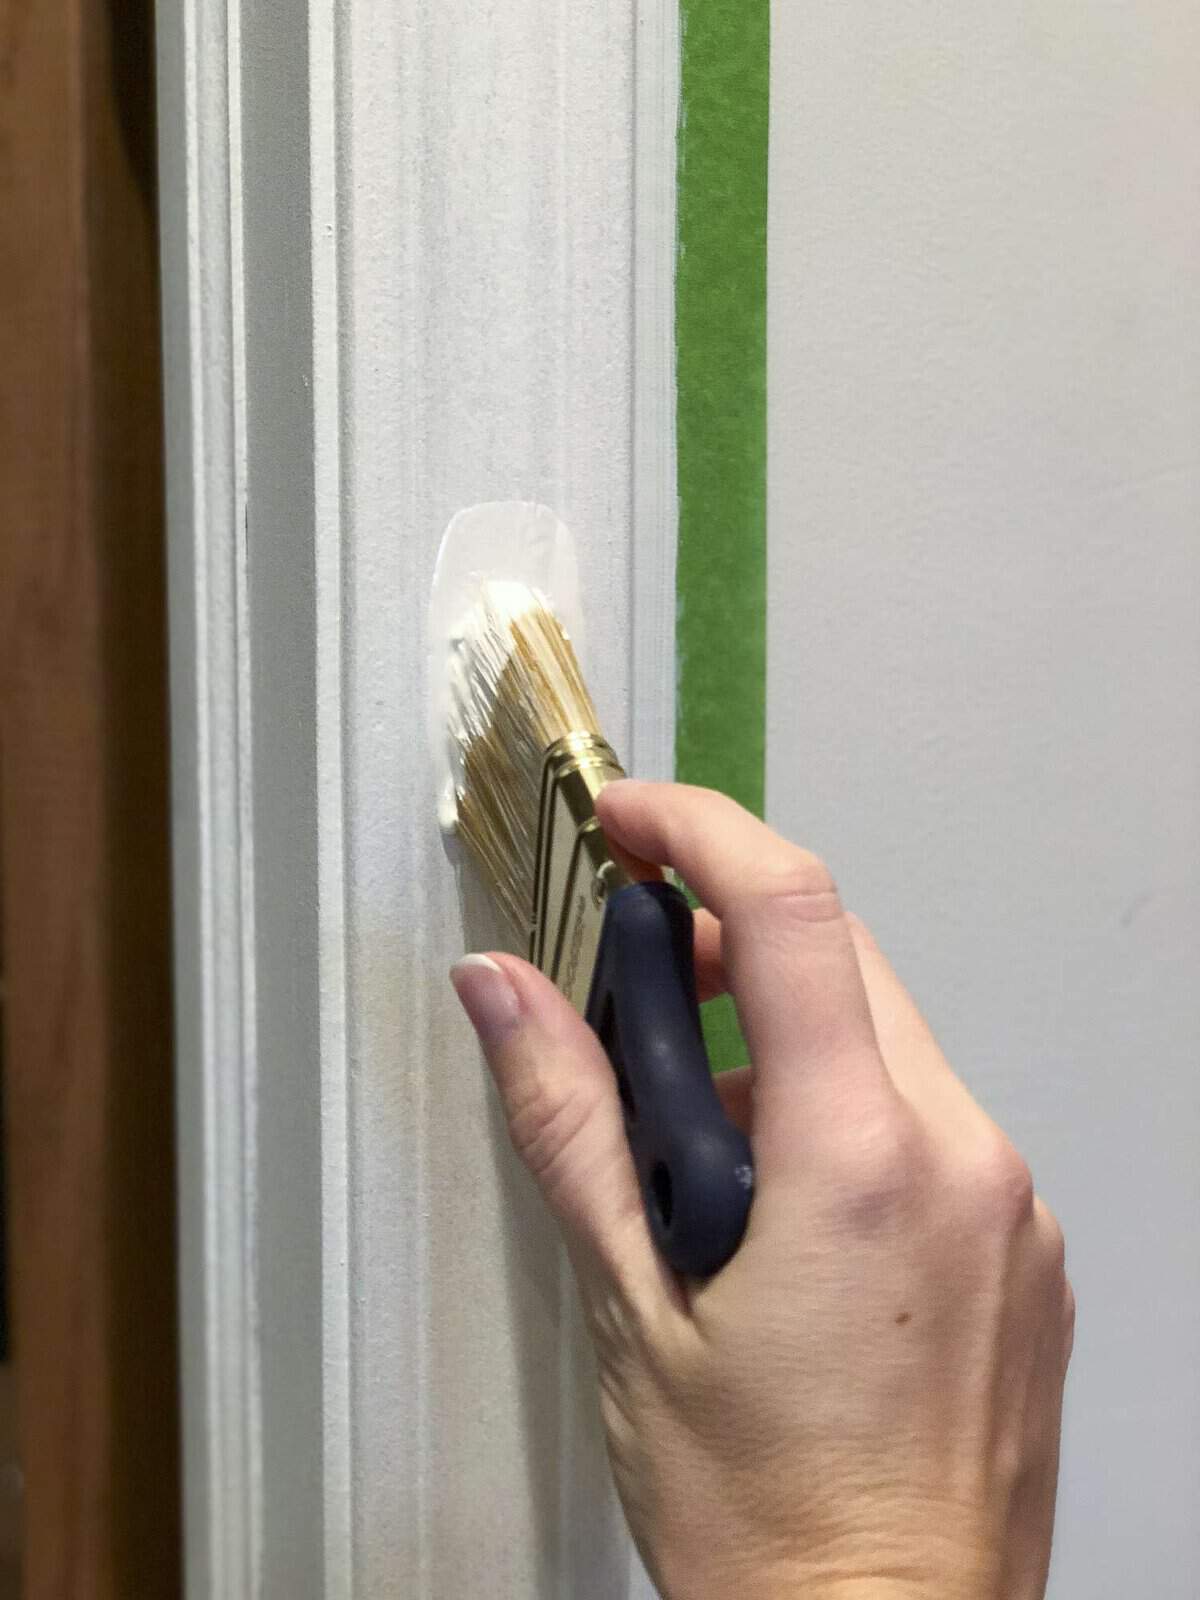
Taping your walls (and floors if you don’t have new ones coming!) is so helpful to ensure that you aren’t going back and painting your walls for touch ups as well. I sanded my trim, painted two coats of Kilz primer, and two coats of ceramic paint in Benjamin Moore White Dove.
My number one tip is not to neglect the caulk! Some would tell you to caulk all your seams prior to priming. However, I found that priming one coat first showed where all my gaps would be. This saved me time and money by not having to caulk every single space. Rather, I just focused on where the gaps were. See the difference caulk makes to have a professional finish on the baseboards!
Before Caulk
After Caulk

I am so glad to be done with this project! It is not for the faint of heart, but it is so worth it if you love painted trim. I worked solo for the first three coats of paint, had help from my amazing mom on the final coat of paint, and did all the caulking and sanding myself. Doing the majority of this project alone took me about a week of 6 hour days to complete a 2,000 sq. ft. space. My advice? Ask for help. 😉
Let’s see a little visual of how painted trim helps to modernize this space. Eventually I will most likely paint the doors as well. But, one step at a time.
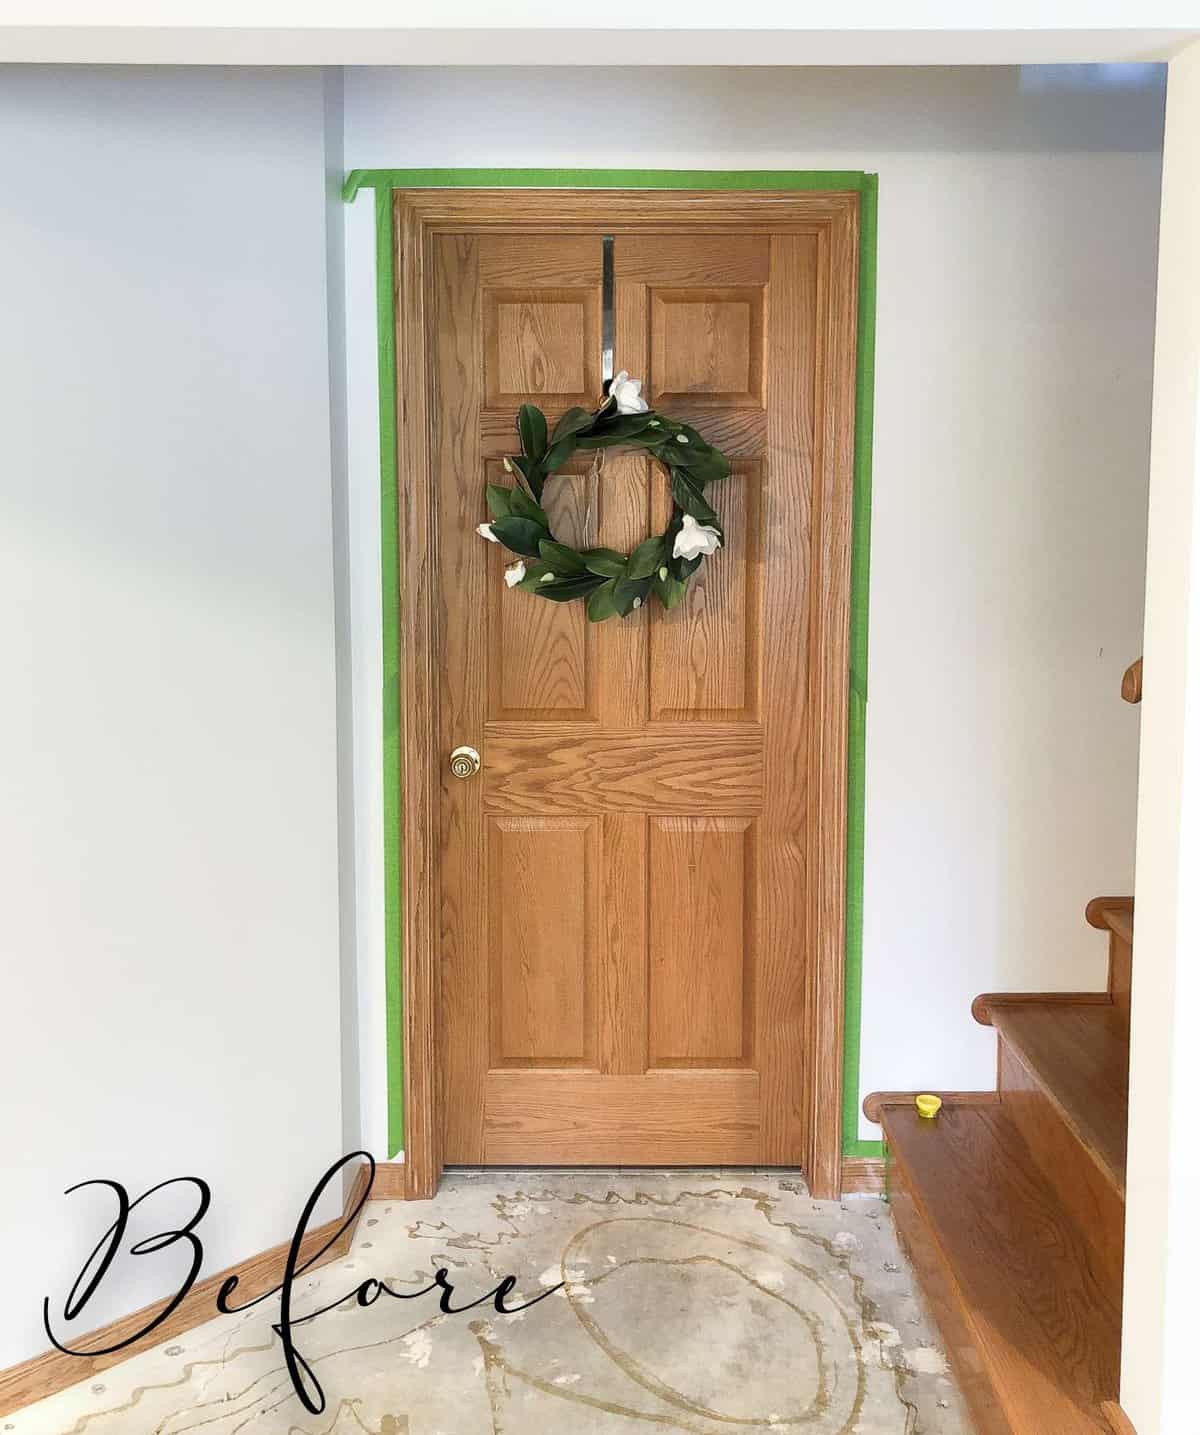
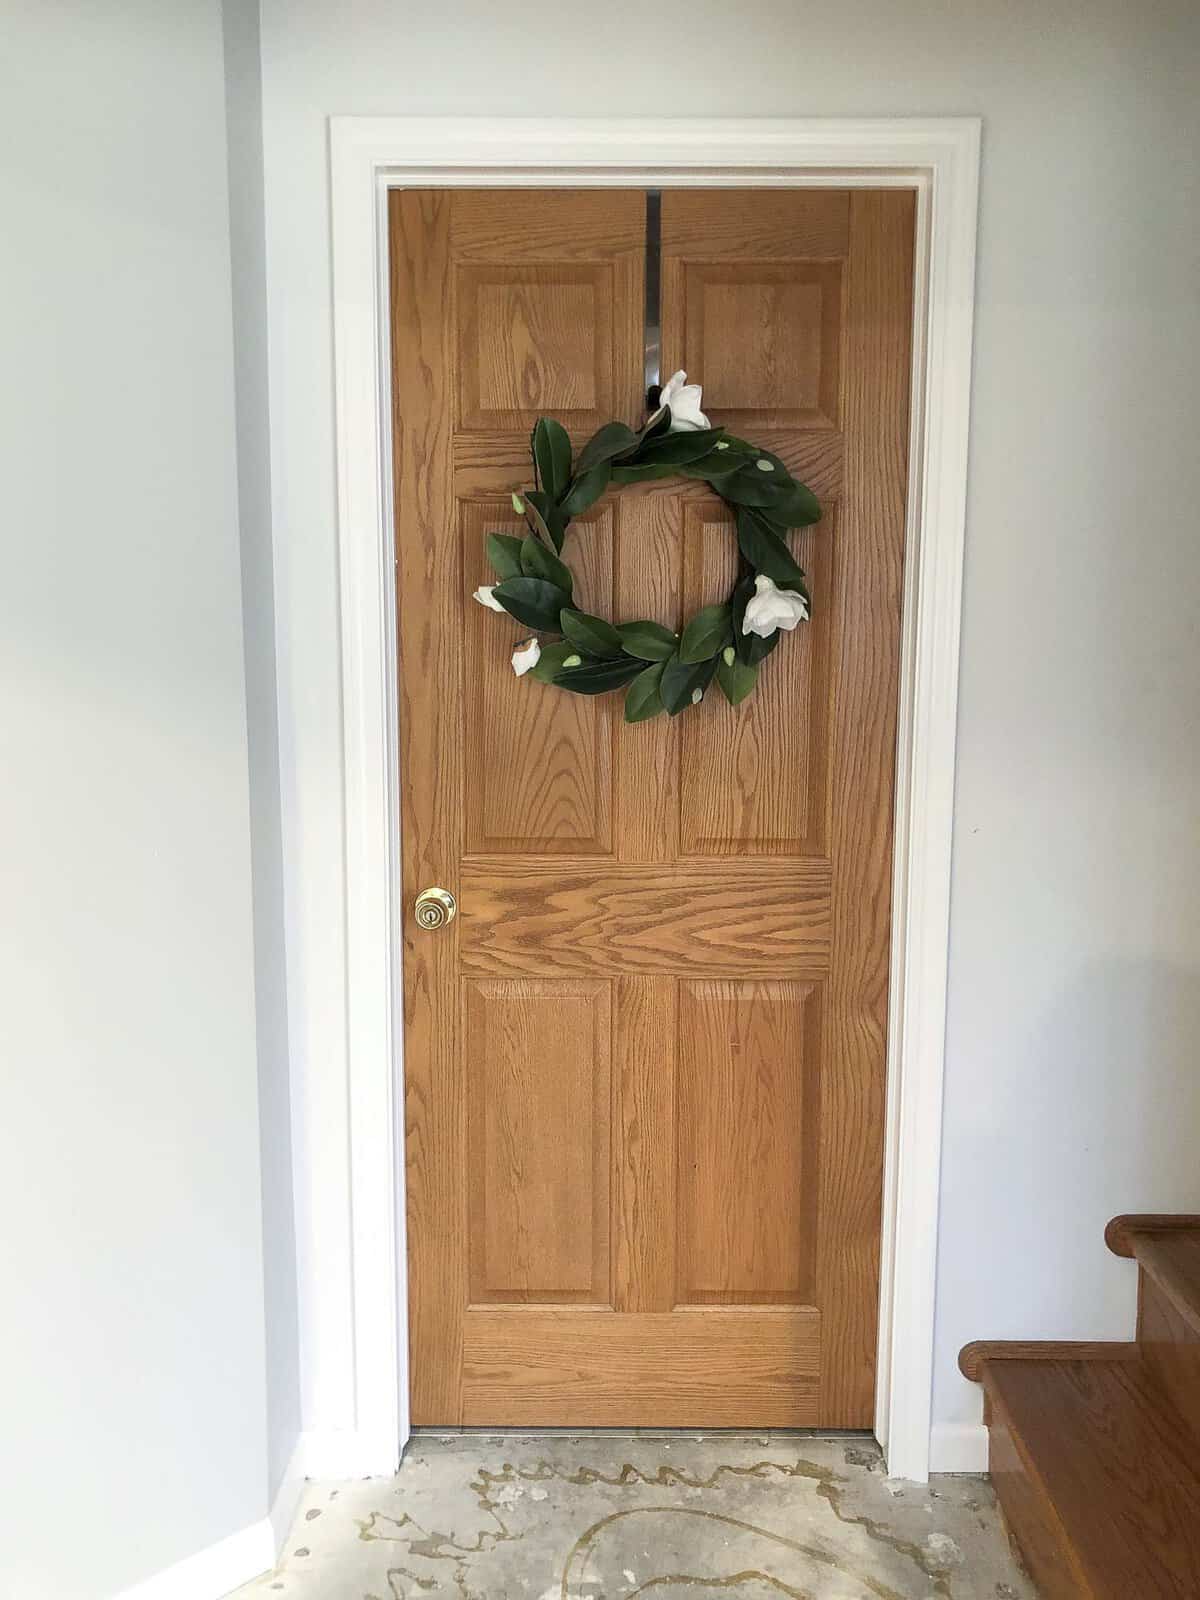
I also love how white trim will coordinate with any paint color I want to use on my walls. Honey oak trim is tricky to use with certain colors and long term I knew I would want the flexibility that white trim gives.

Next up, we will finally have our new floors installed! We’ve had our carpet ripped out for about 6 weeks and I’m ready for this space to feel like home again.
What color trim do you prefer? I know so many of you started reading my blog because of my honey oak trim. But as you may learn in my new book, we are all just making our own havens one project at a time. 🙂
I can’t wait to show you the final reveal in the next couple of weeks!

Looking for More Painting Tips?
- How to Paint a Room Fast in 5 Steps
- How to Paint Windows Without Tape
- How to Paint a Deck
- How to Paint a Tile Backsplash
- How to Paint Kitchen Cabinets


Basement Remodel Series
UPDATED: You can find my complete basement remodel series linked below!
Hi Sarah,
I’m wondering if you remember what color you chose for your walls here? It’s a very nice tone.
Thank you, Eva
These are Magnolia’s Shiplap
It is Shiplap by Magnolia.
Love your guest bathroom ideas. Where did you buy the tray that the glass jars are sitting on ?
It is from the Studio McGee line at Target.
Did you leave the doors the oak or did you paint the doors as well. Is only painting trim around windows an option or do you recommend painting all wood to white? Thank you
I left my doors wood for a long time! I recently painted them a contrasting color to the trim, but really it is a preference!
Did you end up repainting any of your windows? We have oak everywhere in our house–trim, baseboards, and wooden windows. I’m thinking if we paint the trim, we may need to paint the windows too, but maybe not! Would love to learn how you approached.
Yes I have! We’ve painted all our windows and trim and love how it turned out.
Hey Sarah! I have wooden trim just like yours and I want to paint it white. I also need to paint my walls. Because of this, would you say it’s worth it to take the trim off to prep/sand/paint or would it be better to just do it while it’s attached to the wall?
There are pros and cons to both methods. Prep/painting the trim still attached is a lot of back breaking work being on the floor the whole time. However, removing it can be difficult as well because it becomes like a puzzle piece to add it back once you’ve completed it. If you choose to remove it, number each piece on the back so you know how it should go back onto the wall! Best of luck on this big project! It will make such a difference!