
How to Paint a Room Fast in 5 Simple Steps
Fresh paint can improve a room faster than anything. Paint really is a miracle worker! The first thing I do in a room is put up fresh paint, no matter what my long term design plans are. It is the most affordable way to change the look of a space in less than a day. If you’re a beginner painter, follow these 5 simple tips for how to paint a room fast for a big transformation!

Post may contain affiliate links for your convenience.
How to Paint a Room Fast in 5 Simple Steps
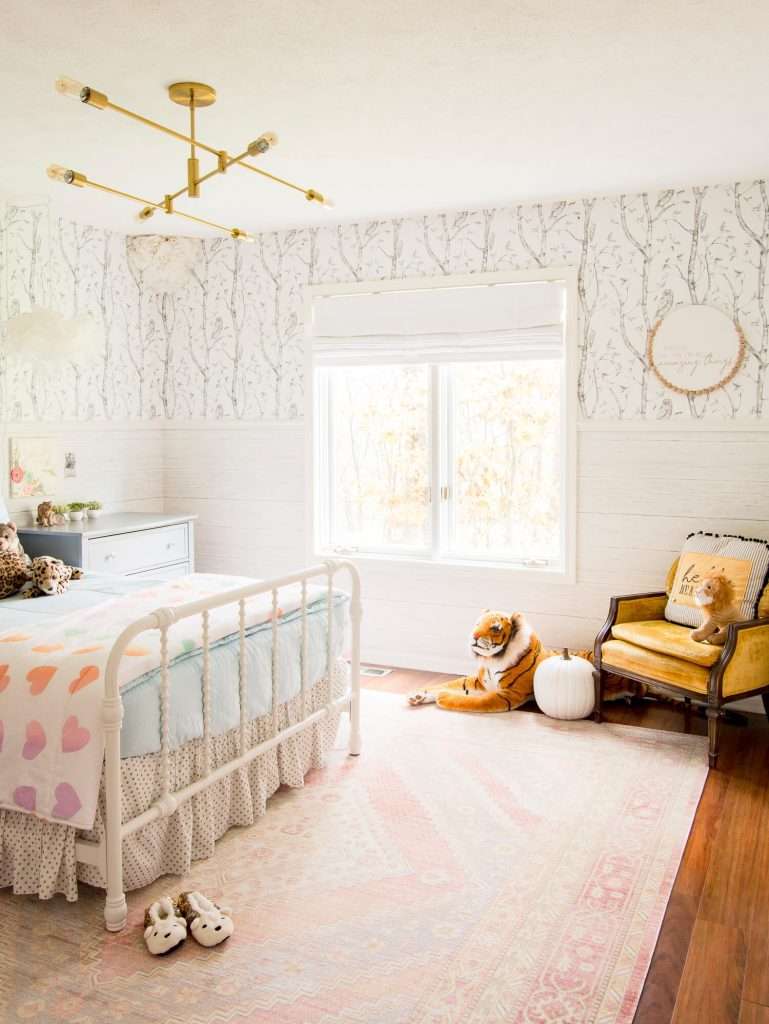
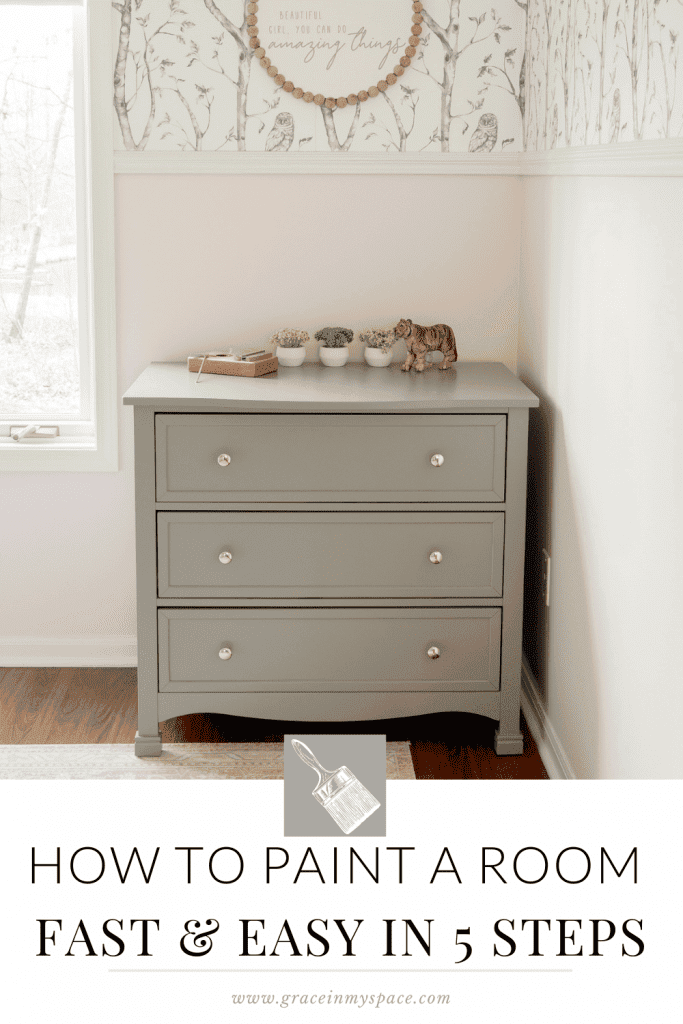
Recently, my daughter wanted to do a quick update to her bedroom. Her room was one of the first rooms we remodeled when we moved in and we loved the wallpapered look. You can see the original transformation in this post.
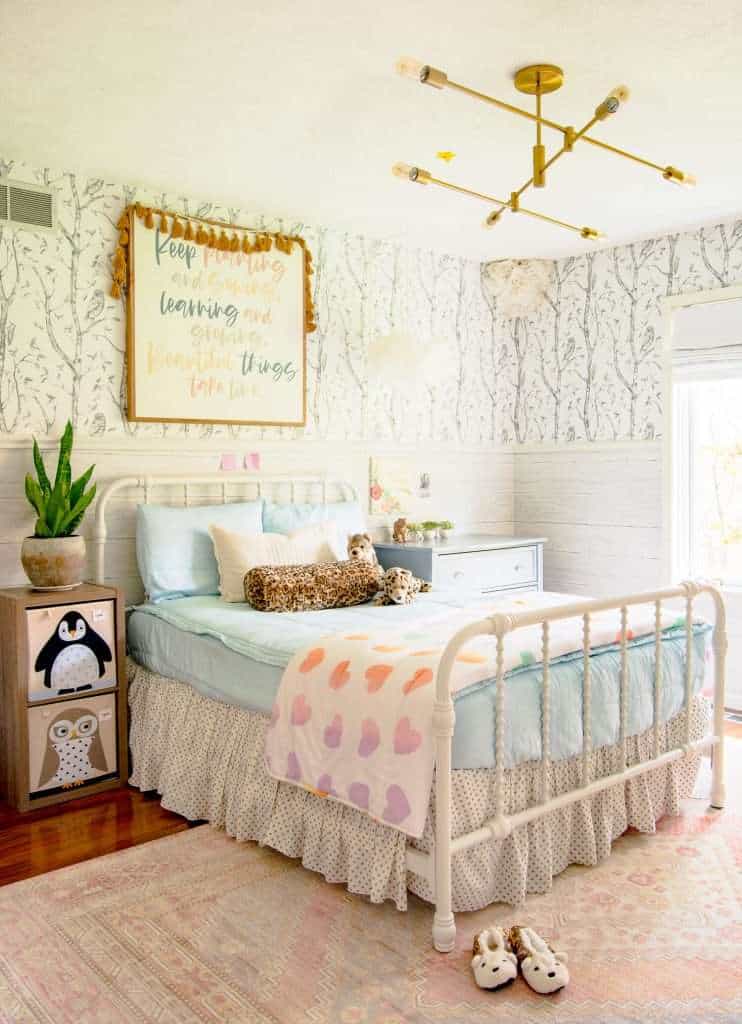
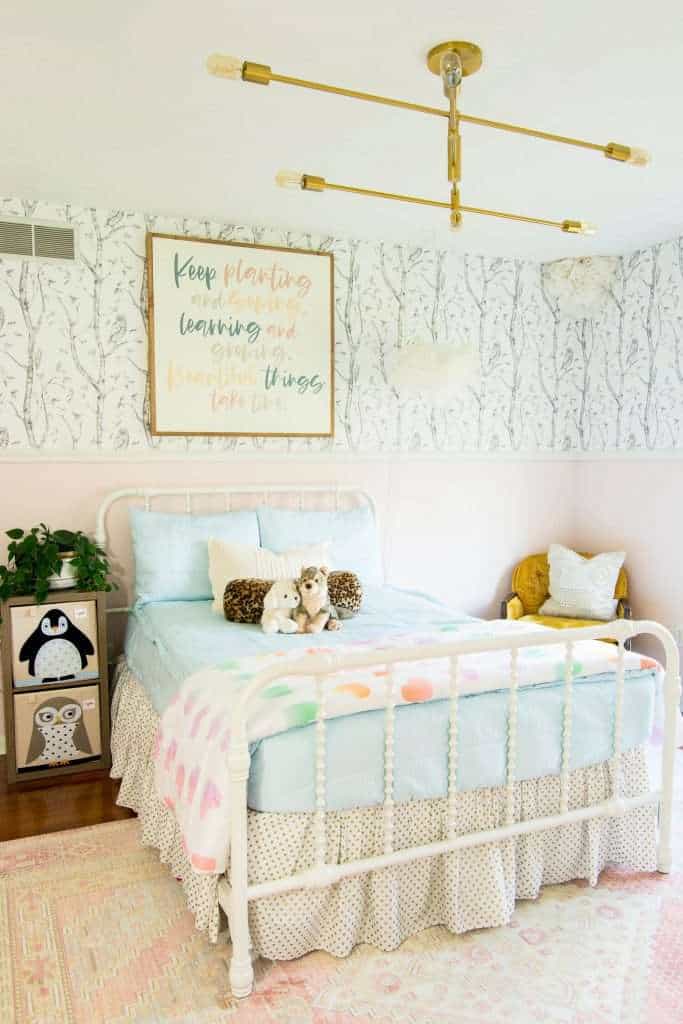
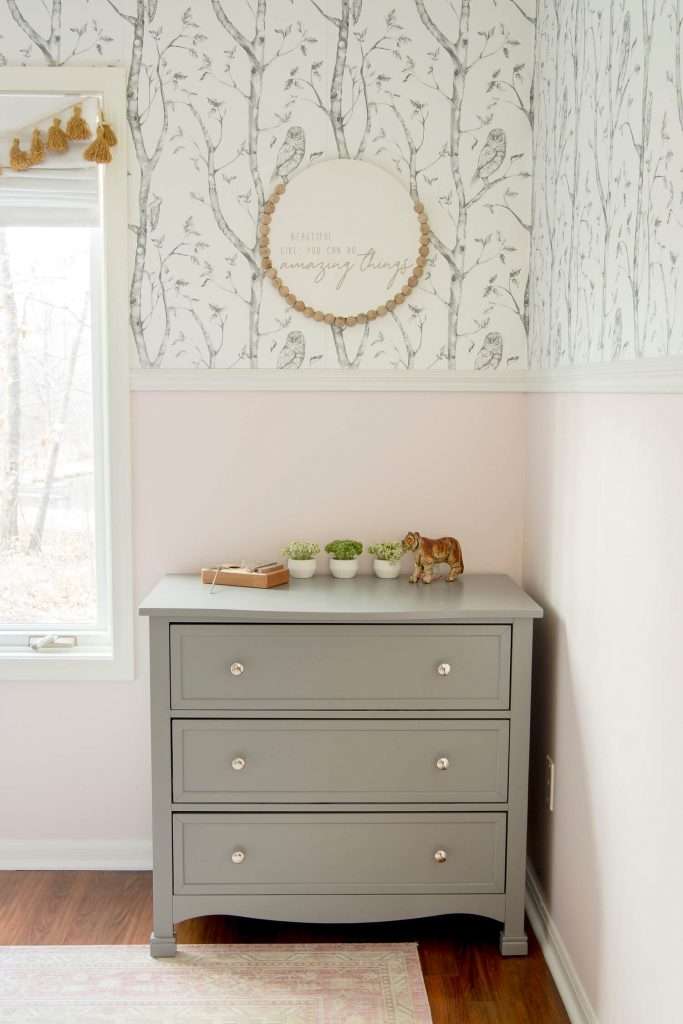
While we both still enjoyed the wallpaper, she had accidentally ripped a section. Since she was ready for more color, I decided to just remove the bottom portion of the wallpaper and give it a fresh coat of paint with the color of her choosing.
Since so many of my readers are beginner DIYers, I thought this was the perfect opportunity to teach you how to paint a room fast in 5 simple steps! I’ve put together a full video on YouTube showing the painting process. Read on for some additional painting tips!
Painting Materials
Below you’ll find my favorite painting materials. Different people have different preferences, however these ones have served me best!
- Painter’s Tape
- Drop Cloths
- Angled brush with short handle (this paint brush is the best!)
- High quality rollers
- Roller handle
- Stir stick
- Can opener
- Paint tray
- Paint tray liners (or, when in a pinch you can use plastic bags or tin foil)
- Spackle
- Sand paper
- Putty Knife (this set is a great value for the variety)
- Screwdrivers
- Primer
- Paint
You can find all of my favorite paint DIY materials on my Amazon Storefront for easy shopping!
1. Remove Obstacles
The first step to painting a room is to remove existing obstacles. In my case, that meant removing the wallpaper. You should also clear the room of furniture, if possible, or move it out of the way for easy access.
Then, remove all switch plates and outlet covers, window coverings that are in the way, and wall decor.
2. Protect Surfaces
Next, you will want to protect your surfaces from paint splatter.

Lay down plastic or drop cloths on the floors to protect them from splatter. Then, tape your window trim and mouldings to make it easy to cut in around the room. You can find my favorite paint supplies linked above in the materials section.
Once you are a more experienced painter, you may not need to use painter’s tape. I have cut in so many rooms now that I feel I could do it with my eyes closed! I no longer use painter’s tape for trimming, but for beginners it is a very handy tool.
3. Patch and Sand Imperfections
Next, do a thorough scan of the room and patch and sand imperfections. This includes nail and screw holes, wall dents, and any uneven surfaces.
Apply your spackle sparingly, wait for it to dry fully, then sand smooth. If you have a particularly large hole to patch, you may need to do this process twice to repair it properly.
4. Prime
Once your walls are prepared and your surfaces are protected, it’s time to prime! Most paints these days boast a paint and primer in one, however that doesn’t mean you will never need a primer.
Primers are much more affordable than paint and will help to give the best adhesion for your paint. They also help bring the color back to a blank slate so that the color you choose appears correct and has the proper saturation in the end.
Priming over a dark color before painting it light is especially key. Similarly, if your final paint color is dark, then using a dark tinted primer first will give you the best results.
5. Paint
The final step is to paint! Painting is broken into two parts. Trimming, also called cutting in or edging, and rolling.
Start by trimming around the entire room. Trim the windows, doorways, corners, ceilings and baseboards. Use an angled brush and slowly push the paint into the edges. Apply paint about 2 inches from the edges and then feather out the line where your roller will meet up. This helps the paint blend so you don’t see clear trim lines.

Once your trimming is done, roll the rest of the wall with the appropriate nap roller. For smooth walls a 3/8″ nap is best. A 1/2″ nap is best for semi-rough or textured walls. I like to start at the top and then make a W with the roller. Then, fill in with long strokes being careful to overlap the edges once. This allows you to spread the paint out evenly without taking it all back off with the dry roller.
Wait for the first coat to dry according to the can’s directions. While most people want to try to get away with a one-coat wonder, it is rare that paint actually covers in one coat! Even with primer, two coats will give you the best saturation and clean finish.

Apply your second coat in the same way, trimming first and rolling last.
Once your final coat has been applied, remove the painter’s tape while the paint is still damp. If you wait to remove it until the paint is dried, you will want to score your tape prior to removal so it doesn’t remove the fresh paint.
After everything is dry, put your outlet and switch covers back on and decorate!
How to Choose Paint Sheens
One final thought on beginner painting projects! Many people do not know how to choose paint sheens. This is a personal preference, however, in general the paint sheen is determined by the placement and purpose.
- Flat Sheen:
- Generally best on ceilings where you do not want a reflective surface.
- Most difficult to wash.
- Eggshell/Satin Sheen:
- Best on interior walls.
- Good washability and a low reflective surface/shine.
- Semi-Gloss Sheen:
- Best on trim and doors.
- Best on high-traffic walls like kitchens and bathrooms where washability is important.
- Gloss/High-Gloss Sheen:
- Best for high-use furniture, doors and cabinets.
- Shiniest surface.
- Best durability and washability.
More Painting Tips
I hope these five simple steps for how to paint a room fast have been helpful to you! Beginner painters will find that it is easy and can be completed in a day or less depending on the size of the room and dry time.
If you’re looking for more painting tips, check out these articles below!
- How to Paint Wood Trim
- How to Paint Windows Without Tape
- How to Paint a Deck
- How to Paint a Tile Backsplash
- How to Paint Kitchen Cabinets
Stay Connected
We love how Addie’s room turned out! I used the color Ballet Slipper, which you can buy online, in an eggshell finish. If you use this tutorial, I’m happy to answer any additional questions you may have! Leave a comment below.
You can shop Addie’s room sources via the affiliate links below. Use can use code GRACESPACE for 20% off her bedding at Beddy’s Beds!


If you’re looking for an affordable interior and exterior house painters, I can say that Catalyst Painting is the best in Kansas City. Here is a link to their website to know more about what services they could offer you. https://paintingoverlandpark.com
really helpful! will use this as my reference. love it! excited to paint my room! I bought Boysen brand.
https://diyhardware.ph/collections/boysen
It feels so refresh seeing a beautiful background around your bedroom. Good job for design your own bedroom.
Thank you so much!