
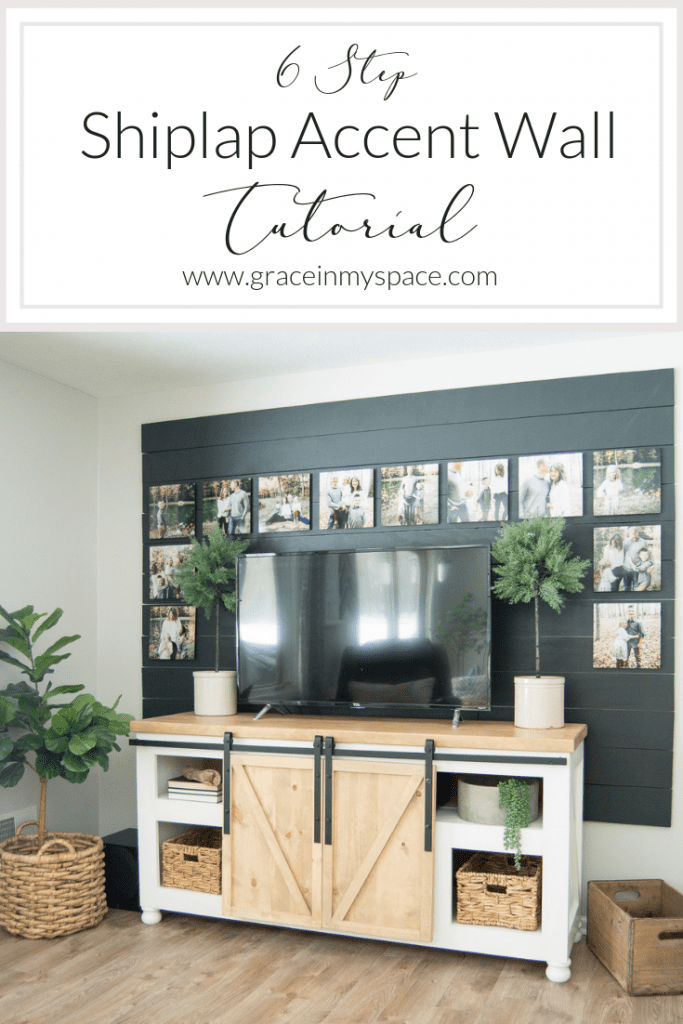
Black Shiplap Accent Wall DIY Tutorial
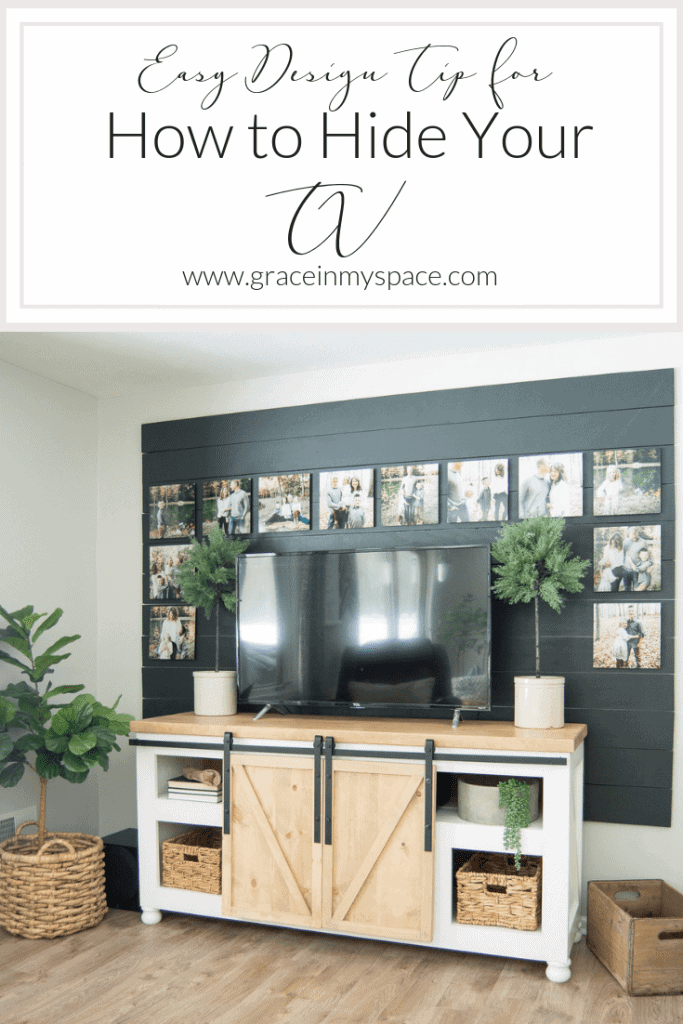
Hello friends! I’m excited to share the final post in my series on our basement remodel! This DIY tutorial gives you the basic steps to create a shiplap accent wall! Complete this easy accent wall in one day for an easy way to heighten design and (bonus) mask your TV!
Post may contain affiliate links for your convenience.
Basement Remodel Series
If you’ve missed my previous posts on our entire basement remodel, make sure to check out the posts below! This was a huge project and I’m so happy with how it turned out. I hope that you find inspiration for your own project!
- Basement Remodel Plans (Before Photos)
- Modernizing a Space with Painted Trim
- Barnwood Wall Update
- Modern Farmhouse Flooring Perfect for a Basement
- How to Design a Family Room that is Pretty and Practical
Shiplap Accent Wall
Now let’s get to the shiplap accent wall tutorial! I was so happy to have help from Mr. Grace on this project. It is definitely a two person job! But aren’t all projects easier with two sets of hands?
Step 1
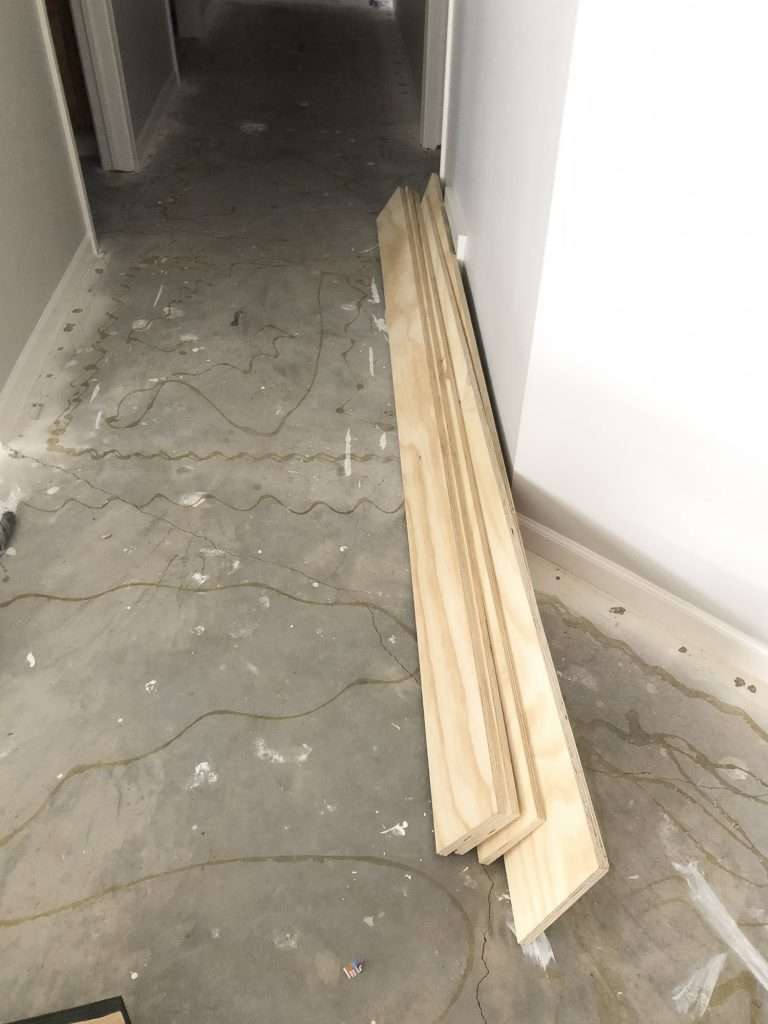
Purchase your wood. I chose to go with 1/2 inch wood.
I had the hardware store rip the wood into 6 in. planks. Over time I slowly watched as each plank was being cut slightly uneven so make sure that the person who is cutting your wood creates a clean and level cut! Otherwise your shiplap accent wall will start to slope as you install it. Not ideal…
Step 2

Paint the edges of your planks! This is an important step to avoid having wood edges that are visible once you install your boards on the wall. They will be almost impossible to paint once you’ve nailed them up so do it ahead of time.
Step 3
Friends, learn from my mistake! Make sure you paint your wall whatever color you’re planning to paint your shiplap! I have a grey wall with black shiplap and did not paint my wall black before installing my boards. Big mistake!
Now I have to deal with grey stripes that are visible under my shiplap accent wall. It is almost impossible to get any kind of paint brush, no matter how small, inside of those gaps. I’ve thought about attempting to spray paint them to get rid of the stripes but the thought of spray paint getting on my new floors has put a halt to that idea. So, for now, there is just grace. 😉
Step 4
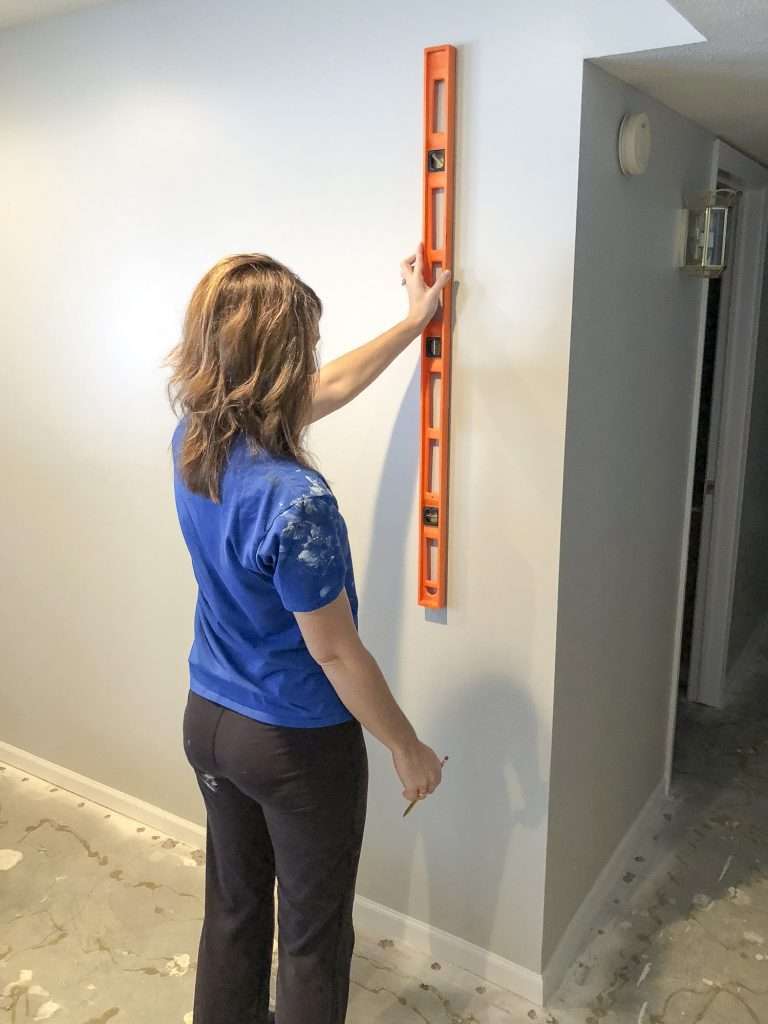
Next, find your studs. No, I’m not talking about your hubby. 😉 Using a stud finder, mark where your studs are and draw vertical lines (with a level!!!) along them for the entire height that you want your shiplap accent wall. We chose to do a small accent behind the media center only, however, if you plan to shiplap an entire wall then make sure you go floor to ceiling.
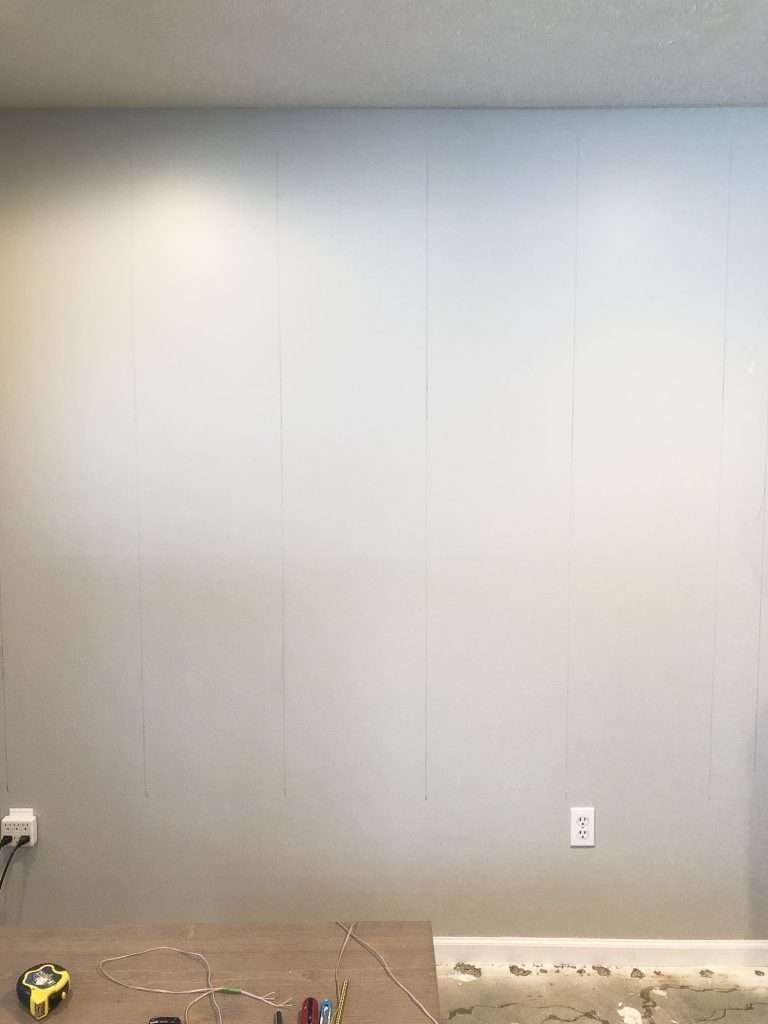
This allows you to place your boards and know exactly where to put your nails to secure the boards into studs.
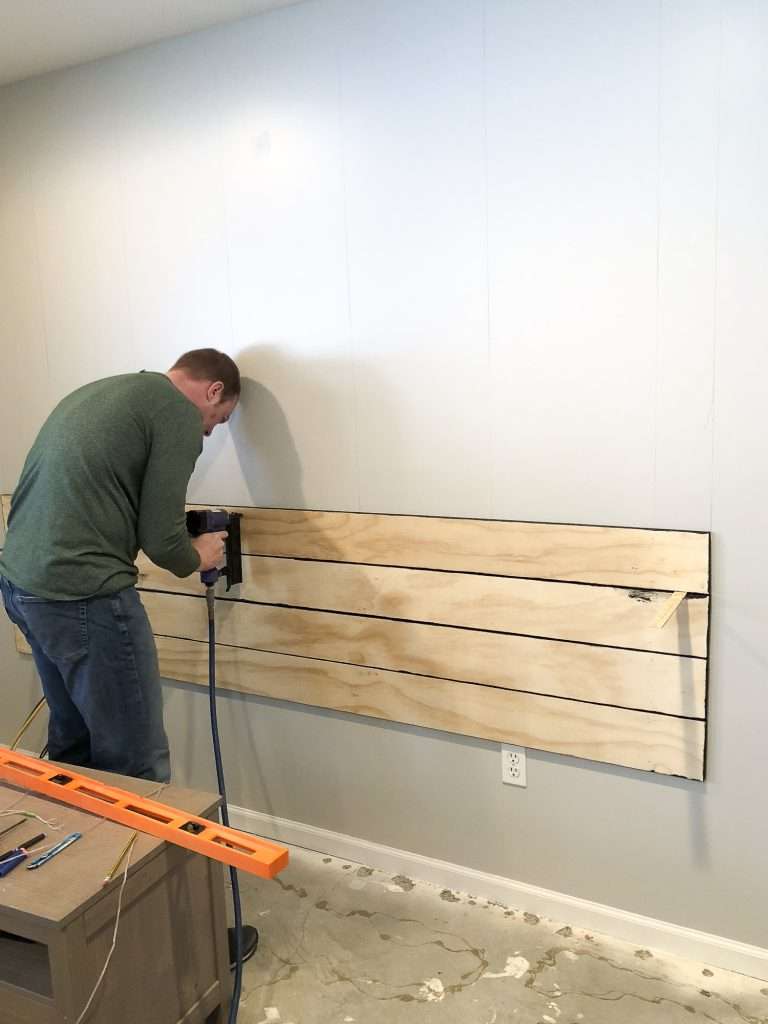
Step 5

Starting at the bottom, secure your first board into the studs with a brad nailer. Make sure that you’ve leveled your first board! This will be the foundation for which the rest of your shiplap accent wall is laid. If your first board is not level then the rest of your wall will slant.
Next, place a spacer (we used paint sticks) between your first and second board and nail your next board to the wall. We made sure that each board was level because after awhile the way the boards were cut (see above) caused our wall to start to slope. This made the gaps bigger on one side than the other.
To remedy this we started measuring the width of each side of the boards and alternating big and small sides to alleviate the wonky gap issues. Obviously, I’d recommend just ensuring that your boards are cut level in the first place!

Step 6
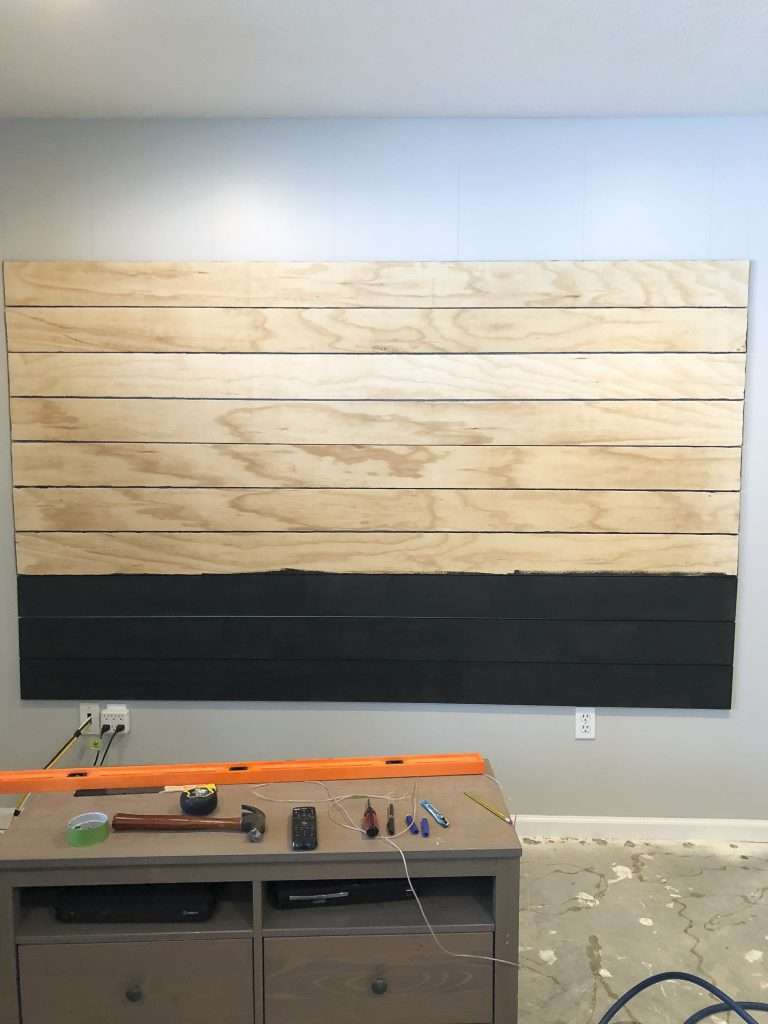
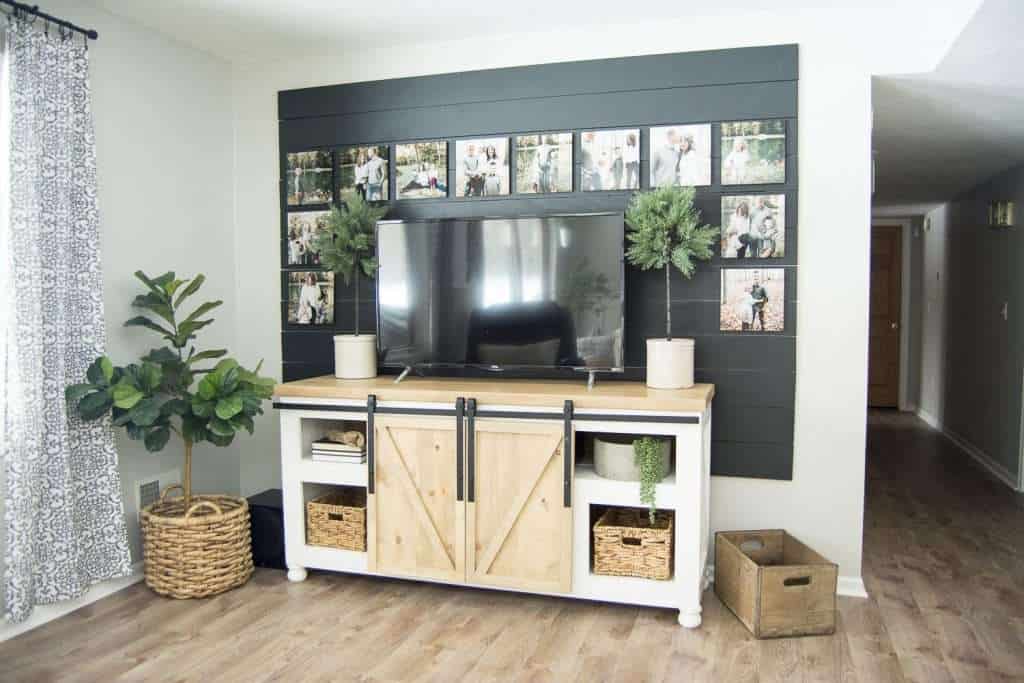
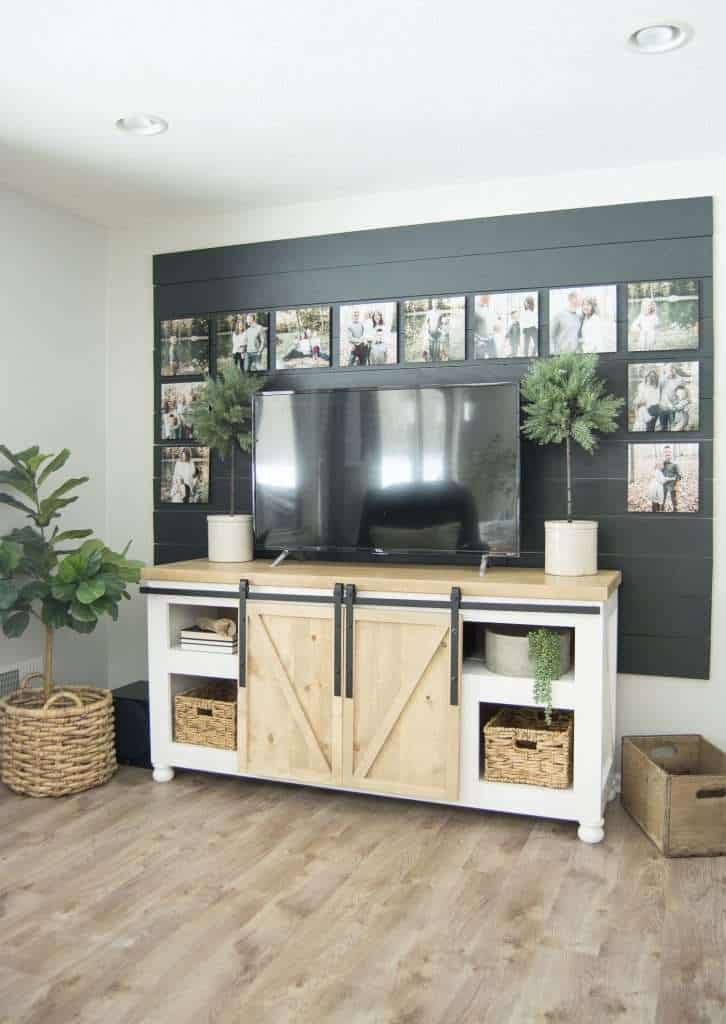
After you’ve finished installing your boards, it is time to paint! I specifically chose black because the entire purpose of this shiplap accent wall was to create a black background for my media center. I wanted it to mask the black TV (which it does beautifully!) as well as provide a dark background for my family photos to pop off of.

Now you see those grey lines, don’t you?! Luckily, once I added decor and put everything back together they aren’t as visible. However, the perfectionist in me still would have liked to do it right the first time. So don’t neglect painting your wall first!
You can learn all my tips for painting shiplap in this post now that I know better!
Shiplap Accent Wall Complete
That is all there is to it my friends! Obviously, we chose the simple route for our accent wall. Had we chosen to install shiplap floor to ceiling we would have had to make many cuts around switches and outlets, as well as make cuts to add boards side by side.
If you’re looking to shiplap an entire room, I highly recommend checking out this DIY Shiplap Tips and Advice post! My friends over at Vintage Society Co. have done shiplap many different ways and have a great list of Dos and Don’ts!

Creating a shiplap accent wall this way allowed us to create a focal point for our media center, mask the big black box, and add interest to an otherwise boring wall. And all without cutting one board ourselves!
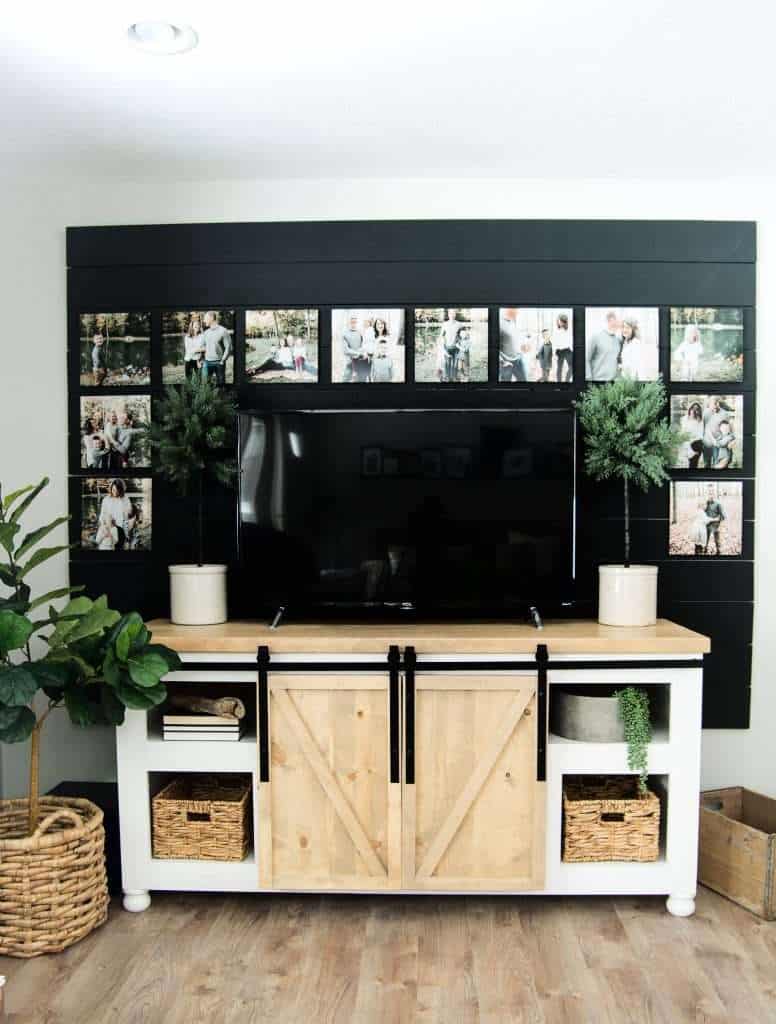
I love how it turned out! This was such a simple project and we completed it in a day, including painting and dry time. Our biggest hurdle was creating a level square with boards that weren’t cut even. However, we both knew we couldn’t have done any better with our own table saw. Ha!
I’ve wanted shiplap in my home for so long! I’ve created faux shiplap in my laundry room, added shiplap wallpaper in my daughter’s room, and now I finally have a shiplap accent wall with real wood! Next I’ll have to convince my husband to do a whole wall. Baby steps people. 😉
What do you think? If you’ve been afraid to attempt a shiplap accent wall because of all the cutting involved then maybe a project like this could be your baby step too! I hope this tutorial has been helpful! Leave me questions in the comments below and I’ll make sure to get back to you!
In the meantime, make sure to follow me on Instagram for daily inspiration and become a blog subscriber to stay up to date on all my projects!


OnStream is honestly one of the best streaming apps I’ve used. The interface is clean, everything loads quickly, and the content library is always up to date. It makes watching movies and shows feel effortless and enjoyable.
Wow such an amazing and best blog so keep doing your work is best thanks!
Can you pretty pretty please tell me where your tv console is from!!! I am simply in love
You whole style is just absolutely flawless I am so happy I came across your page
Thank you! It was a custom build from a local shop who are no longer in business unfortunately!
I love this idea of an accent Shiplap wall so much!!! We have a long, boring drywall wall in our basement….and I’ve been struggling to find a way to create a focal point that isn’t too expensive, and I just love this idea!!! What are the overall dimensions of your Shiplap?? I’m hoping to create an impact (like you did). Thanks for sharing this awesome idea!!!
So glad you like it! We used 8ft boards and then just centered it on the wall so it didn’t go all the way to the ceiling. So it will depend on the space you have for the height! 🙂
Cute! The wood shown is not MDF though. It looks like you used a plywood–MDF has no wood grain. Also it’s really hard to nail through, especially at that thickness! I like what you used.
Love this, Sarah! The black is so classic!
Thank you my friend!