Laundry Room Decor & More: DIY Shiplap Tutorial
Do you love the look of shiplap but don’t want to commit to a large project? Then keep reading for my simple, 1 day DIY shiplap tutorial in a diagonal herringbone pattern!
If you’re just joining me on this journey, I took on the $100 Room Challenge where a group of bloggers each makeover one room in one month with $100. For this challenge, I decided to tackle my laundry room!
You can see my progress in each week’s post below. We are on week 3 and I’m excited to share my DIY shiplap tutorial to check off my goal of creating a statement wall.
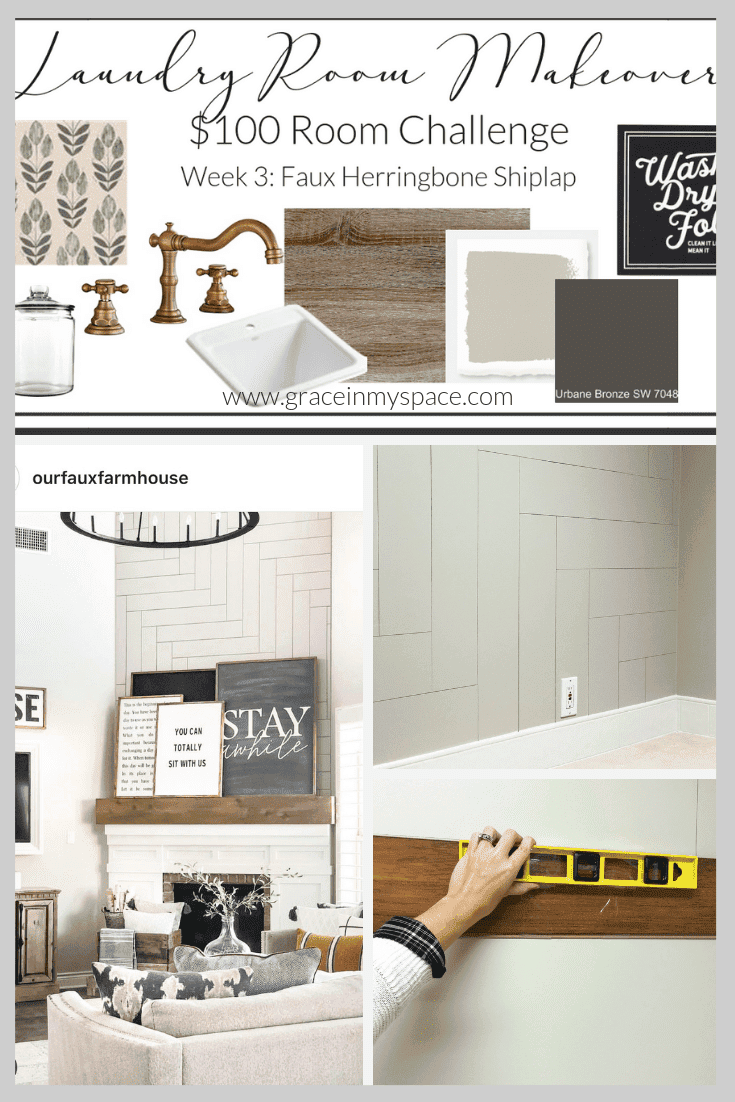
$100 Room Challenge
Week 1 | Week 2 | Week 3 | Week 4: Final Reveal
DIY Shiplap Statement Wall
Originally, I had planned to create a statement wall using left over wallpaper from my bathroom remodel. However, after living with the space painted for a few days I decided I wanted to do something a little less busy. Queue the inspiration!
I was scrolling Instagram (you can follow me on Instagram for all the behind-the-scenes goodness!) and came across this beautiful space by Holly at Our Faux Farmhouse.

Holly and her husband, Brad, do beautiful work and are DIY gurus. This fireplace is real wood with all the intricate cuts and, I’m sure, many hours were spent to install it. But I just loved the pattern and thought, I could do this with my faux DIY shiplap method!
A few years back I did a tutorial on DIY shiplap using pencil {here}. This is simply the easiest way to add the shiplap look to your home without actually adding shiplap. It takes hours instead of days and costs next to nothing as long as you already own a pencil and a level!
DIY Shiplap Tutorial
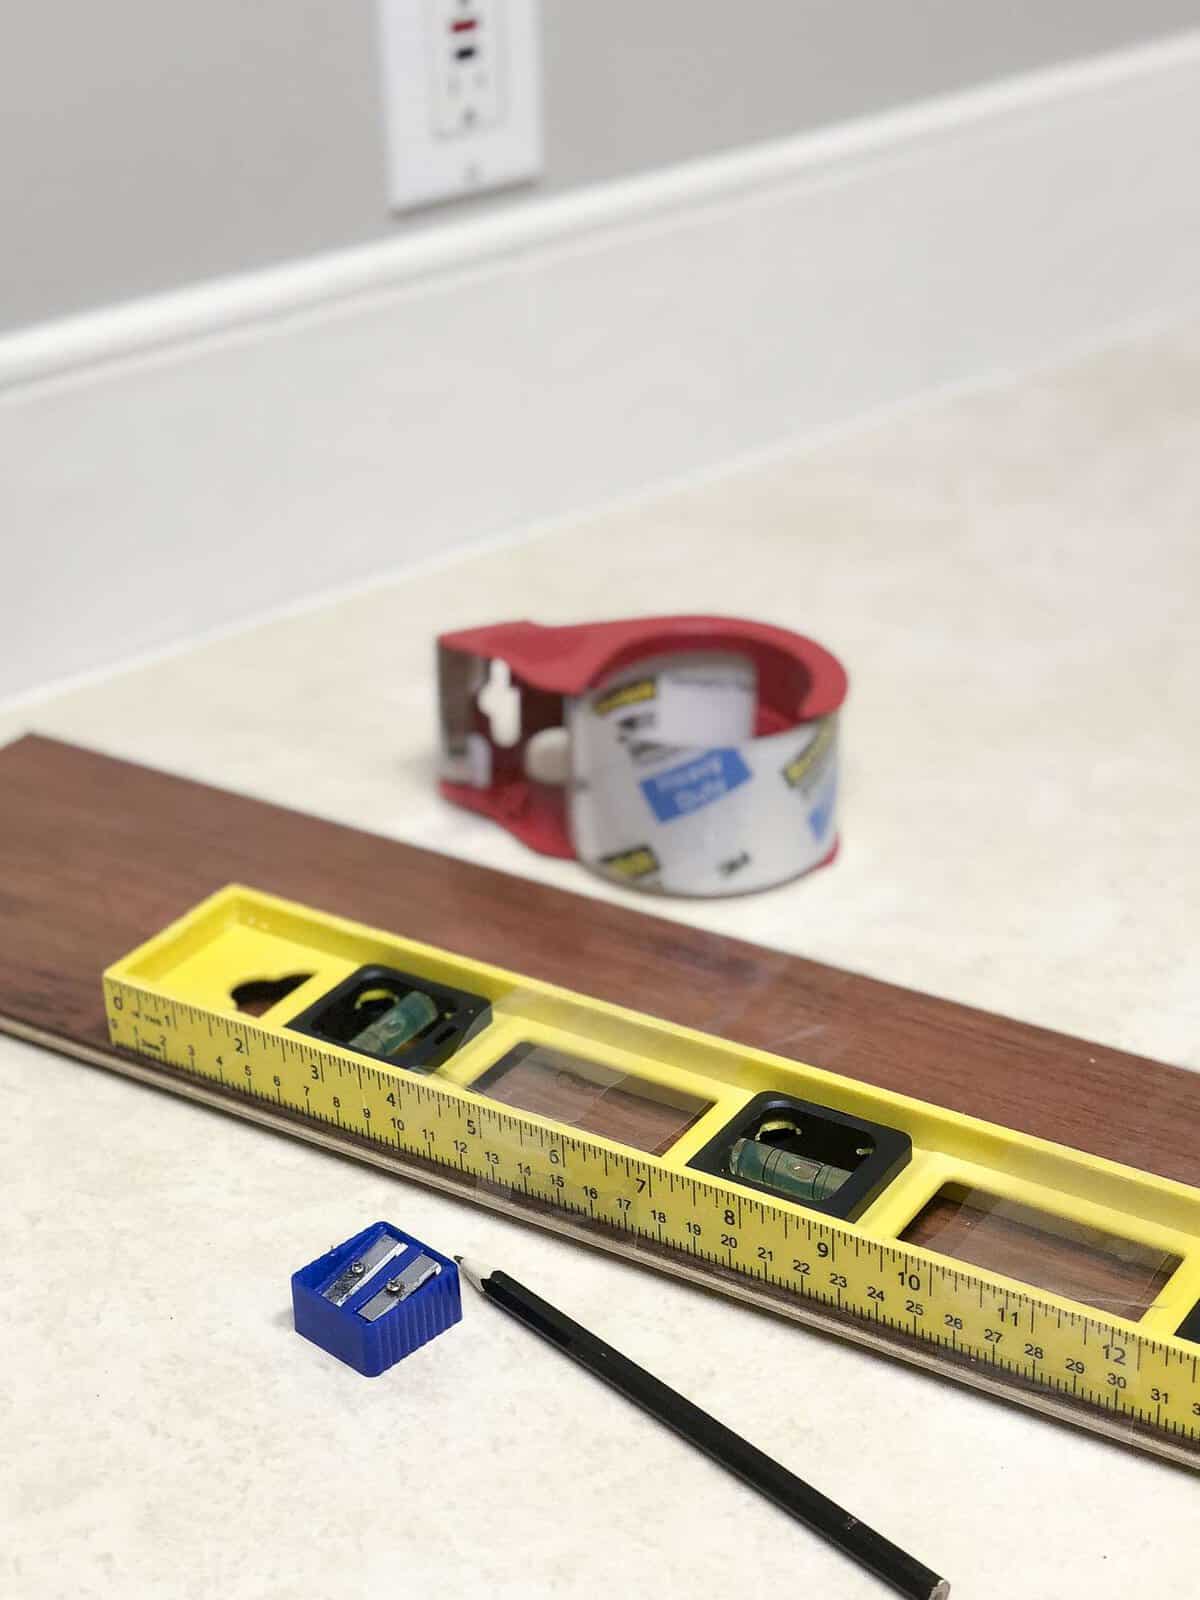
First, gather your materials.
- Pencil
- Level
- Template or tape measure
In my original DIY shiplap tutorial, I measured out how far apart I wanted my “shiplap” boards to be and used the level to make my lines. This time, I wanted to recreate the diagonal herringbone pattern that I love (and used in my previous kitchen for our subway tile backsplash!)
Since there are so many angles and measurements that would be needed for this pattern, I decided to make it easy on myself! Thankfully, I had a leftover piece of flooring from our dining room remodel that was approximately the same width and length of what real boards would need to be. To simplify the process I decided to use this piece of flooring as my template.
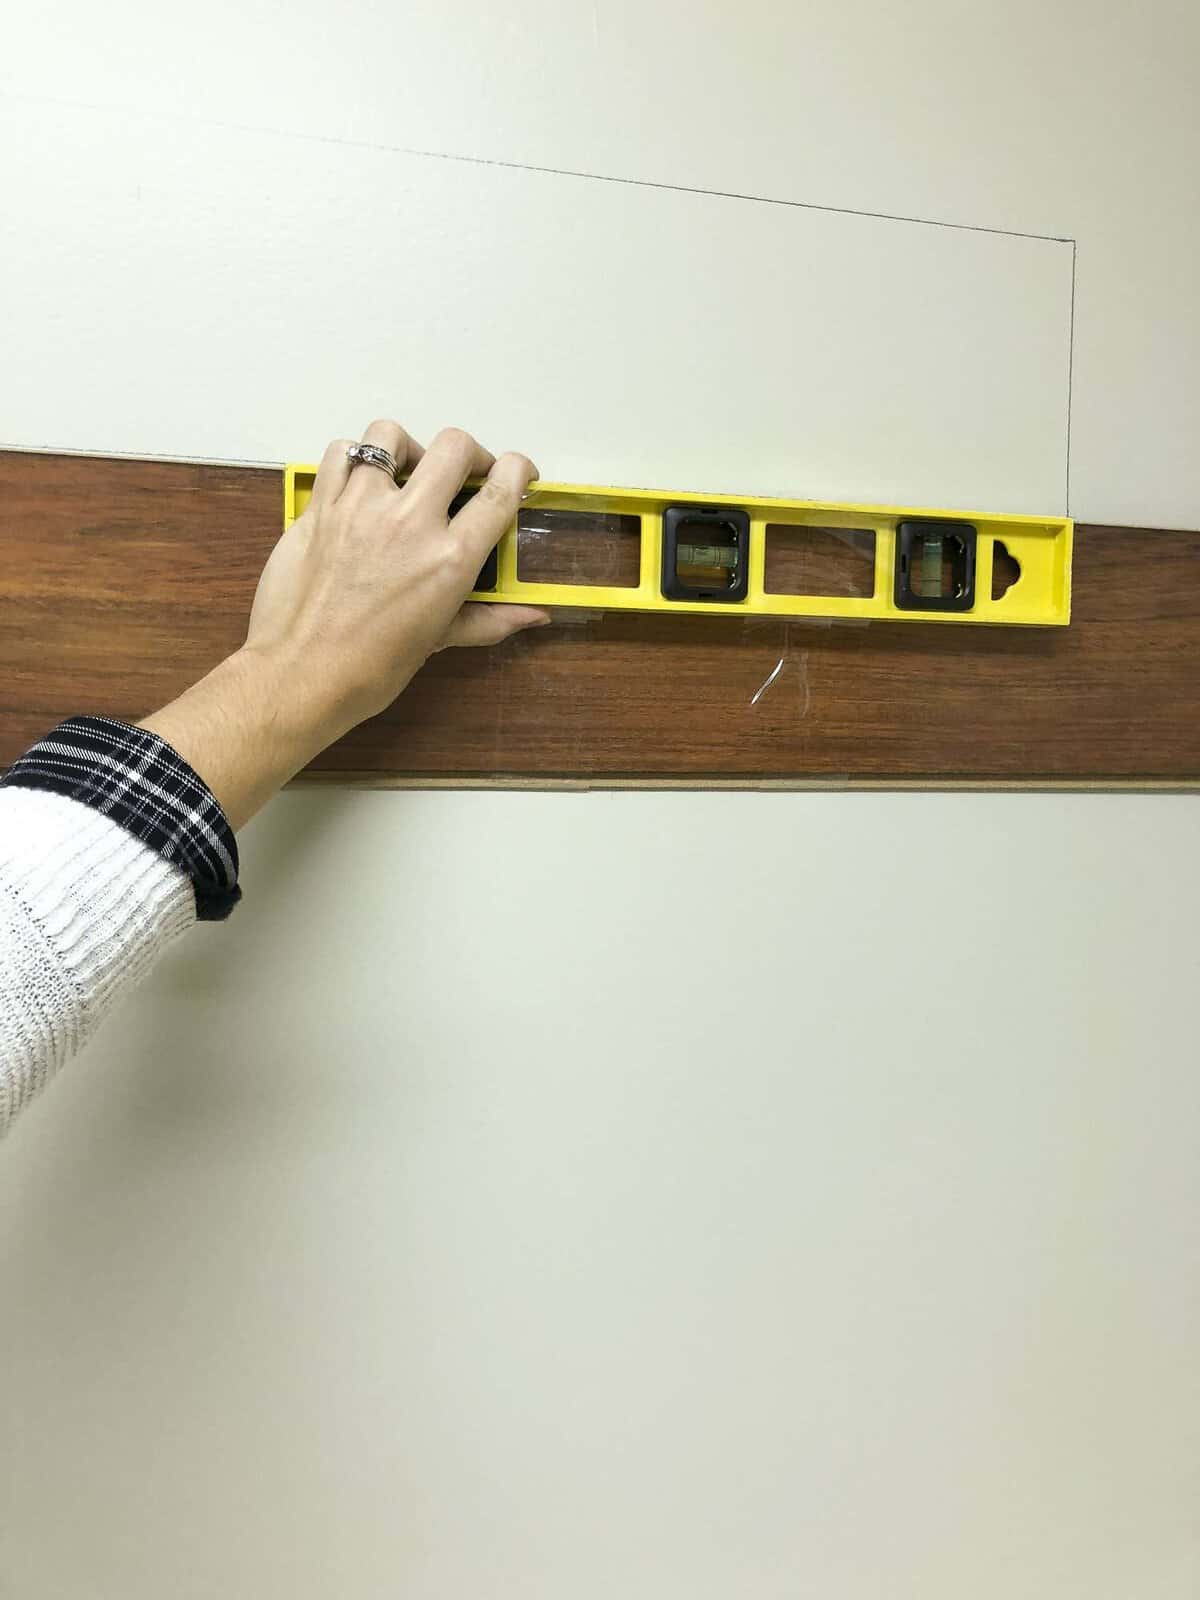
I taped my level to one side of the board so I could ensure that my lines would be straight, and then simply traced the outline of the board directly onto the wall following the diagonal herringbone pattern.
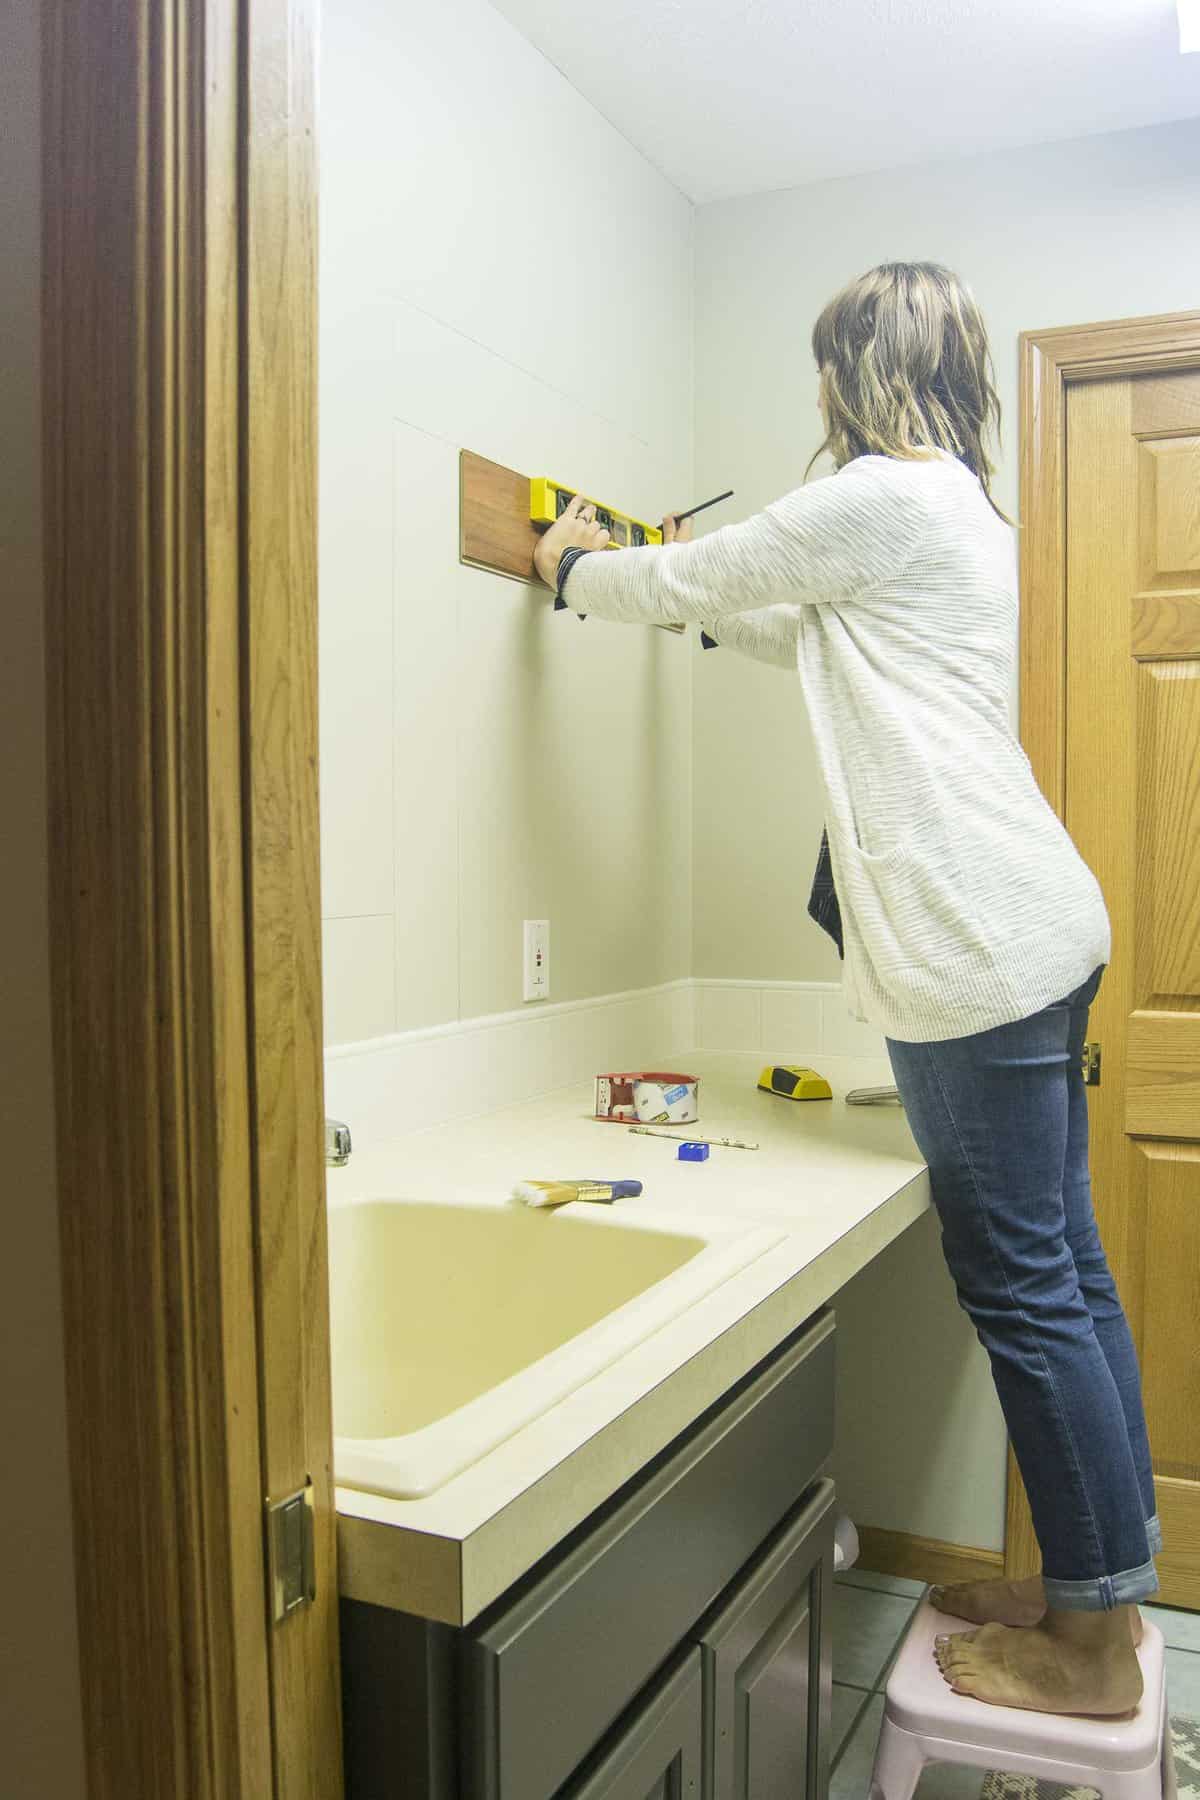
Along the way, I had moments of wondering how it was going to turn out. There were a few spaces in the corners that I had to really study the inspiration photo to see how the pattern fit together. But in the end, I was simply overcomplicating it!
Start in the middle of your wall and work your way to the edges.
I started with a vertical board and then worked from the left bottom up the wall. Once half the wall was done I started the right side from the middle down. You can really start on either side as long as you establish your base piece and then work from there.
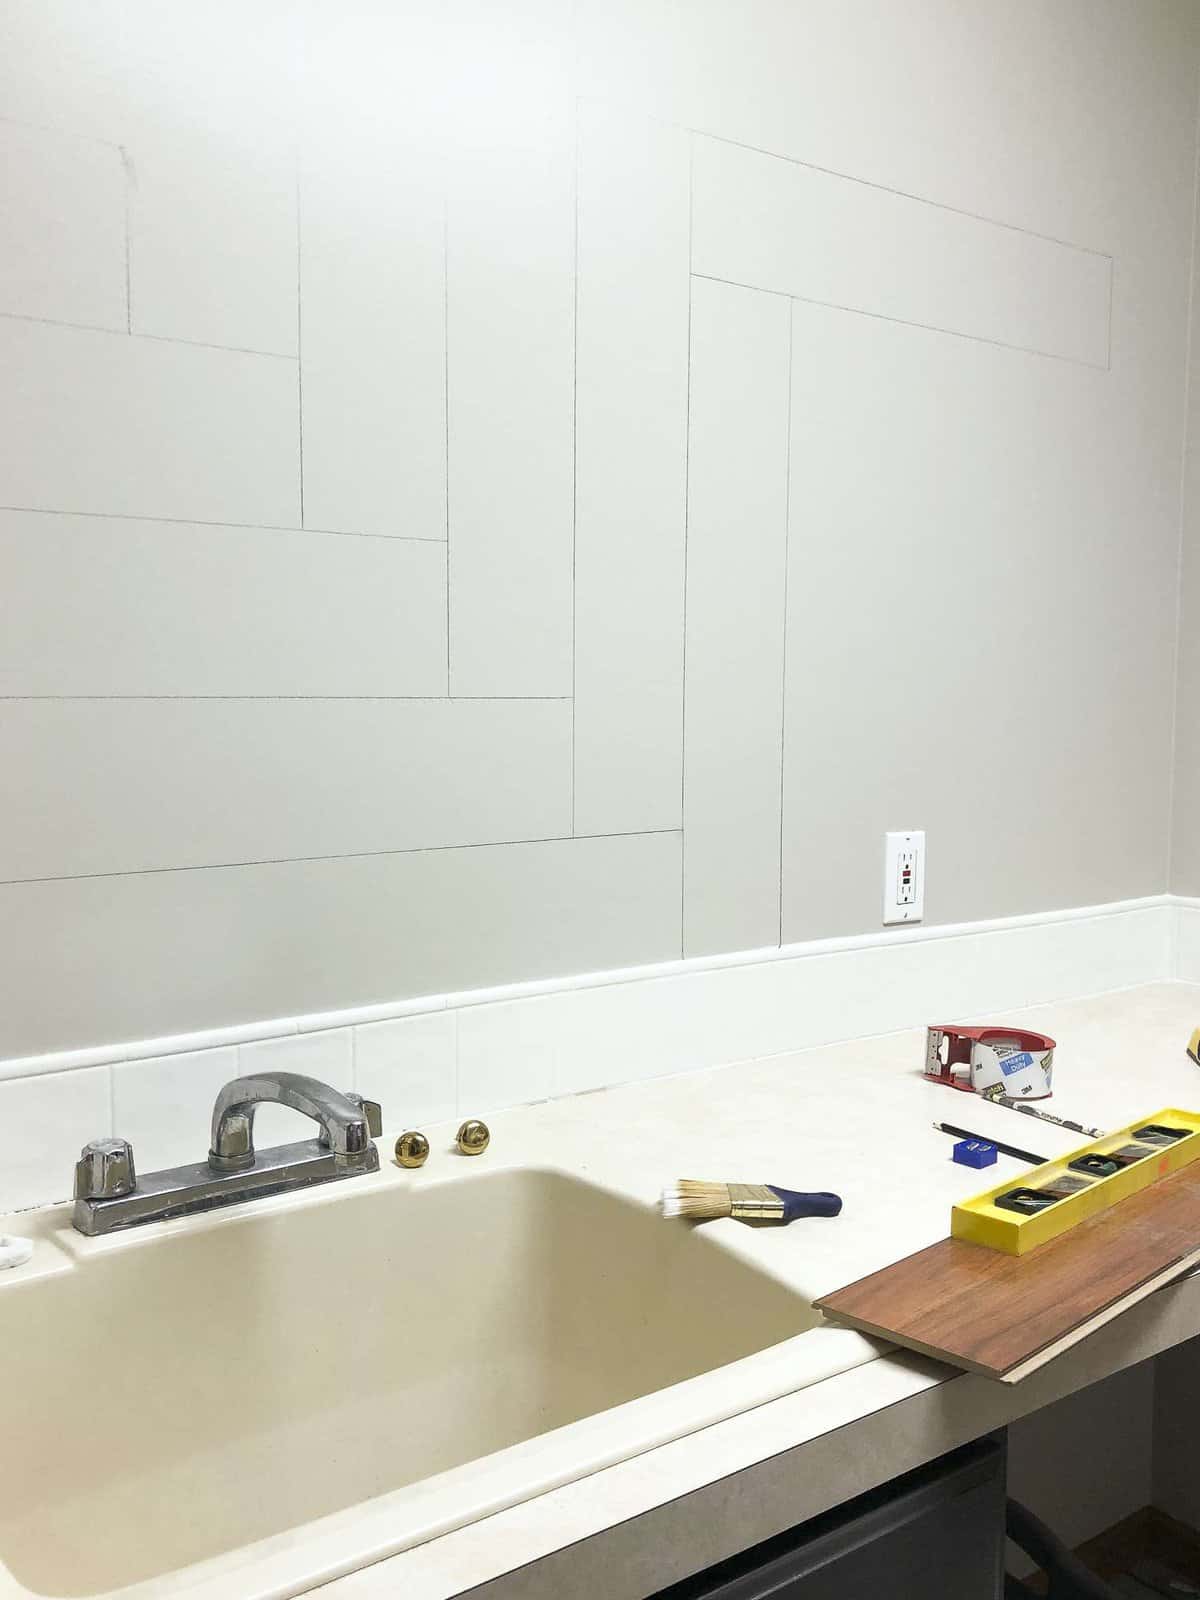
Along the way you may mess up. I know I did! The good news is, it’s only pencil! If you have a solid eraser then just erase the mistakes. If you’re like me and the eraser made it worse, then touch up paint is a simple fix.
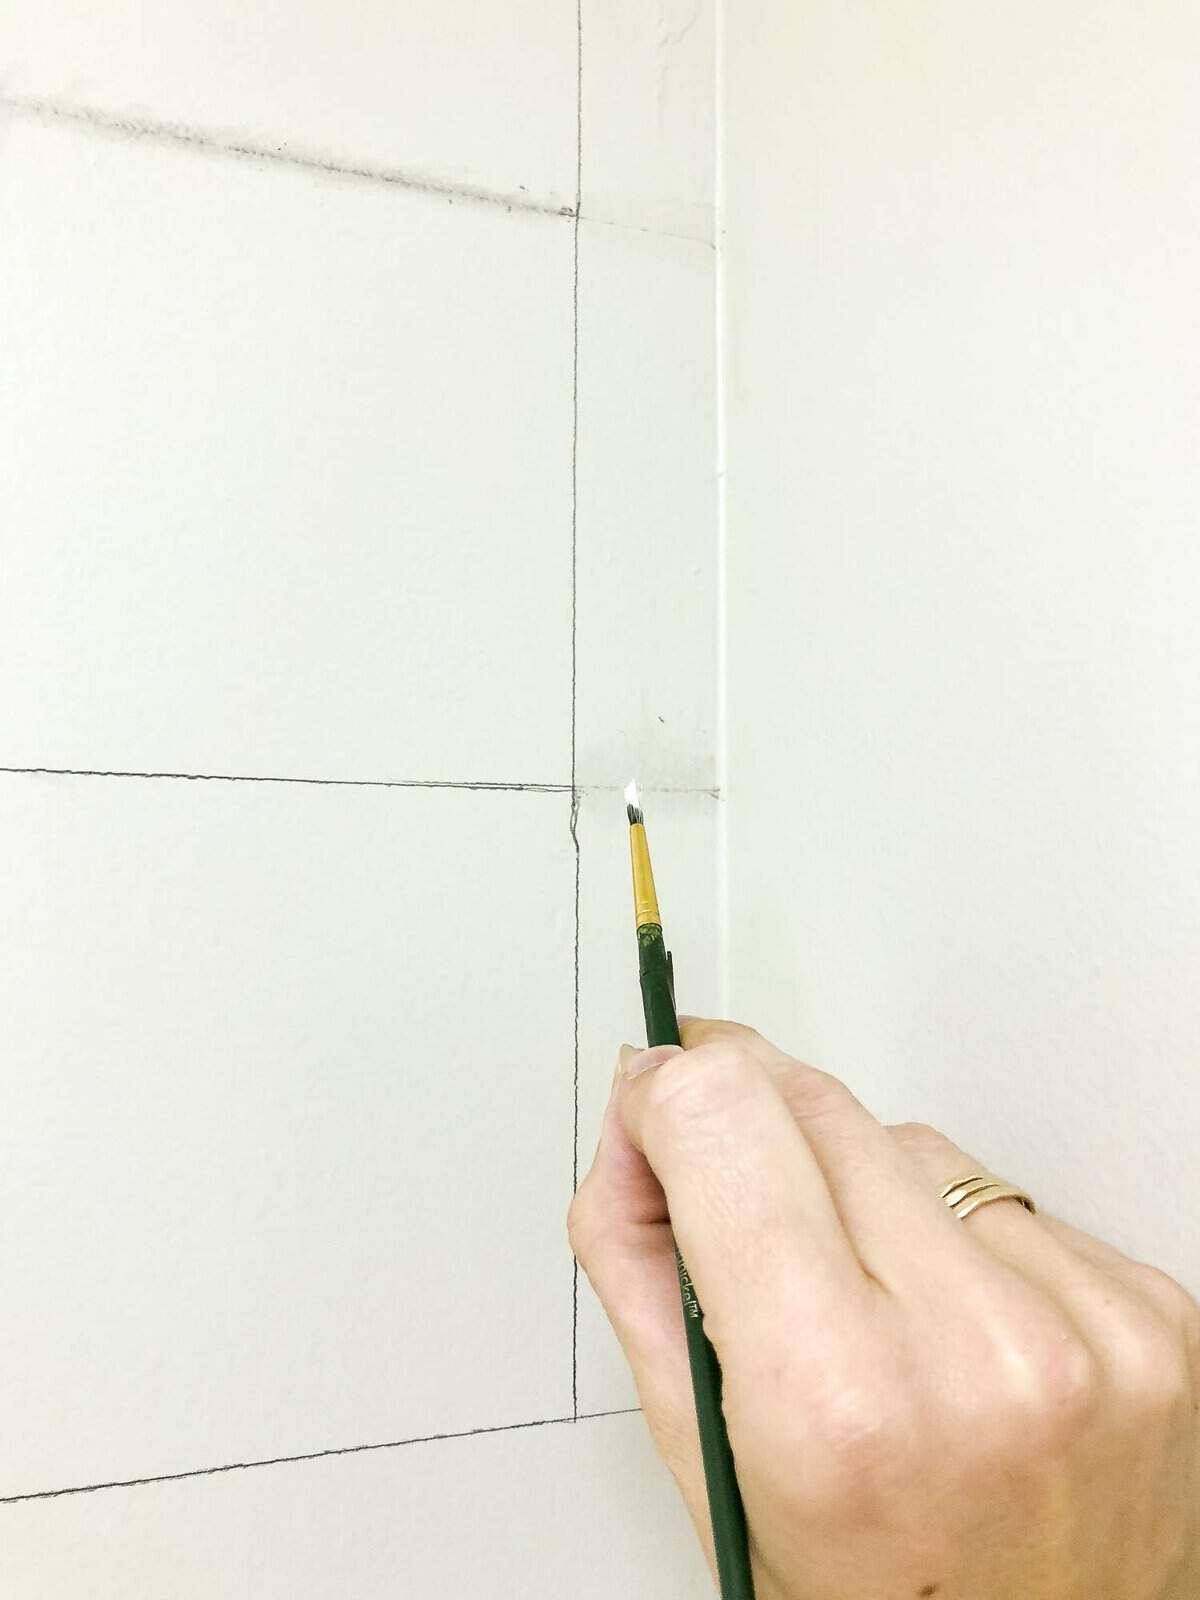
Once you are done with your touch ups, take a little time and thicken a few strategic lines with the pencil again. This will give it a more authentic look.
But Does It Look Real?
This is the question I always get. Here’s my honest answer. I can tell it’s not real shiplap. It is pencil, after all. However, other people can’t! I believe that I can only tell because I’m the one who did the project. When I tell others it’s not real they have to touch it to believe me!
I will say that I think that the white paint color from my original tutorial makes it look even more authentic. There is just something about the white against the pencil that makes it look like actual gaps.
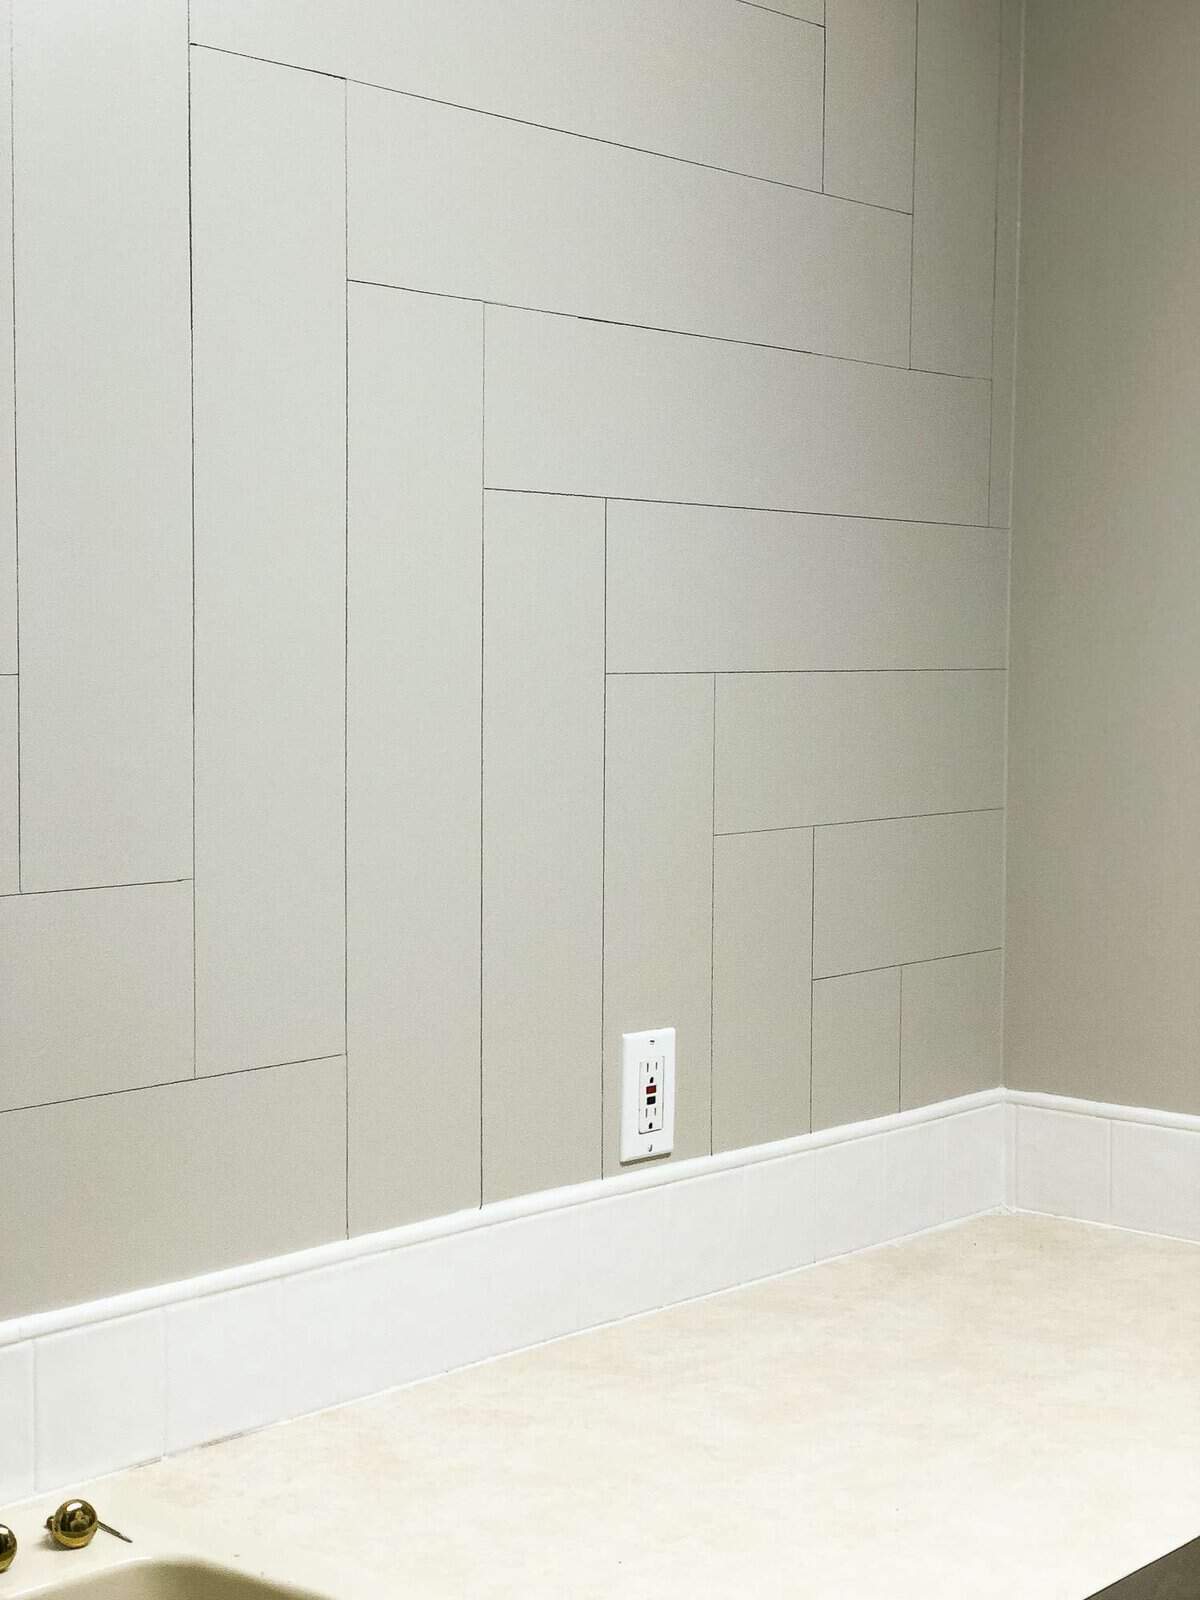
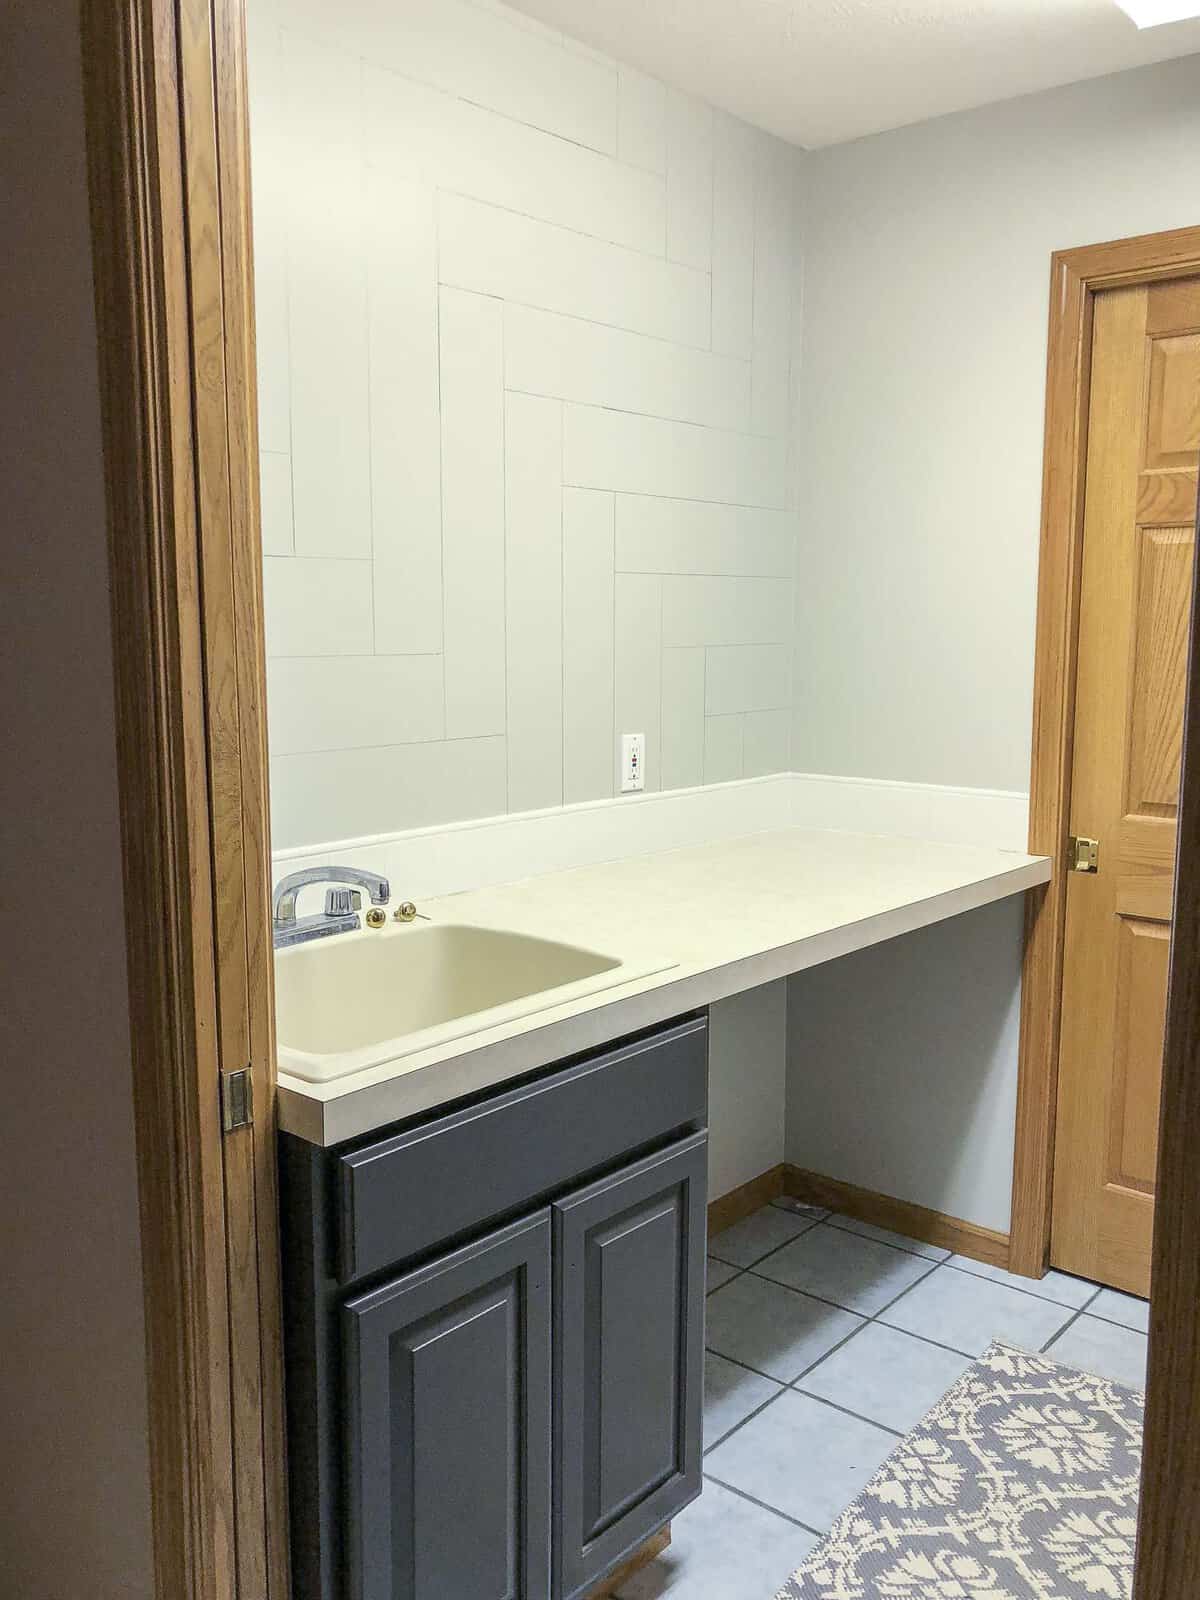
With my laundry room paint color (Gatherings by Magnolia Home), it is a little bit easier to tell it’s not real. However, for my purposes in this utilitarian space I am more than happy to add some interest for free and enjoy the statement wall for what it is! Plus, once I get my shelving and decor up it will draw the eye around the room.
$100 Room Challenge Recap
So, let’s take a look at my goal list for this project. So far, I have spent $0! And let’s just remember what it used to look like:
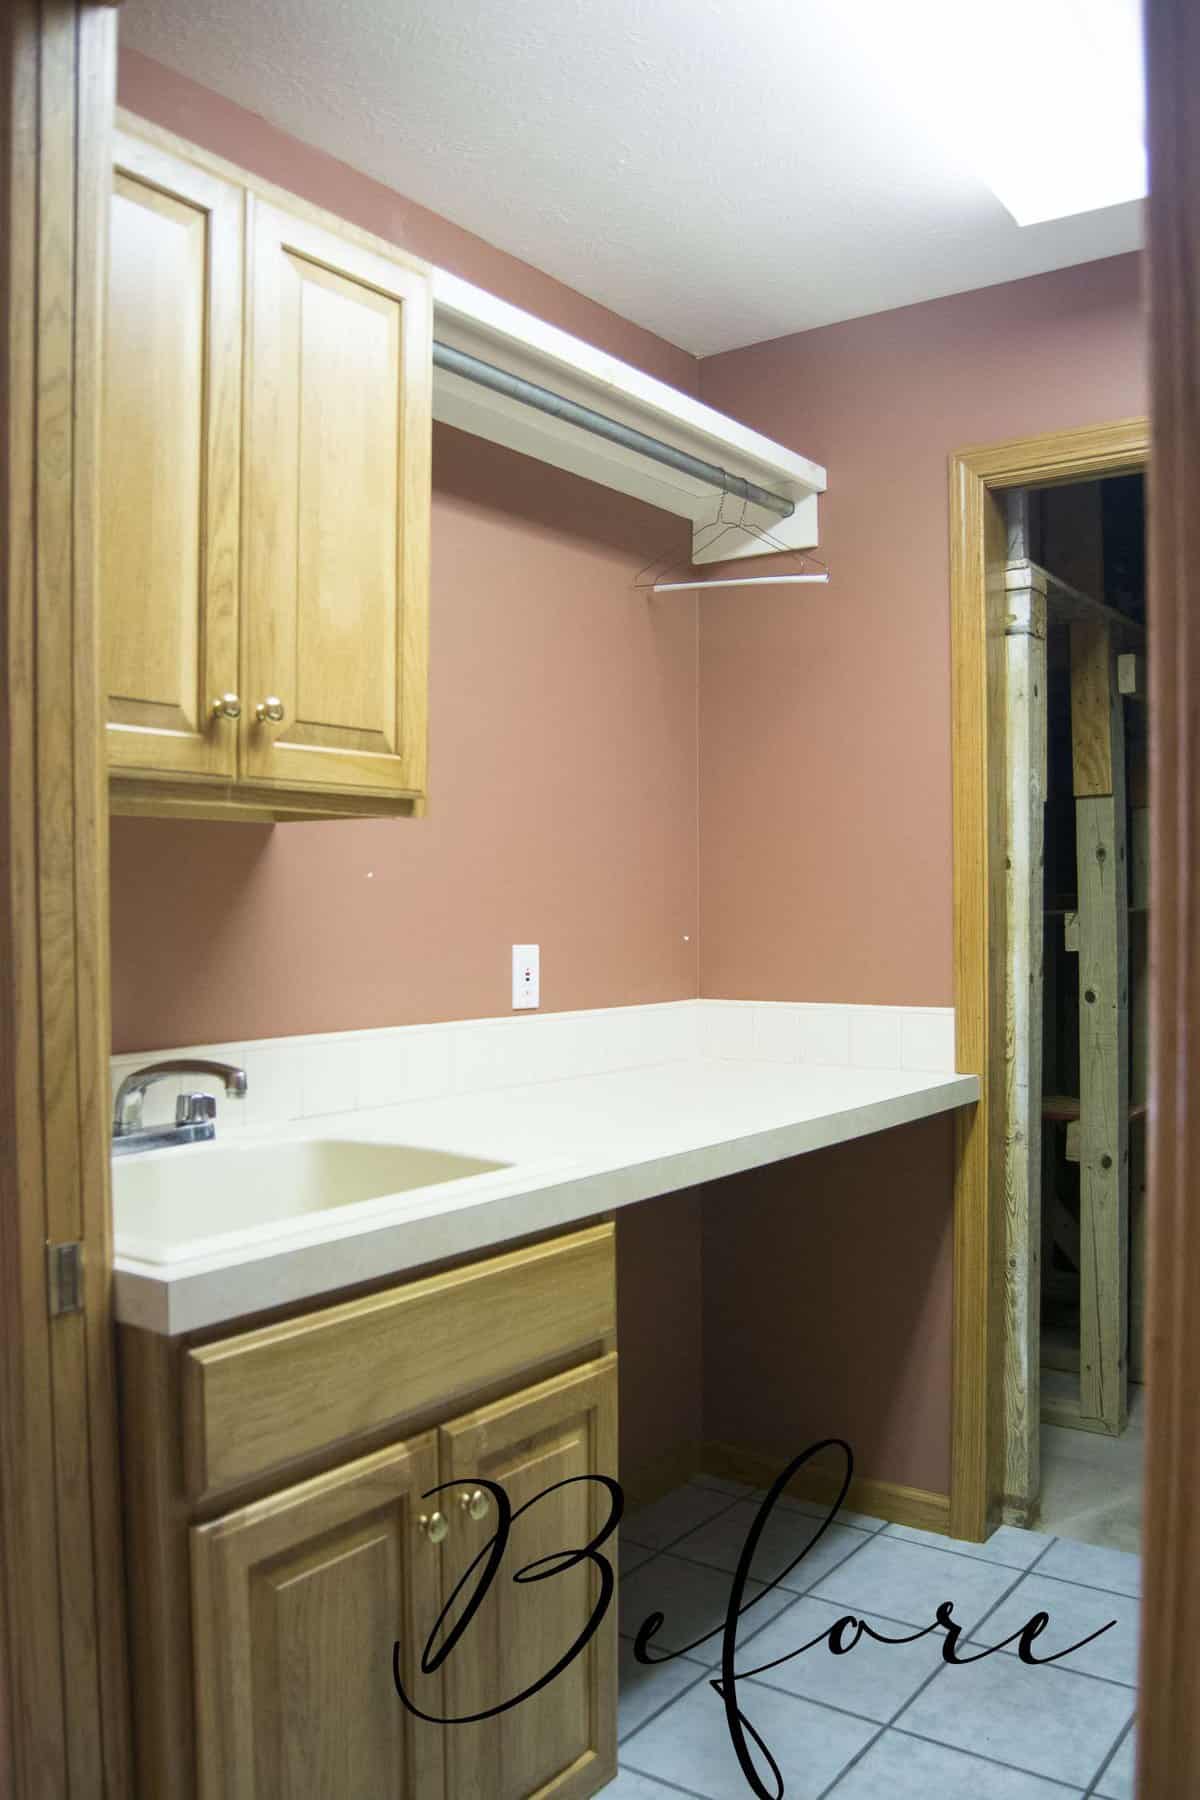
The real work is coming though for this last week and that is where the money will be spent. Stay tuned for the final reveal!
To Do: Goal List
Updated PaintStatement Wall- Updated Countertop
- Updated Sink
- Decorate and style
- Floor Update


Its looking great!
Thank you so much Christina!
Wow I would have never thought to do this, what a great tip. Your room is really coming together nicely.
Thank you Jen! It’s been a fun project!
It looks amazing! I love the idea of hours, rather than days of install. Your laundry room is really coming together!
Thank you Meredith! For a space like this I was happy to go the easy route!
This is so cool!! Love it!
Thank you so much Liz!
I thought this wall was brilliant when I saw your story on IG and it looks great!!
Thank you Sherry! I’m glad it all came together!
Such a beautiful way to give shiplap a little spin. It looks amazing! Looking forward to seeing the finished space.
Thank you Maria! I’m so glad the project is done and now I can enjoy this space!