Laundry Room Decor & More | The Final Reveal
Breathe in, breathe out. That is my sigh of relief that the $100 Room Challenge is complete! I am so excited to reveal my laundry room decor and more to you after a month of hard work. I can hardly believe the transformation of the laundry room; and all for $100 (or close to it) ;).

This post may contain affiliate links where I earn a small commission on your purchases at no additional cost to you.
$100 Room Challenge
If you’re just joining me on this project, make sure to take a look at each week to see the progression of my laundry room update.
Week 1 | Week 2 | Week 3 | Week 4
TO DO: GOAL LIST
Updated PaintStatement WallUpdated CountertopUpdated SinkDecorate and style- Floor Update
Laundry Room Countertop
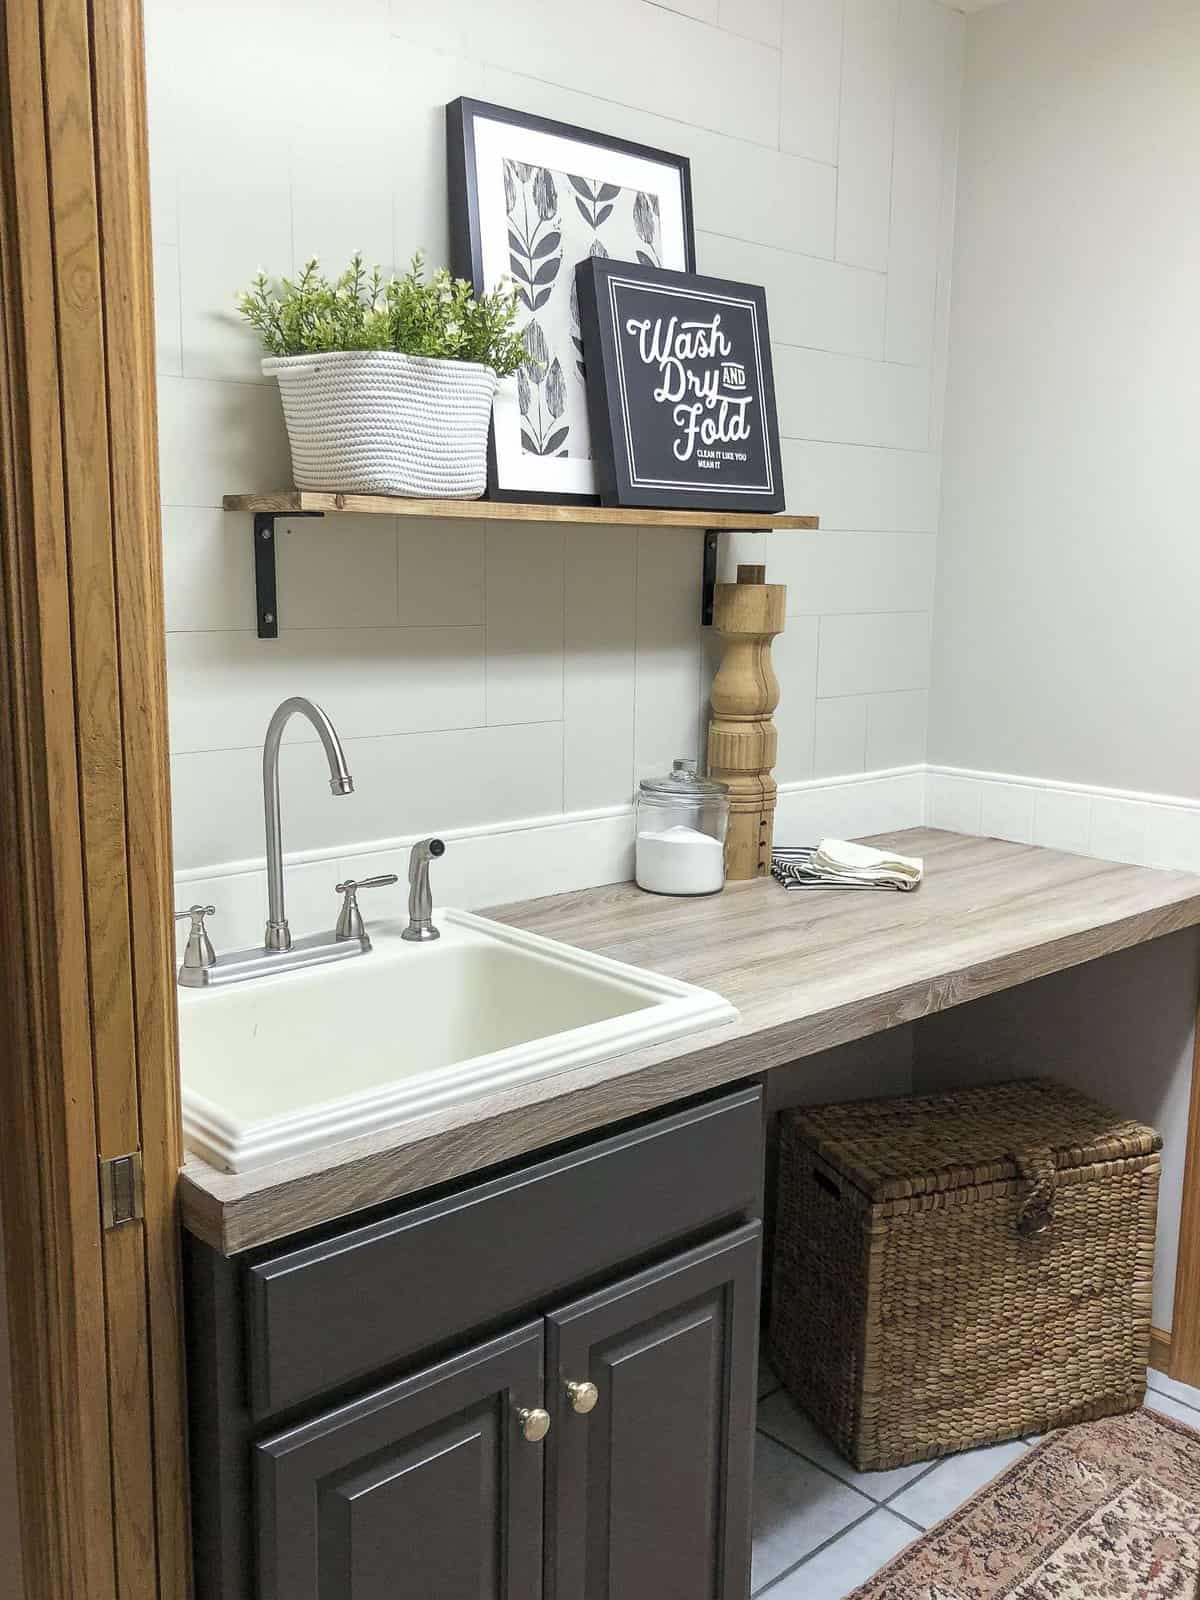
The first part of the major transformation this week came with the new laundry room countertop! And I say countertop very loosely. It’s a sticker! Basically, a very well made self-adhesive contact paper, but a sticker nonetheless!

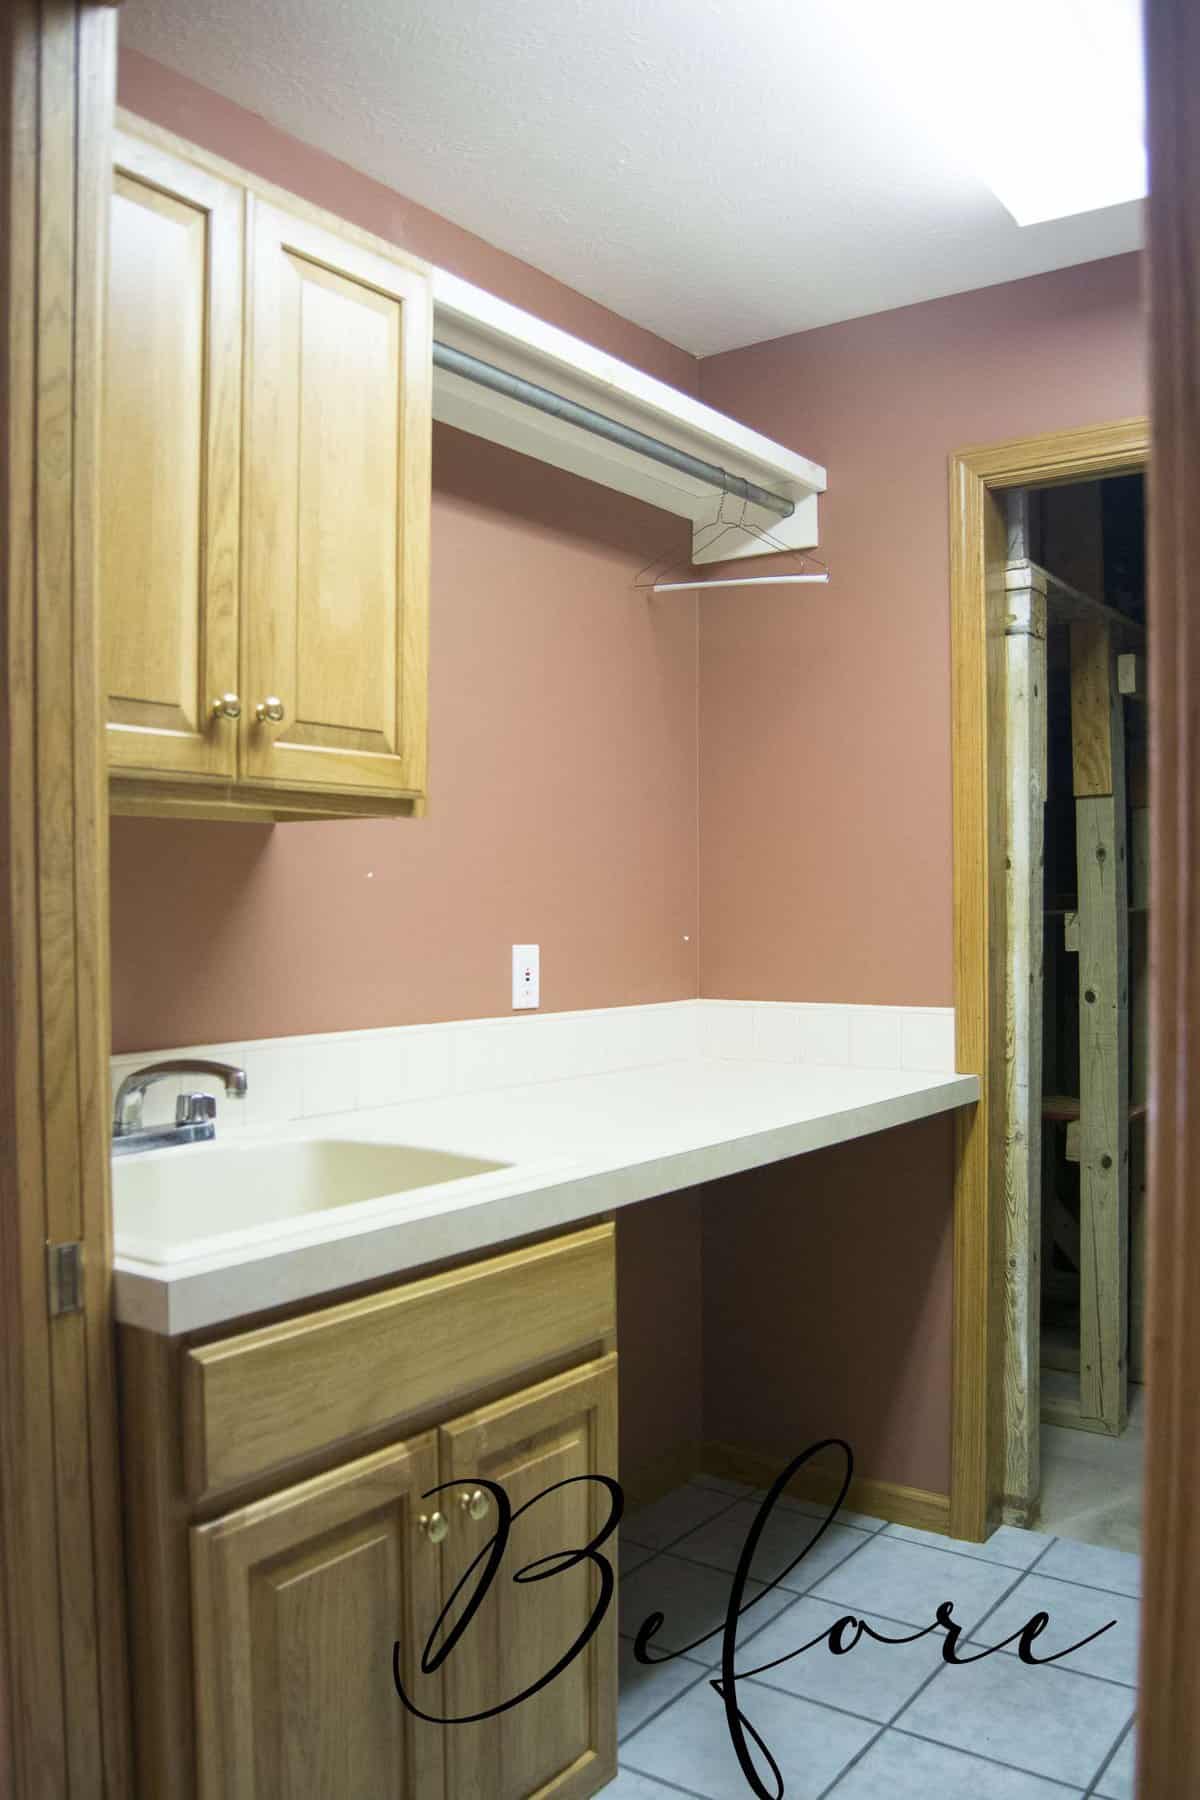
Originally I had planned to update the dated formica countertops with a DIY version of butcher block countertops. However, after visiting the hardware store and assessing the skill level and time commitment of the project, I decided I would go this route instead. I got this idea from Make Do & DIY who updated her kitchen countertops with marble contact paper.
After reading her post, I started looking at the various options from the company who made her contact paper. I found lots of fun wood varieties and ended up choosing this one! I love that it looks like wood, but is completely removable and fit perfectly over the existing countertops.
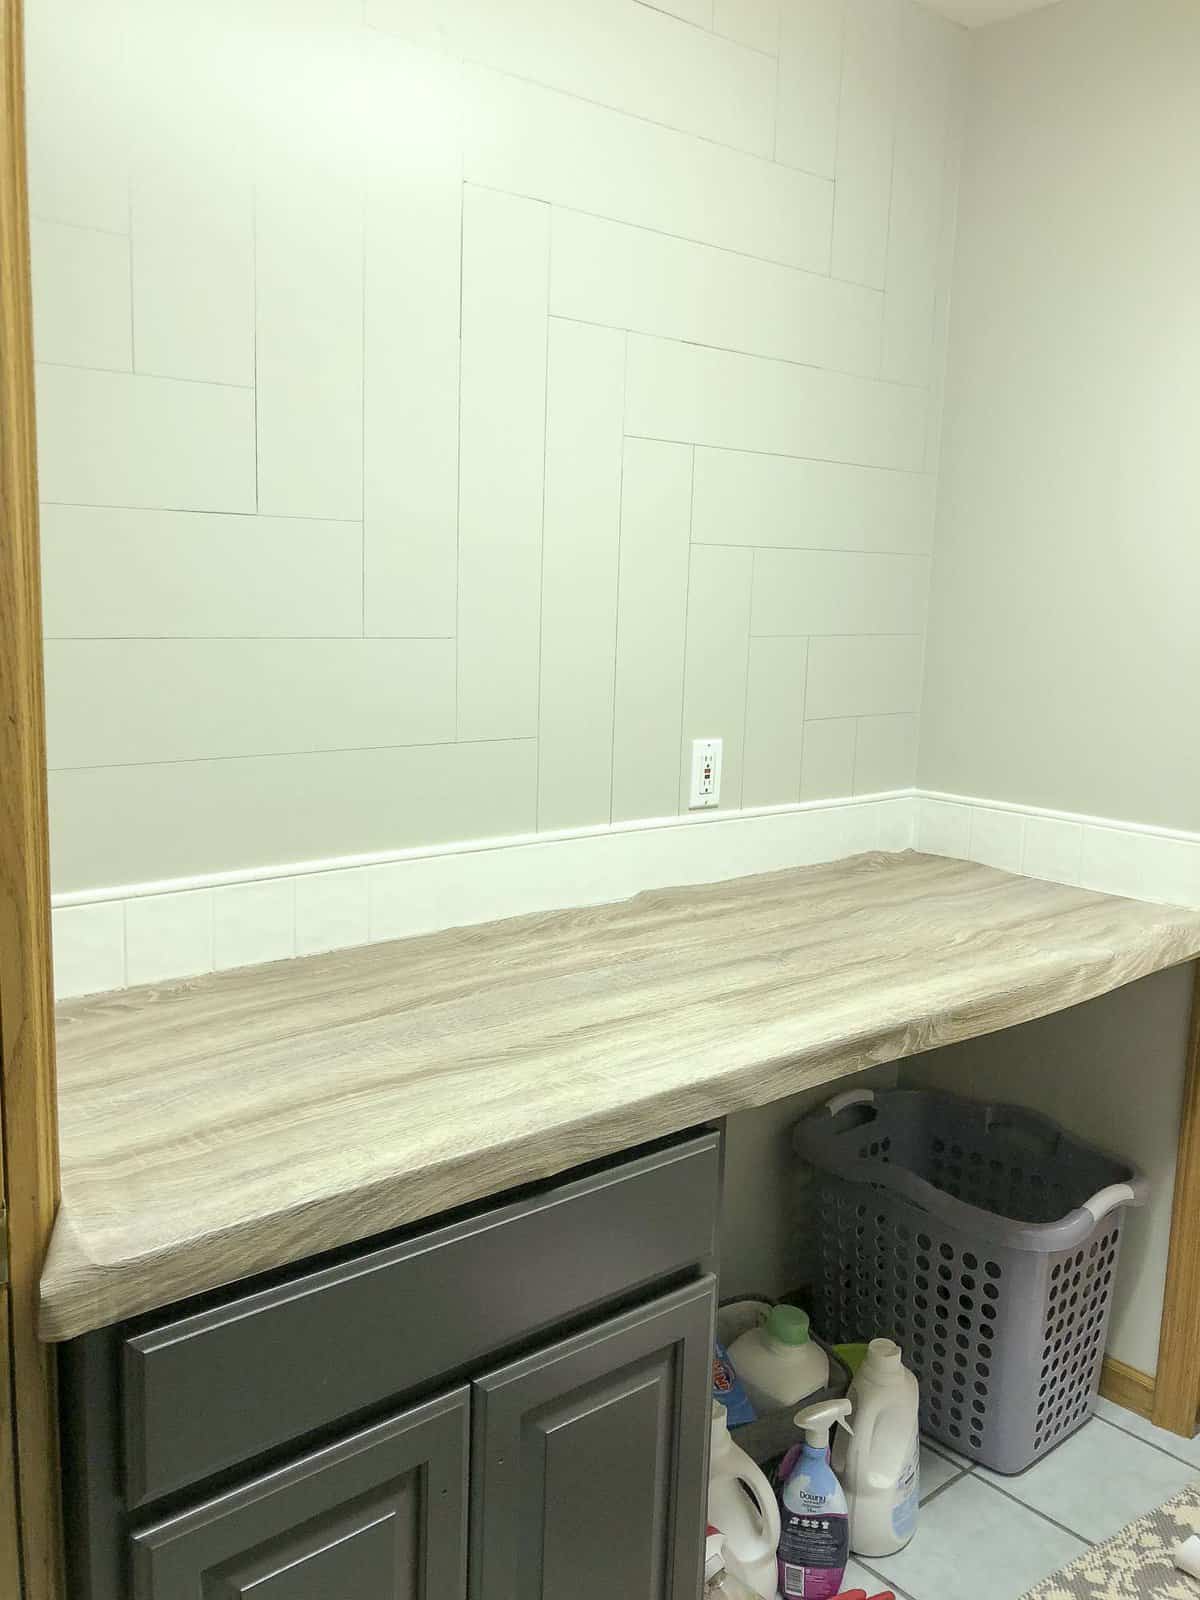
Luckily, I was able to purchase one roll and it fit over my countertop with only inches to spare. It took some finagaling to get it on evenly since my wall is slightly crooked, but I made it work! I used my wallpaper smoother tool from my bathroom remodel to get all of the air bubbles out of the paper. Then, I was able to cut a hole for the new sink and move on to the next stage!
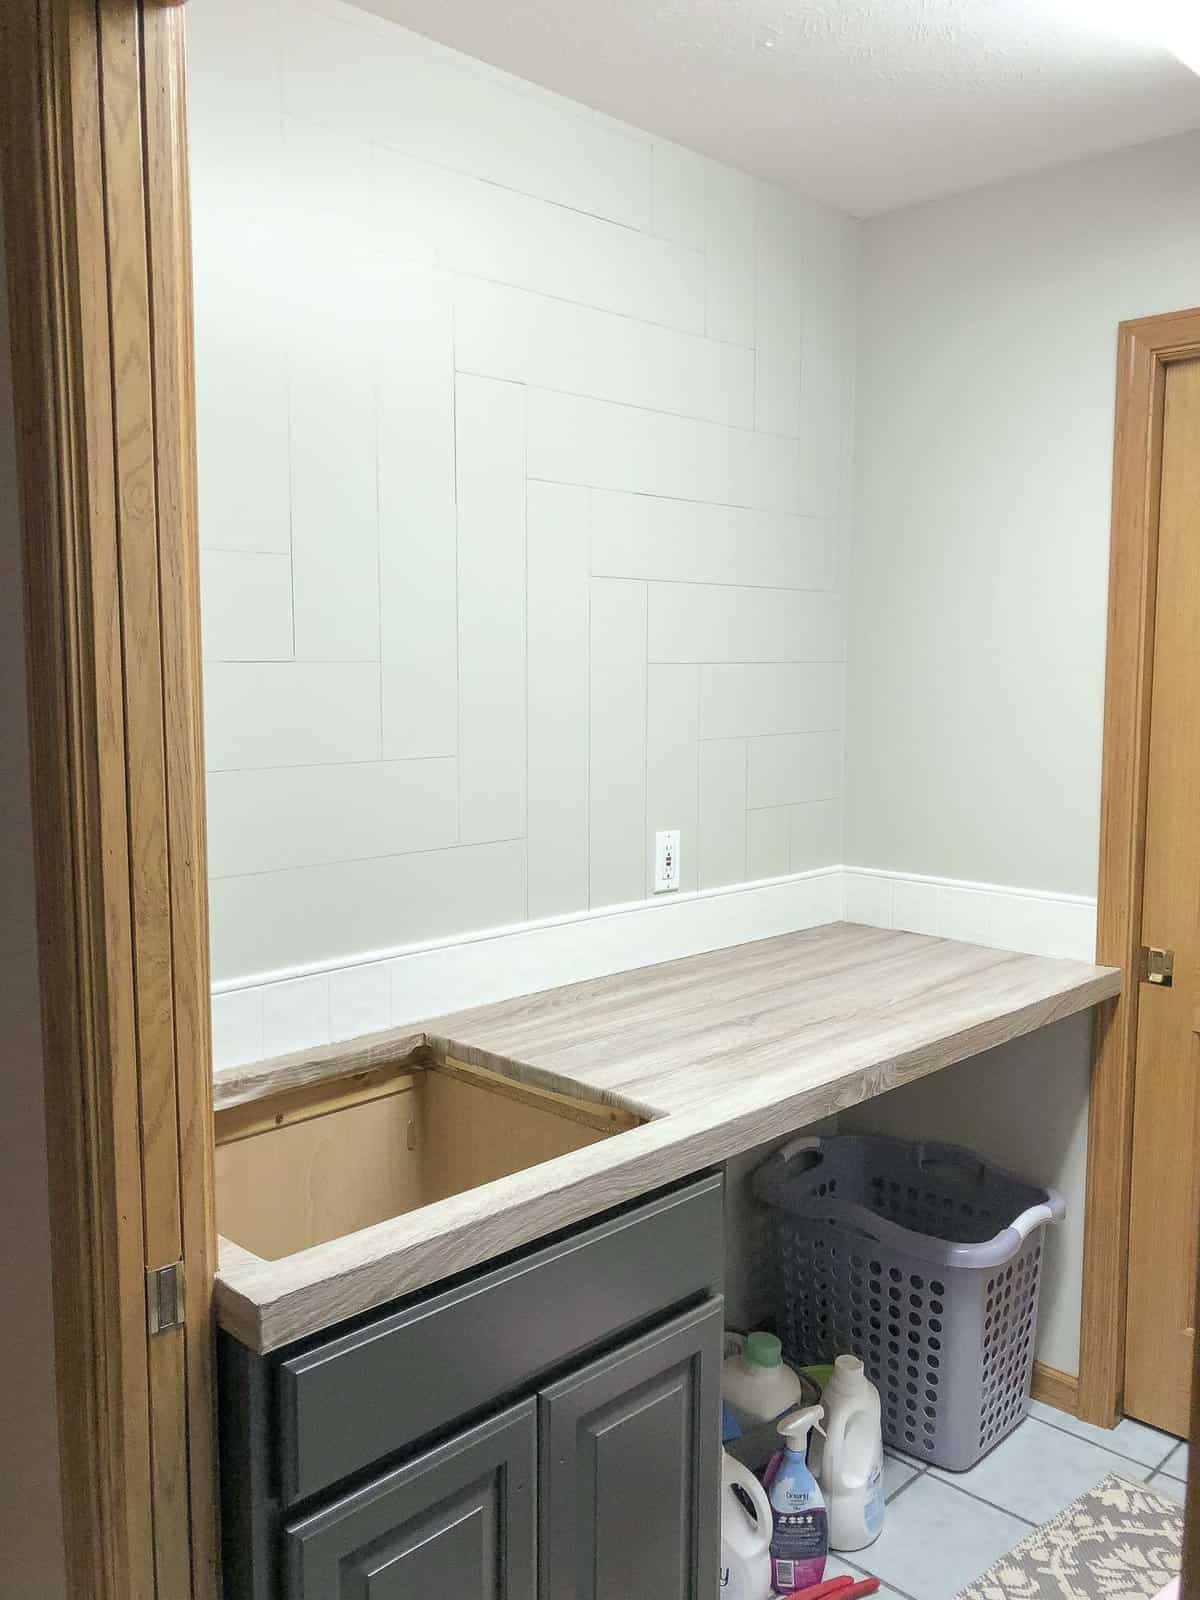
If you follow me on Instagram, then you may have watched this transformation in my stories! I love giving my Insta-friends a behind-the-scenes look at my projects in real time.
Laundry Room Sink
Next, I searched high and low for a new sink for this space. The old one was dirty beyond cleaning and worn from all the chemicals and paint the previous owners must have dumped into it. However, new sinks don’t fit into a $100 budget!

So I took to Facebook Marketplace and Craigslist and was able to find the perfect updated utility sink for a fraction of the cost. Extra Blessing: It was the exact size of the existing hole! We lost some depth from the old sink to the new one, but I honestly never liked how deep the old one was anyway.
I found an affordable faucet option to update the finishes as well. Originally, I had wanted an antique brass finish. Unfortunately, it didn’t fit into the budget. So brushed nickel it is! Finally, I updated the existing cabinet knobs.
Ironically, I planned to spray paint them black. In a series of unfortunate events involving a dog and wet spray paint, I ended up having to sand the knobs after our fur friend ruined them. I was going to start over with the spray paint, but after sanding the paint off I realized that I actually liked the look of them sanded! It took off the shiny brass finish and left them with a brushed bronze look. Isn’t it great when a DIY fail turns out to your advantage?
Laundry Room Drying Rack
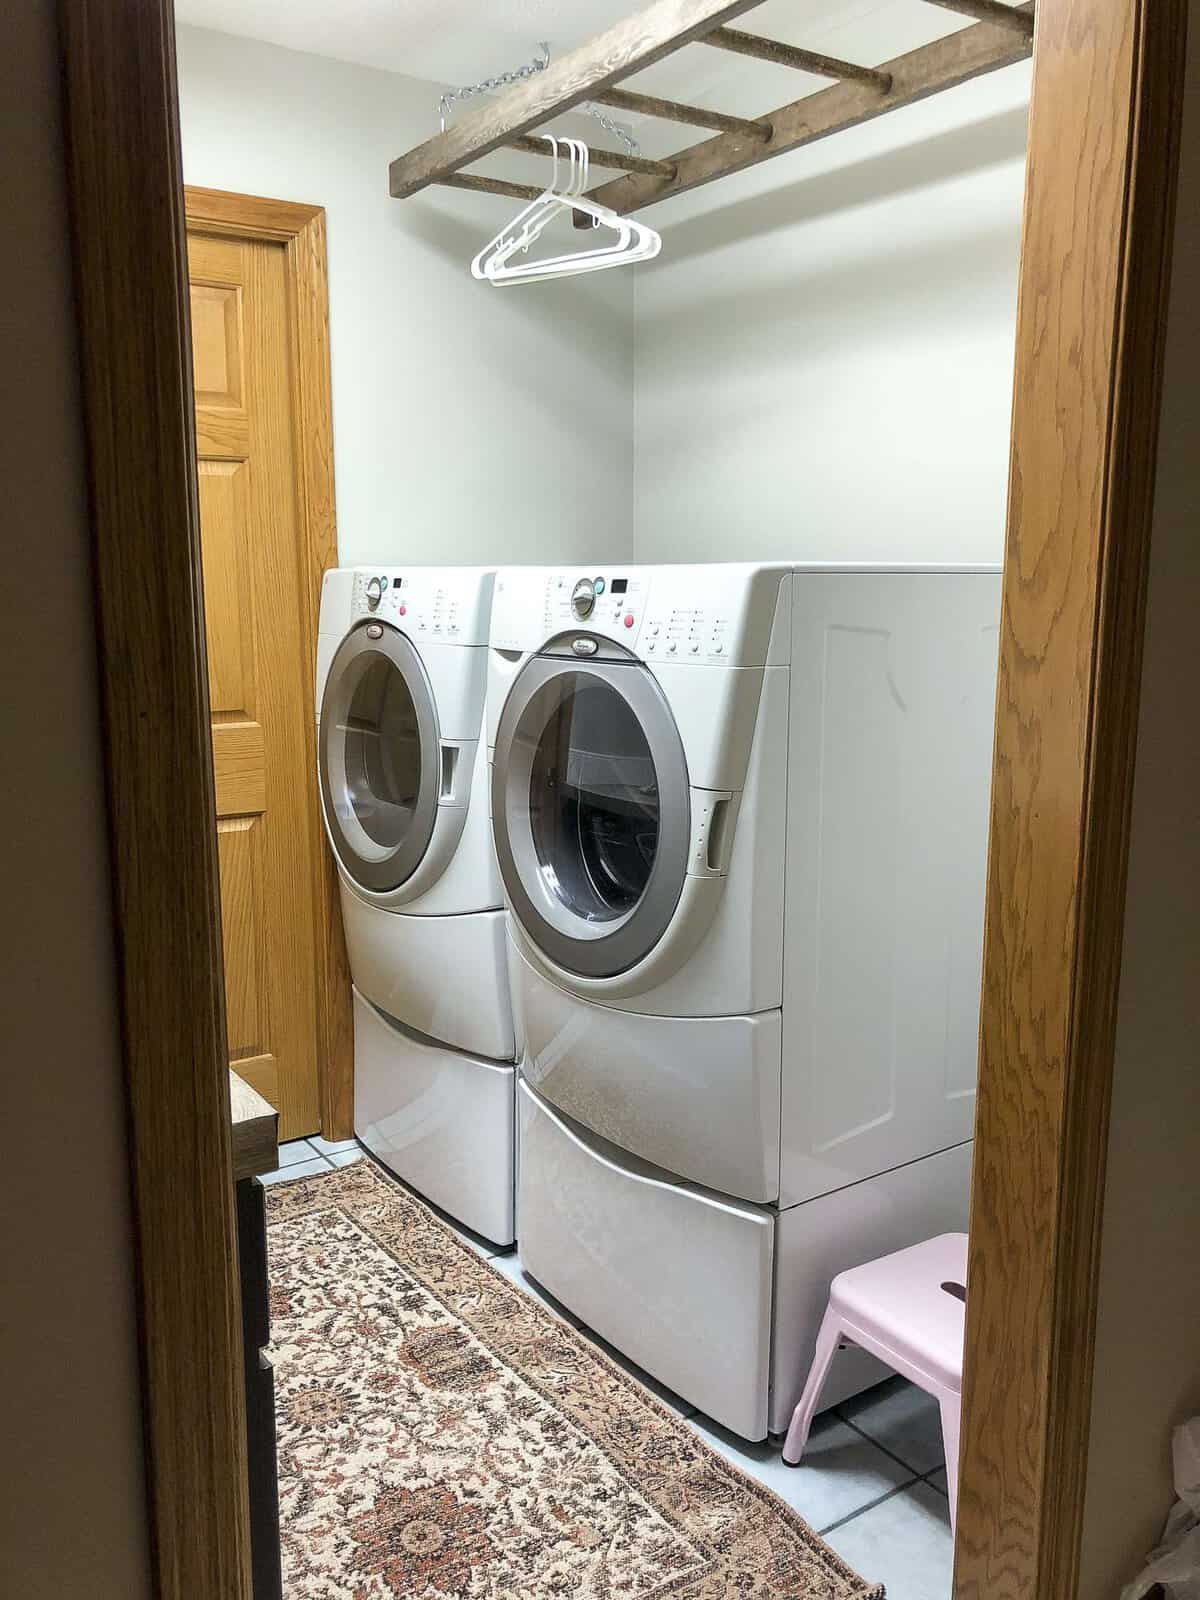
For those who are wondering, I revamped where I would hang our clothes to dry. Originally the laundry room had a bar over the sink. We removed that to make the space feel less claustrophobic and instead hung a vintage ladder over the washer and dryer. I used this ladder in my old home for the same purpose and love how each rung can be used for a different family member!
Laundry Room Decor
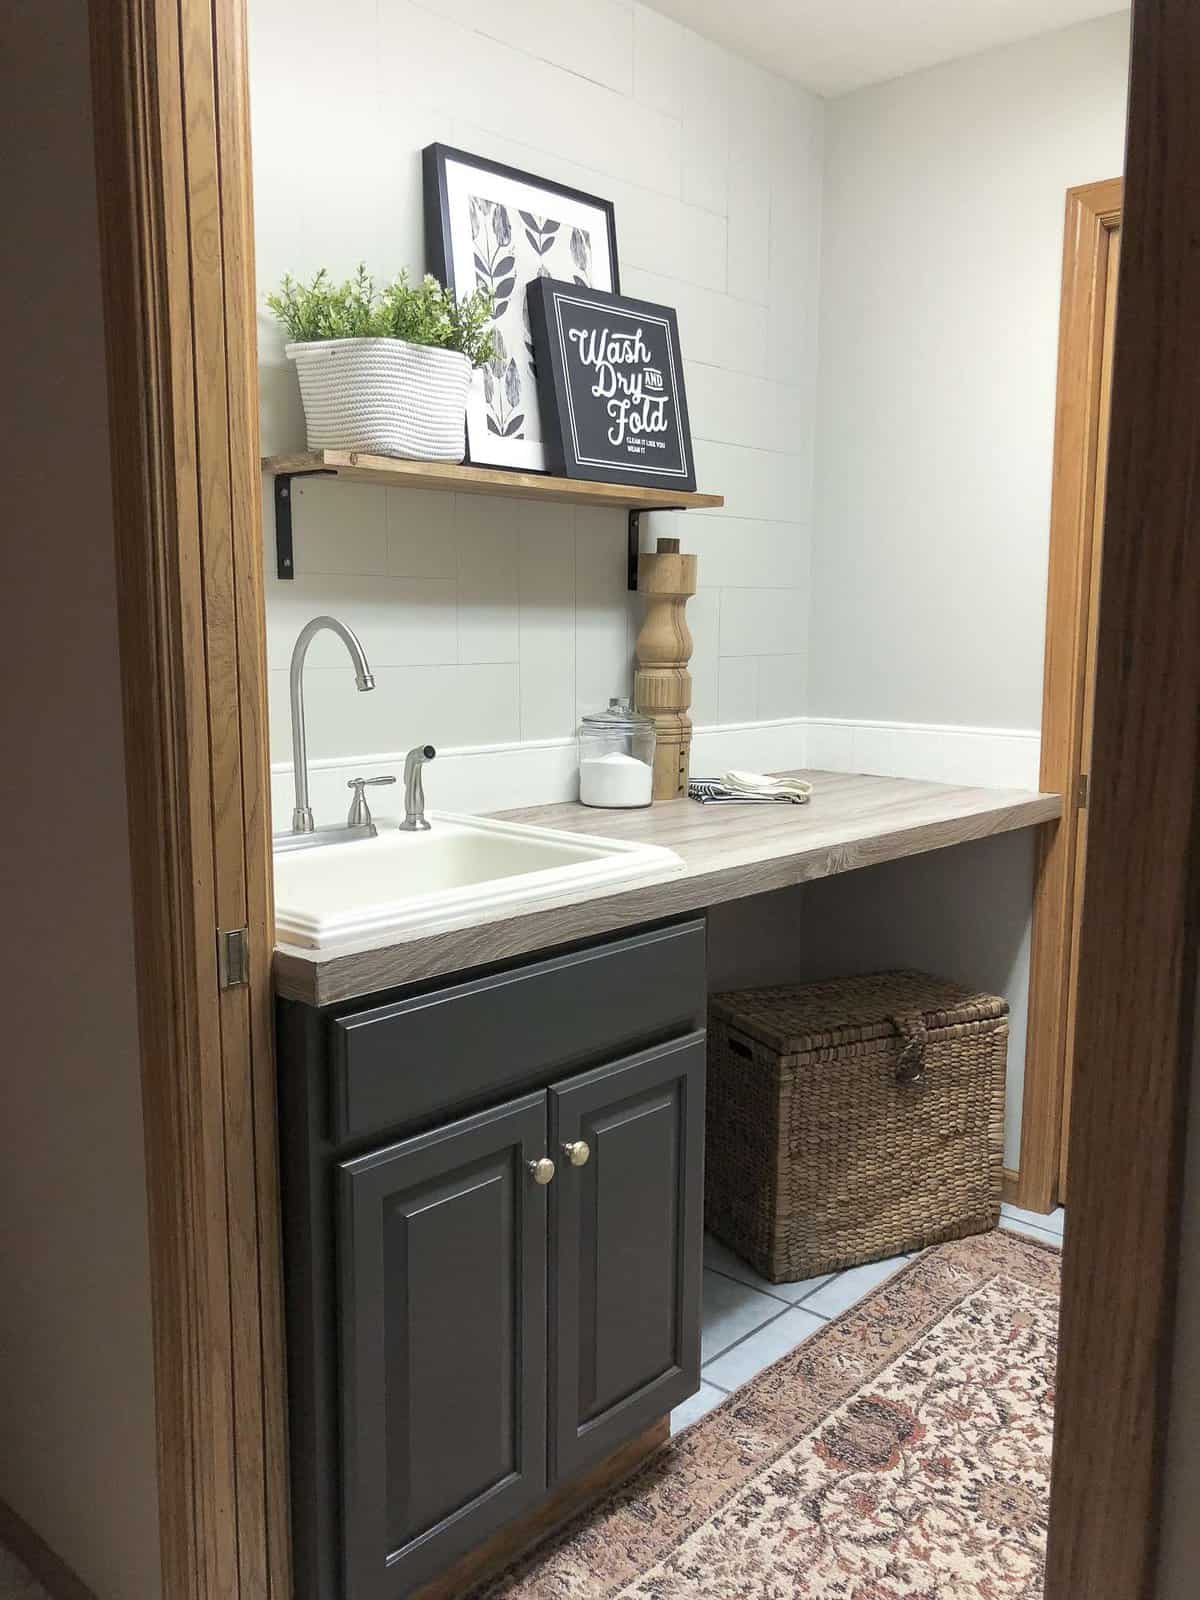
Once all the heavy projects were complete it was time for the fun stuff! I made this simple shelf using the same method as my DIY kitchen shelves {HERE} and L brackets I already had from Cascade Iron Co.
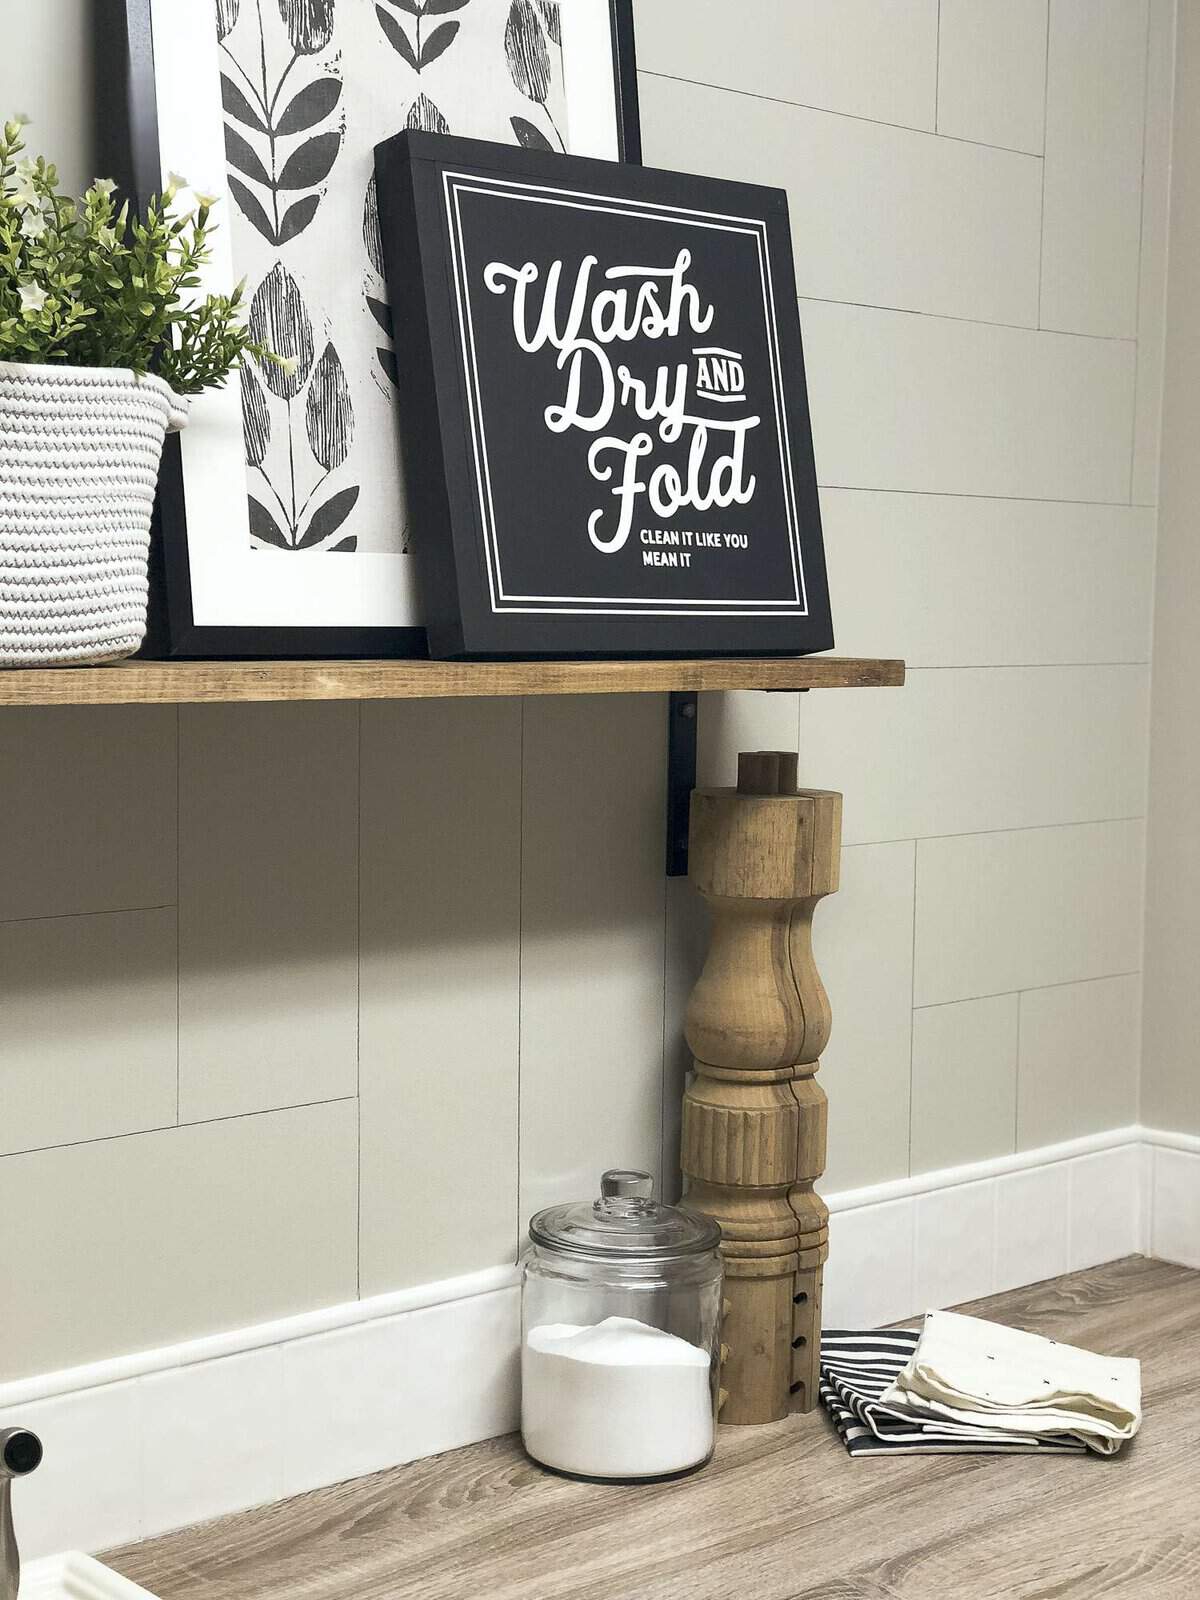
Then I shopped my home for some fun pops of laundry room decor! If you’ve never thought to decorate your laundry room, I’d encourage you to rethink your philosophy. The laundry room is a space we spend more time in than we (like to) think, so why not decorate it!?
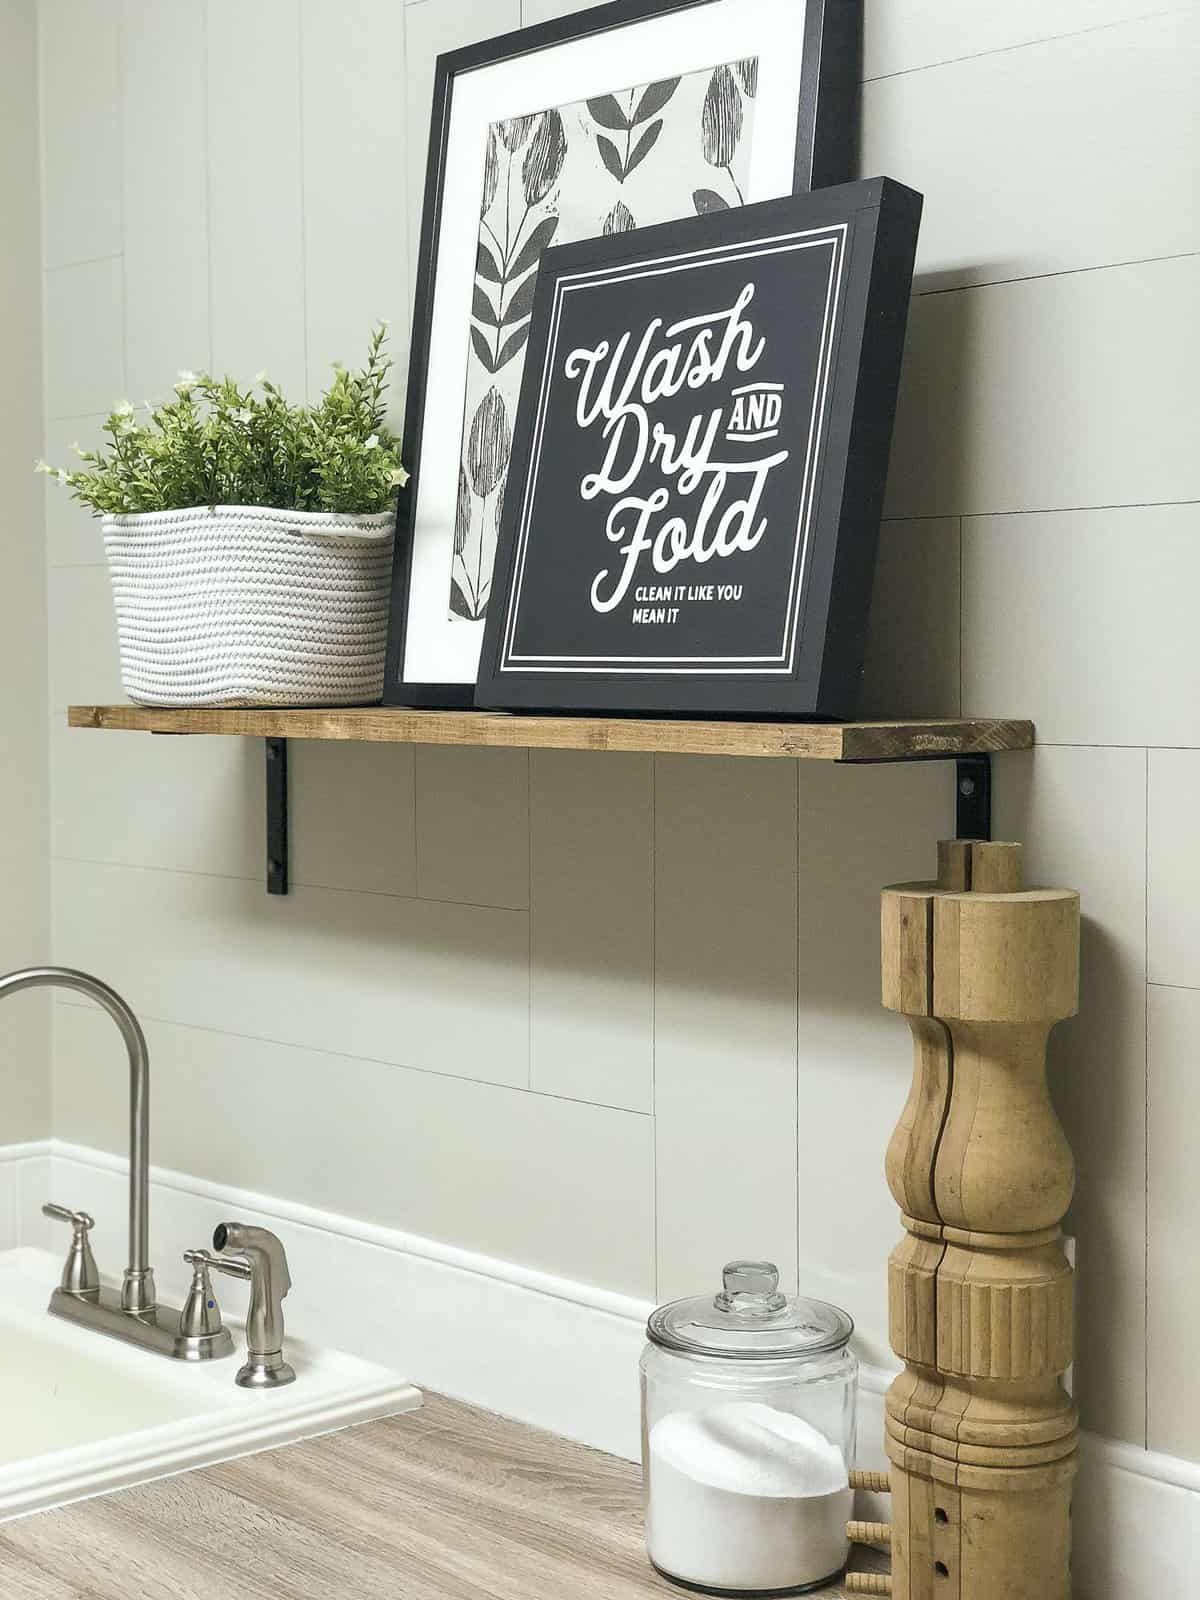
As I said in week 3, I was planning to wallpaper the accent wall with the same paper leftover from my bathroom remodel. However, instead I created this faux herringbone shiplap. Since I really do love the wallpaper, I still wanted to include it somehow. I decided to frame it and think it makes a beautiful statement as DIY (and free) artwork!
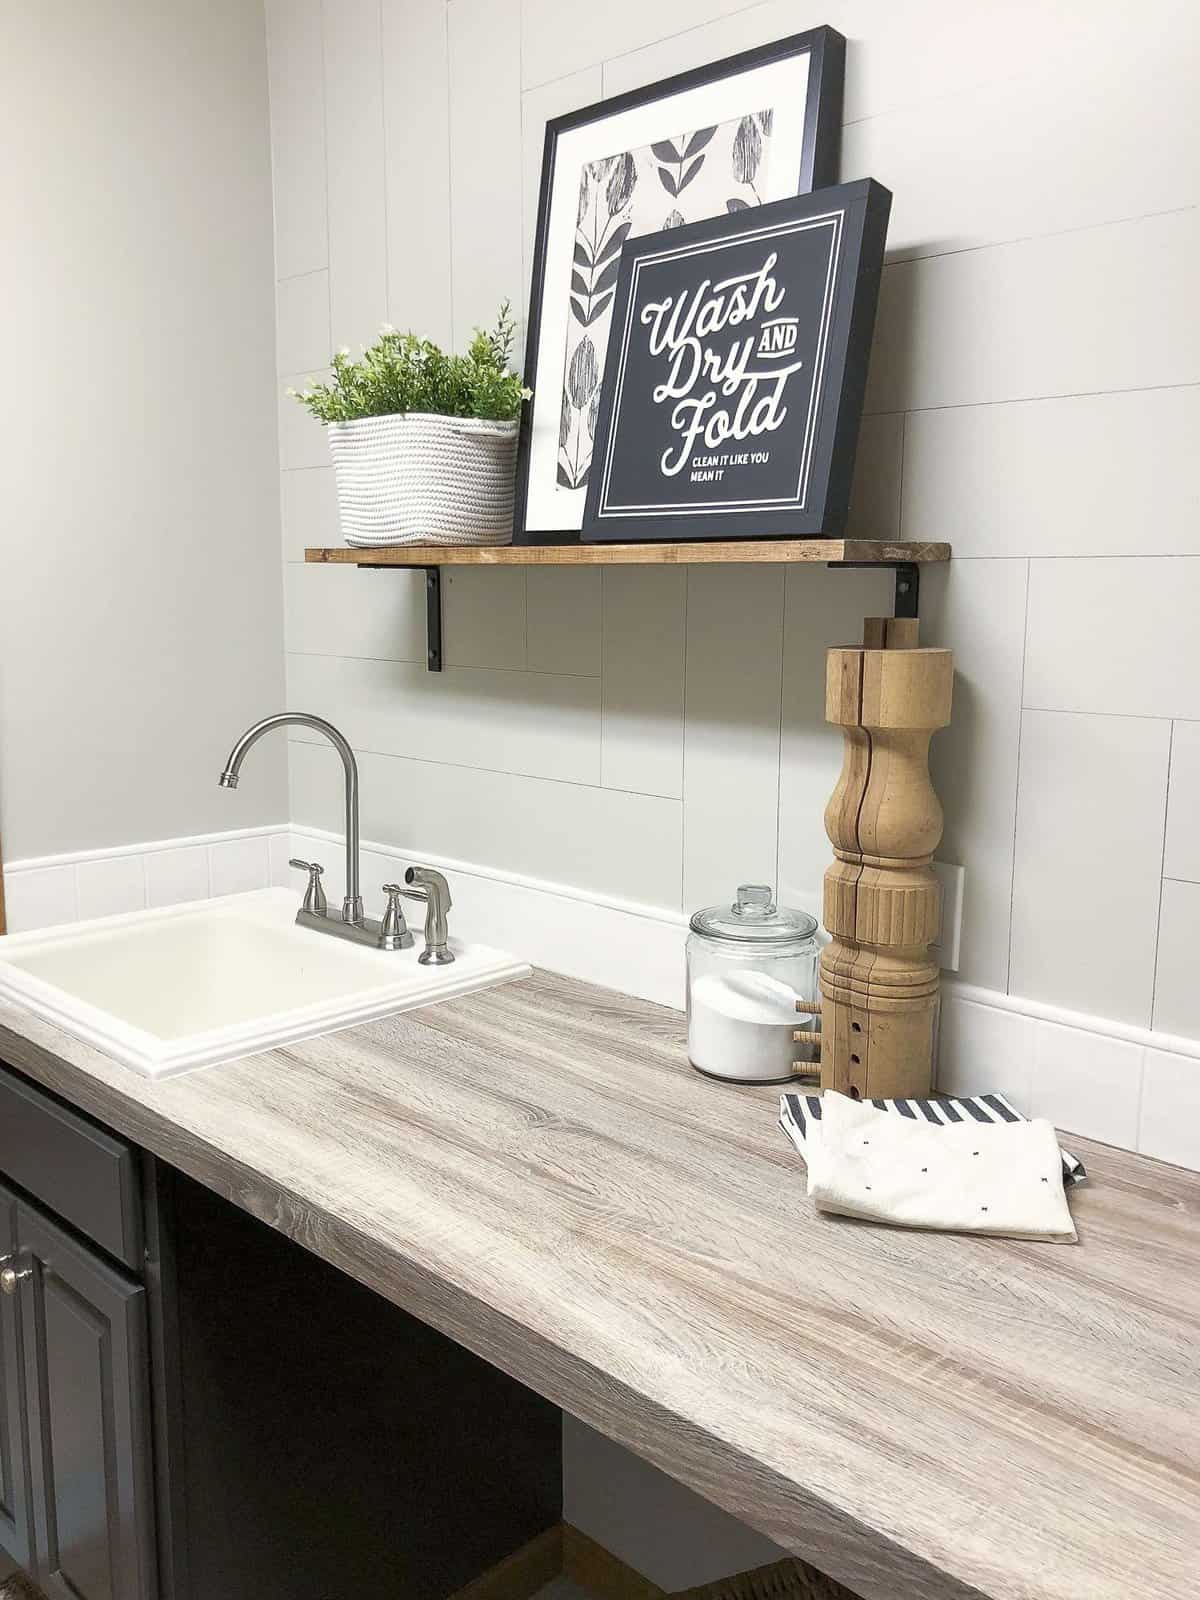
I also simply swapped out the old plastic laundry bin I was using for this nicer one I had hiding upstairs! Never underestimate the power of shopping your own home.
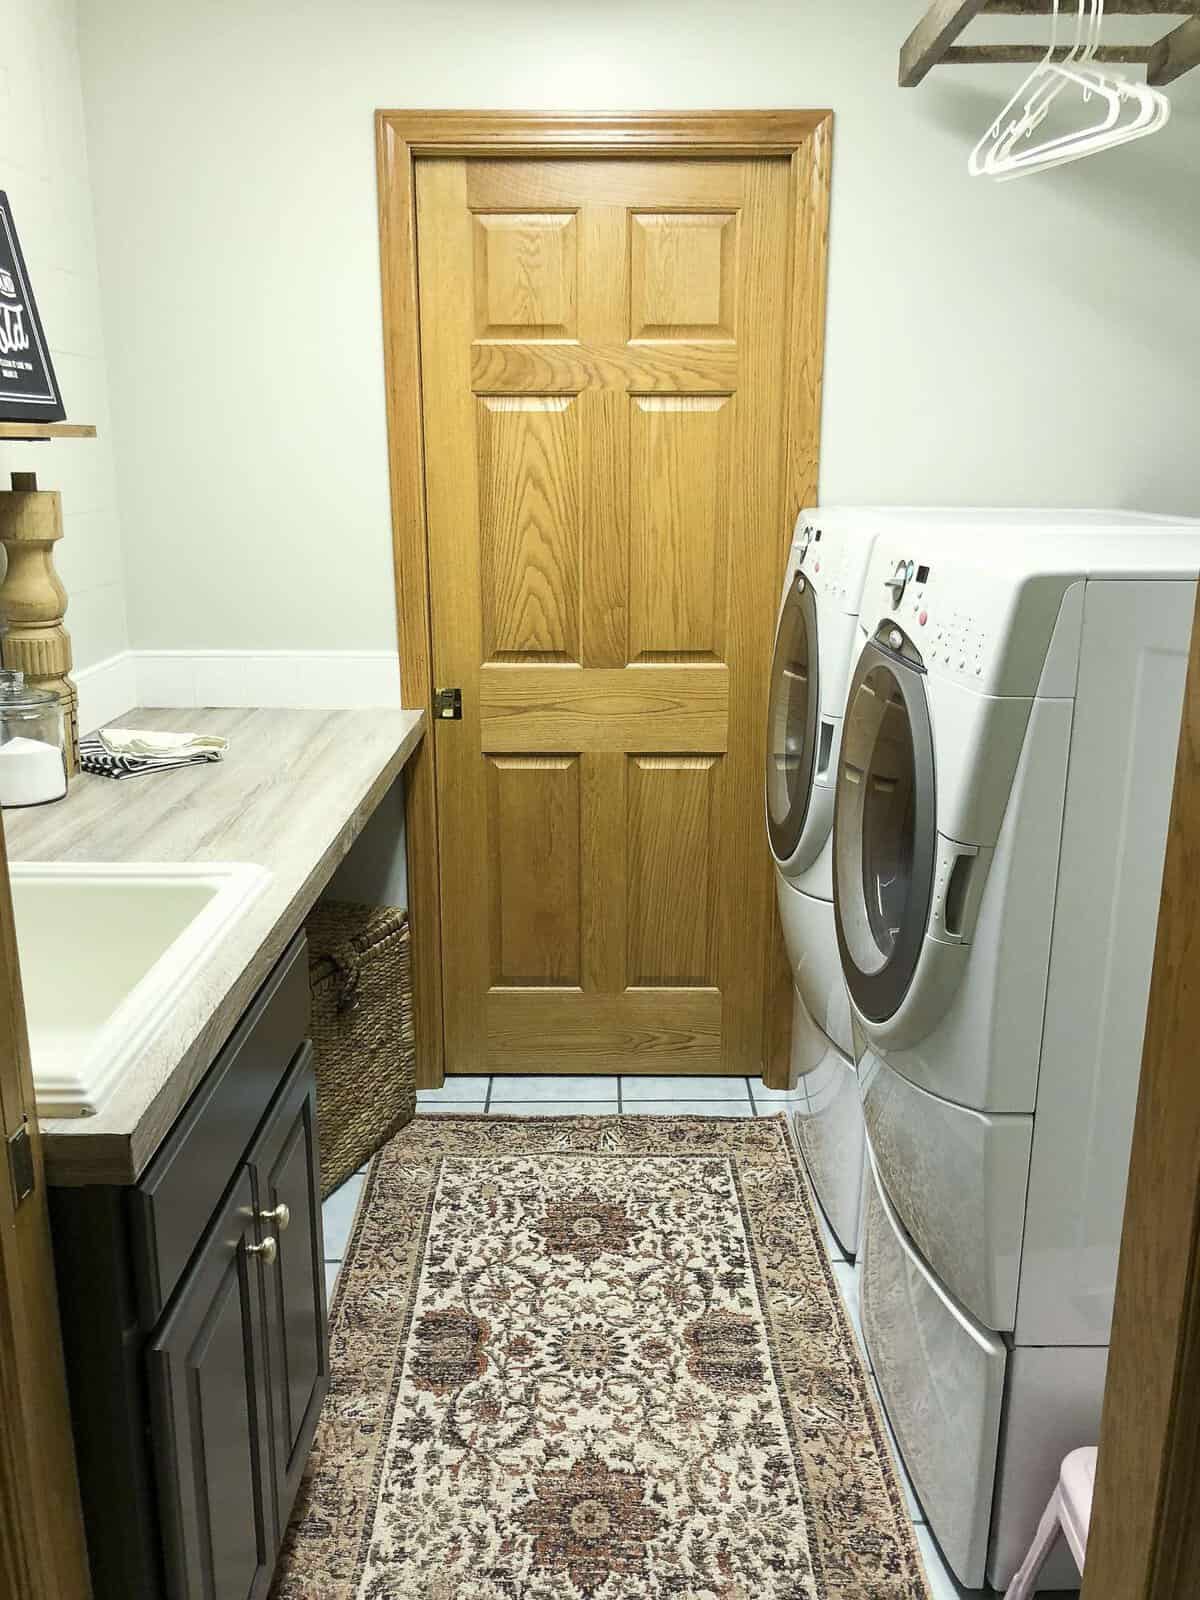
The only new laundry room decor I purchased is this beautiful rug. I decided to forego my plan to update the floors since we have plans to replace all the flooring in the basement within the next year. Instead, I invested in a beautiful rug that covers 90% of these blue tiles and will still work perfectly one we install the new floors in the future.
However, the rug may have put me over budget. I know…I know. But not by much! And I figured that if $30 is all that’s standing in the way of me seeing these blue floors after all my hard work to redo the rest of the room….then it’s worth it.
Laundry Room Transformation
I think this transformation deserves a moment of remembrance.
From this…
To this!
$100 Room Challenge | The Budget
Now, I know you’re all wondering how I did on sticking to my budget. I already mentioned I went over, but honestly, I can’t even believe I pulled it off in the first place. So here’s the breakdown:
- Countertop contact paper: $16.95
- New faucet: $39.99
- New sink: $15
- DIY shelf wood: $6.28
- Plumbing parts: $21.44
- New rug: $31.78
- Total: $131.44
$31.44 over budget. I literally could have just not bought the rug and everything else would have stayed in budget! Crazy!
This project was a lot of fun. The challenge of such a small budget really made me get even more creative than usual. Thank you to Erin at Lemons, Lavender and Laundry for hosting this great challenge! You can see more spaces that have been transformed for $100 in the link up below!
So, what do you think? Did you think I was going to pull it off? Did I pull it off? LOL, I’d love to hear from you below!

Get the Look


Hi friends, how is the whole thing, and what you would like to say on the topic of this piece of writing, in my
view its genuinely awesome for me.
Wow, just wow!! I love it all! Cannot believe you updated the sink, faucet, countertop, cabinet and wall color all for less than $100 – such creativity! Totally love that ladder idea too – may have to steal it if I can find a vintage ladder 😉 Your room turned out amazing!
Thank you so much Christina! It was a fun project to tackle. But I’m glad it’s done. 😉