
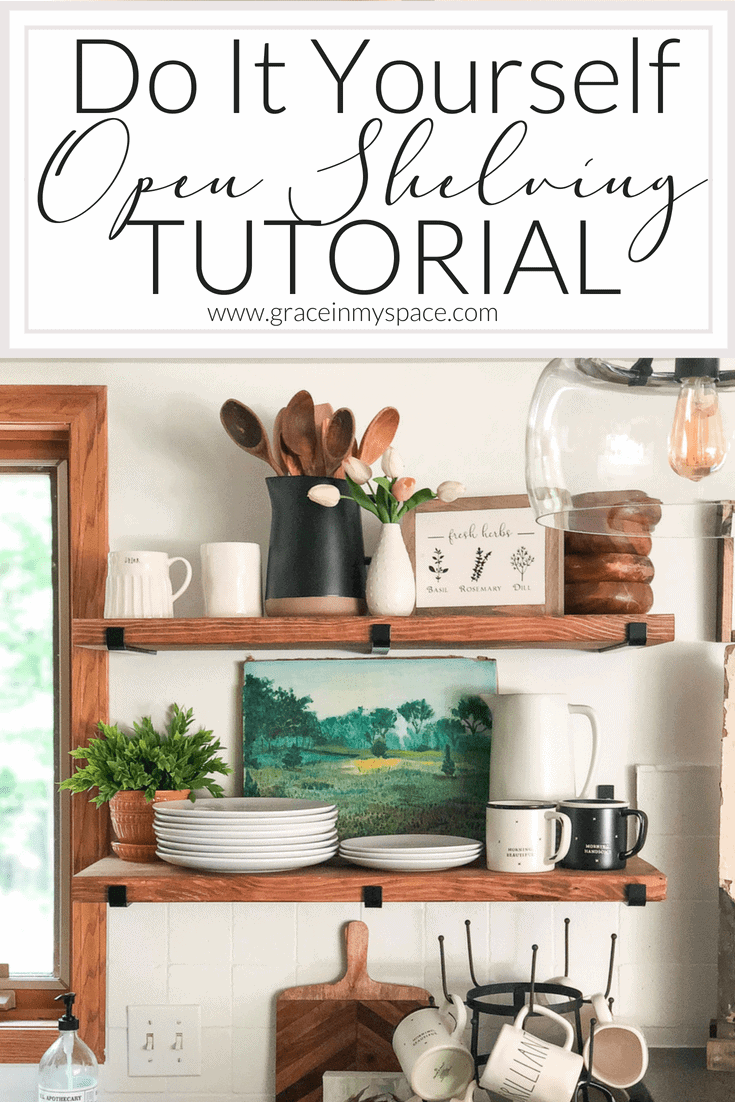
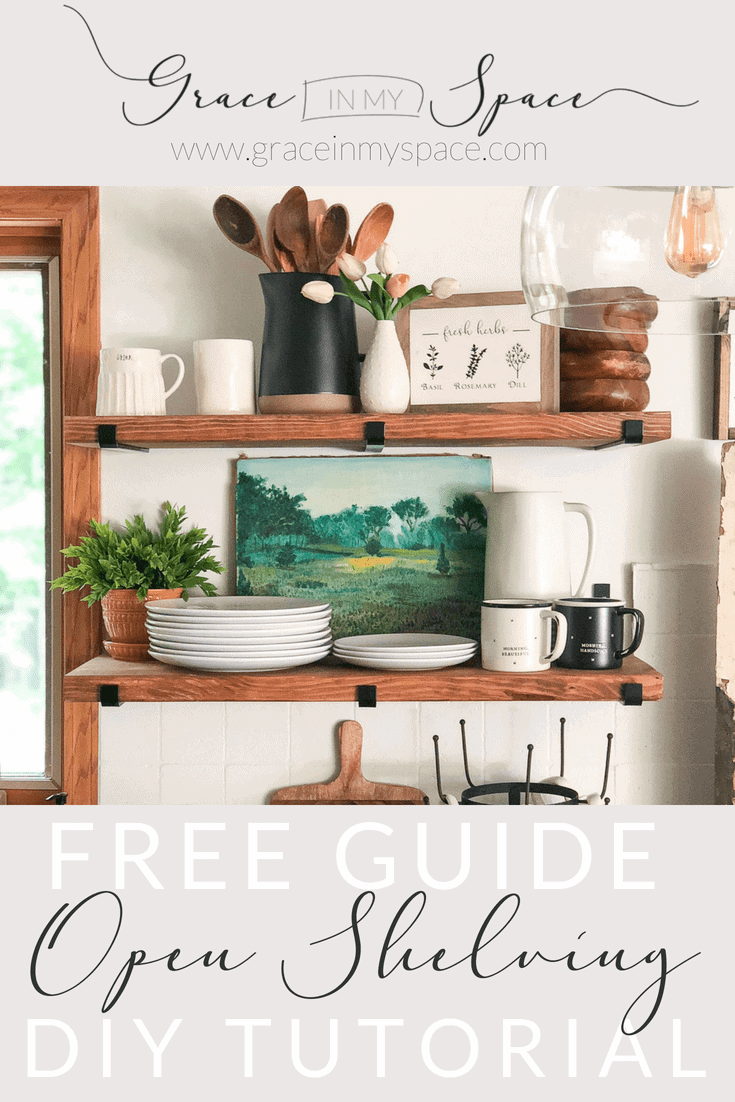
DIY Open Shelving Tutorial with Free Guide
Hello my friends, and welcome to the fifth bonus post of my DIY budget kitchen renovation series! By popular demand, I’m sharing a simple tutorial for how to create beautiful open shelving on a budget. So keep reading for the step by step DIY open shelving tutorial!
Post may contain affiliate links where I earn a small commission at no extra cost to you. Brackets provided by Cascade Iron Co. All opinions are my own.

DIY Open Shelving Tutorial
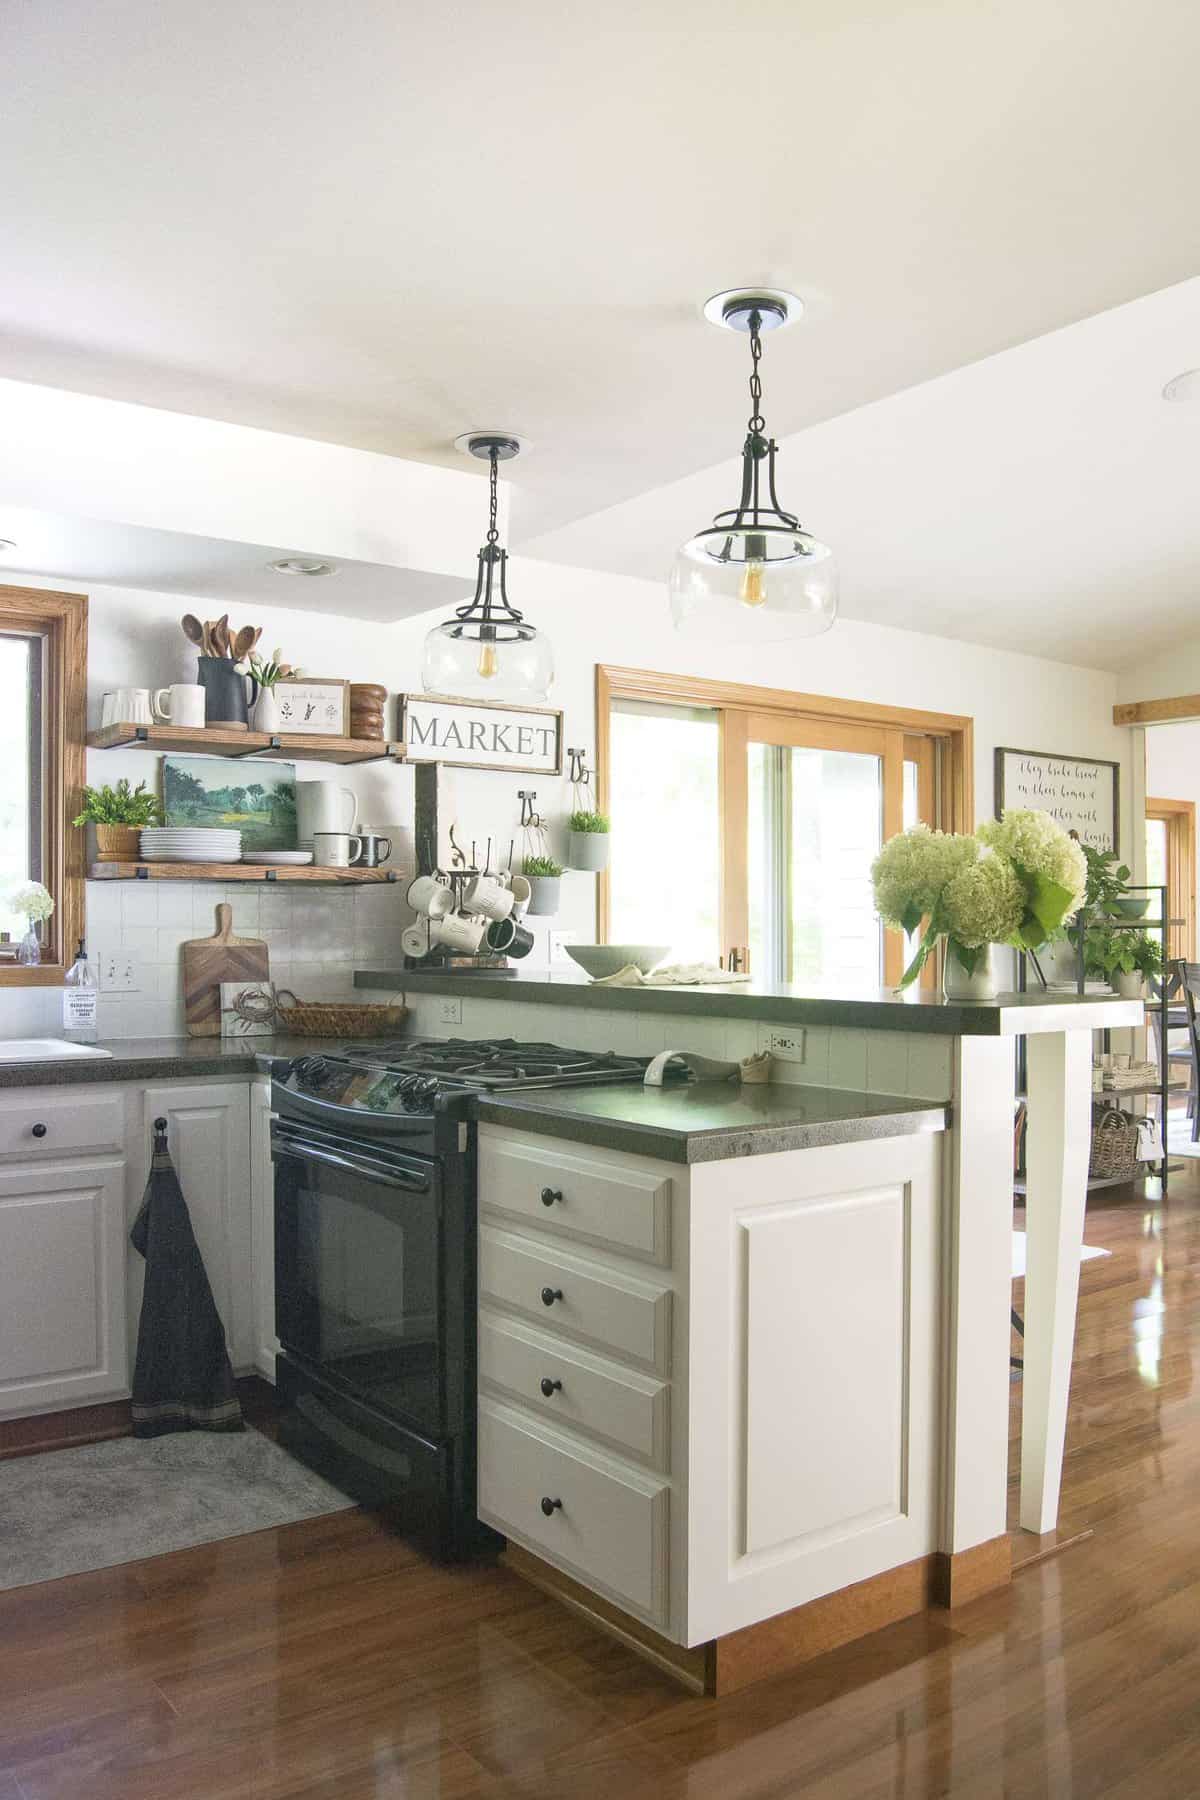
One of the easiest ways to make a big change with a small budget in a kitchen is to remove upper cabinets and add open shelving. I love open shelving! Not only is it a convenient way to access practical every day kitchen items, but it also allows me to showcase some of my favorite decor. It opens up the space as well to make it appear more spacious.
So let’s get started with the DIY open shelving tutorial! This tutorial is for two shelves measuring 12 in. deep x 33 in. long x 2 in. high. The shelves have 14 inches between them.
You will need to customize your shelf dimensions for your space.
Materials
- Patching Plaster
- Putty Knife
- Paint the same color as your walls
- 11.25 in. Brackets (quantity depends on the length of your shelving)
- 2 in. x 12 in. 8 ft. Douglas Fir common lumber cut to size
(Many home improvement stores will do this for you!) - Appropriate bolts/toggle bolts
- Wrench
- Drill + appropriate bits
- Wood Stain
- Measuring Tape
- Level
- Pencil
- Stud finder
Step 1: Patch + Paint
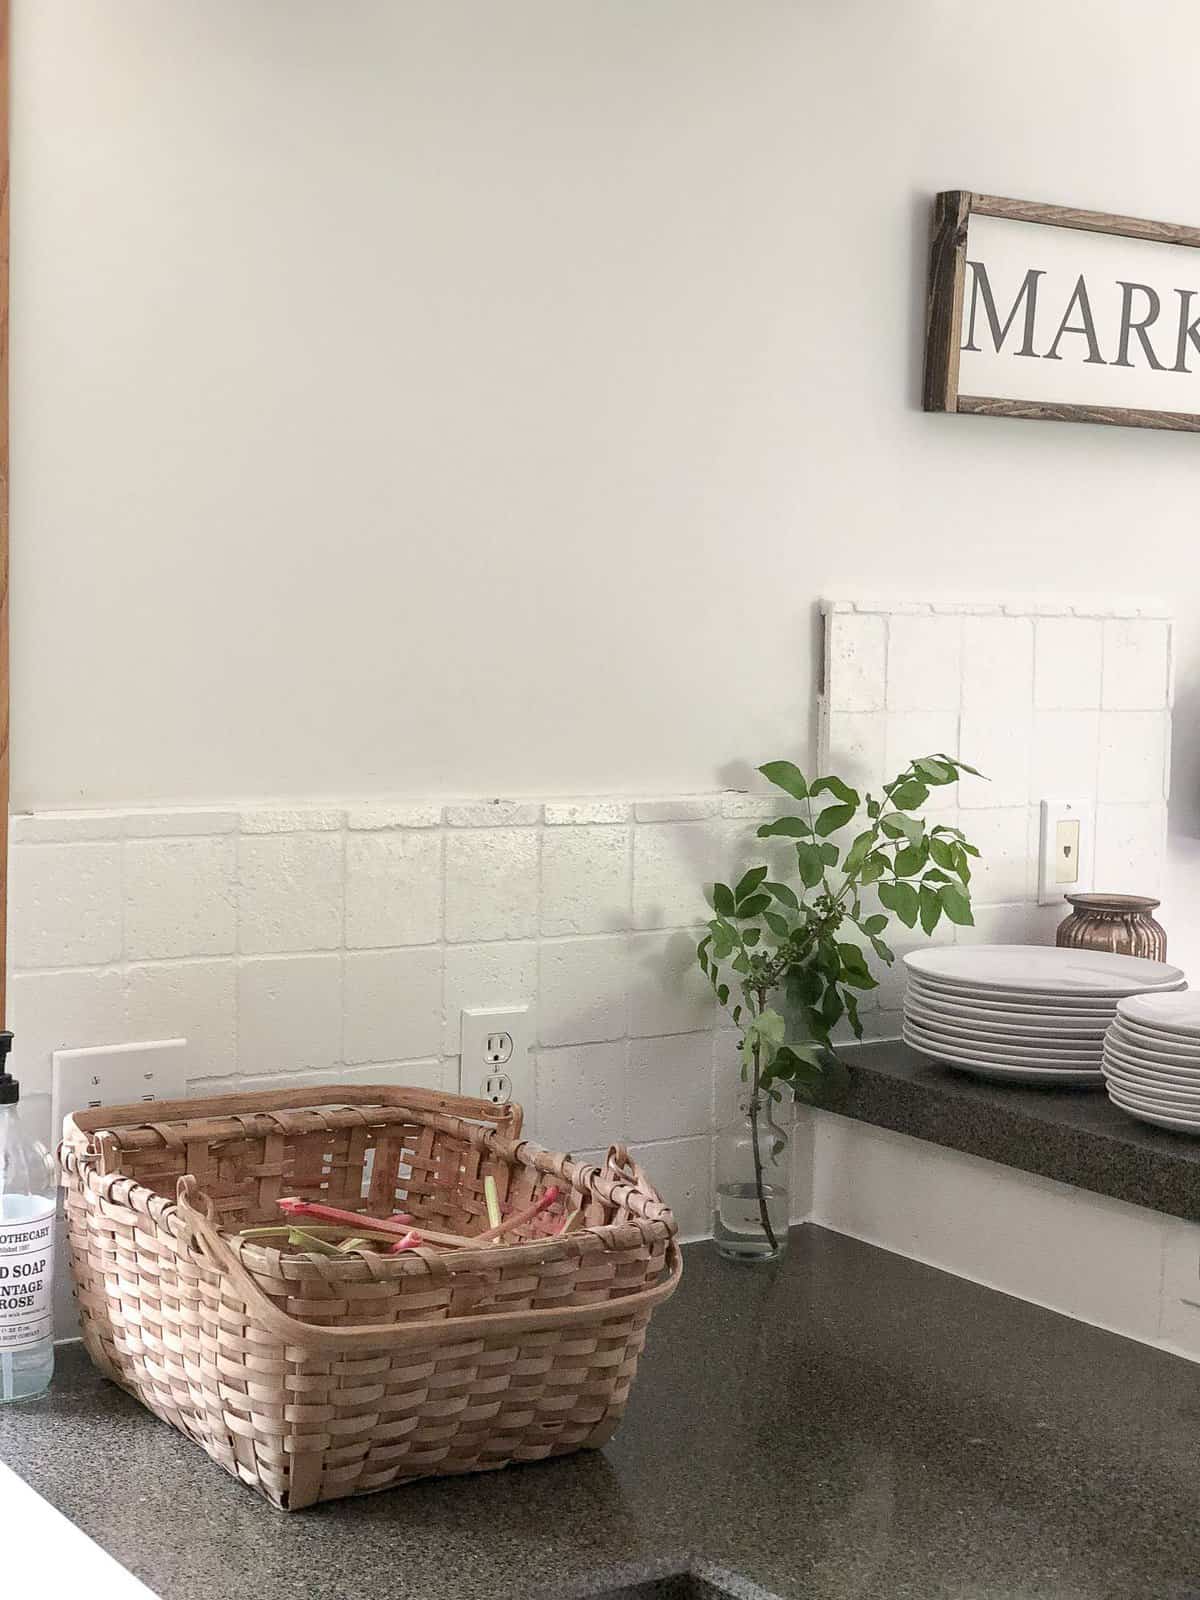
After removing your upper cabinets (if you had to do so) you will need to patch and paint the wall. Make sure to take your time with this step so the wall looks as pristine as possible. I used Patching Plaster and it was extremely easy to work with.
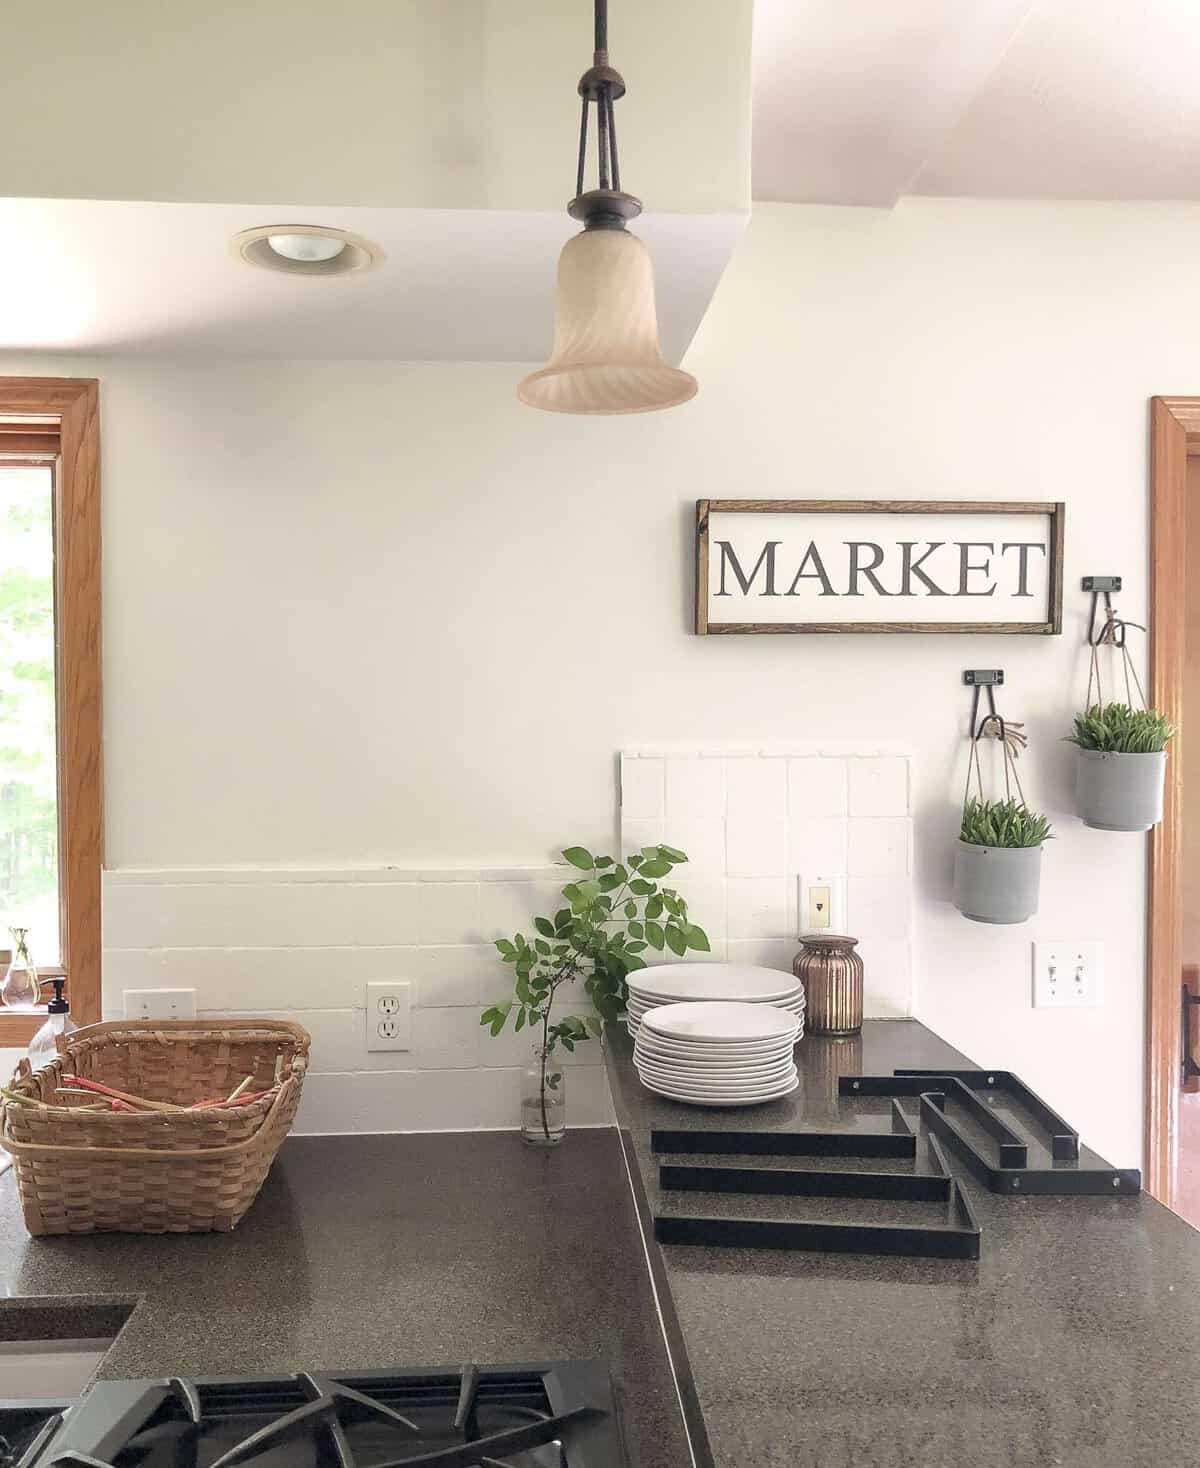
Once we took down the cabinet I loved this space even without the shelving and with these outdated pendants. It just opens up the space so much!
Step 2: Measure Once, Twice, Three Times. Then Buy Your Wood.
You know the saying, “measure twice, cut once”? Well, that doesn’t work for me. 😉 I need to measure a million times because math does not love me. Whatever your math skill set, I just want you to make sure you know the space you have to work with and move forward accordingly.
Determine how long you want your shelves to be and purchase the necessary lumber accordingly. I wanted thick shelves so I opted to go with 2×12 common boards rather than 1 inch finished boards. Purchasing unfinished lumber not only allowed me to have thicker and more rustic shelves, it was significantly cheaper than the finished boards!
Once you determine the thickness and type of wood you want to use, simply have your boards cut to size at the lumber store if they provide that service! Otherwise, make sure to make very level and straight cuts on your own for the most professional look.
Stain Your Boards
If you are buying unfinished wood then you will need to decide the finish you want for your wood. You can choose to leave it unfinished for a rustic look, paint it, or stain it! I used Early American stain by Miniwax and simply wiped the stain on with a lint-free cloth.
Step 3: Buy Your Brackets
You will need to determine how many brackets are necessary based on the weigh capacity of each bracket, the length of the shelf, and what you will be storing on the shelves.
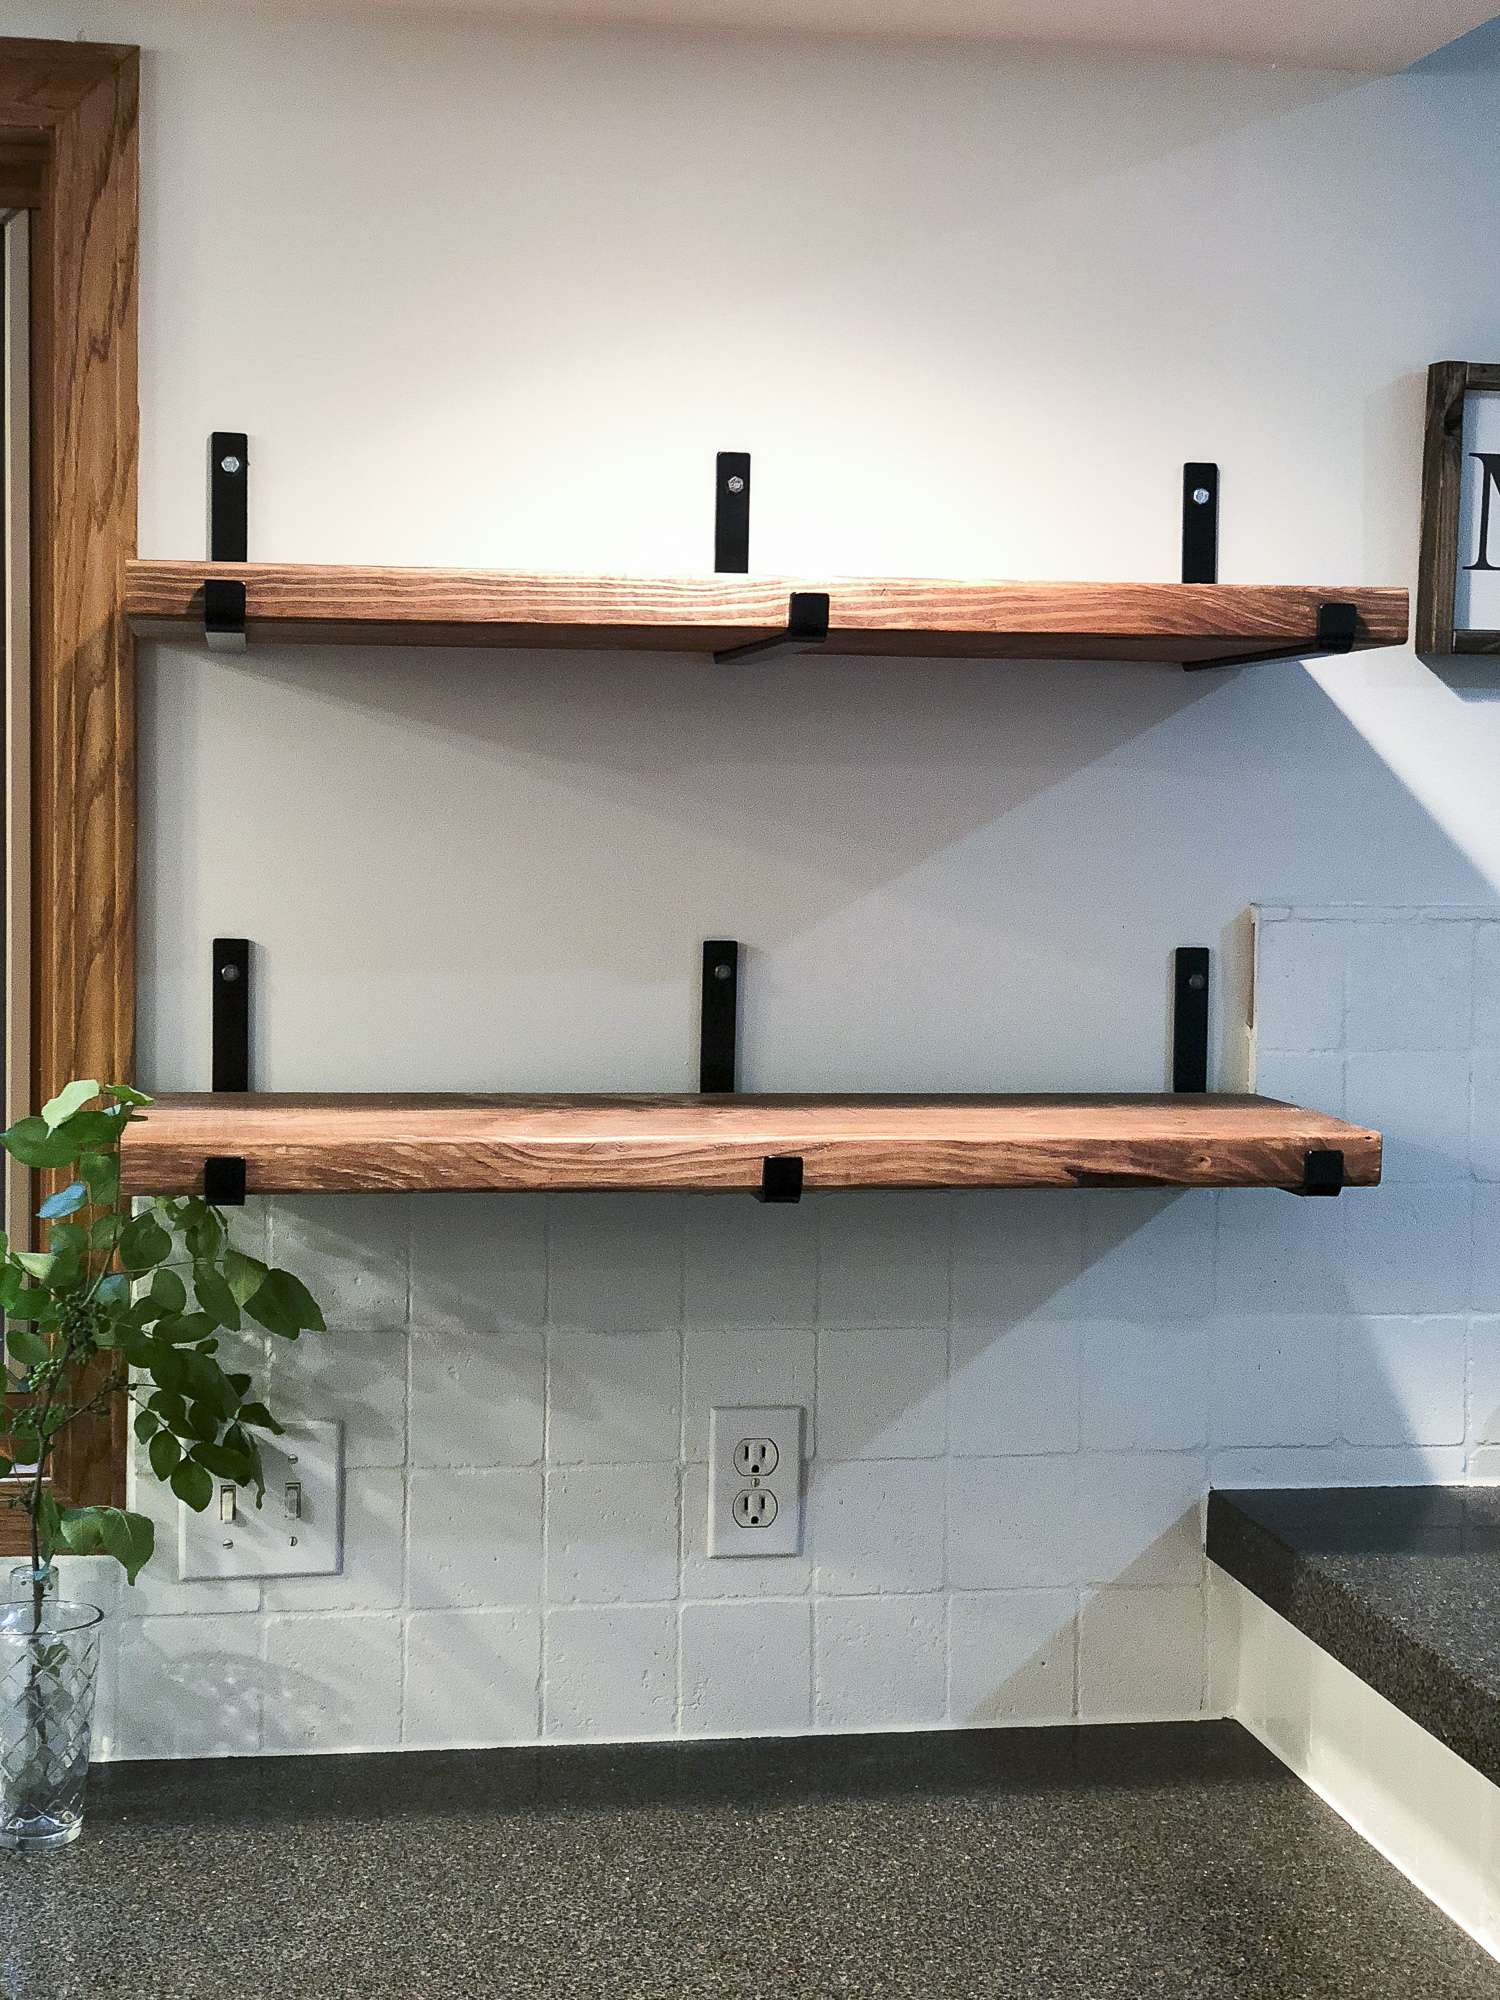
I used these beautiful powder coated black J brackets from Cascade Iron Co.
My shelves are 33 inches long and I use heavy dishes on them. Each bracket is rated for 75 lbs and the maker’s recommendation is 2 brackets for a shelf up to 36 inches long. However, you will notice I used three brackets per shelf. This was because:
- I’m paranoid about safety.
- I wanted my brackets to be placed in studs.
Using two brackets in studs didn’t allow for my brackets to be placed evenly spaced and symmetrically on the wall.
So instead of placing two brackets into studs but having them be off centered, I used three brackets which allowed me to place two in studs and one into the drywall with toggle bolts. And now they are all symmetrical!
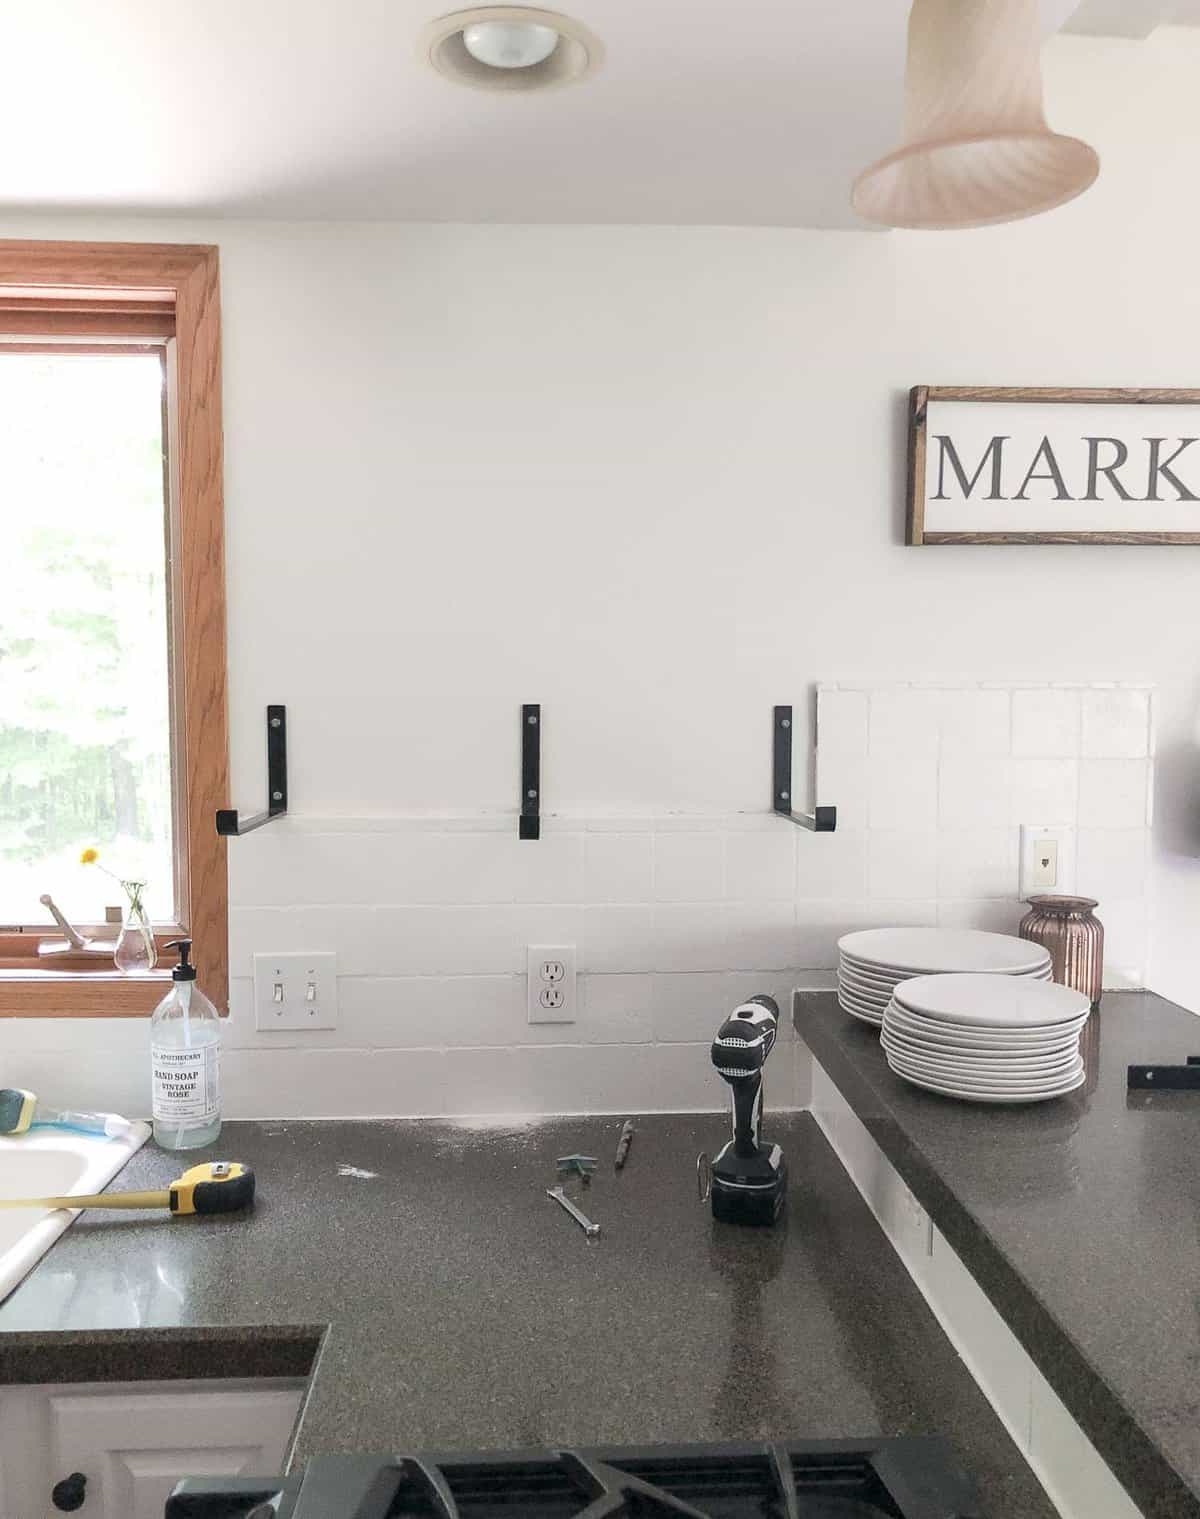
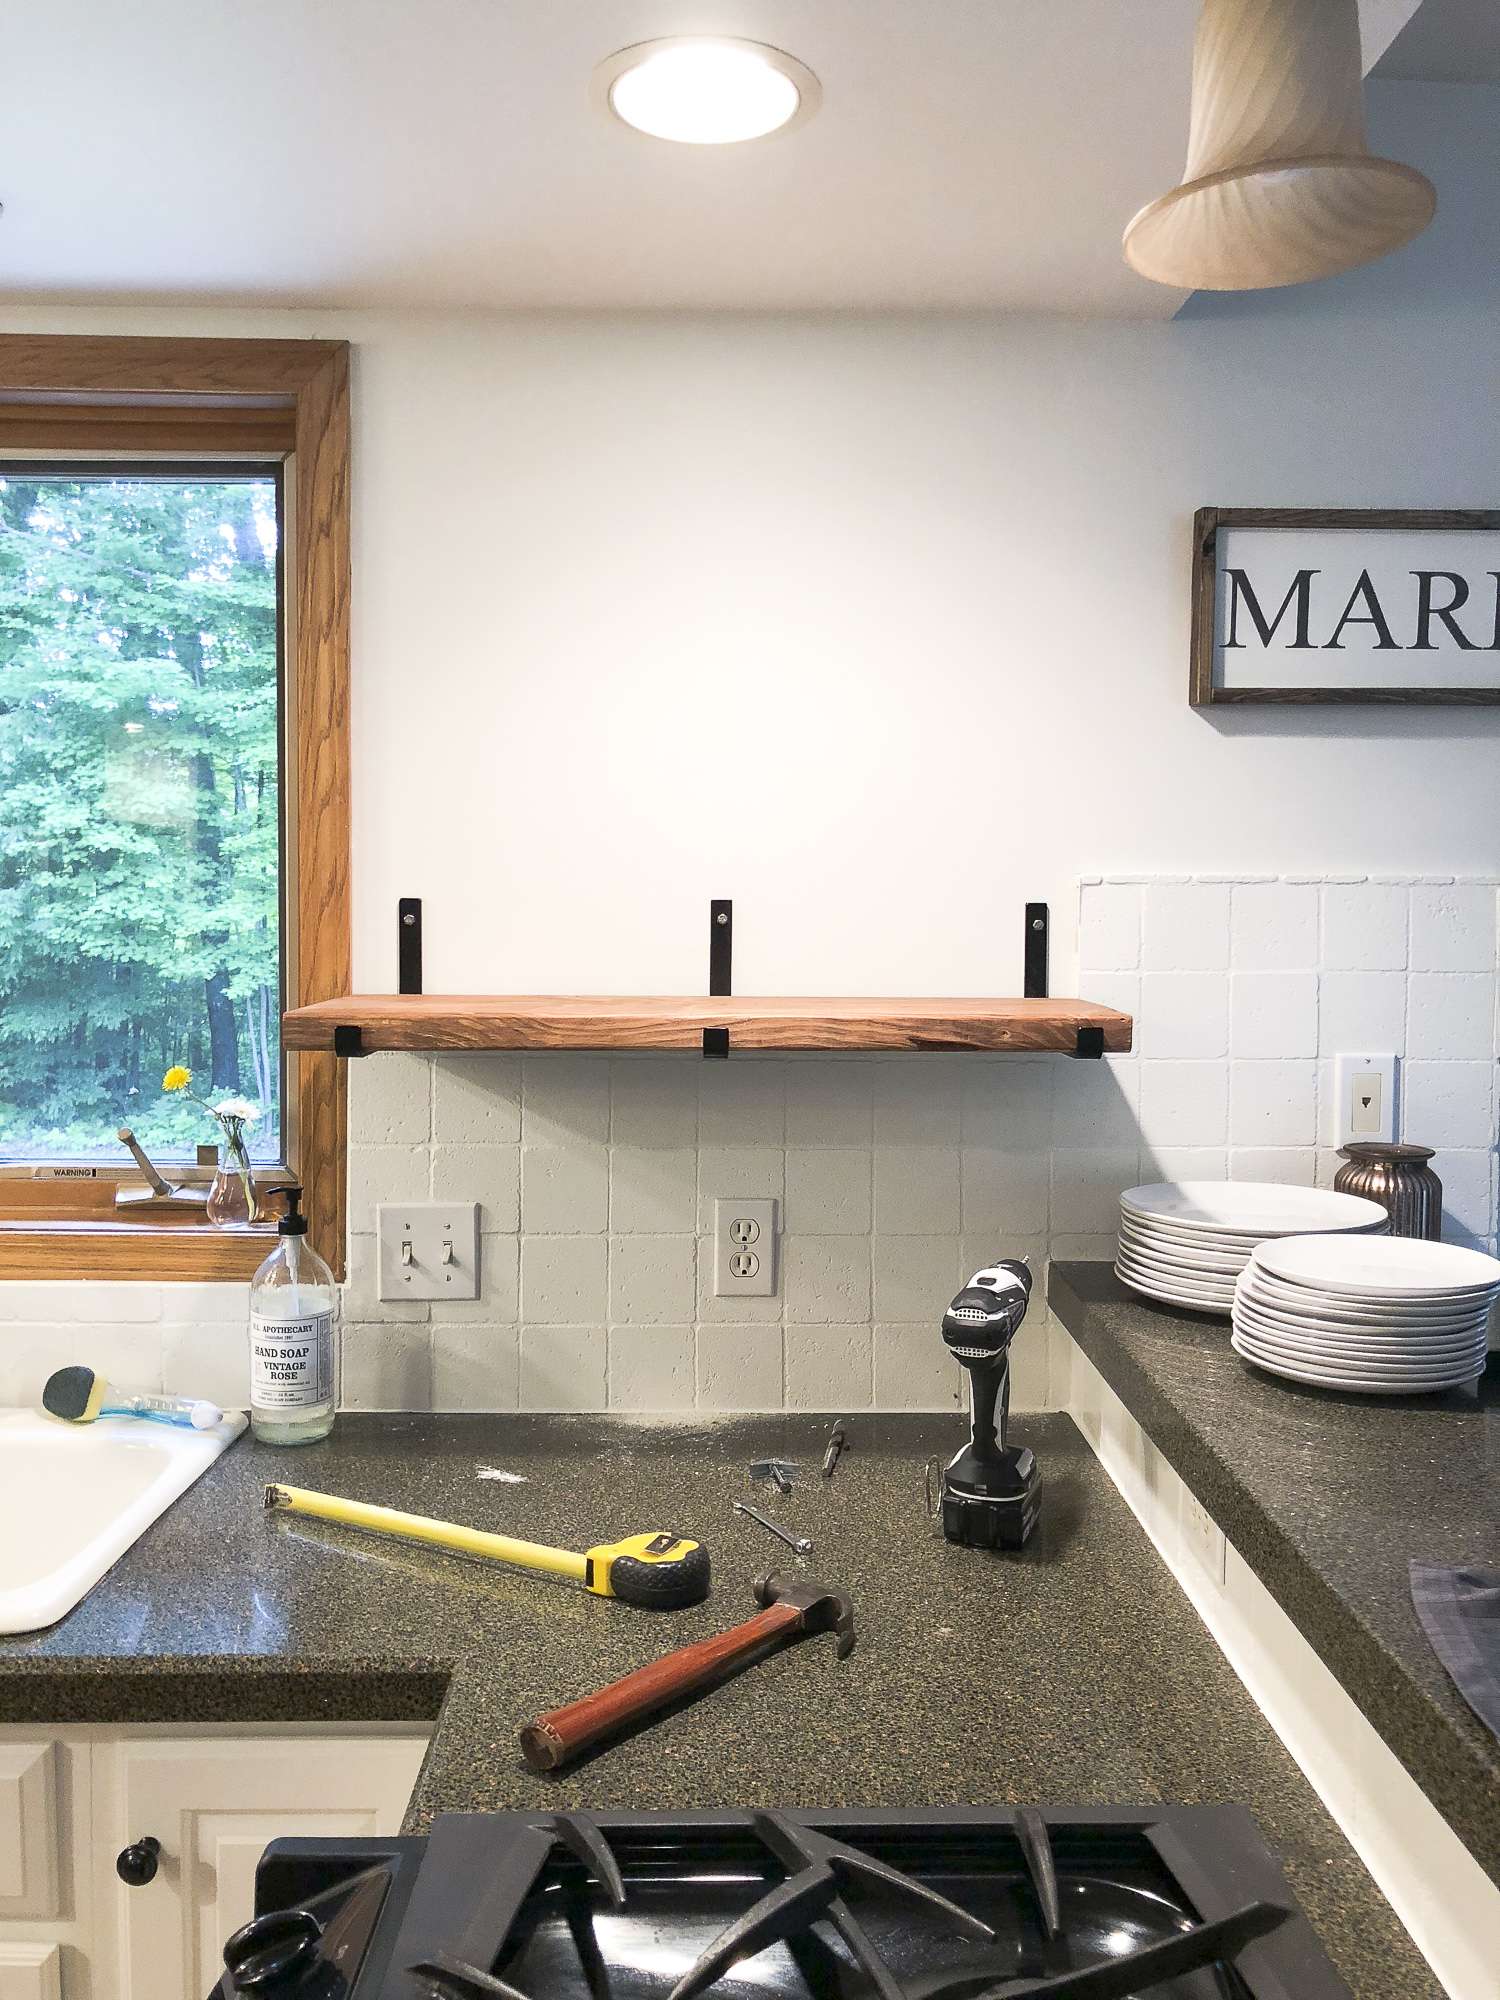
Step 4: Mark Where Each Bracket Will Go
After finding your studs and determining the spacing of your brackets, pre-mark and drill holes for your bracket hardware. Follow installation instructions for whatever type of bracket you purchase as different brackets will require different methods.
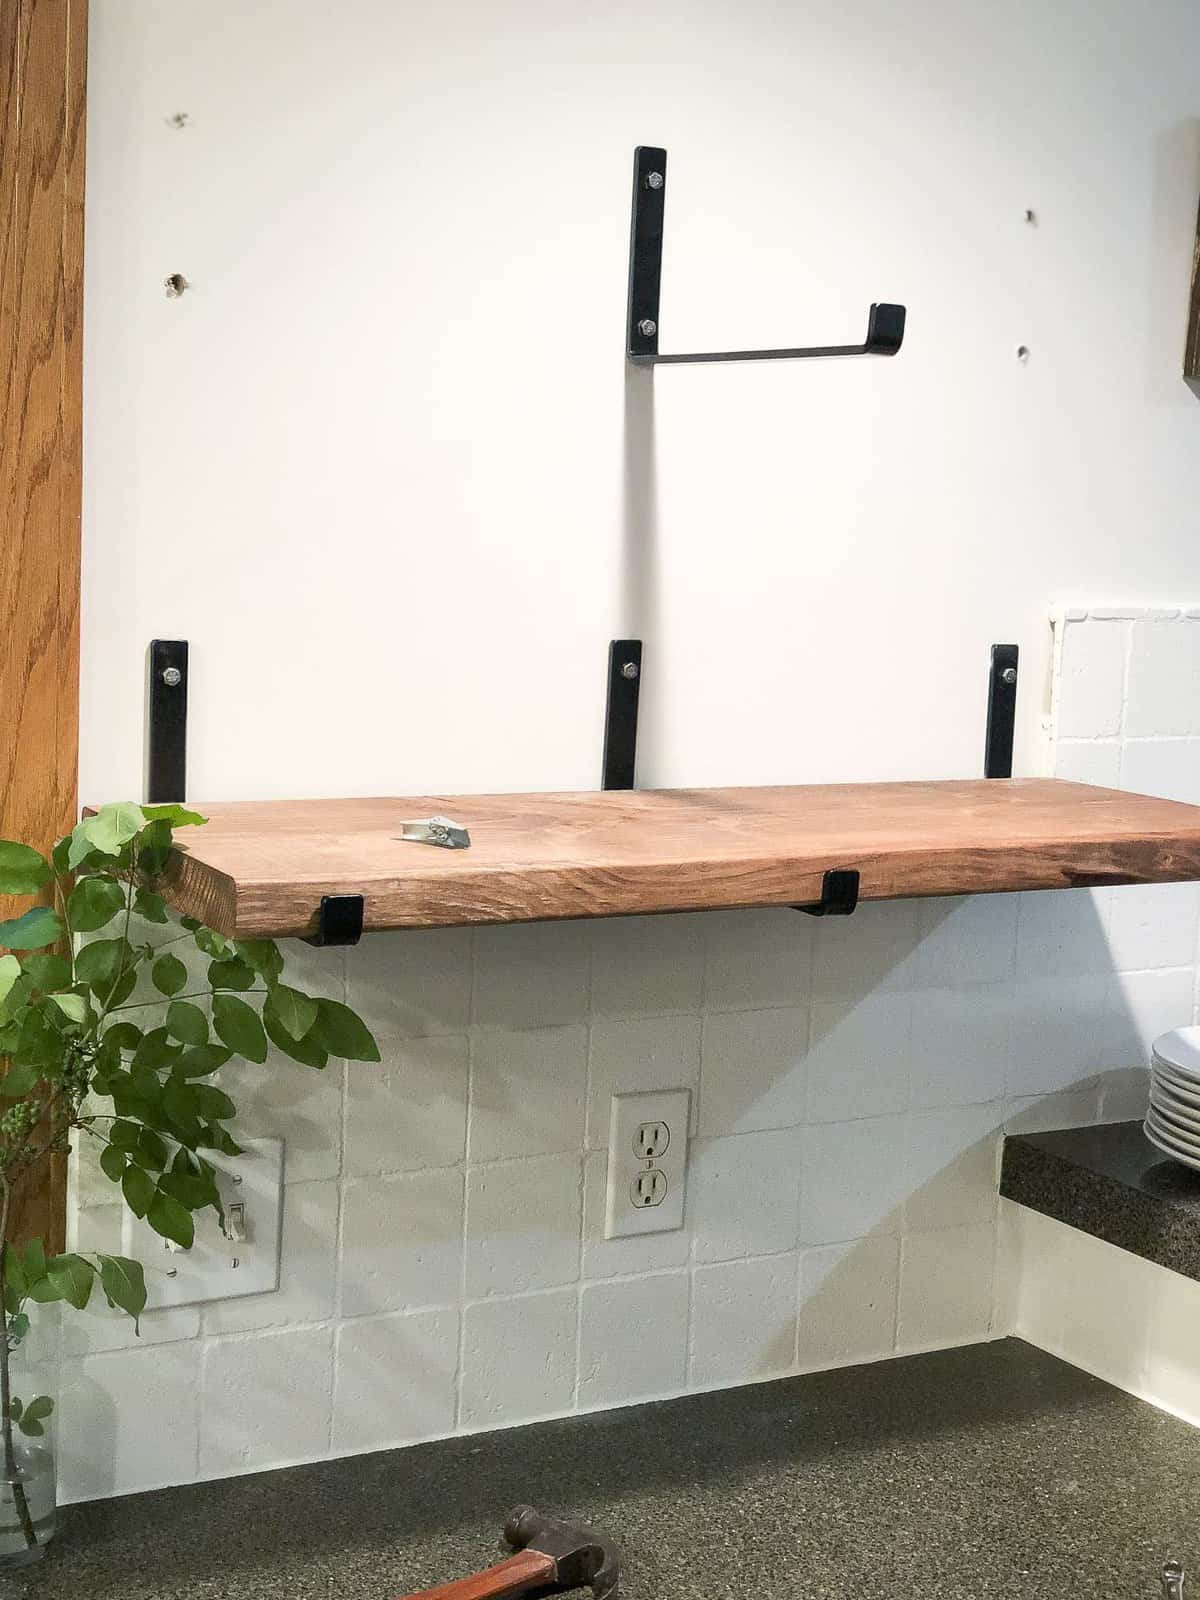
Step 5: Secure Brackets + Add Shelves
Ensuring your brackets are secured into studs (or using toggle bolts), you can now hang your brackets in your pre-drilled holes and place the wood shelf on top! These J brackets allow the shelf to rest inside of the lip of the metal. Other brackets require you to screw the wood down to the bracket. Simply make sure your shelving is secured appropriately so the shelf itself can’t tip or fall from the brackets with use.
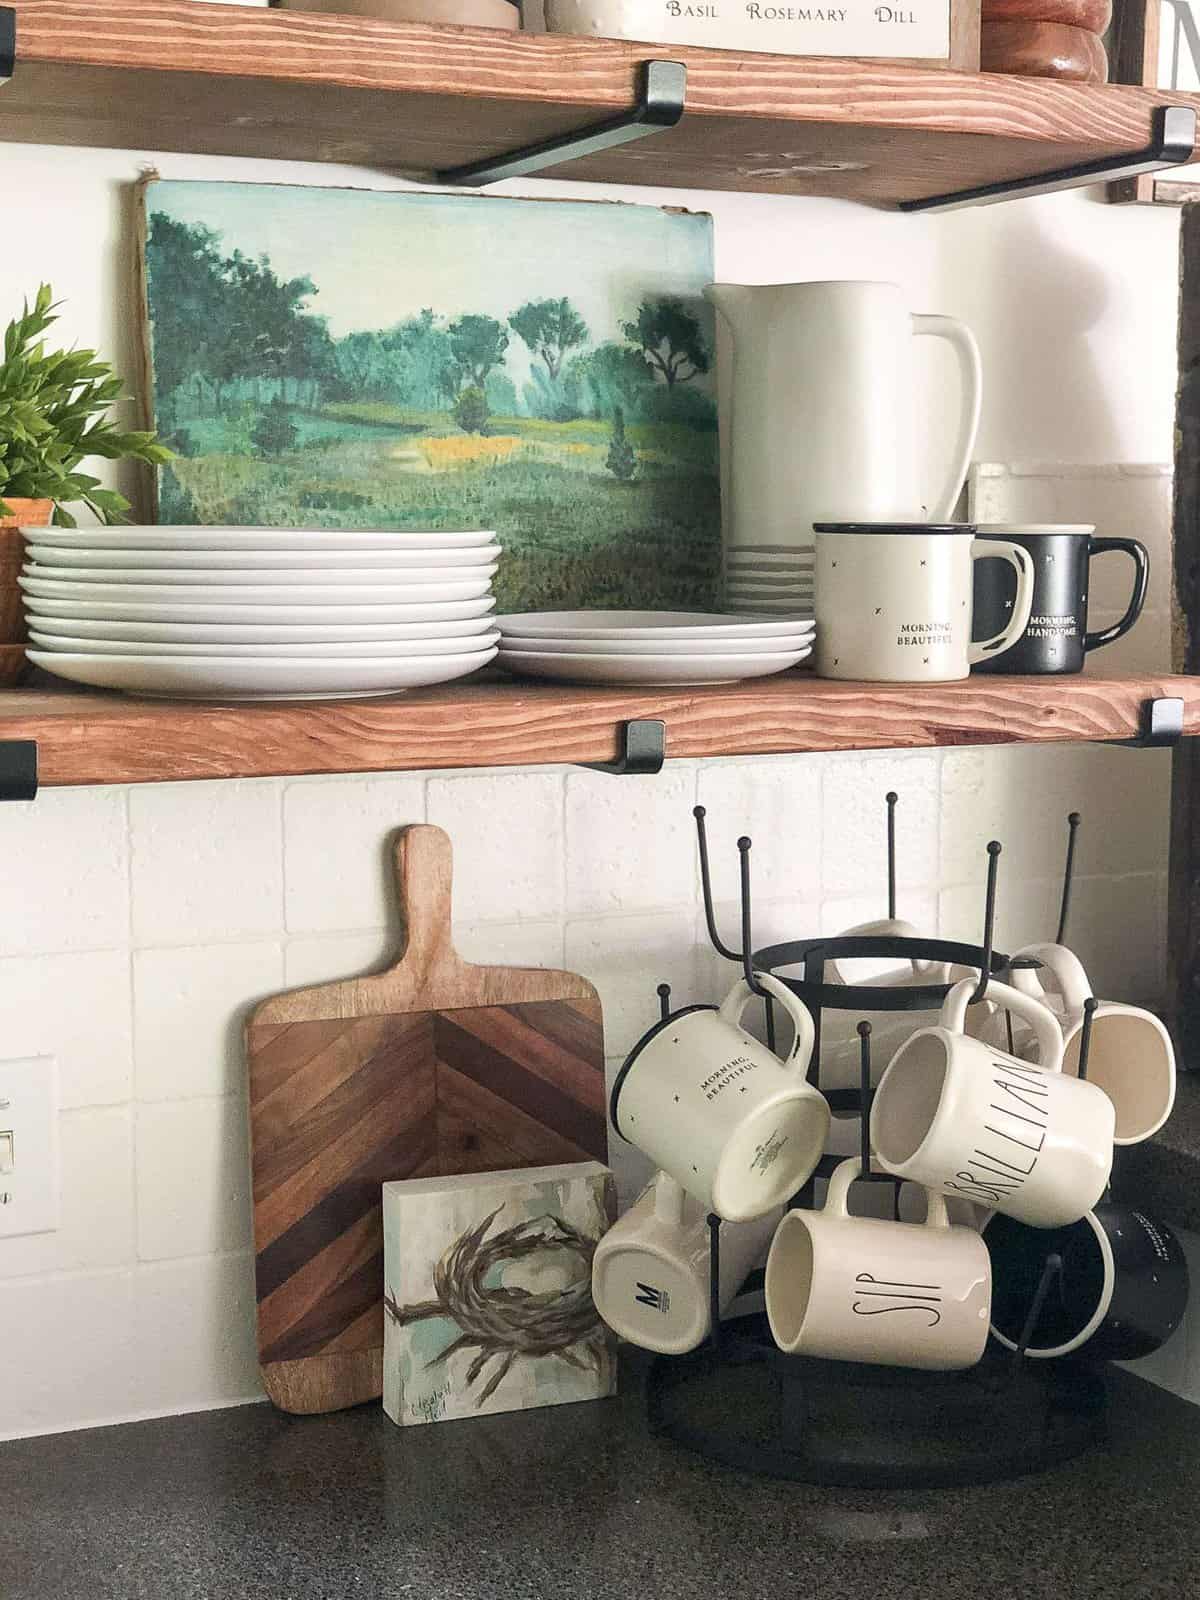
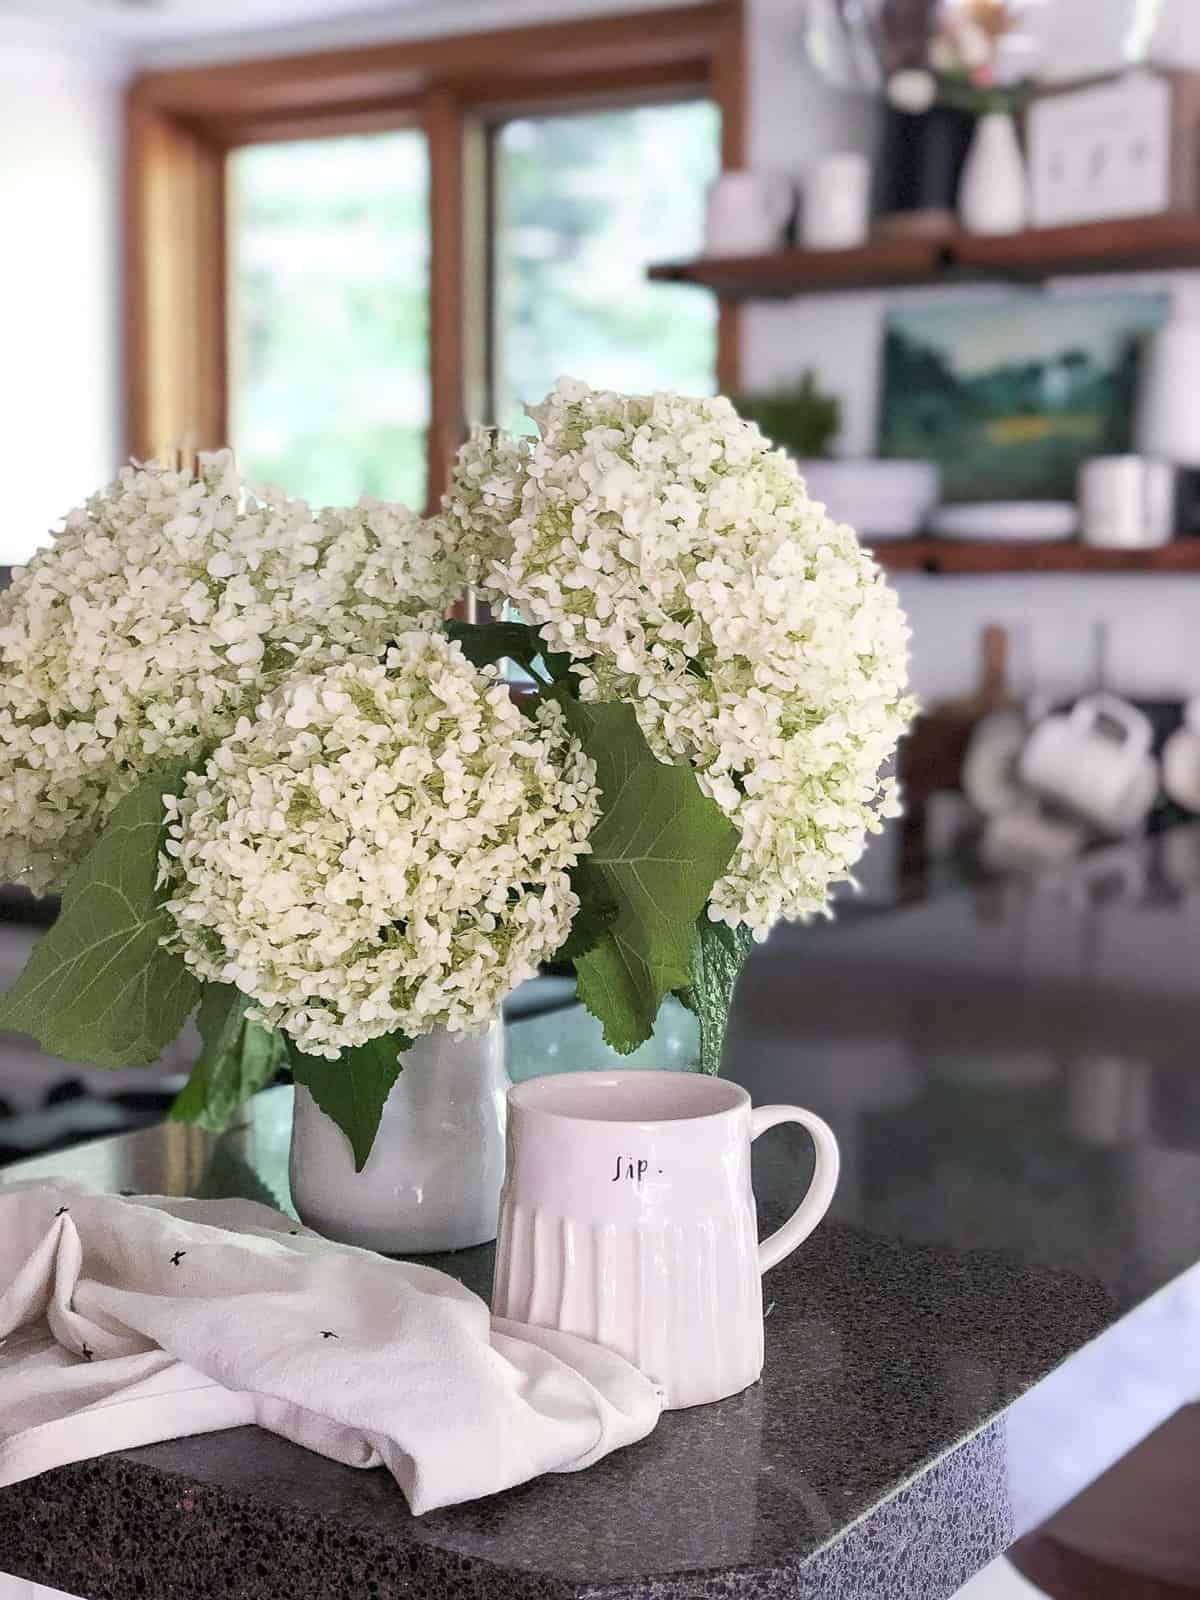
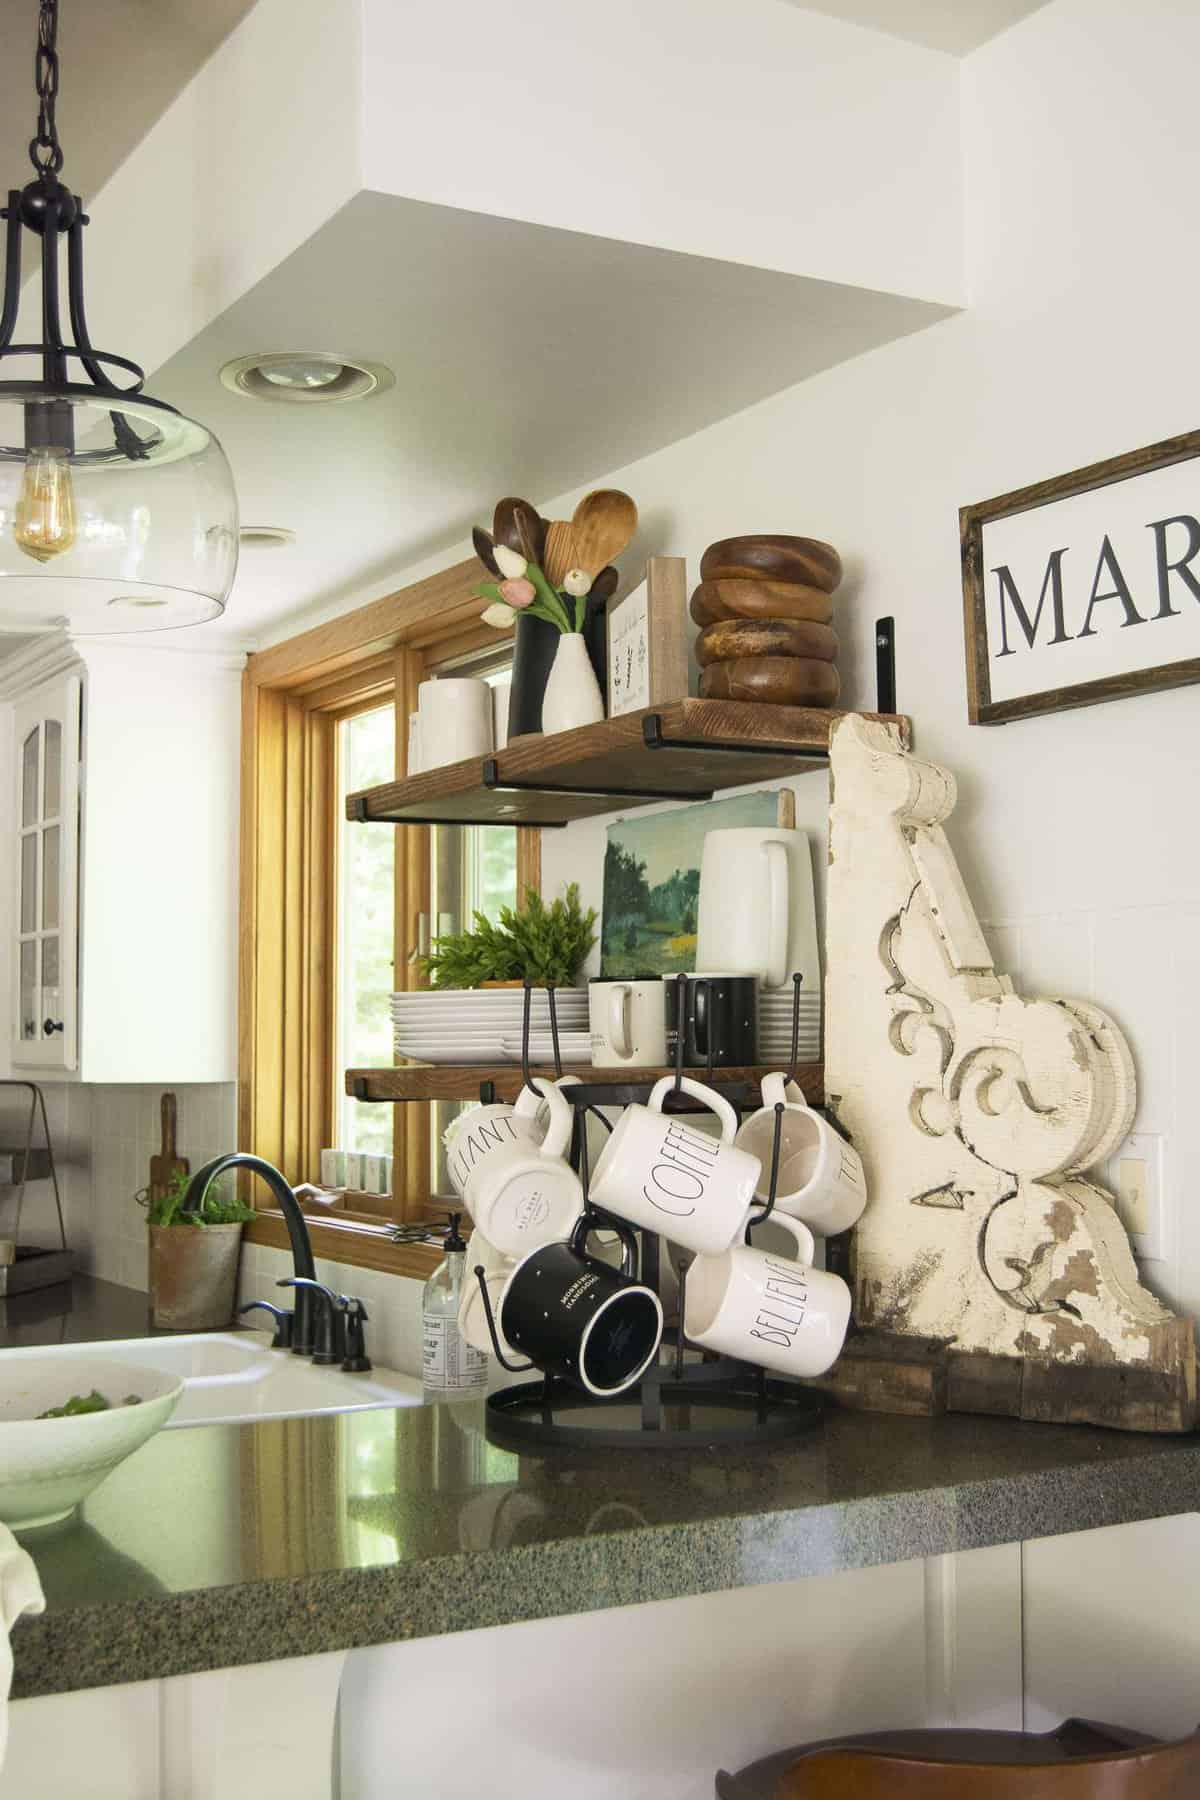
Step 6: Decorate!
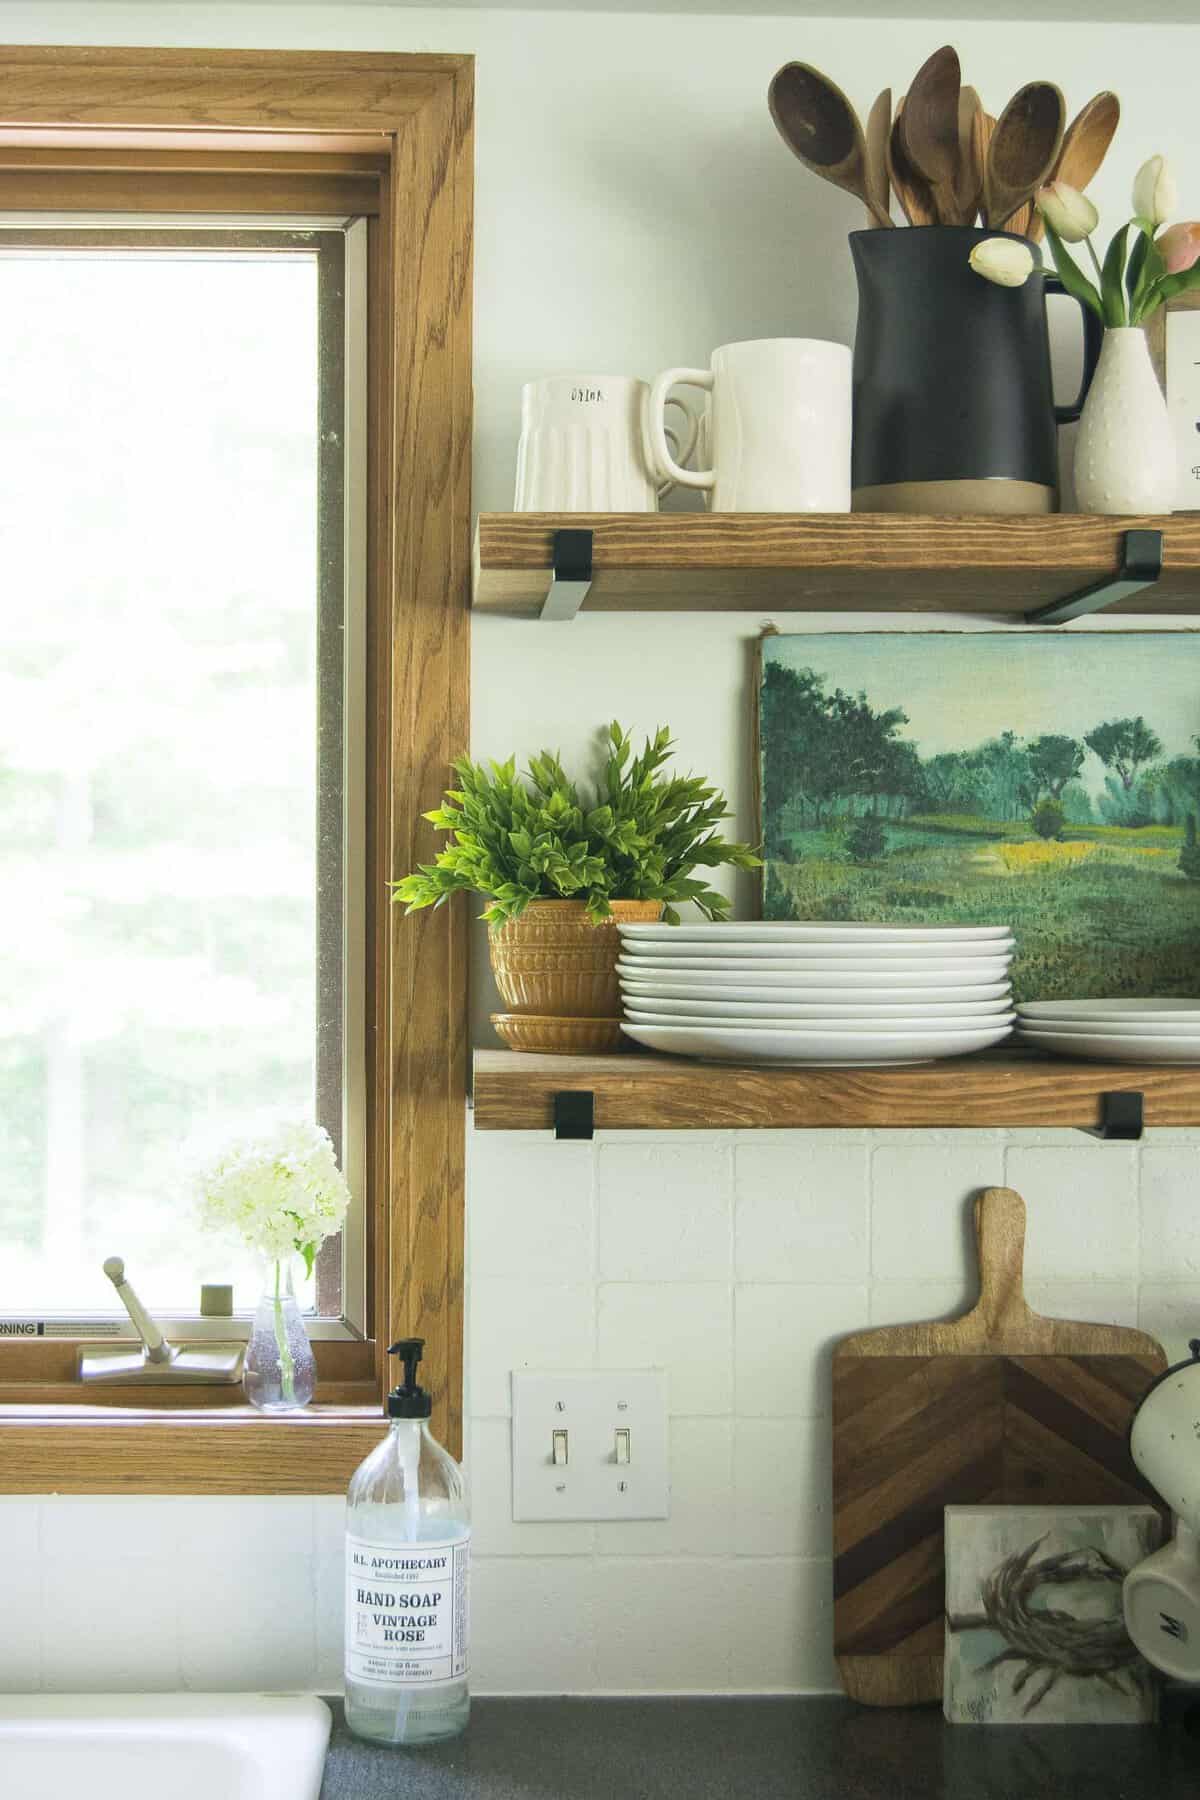
Your shelves are hung! Now it is time for the fun part. Decorating your new open shelving is a great way to add decor to the kitchen while giving space to practical basics like plates and mugs.
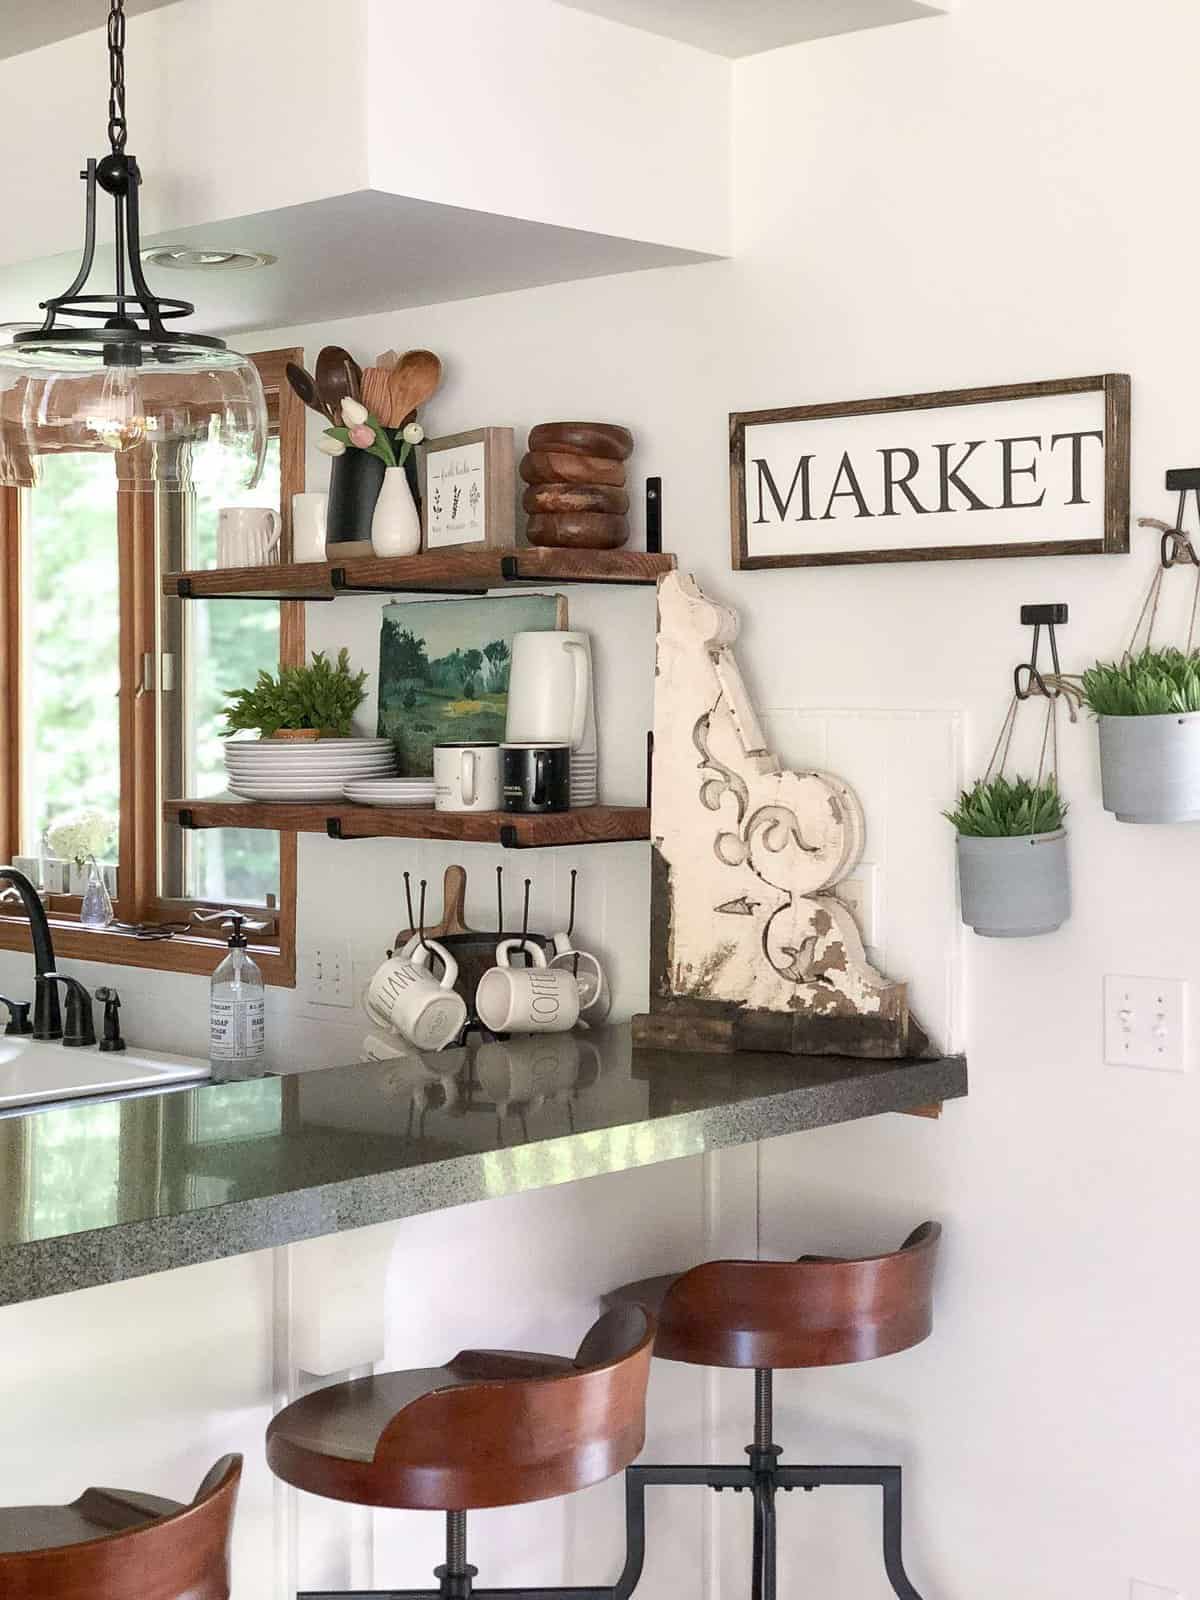
I love mixing unexpected elements into my kitchen open shelving like paintings or vintage items.
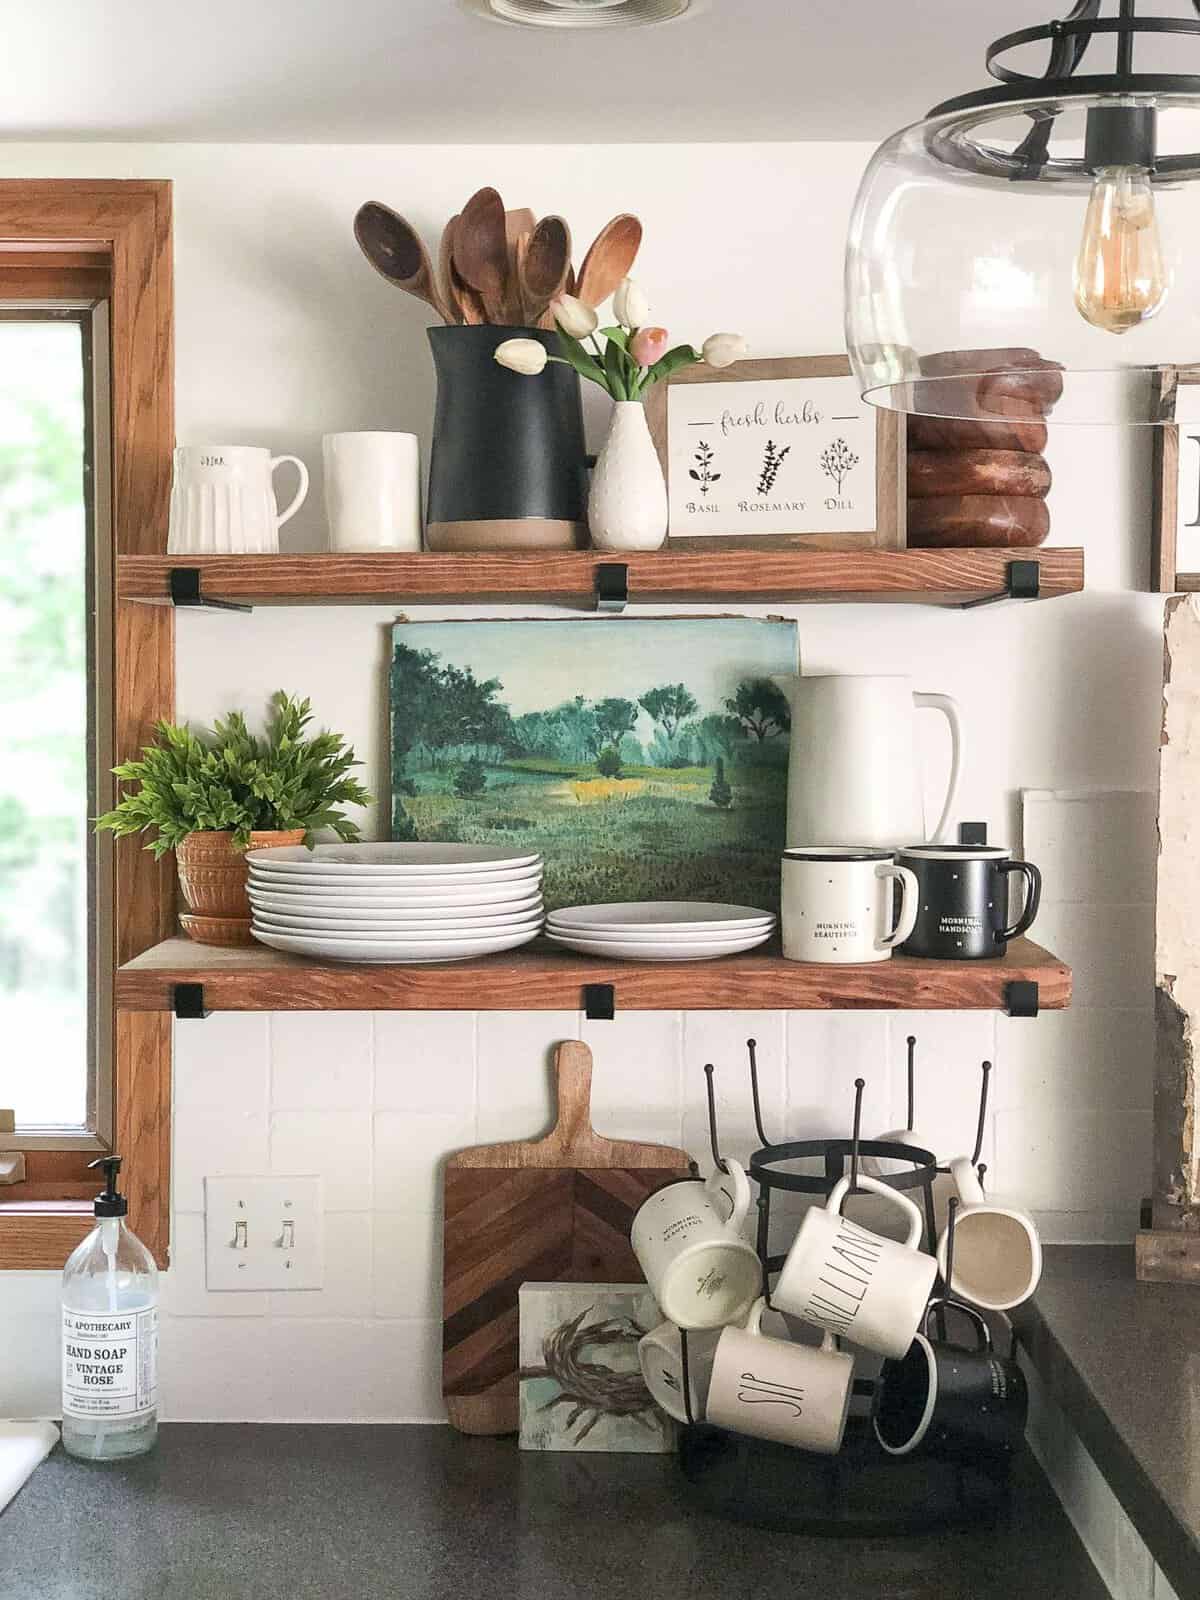
And of course plants are a must. Even if they are faux. 😉 Soon enough I’ll be adding a real plant baby to these DIY open shelves but for now I can’t go wrong with faux.
DIY Open Shelving Tutorial: Free Guide
So there you have it, the DIY open shelving tutorial is complete! If you want a simplified free guide, plus printable materials list, join my blog buddies and subscribe below! I’ve laid out the whole process step by step for you to have on hand while you create your own beautiful DIY open shelving!
Budget Kitchen Renovation Series
If you missed the previous posts in my kitchen renovation series, you can read them via the links below. And all of my subscribers also get a free printable guide to painting cabinetry, complete with a printable materials list! You can subscribe now to get your free guide!
- How to Paint Cabinetry: Prep + Materials
- Tips and Tricks to Painting Cabinetry
- How to Update an Outdated Backsplash with Paint!
- Finishing Touches: Kitchen Decor and the Big Reveal
I’d love to hear how your project goes if you decide to tackle this project! Leave me any questions in the comments below and I will update the DIY open shelving tutorial as needed.
So what do you think? Are you a fan of open shelving or do you prefer to stick with traditional cabinets? I’d love to know your thoughts!
Blessings,

{Good design is obvious. Great design is transparent. –Joe Sparano}
Your DIY shelves came out so great! I love this look in a kitchen. When I build my house in the near future, my goal is to have similar shelves and make it into a cute coffee/tea station. Thanks for steps!
That sounds wonderful! Good luck on the project!
Hi! I am loving this post and am in the process of giving my kitchen a little update too! I do have a question though. Why did you buy 11.25” J brackets but use 12” deep boards? Seems like the bracket would be too shallow? Thanks!
Because 12 inch boards are actually 11.25
https://cascadeironco.com/blogs/news/lumber-dimensions-explained
How is the common board holding up? Any cracking or warping?
Haven’t had any issues! I think if I would have used a thinner common board it would have warped, but with this thickness it has been great.
Trying to find the pendant but no luck any more info you can provide
It is from Lamps Plus, but they may no longer carry it.
Your tutorial was great! I appreciated you even wrote about which kind of lumber you used; I recently purchased mine and just got the same stuff. 🙂 . How far apart did you make your shelves?
Thank you so much! Mine are about 15 inches apart.
Great tutorial! Thanks so much! Can I ask where your pendant lights are from?
Thank you so much! They were from Lamps Plus. 🙂
What type of brackets are these?
Thanks for sharing! Super cool
They are J brackets! There is a direct link within the post for your convenience.
Wow! I love how the kitchen came out and the shelves. You did a really nice job and I hope I can do the same for my kitchen soon. Have a wonderful weekend!
Thank you so much! Good luck on your project!
Great job girl!! These make me want to rip out all my cabinets!!!!
Thanks Bethany! It really makes such a huge difference and is such an easy project!
Sarah those shelves are amazing! I am so impressed my friend! Thank you for detailed explanation I am saving this for when I add my own shelves!
Thank you so much Kelly! I can’t wait to see your project!
This is an amazing tutorial and overall truly informative and invaluable series. You’ve done such amazing work in all of these and your kitchen has turned out perfect!! Well done my dear friend!!
Thank you so much Brendt! I appreciated that! Your kitchen overhaul has been amazing to see as well!