
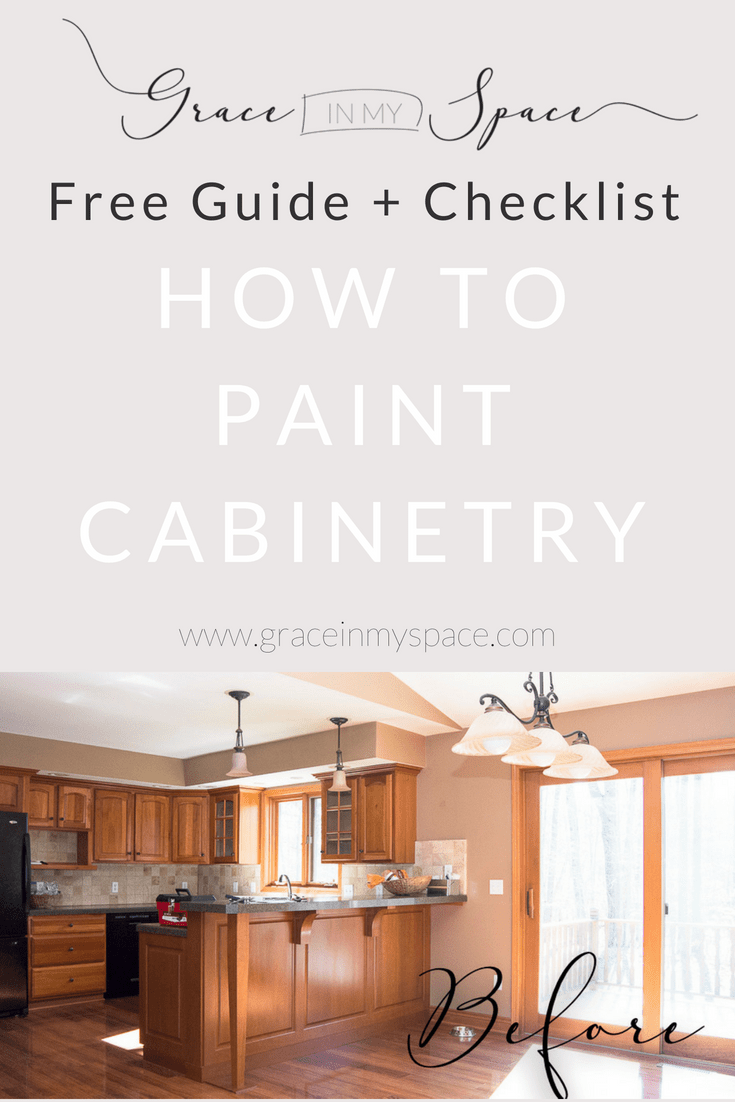
Paint Your Kitchen Cabinets in 7 Days | Prep Steps 1-3
Who is ready for a ginormous project?! If you follow along with me on Instagram, then you probably saw my kitchen cabinet painting escapades! It was an intense project with amazing results. So I’m here to say that if you have ever debated on whether or not to update your kitchen the good ol’ fashion DIY way, then do it! You won’t regret it. Well….you might regret it while you’re doing it. 😉 But afterwards you will be so happy! So here is the step by step tutorial on how to paint your kitchen cabinets in 7 days.

This post may contain affiliate links where I earn a small commission at no additional cost to you. The Magnolia Home by Joanna Gaines paint featured in this post was provided by KILZ; all opinions and reviews are my own.
Want a Free Printable Guide + Checklist for This Project?
SUBSCRIBE NOW
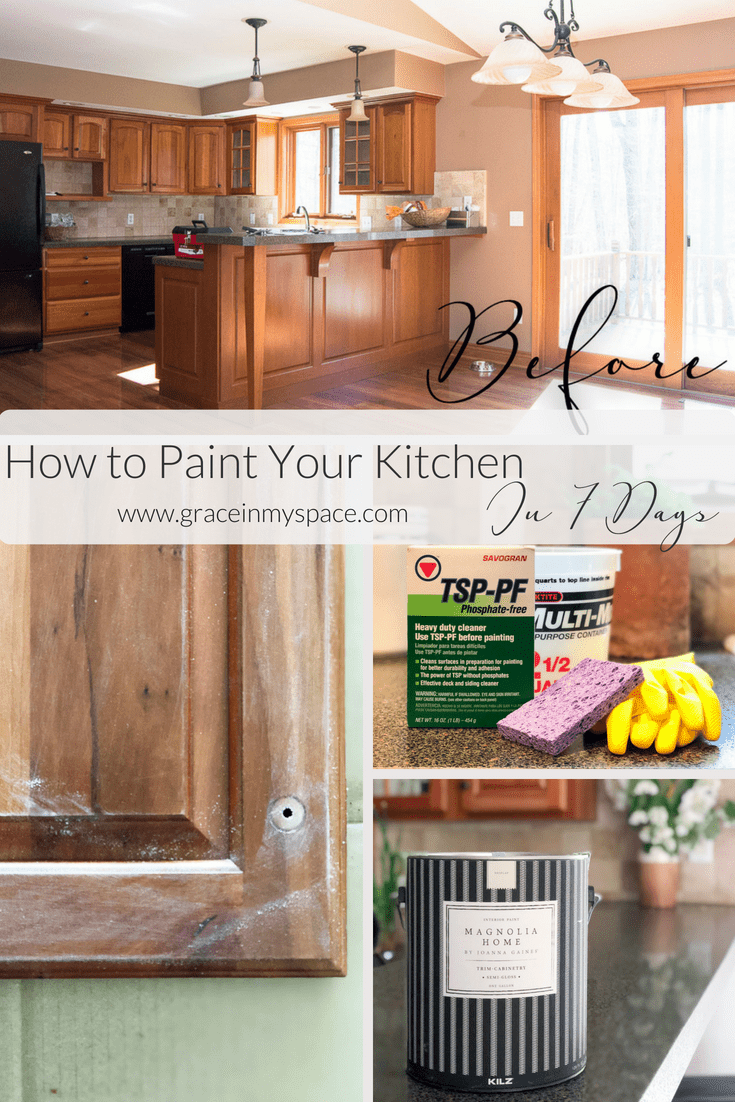
How To Paint Your Kitchen Cabinets in 7 Days
Why 7 days, you say? Well folks, because I’m a realist. This isn’t a weekend project unless your kitchen is teeny tiny. This is a large undertaking so I hope that this tutorial gives you plenty to consider as you head into the abyss that is a DIY kitchen renovation.
Scared yet? Haha! Don’t be! Yes, it’s a TON of work. Yes, you will probably go slightly crazy about halfway through. But, at the end you will still have $29,700 in your pocket (rather than installing a brand new kitchen), your kitchen will be brought into the 21st century, and you will be SO happy you put the work in. There is always a sense of satisfaction in accomplishing a large project. So here we go!
The Series Lowdown
There are so many steps in this project that I’ll be breaking into a series.
- How to paint your kitchen cabinet in 7 days: Prep Steps 1-3
- Painting Tutorial {HERE}
- Updating Your Tile Backsplash {HERE}
- Finishing Touches {HERE}
- [Bonus Post!] DIY Open Shelving Tutorial {HERE}
Today I’ll be focusing on how to prep for your project.
Preparing to Paint Your Kitchen Cabinets
First off, let me just say that our new home had a nicer kitchen. It was outdated, but the quality of the cabinets was great and the layout worked well enough. Would I have completely rearranged where the appliances were and ripped out the peninsula to install an open center island if I could have? Heck yes!
But, I like $30,000 to not be spent on a kitchen that was already sufficient.
My preferred style? Not really. But sufficient? Yes.
Thus: a DIY kitchen that costs the amount I spent on paint and materials and a little bit of my sanity. Worth it.
Materials
So let’s start with the materials! This is a fairly simple project but it’s time consuming and tedious. So it is best to have all of your materials on-hand before you begin so you don’t prolong the project by making multiple trips into the store for supplies. Which is basically my DIY project M.O. Don’t be me. 😉
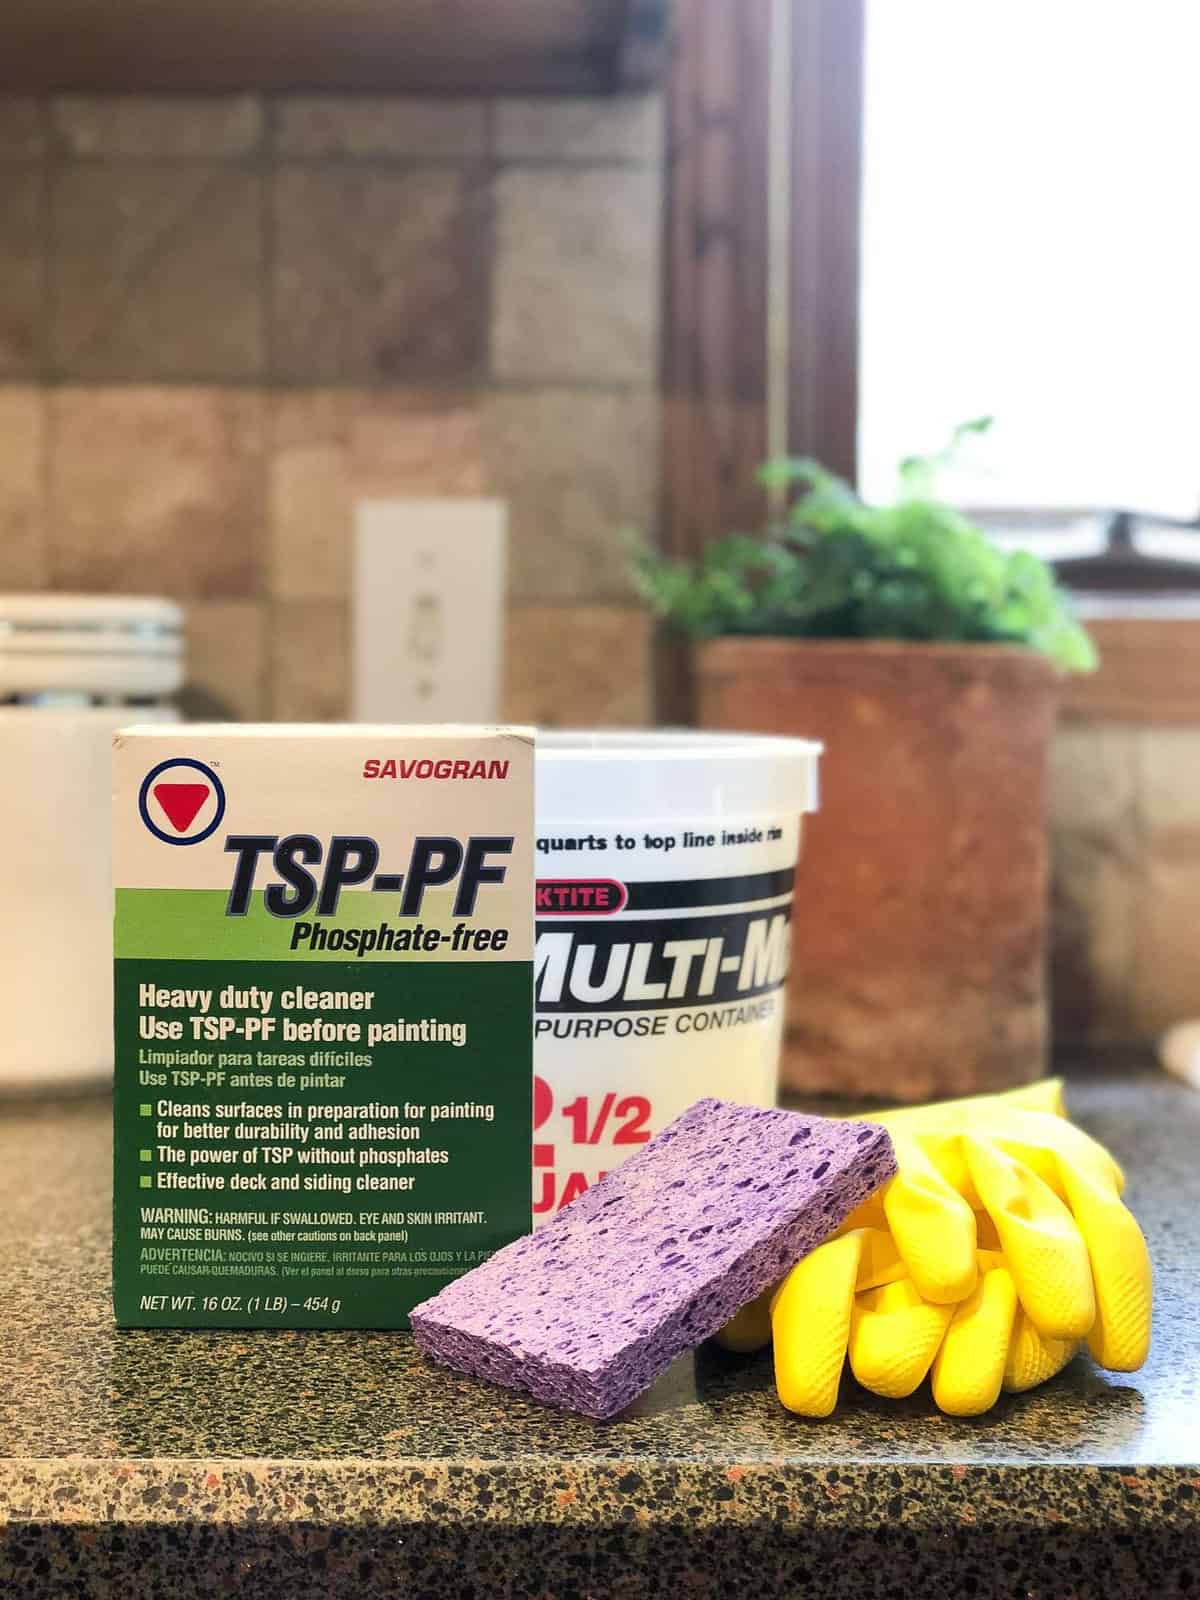
Cleaning Materials
- TSP
- Rubber Gloves
- Bucket
- Rag or sponge
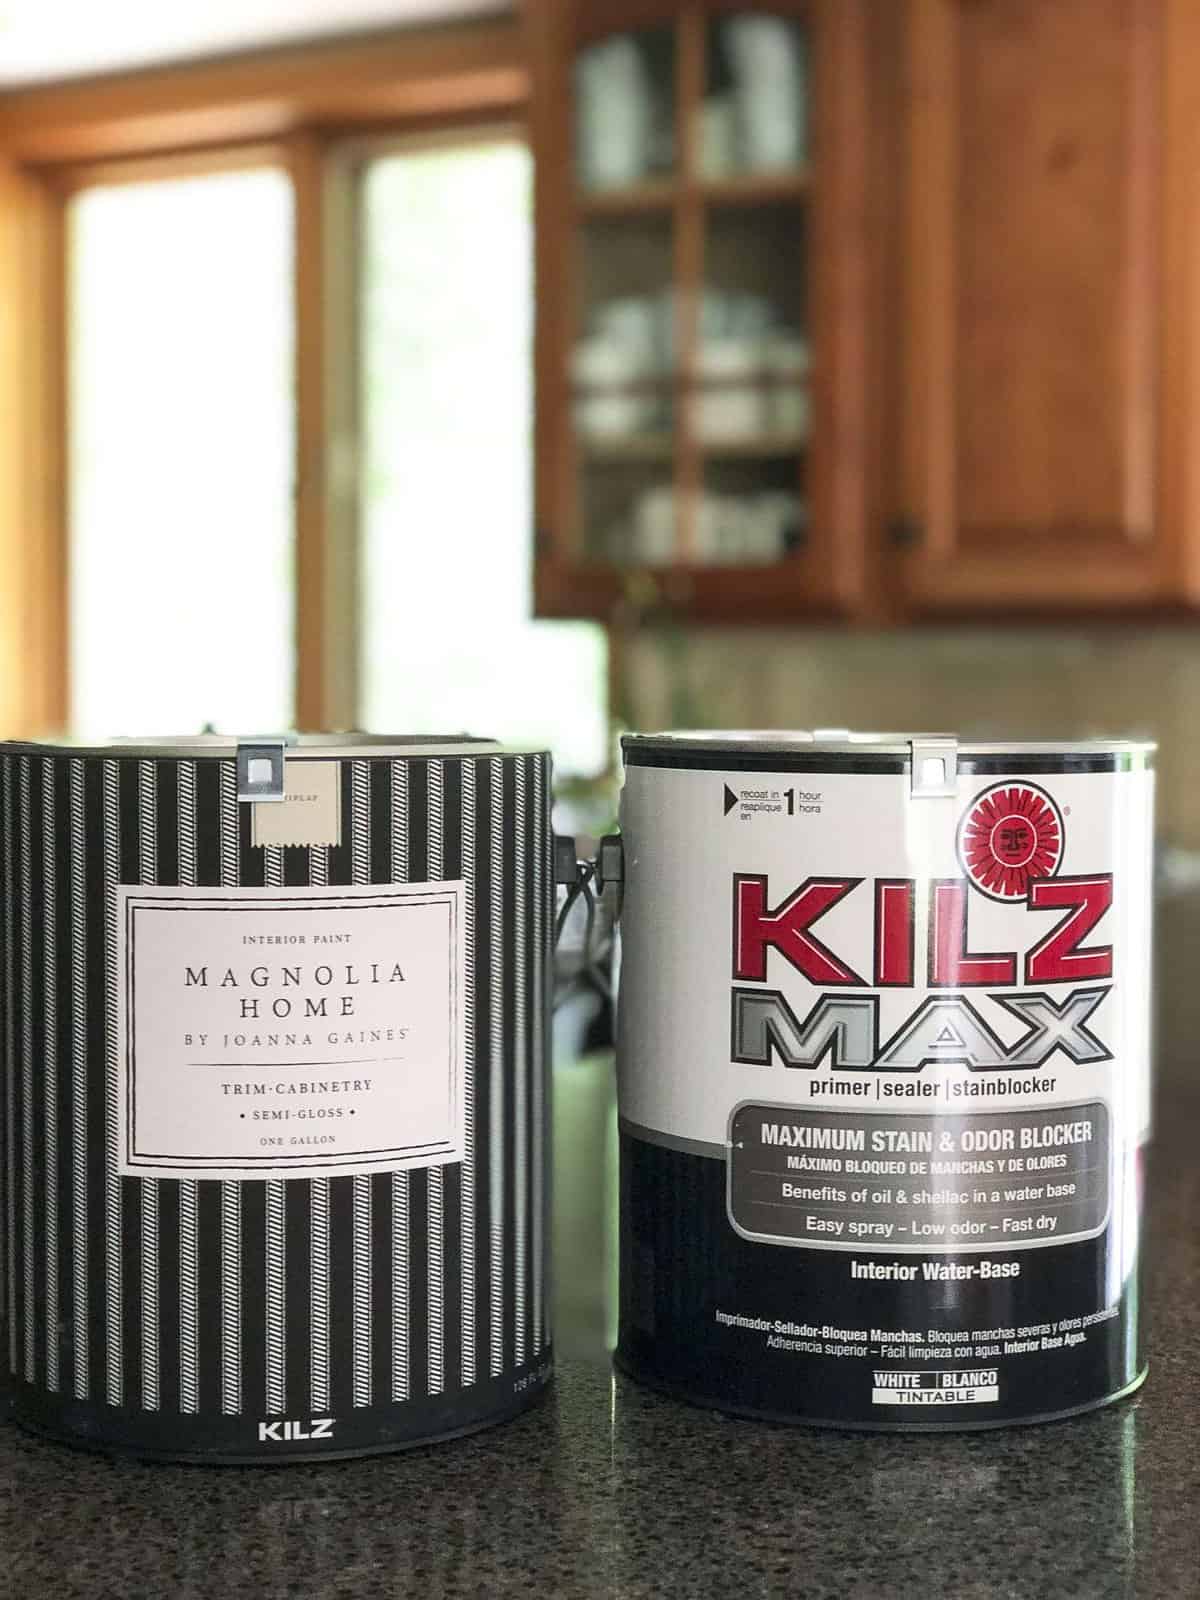
Paint Materials
- Heavy Duty Primer
- High Quality Cabinet or Trim Paint
- Mini 4″ Paint Rollers (Multiples! I used at least 6 for the size kitchen I have.)
- Paint Tray
- High Quality Paint Brush (THIS is my favorite brush.)
- Saran Wrap + Tin Foil for preservation of brushes and rollers in between coats
- Rags
- 220 Sand Paper
- Painters Tape
- Drop Cloths if needed (I didn’t use any, but I’m a pretty clean painter.)
I used KILZ Max for my primer because of the high quality coverage and protection from tannin bleed through. It touts oil based coverage in a water based paint which gets two thumbs up from me! I avoid oil based paints if I can because of the smell and hassle of clean up, so I couldn’t wait to try this one out.
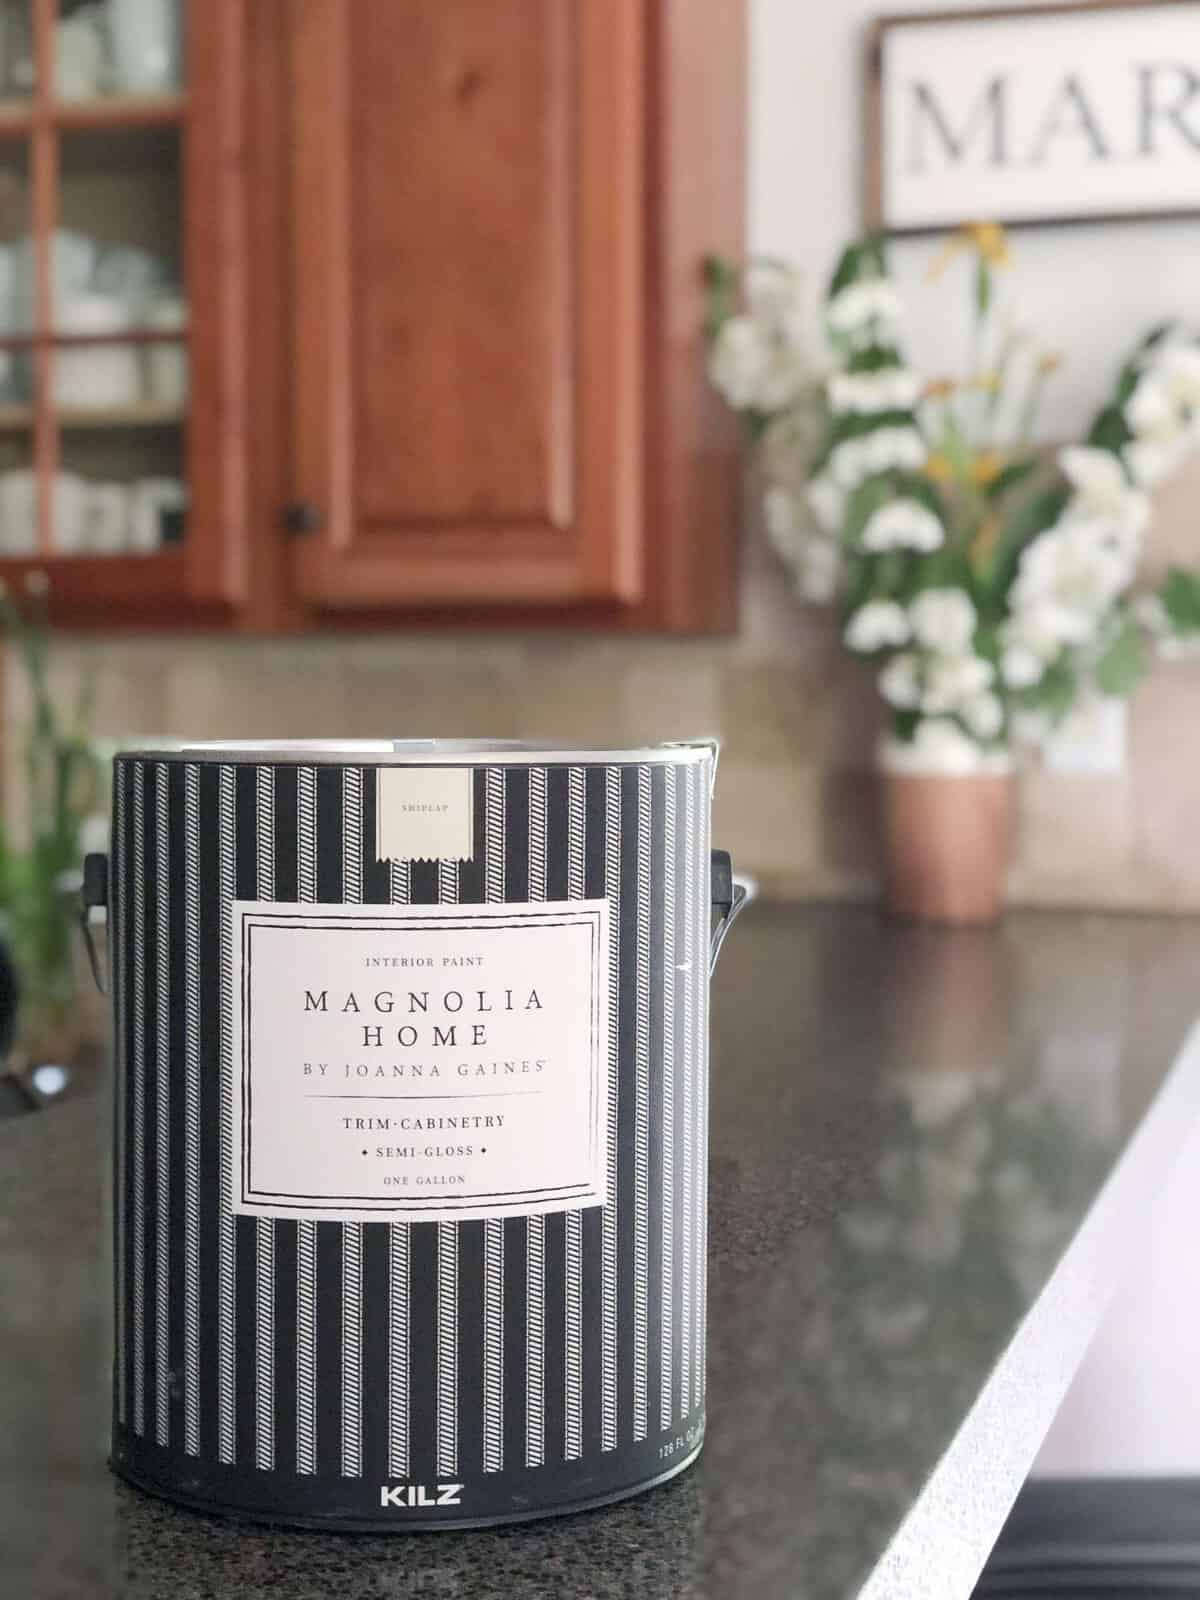
And I chose Magnolia Home Trim-Cabinetry paint in Shiplap for the final coat. I have used Magnolia Home’s paint on 90% of the interior walls in my home (check out my sunroom reveal and master bedroom updates!) so I knew the brand quality was superior. This beautiful paint comes in a semi-gloss for durability and ease of clean up.
Hardware Materials
- Screwdrivers or drill
- Elevated Workstation (if you’re able)
- Canned Veggies or Soups (You’ll see why…) Or you can just be boring and buy legit paint pyramids.
- Hammer
- Paintable Caulk
- Coffee (with cream please)
How To Paint Your Kitchen Cabinets in 7 Days:
Step 1

First, set up a work station that has a climate conducive to painting. I started my project in my garage and quickly realized it would be too humid by mid day for my paint to dry well. So I had to set it up again indoors later.
Next, remove all the hardware from your cabinetry. Knobs, pulls and hinges can be painted around but it will be HORRIBLE. 🙂 I’m telling you, for your sanity, remove it ahead of time. After removing your hardware, make sure you place it in a place where you won’t lose screws and other small parts. I simply pushed my hinges inside of the cupboards they were used on and put all the knobs inside a gallon zipper bag.

Set up all your doors and drawers in a space that you can easily maneuver around for the painting process. Make sure they have some space between each cupboard door to fit a roller to paint the edges. Also, make sure to clearly mark where the doors or drawers came from. As you can see above, I just wrote either a location (corner) or what is inside the cupboard (glasses) to help me remember.
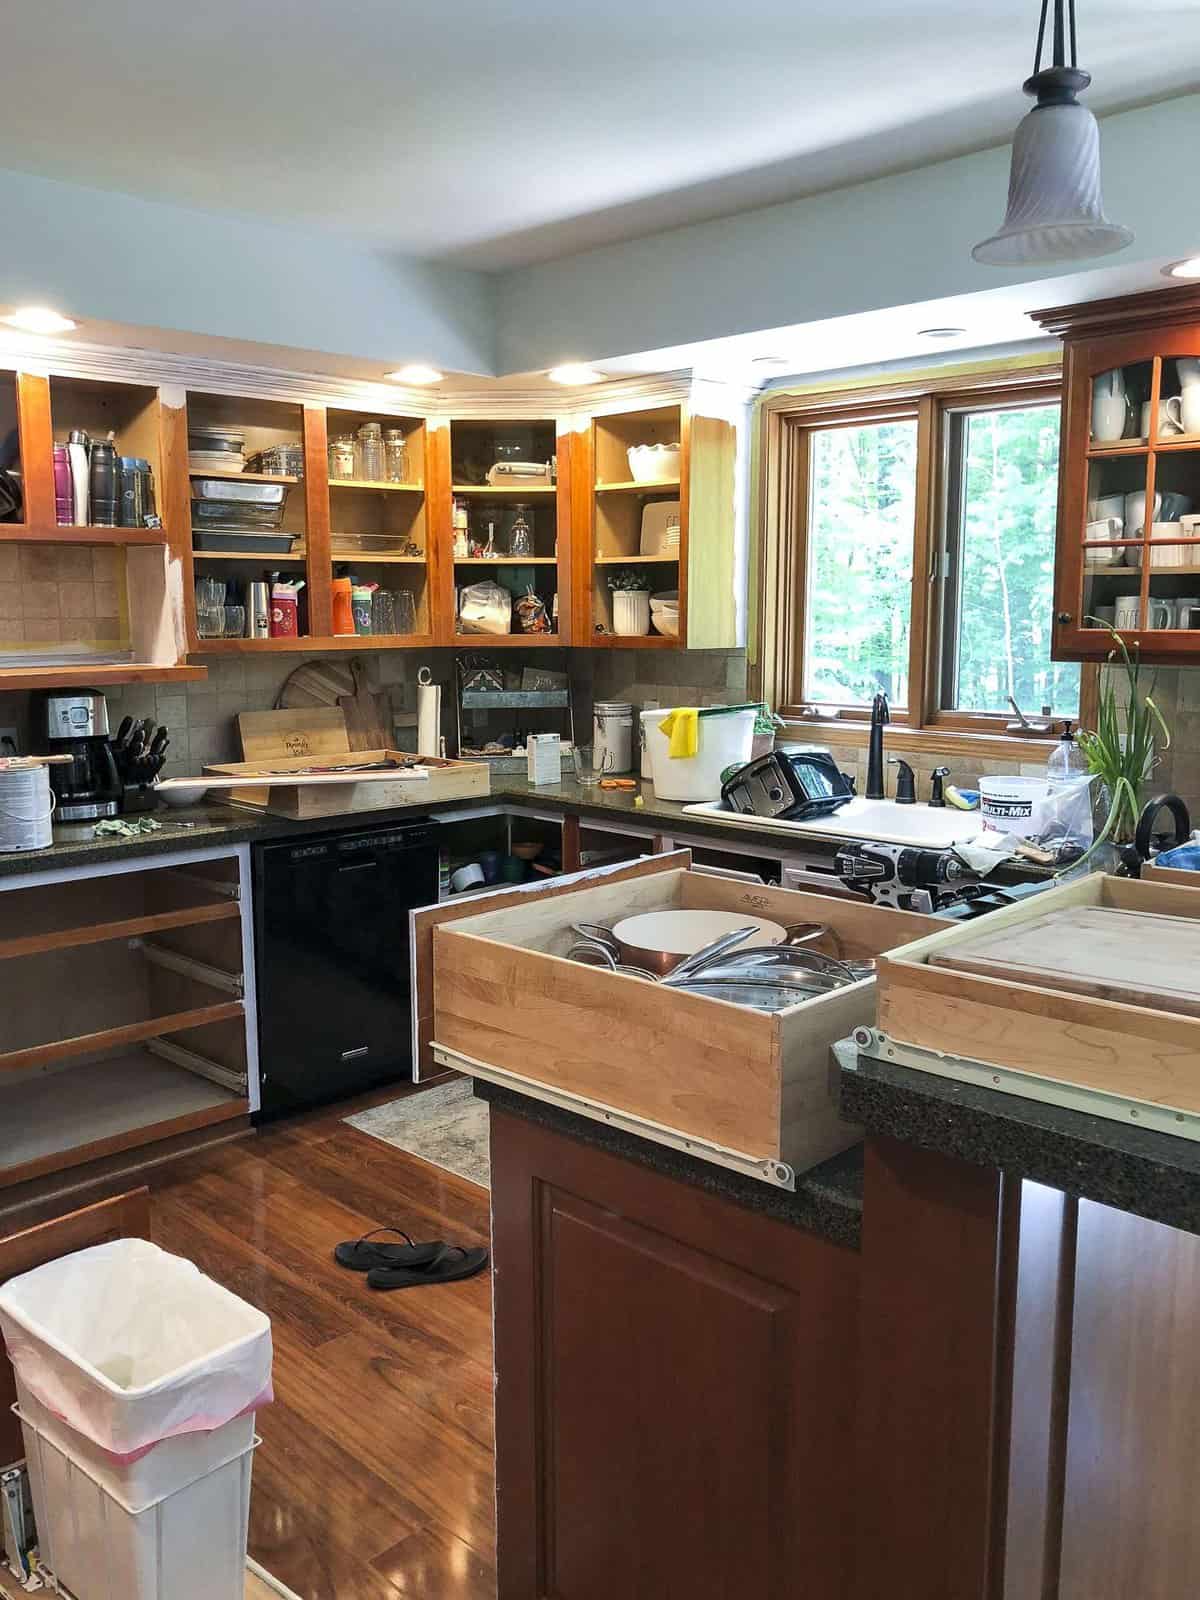
Don’t be afraid. It will look like this. Just know you will live in slight chaos for the remainder of this project.
Step 2
Time to clean! The second step will utilize the materials from the cleaning section above. Use a tough cleaner like TSP to clean all of the grime, oils, and dirt from the surface of your cabinetry. Simply follow the directions on the container for the how-to.
Make sure that you thoroughly clean the surface. You may need to do it twice if your cabinets are especially dirty. This will ensure a clean surface for the paint to stick to. Plus, you don’t really want stuck on food protruding from your fresh paint job.
Step 3
Sand away! The number one question I received while walking through this project on my Instagram stories was, “Do I need to sand?”
My answer: Yes.
I sanded the face of every cupboard door and the drawer fronts. I chose to do only those rather than the cabinet frame as well because I got lazy. There you go. I’m only human people. 😉
But after painting the cabinets I could DEFINITELY tell a difference from the areas I sanded and the areas I didn’t. The sanded areas had much better paint coverage while the non-sanded areas took more coats to cover.

Sanding simply grits the finish so the paint has something to stick to. You don’t need to heavily sand off the entire finish. Just rough it up with a fine grit sand paper. Spend 1 minute on each door/section and then move on. You’ll thank me later.
After sanding, make sure you wipe everything down well to remove any debris and leave your surface completely clean and ready to paint!
Next Steps: The Real Work Begins
Okay, my friends. There you have the foundation of how to paint your kitchen cabinets in 7 days. The removal of the hardware, cleaning, and sanding of my kitchen took me about 3-4 hours total. This is the easy part! Next comes the real work. My next post in the series will include all my best tips and tricks for how to get a professional finish with a roller.
Yep, you read that right. I did NOT use a sprayer. Why? Because I didn’t have one and I didn’t want to buy one. If you haven’t learned much about me yet, just know that I like to make do with what I have. Make it work! That’s my motto.
So what do you think? Are you feeling ready to tackle a project like this? Or do you need a little more encouragement? It’s coming in the next post!
UPDATED: The final posts in the series are live! You can learn all the steps to painting your cabinetry {HERE}. You can learn how to paint your tile backsplash {HERE}. You can get a free guide to DIY open shelving {HERE}. And you can see the full reveal {HERE}!
You’ve got this.

{Perseverance is the hard work you do after you get tired of doing the hard work you already did. – Newt Gingrich}
Hi Sarah, What an incredible post!! You have shared an interesting topic. Your kitchen is going to turn out beautifully! Thanks for the great write up!
Thanks for share.,…….
Do you feel the paint held up well through the past few years? Are you still happy you made the choice to paint with Magnolia Home?
We actually ended up renovating about a year and half after I painted the kitchen! But in that time it held up perfectly. Since I loved the paint so much, I also used it to paint all my interior doors and they’ve held up amazingly as well.
Great information!! Thank you!
You’re welcome!
Your kitchen looks great! I am wondering for the kitchen that you did how much primer and how much paint did you end up using. Was one gallon of each enough? Two gallons? Just trying to get a better idea before I take on my first home project (Eek!)
I used two gallons of each. It leaves me with enough left overs for touch ups!
Wow, BRAVO for such an honest REALISTIC rundown of this process!! I want to paint our kitchen so so badly, and there are so many tutorials on how. All touting how easy it is, or how it’s just a weekend project, or no sanding, or no priming, etc. I have two small kids, and an eye for mistakes… so the outcome of rushed projects that cut corners scare me. I’ve only ready part one so far, but I can already tell I will %100 be using your tutorial and 7 day time frame when I dive into this project!
Thank you Nora! I definitely like to be realistic. 😉 Good luck on your project!!
This is a big help as I will be helping my sister paint her kitchen cabinets next summer.
I’m so glad! I hope they turn out exactly as she hopes!
A very useful content to read on painting the kitchen.
Thank you so much!
Girl you are amazing! Thank you for laying it all out so clearly for me!
My pleasure Kelly! I hope it is helpful!
Sarah! This came at the most perfect time my friend! We start today and can’t thank you enough for all the material and tips your article provided us. What an incredible post!! And of course your kitchen looks amazing ??!!
Your kitchen is going to turn out amazing I’m sure Brendt! Good luck!