Chalk It Up
Happy Friday!
I’m cleaning my house like a mad woman prepping for out-of-town guests in a couple of days. Does anyone else get their cleaning motivation from outsiders who’re seeing your home for the first time?! Dusting is completely unnecessary on a daily basis (in my opinion) but if guests are coming over you better believe I get out that cloth and grimace at how long it must have been since I last dusted to collect so. much. dust. But, from the earth we came and to the earth we will go so I’m just gonna let it reside with me. 😉
Enough about my bad cleaning habits. Today I have a SUPER quick and easy tutorial on creating your own chalkboard from unusual items. This is probably the easiest DIY I’ve ever done so prepared to think outside the box.
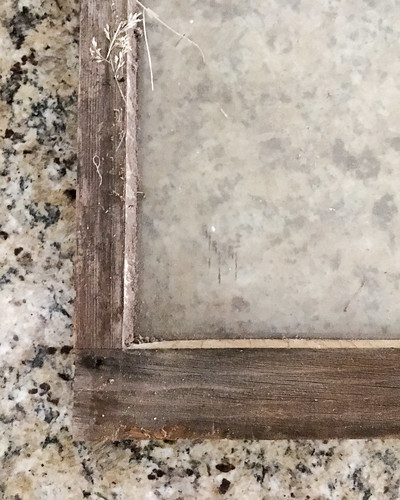
I was shopping at a favorite little boutique of mine, Pink and Frillos, and came across a huge pile of vintage windows that were just full of potential. Now, you’ve got to know that I love me some old windows. I have many of them around my house. I just think they bring a lot of character. But this time I thought to myself, “Self- you should make a chalkboard out of that.” And so I did! I asked April, the super sweet and most adorable shop owner you’ve ever seen, how much the windows were and she was like, “eh…$5.00?” Why yes April. Yes, I will buy that window for $5. 🙂 So here’s what you will need:
- Old window or other such flat surface (Oh, and just an FYI, I’m 100% positive I’m not the first one to ever do this. So browse around for other items you can repurpose if you are wanting a chalkboard but aren’t into the whole glass thing. It made me a little nervous to write on glass but I will just be extra careful.)
- Painters Tape
- Cleaner
- Chalkboard paint or spray paint
First things first, always clean up your junk. Luckily my window didn’t have any of the old paint on it; but, if it had I would tell you to make sure you don’t let little specks get into your kiddos’ mouths in case it is lead paint. I got your back.
Only a half a roll of paper towels and a bottle of cleaner later and she was ready for paint. (You already know about my cleaning habits so I’m not ashamed to admit that after a while I kind of gave up on the whole cleaning thing. I mean, this window is stinking old. I guess it deserves to keep some of its layers.)
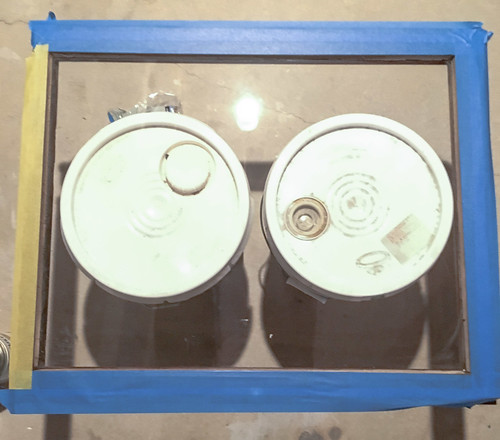
First off, tape up the outside edges. Make sure you do this really well if you are spray painting so you don’t get overspray on the frame.
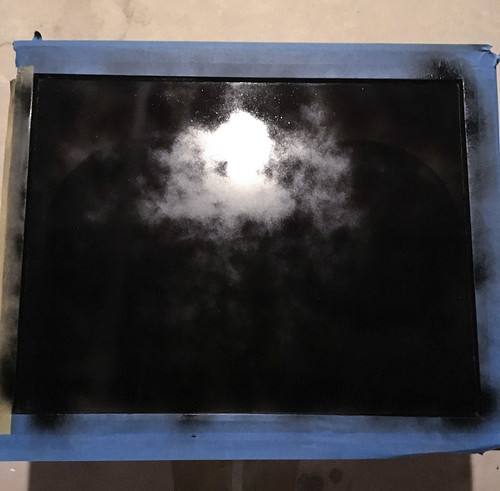
Next, follow the instructions on the can and spray that chalkboard paint onto the glass! Easy peasy. My best tip for getting good results with spray paint is to start spraying just to the side of the item you want to paint and then to be constantly moving in one direction. That way the first shot of paint hits your drop cloth and not the item you are painting so it doesn’t get too much in one spot. Never hold on one spot and keep the can a good 10 inches away from the item. Otherwise you will get drips. Make sure to do a couple of light coats.
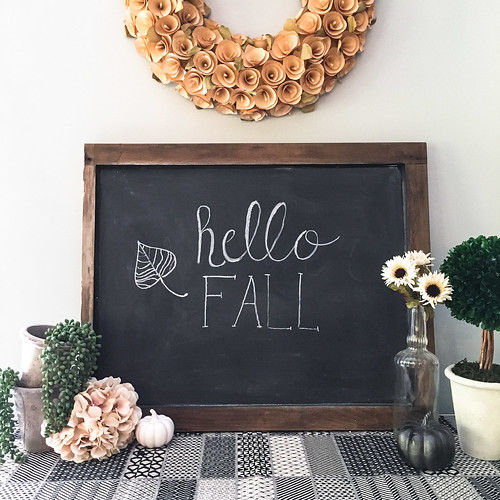
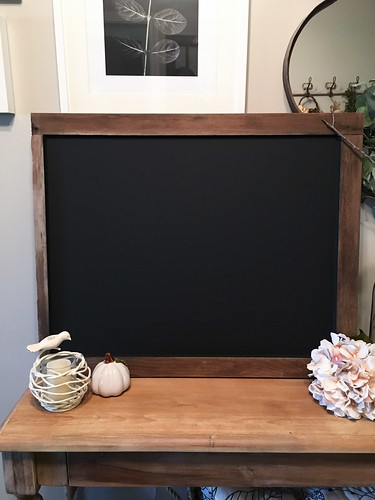
Let it dry, take off the tape, and you’re done! Seriously, so easy. Total cost: $8.00 as opposed to the “vintage” chalkboards you can get in the stores for $25 +.
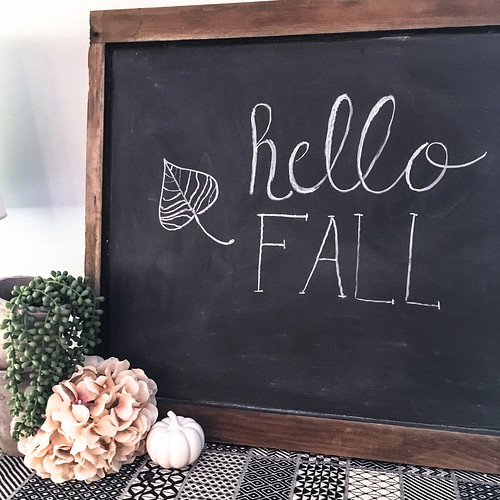
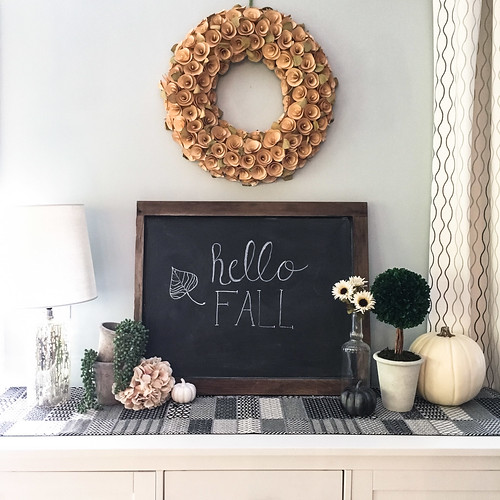
Do up a little chalk art and find your inner child for a while. That is the fun part!
What else have you repurposed into a chalkboard? Be blessed this weekend my friends! And Happy Halloween!
Sarah
{Each of you should use whatever gift you have received to serve others, as faithful stewards of God’s grace in its various forms. 1 Peter 4:10}

Adorable! I adore the styling you did!
So cute! Love how you styled it!
Thank you Megan!