
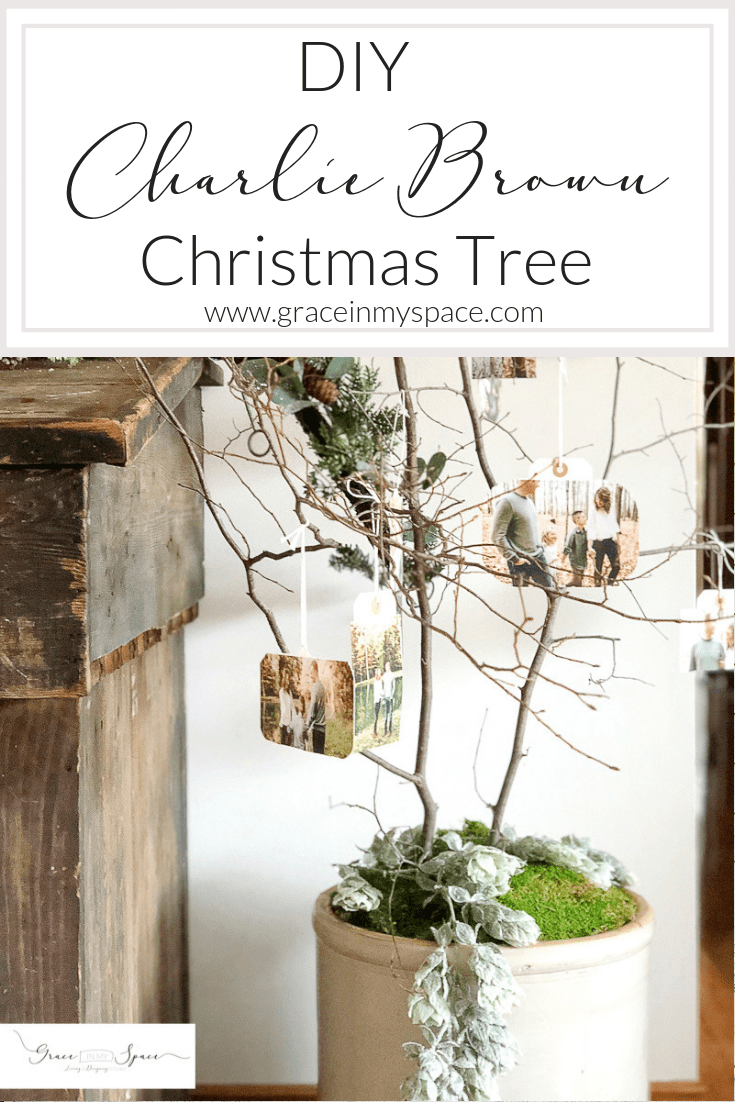
DIY Charlie Brown Christmas Tree
Hello my friends! Today I have a super simple and fun DIY Christmas project for you! If you are lacking space or just prefer a minimalistic look, here is a quick tutorial on how to make your own DIY Charlie Brown Christmas tree!
This tutorial is a pre-cursor to another fun DIY I’m showcasing later this week, so stay tuned!
Post may contain affiliate links where I earn a small commission on your purchases at no additional cost to you.
When I was thinking of ways I could incorporate more Christmas decor into my home without it feeling overwhelming I came up with the idea to create a Charlie Brown Christmas tree. This simple DIY offers a fun alternative to the traditional tree while still allowing you to display your favorite ornaments.
DIY Charlie Brown Christmas Tree
I created my Charlie Brown Christmas tree with plain old branches that had fallen in our woods. You can use whatever you have access to, including birch branches (which would be so pretty) or evergreens! Our woods are providing lots of fun DIYs this season. Make sure to check out my tutorial on how I made DIY Christmas wreaths {here} as well!
Step 1
Gather 2-3 sturdy sticks or branches. Look for branches that have multiple “arms” of varying lengths. This will give you more variety for hanging your ornaments.

Step 2
Find two sturdy containers. One large container, like this 10 gallon crock, should have sturdy sides. You can also use a sturdy basket, wood box, or sturdy tree collar.
The second container must fit inside of the larger container. I used a metal pitcher that I had on hand. You could use anything that has some weight to it. This container will be completely covered so don’t worry what it looks like.

First, place the small container inside of the larger container. Next, place your branches inside the small container. Tuck old towels around the branches to give them stability. You can also use landscaping rocks or sand if you have it on hand! But I just like to use something I can quickly wash and put back in my drawer when I’m done with it!

Step 3
Fill the gap between the small container and the large container. I used an old pillow and bath towels. This cements the small container in place so that it doesn’t move and get off center when you hang your ornaments on your Charlie Brown Christmas tree.
Make sure you really pack it tight! Your branches could potentially get heavy and you don’t want your tree to topple. Don’t worry if you can’t get everything packed below the rim. You will be covering your filler.

Step 4
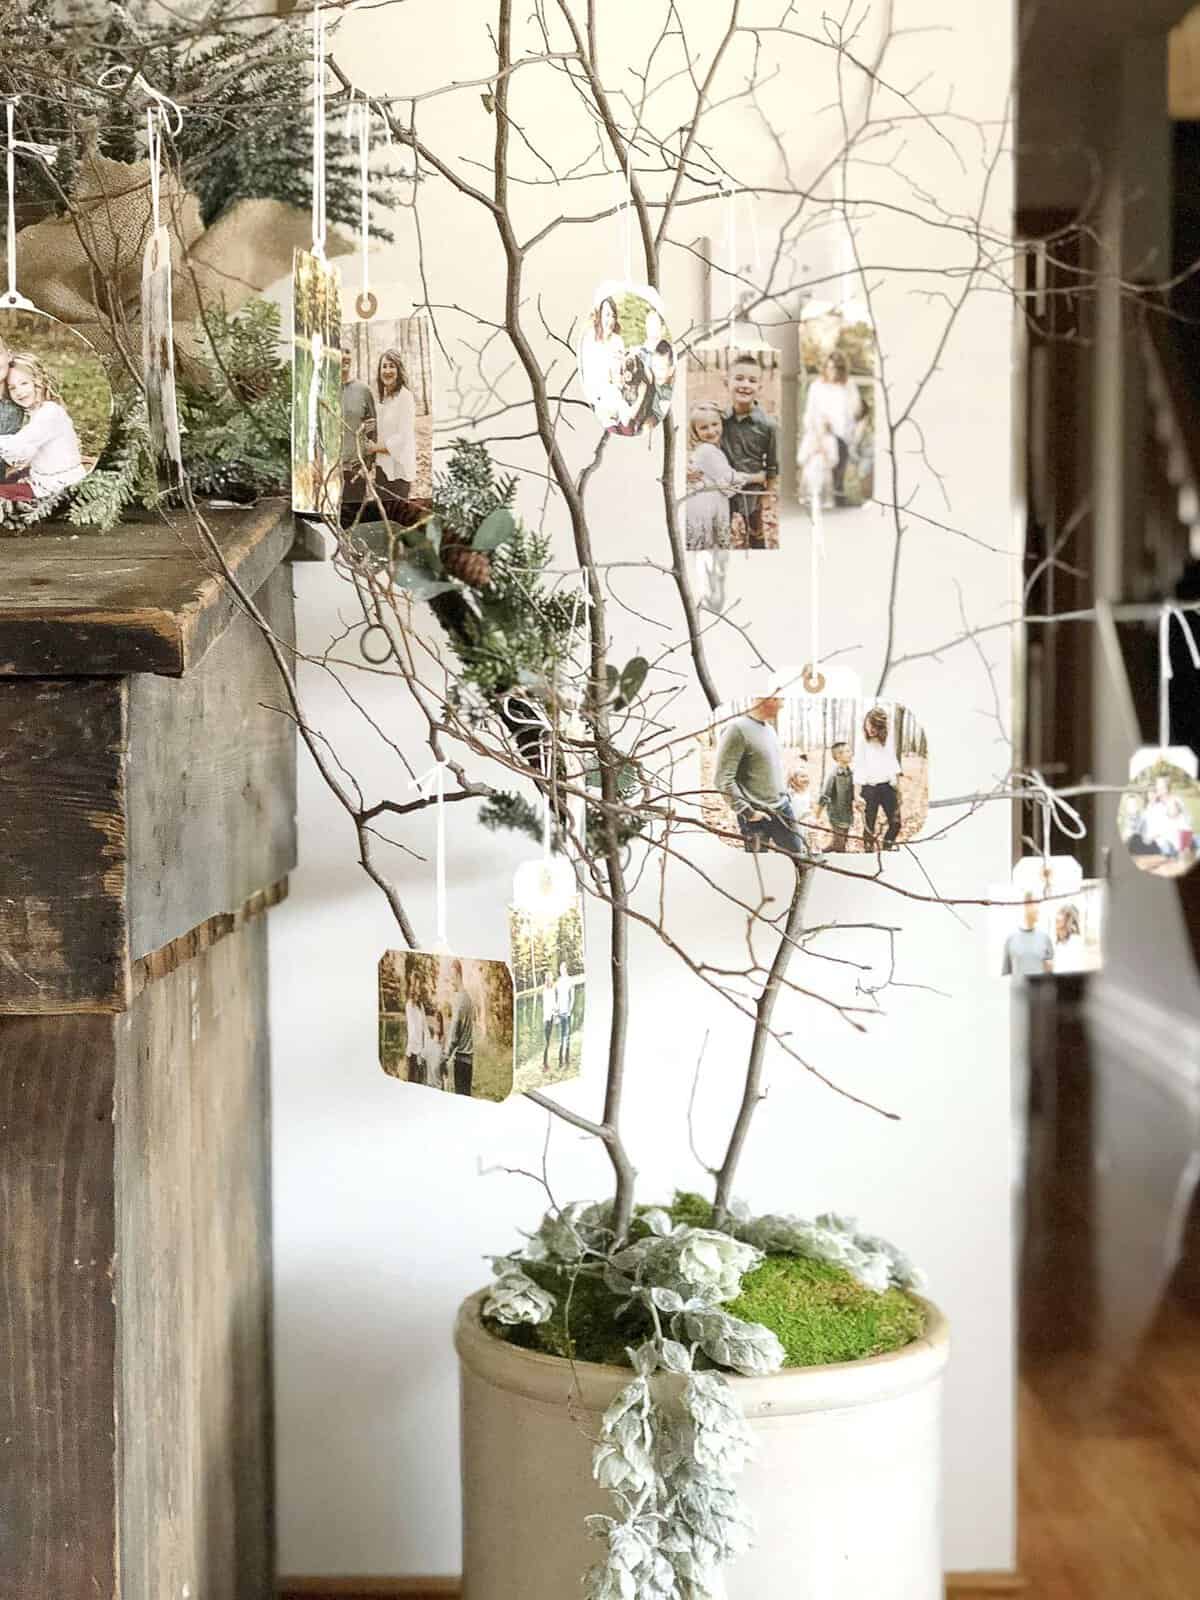
Top your filler with greens. I used green moss I found on clearance. This gives more of an appearance that this is a “tree” rather than just branches. I’ll also be adding some winter greens to make it more festive.

And you’re done! I told you that was easy. 😉
Your Charlie Brown Christmas tree is ready to be decorated. I made special ornaments for my tree, which I’ll be sharing the tutorial on later this week. Here is a sneak peek.
You can choose to decorate your DIY tree however you wish! Perhaps you just want that soft glow? Then wind white lights around the branches and forget the ornaments. Or maybe you want to show off handmade snowflakes you made with your kids? This would be a beautiful and festive way to display them!
You can decorate this however you can imagine! Just make sure your branches are sturdy enough to support your decor.
This would also be a fun way to spruce up a front porch! I’m always looking for cheap or free ways to decorate the outdoors. So, what do you think? What would you put on your Charlie Brown Christmas tree?

{It’s beginning to look a lot like Christmas…}

Your post is helpful. I appreciate that.
Looks so interesting, I wanna do it at home with my children.
Have fun with it!
Hi Sarah!
I made the Charlie Brown Tree today and I’m absolutely thrilled with the result! The instructions that you provided were very clear, organized, and easy to follow. I added some fairy lights to the branches for my daughter and we have it located in our entry way!
Please continue to add these adorable, fun, easy projects!!
Have a wonderful weekend!!
Cynthia
Yay! I’m so glad you tried it Cynthia! I love that you added lights. I’m sure it looks magical!