
DIY Coffee Table | How to Transform a Thrifted Coffee Table
Who likes a little DIY project? I do! I’ve been working on a DIY coffee table for a couple of weeks now and I need YOUR help! Keep on reading and ease my indecisive mind!
Post may contain affiliate links where I earn a small commission at no extra cost to you on your purchases. Decor sources are affiliate linked below images. Simply click the image thumbnail!
DIY Coffee Table | From Trash to Treasure
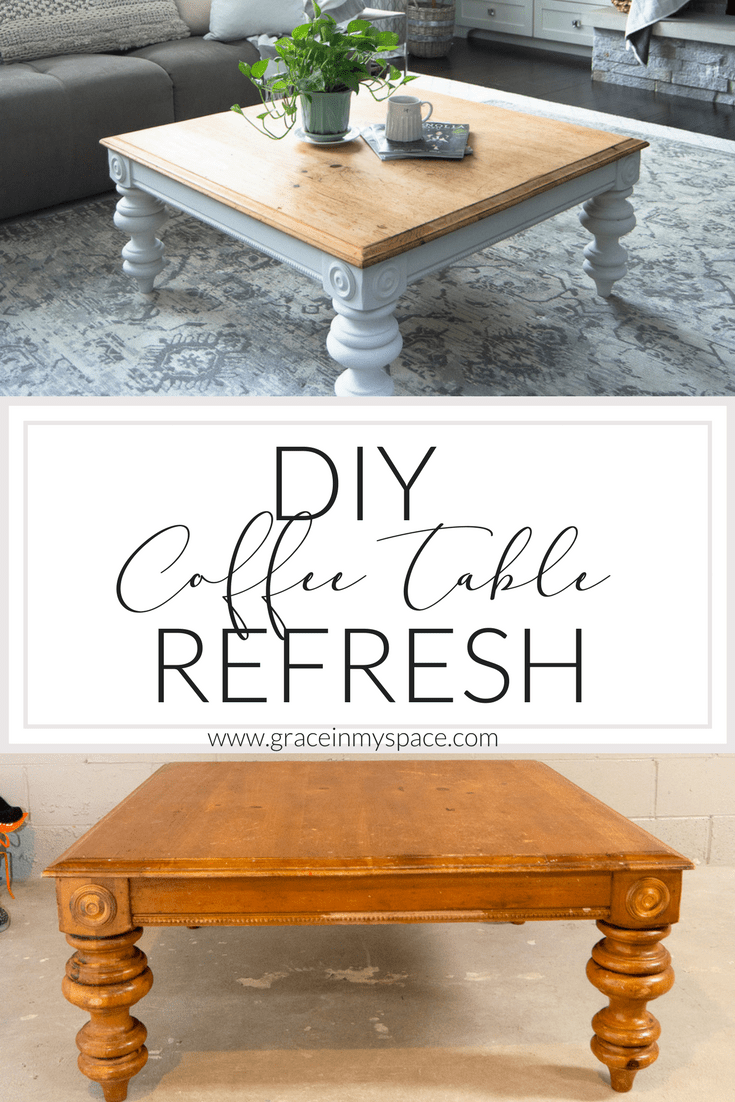
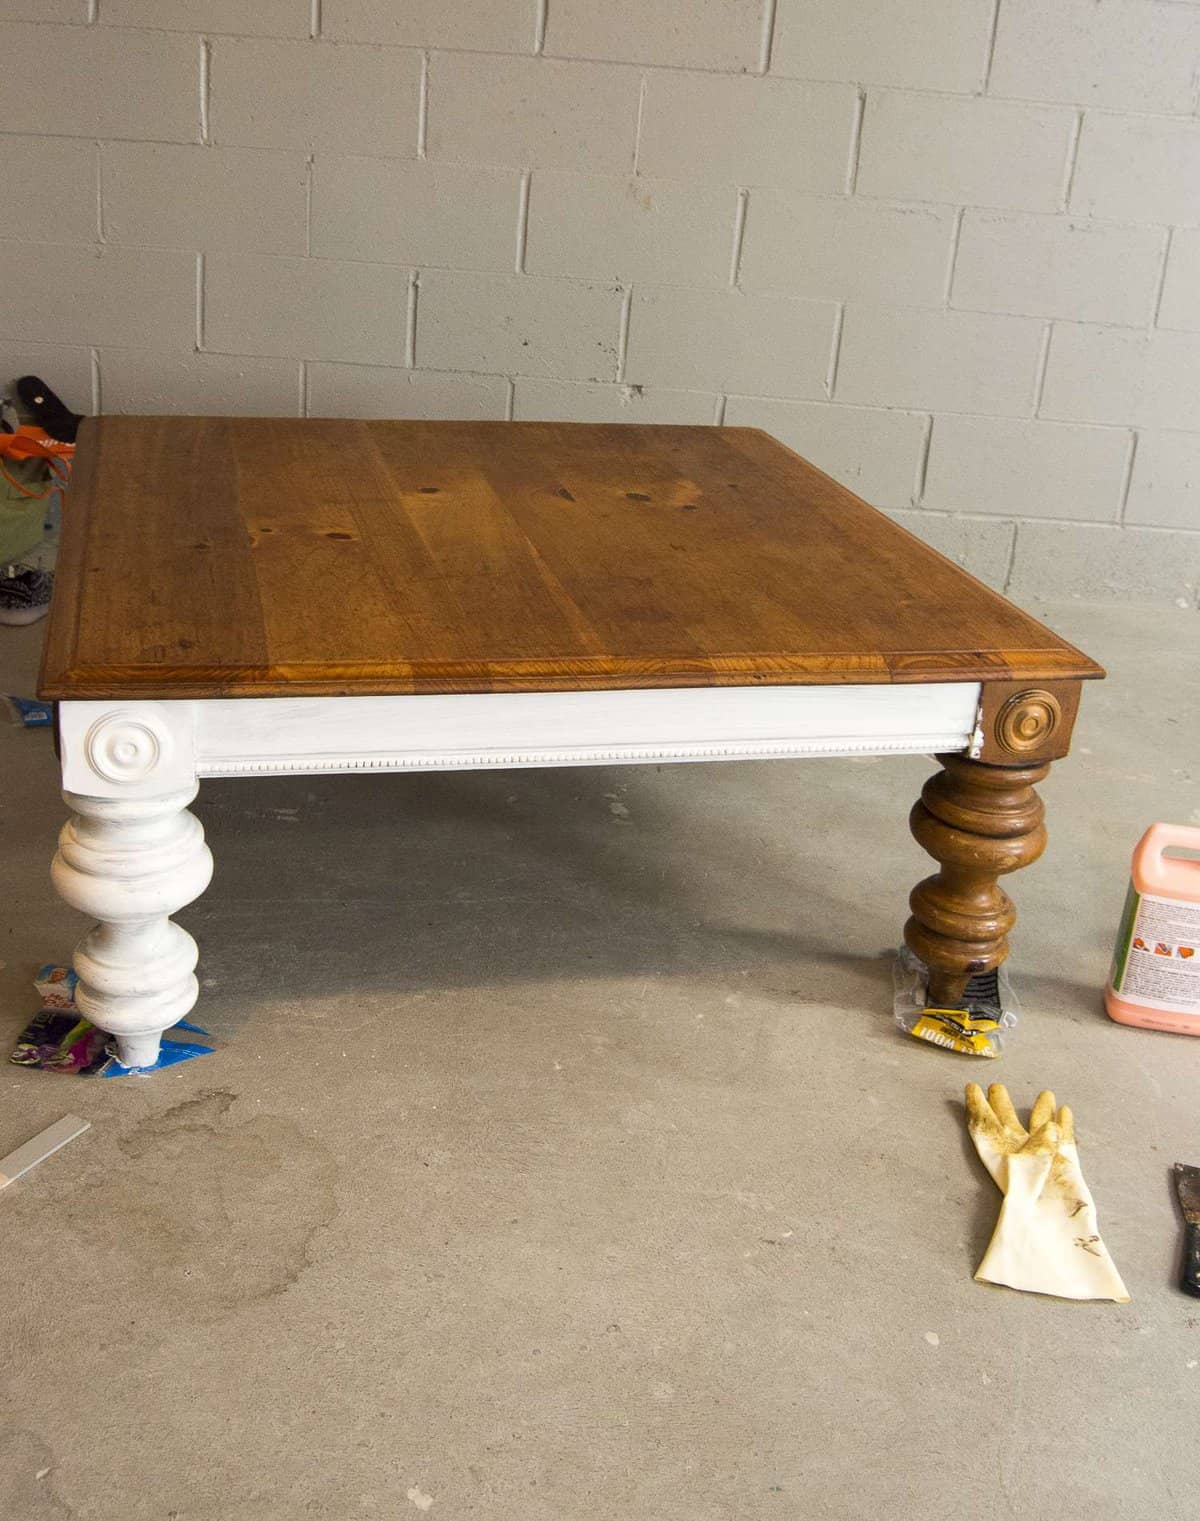
I started this DIY coffee table project with the thought in mind that I would give you a full tutorial on how I transformed this beast of a table into a modern farmhouse beauty. I was all about showing you how easy it is and how much money you could save with this simple DIY project.
(After all, this beauty cost me $100!! New coffee tables this size easily range from $250-$500!) Then I realized that I used the exact same process on my dining room table refinishing project! So, I changed directions!
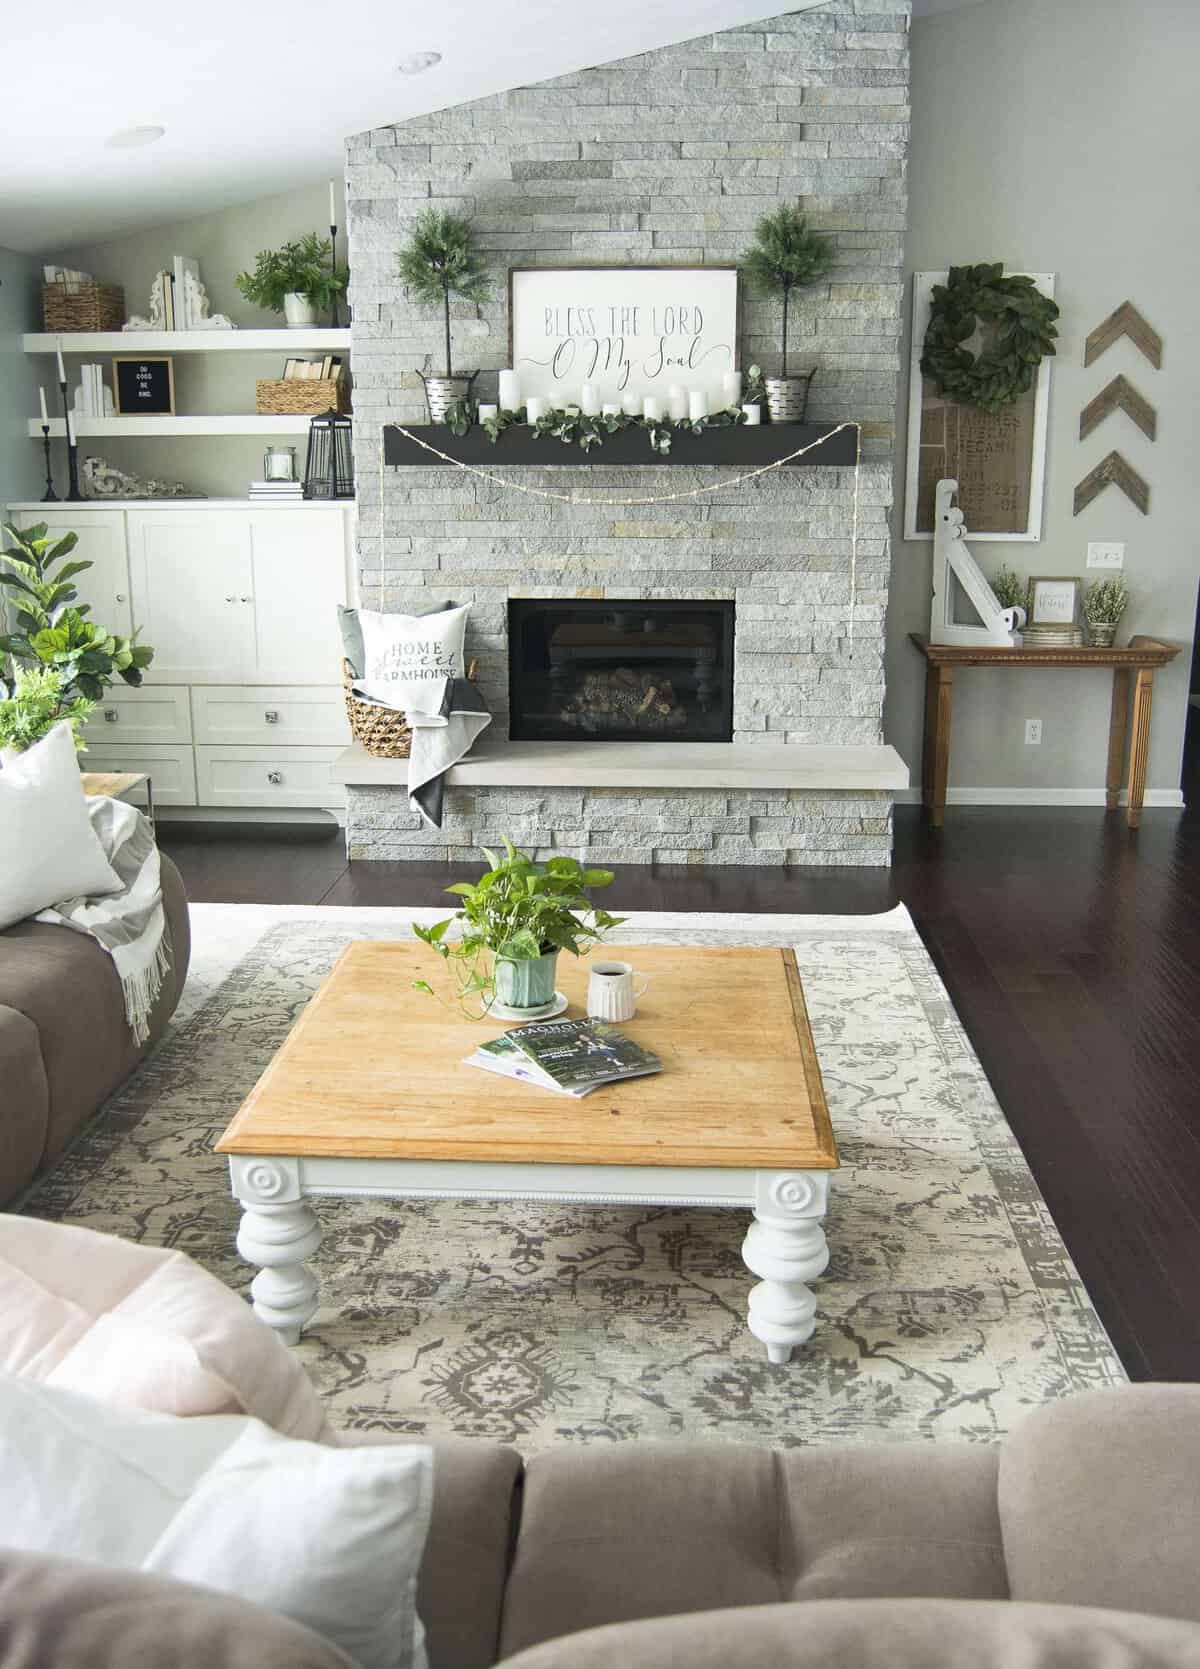
If you’d like to learn about how I stripped the top of this table, simply follow the tutorial here. After stripping the varnish off the top of this table I simply painted those curvy legs (the best kind) with Magnolia Kilz Brand chalk paint in Shiplap. If you’re interested in my thoughts on the Magnolia brand paint, I’ve written a review of it here!
DIY Coffee Table | The Process
Instead I want to walk you through the process of the DIY coffee table project, start to {almost} finish.
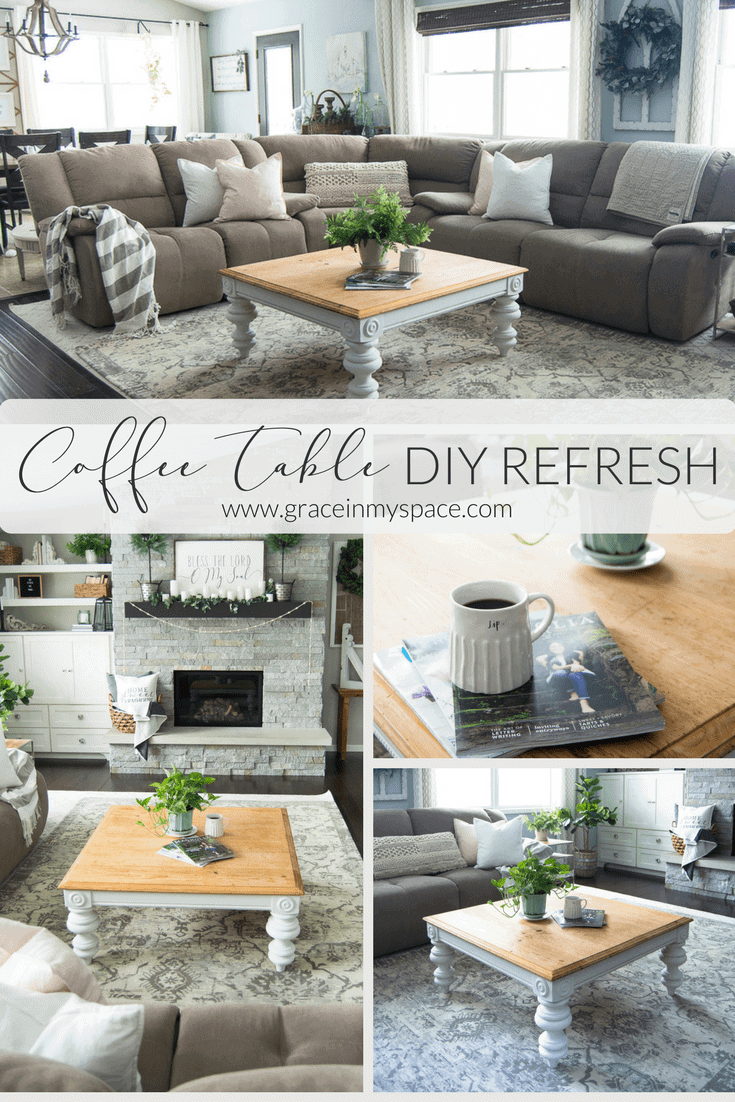
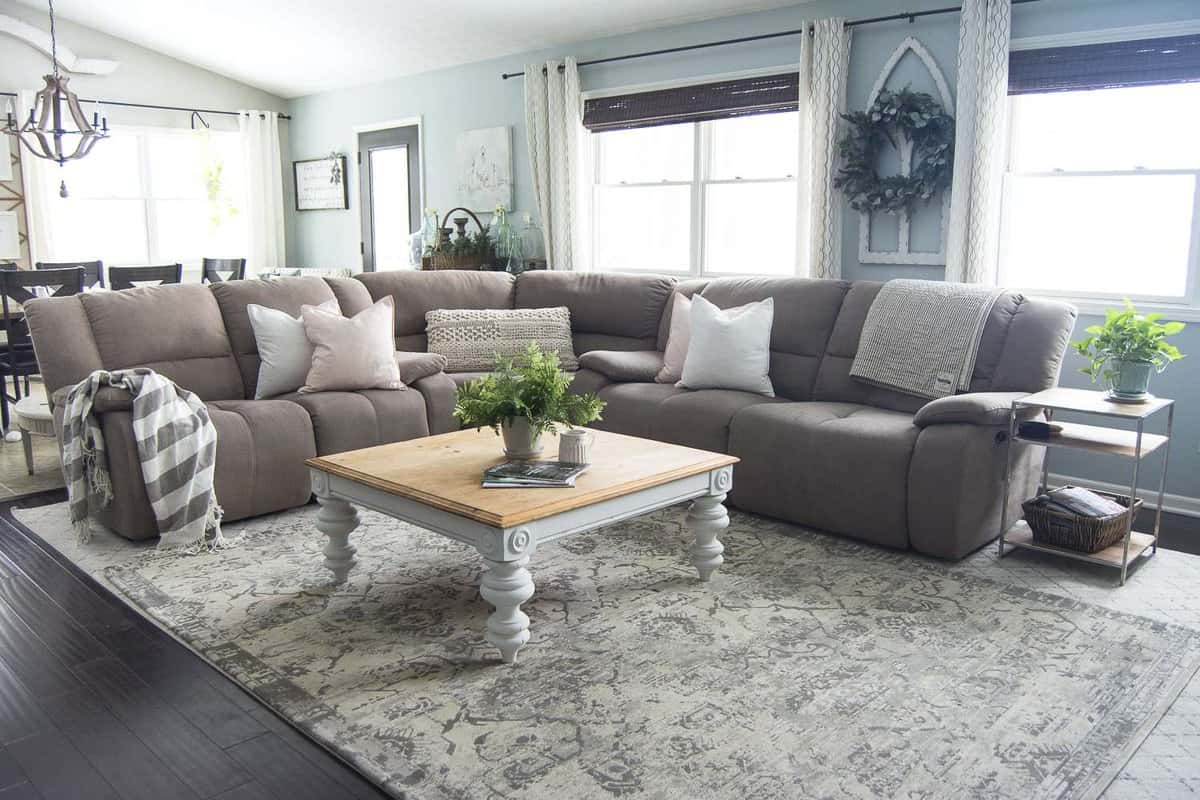
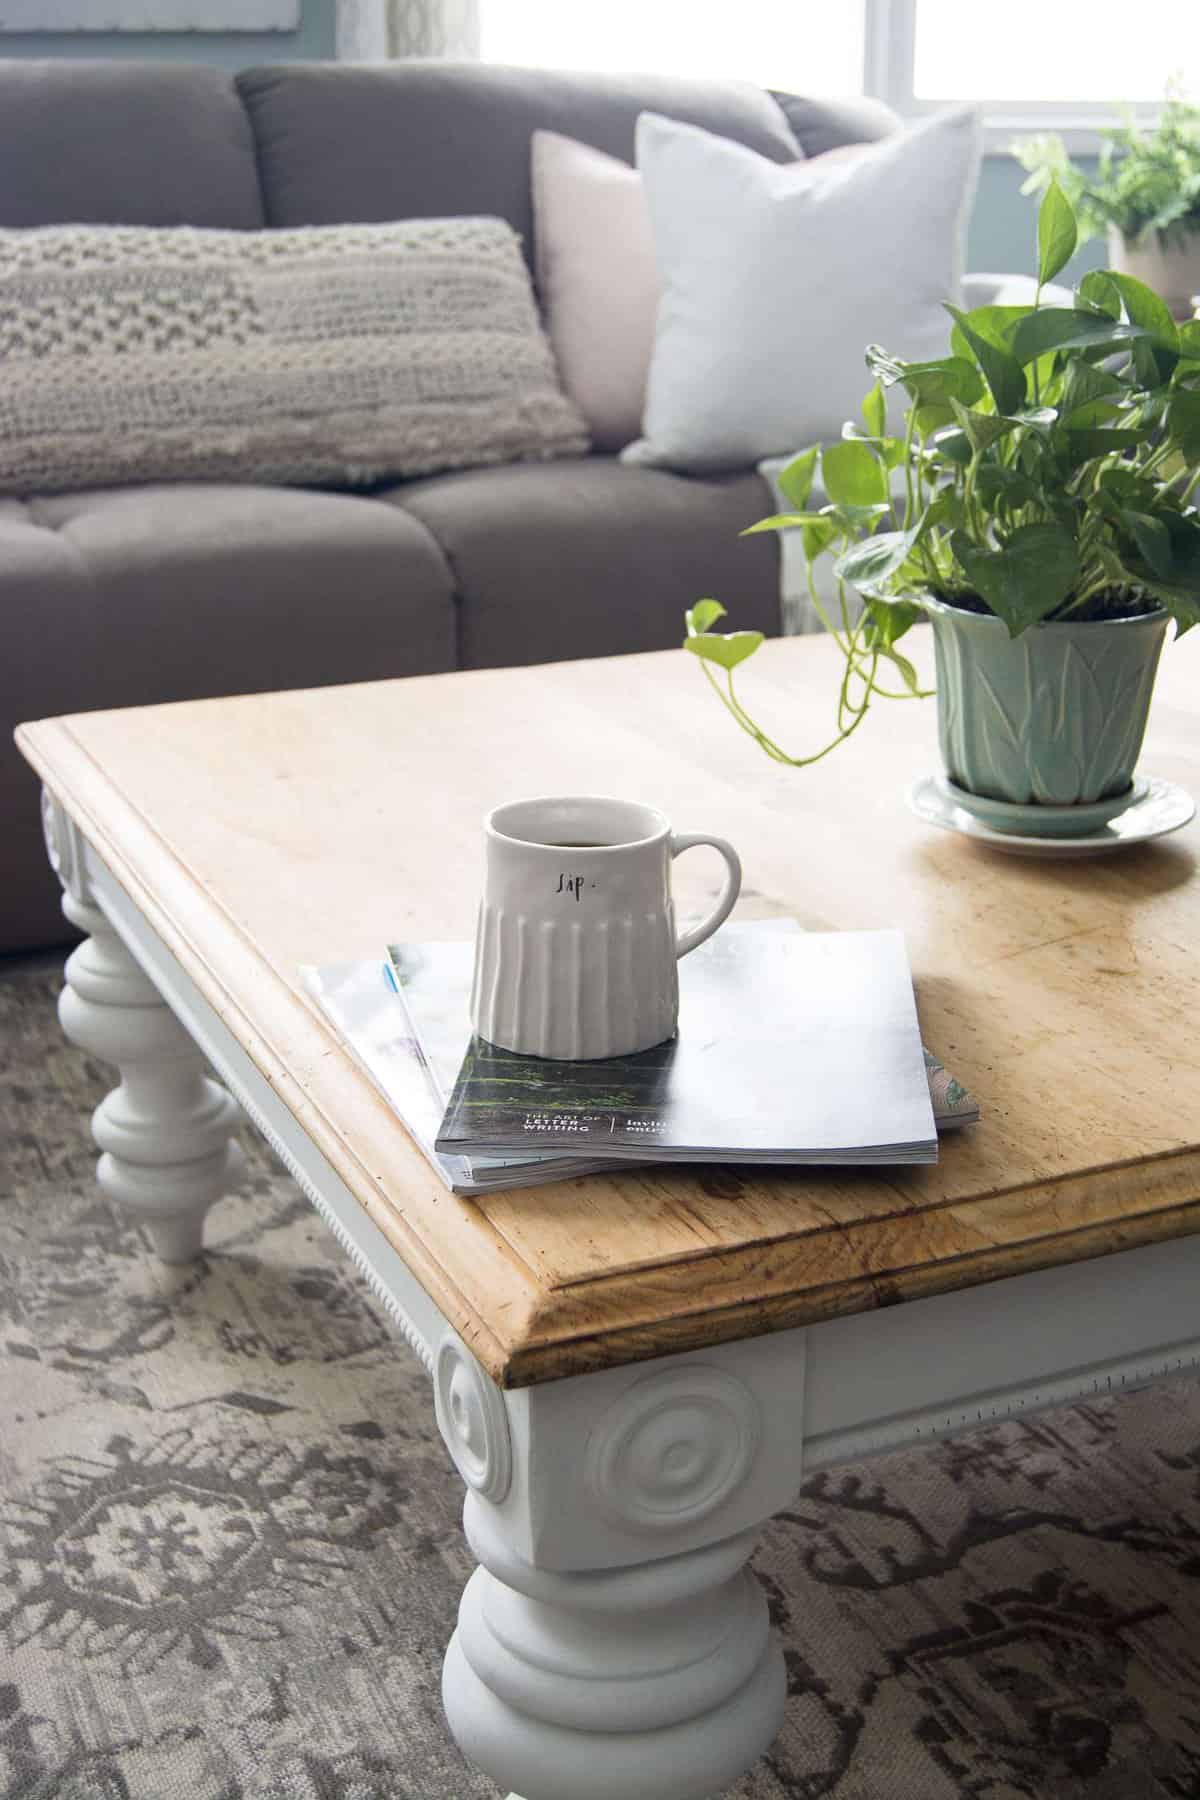
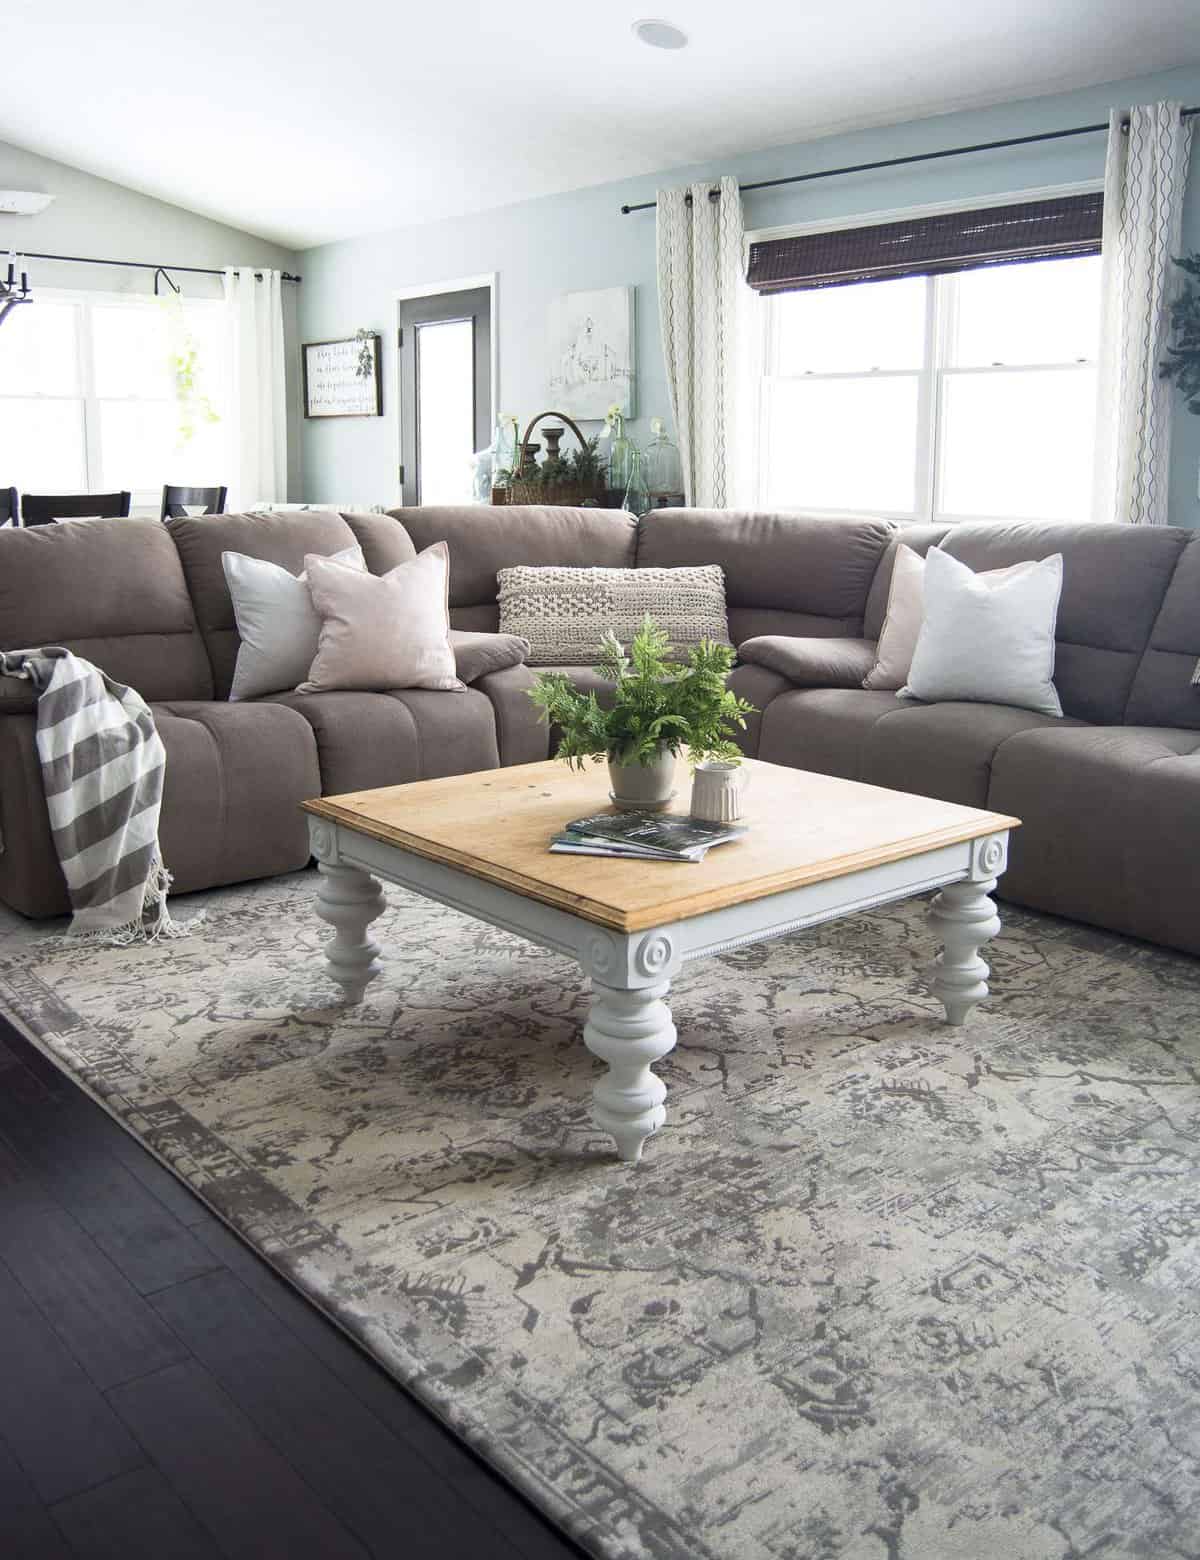
Here she is in all her refinished glory! Now, remember, I need your help! So keep reading because I’ve got a dilemma on my hands.

DIY Coffee Table | Where to Search
First off, let’s chat about where to look when you want to take on a quick DIY project. Think sources like Craigslist.com, Facebook Marketplace (which is where I scored this beauty!), Salvation Army, Goodwill, thrift stores in general, and don’t forget family and friends!
Parents are always a great source for old furniture hand-me-downs. (Thanks Mom for basically every piece of furniture in my first home!) 😉
DIY Coffee Table | What to Look For
You know how you always hear designers talking about seeing “good bones” in a house, furniture item or basic design? Well that’s what you need to look for!
Good Bones.
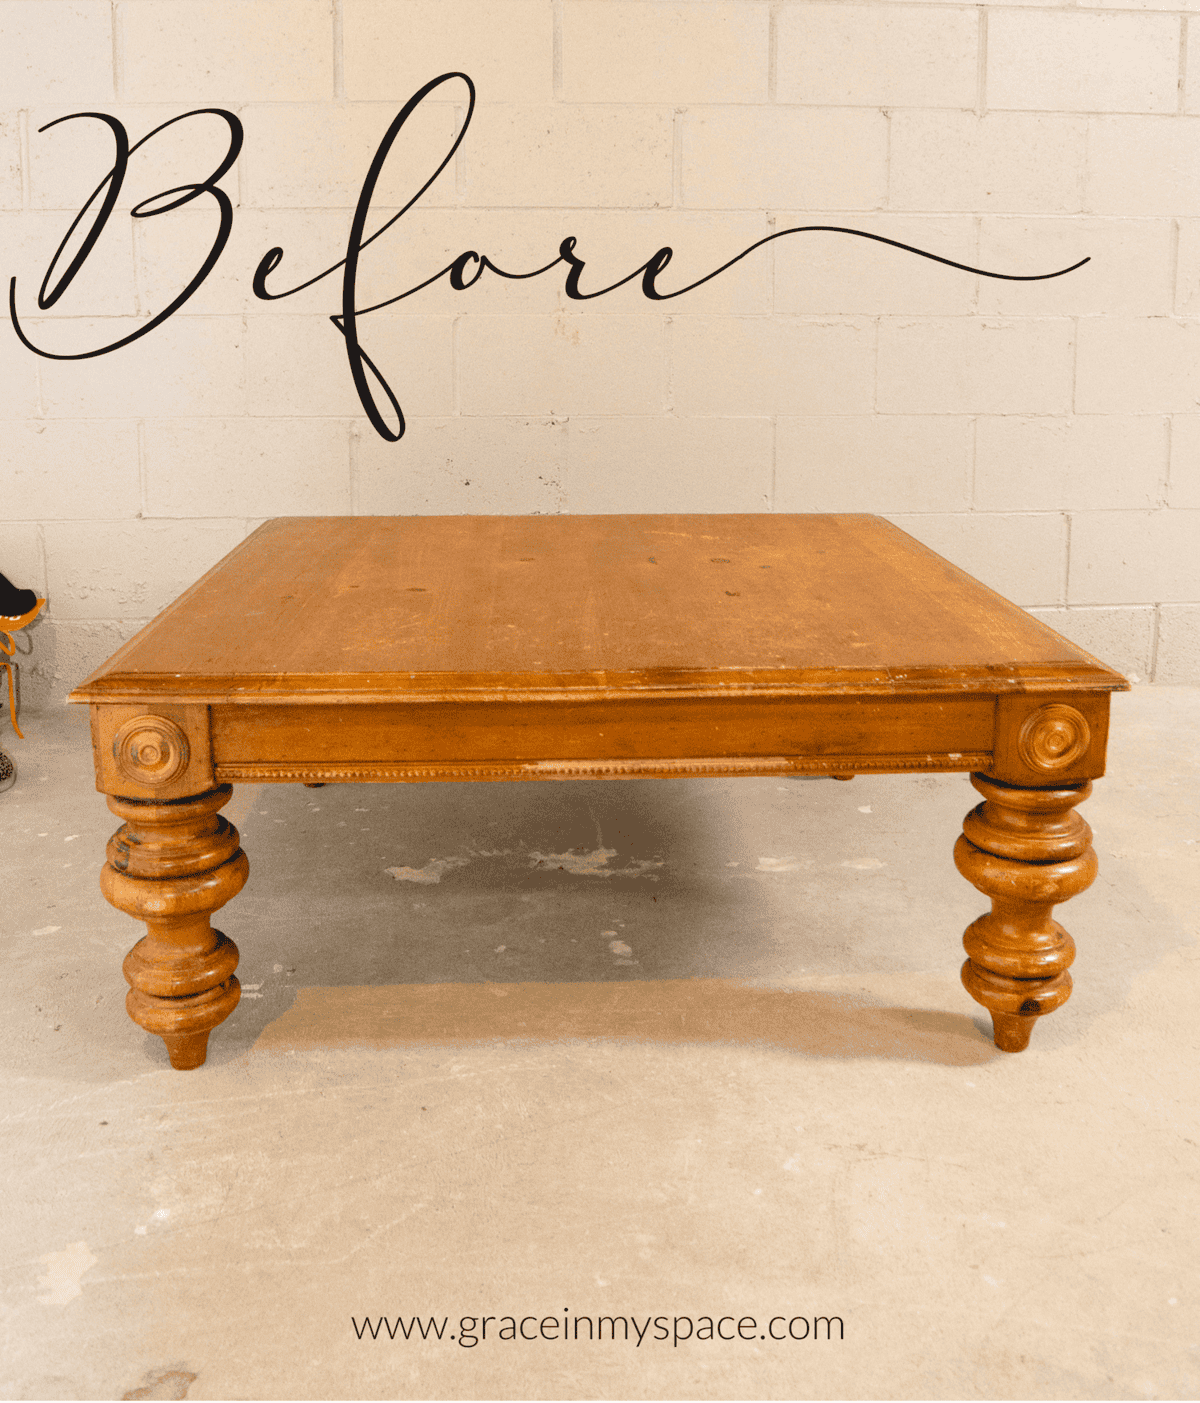
Good bones simply mean that the piece is structurally sound, has appealing design elements (like the curvy legs of my table), and has potential for modernizing. Or making it look old. To each their own. 😉
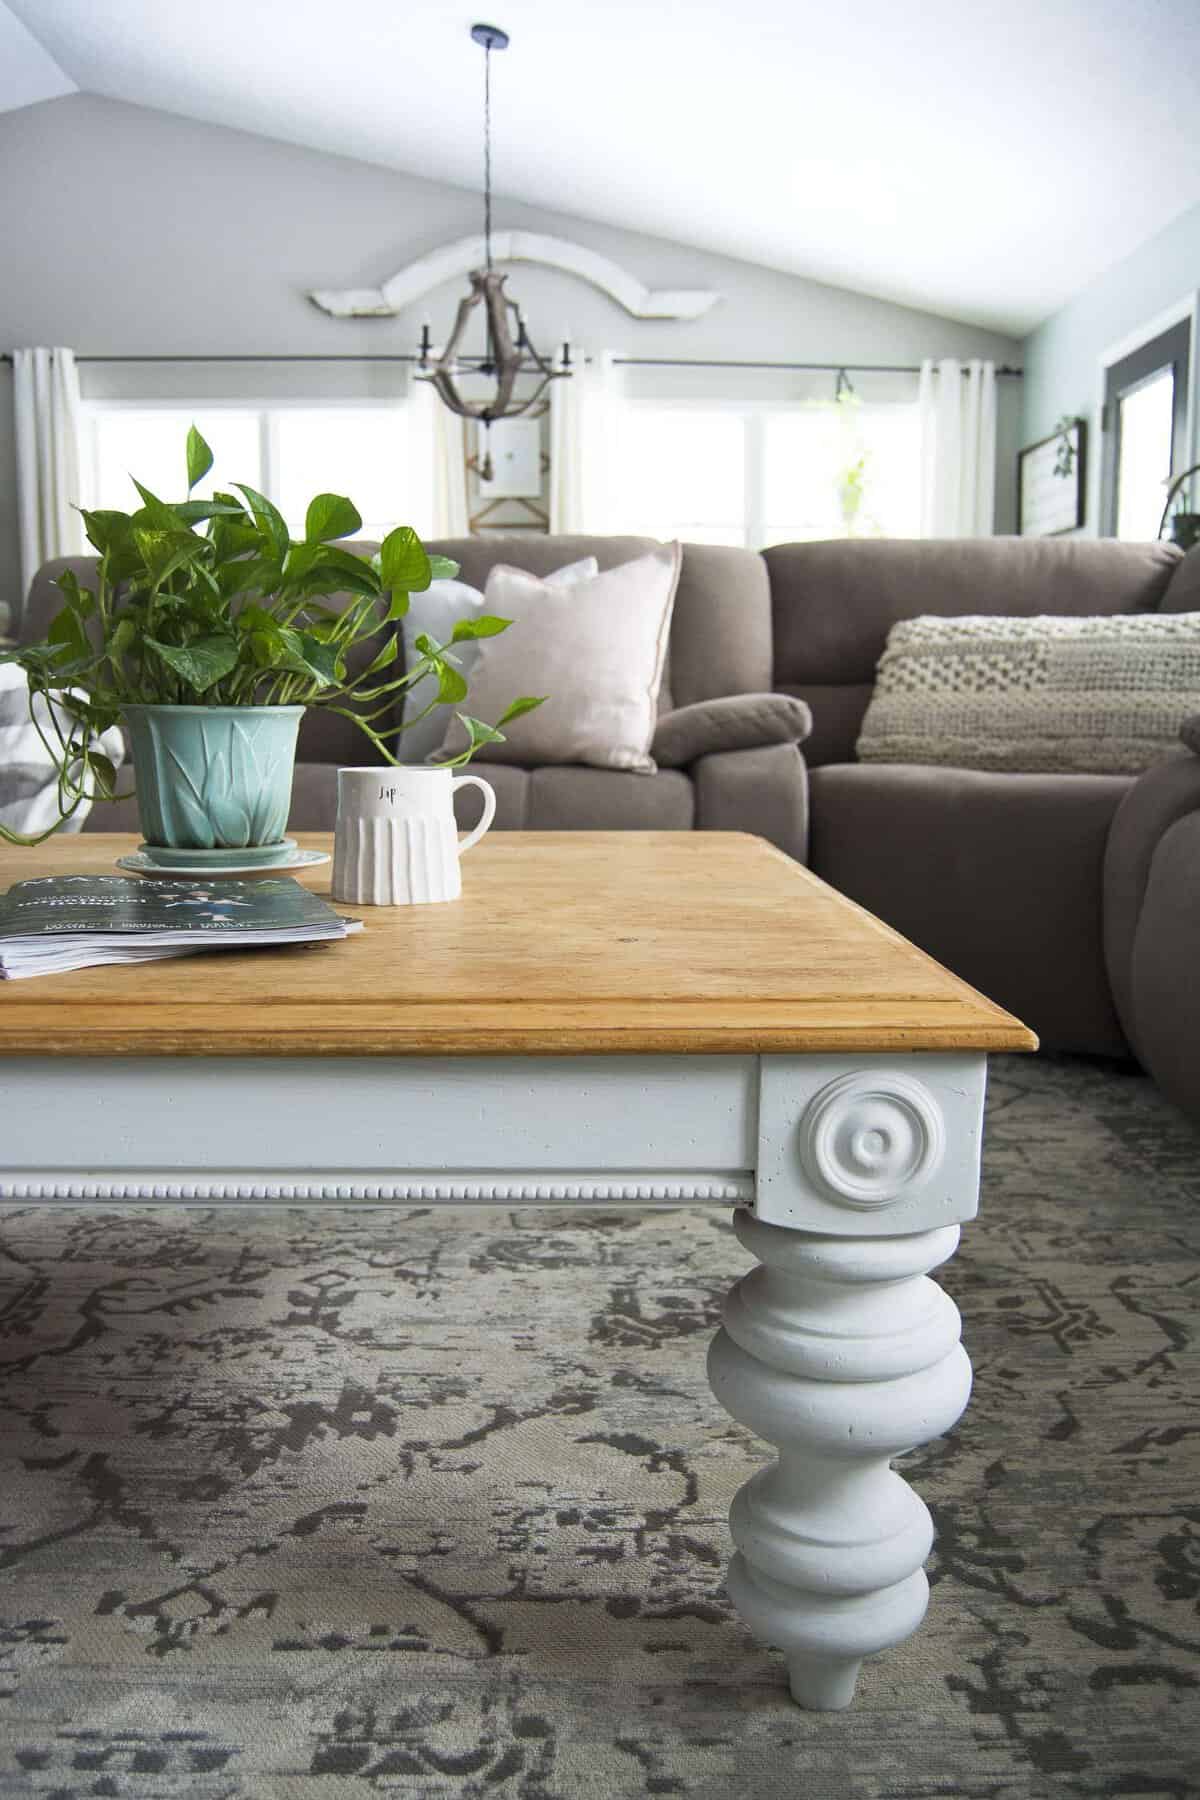
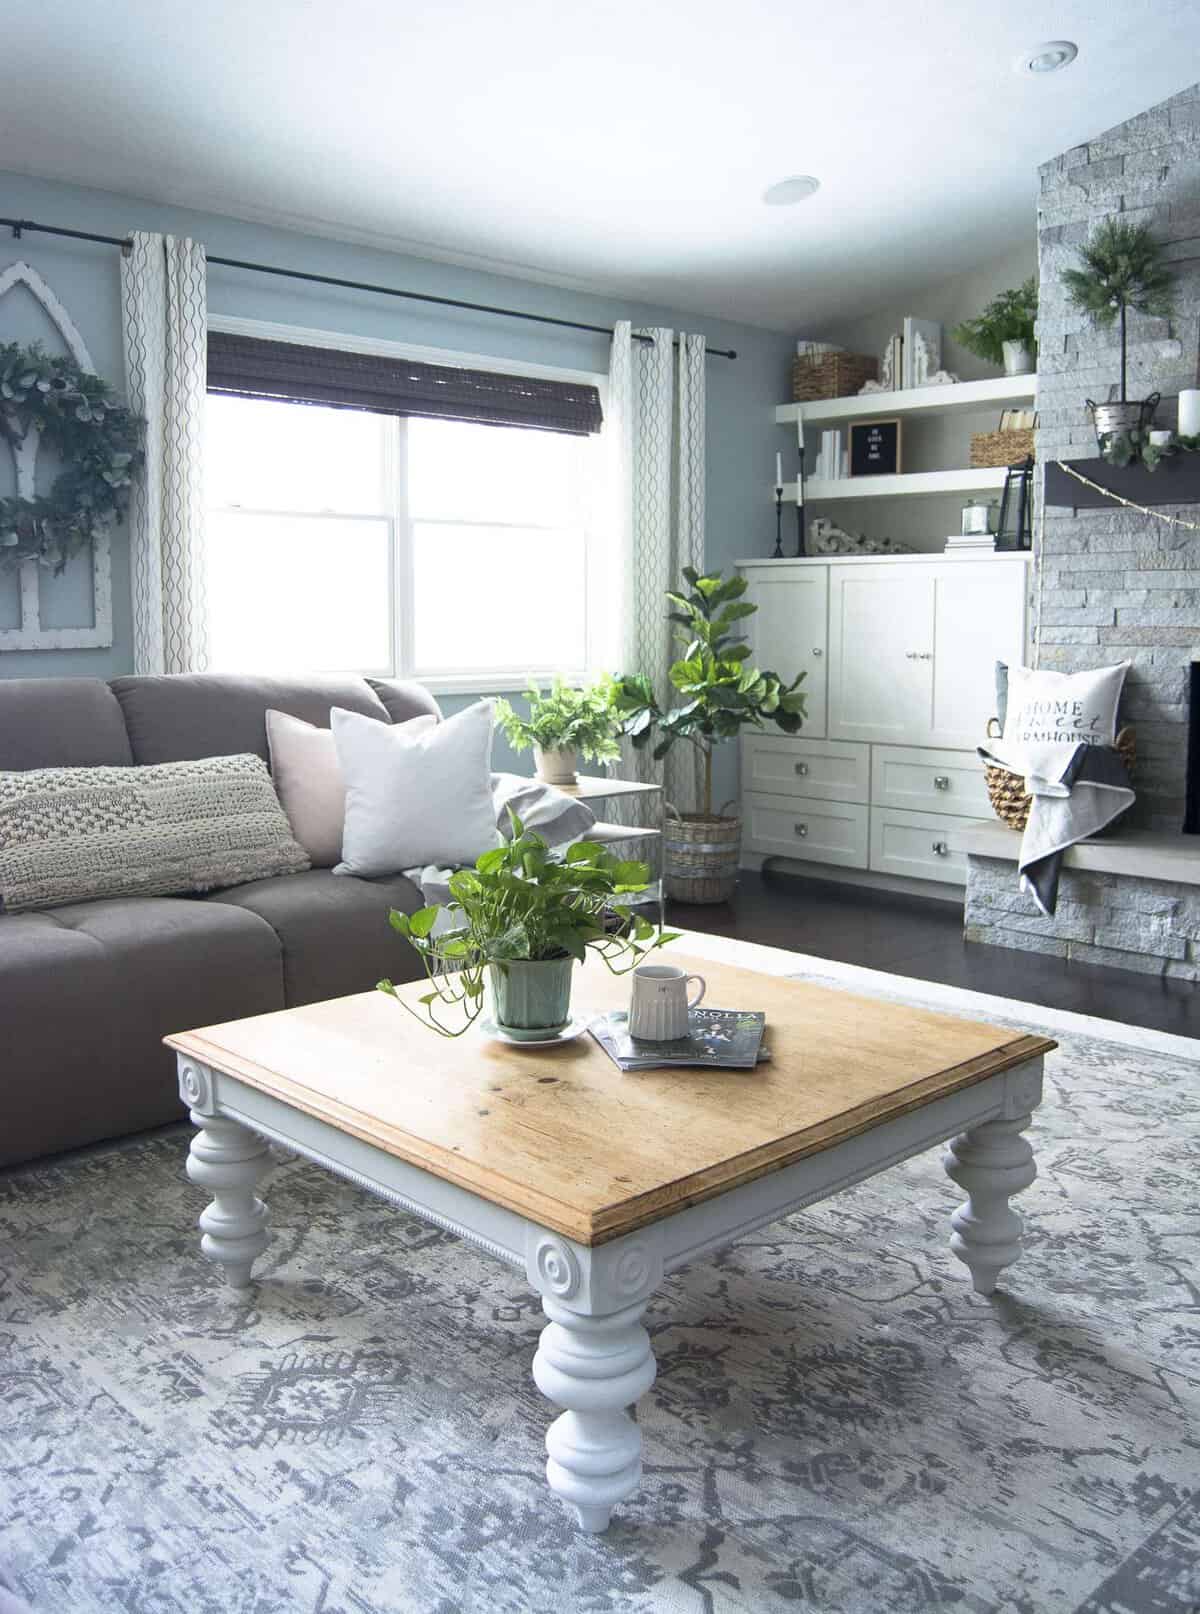
Specifically on my DIY coffee table, the first thing I noticed was the thick curvy legs and the simple molding accent. I knew that those pieces would pop after I got my hands on them and add lots of interest to the table.
DIY Coffee Table | What to Do
You’ve done your search, you bought your table for a ridiculously cheap price, and you’ve got good bones. What now? Now you make some decisions. Do you want to refinish the entire table? (There is a lot of commitment to stripping detailed pieces so know yourself and your comfort level!) Do you strip just the top or just the legs? Do you just paint the entire thing instead of stripping anything?
These are all questions to consider, keeping in mind that stripping (or sanding if you prefer) takes more work. Painting is the simplest option. But if your heart desires some contrast and interest then go for both!
Take your time, evaluate your space and your complimenting decor, and take a few days to mull over the decision. A hasty decor decision usually ends in regret and a second DIY refinishing project. 😉 So here’s where you come in!
DIY Coffee Table | What Should I DO!?
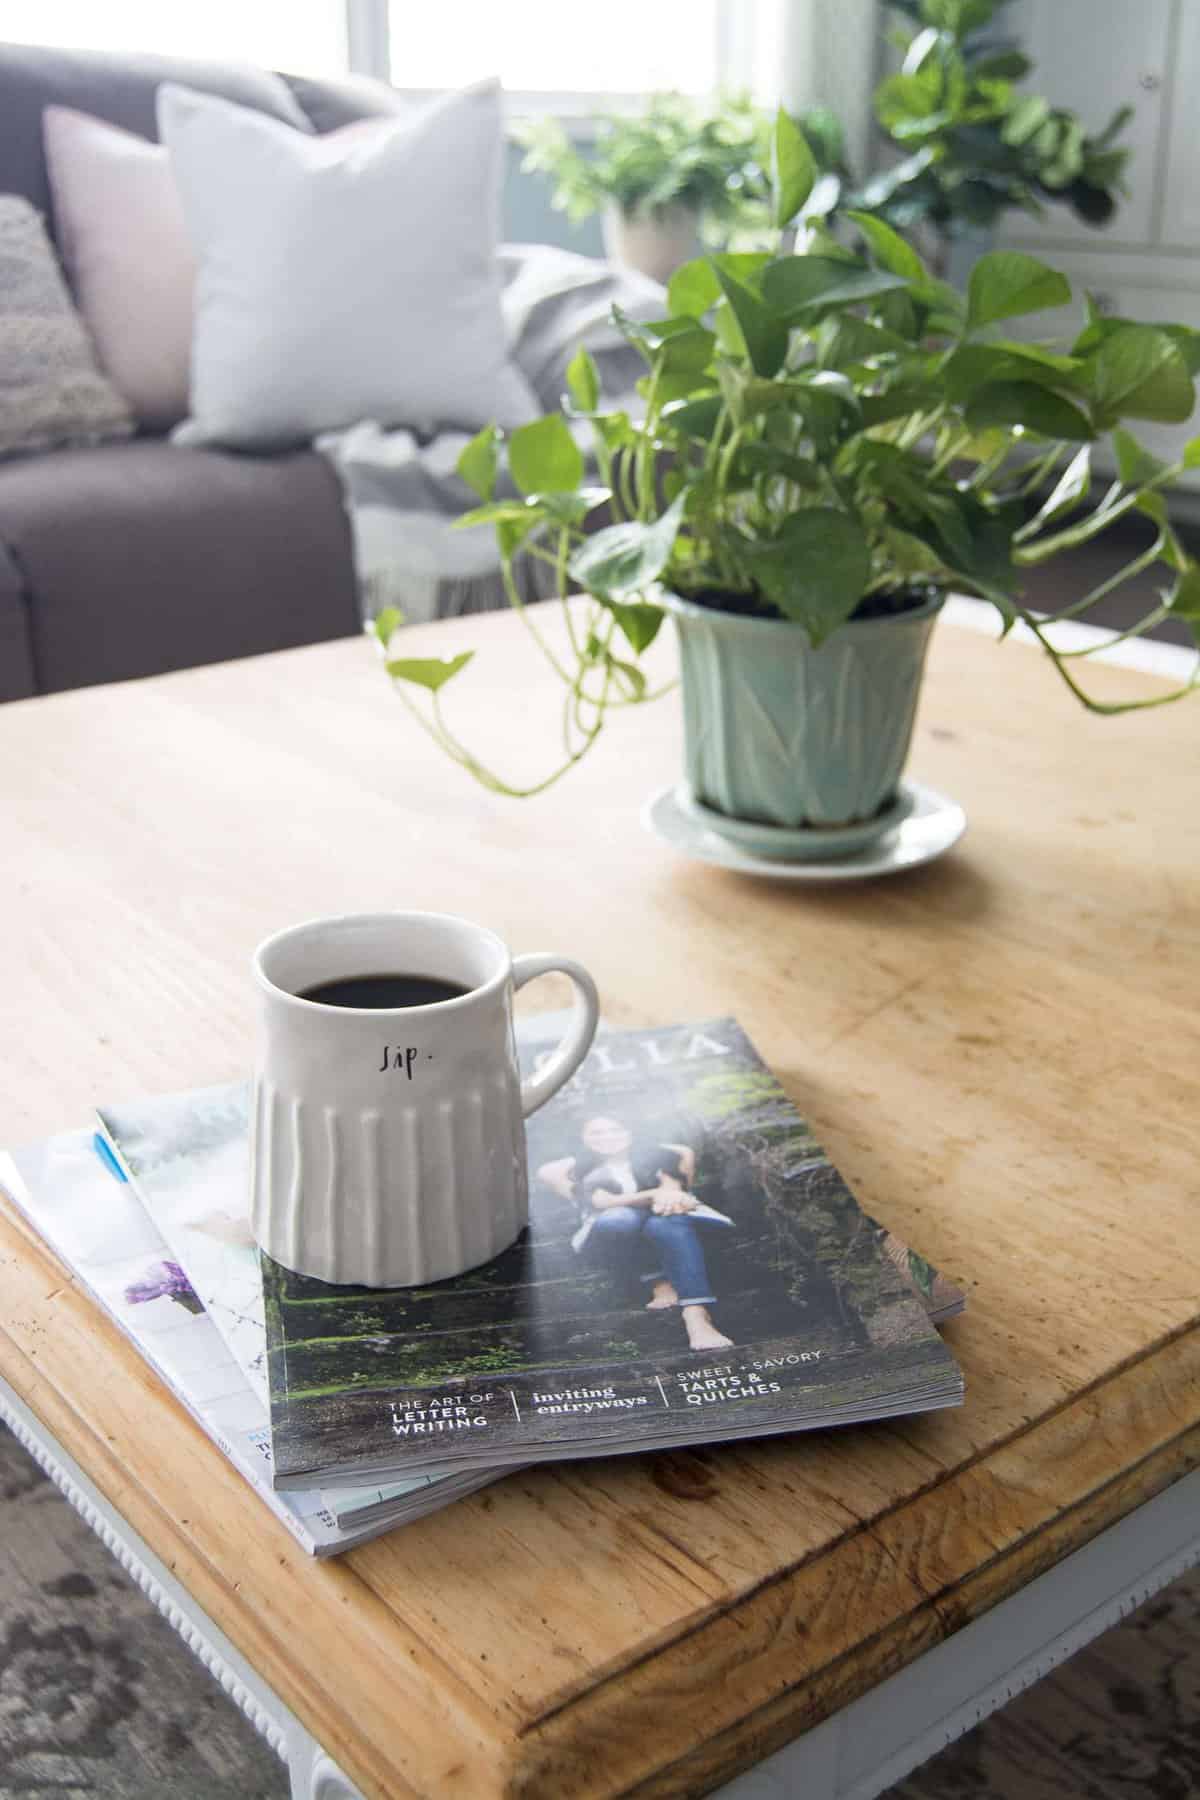
Ok ya’ll. I’ve taken my time. I’ve lived with it in my space. And I still don’t know what type of stain I prefer to finish this beauty off with! The pictures shown are with my DIY coffee table top completely stripped of poly and varnish. It is raw and natural in all its glory.
I like it quite a lot, but I keep letting my indecisive mind go back and forth on whether or not to re-stain the table top. So I need your vote! Leave me a comment below with your vote!
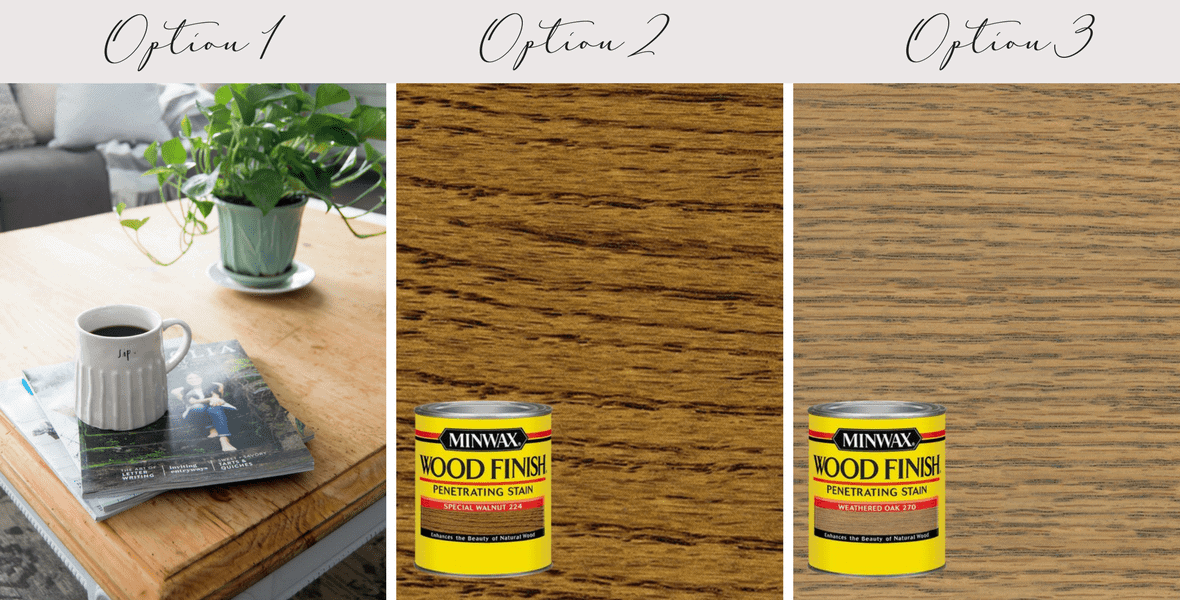
- Option 1: Leave natural as is and just put a coat of poly to protect the surface.
- Option 2: Stain Special Walnut
- Option 3: Stain Weathered Oak
- Option 4: Your own favorite go-to stain color!!
For now though, I will enjoy her in all her natural beauty. And yes, I do call my DIY projects personal pronouns.

It’s all up to you friends! Help this indecisive DIYer finish up my DIY coffee table. 🙂 Thanks in advance!
{Do one thing every day that scares you.} – Eleanor Roosevelt
SaveSave
The walnut looks like it would match your other table better so I vote for it!! Good job on the refinishing. I have a hard time envisioning things sometimes, and that turned out better then I thought it would!! Bravo!
Thank you Rhonda! Yes I do think the walnut matches better with most of the wood colors in my home.
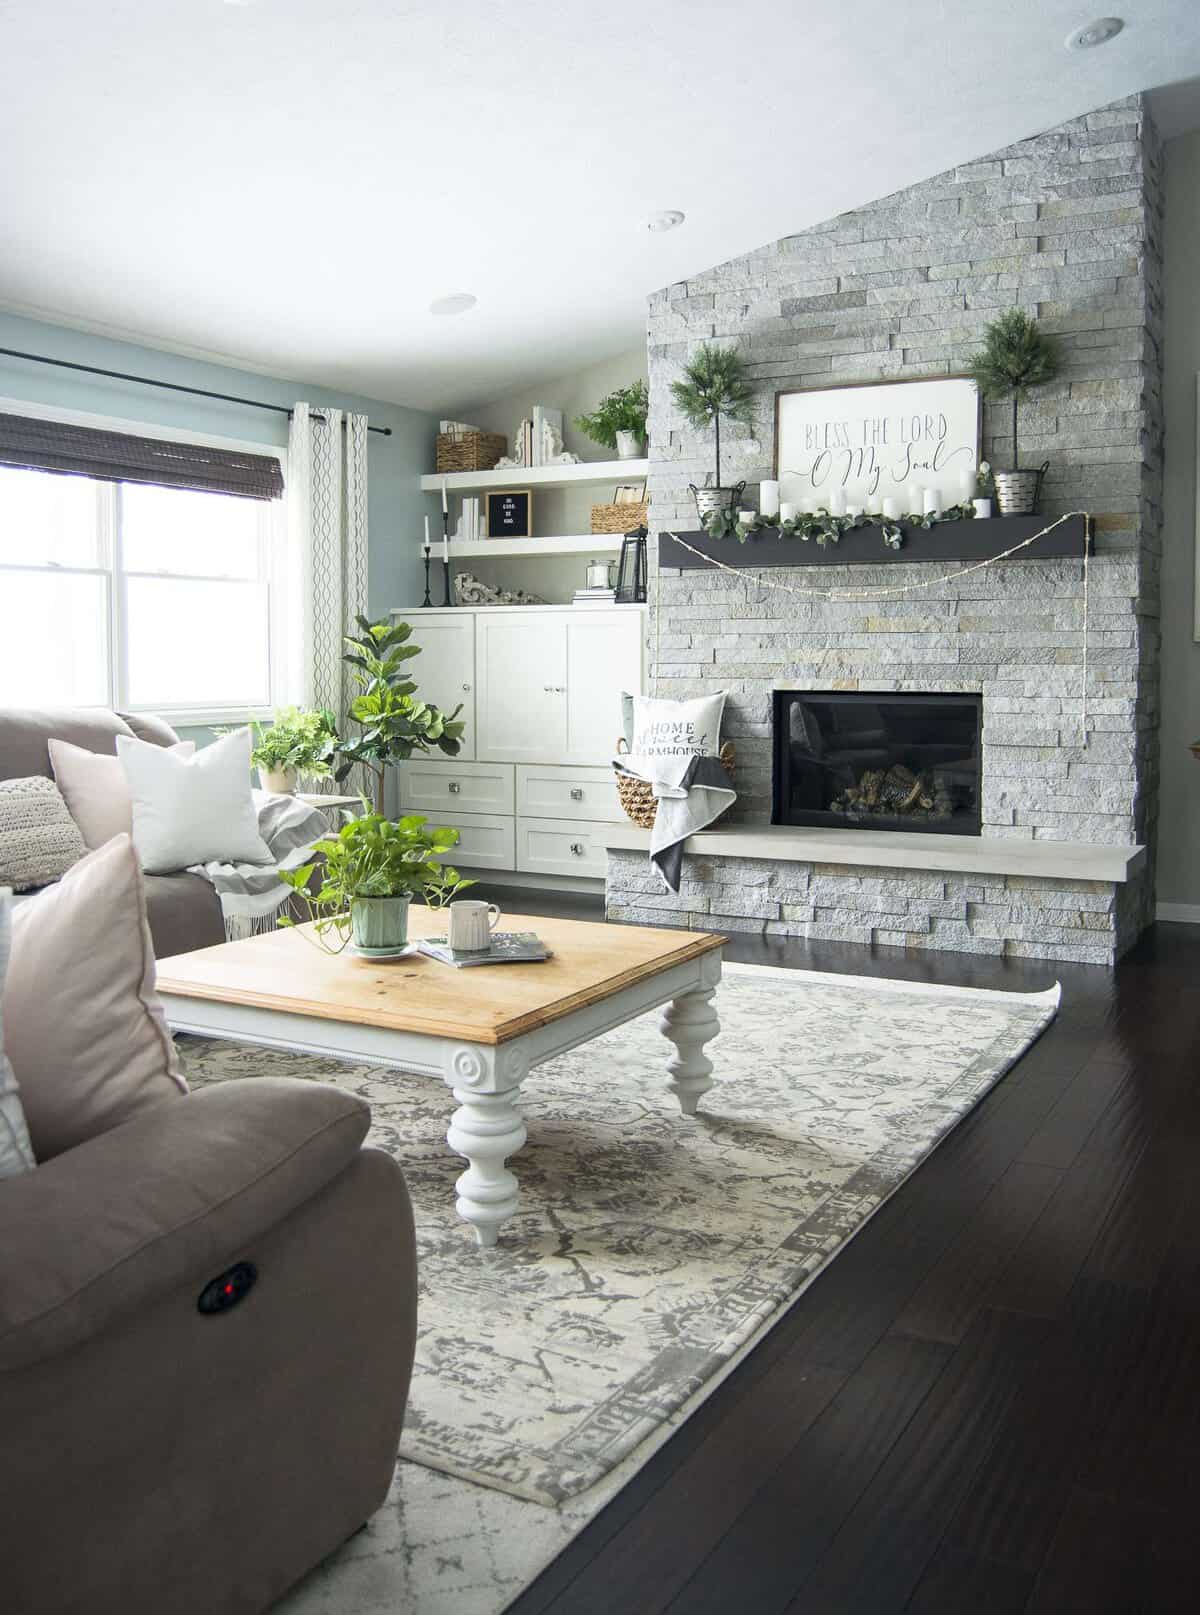
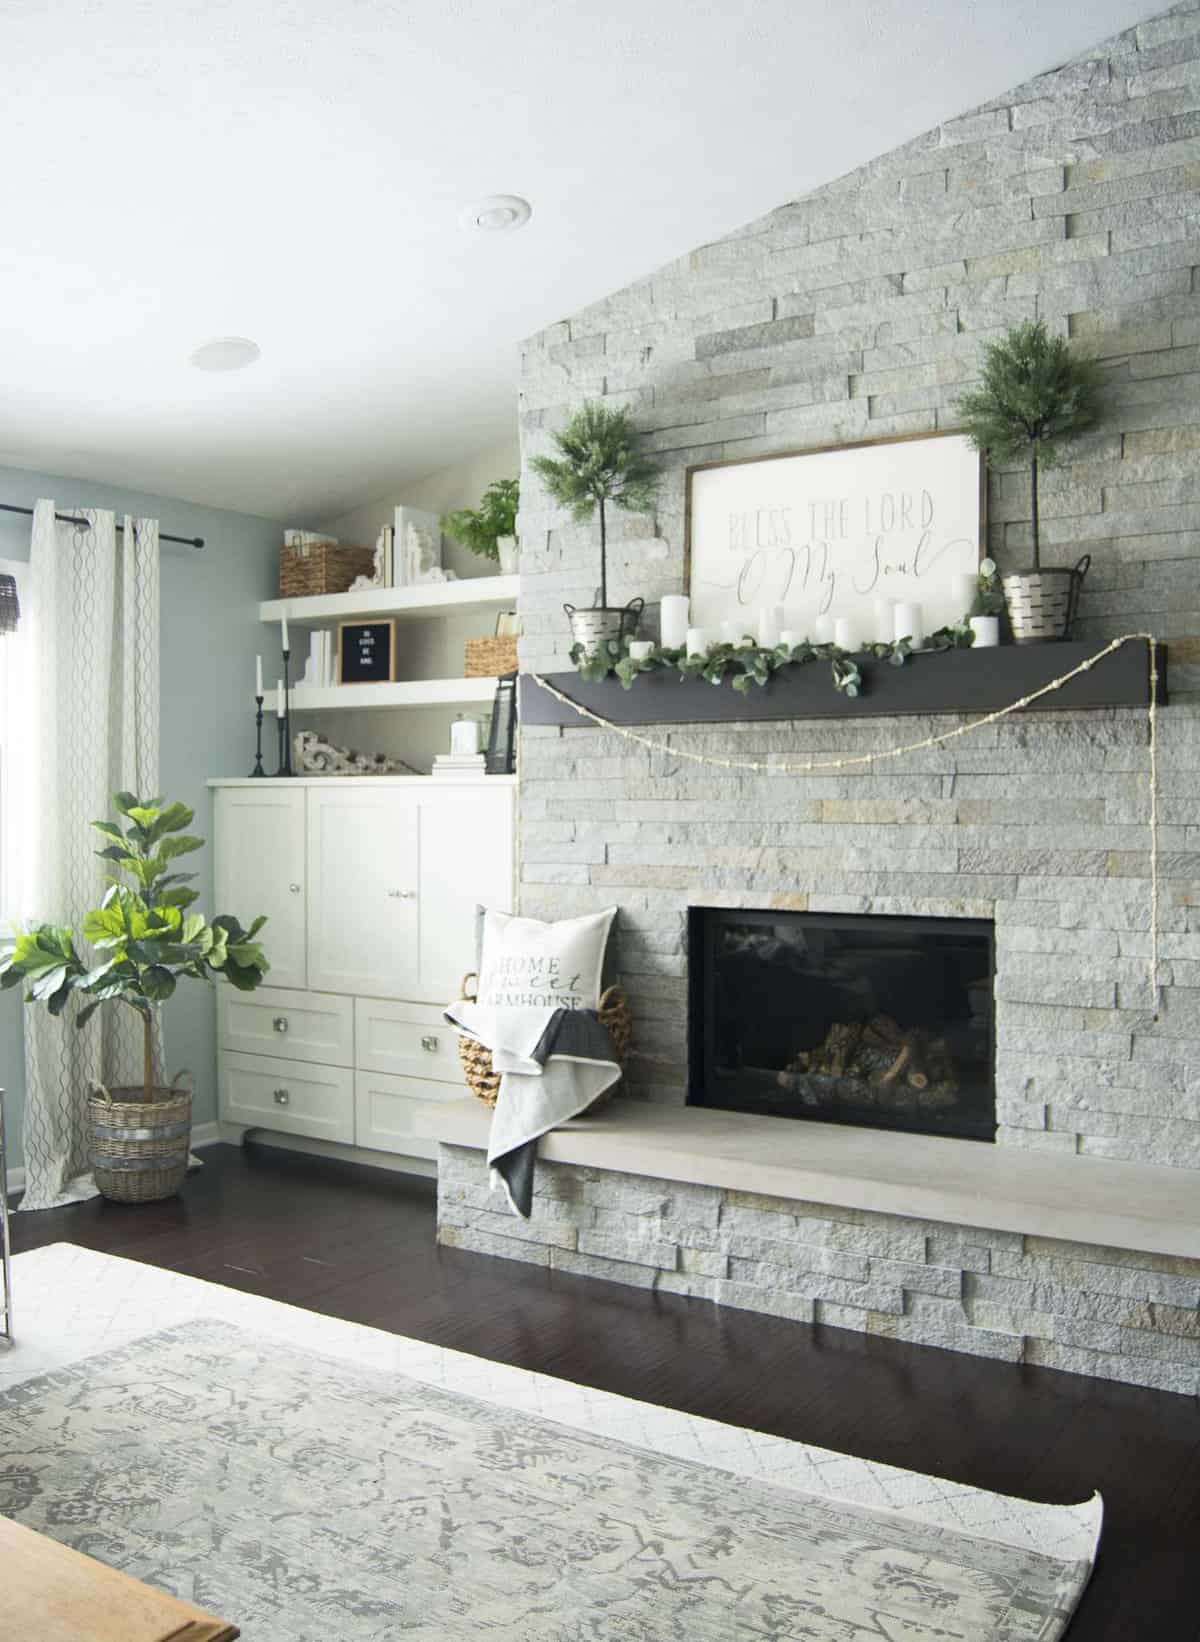
I LOVE the color of your mantel. Would that be something you would consider? I did a table with white on bottom, and a dark gray on top. It made a beautiful statement in the room. If you don’t like…you can always change. I’m a person that steps outside the comfort and goes for the unusual. What ever you do, I’m sure it will be beautiful!!
Thank you Deborah! Yes I think if I did a couple of coats of the walnut it would be close to my mantel color. A few people have suggested that so it’s definitely one to consider!
I like it as is looks great
Thank you Andrea! Option 1 and 2 are very close in the votes!
Love Option 2! Do you put a wax on your chalk paint?
Thank you Jessica! Yes, I do put a wax on the chalk paint. Otherwise it will flake and scratch. I just use Magnolia’s wax as well.
I know this wasn’t an option, but I would paint the top to match the rest of the table. However, if I were staining it, I believe I would go with the darker stain since most of the other wood in your living room is dark. By the way, I love your living room. It is beautiful.
Painting is always an option! 😉 I think I’d paint the whole thing if I were going for a more cottage look but I am liking the contrast for now. I like the thought to match it to our other woods! And the best part is, if I get sick of it I can always paint it later! Thank you Lesa!
Option 2
Thank you Connie! Option 1 and 2 are neck and neck now!
I vote for the walnur. The light seems unfinished and I like contrast.
Thank you Becky! The walnut votes are coming in strong!
I vote a light staining of special walnut…It seems like it might coordinate with the other woods on your room but without matching!
Thank you Sarah! I think you are definitely right.
I love it just the way it is! Beautiful ♥️
Sandy P
Thank you Sandy! Its natural color is definitely new to my home and I’m enjoying the contrast it brings!
For your house, I would try to match the other wood furniture that is near it.
Thank you Jenny!! I do tend to have a lot of wood in my home. Haha. That is a great idea! I’m thinking option 2 would blend with most of my woods.
Leave it as is, maybe put hemp oil on it.
Thank you Linda! If it stays natural I was definitely going to put a protectant on top but I’ve never tried hemp oil. I’ll look into that as an option for sure.
Option 1 !!
Thank you Jen! So far option 1 is winning!
I’d go with the suggestion of matching another stain in the room or going walnut. As beautiful as it is, the tone just seems a bit off for the room.
Thank you Beth! I’ve got two for a darker stain!
Option 1! Its beautiful
Thank you Michelle! So far we are tied! I appreciate your feedback!
I love it the way it is!!!
Thank you for your feedback Nina!! One for “keep it natural”. 😉
I am looking beyond the coffee table to the table by the fireplace with the white bracket on top. Which ever stain matches that is my vote. ?
That’s a great way to go about it! I always love to look at a space as a whole so thanks for your vote!!