DIY Hoop Wreaths | Simple and Sweet Wall Decor
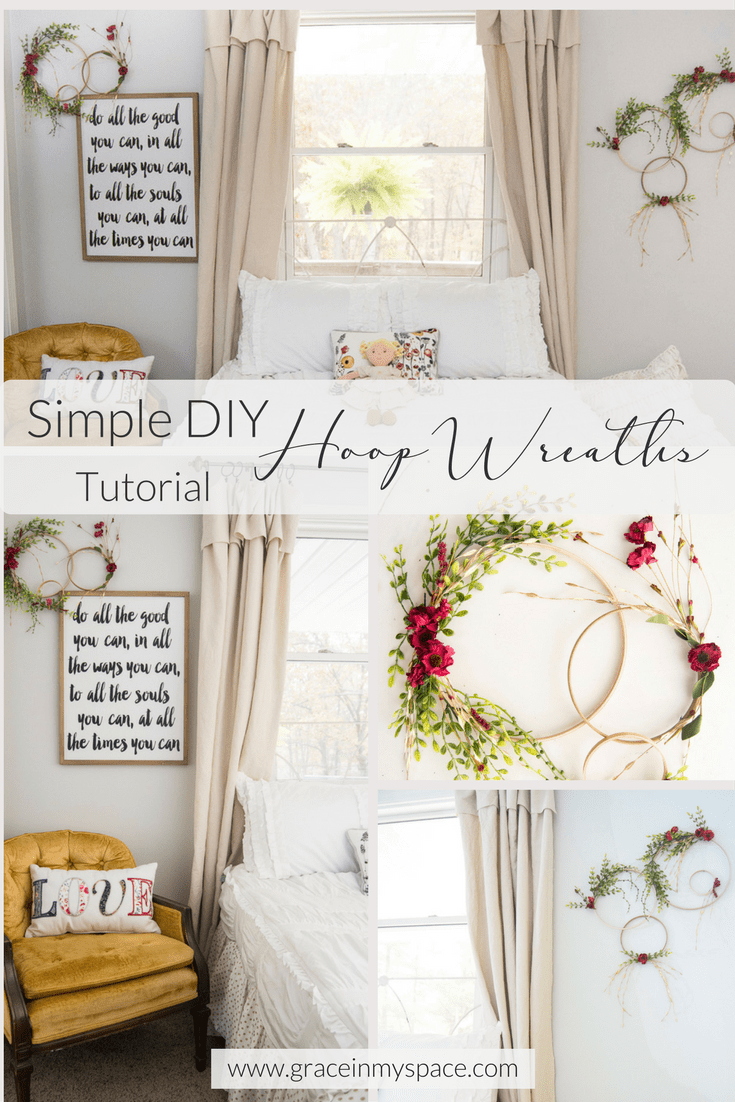
Hello Friends ~ I’ve got another DIY up my sleeve! I’m super excited about these simple and sweet DIY hoop wreaths that I created for my daughter’s room! I was first inspired to create this style of hoop wreath when I started seeing simple modern wreaths all over Pinterest. I’ve pinned a lot of inspiration if you’re looking for even more ideas!
However, for my daughter’s room I was looking for large wall decor that didn’t overwhelm her small room and these jumped out as a unique way to add pops of color and a simple gallery to dress up her walls. I showed little sneak peeks along the way to my sweet Instagram friends and they asked for a tutorial: so here it is!
Post may contain affiliate links where I earn a small commission at no extra cost to you on your purchases.
DIY Hoop Wreaths | Simple and Sweet
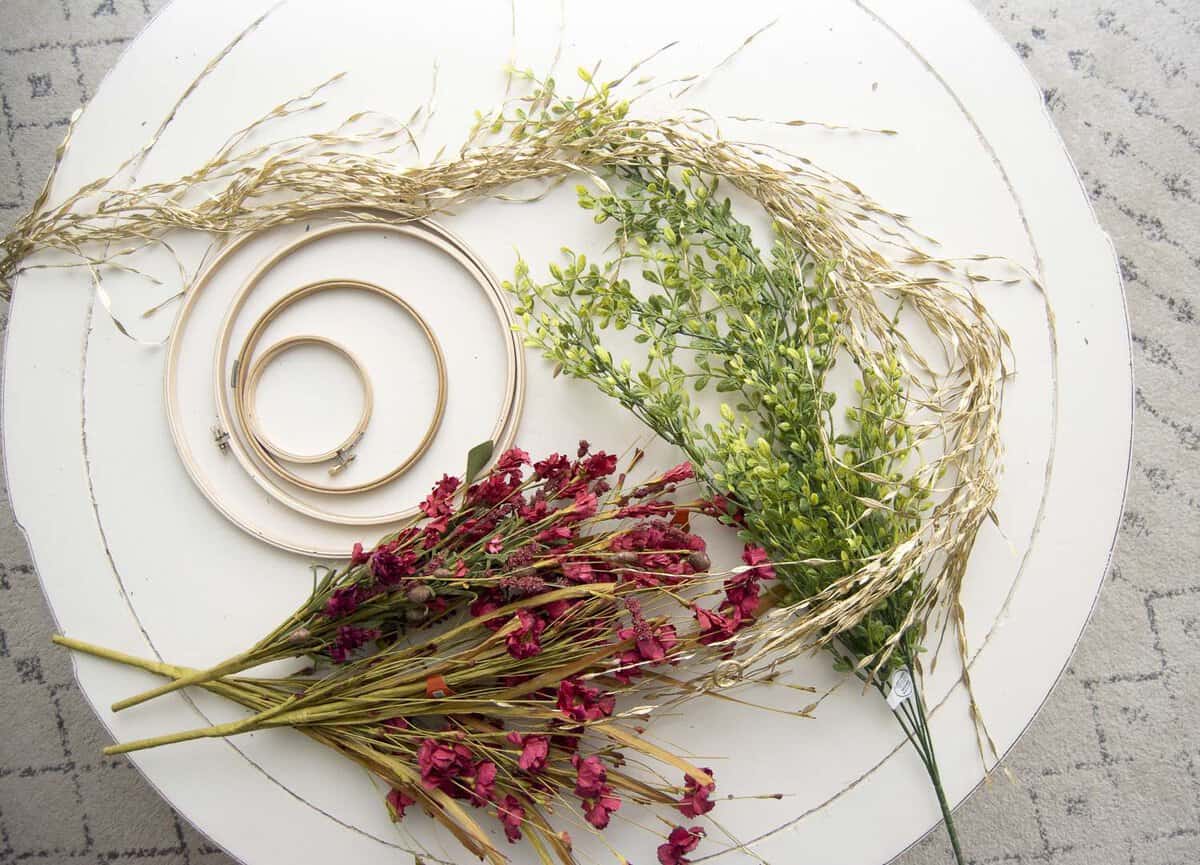
I’ll be showing you my supply list based on the look, style, and size that I needed for my space. You will need to adjust your supplies based on how you want to use these DIY hoop wreaths. But that is the beauty of this DIY! It is completely and easily customizable for your own style. Perfecto!
Supplies
- Embroidery Hoops in multiple sizes (remember, you will need to measure your space to know how many you need)
- Floral Wire
- Wire Cutters
- Hot Glue + Glue Gun
- Multiple Florals. I had a specific look and color palette I wanted so I used:
- Two coordinating bushes with various types of flowers, stems, berries and other accents
- Drapey Greenery (Isn’t drapey a word? Yep, it is now.)
- Whimsical gold garland for a girly touch

DIY Hoop Wreaths | Tutorial
First things first, measure your space and lay out your hoops as you’d like to hang them on the wall. (Or hang them from the ceiling, which is another pretty option I’ve seen.) This step is important so that you know where you will have overlap on your hoops. If you don’t plan this step in advance then it is possible that your florals will overlap and all blend together once you hang them.

Second, separate your florals and greens from the stems. One of the benefits of finding this pretty pink bush is that it has lots of variety to offer. Not only does it have these whimsy flowers, it also includes berries, grasses, leaves, stems and pussy willow. So as you’re trying to find florals for your DIY hoop wreaths make sure to get the most for your money with lush bushes.
I started by removing the gold leaf garland from the larger branch. For this it was simple to just pull them right off with no cutting necessary. For the greenery and floral bush just use heavy duty scissors, wire cutters, or tin snips from your hubby’s stash. 😉

Third, cast a vision! If you have an idea in your head of what you want your final DIY hoop wreaths to look like then place your florals and greenery on the hoops and play around with them until you figure out what you like. This step is important so that you aren’t redoing your wreaths later. And if you aren’t a visual person who already has a vision of your finished product, then browse around Pinterest or another source to get ideas.
Tips:
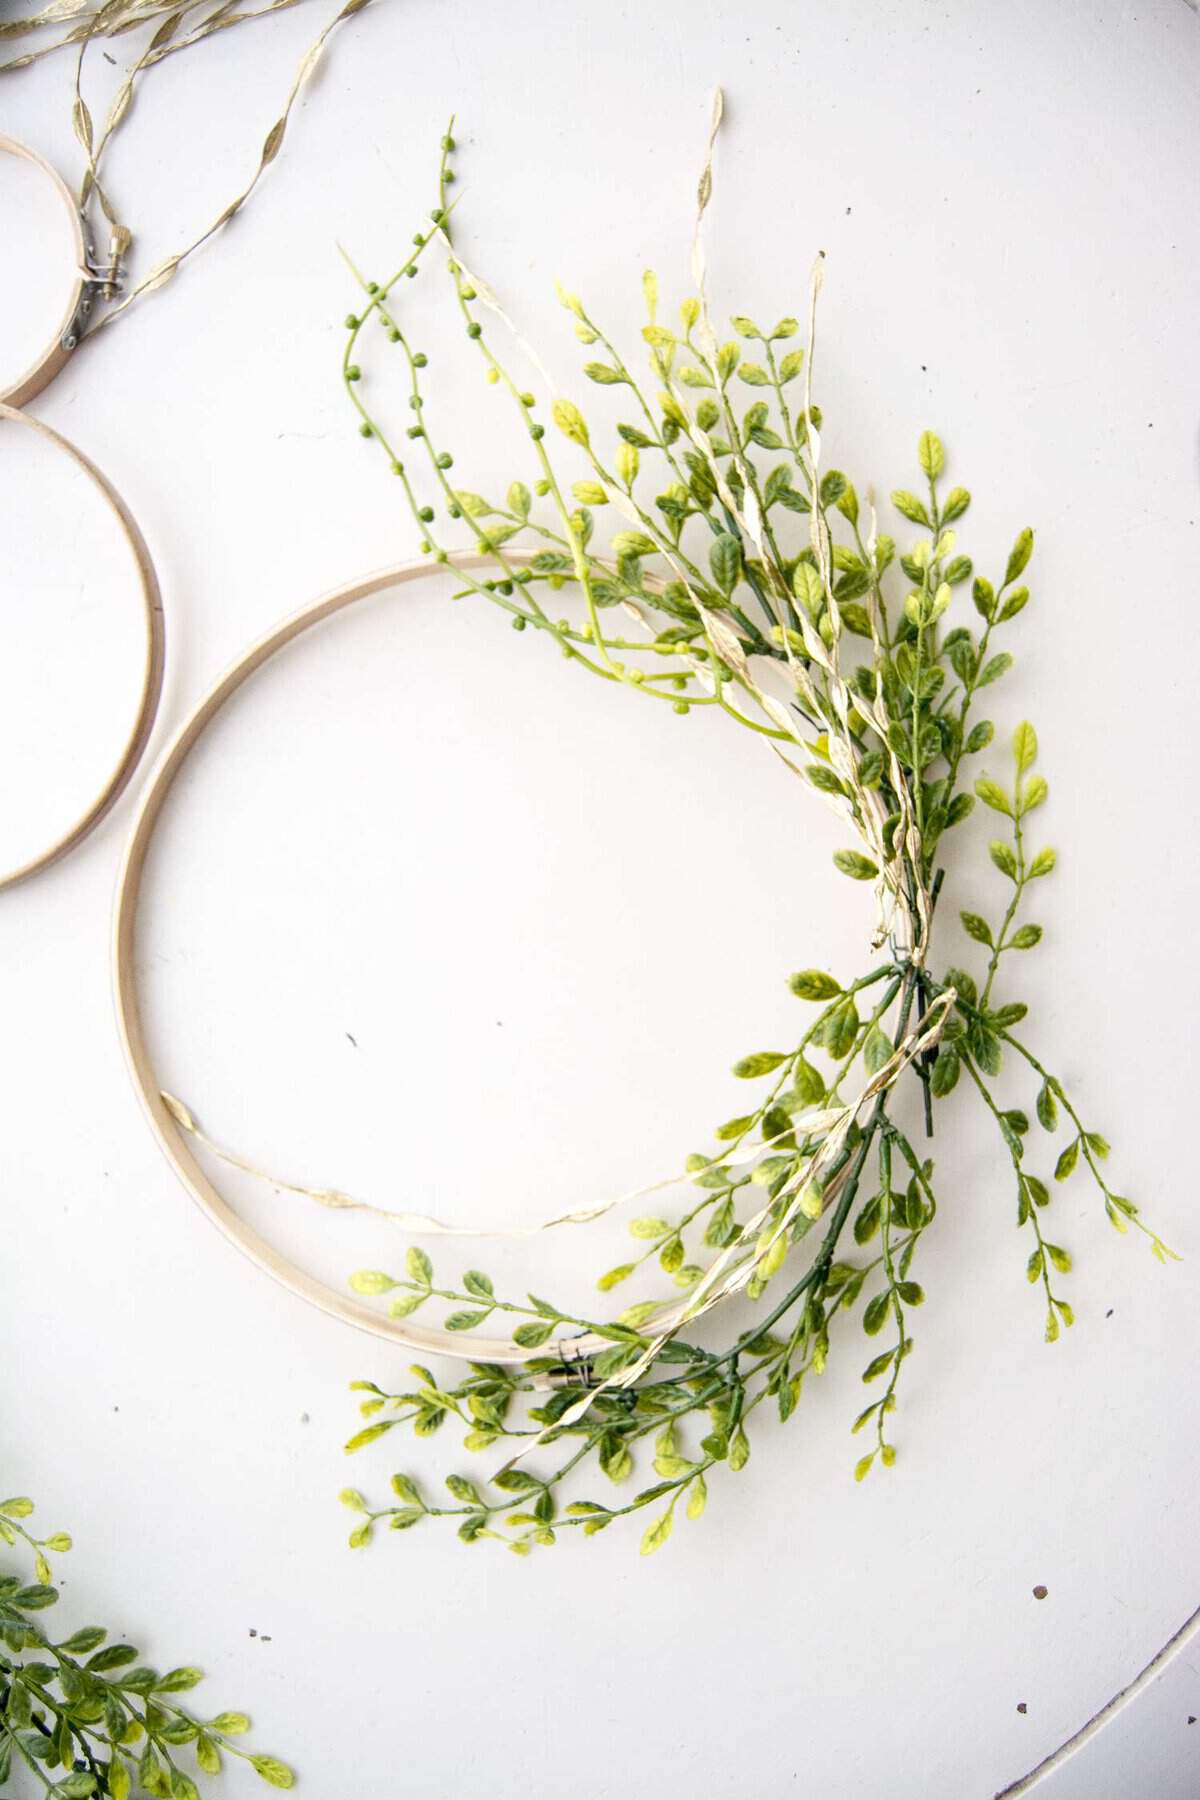
- When arranging your florals, make sure to place the largest and fullest pieces in the back. For example, if I placed my gold leaves behind my greens they would be completely covered up and not visible in the finished product.
- Try to create variety in your hoops. If you make them all very full then they will eventually all blend together. If that is the look you’re going for then fantastic! But if you want each hoop to be more defined then create some with fuller arrangements and some with simple arrangements.
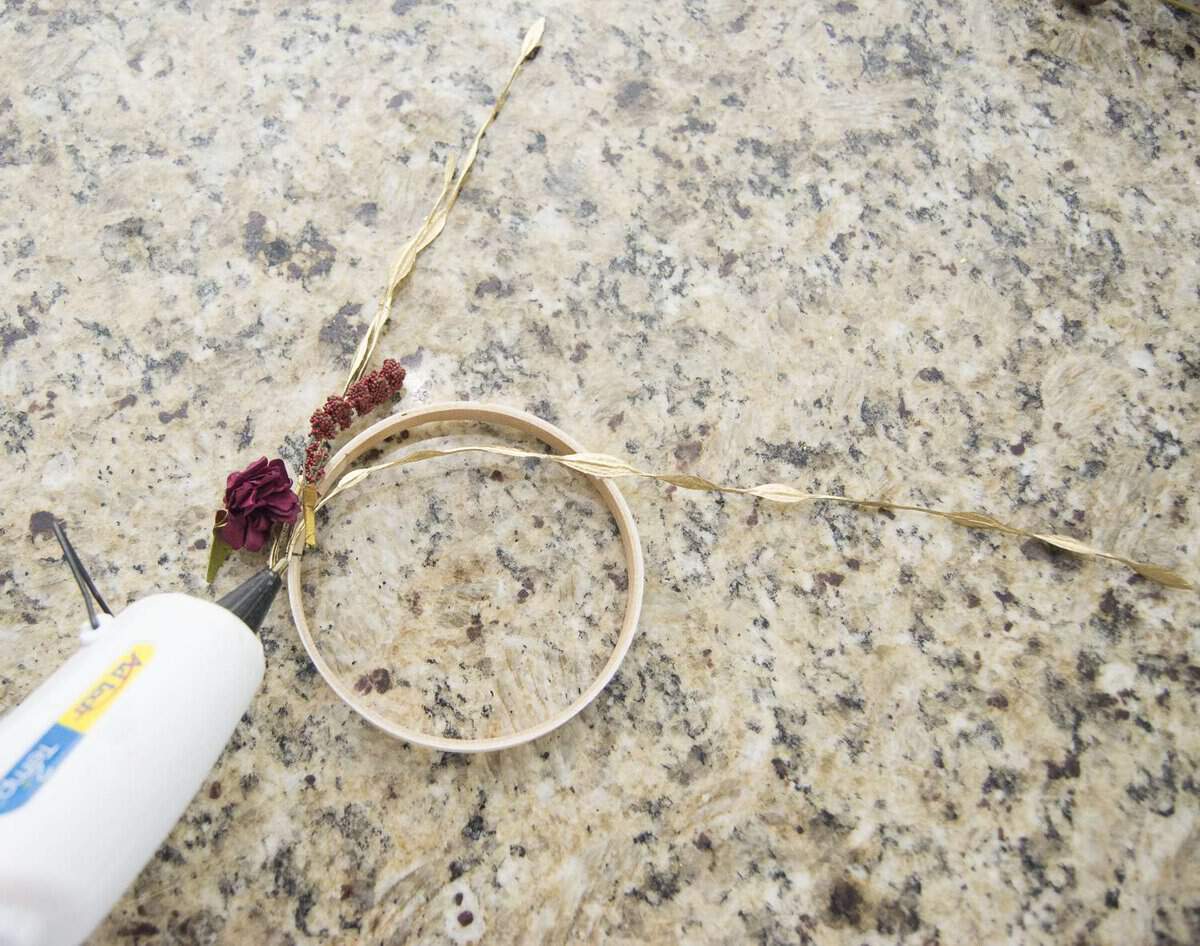
Fourth, once you are happy with your test subjects, start attaching each piece. I used floral wire for the greens because they were heavy and hot glue wouldn’t hold them securely. Make sure to turn the wire so that the twisted section is hidden in the back. Then continue to add each piece with either wire or hot glue depending on how and where it needs to be placed.
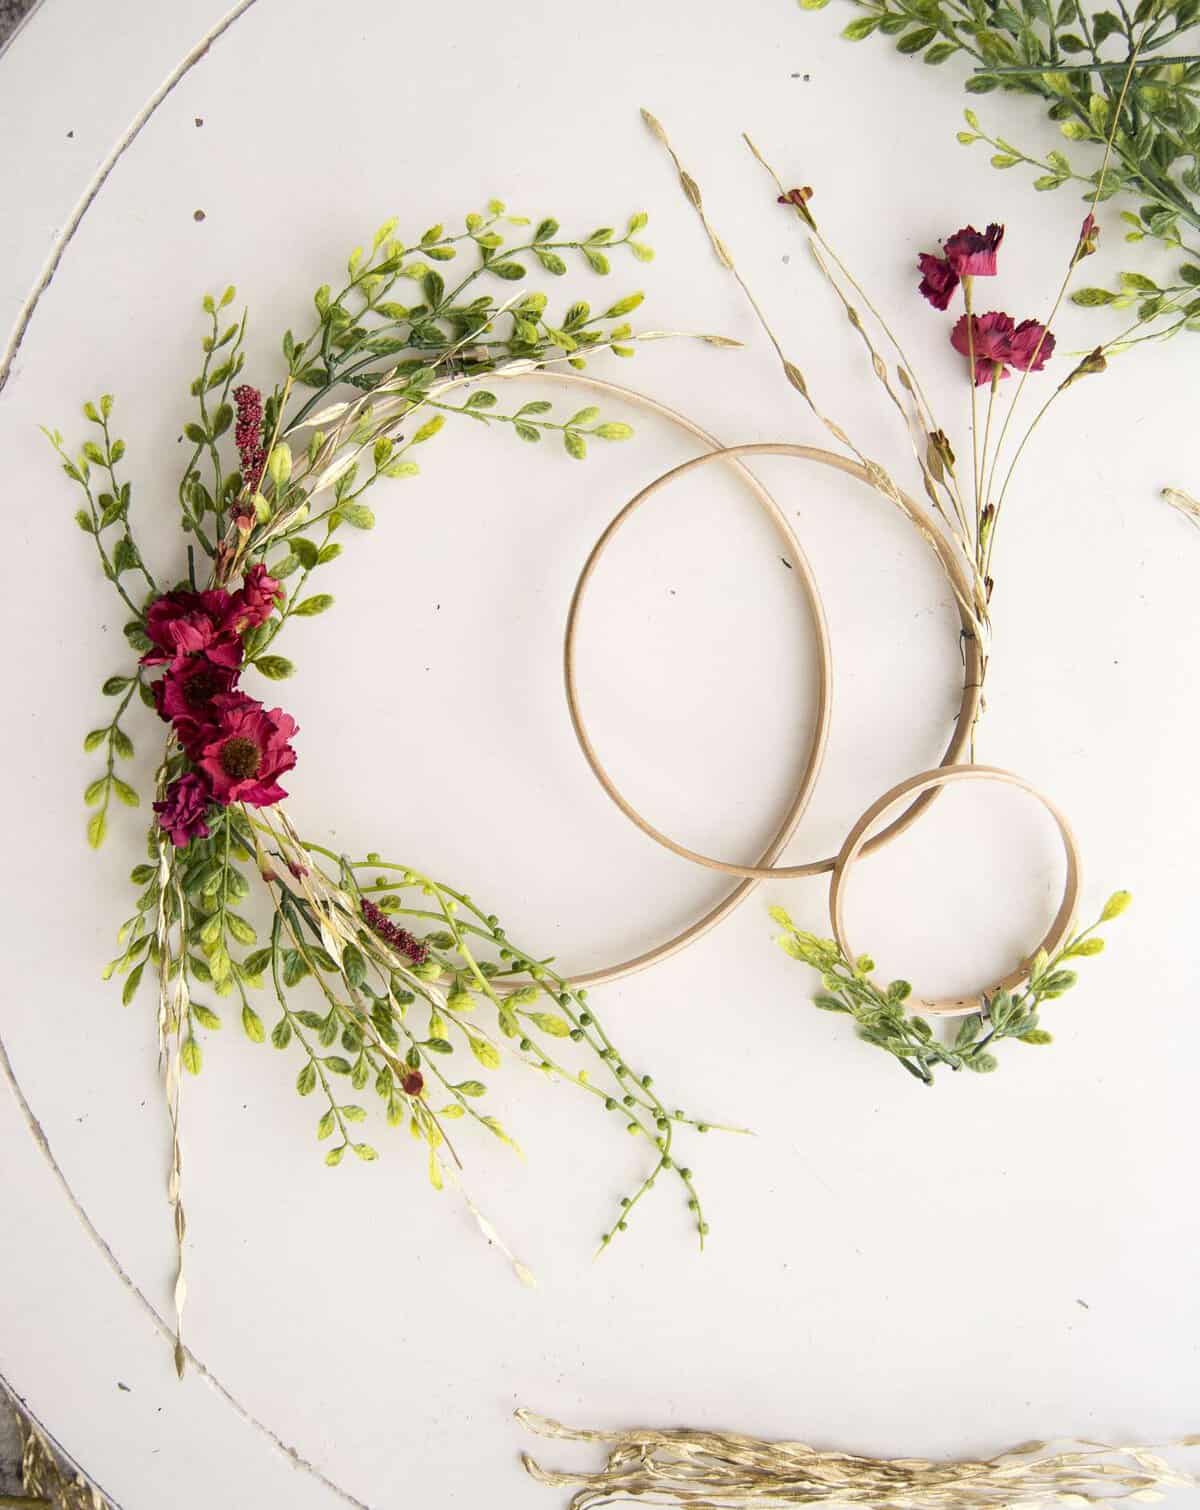
For my florals, I used hot glue because they were light weight and I didn’t want to leave stems attached. Therefore, I had to use hot glue to attach the heads of the flowers.
Tip:
- Depending on how you place your greens or garlands, there will be a central section where the ends of the stems meet up. I used floral heads to cover those areas so they didn’t show. This also hid any wires that didn’t blend in with the greenery.

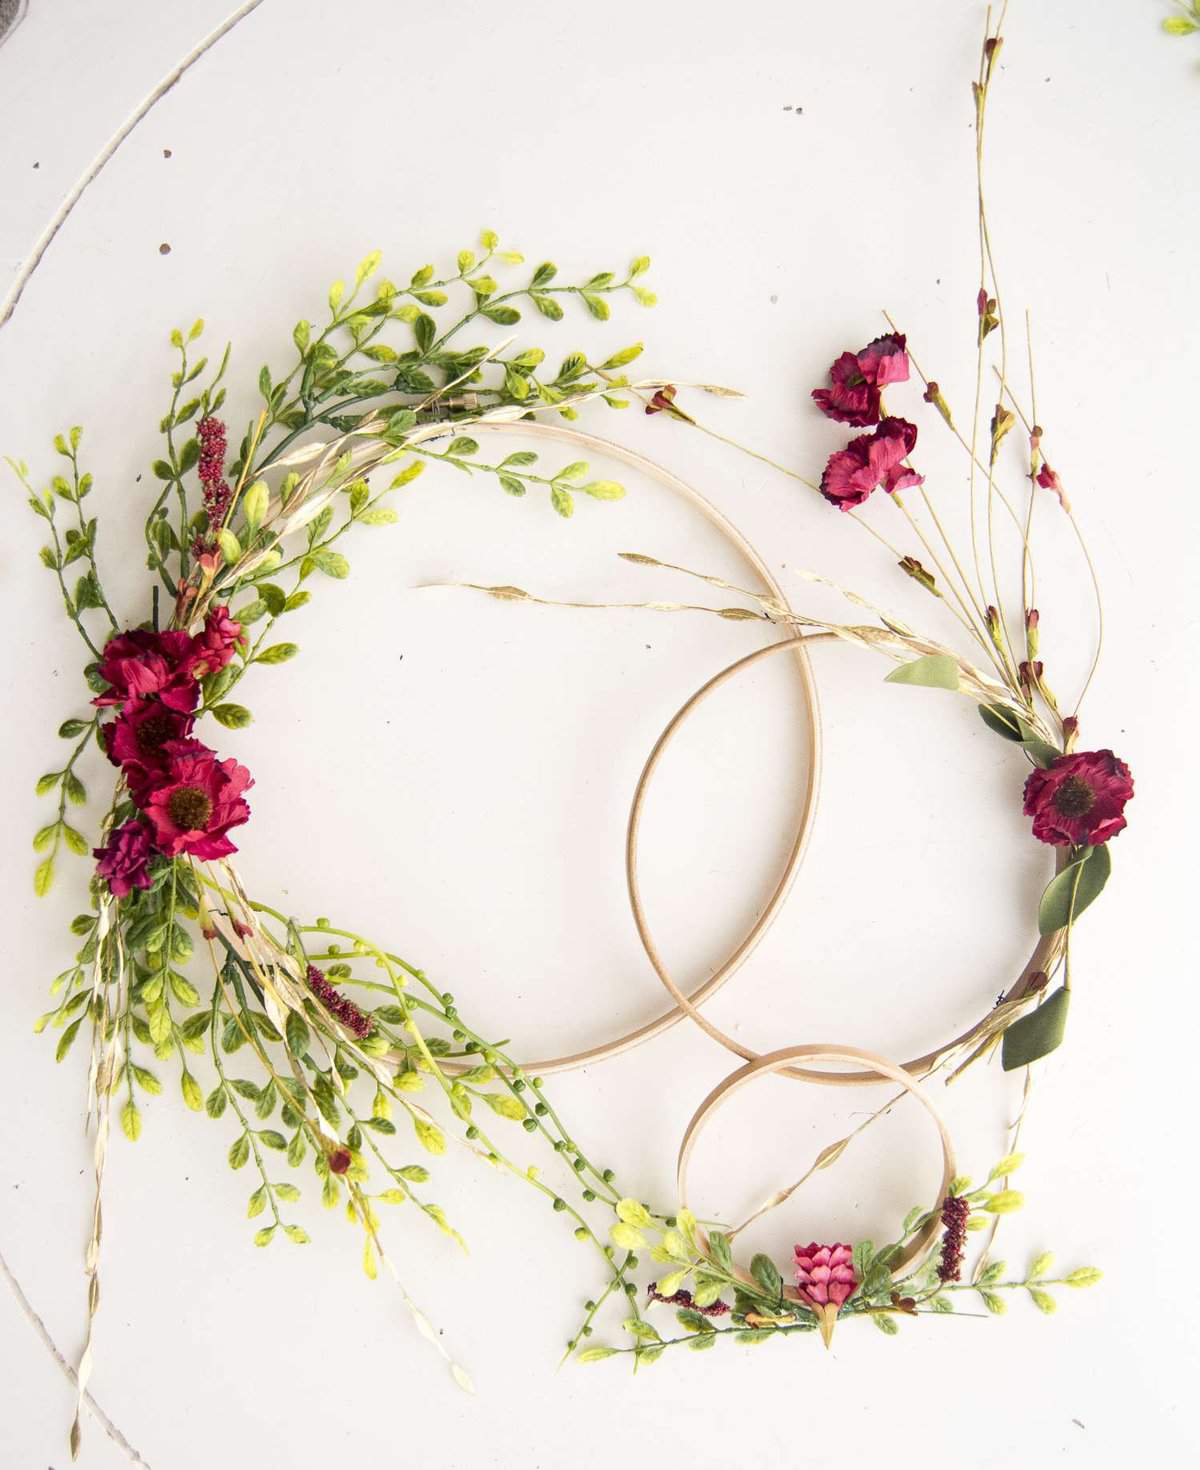
Fifth, repeat the process for as many hoops as you need! My daughter’s room had two sections of wall on either side of the bed that I wanted these to occupy. In order to coordinate them I created my DIY hoop wreaths in two groupings. One went around a sign and the other grouping was stand alone.
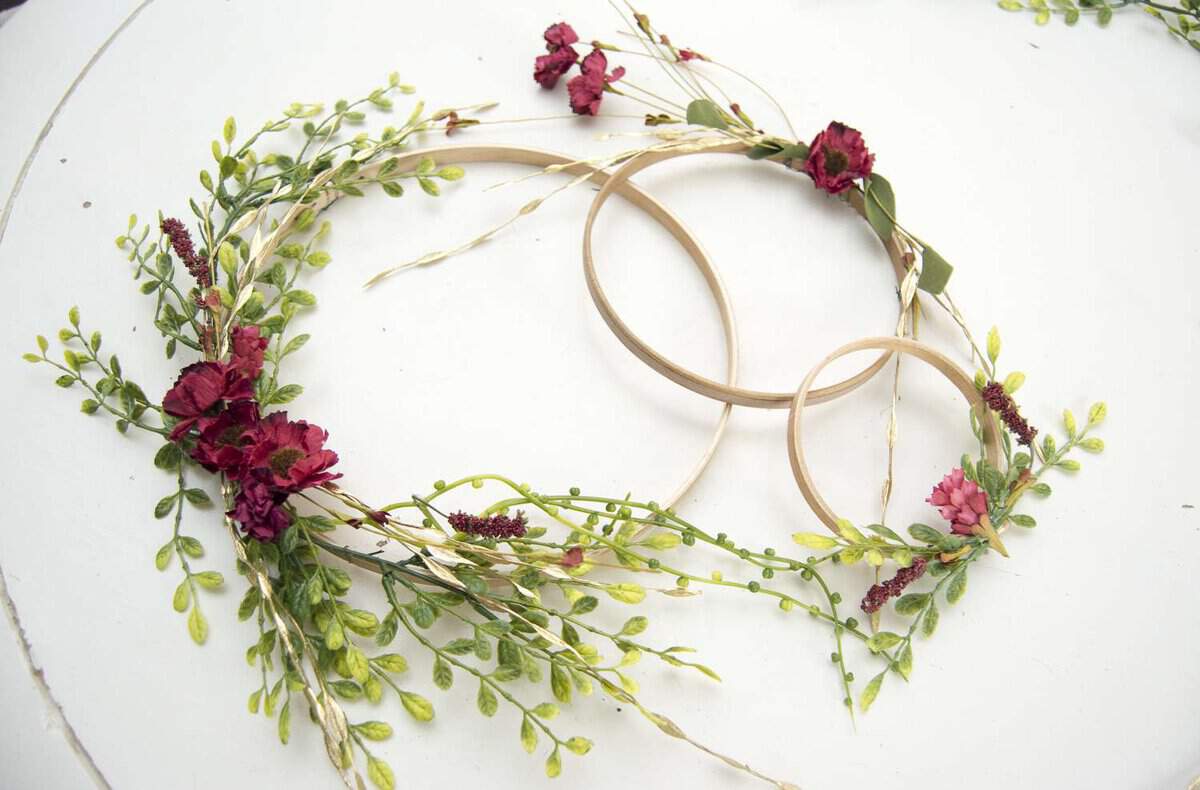
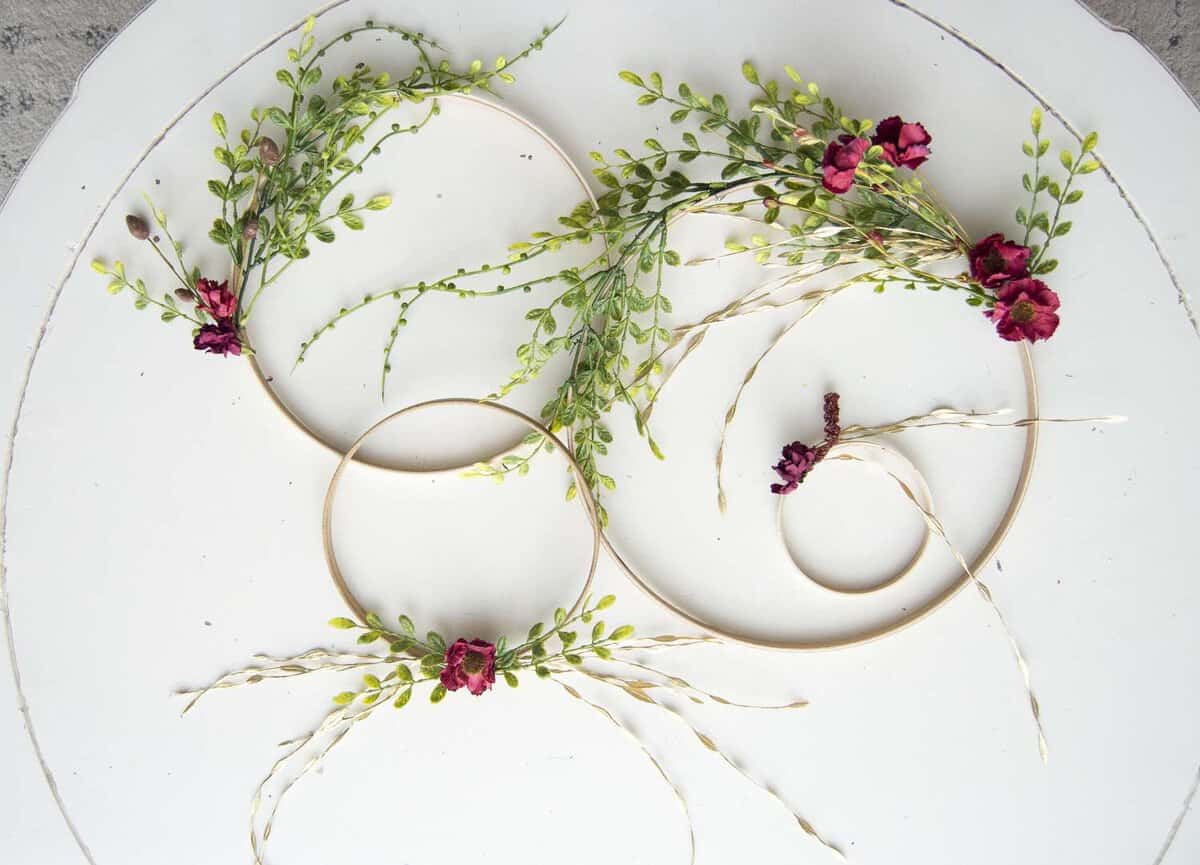
Once you’ve completed as many hoops as you need for your space you can simply hang them with nails or by dangling them from fishing line! Personally, I really hate working with fishing line. It is like trying to tie a knot in a greased rope. Blah! So I went with nails for most of my hoops and then used fishing line for the smallest one to hang overtop of others. This way I could layer the hoops as much as possible.

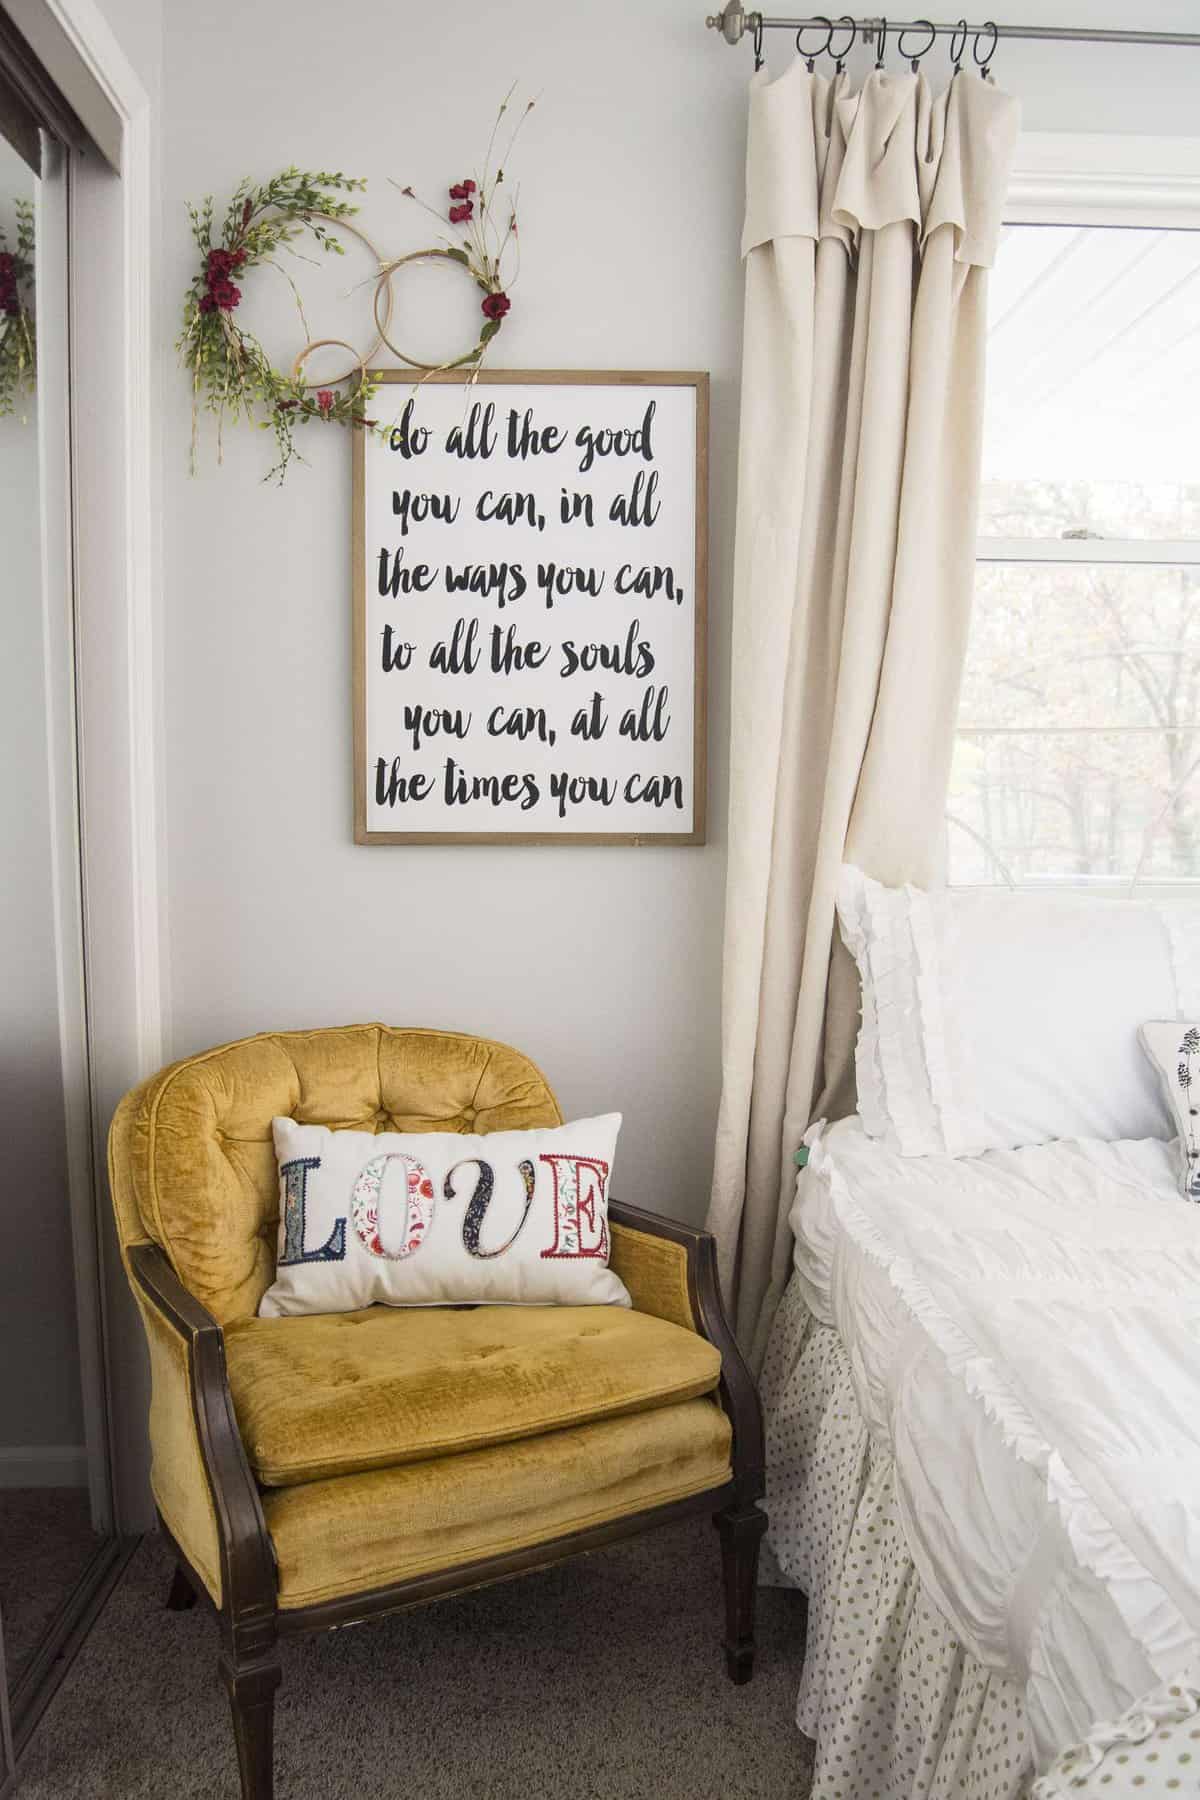

Shop This Room
I’m also giving you a sneak peek at my daughter’s room! I’ll have the full room up in a post soon! She’s loving her space so far and I just need to add the finishing touches with a fun accent wall!
There you have it! An easy way to spice up a space with a fun to make DIY project! These DIY hoop wreaths were so fun for me because there are so personalized. You can mix and match any type of green, floral, colors and patterns to your own style and tastes. Has anyone else tried this before? Share you experience or tips below in the comments!

{“Simplicity is the ultimate sophistication.” Leonardo Da Vinci}


This project is so beautiful and I’ve been so wanting to make one of these! Ok, you have inspired me! Thanks for joining our linky party!
Thank you Janine! It is a super fun and easy project!
Beautiful project Sarah! I love the rustic yet refined feel these wreaths have. And your choice of flowers is perfect for Valentine’s Day without being overly pink or red. Absolutely gorgeous! Thanks for joining our Friday Friend’s Parade. xoxo
Thank you so much Ashley! I appreciate your sweet words!
Sarah I love these wreaths! I have seen them all over and I have wanted to make them for the longest time. Thanks for the tutorial! Pinning for later!
Thank you Kelly!! Make sure and let me know once you’ve made them! I’m sure they will be beautiful.
Sarah, You did an amazing job! Not only creating the hoop wreaths but explaining it and making it look almost easy? I want to drop everything and make these 🙂 We absolutely love that you have joined us for the launch of our linky party! We really hope you’ll join us each week…it’s going to be a lot of fun. XO ~ Julie & Jodie
Thank you my sweet friends! They are so easy to make so I hope you enjoy if you decide to tackle the project!
Where did you get your florals?? Beautiful look! I love this! and those colors are exactly what i’m looking for.
Thank you! These florals are from Hobby Lobby. ☺️