
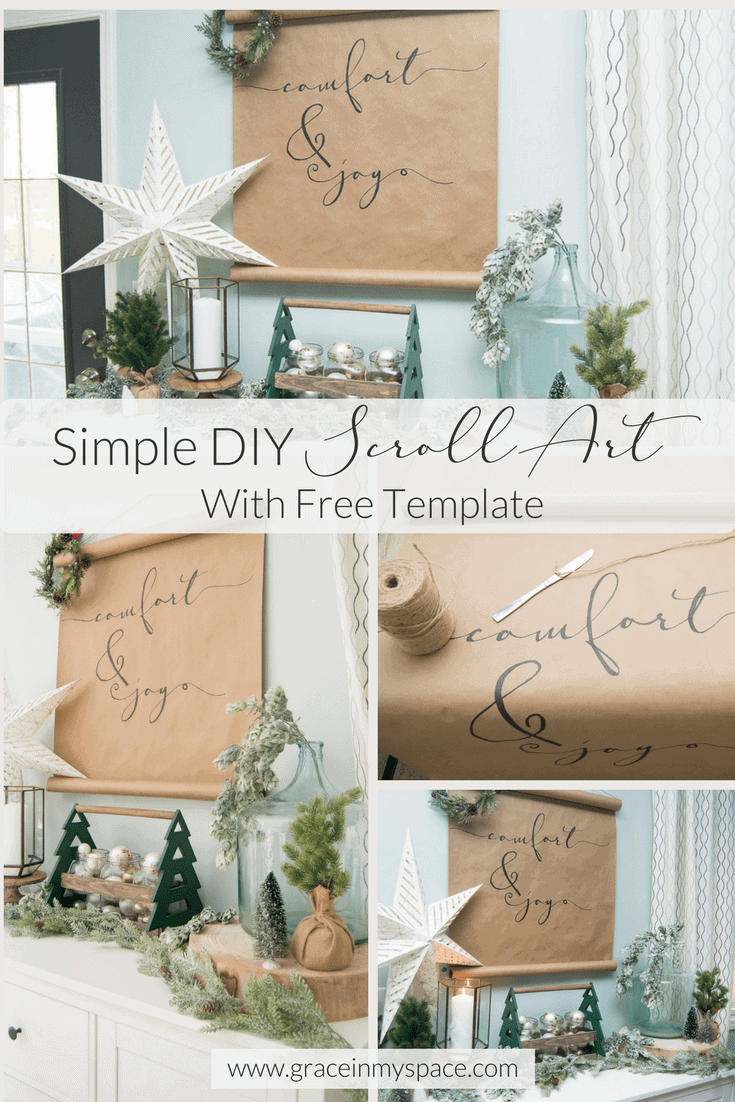
DIY Christmas Scroll | Simple and Affordable Art
Who’s ready for Christmas! ME! Friends, I love Christmas! It is easily my favorite holiday and I also love to decorate for it! But you know what I don’t love? Buying new decor each year. 🙁 My tastes change so frequently so I like to try to reuse or recreate my holiday decor as much as possible. That is why I am excited to share with you this easy DIY Christmas scroll project that I’ve created as a part of the Remodelaholic Creative Christmas Challenge!
If you read my DIY Thanksgiving charger tutorial, then you are already ahead of the game because I use the same technique! I’m going to walk you through step by step how to create a DIY Christmas scroll without any special equipment or transfer paper.
But first, let me say that I have mad respect for the talented individuals who can free hand scroll art! Me? Ummm…yeah I’m pretty much penmanship challenged.
However, if you are a DIY adverse kind of person who doesn’t want to attempt this project (or just want to shop!) I’ll link up some talented individuals at the bottom of the post. For all you DIY challengers, here we go!

Post may contain affiliate links where I earn a small commission at no extra cost to you on your purchases.

DIY Christmas Scroll
Supplies
- Kraft paper roll
- Scissors
- NEW Sharpie (Fine or medium point)
- Unsharpened pencil
- Ink Jet Printer & Printer paper
- Bailing twine or other kind of rope of choice
- Free template for all my subscribers!
- If you’re already a subscriber you can find the template in my printable library! If you are a new subscriber, the link will be in your welcome email. 🙂
Step 1
Print off my DIY Christmas scroll free template with your printer settings on “Flip Horizontally” so that the words are backwards when printed. You can also do this project using your own word or phrase! Just make sure that you print it large enough to fill your scroll width.
My template is already sized to fit a standard roll of kraft paper. You may need to test out your sizing if you choose to do your own!
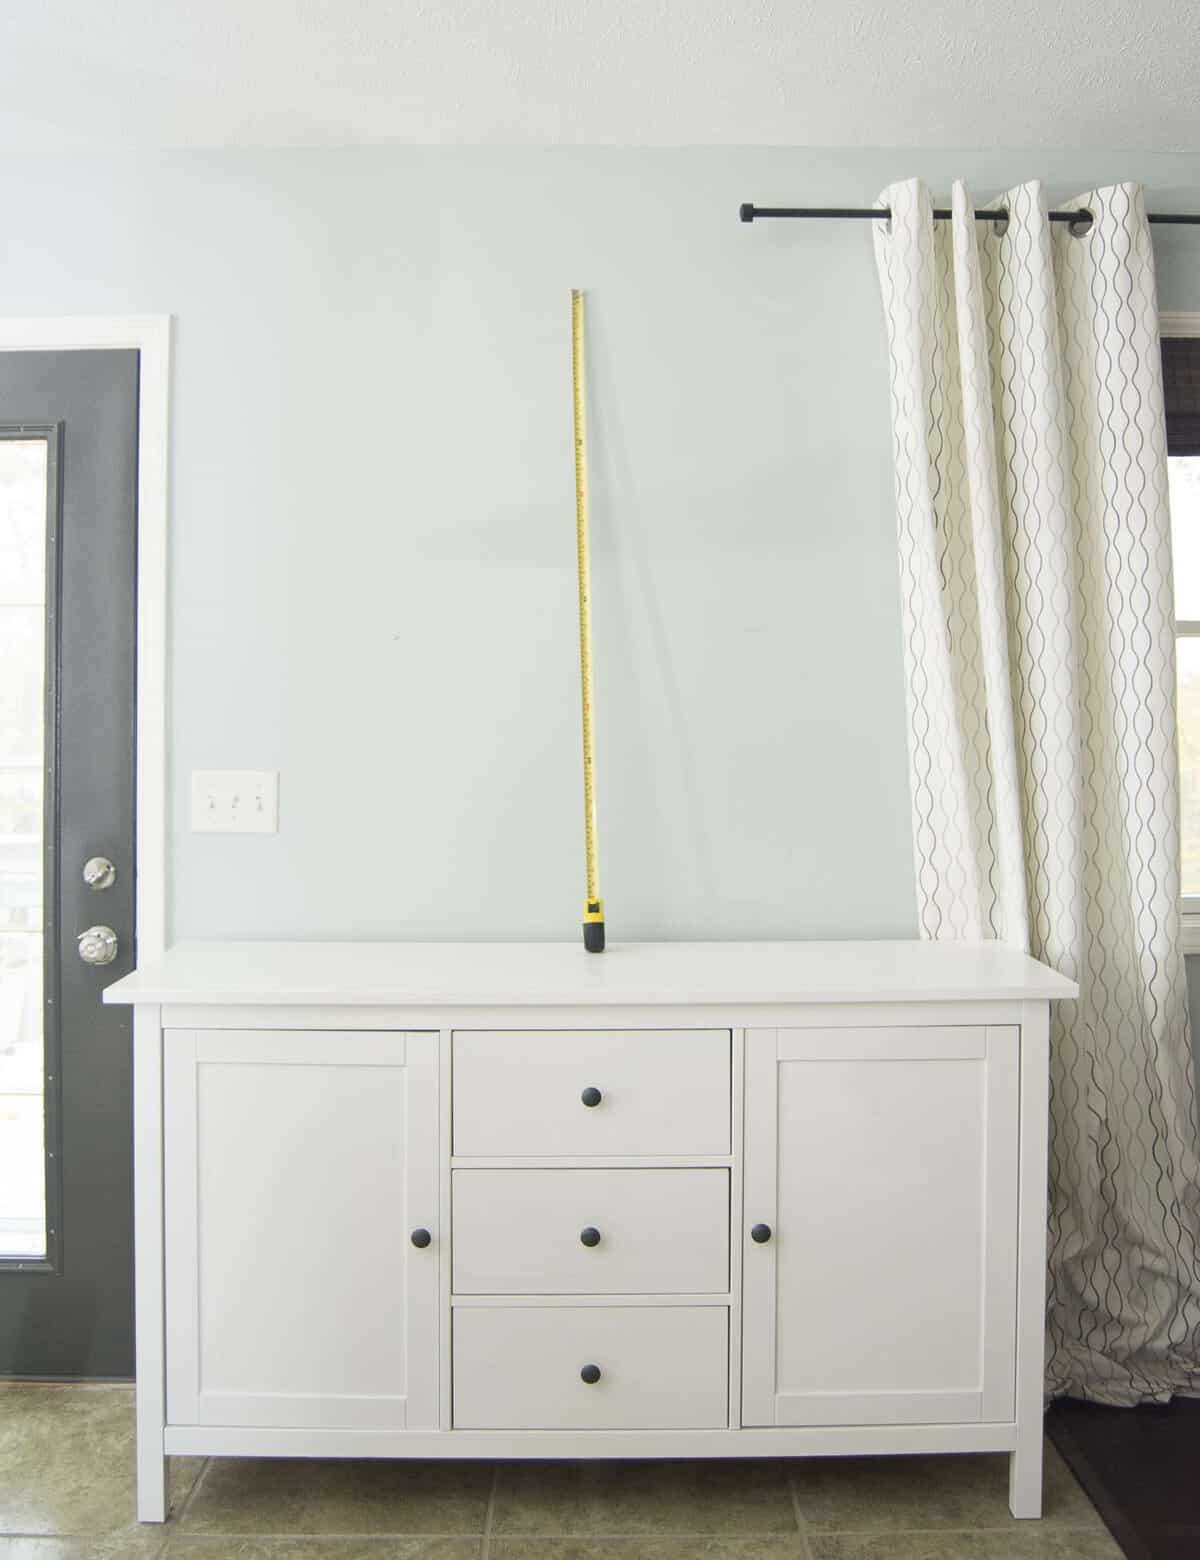
Step 2
Measure your space where you want to hang your DIY Christmas scroll art. You will need to do this to ensure that your spacing is accurate once you place your lettering. If you roll out too much paper it may be too large for your space but not enough may make your scroll look too small. (Save about 3 inches for hanging.)
Step 3
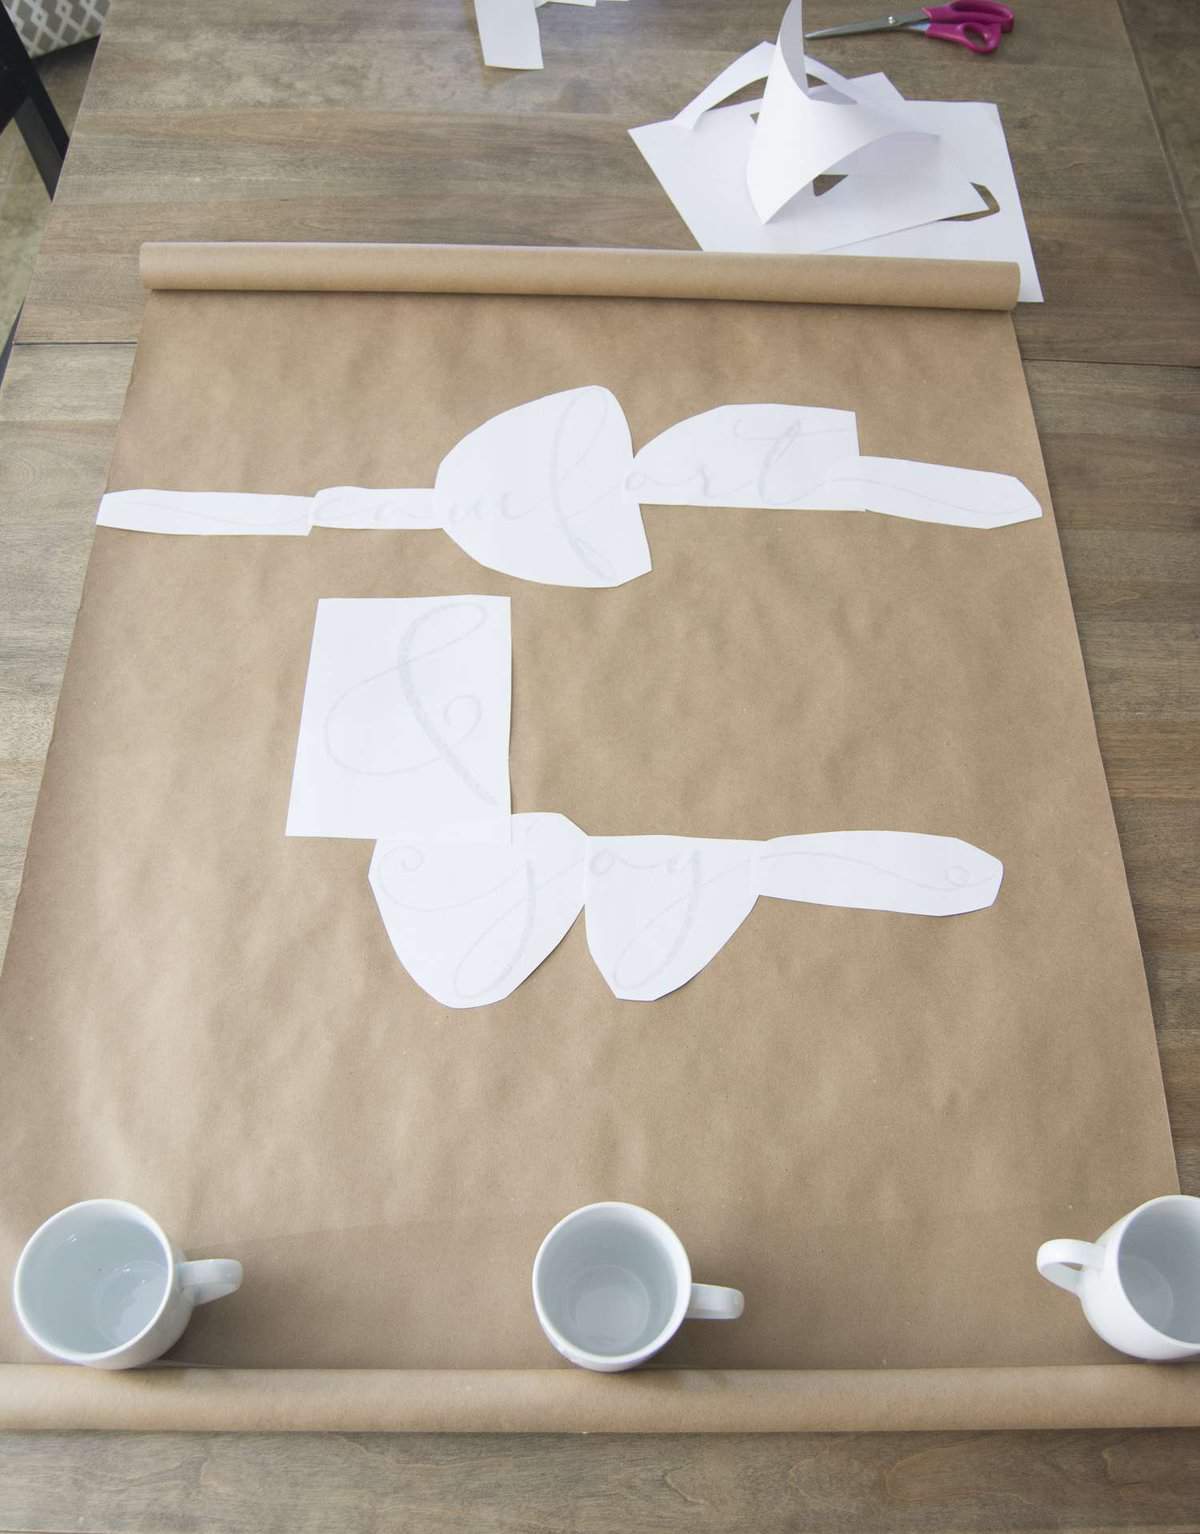
Lay out your kraft paper according to your measurements. Weigh down the edges so it doesn’t roll up on you. I started this project with coffee mugs as weights (because I’m handy like that….) and eventually realized butter knives did the trick but weren’t tall and in my way. Sometimes it takes me a minute to have those kinds of epiphanies. 😉
Step 4

Place your cut out template where you want it to be on your paper with the ink side down. Feel free to play around with this! I liked my & sign offset but you may want it differently!
I also printed out some trees and snowflakes originally thinking I would want to make it more whimsy but decided on simplicity instead. So feel free to think outside my little box! Add whatever you’d like using the same process.
Step 5


First, make sure you are working on a surface that won’t be damaged by the process. I didn’t want my dining table to be indented by vigorous rubbing or my sharpie bleeding through the kraft paper so I did all my work with a marble cutting board under the area I was working on. Protect your surface!
Hold your piece of paper firmly and use your unsharpened pencil to rub over the areas of ink. Don’t be shy! This takes a little elbow grease. This is the process of transferring the ink to the paper so you have a template to trace and fill in later.
Don’t worry if it isn’t super dark as you will be darkening it in the final step. Since the words don’t fit on one piece of paper, you will have to make sure to line up each letter so it touches the one next to it to keep the continuity of the calligraphy. You don’t want to have gaps between the letters.
Repeat this process until all your words have been transferred.
Step 6

Grab your sharpie marker! I highly recommend a brand new marker so the final product doesn’t have stroke marks. During this step you will trace and fill in the words.
Tips:
- Be intentional about where you pick up and set down your marker. You want this to look as smooth as possible so be light handed when starting and ending your strokes. Otherwise you’ll have lots of little dot marks to fix at the end. 🙁
- Make long downward strokes as you trace. You want the black to be smooth and seamless and using upward strokes causes resistance on the paper which turns into bumpy edges.
- Think “graceful painter” when filling in the thicker parts of the words. Not “coloring toddler.” 😉 You don’t want the thick parts of the words to look scribbled. Continue using long downward strokes to fill in sections too.
- Once you’ve completed the fill go back and smooth out any uneven edges.

Step 7
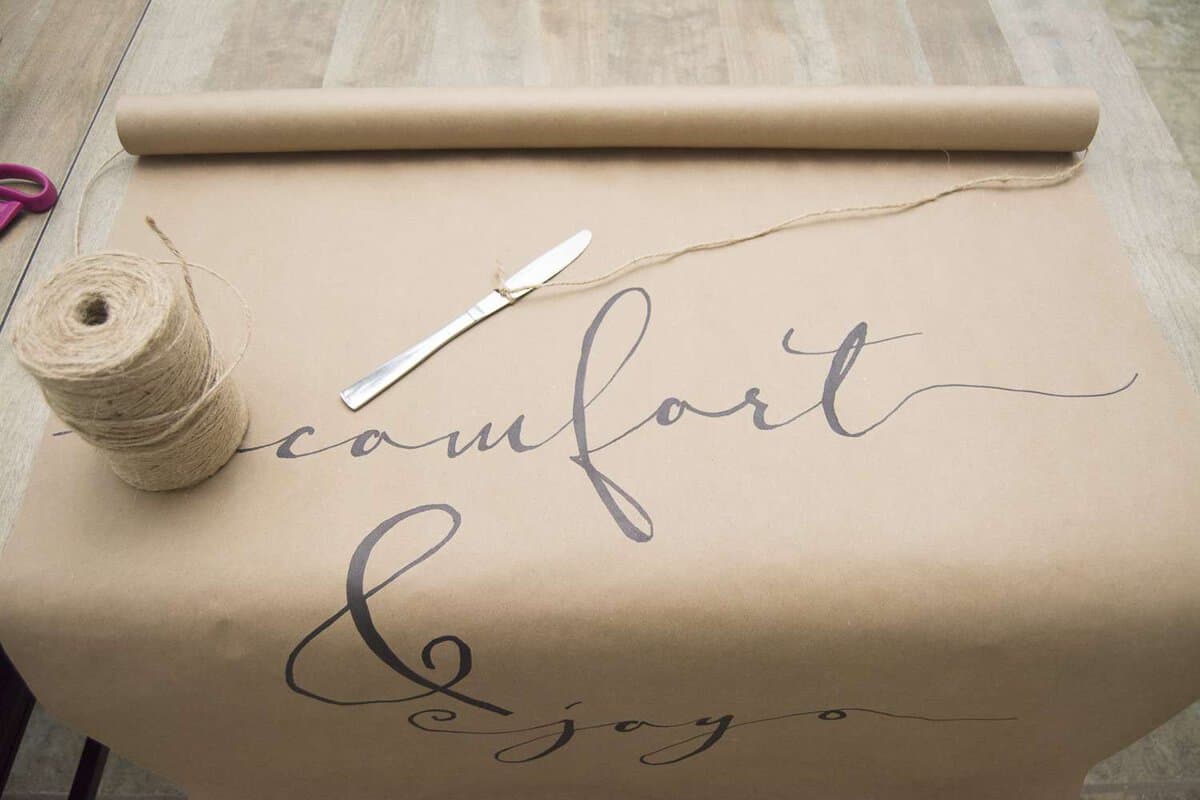
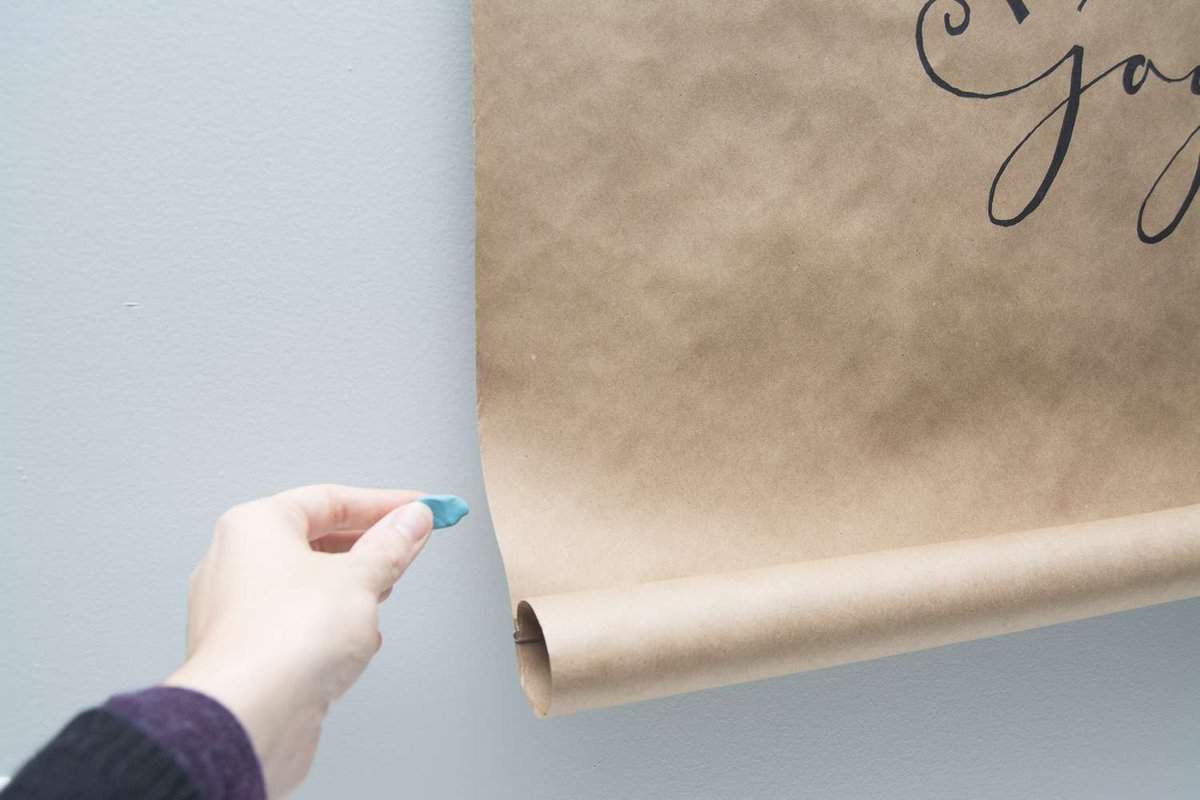
Once everything has been darkened, it is time to add your hanging rope!
I used simple twine that I had on hand. At first I tried to thread the twine through the middle of the paper roll by pushing it in. Well folks that went no where fast.
Then my eye caught on the knives holding the paper down and I decided to tie the twine to the knife and use the weight of the knife to pull the twine through the roll vertically. It worked like a charm. Just call me MacGyver.
Step 8

Once you’ve hung your scroll you can use double sided tape, hot glue, or paper clips to keep the bottom of the scroll at the level you want it. Use ticky tac or another non-damaging product to hold the scroll to the wall, keeping it level.

Step 9
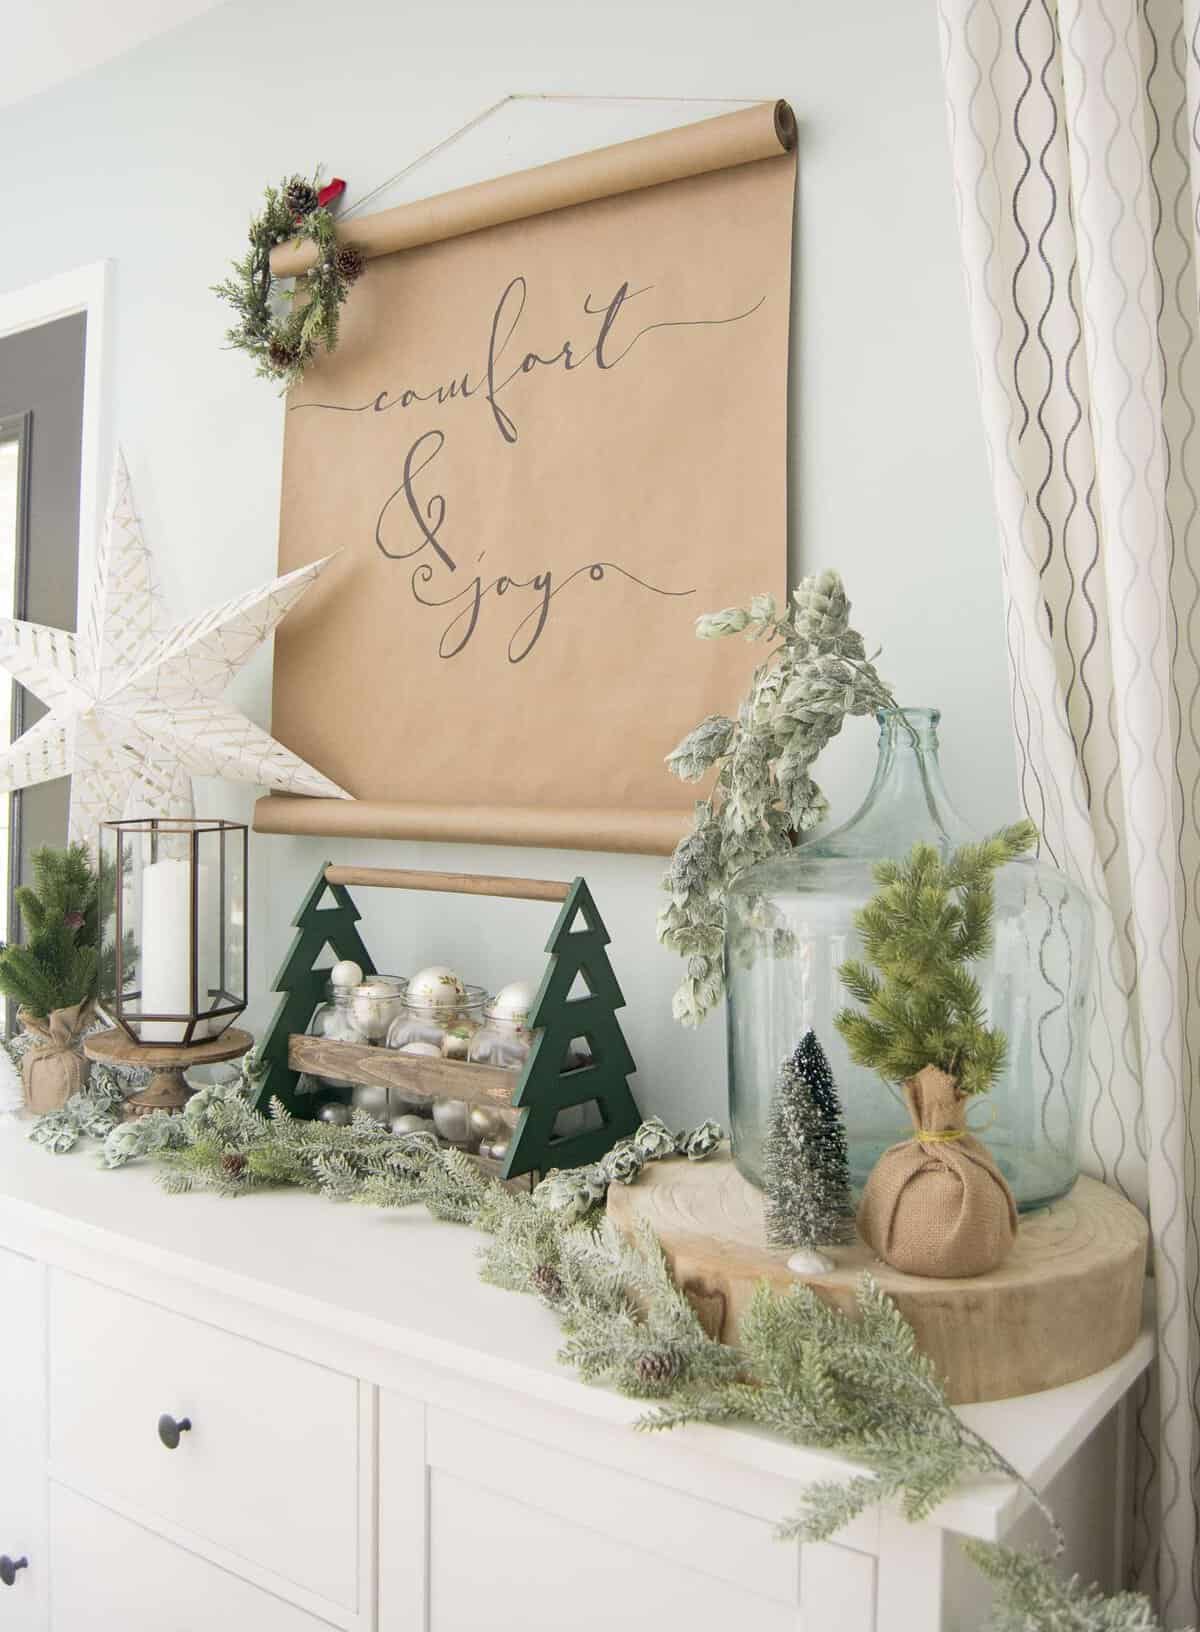
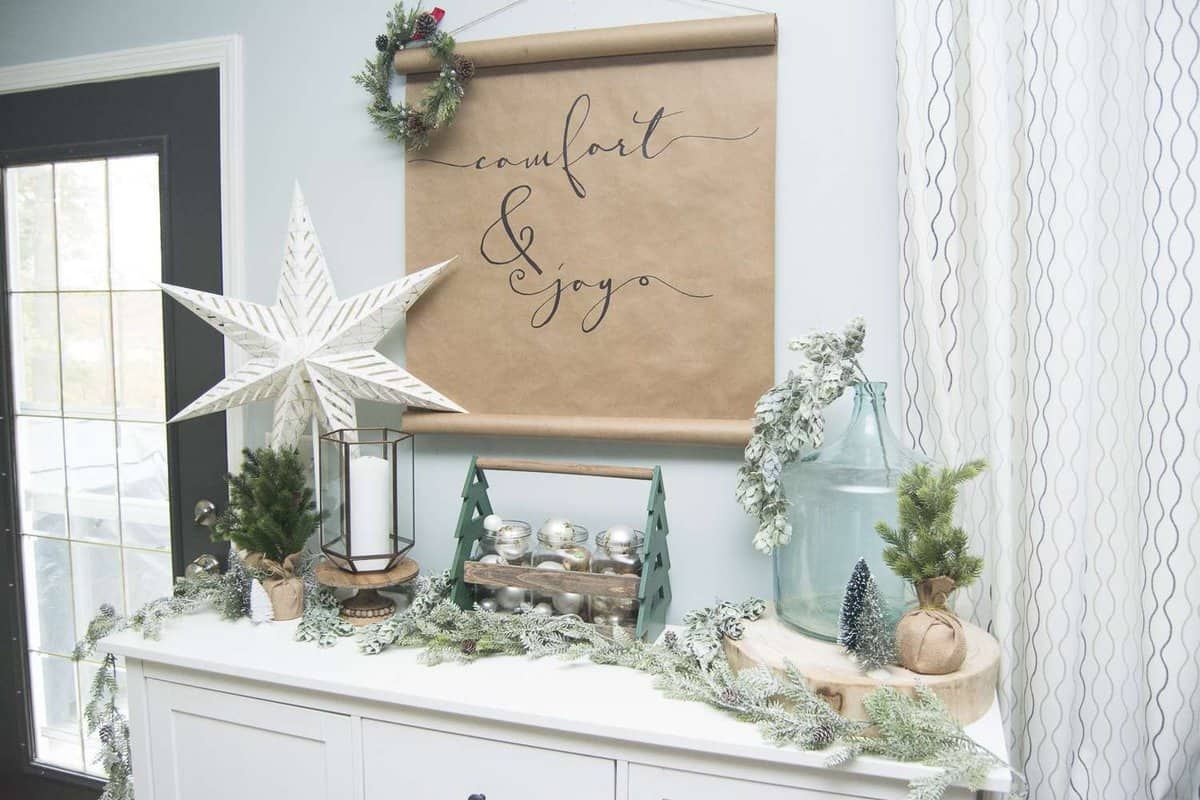
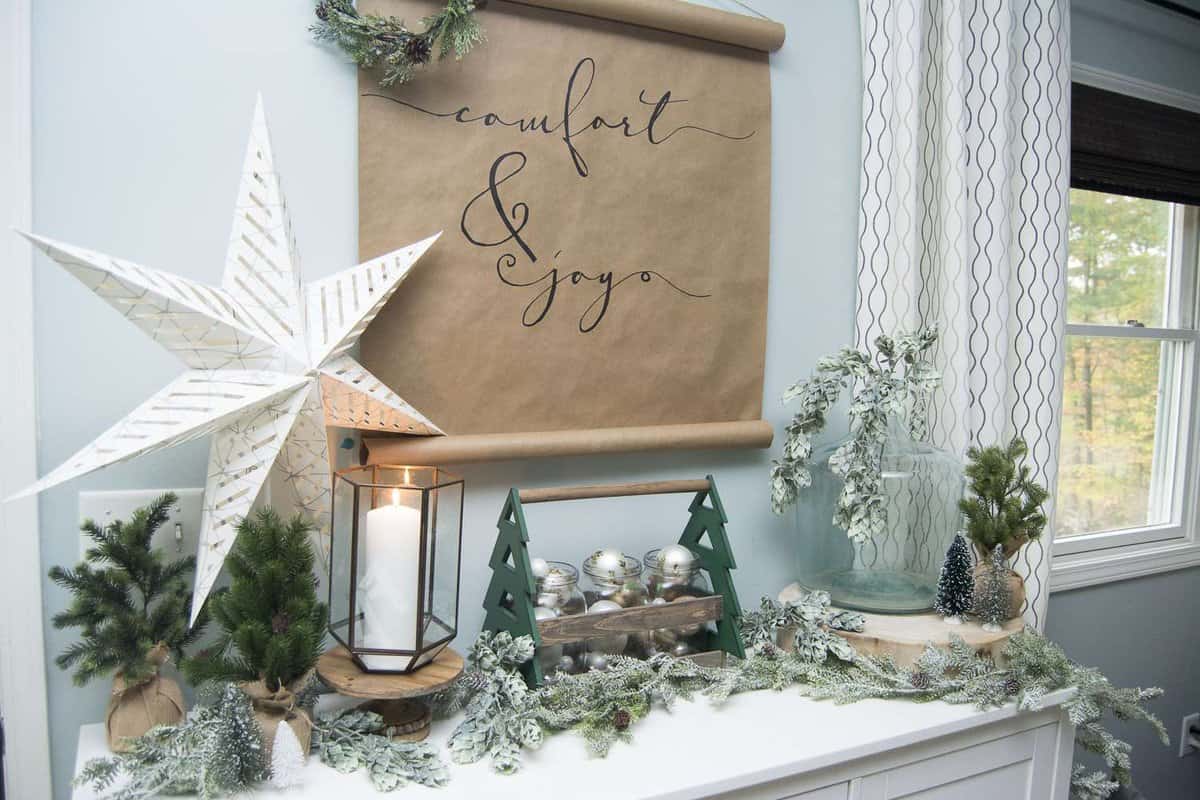
Step back and enjoy! And then decorate! 🙂 This super simple DIY Christmas scroll cost me approximately $3 to buy new kraft paper and sharpies. Otherwise, I had all the other materials on hand and I’m guessing you do too!
Shop This Space


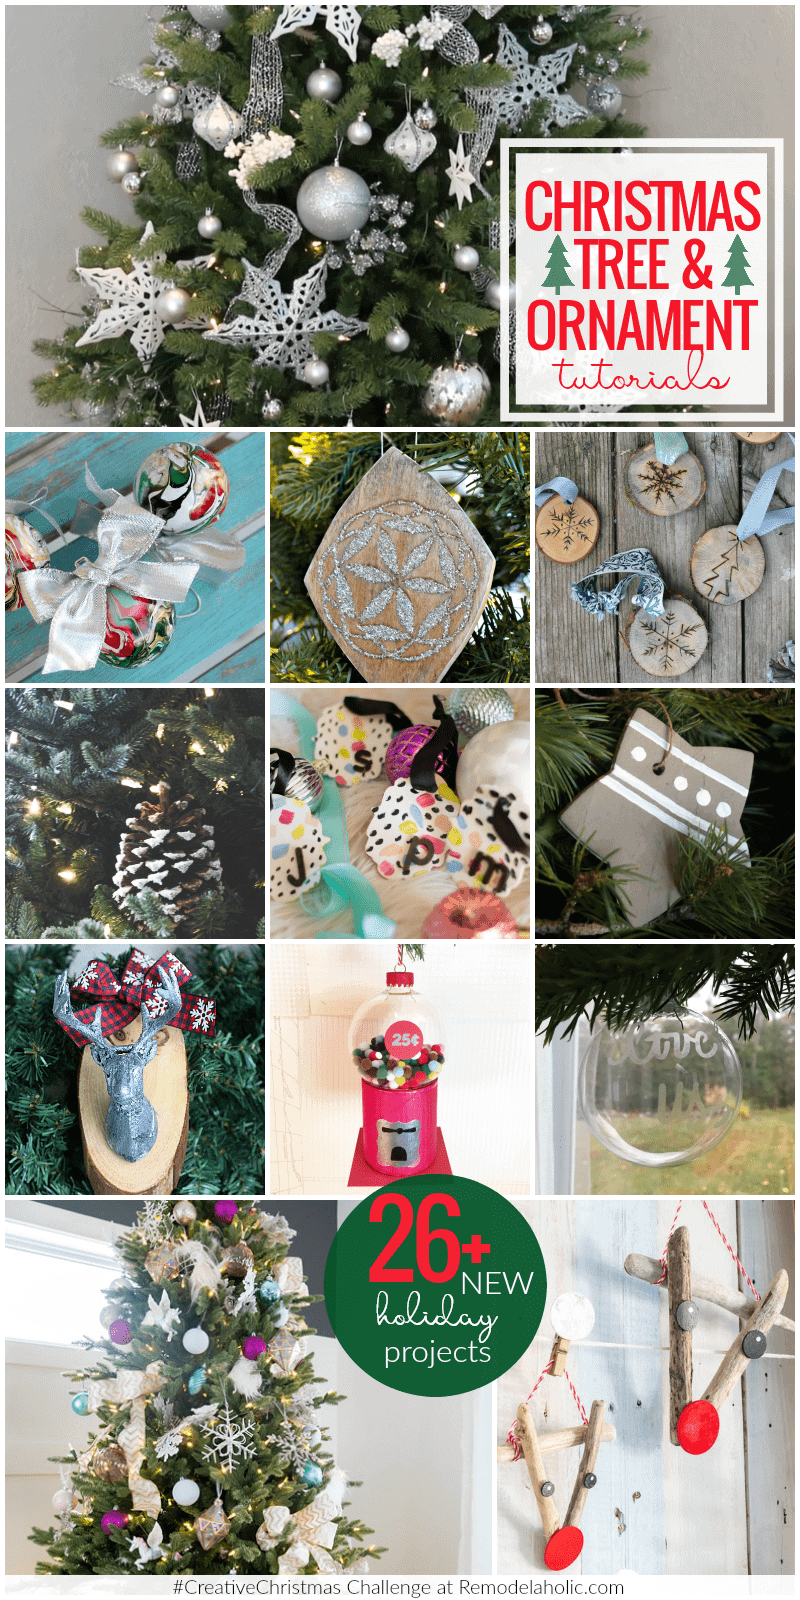
Don’t forget! If you want to make your own Comfort and Joy DIY Christmas scroll then I’ve prepared a free template for all my subscribers! I want to thank Remodelaholic for hosting this fun Creative Christmas Challenge! Make sure to check out all of the other beautiful DIY projects from many talented bloggers! DIY Christmas Trees and Ornaments
Wintry Silver Dollar Store Christmas Tree Decor | Remodelaholic
Marbled Christmas Ornaments | Doodlecraft
Scrap Wood Inlay Ornaments | The Ugly Duckling House
Woodburned Wood Slice Ornaments | Sisters What
Flocked Pine Cones | Practical and Pretty
Abstract Monogram Ornaments | Domicile37
Concrete Christmas Ornaments | The Palette Muse
Wood Slice Deer Ornaments | Our Crafty Mom
Vintage Gumball Machine Ornaments | Beth Watson Design Studio
Etched Glass Ornaments | Just Call Me Homegirl
Unicorn Inspired Christmas Tree | The DIY Mommy
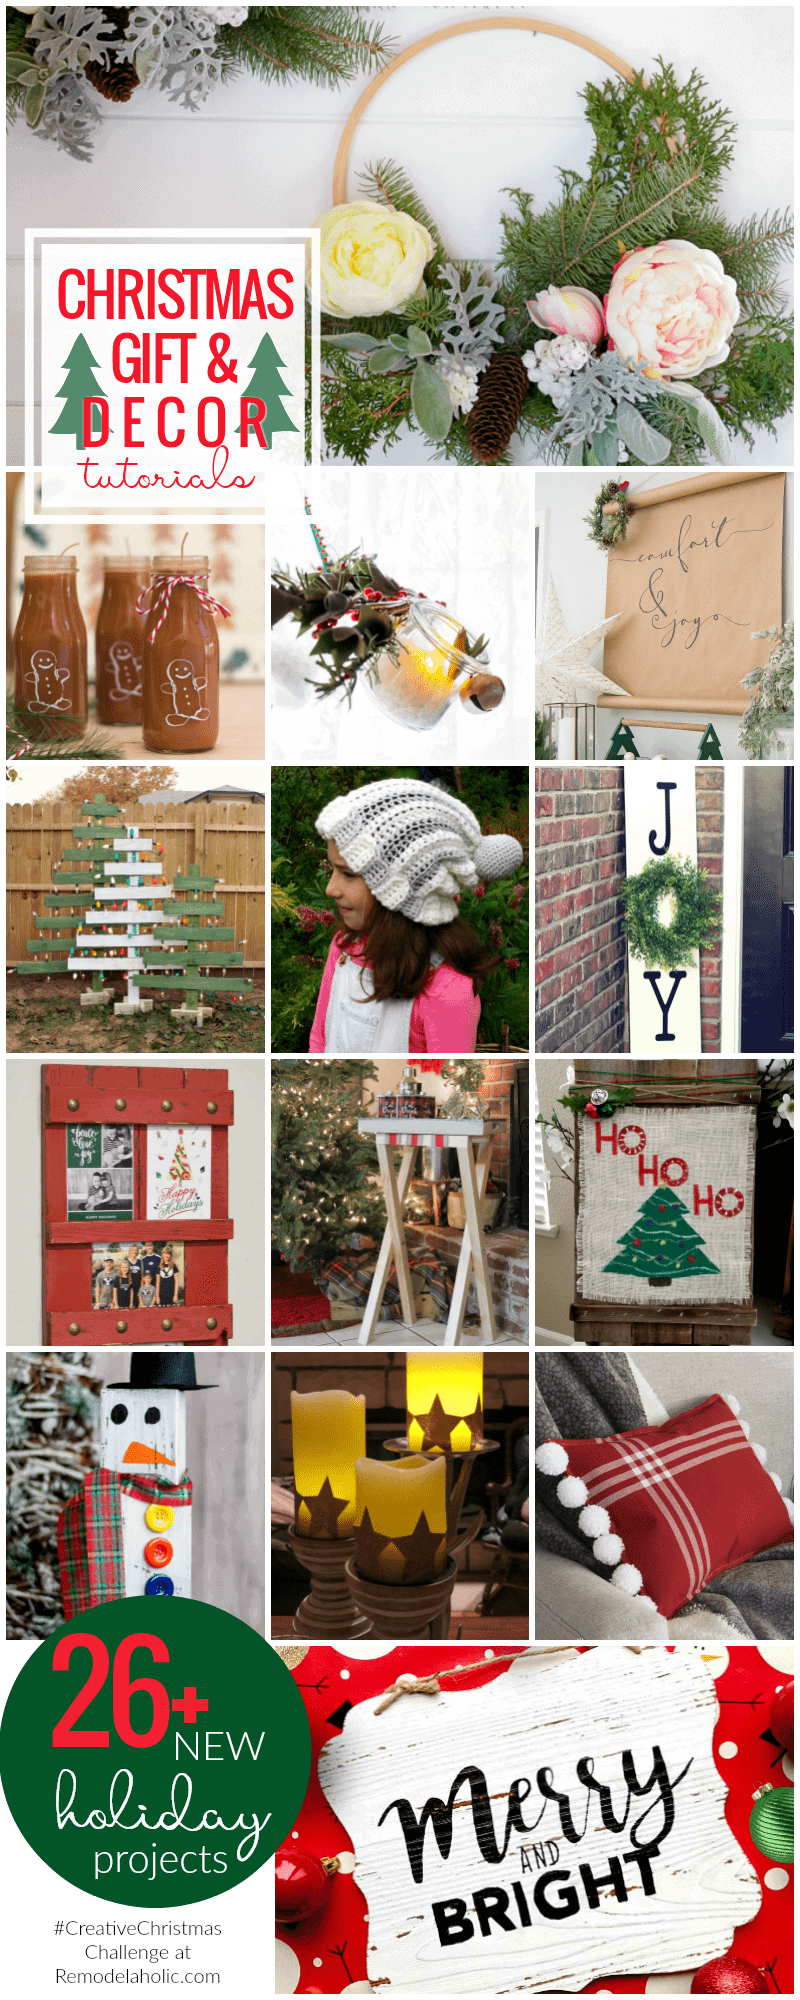
Driftwood Reindeer Ornaments | Sustain My Craft Habit DIY Christmas Gifts and Decor
Christmas Pine Hoop Wreath | This Mama’s Dance
Gingerbread Man Candles | Nourish and Nestle
Wire and Glass Chandelier | Home with Cupcakes and Crinoline
Christmas Scroll Wall Art | Grace In My Space
Lighted Wood Trees | Frazzled Joy
Crocheted Christmas Hat | Luz Patterns
Christmas Card Photo Display| Hertoolbelt
JOY Porch Sign | Ginger Snap Crafts
Folding Bar Cart Table | Everyday Party Magazine
Wood and Burlap Christmas Sign | Leap of Faith Crafting
Wood Block Snowman | Anika’s DIY Life
Holiday Candle Wrap | Dragonfly & Lily Pads
Christmas Pom Pom Pillow | Small Home Soul
Handlettered Wall Art | Smiling Colors

Please let me know if you give this a try! I’d love to hear how it goes for you. Now I’m heading off to get a little comfort and joy with some cozy blankets and a roaring fire.
{Creativity is allowing yourself to make mistakes. Art is knowing which ones to keep.- Scott Adams}
For the DIY Adverse 😉
Click an image below to shop scrolls made by talented individuals.
Visit YouTube for more DIY Tutorials
Great post
Accessories help the house sparkle and create a warmer atmosphere, so I really like this type of decoration.
I subscribed but am unable to access this printable. It just keeps taking me back to the same page asking me to subscribe.
Hi Judy! Your free printable library can be accessed in every newsletter email! The link and password are at the bottom of the emails each week and you’ll find this freebie there.
trying to get printables and it keeps wanting me to subscribe so I try and it says I’m already a subscriber getting very upset thank you
Hi Denise! All of the information you need to access the printables is in your welcome email as well as my weekly newsletters. I’ll send you a follow up email shortly. 🙂
I’m so glad I’m not the only one who’s handwriting-challenged! This looks amazing!
Thank you! It’s good to know we aren’t alone in the world isn’t it? 😉
I LOVE it Sarah! So simple but so so pretty & yours looks exactly like the expensive ones! I’ve been wanting one of these scrolls too so I might have to try this! Thank you so much for sharing ❤️
Thank you Shonda! I hope that you have fun making one!
I loved !! ❤️
Thank you so much!
I love how simple and gorgeous this is!!
Thank you! It was fun to make.
This is so pretty! I love it!
Thank you Denise! I appreciate that. ☺️
Beautiful job!
Thank you so much!
I have all the supplies already so will definitely be making this. Thanks for sharing this.
That’s great! I hope you have a great time doing it!
This is beautiful! I have never tried to transfer ink and then filling in with a Sharpie. I definitely will be trying this! Thanks so much for sharing!
Thank you! Make sure to tag me if you share it! I’d love to see how it turns out. 🙂
I love this idea and transferring the design to the paper is so easy when you don’t have a cutting too (I want one so badly). It’s so easy to change it up for the seasons.
Thank you so much! Yes, my favorite projects are the ones that are versatile and don’t require special tools!
This is so simple but stunning! I never know what to put above my mantel but this needs to happen STAT!
Thank you Lorene! If you tackle this project make sure to tag me so I can see how it turns out!
Hey MacGyver…what a lovely piece! I especially loved your advice of ‘graceful painter’…a good reminder. Thanks for the inspiration.
Thank you so much! I appreciate that!