
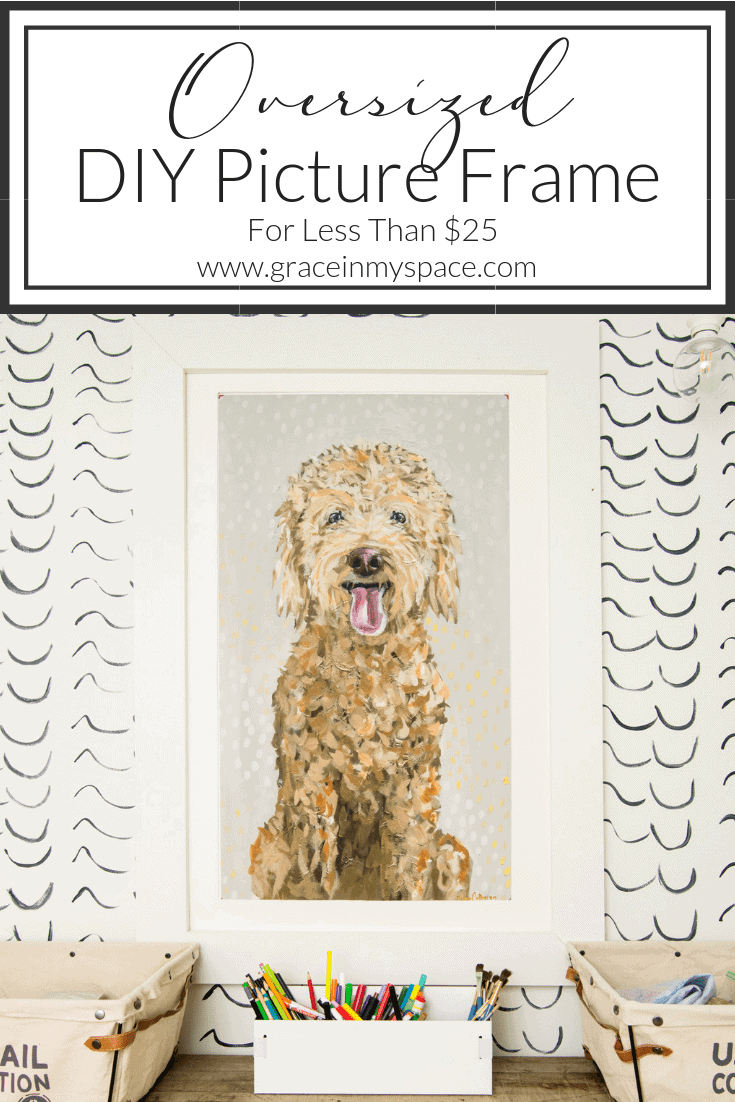
How to Build a Large DIY Picture Frame With a Mat
Large picture frames can be hard to find! They are either custom orders or hundreds of dollars! So when I set out to redo my kids’ playroom with a beautiful piece of oversized art, I knew I needed to come up with another solution for the picture frame. Read this full tutorial on how to build your own large DIY picture frame with a mat for less than $25!
Post may contain affiliate links for your convenience.
DIY Picture Frame Tutorial
This summer I set out to makeover my kids’ playroom. It was once a dumping ground for every toy known to man with little purpose or use. Along the way, I’ve transformed this space into a reading nook and craft room and my hope is that it will be a special retreat for my kiddos.
You can head to this post to see the final reveal!
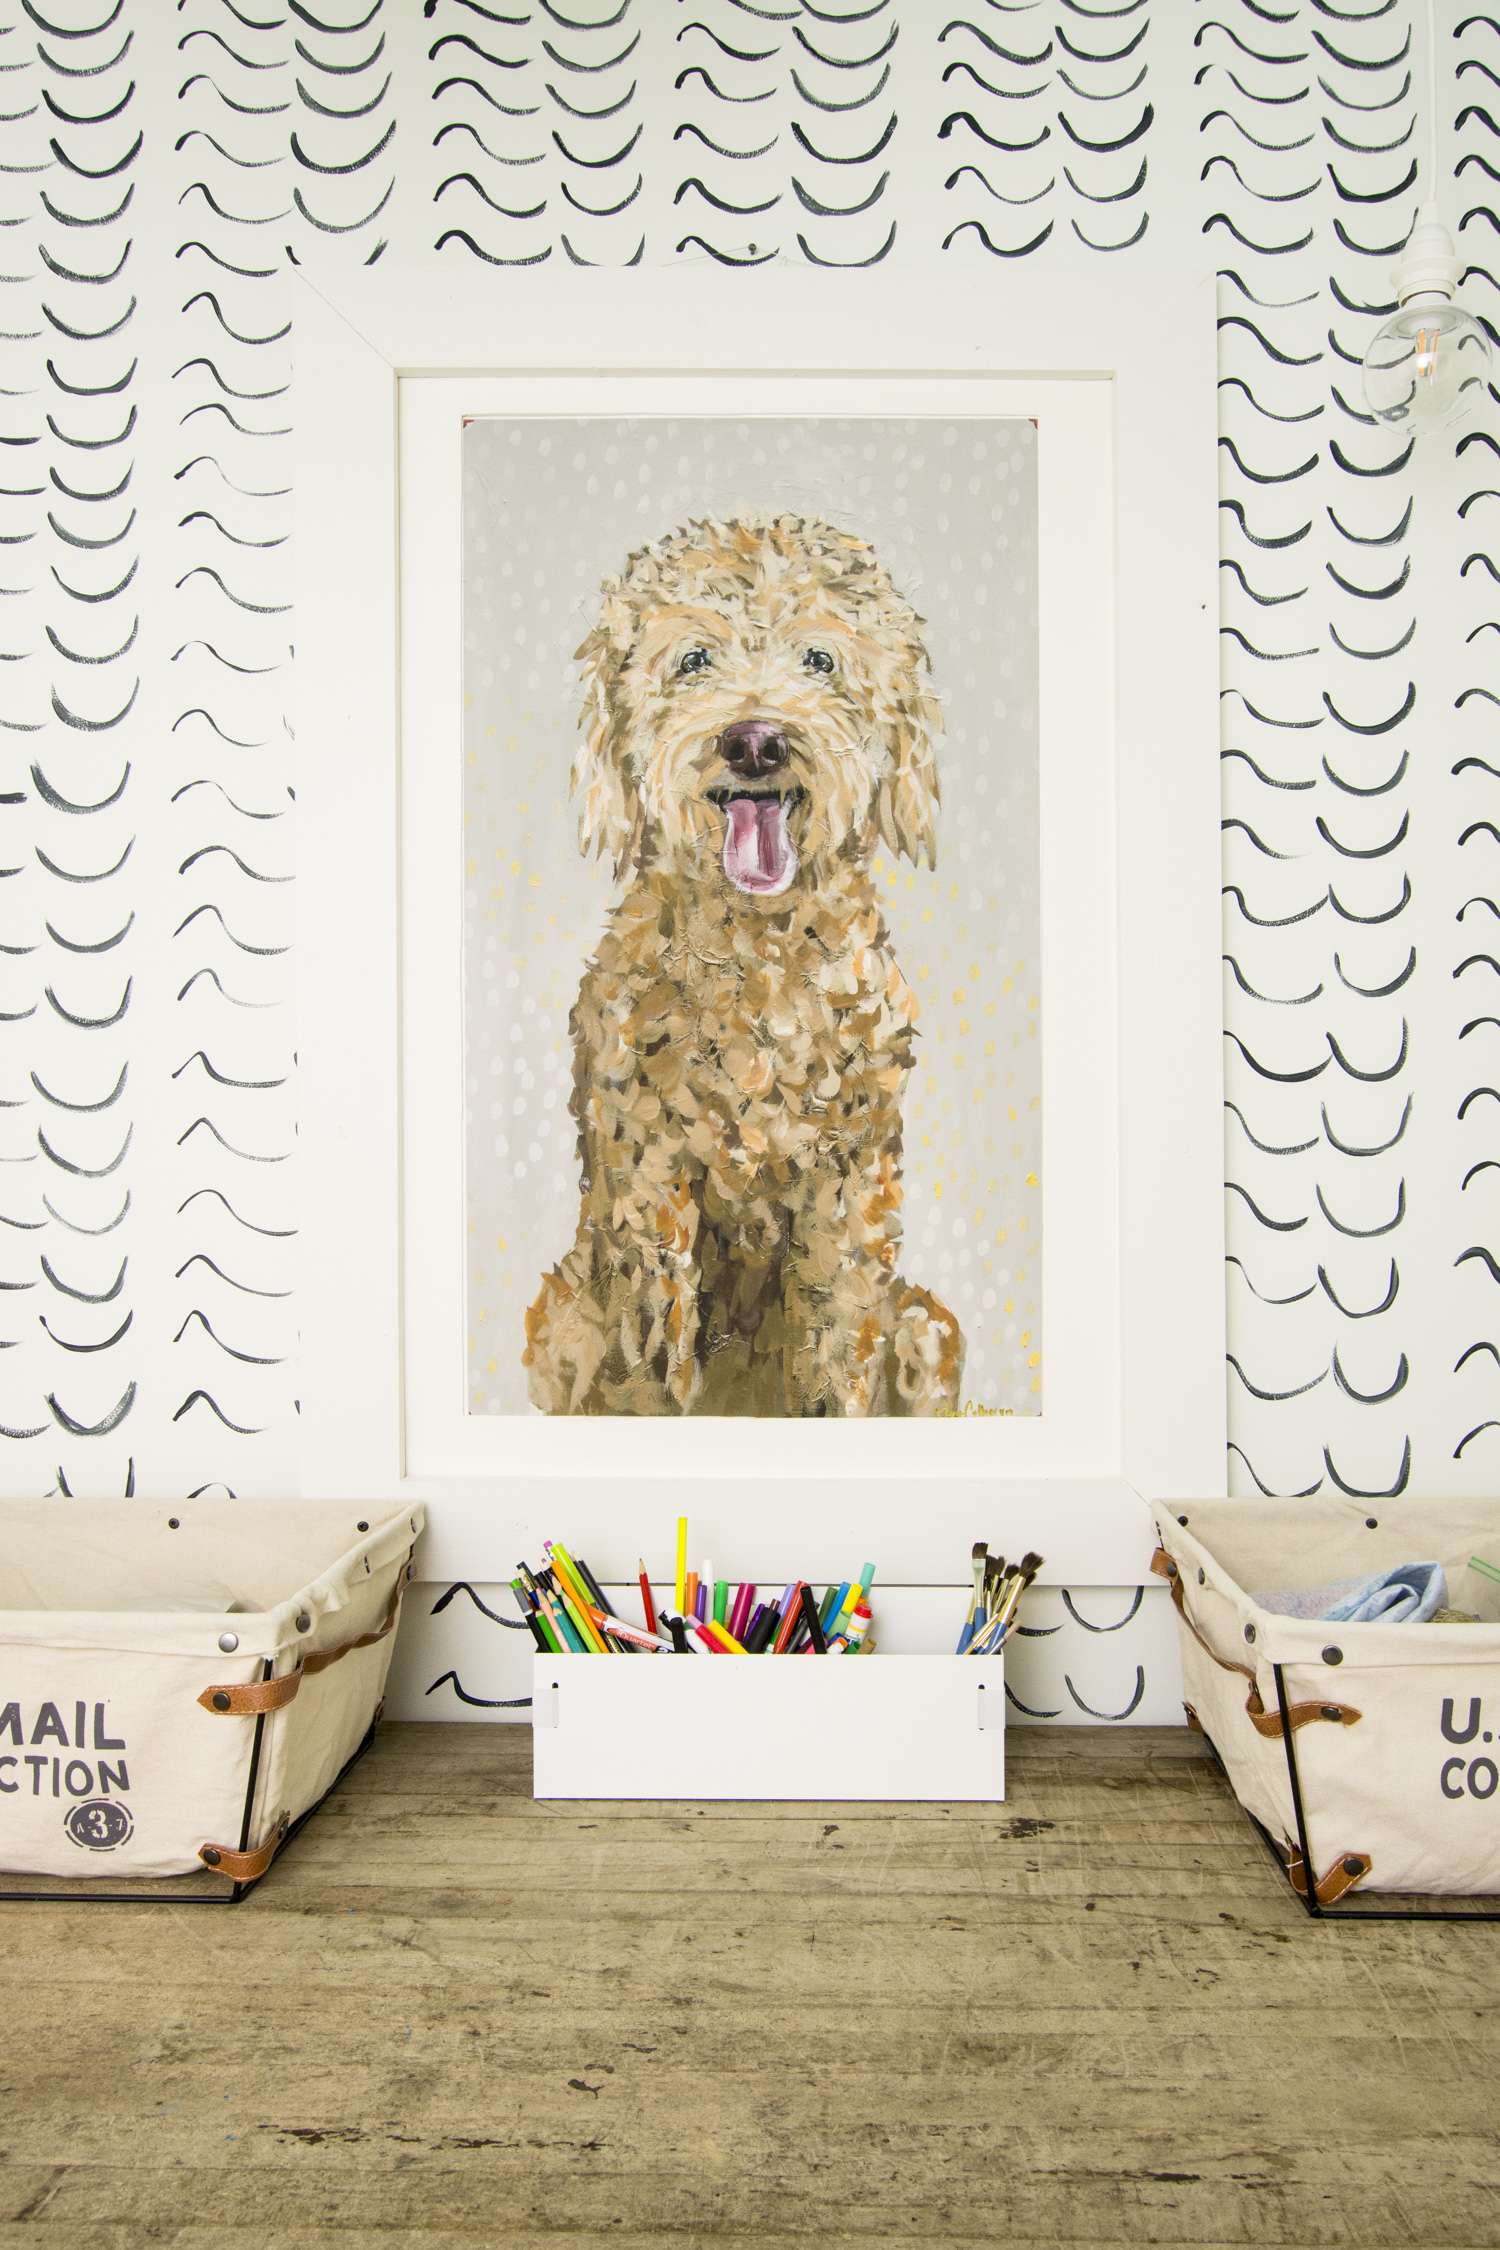
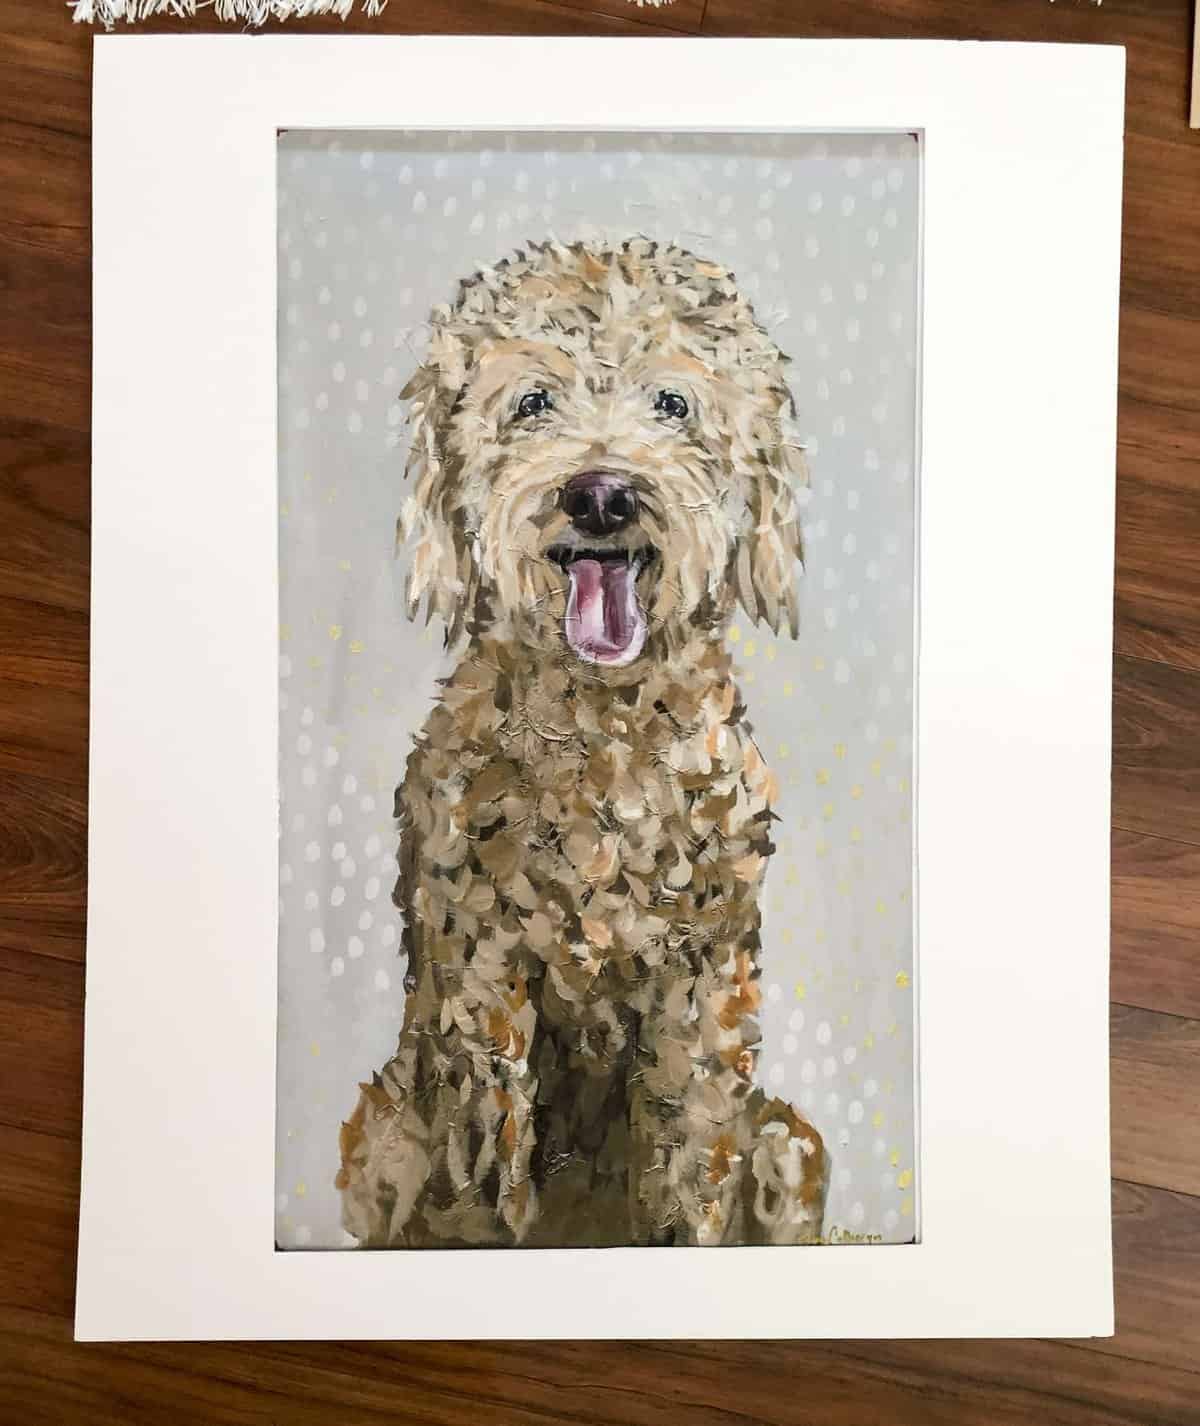
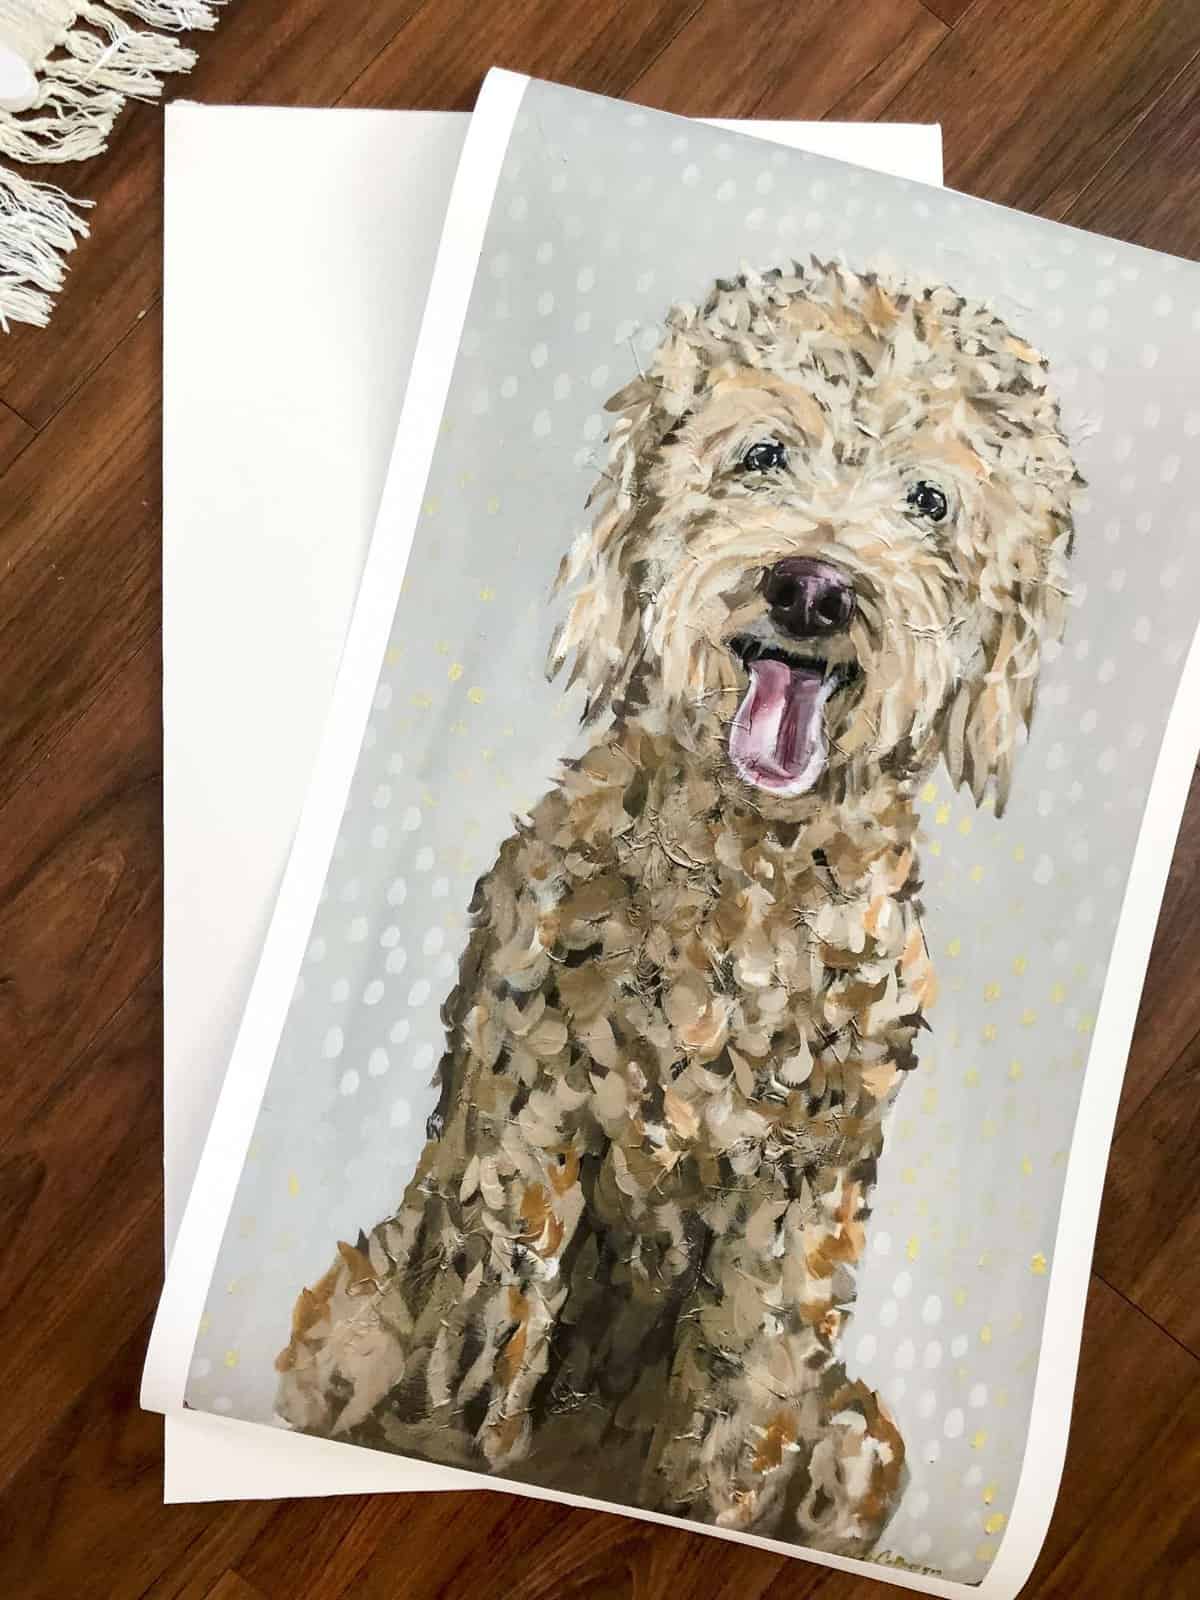
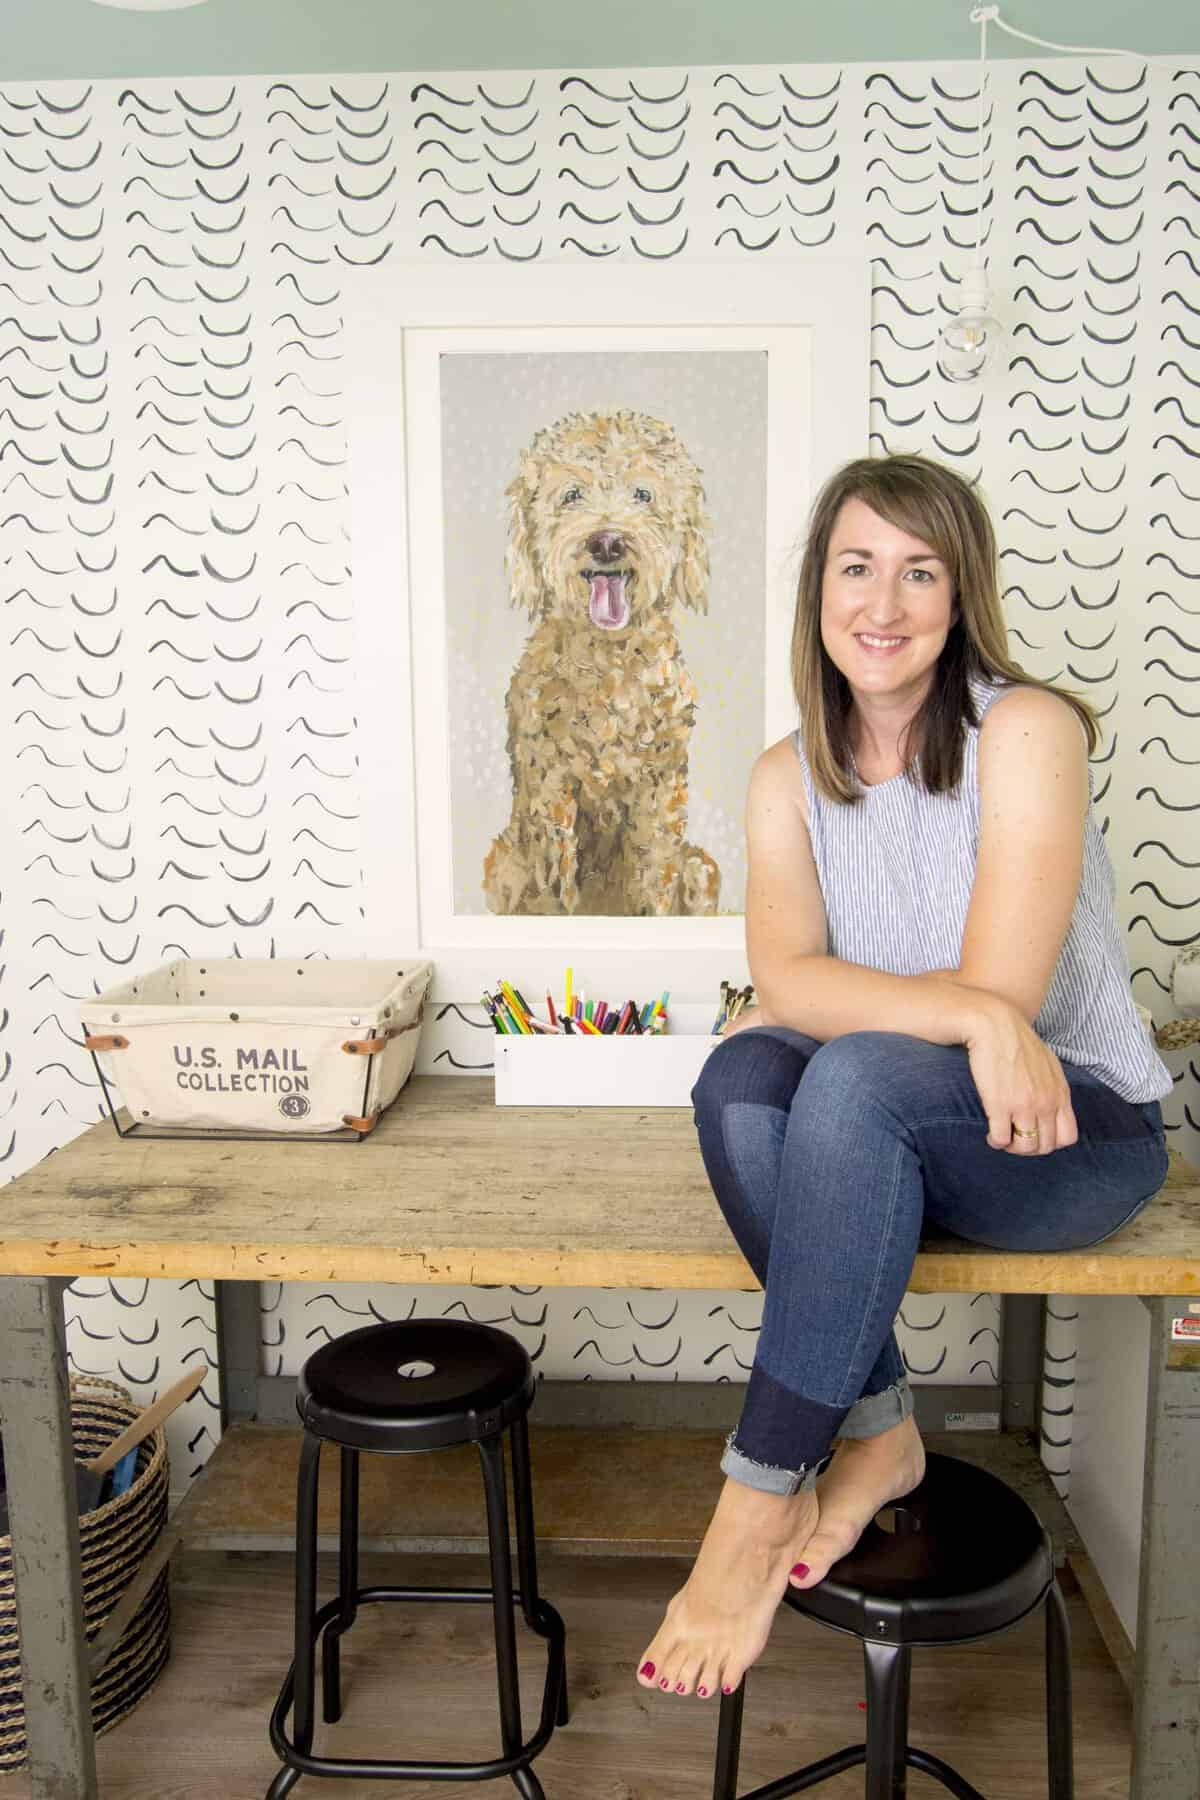
Part of my remodel included adding this beautiful artwork by Copper Corners. Mary-Catheryn’s “Dusty” portrait looks just like our sweet Ellie, who my kids love and adore. I wanted to surprise them with this sweet and meaningful addition to their new playroom.
The problem came in when I went to purchase a large picture frame for our sweet Ellie (Dusty ;)). Our print measures 20″x35″ and everywhere I looked for an oversized picture frame it was going to cost me over $120!
Lest we forget, I am a budget friendly kind of gal. Artwork I will invest in. Picture frames, I will not.
So I decided to make my own! No tutorial, no experience, just a vision, a hope and some prayers. Lucky for you, it all worked out in the end! I hope this simple tutorial helps you save a few hundred dollars and gives you the satisfaction that comes with a successful DIY project!
Make sure to subscribe to the blog to claim your DIY Freebie! I put together my must have DIY tool kit for beginners as a free download. Plus, you get access to my free printable library and DIY tutorial guides!
Large Picture Frame Material List
The materials needed for this DIY oversized picture frame are quite simple.
- Wood (I used common pine boards)
- Foam Board
- Corner Brace Brackets
- Razor knife
- Drill
- Miter saw or table saw
- Glue
- Screws
- Long level
- Caulk (if painting)
- Paint or stain of choice
DIY Picture Frame Mat
Let’s start by creating the picture frame mat. I love the addition of a mat to artwork. It helps it stand out and gives a buffer between the artwork and the DIY frame.
You can purchase custom mats, however I chose to make mine for a fraction of the cost using foam board. This can be purchased online or at most craft stores. I found mine at Michael’s but different stores carry different sizes so make sure to shop around for what you’ll need.
Measure
Your first step will be to measure your artwork and determine how much of the mat you want to show surrounding it. My artwork was 20″x35″ so I went with a 30″x40″ foam board. This allowed me to cut it down to size and have enough of an overlap to attach it to my picture frame.
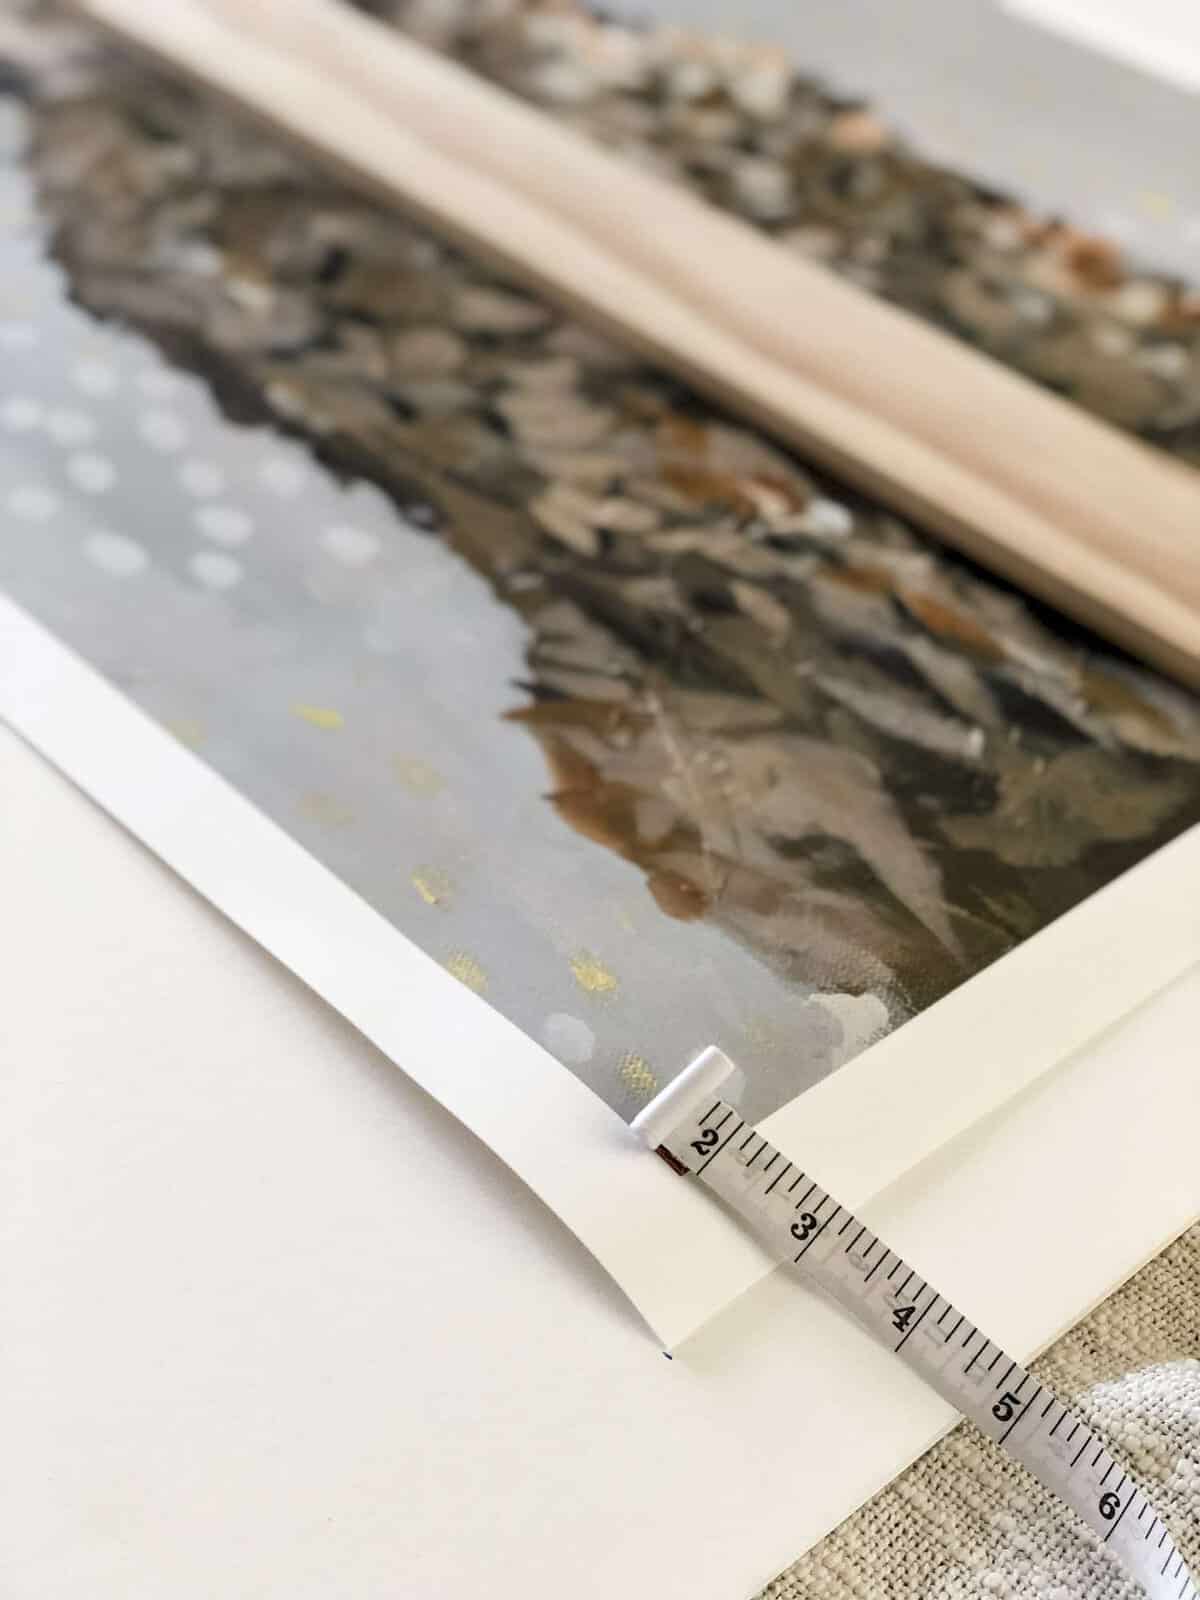
I measured my mat so that approximately 2.5″ would be visible surrounding the artwork. First, measure and cut a hole in the middle of your mat the same size as your artwork. Do this before you trim any of the sides off.
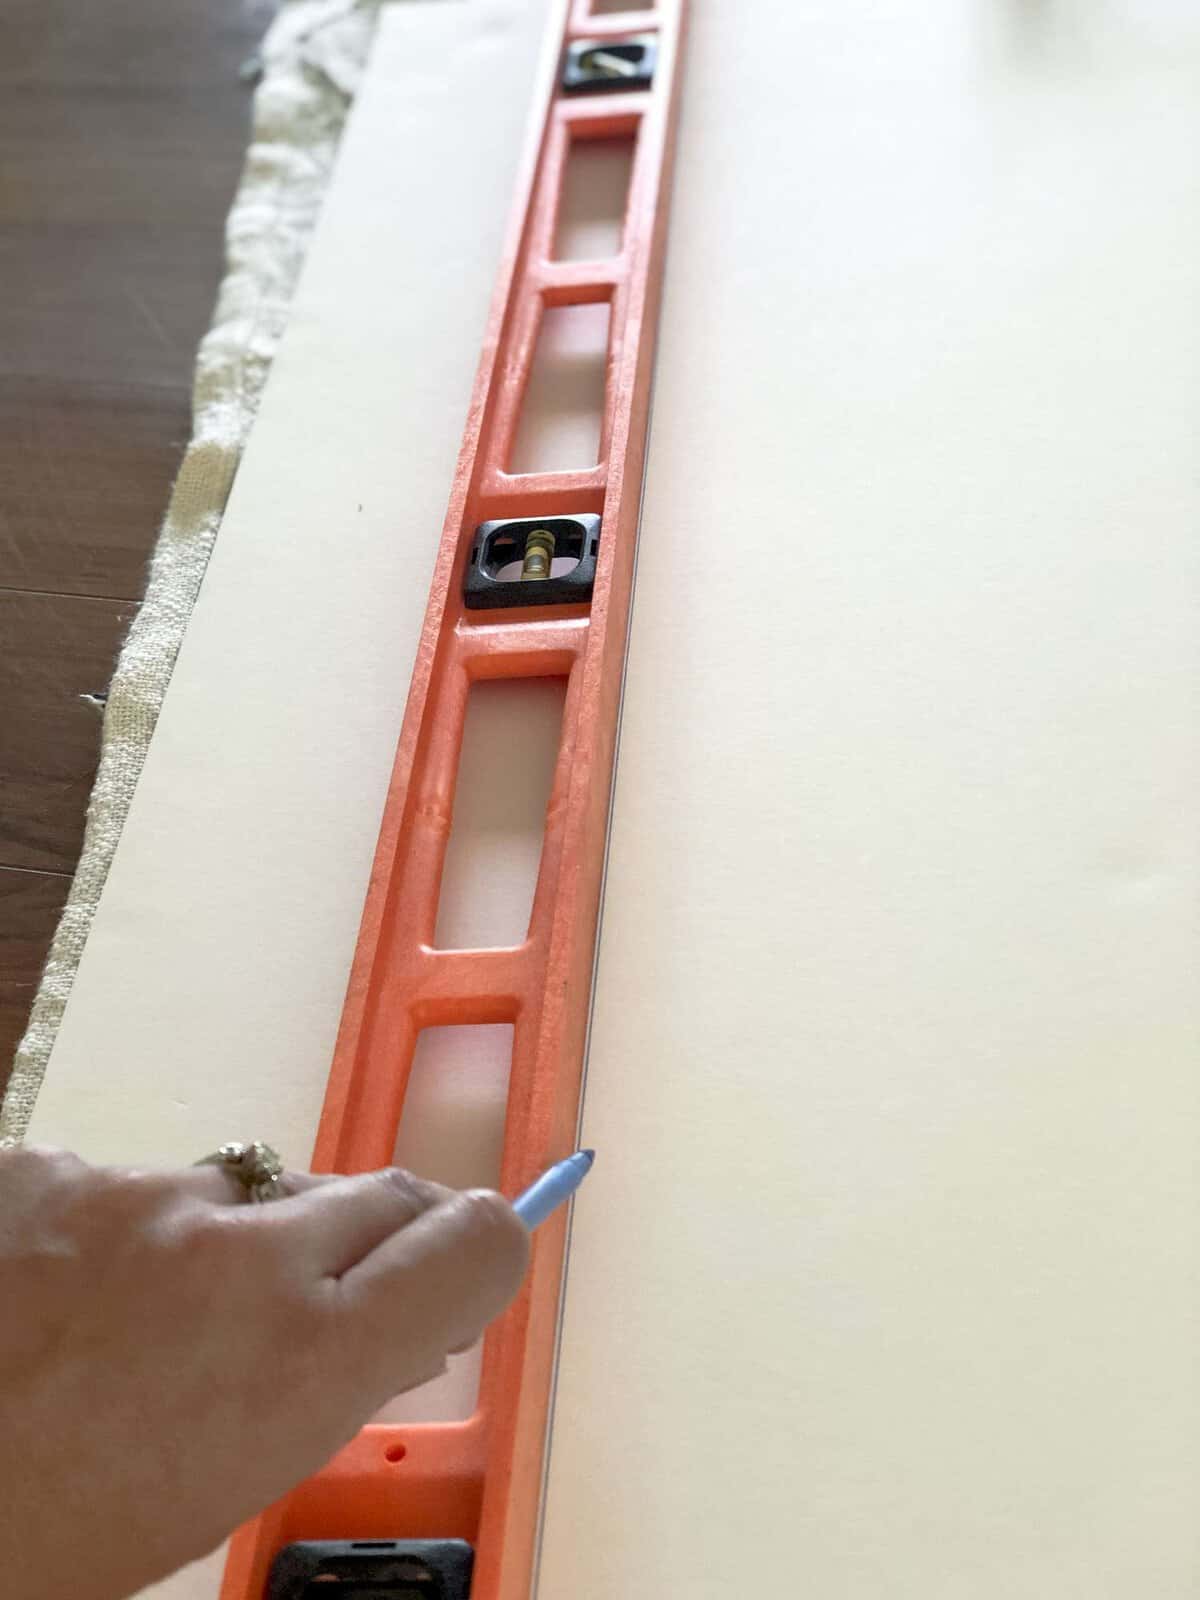
Use a long level to ensure you get a straight edge on all four sides. This is going to be the hole you’ll cut where your artwork will be placed so take your time and make this part look really professional.
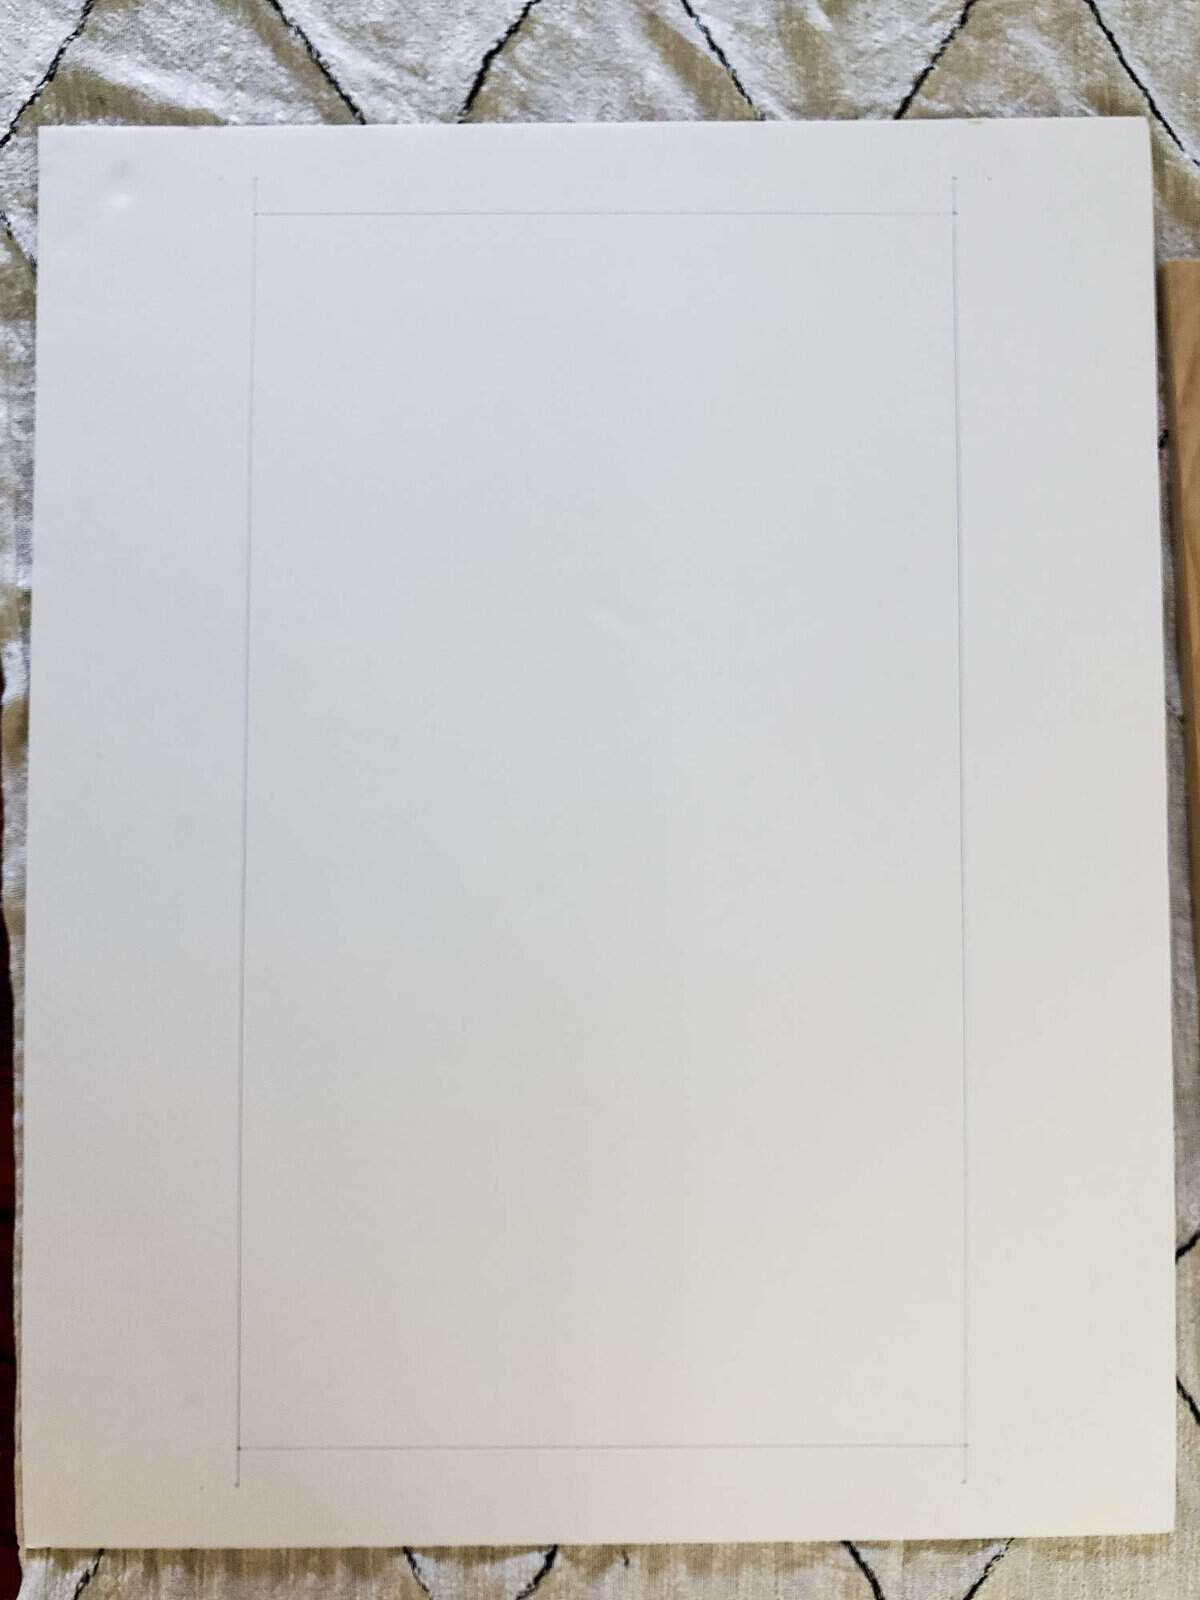
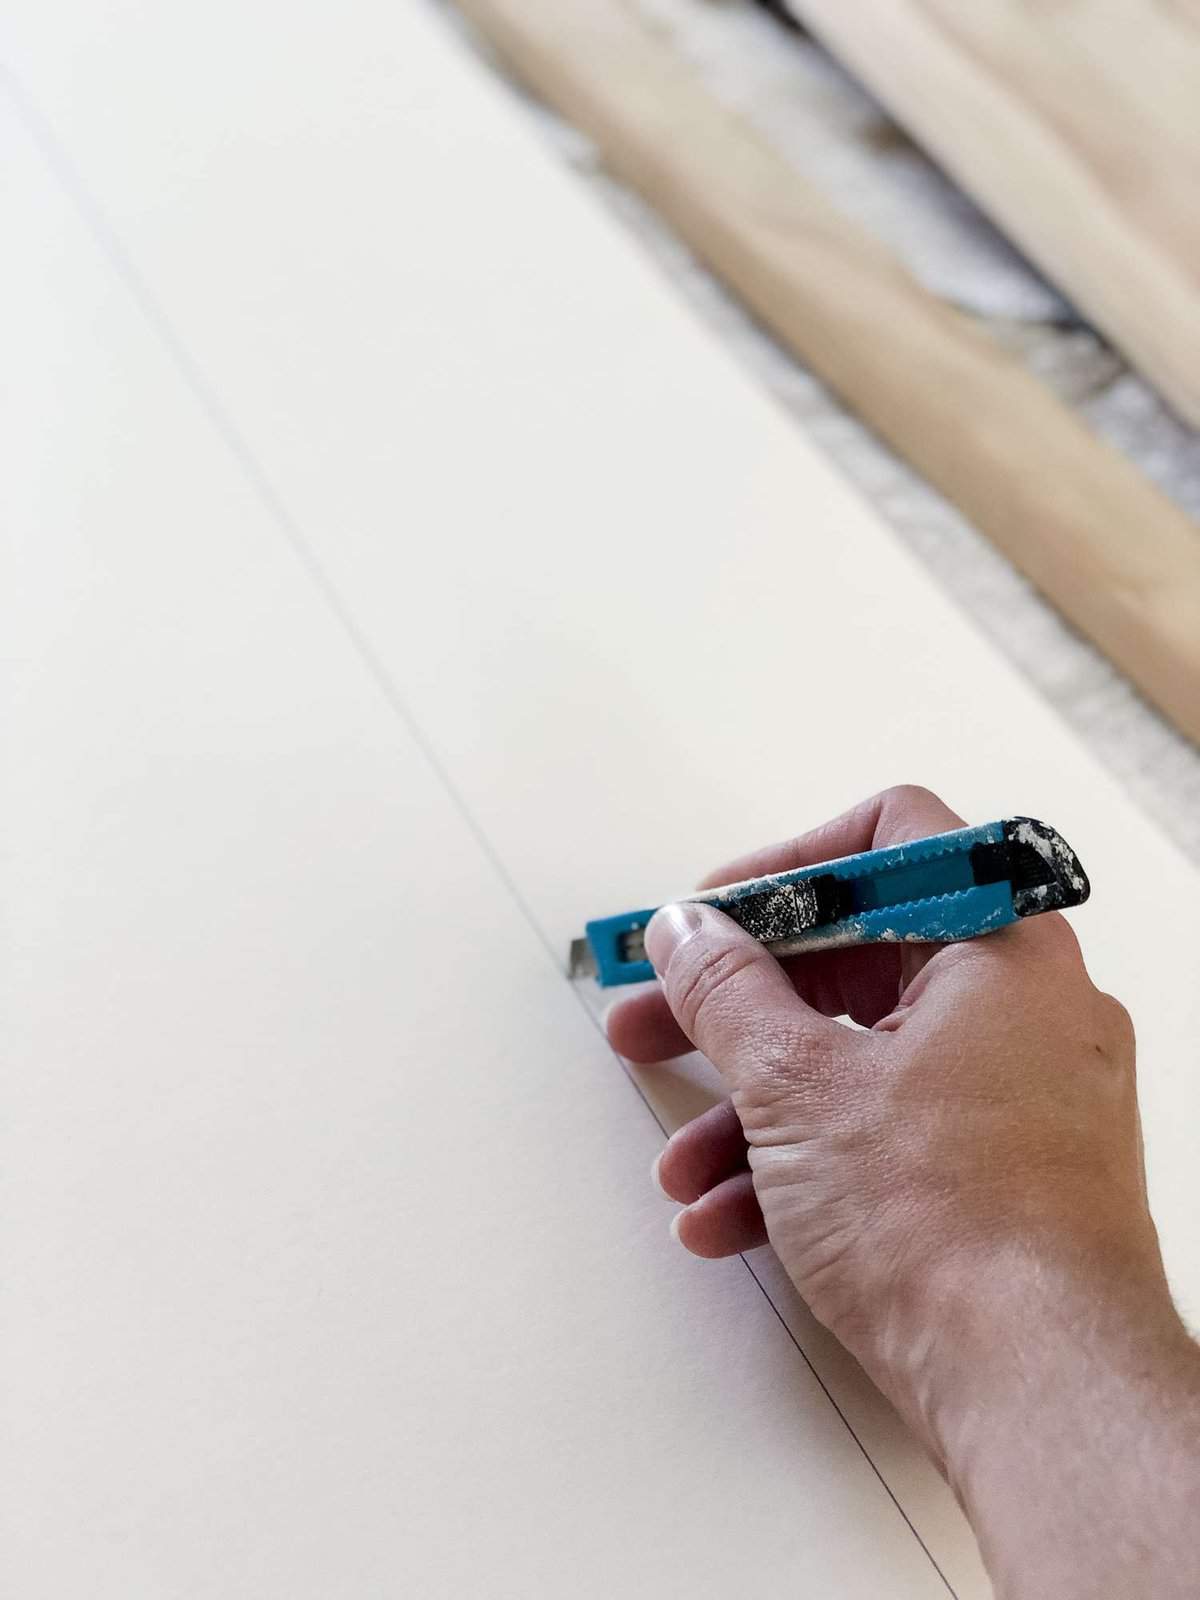
Next, use your razor knife to puncture your foam board and remove the middle rectangle (or whatever shape your artwork is).
Ensure that you press firmly all the way through your foam board so the paper doesn’t rip when you go to pull it apart from the edges.

This is the first step in creating your DIY frame! What you’ve done is created not only the mat for your artwork, but you will use that center piece to attach your artwork to for stability. So don’t discard it!
You’ll notice that my mat is larger on the sides than on the top and bottom. This was intentional so that I had surface area to glue my mat to my wood frame. I highly recommend waiting to cut the size of your mat down until after you’ve attached it to your frame.
DIY Frame Steps
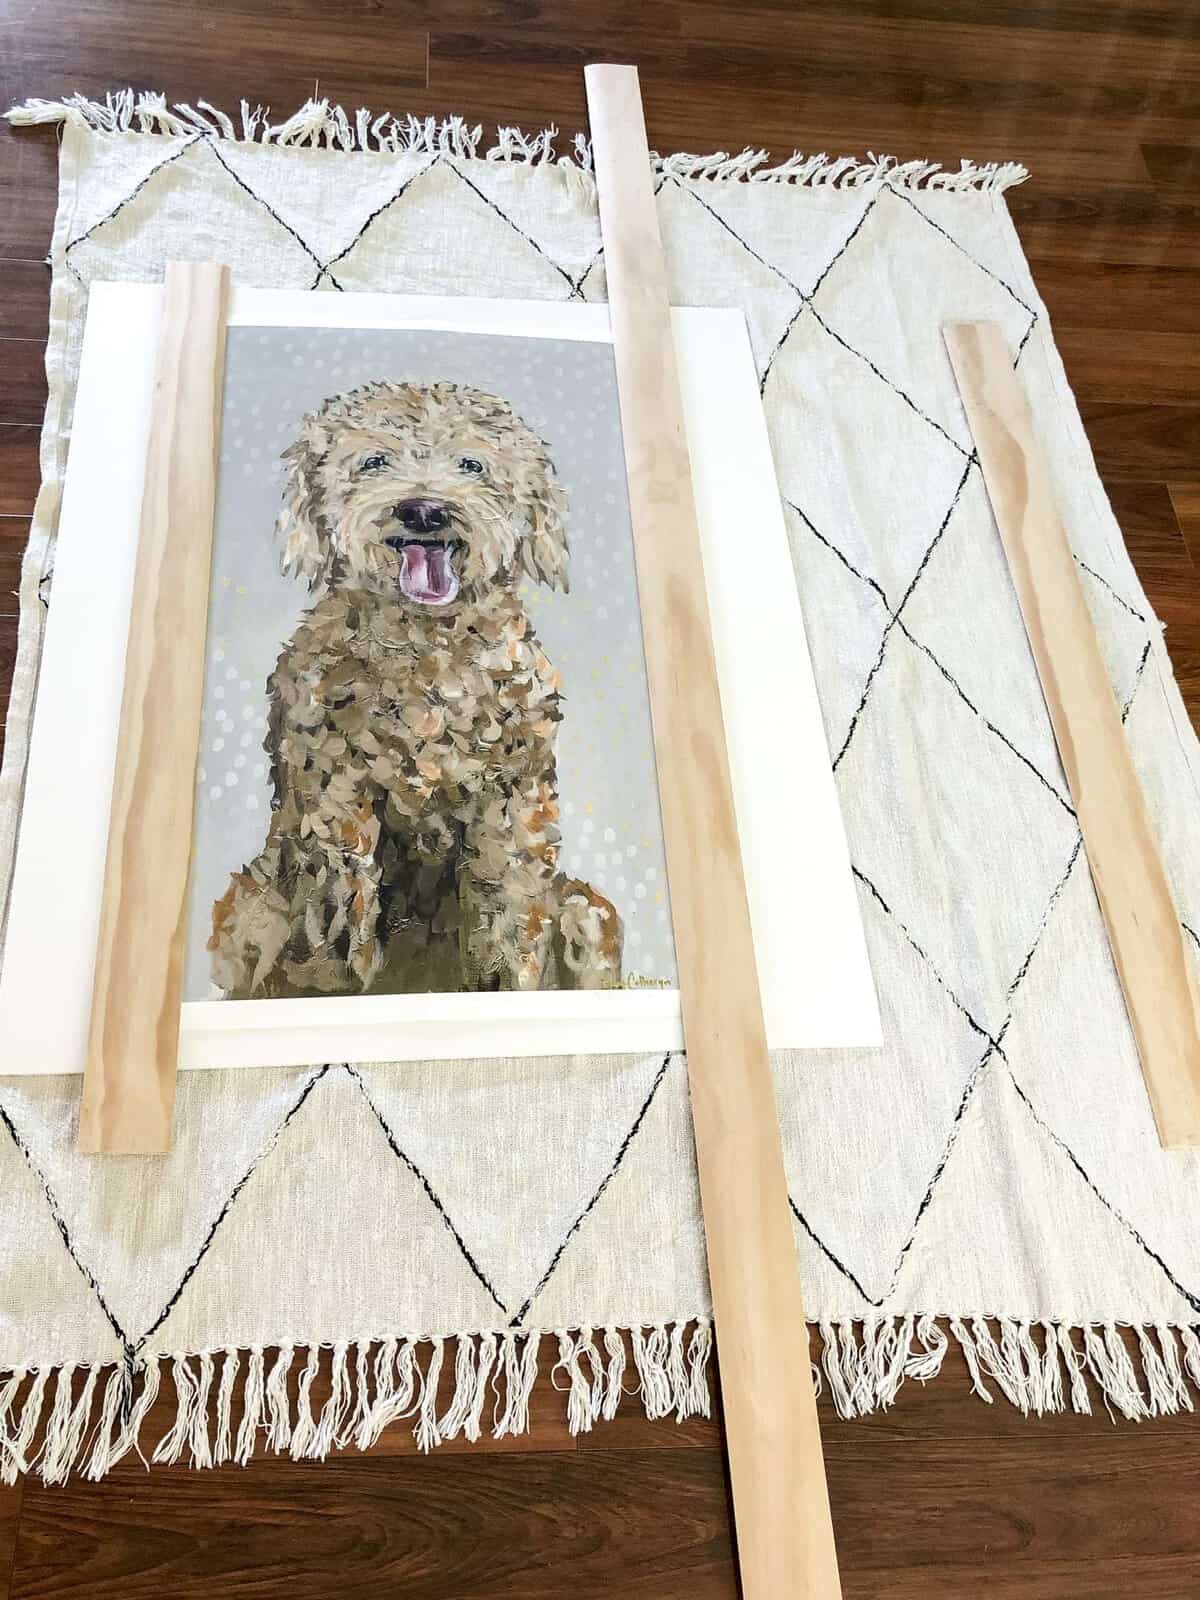
Next, you’re ready to create your frame! The reason you want to make your frame mat first is so you know the full dimensions you’ll need for your wood. My artwork is 20″x35″ but my mat adds 2.5″ all around. If I were to only measure my artwork then the wood I cut would be too short!
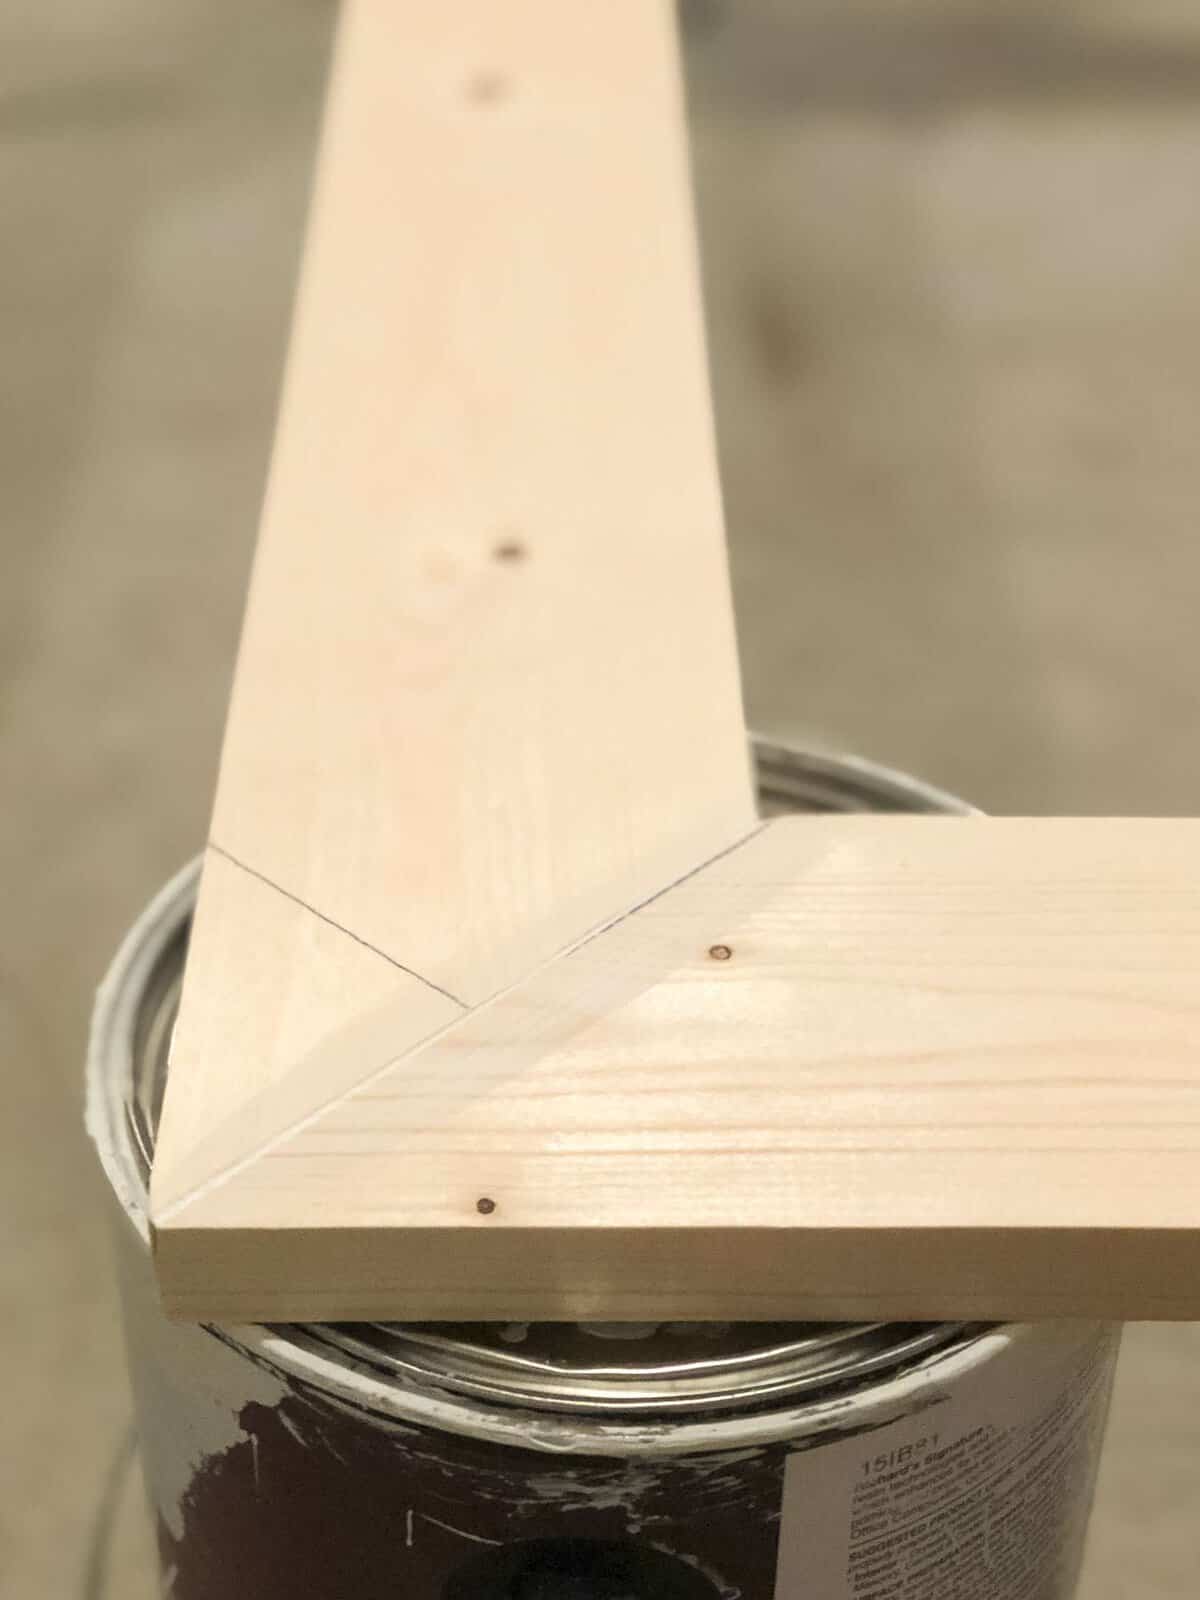
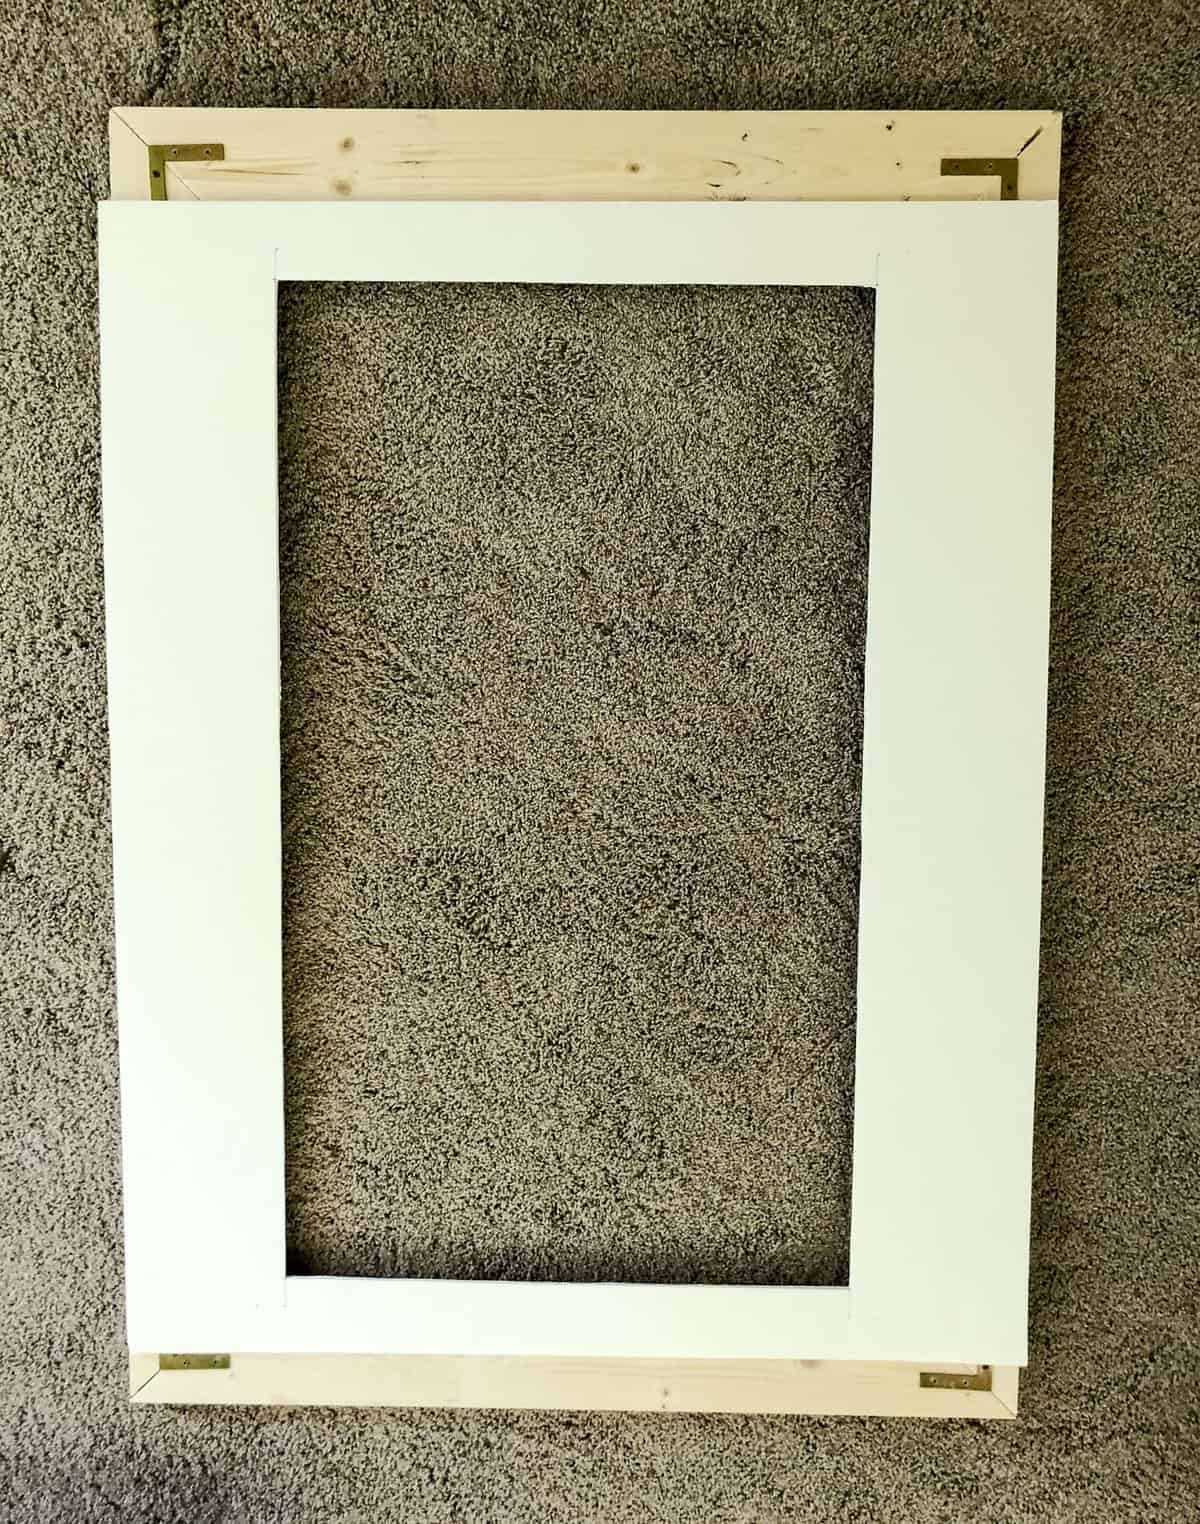
Now that you’ve created your mat, measure the full length on all four sides. Cut your wood accordingly. This step is open to interpretation. I wanted mitered corners (where they join at a 45 degree angle). If you don’t have a miter saw then you can also join them at 90 degree angles with straight cuts.

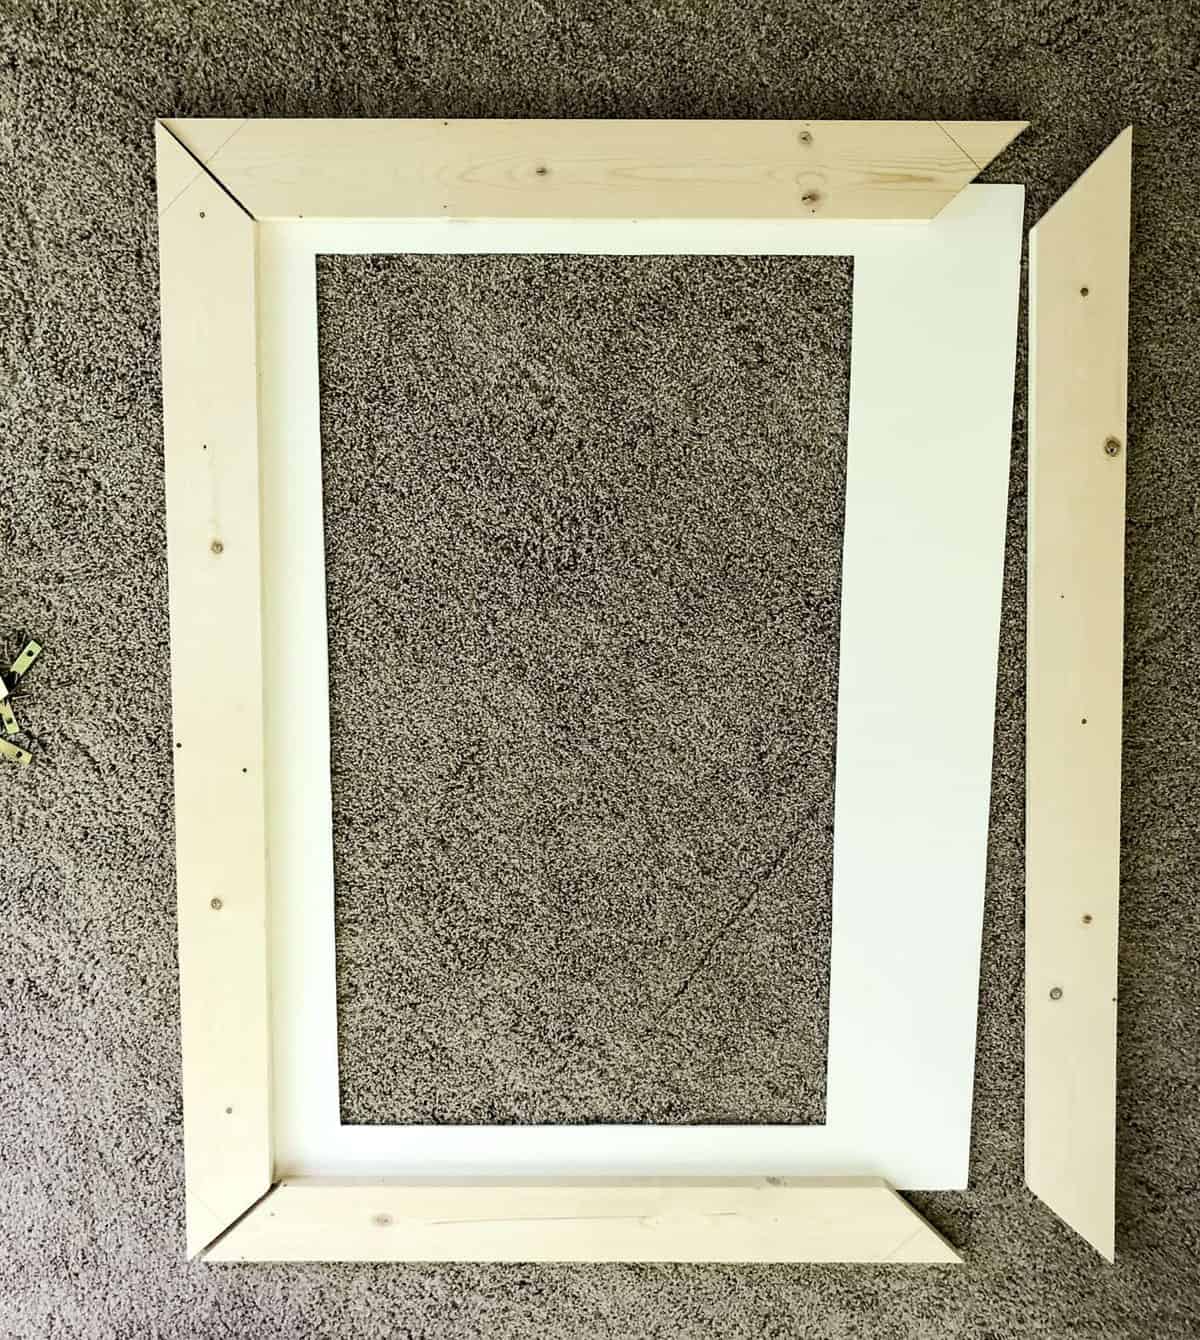
This image gives you a better idea of why I kept the width of my mat larger than the length. That baby is going to get glued on!
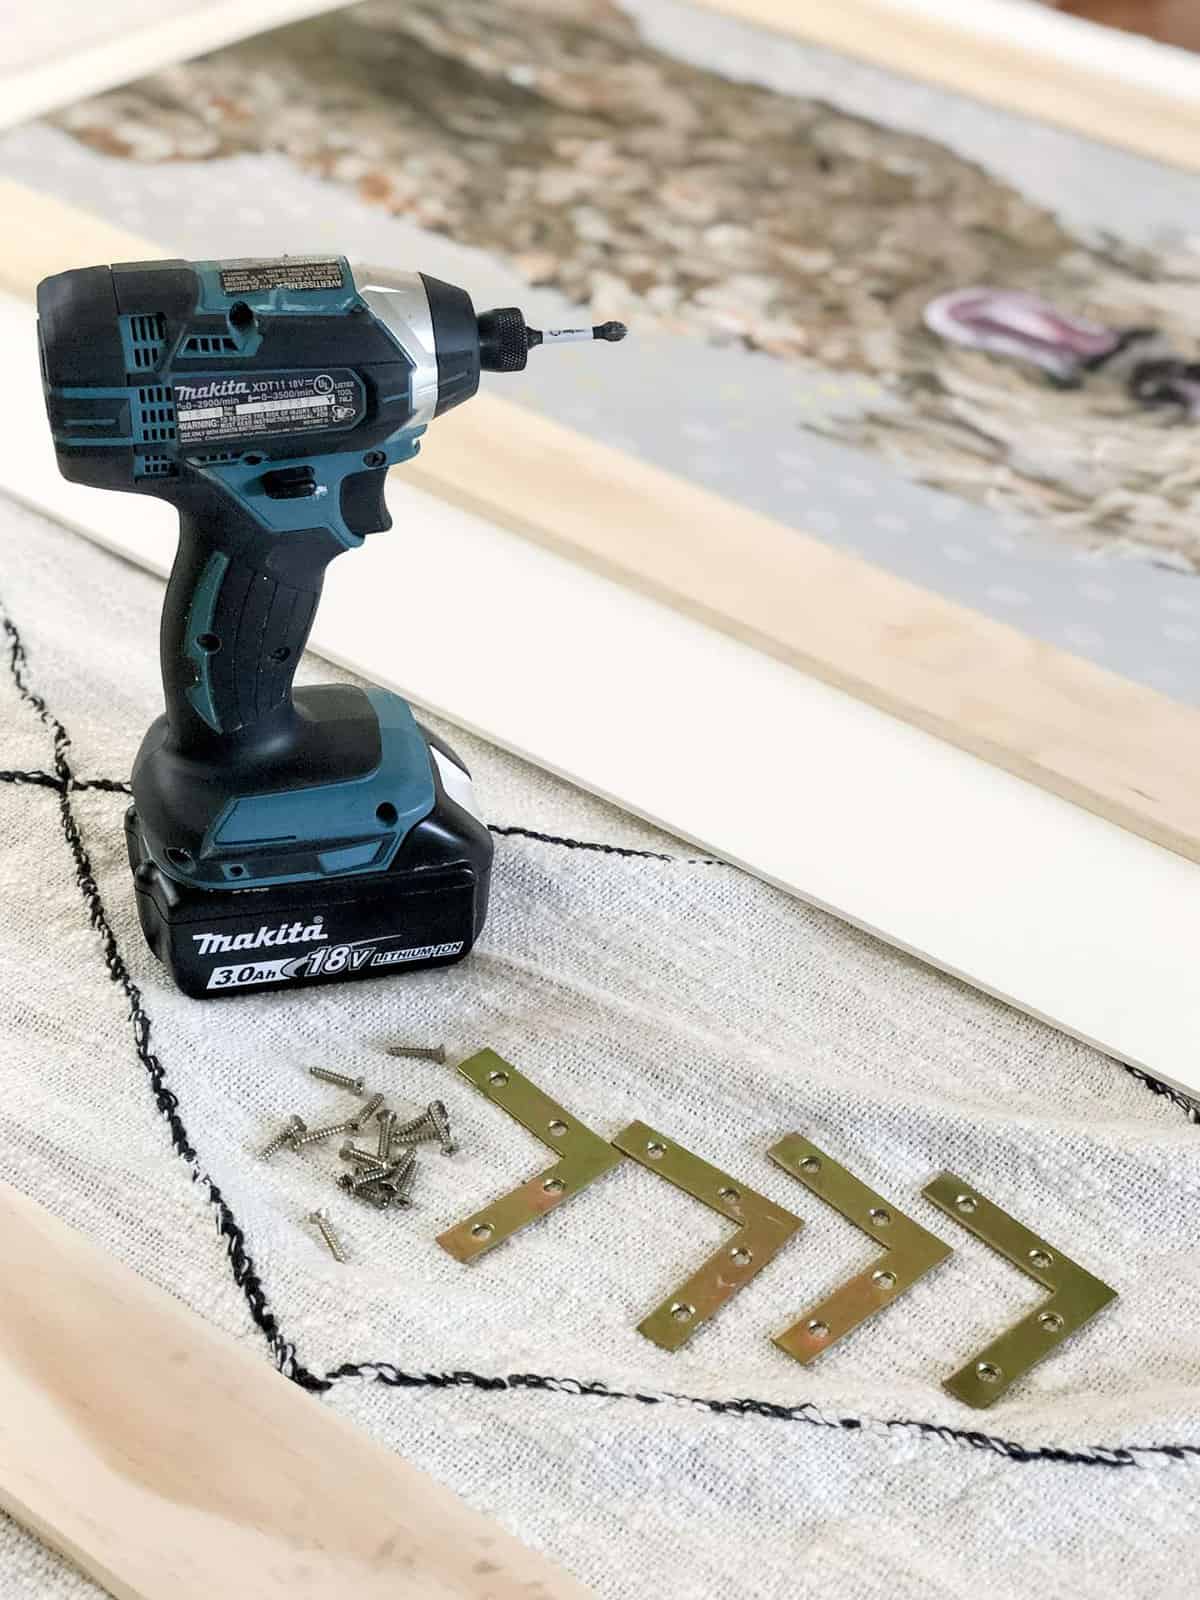
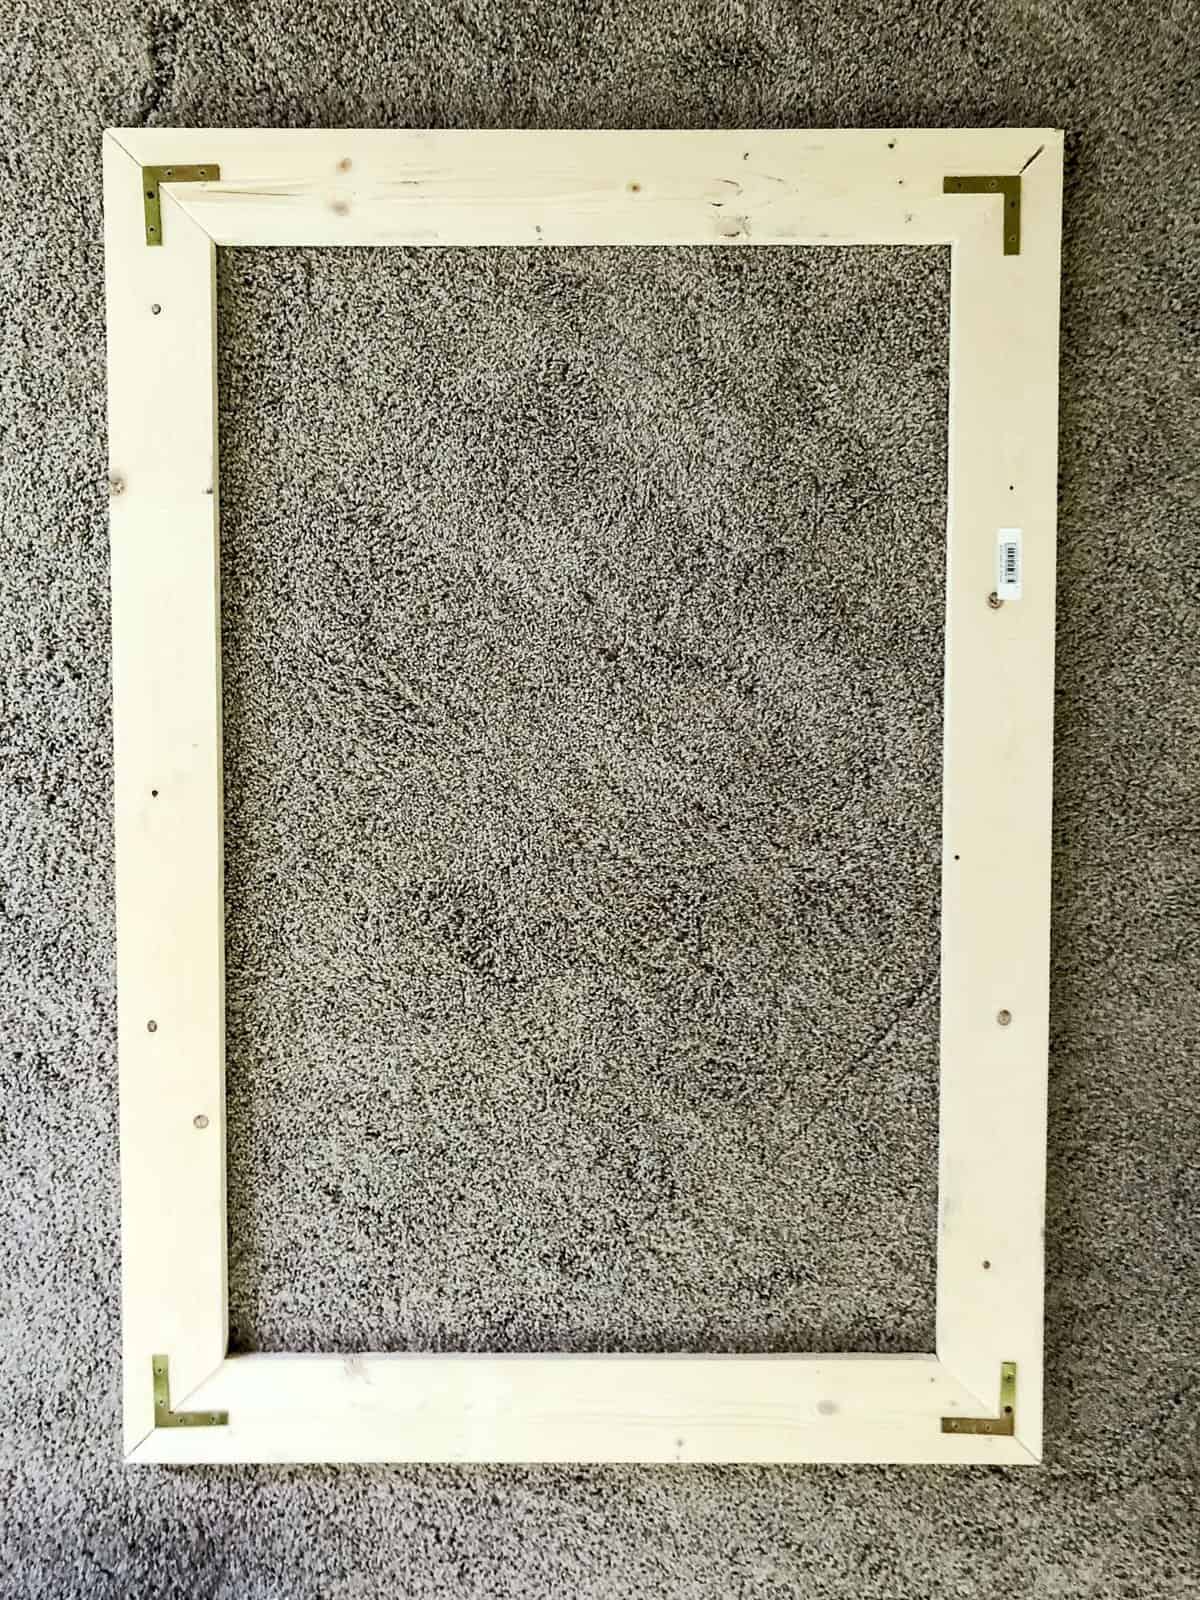
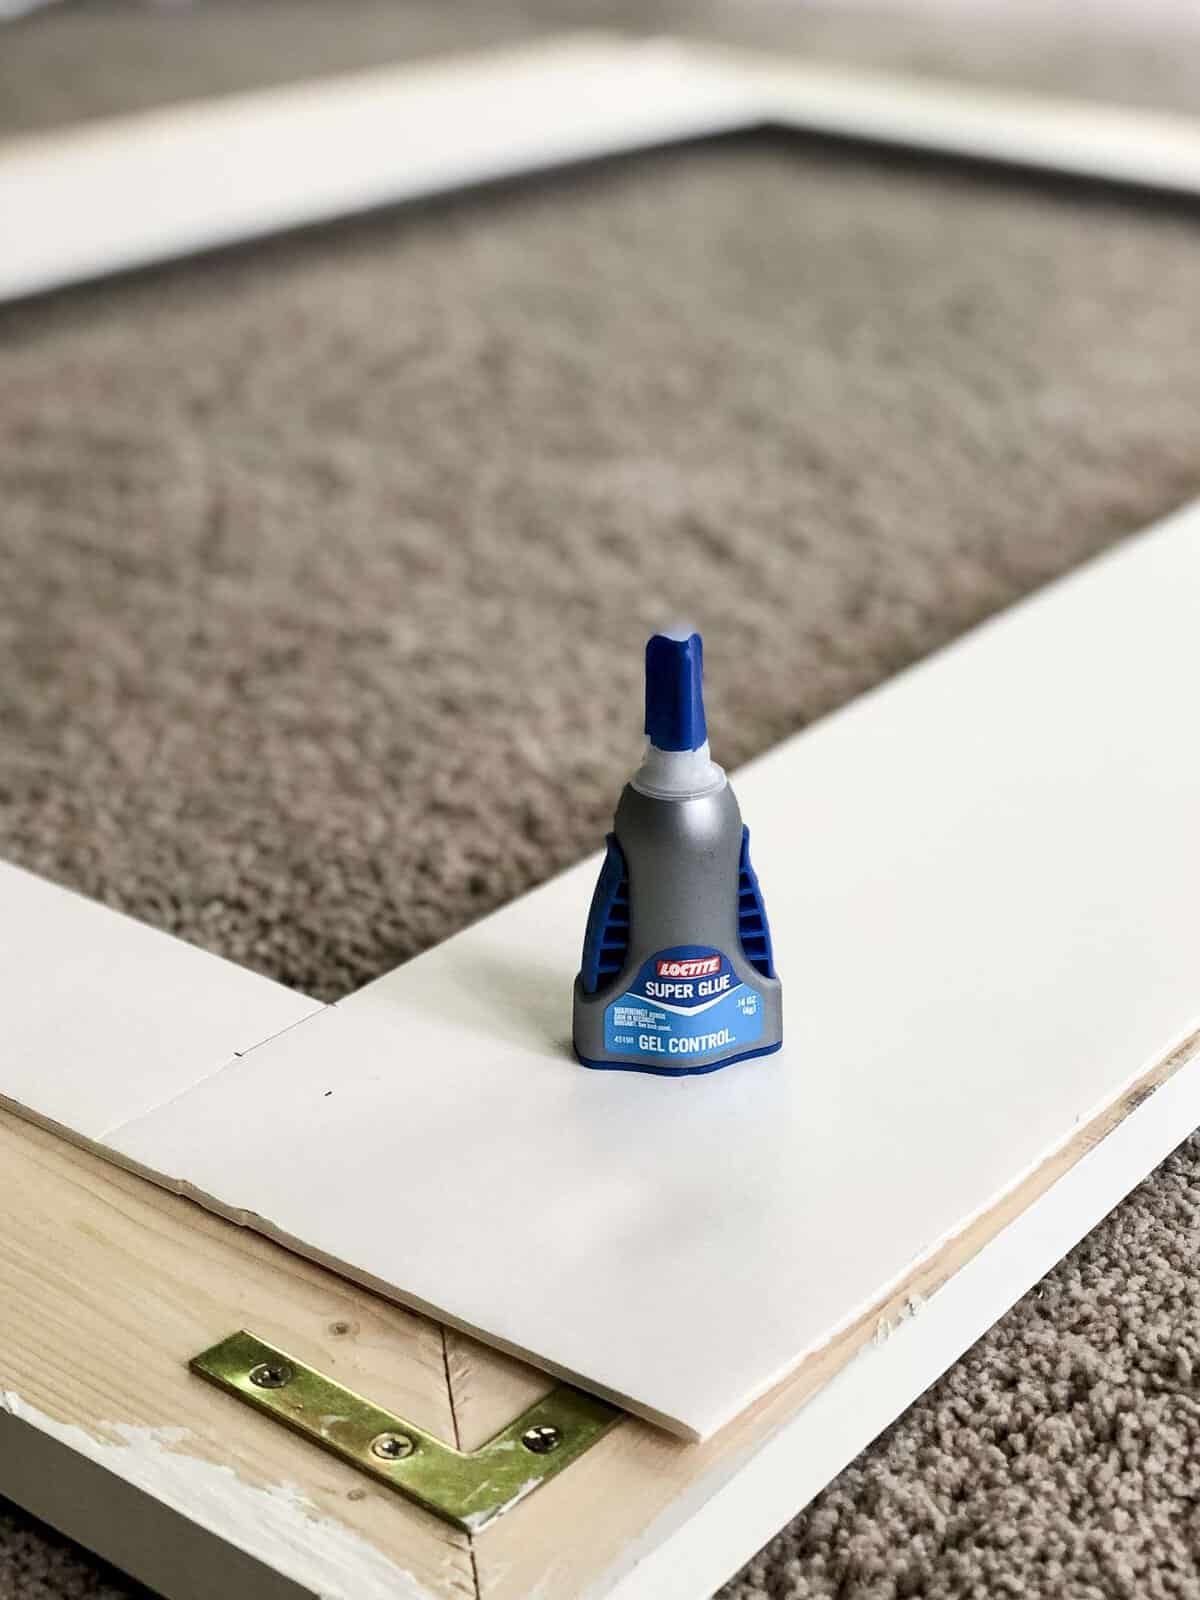
In order to assemble your DIY picture frame, place some wood glue on each corner for extra stability and use the corner brackets at 90 degree angles and screw them in.
Tip: Make sure the screws you use are not longer than your wood! You don’t want those poking through.
You can also make pocket holes to screw the edges of the frame together if you would rather not use the brackets.
Once you’ve assembled your frame, I recommend caulking the seams for a more polished finish. This is my favorite caulk because it dries fast, cleans up well and you can paint in 30 minutes.
Once you’ve caulked you can paint your frame your color of choice. I painted mine white, but after hanging it in the playroom I may go back and paint it a different color to pop off the wall better. We shall see!
Assembling Your Mat & Frame
Congrats, you’ve made a DIY picture frame with a mat! Now you just need to put it all together.
Step 1: Attach your artwork to that center piece of foam board you cut out. If you’re working with original artwork, please don’t glue it! I glued my print because it was printed on very sturdy canvas paper. However, if you have an oil painting or watercolor…etc. please attach it so that you don’t ruin the original artwork. (And all artists everywhere said…amen.)
Step 2: Glue your mat onto the back of your DIY frame. I used Loctite and that baby isn’t going anywhere.
In my opinion, this was the most difficult step. You must make sure your mat is centered and level inside the frame. Don’t glue it down until you’re absolutely sure! I glued mine directly from the excess mat to the wood and the first time around it was crooked. Boo!
Loctite doesn’t come off easily my friends. This step in the process is easiest if you have two people. One to position the mat from the back and the other to see from the front whether or not it is straight.
At this point, you can see where my mat overhangs the frame. Simply use your knife to trim it down once you’ve made sure you don’t need to adjust any further.
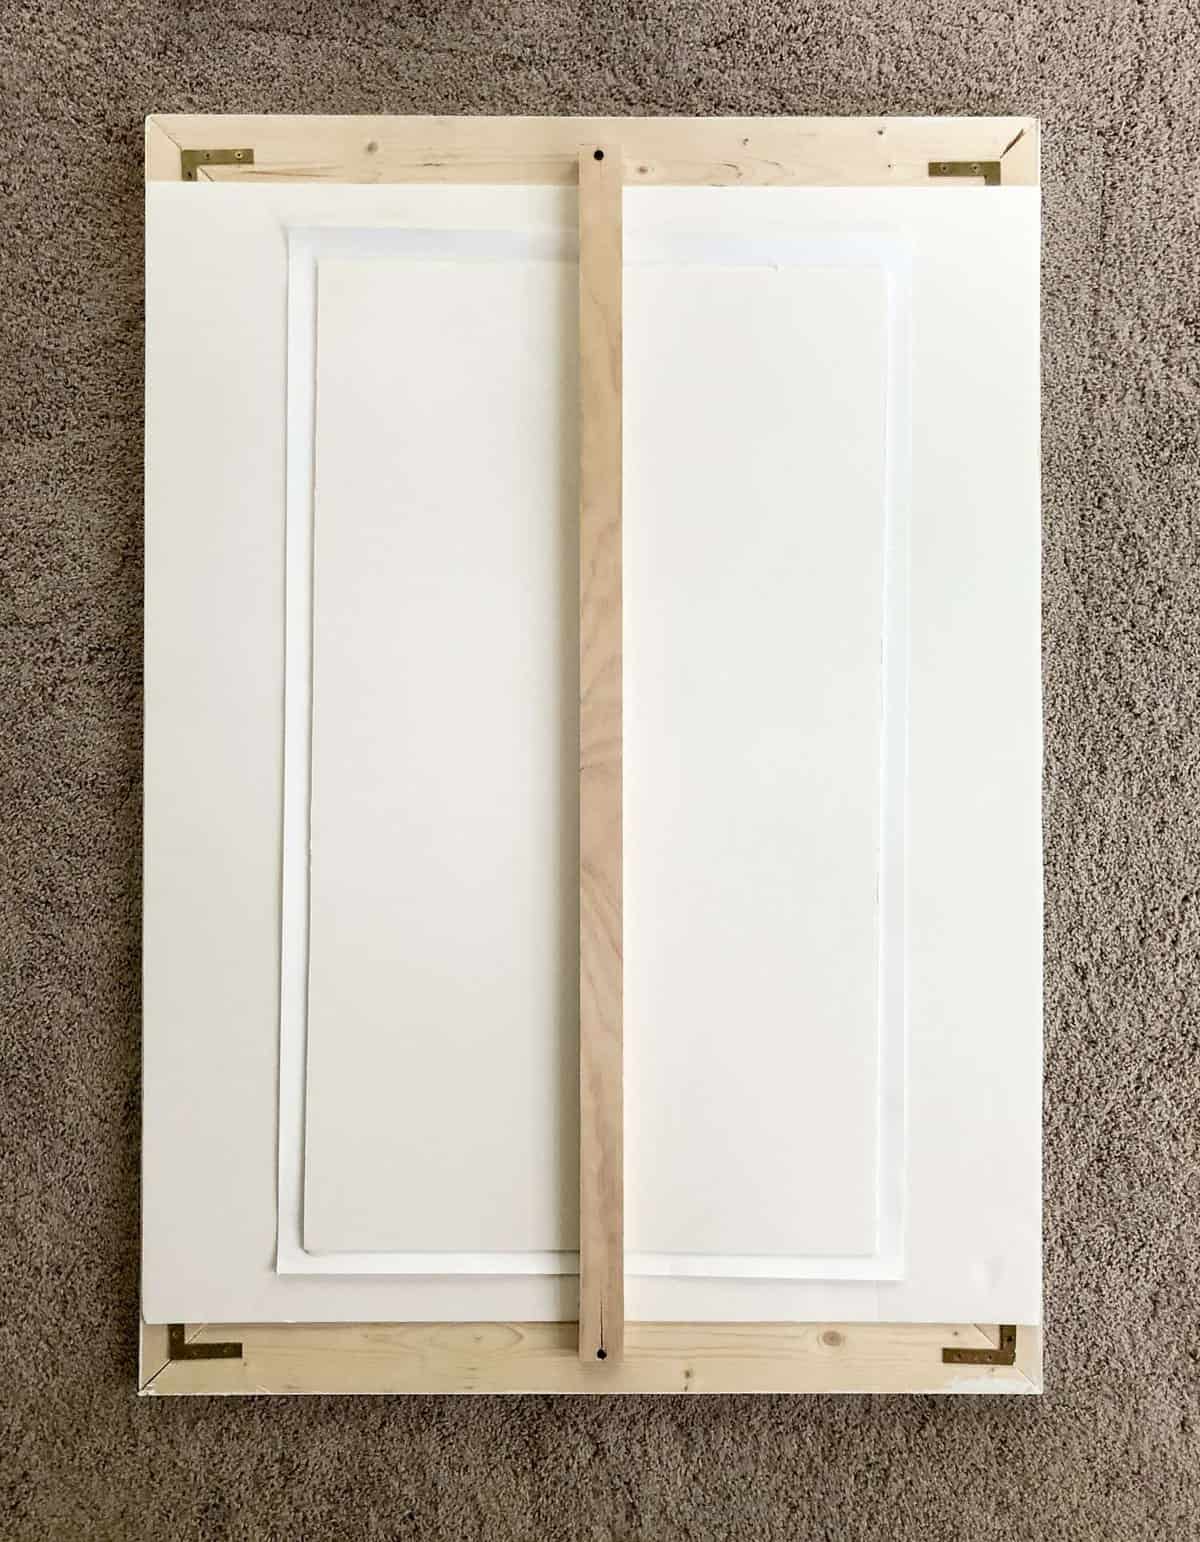
Step 3: Add your artwork! I used the white space from my print to glue it directly onto the back of the mat. Then, I added a piece of wood to the back of the frame by simple screwing it in top and bottom.
This accomplished two things: First, it added rigidity to my frame. Second, it held my artwork tight to the mat.
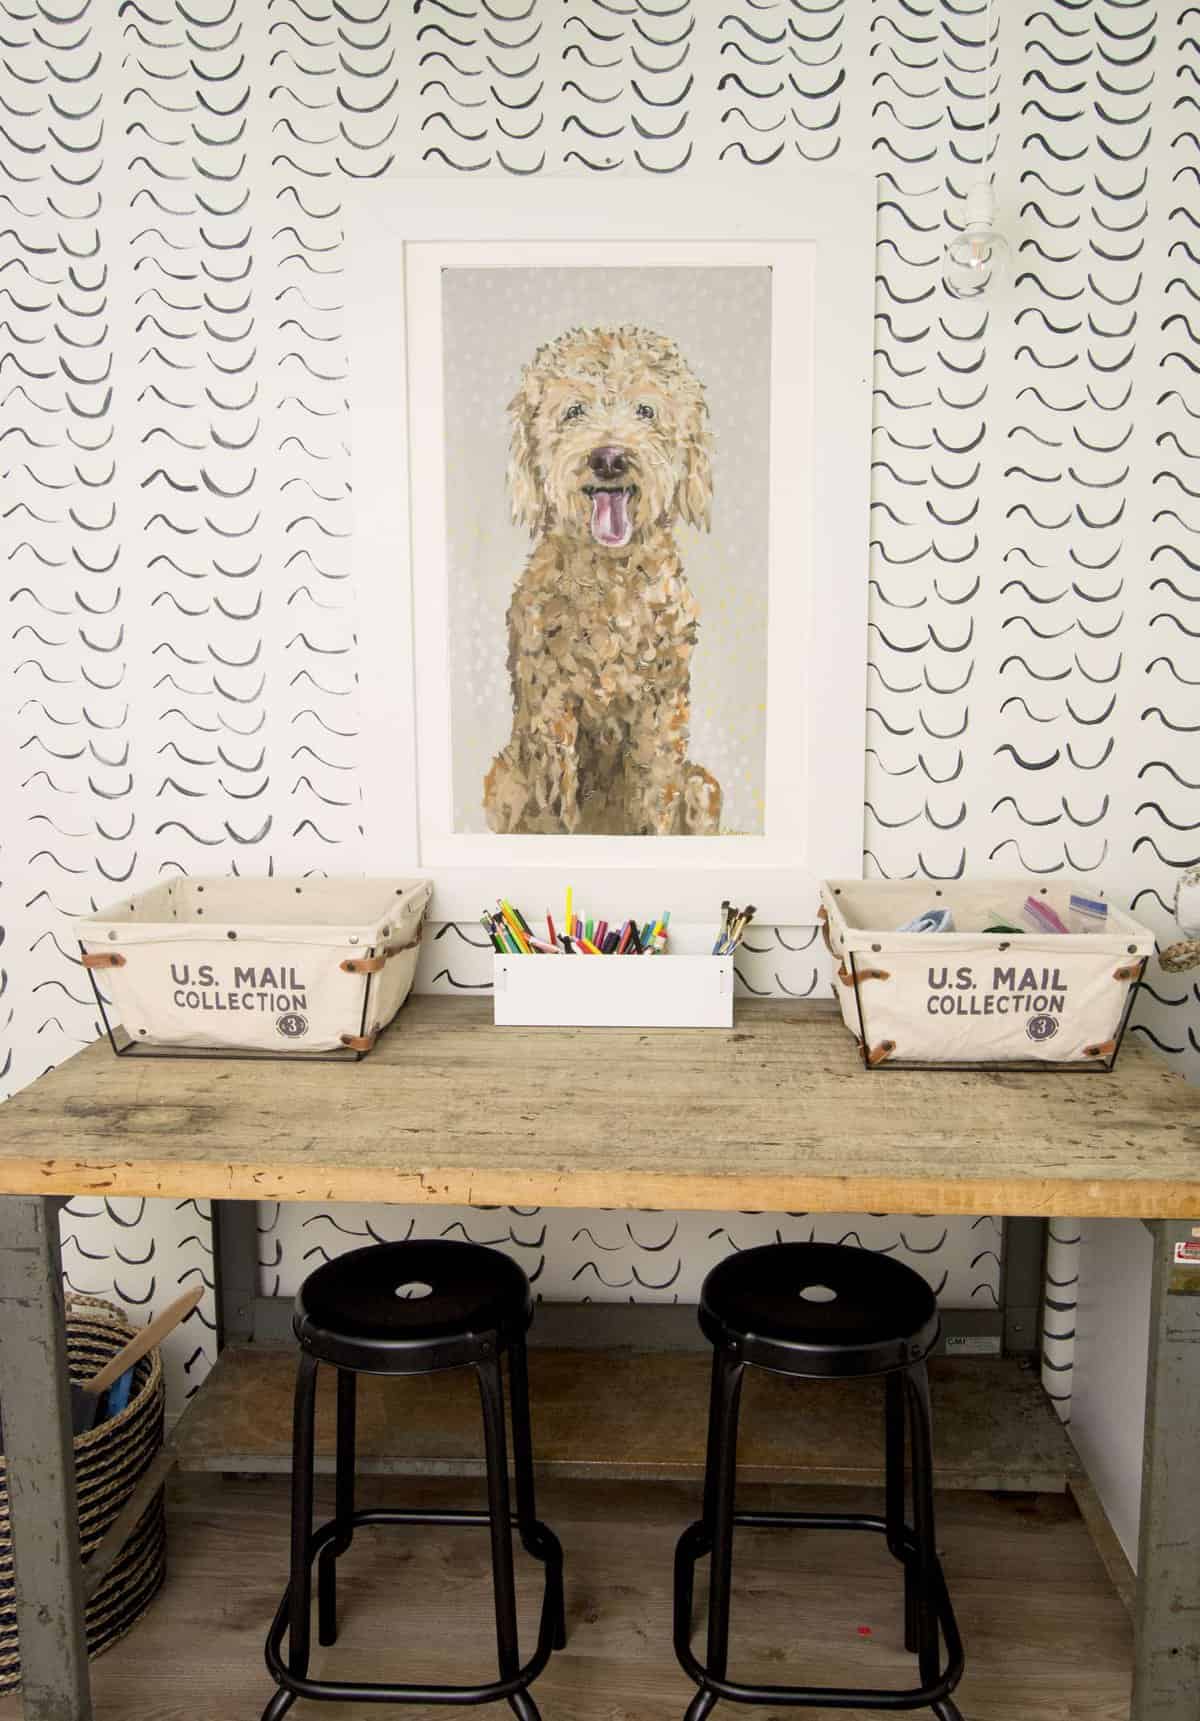
Final step! Add the hanging hardware of your choice and pop it on the wall! These oversized picture frames are also good for propping if you have an area out of reach from kids and pets.
In total, I spent less than $25 on this frame! I had some of the materials on hand, as most people do, but saving $100 sure made me feel accomplished! This is a process I’ll definitely come back to for future projects. I hope this tutorial was helpful to you! Please leave me your questions in the comments and I’ll update the tutorial to reflect anything that was confusing!
{UPDATE} The full playroom reveal is complete! See how I transformed this entire playroom!
Who’s ready to make their own DIY picture frame?!


Looking for more DIY Projects?
I love a good DIY! Visit my DIY page for more inspiration and follow along with me on Instagram for daily projects!