
How to Change the Color of Wood | 2 Reliable Methods
Have you ever wondered how to change the color of wood? We have all had those moments where we wished we could get a different look on a piece of furniture, floor or small wood accent. Thankfully, you can! It takes some elbow grease but will be worth it in the end.
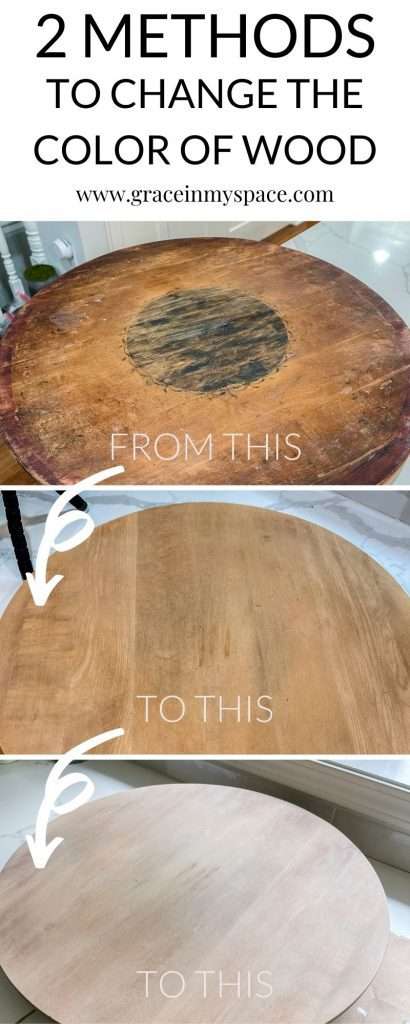
Here are two reliable methods to change a wood tone to get the look you want!
This post may contain affiliate links where I earn a small commission on your purchases at no additional cost to you.
Understanding The Underlying Factors of Changing the Color of Wood
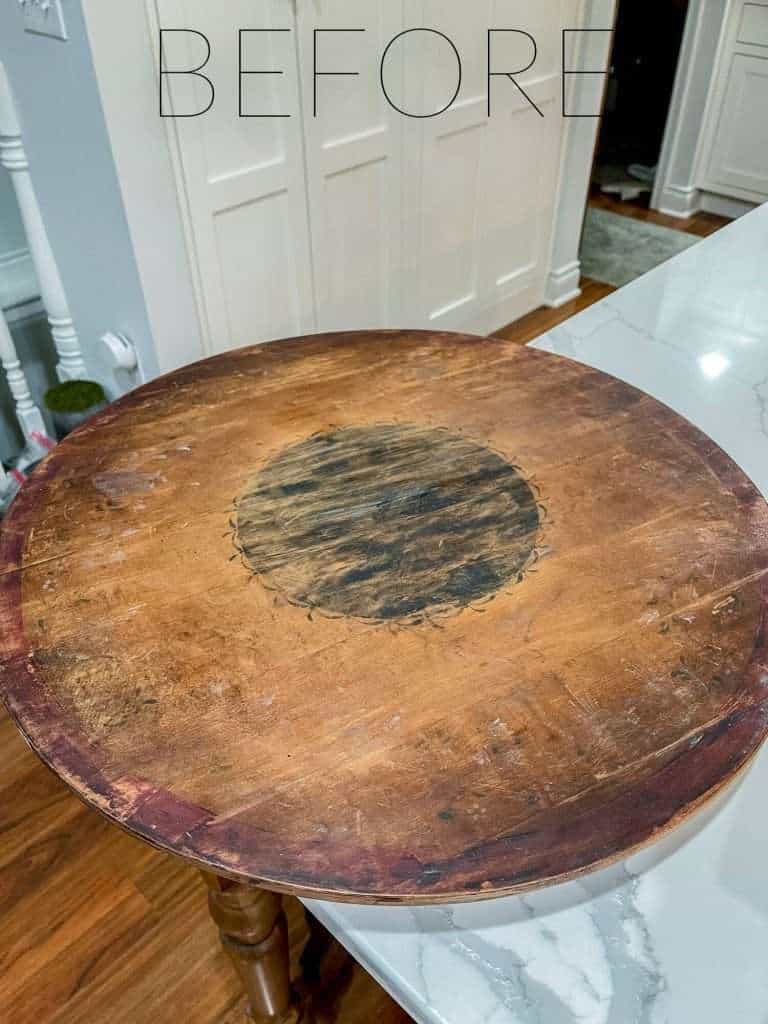
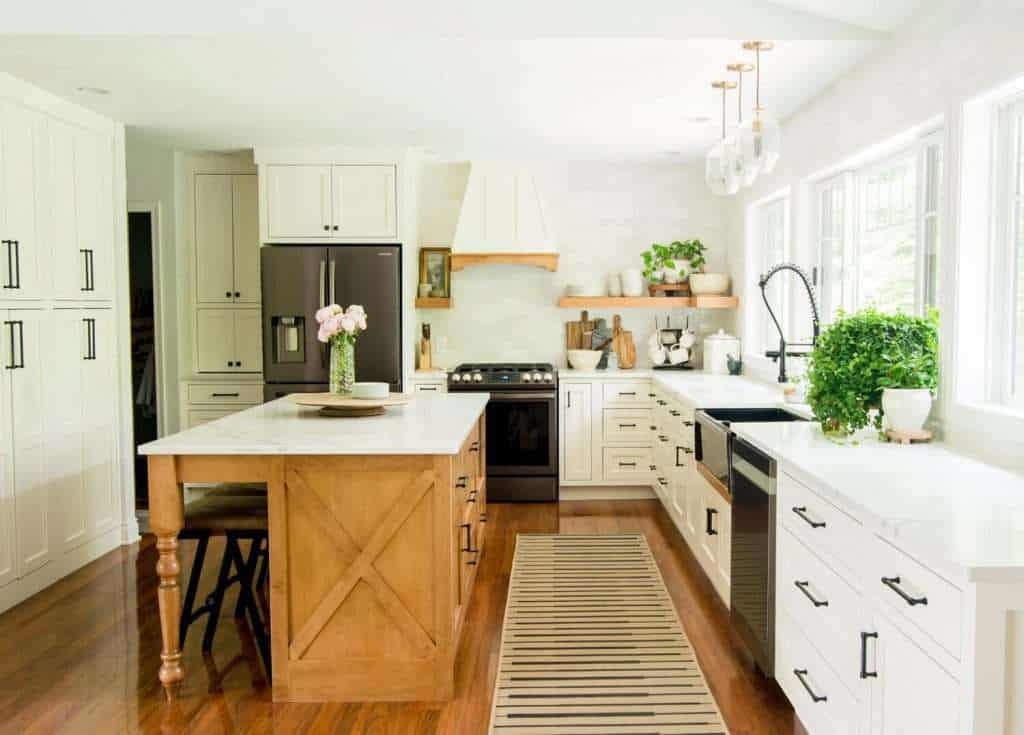
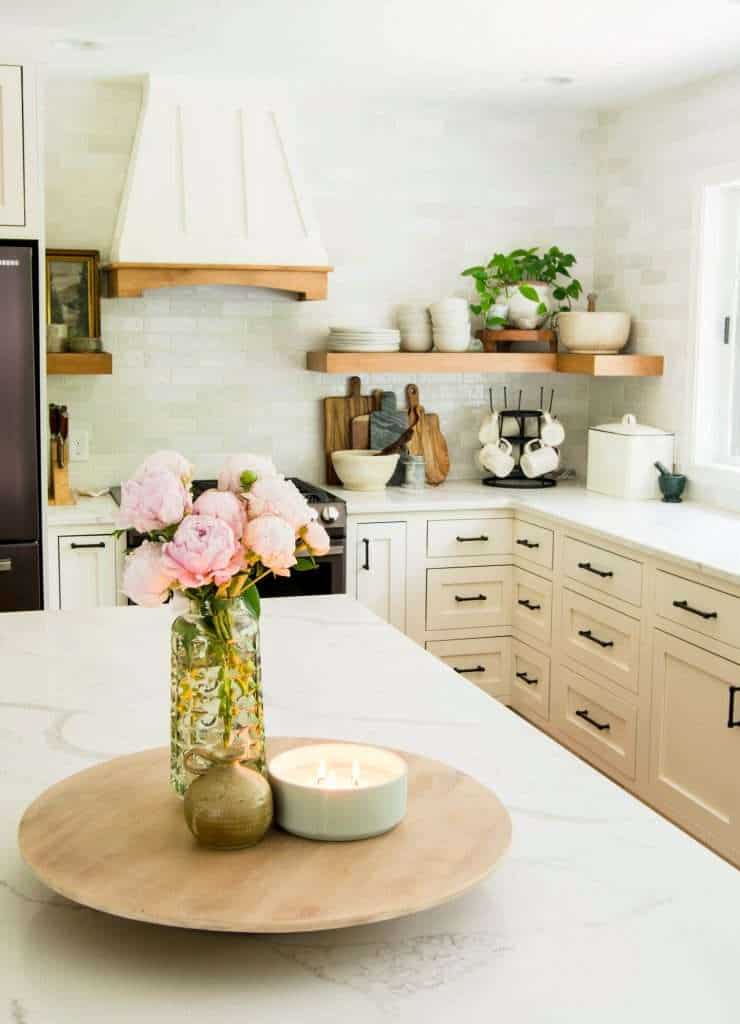
Today I’ll be sharing two methods for how to change the color of wood. I’ll show you an example of one of them using this vintage lazy susan I found at a flea market for $5!
The Undertones of Each Wood Species
But first, we need to understand some facts about wood coloring. There are quite a few factors that determine the color of wood.
First and foremost is the natural color undertone you are working with. The species of wood will determine what hue your wood has from the beginning. Here is a brief summary of some popular wood species and the undertones they naturally have.
- Pinkish Undertones
- White Oak
- Maple
- Beech
- Birch
- Yellow Undertones
- Pine
- Green Undertones
- Poplar
- Red Undertones
- Red Oak
- Mahogany
- Walnut
Once you’ve determined which species of wood you have, you can more reliably counteract its natural undertones with one of these two methods for how to change the color of wood!
What Type of Finish Is Currently on It
The next element you need to figure out is what type of finish is currently on your wood.
When discussing changing the color of wood, most people are actually asking how to lighten stained wood.
Rarely is someone trying to figure out how to darken it. This is because lightening wood is much more difficult than darkening wood.
If your wood has a dark stained finish, you will not be able to lighten it without completely stripping the existing finish first.
The only exception to this is using paint. Light paint will cover a dark finish with a good primer. However, if you are trying to change the color of wood then my assumption is that you don’t want to paint, but rather have the natural wood grain showing.
For that reason, this article will only focus on non-paint options!
If you’re new to DIY, make sure to download my DIY tool kit for beginners. This is a great resource to get you started in DIY home improvement!
FAQs for How to Change the Color of Wood
Let’s start by covering some of the most frequently asked questions for refinishing wood furniture or decor pieces.
How do you change the color of finished wood?
While I will get into more detail with the 2 methods I mentioned previously, the basic steps for changing the color of finished wood depends on two things:
- What type of finish is currently on it.
- If you want to go lighter or darker from the existing finish.
For pieces where you have a dark finish and want to go lighter, you will need to remove the existing finish first. Then, determine what undertone your wood has and counteract it with an appropriate stain color.
For pieces that are a light finish, and you want to go darker, you can simply apply a darker stain! Just keep in mind that the existing finish will impact the final color as the two stains mix together.
Can I stain over stain without sanding?
Ahh, the common question from all of us DIYers who want to skip a step and do less work. Do I need to remove all stain before restaining?
I get it. I’ve never met anyone who loves to sand wood, especially if it is a furniture piece with lots of details. So, is it necessary to sand before staining?
The short answer: yes.
However, each project will have different factors that determine the necessity for sanding. For instance, if you are going from light to dark like we discussed above, you are less likely to need to sand to achieve the color you want.
But sanding isn’t only required to remove an existing finish. Rather, sanding is an important step prior to adding stain because it gives your stain the best foundation for a blemish-free finish.
Without sanding, stain will be accepted differently across a board where wood grains vary. In the long run, your final piece will look its best by sanding it first.
What’s the Best Way to Remove an Existing Wood Stain?
In situations where you need to remove a stained finish completely before restaining, you can either sand or strip your wood.
There are various reasons to use both methods dependent upon your situation.
Pros & Cons of Sanding v. Stripping Wood
Sanding Wood:
- Pros
- Sanding removes a finish quickly when it is wearing already
- Immediate results in most cases
- Power sanders make it less strenuous
- Gives a smooth finish as an end result
- Cons
- Gummy finishes can muck up sanding pads quickly and be more costly to go through
- Dusty & dirty
- Releases particles into the air that could cause health hazards if not properly protected
- Can be difficult to get into detail areas with power sander
- Best done outside only
Stripping Wood:
- Pros
- Can be done inside in well ventilated areas (for inclement weather regions)
- Helpful to get into detail areas
- Can be less strenuous when working through multiple layers of paint or stain to let the chemicals work instead of your muscles
- Gentler on delicate surfaces
- Cons
- Odorous
- Hazardous materials require proper skin and ventilation protection
- Can be less effective when working with stubborn finishes
- Often need to lightly sand even after stripping to give a smooth finish
You can see my favorite wood stripper and a couple of projects I’ve done with it in this post!
Should you put a sealer over stain?
Yes, or no! Again, the answer to whether or not to put a sealer over stain depends on the situation.
Sealers or polyurethane help protect wood finishes from dings, scratches and moisture. So in high use environments, I always recommend a poly to finish your wood restoration. Especially on furniture refinishing projects.
Some instances where I have omitted using sealers are when I’m unsure if the finish is what I am looking for (and I might alter later), on wall trim, and on low-use decor pieces.
Now that we’ve covered a ton of bases for situational projects, let’s get to the two methods for how to change your wood color!
Method 1: Change Wood Color with a New Stain
Obviously, changing wood color by changing stain colors is a no-brainer. The trick comes in how you choose your stain color in relation to the wood species undertone.
When I am asked how to lighten stained wood, my simplest answer is this process:
- Remove the existing finish completely by sanding or stripping
- Determine the wood species
- Evaluate the existing undertone
- Determine the undertone of the wood stains you are considering
- Choose a wood stain that will either complement or counteract the existing undertone to get the look you want
- Restain your wood
Refinishing a Vintage Lazy Susan
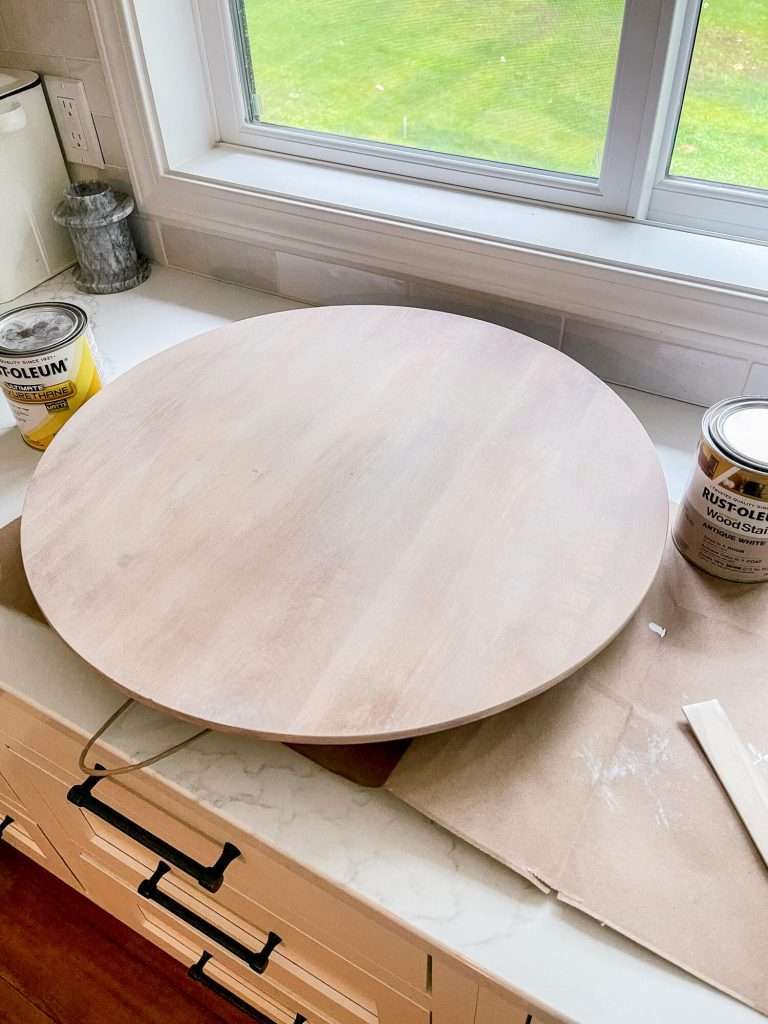
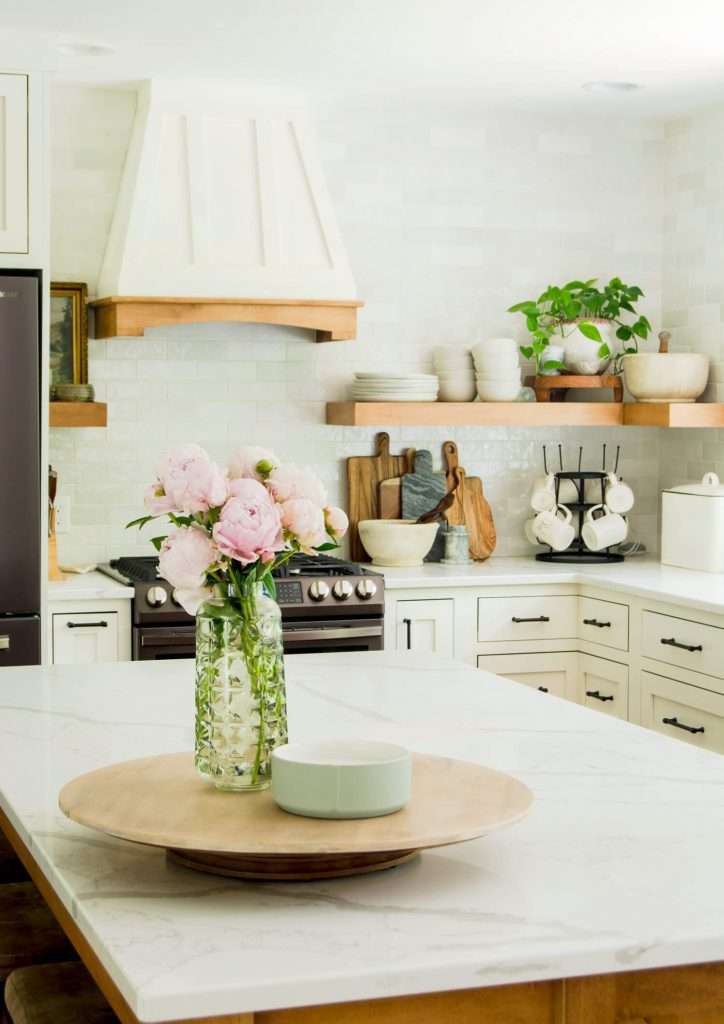
Let’s use my vintage lazy susan as an example since this is the method I used to refinish this wood piece.
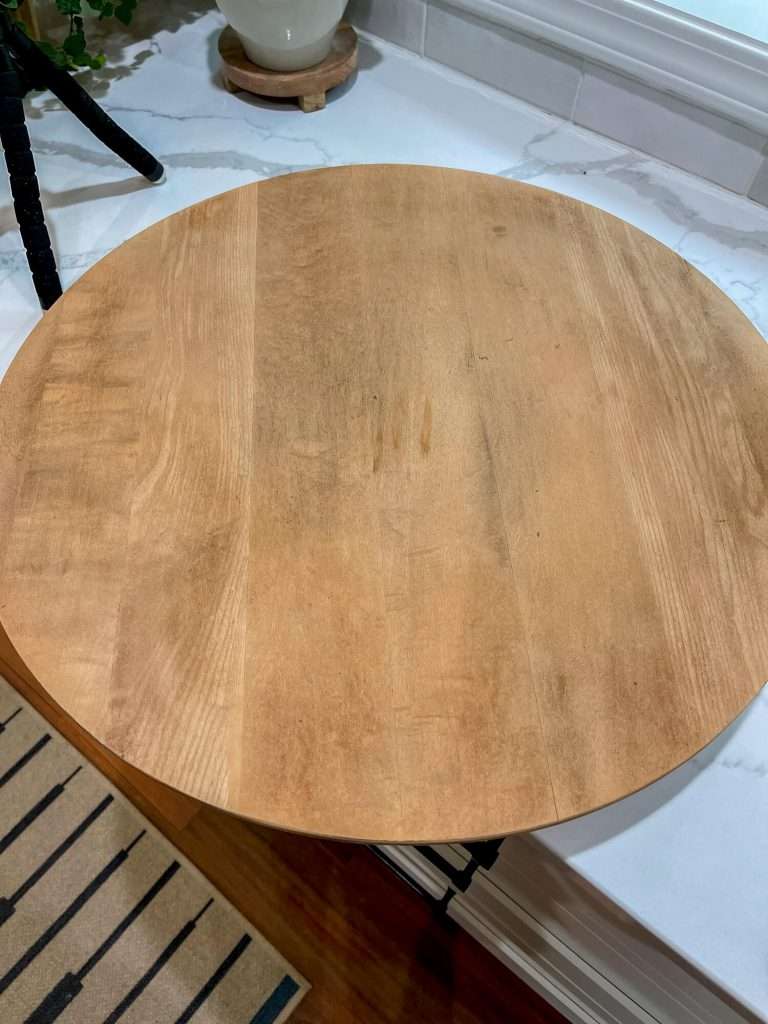
After removing the existing finish with a power sander, I was left with this beautiful wood tone. Note the yellow/orange undertones.
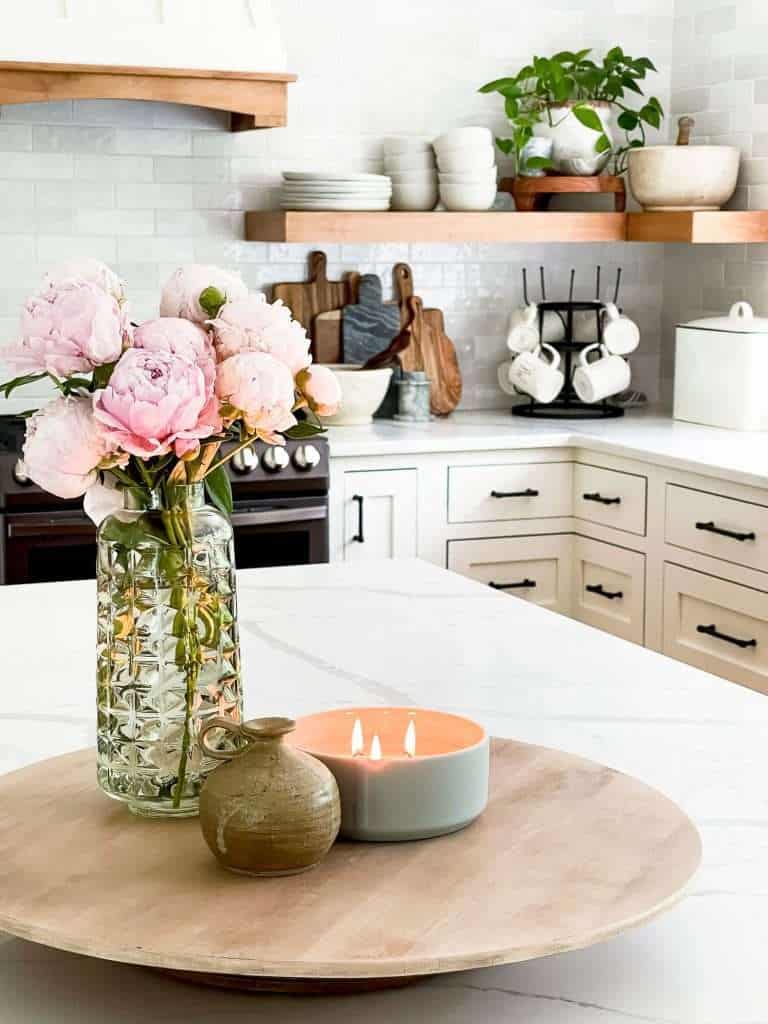
My goal was to lighten the wood to a very raw and organic wood tone. To do this, I knew that I should NOT use a stain with red undertones like one of my favorites, Miniwax Early American. Rather, I needed to counteract those undertones with a muted color.
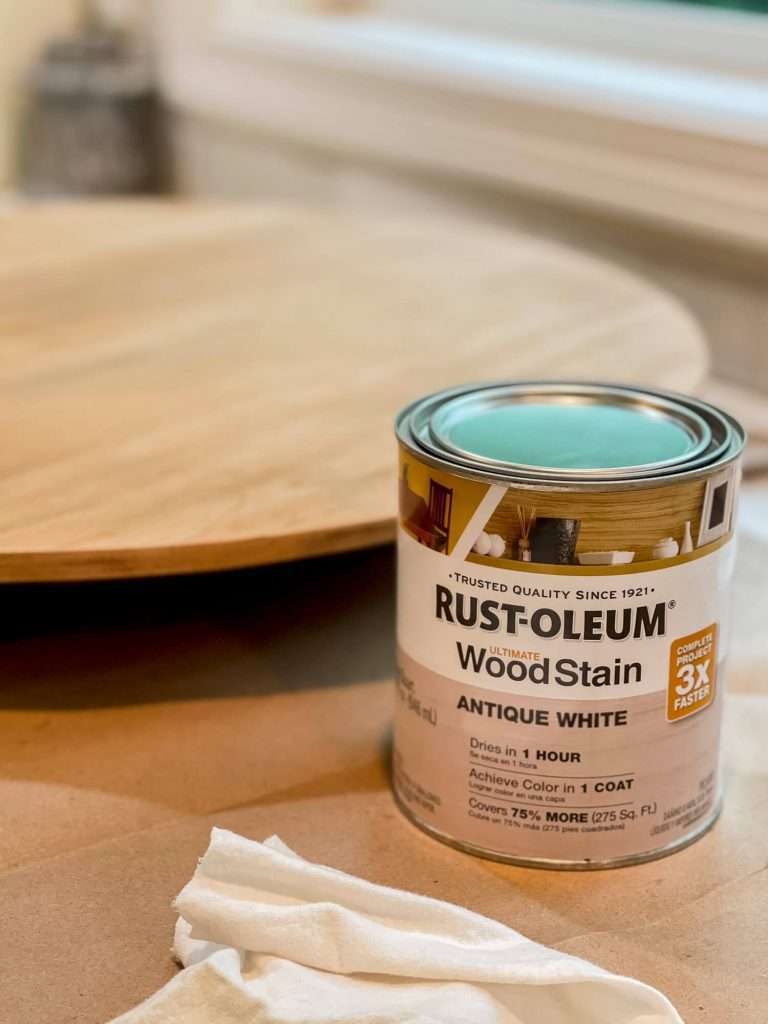
I chose Rust-Oleum Antique White because it has pink undertones that would lighten my wood finish without losing its original coloring fully.
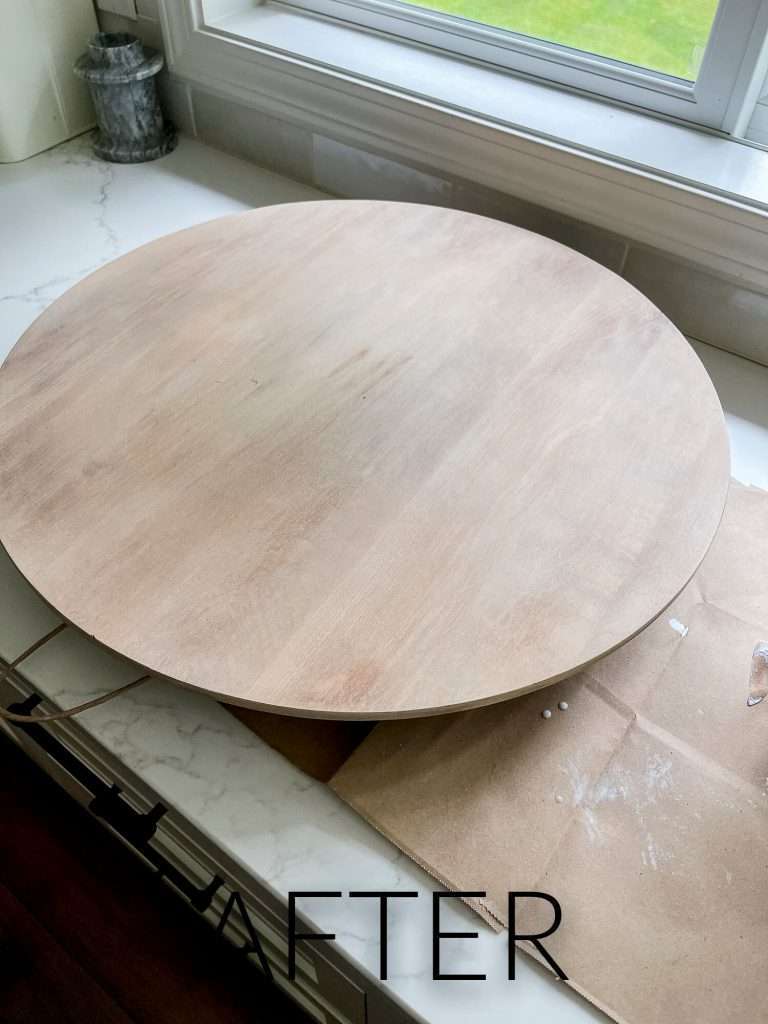
If you are looking for a helpful guide to decipher what undertones different stains have, this article from Chris Loves Julia gives a great visual aid on many popular stain colors compared to different wood species.
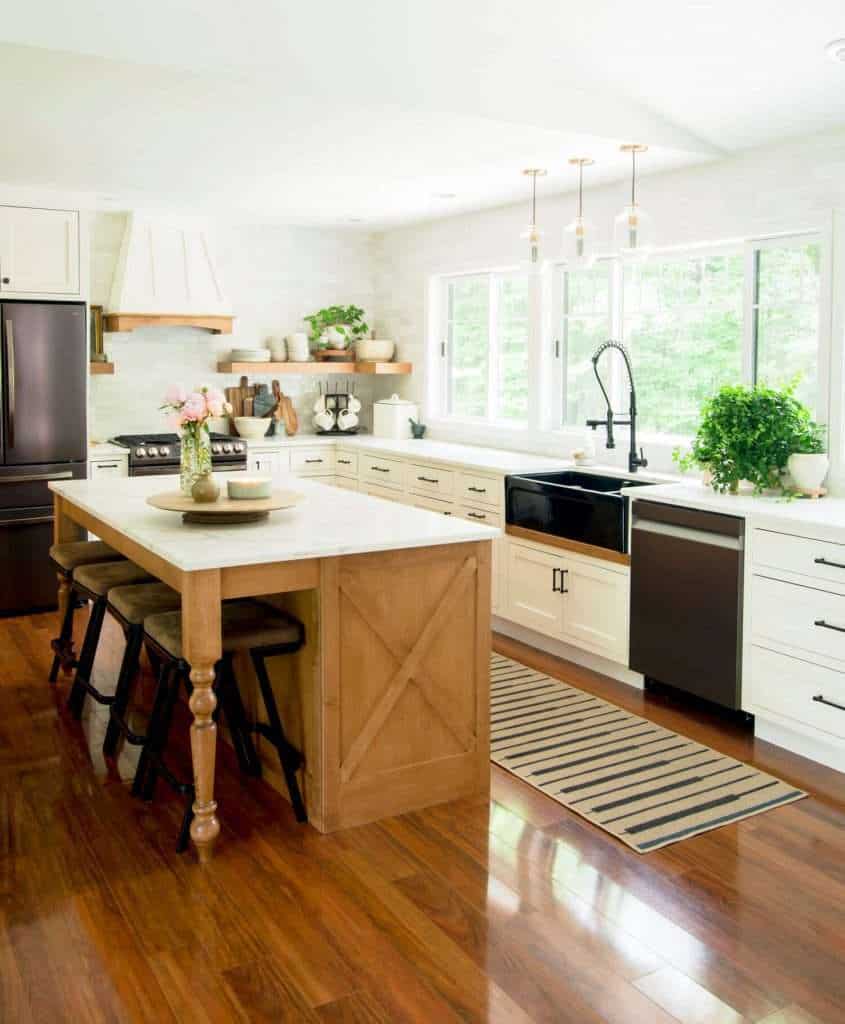
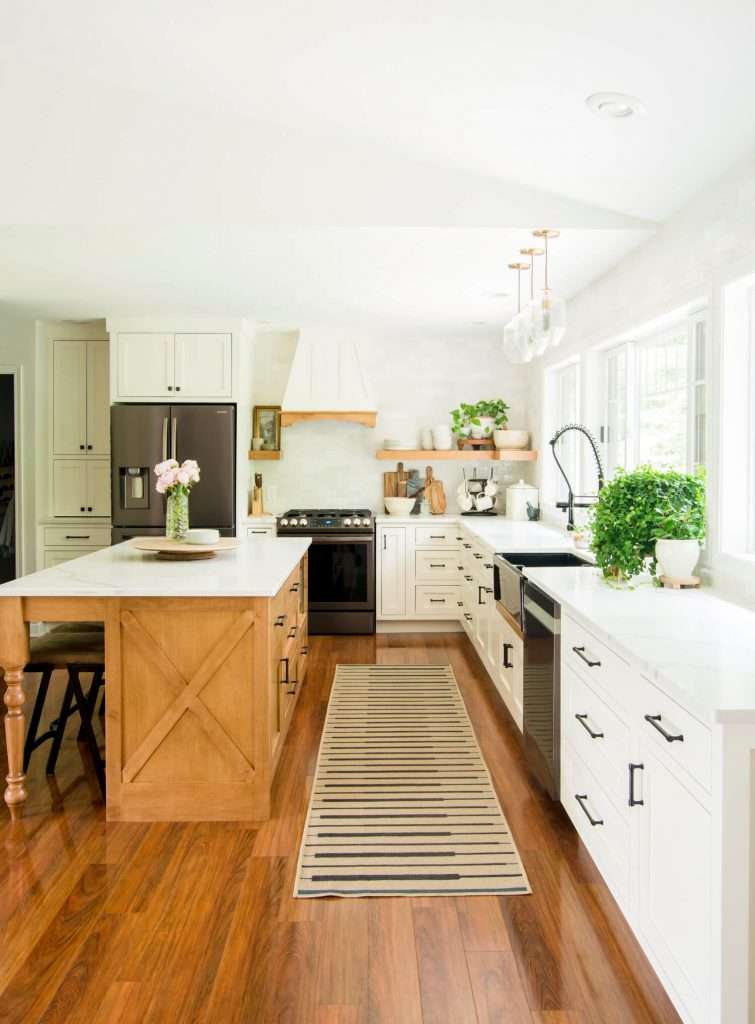
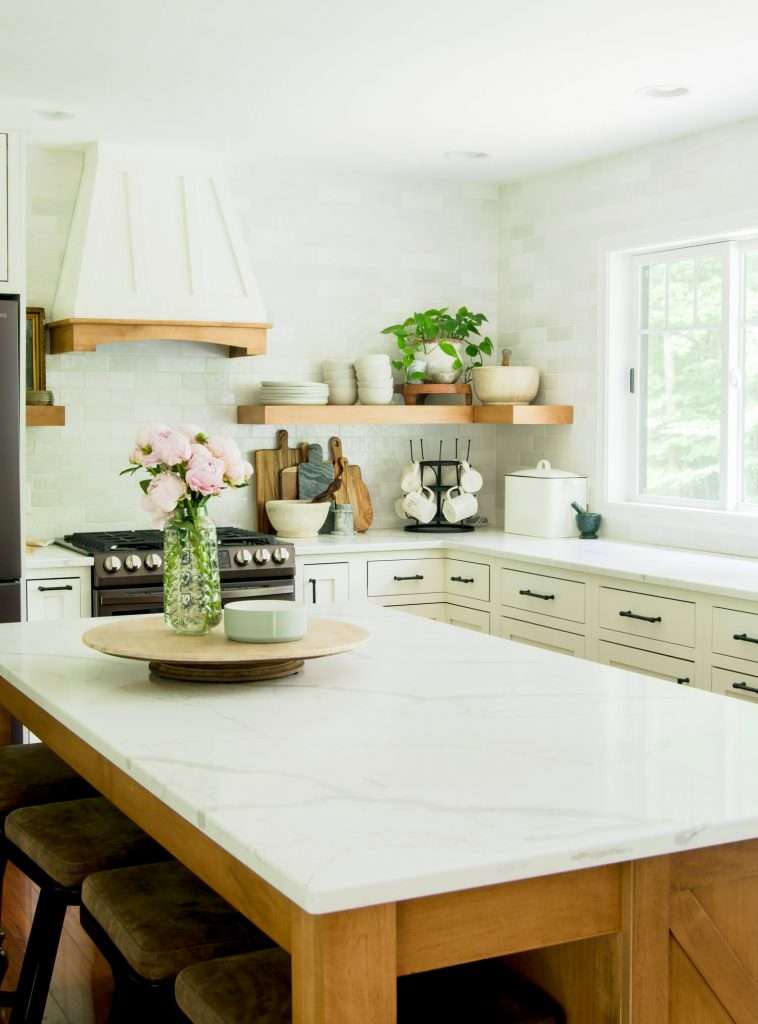
Next, I used a matte polyurethane to protect the surface. This will be helpful since it will be a high-use piece in my kitchen.
My Process for how to lighten wood
This project was a very simple one and is a great example to show the process of refinishing wood.
First, start with a medium-course grain sandpaper if you choose to sand, instead of stripping your wood. This will be the fastest way to remove the existing finish.
Then, progressively use finer sandpaper grits until you have a completely smooth finish. I like to use a hand sander when possible to speed the process along.
Important tip: make sure you sand with the grain of the wood to avoid marring the surface.
Once you have removed the existing finish, use mineral spirits to clean the wood and remove all the debris.
Then, apply your new stain with a brush or rag. You can also use a wood conditioner prior to staining if your wood is in need.
Once you’ve applied your stain, make sure to fully dry any stain rags flat outdoors before disposing. If you place a wet wadded up stain rag in a hot trash bin or garage, they can combust. Safety first!
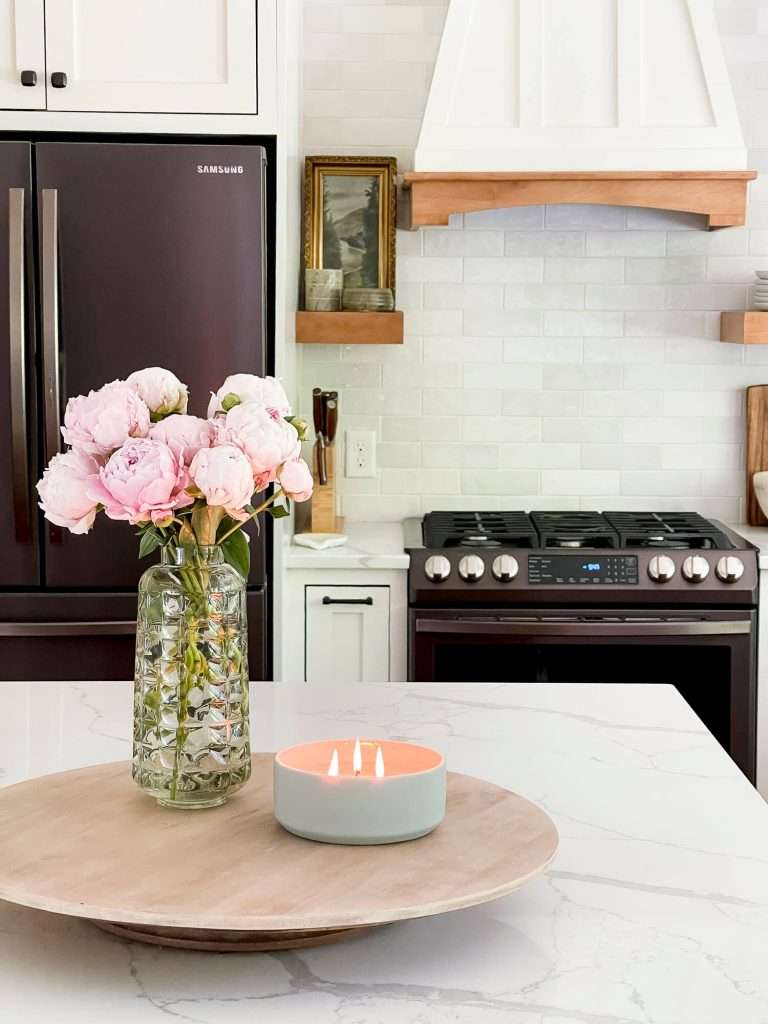
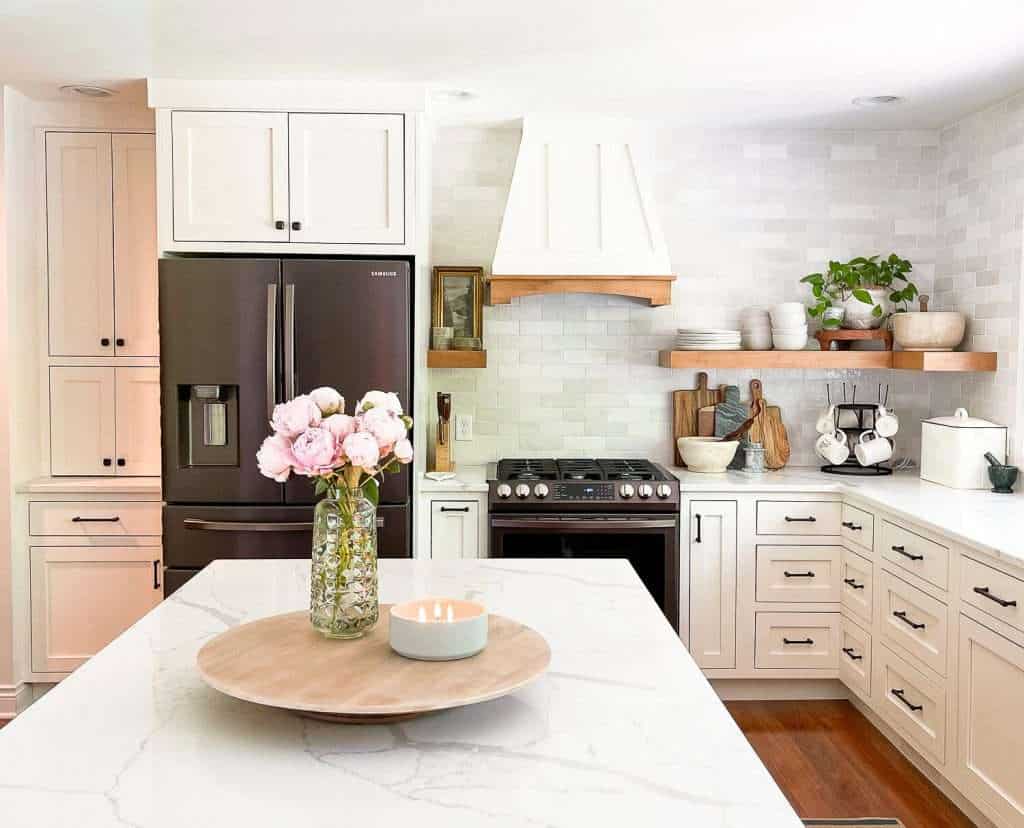
Lastly, apply your sealer or polyurethane if you wish to protect your wood piece. I love that this poly has a completely matte finish. You can’t even tell it’s there!
You can see a quick visual tutorial for this lazy susan transformation here! Make sure to follow along on Instagram for more behind the scenes of my projects!
Method 2: Bleach Wood to Change the Color
The second method for how to lighten wood is to use bleach.
This method can be used on both stained and raw wood. With stained wood, bleach will help to lighten the finish, but will not change the wood tone.
However, there are a variety of ways to actually change the color of wood using special bleach solutions.
If you choose to go this route, make sure to check out this article from The Coastal Oak which breaks down the various bleach options for how to change the color of wood.
Stay Connected
I hope this article on how to change the color of wood has been helpful to you! Thanks so much for stopping by the blog today.
There is a lot of science and color expertise that goes into both, how to lighten wood, and how to change its natural color.
Kitchen Source Book

Don’t forget to join the community to get your DIY tool kit for beginners! I’d love to see what you create!
If you’re interested in more refinishing ideas, check out the projects below.
- How to Refinish a Wood Dining Table
- DIY Coffee Table Transformation
- Combining Stain and Paint on Furniture Restoration


Do you know the name and type/size of the tile in the kitchen? The link no longer works and I love it so much! Thanks! ~Misty
Thanks for letting me know! Here you go https://rstyle.me/+dTA-9P2XCHlj9YT4jWhcjQ
Is the lazy susan maple wood?
You are so detailed. I loved reading your post. I am about to update the wood of my old dining table. I feel like I have a good idea of how to get started thanks to you.
So thankful to discover graceinmyspace. I need encouragement and direction on an antique cabinet I have sanded. No idea how to know what the wood is. Can I contact you privately for advice?
Is the lazy Susan maple wood?
Excellent post- thank you for the great tutorial and info! And wow wow wow – great find and GREAT DIY refinish on that awesome lazy susan. It’s a great find and you gave it such a beautiful new life!!!!!! I love that!!!!!
Thank you! I’m so glad you enjoyed it!