
Rustoleum Chalk Paint: A Review

I’ve spent the last couple of weeks working on revamping my son’s bedroom and I decided to start with trying out some chalk paint!
This post may contain affiliate links where I earn a small commission on your purchases at no additional cost to you.
Updating Furniture With Chalk Paint
He’s becoming a big boy (insert momma tears) and his room needed a bit of a refresh to a more sophisticated look. But let’s remember, he is only 6. So I was looking to accomplish three things with this revamp.
- Organize the chaos.
- Lighten up the dark accents.
- Simplify the “themed” elements of the room.
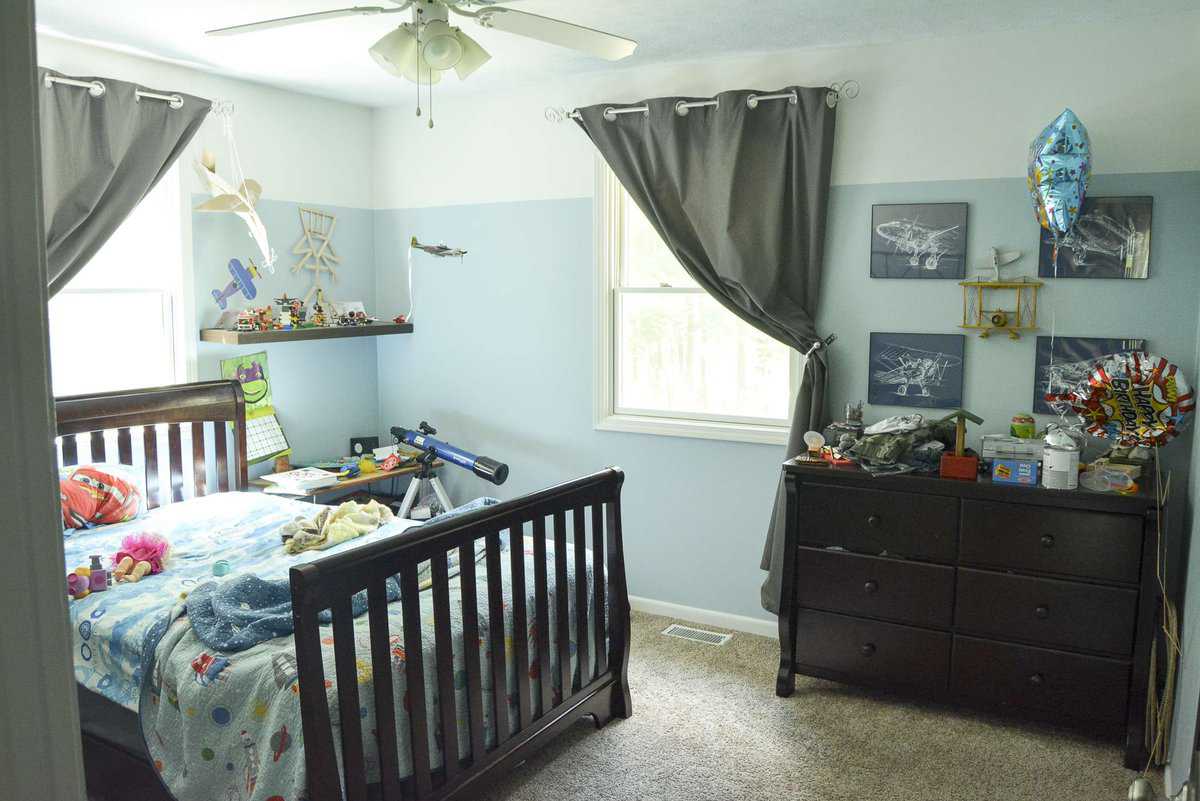
This is the before. Now, let’s remember that this is a judgement free blog. 😉 I literally snapped this photo out of the blue one day because this was my reality. Bed NEVER made.
His “treasured” collections (a.k.a. random rocks, two second art projects that he considers Van Gogh’s, last year’s birthday balloons and chuck-e-cheese trinkets) scattered EVERYWHERE.
Messy, messy, messy. It made my mom OCD go crazy every time I passed his room.
So I decided something must be done! And it all started with objective #2: lighten up the dark accents.
His furniture is the same set we bought when he was born (can I get a hallelujah for convertible cribs?) and still works perfectly fine. So I figured I could just paint it! FYI- I really hate painting. Like, a lot. But it is an easy DIY and affordable so I went to work.
I’ve never before tried Chalk Paint. I know, I know. This has been around for some time now and that is why I am definitely not doing a tutorial for you. There are a ton of them out there already and mine would be subpar I’m sure.
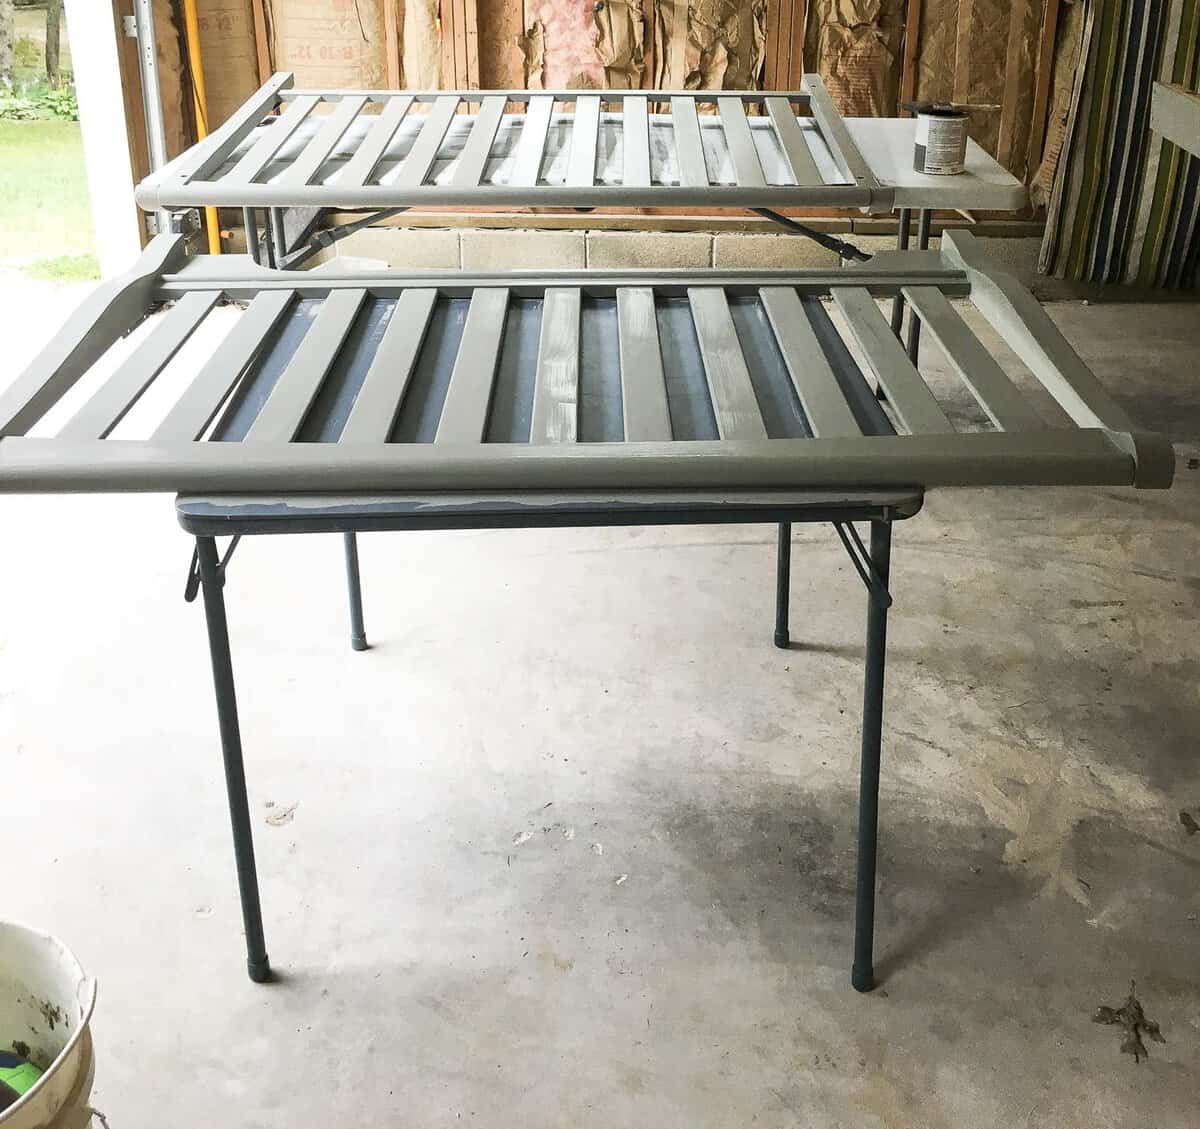
So instead I wanted to share a quick review on the brand I used: Rustoleum Chalked Ultra Matte Paint in Country Gray. (Side note: I started with Aged Gray, which is the lighter version of Country Gray. However, aged Gray is actually more tinted towards baby blue.)
I wanted a medium true gray and I didn’t want to pay an arm and a leg for it or have to go “into the city” to find it. Because we live in a small town with very limited hardware store selection and no big box stores.
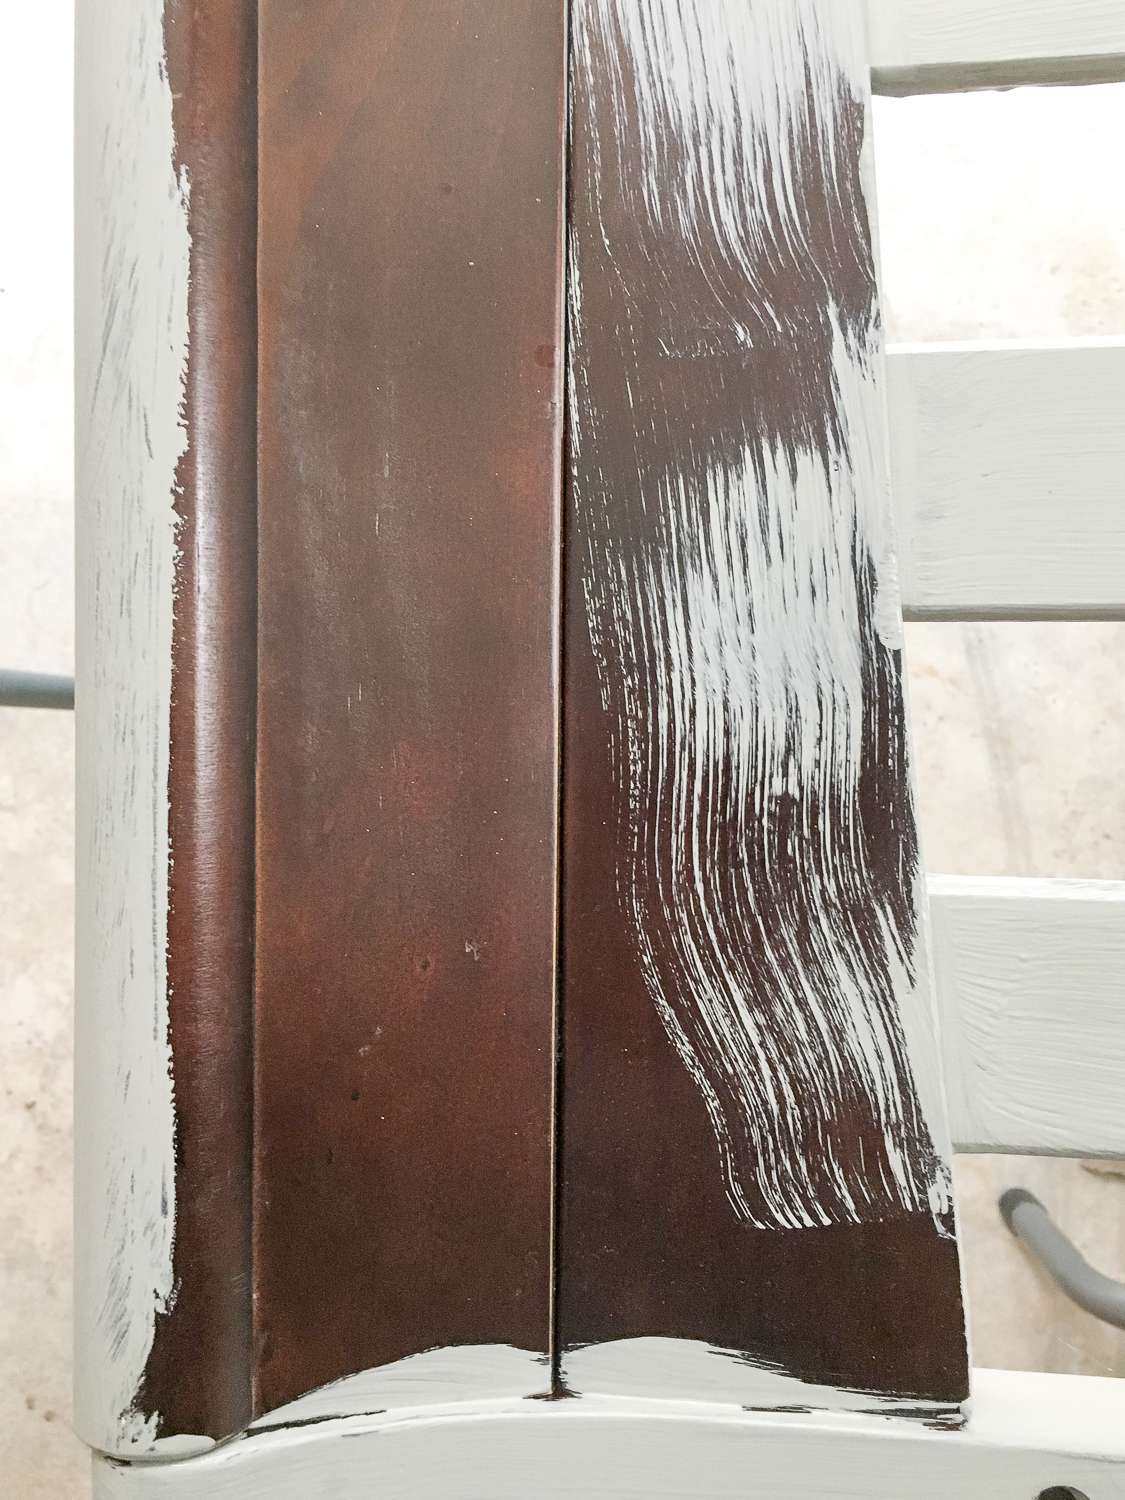
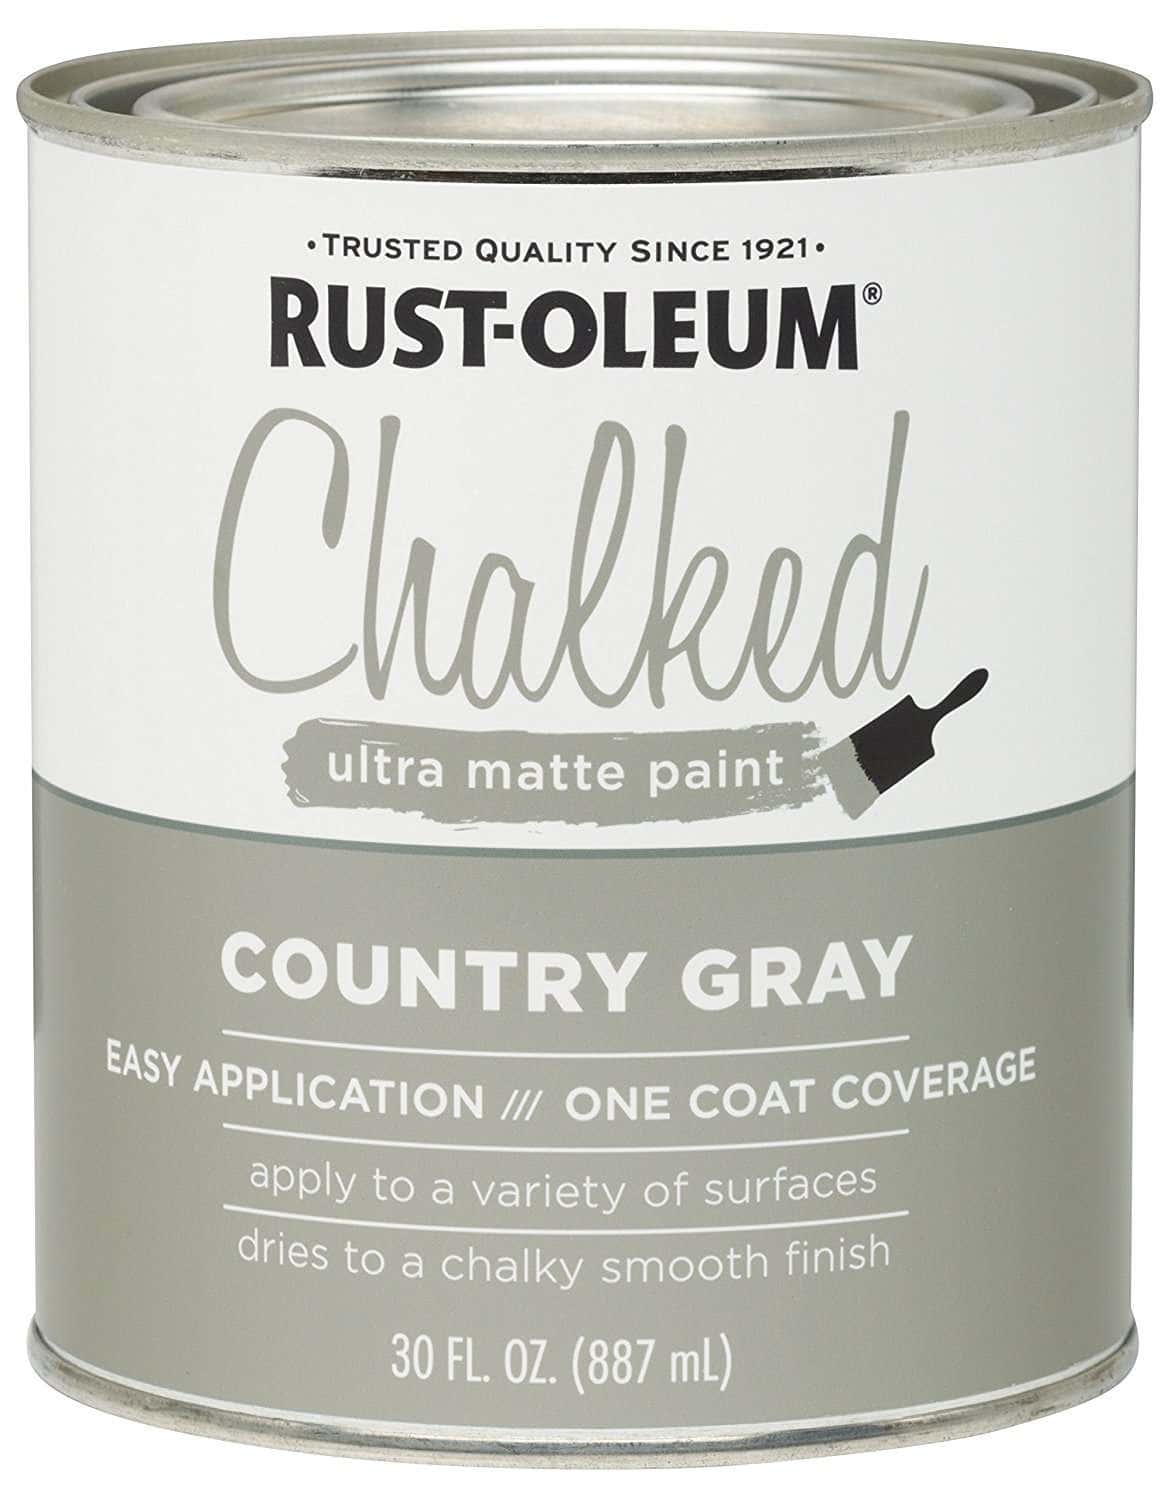
So as you can see the wood is an engineered cherry wood finish. I did not want to sand this, hence the chalk paint. So I took the bed apart, with the help of my handsome hubby, and set up shop in the garage. On my card tables. Because isn’t that how all handy DIYers do it? 😉
I was highly doubtful that it would only require one coat to get the coverage that I needed. Rarely does it only take one coat when it comes to painting.
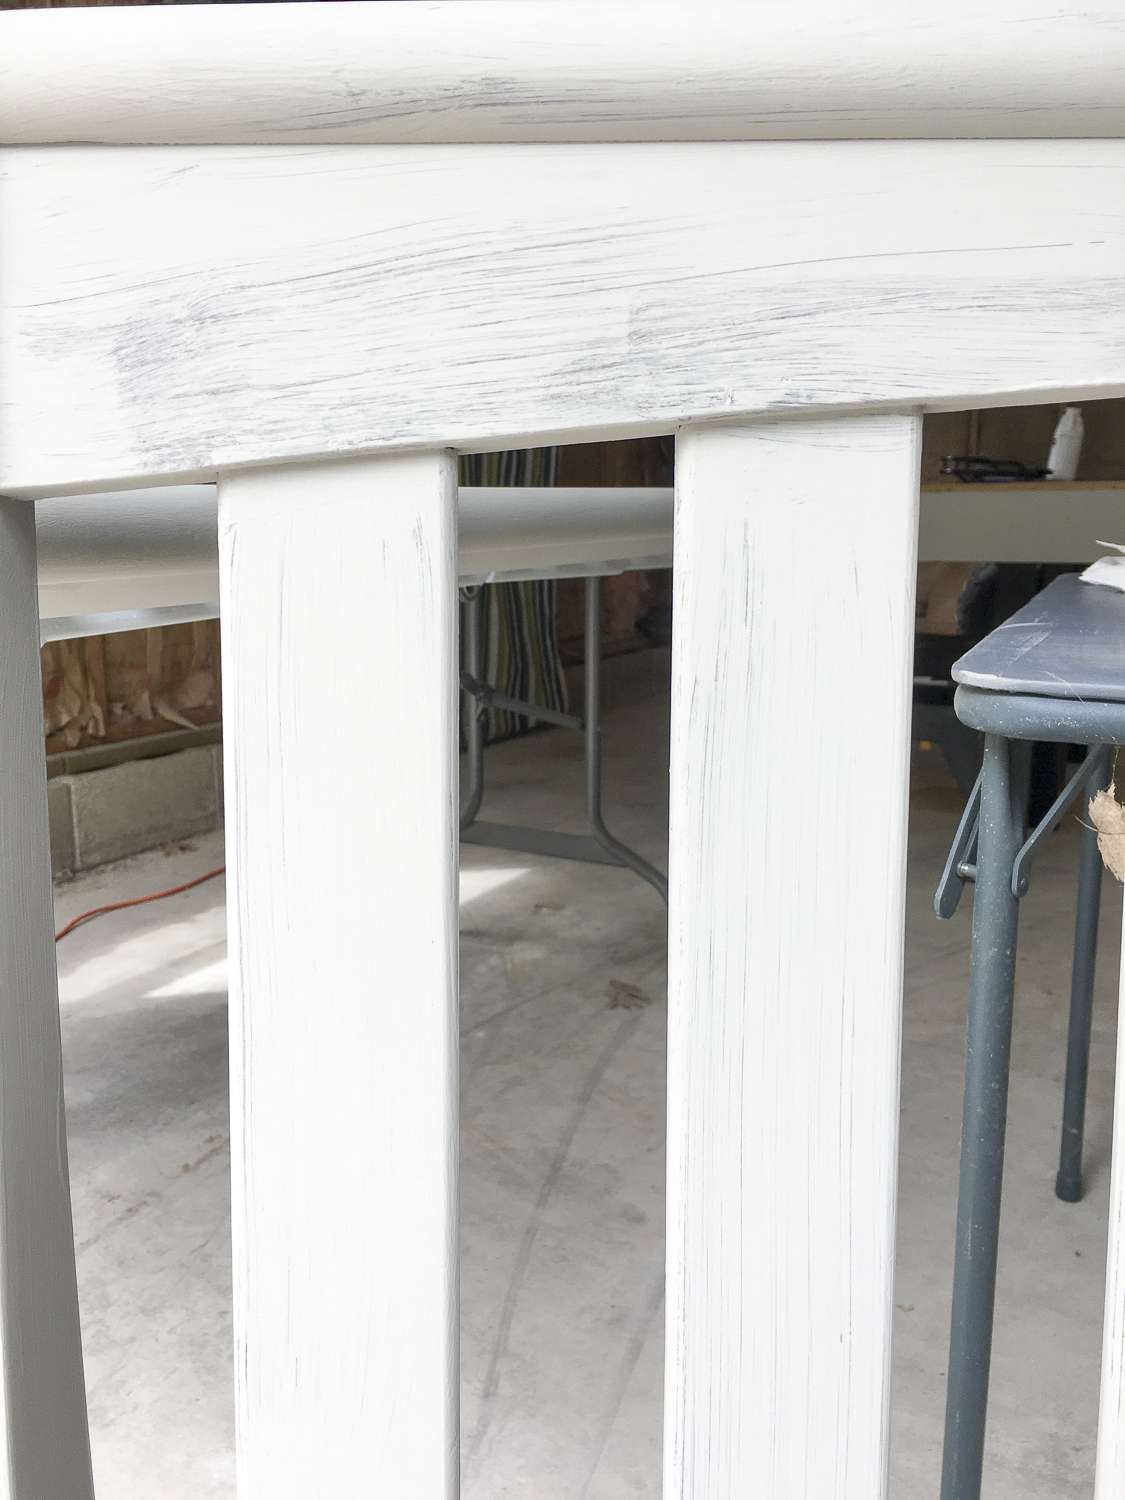
Above you can see the coverage after one coat. Now there are certain projects where a person may want a distressed look. If that is what I was going for then I could have stopped here and strategically sanded down areas to give it that look.
But I have a feeling my son is going to distress this all on his own with everyday use. 🙂 So I wanted to give it a little more durability with a second coat.
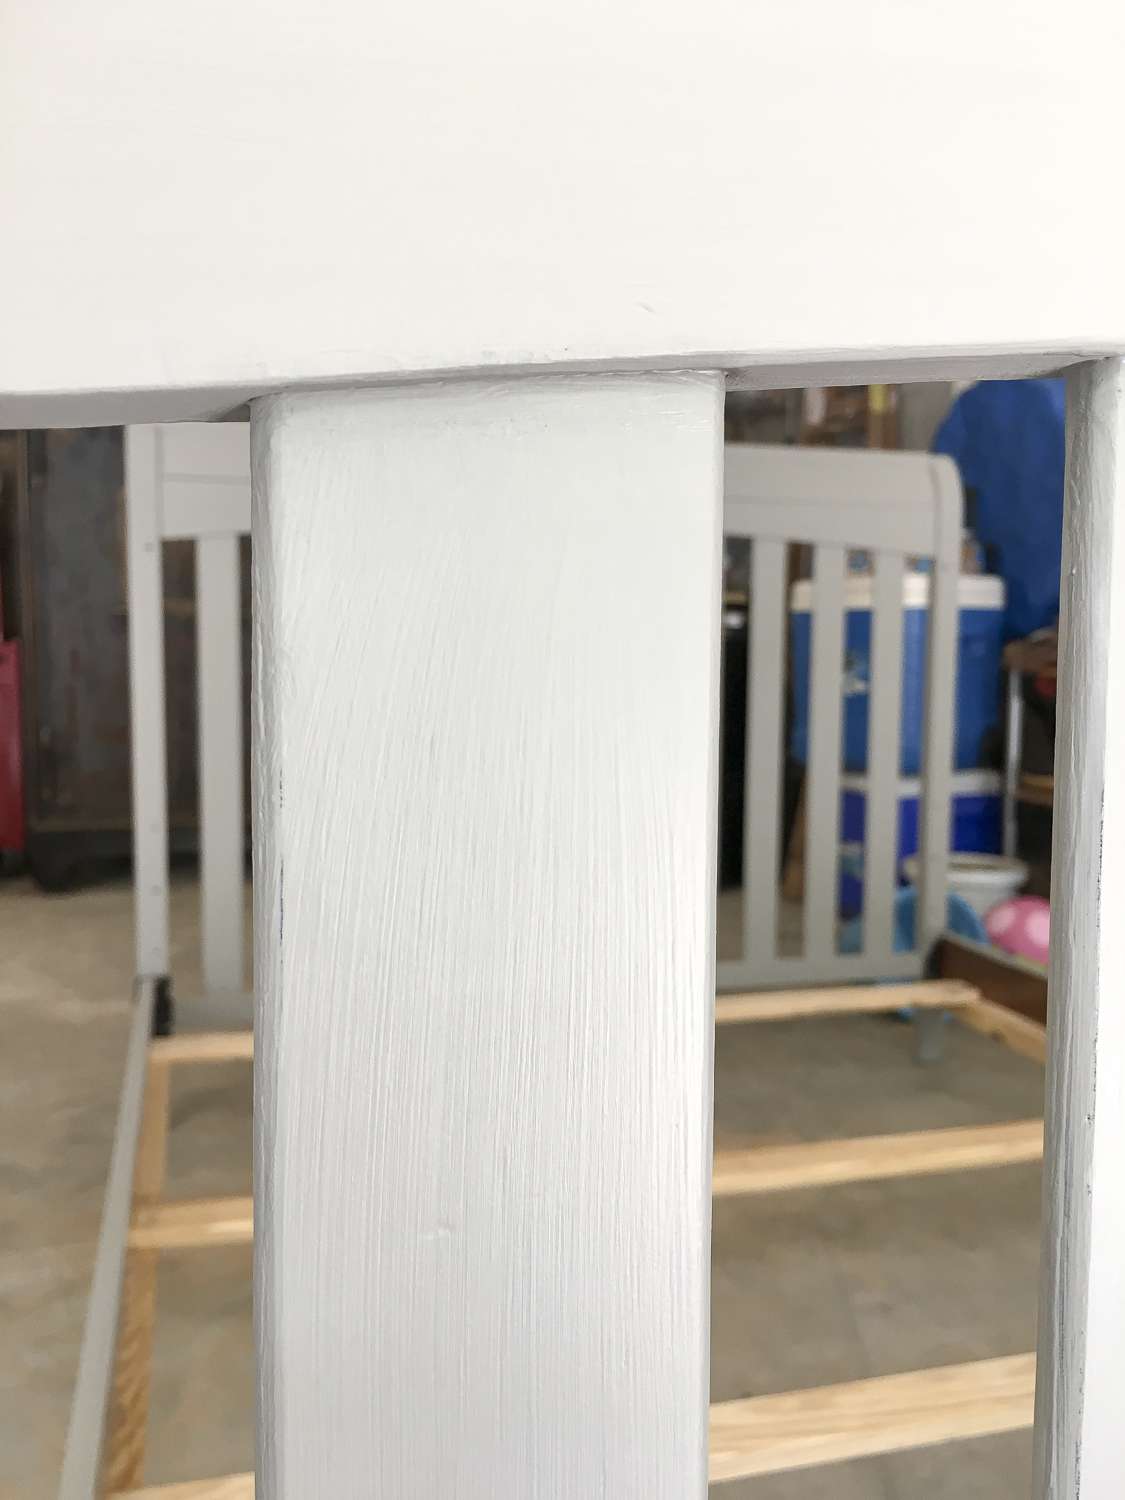
As you can see, after the second coat there were some spots that rubbed off. But I personally think that is because I was impatient and should have given it another hour to dry. Plus, I didn’t mind the few areas that rubbed, so I moved forward with the finish coat.
This is where I wavered on what to do. I really didn’t want to do another two coats of a top-coat. Because: Impatient. But I asked around on Instagram to some of my fabulous DIY friends and they assured me I would regret it if I didn’t.
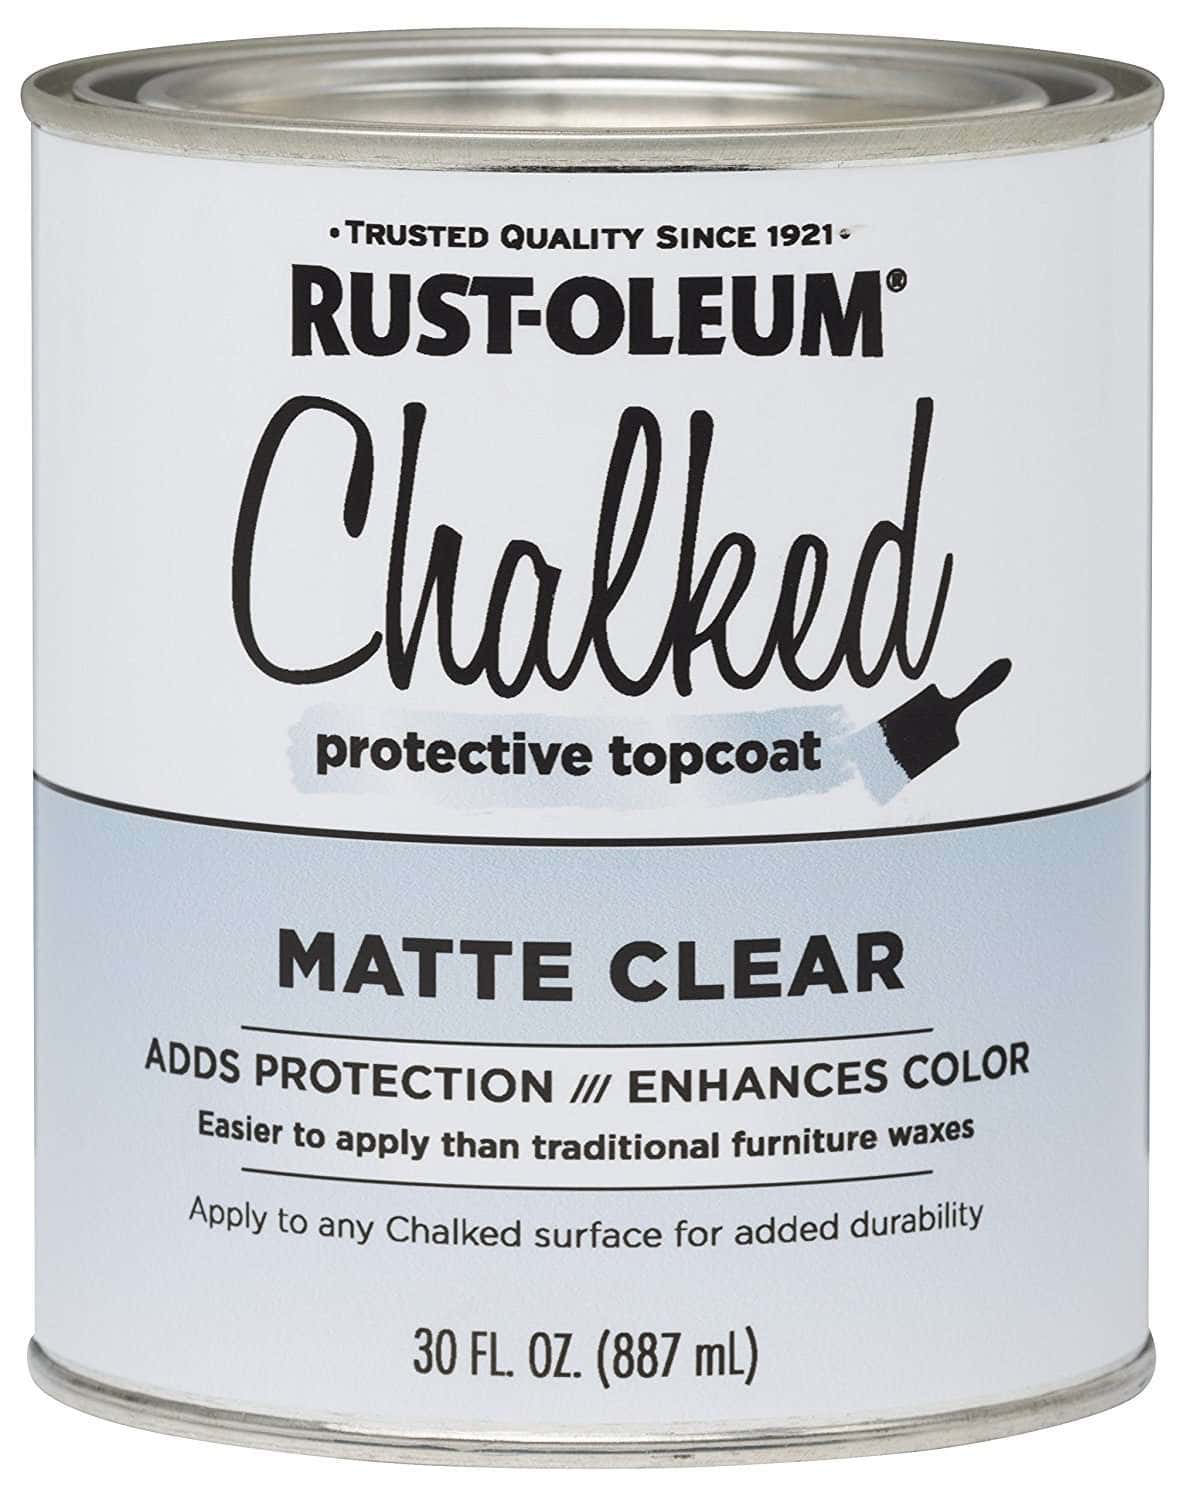
So I used Rustoleum Ultra Matte Chalked Top Coat. I added two coats of this for extra durability.
Rustoleum Chalk Paint Pros & Cons
And here is how I feel about the products I used. (Note: I’m not getting paid to review these. I didn’t get them for free and am not partnering with Rustoleum in any way. I just wanted to share my experience with you in case you’re also looking for a cheaper chalk paint option!)
PROS
- Much cheaper than many other chalk paint options.
- Sold in many stores and not hard to obtain. (I found mine in our local grocery store!)
- Did stick VERY well on un-sanded furniture. And the angels rejoice!!
- Only took two coats to cover a dark stain, whereas latex paint most likely would have taken three.
- Leaves a nice finish that is not streaky with brush strokes.
- Has a matte finish, which you typically want in furniture.
- Cleans up well with water.
- Easily sands for distressing if you prefer that shabby chic look.
CONS
- Did not cover in one coat. But really, I didn’t expect it to.
- Limited color options. This is not tintable so what the can shows is what you get!
- You HAVE to do a top coat to ensure the durability of the paint. And most likely two top coats.
- Top coat is runny and can leave drip marks easily if you aren’t watching it closely.
So there you have it! My take on this brand of chalk paint. And now, drumroll please…..
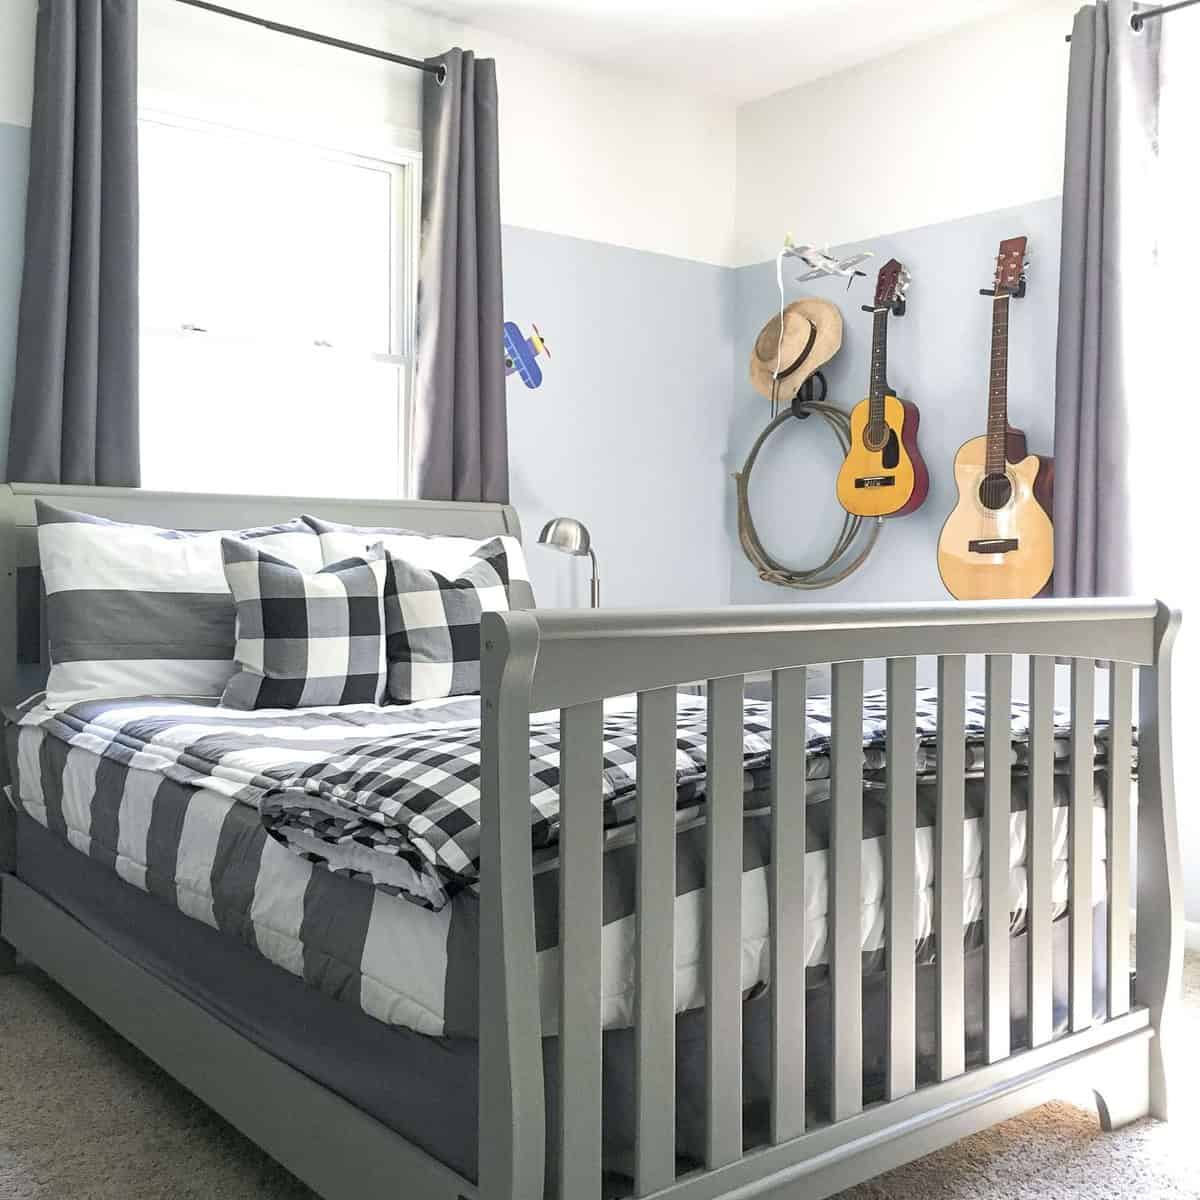
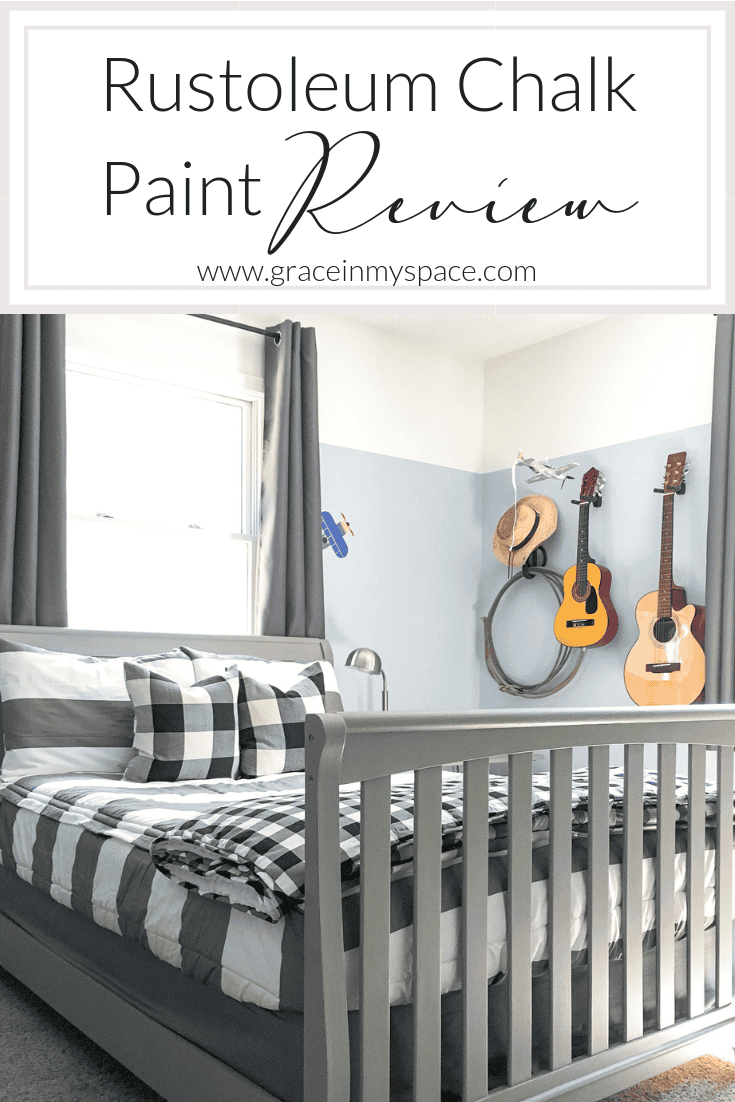
Ta-da!! This is a little sneak peek of my son’s revamped room!! I LOVE how bright and airy it feels, even though I didn’t paint the walls. Removing all the dark furniture brightened it up so much.
And on my next post, I’ll be sharing the full reveal. Including how I accomplished goal #1 and #3 above. And here’s a little hint, this gorgeous bedding has something to do with it. 😉
{UPDATED 9/2019: Two years later, this paint has held up superbly to daily hard use from a rambunctious boy! It still looks as crisp and clean as it did on day one!}
Be blessed friends! Until next time,
Sarah
{Each day of our lives we make deposits in the memory banks of our children. – Charles R. Swindoll}


Excellent job Momma!!! Just love it! I’ll be using this paint to redo my kitchen nook! Blessings
Did you sand the furniture or prep it in any way before painting? I am considering painting my bedroom set and REALLY want it to be as easy as possible. I’d rather not sand if I don’t have to!
With chalk paint you shouldn’t need to sand. But if you have a super glossy finish then sanding or deglossing is always a good idea!
Hi there. What kind of top coat did you use on the country gray chalkpaint?
I used the rustoleum chalk paint sealer.
I have read that the top coat can turn the whites yellow, have you had any experience with this?
Some top coats do that, for sure! I didn’t have any yellowing with this top coat.
How many cans of each paint did you need for this bed? My daughter has my son’s hand me down crib now converted to a full size (same bed as yours)! I want to chalk it up to make it more girly and modern.