Barnwood Wall Update
Hello blog buddies! Today I’m sharing the first project in our basement remodel. Come see how I took a rustic barnwood wall and transformed it into a more modern accent in our basement remodel for less than $40!
If you missed the announcement, we started a basement remodel and you can see all the plans {here}. What was supposed to be a simple flooring update quickly spiraled into a complete remodel. You know how that goes. 😉 Today I’m sharing how I updated an existing rustic barnwood wall for less than $40!
This post may contain affiliate links where I earn a small commission on your purchases at no additional cost to you.
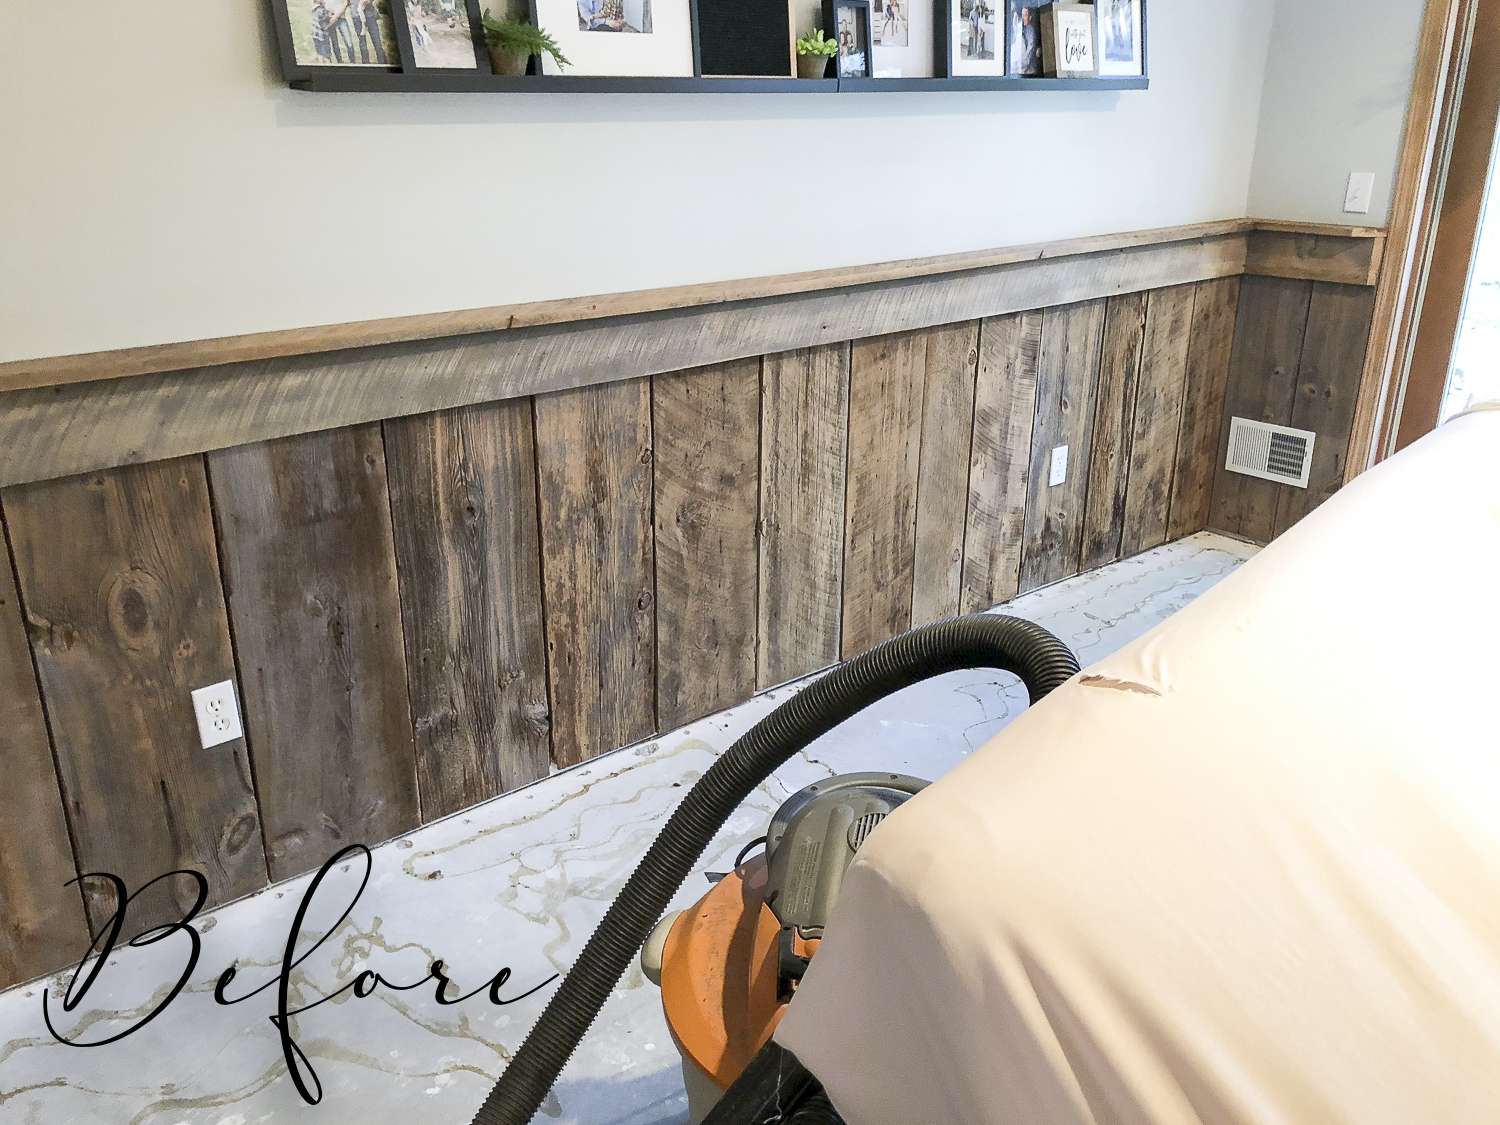
Barnwood Wall | Before
Let’s take a look at how this space looked before I worked some magic. This barnwood wall wasn’t a bad design at all! It was simply not to my taste. So many of my Instagram friends lamented over the fact that I was updating this barnwood, and I get it! Weathered barnwood is tough to come by if you love the look. I just wasn’t feeling it in this space.
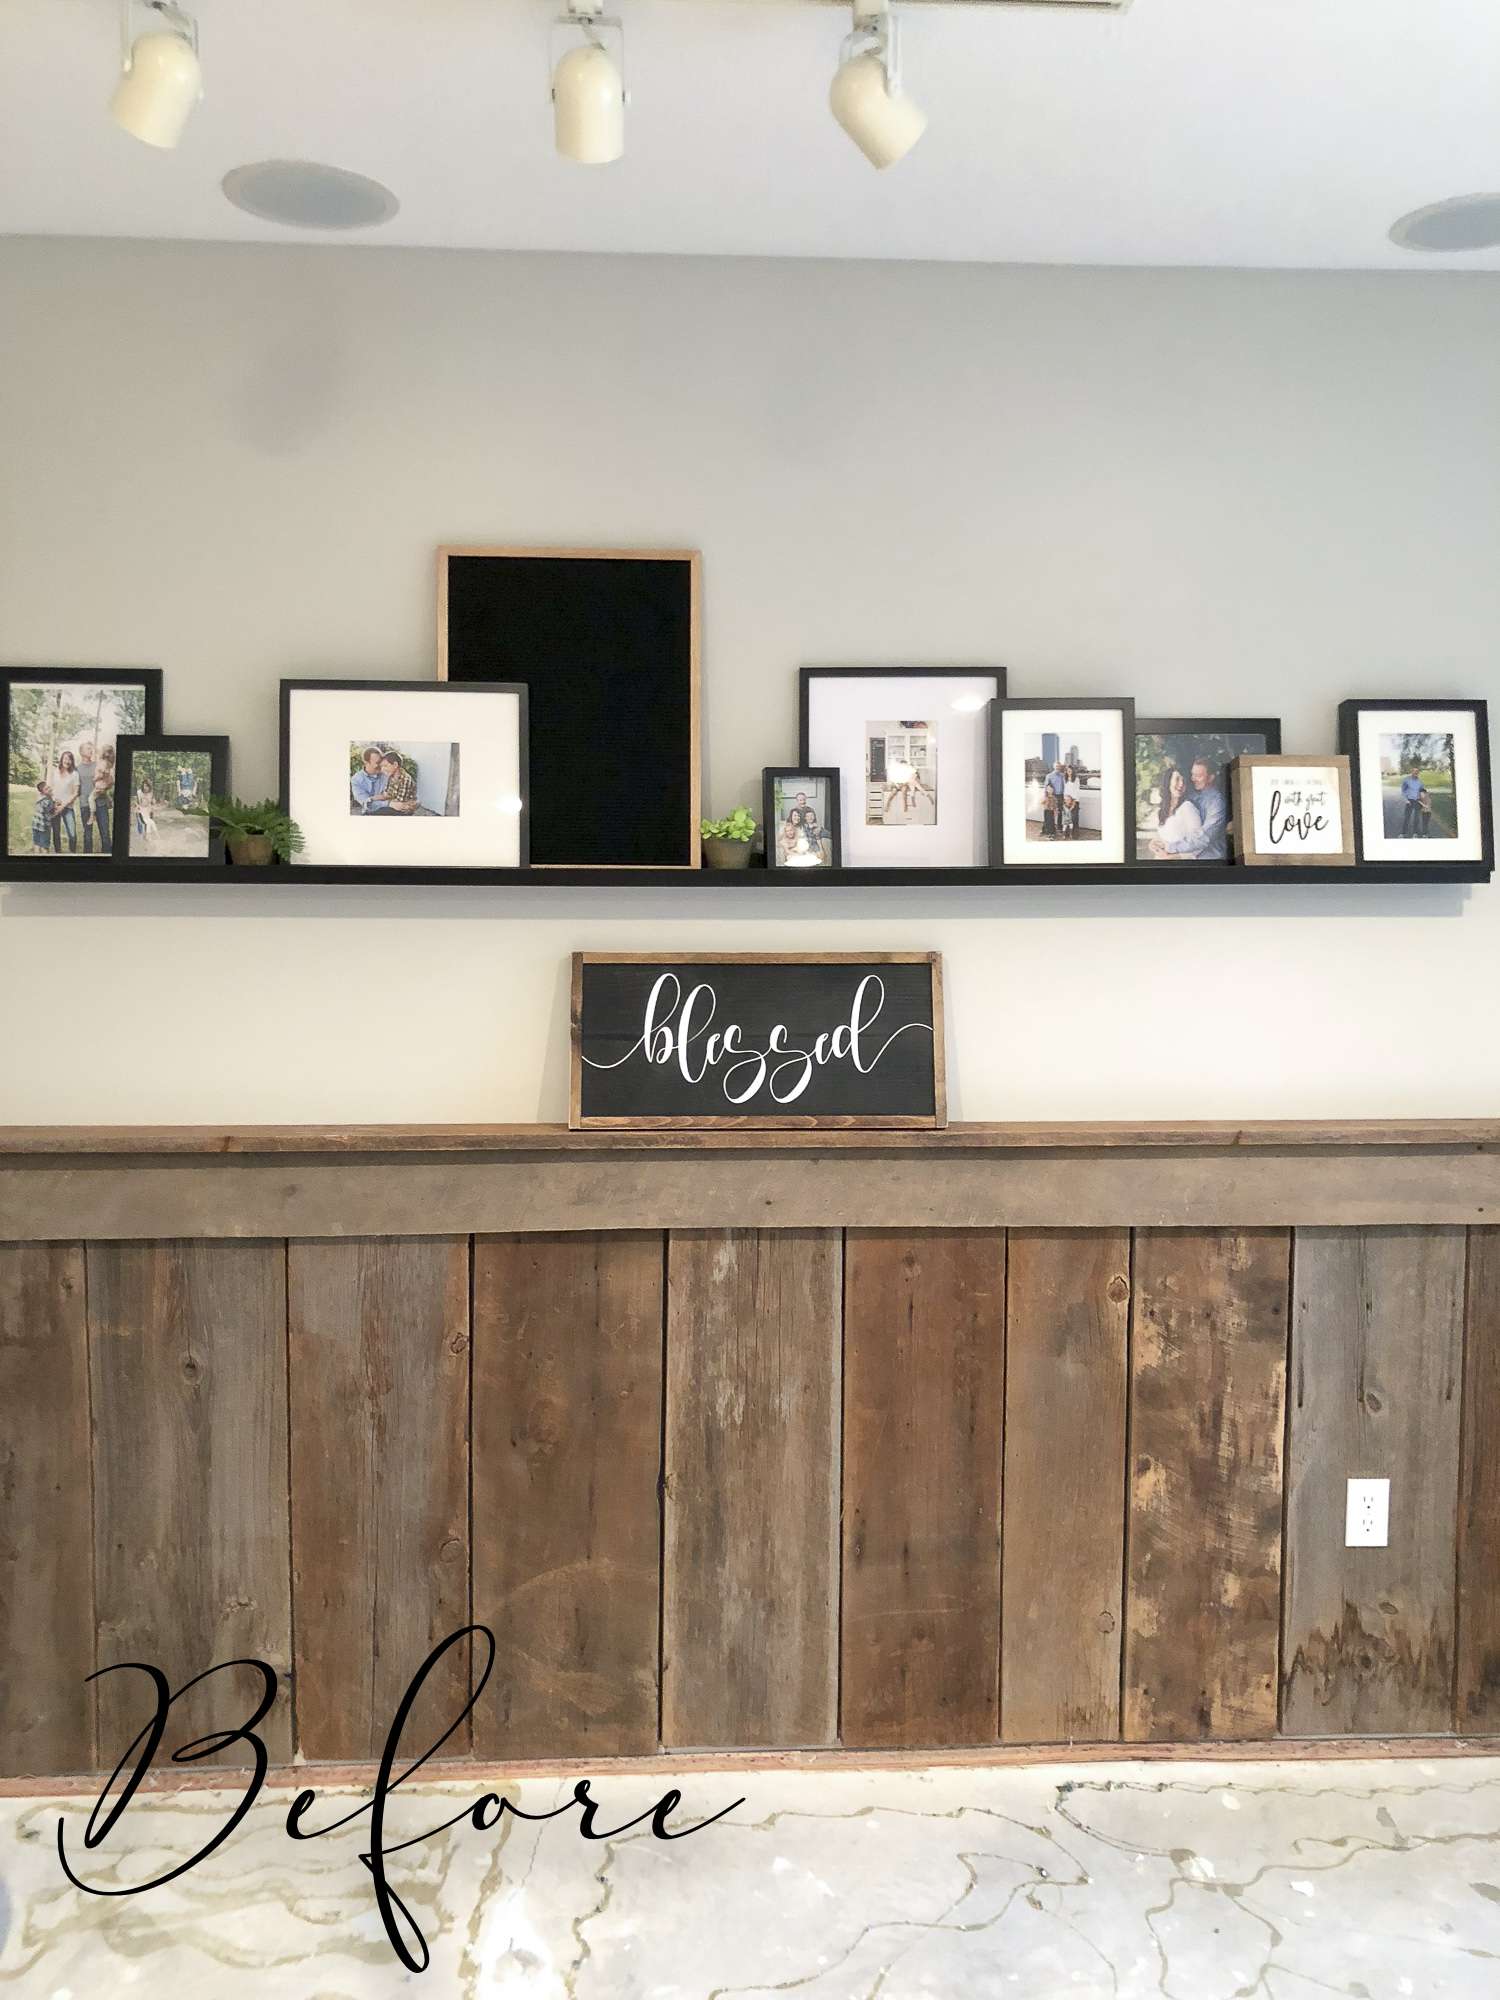
While writing my book, Designing a Life: From House to Haven, I came to a few realizations about my own home. One of them was that I would often settle for something that looked “ok” just because other people love it. But guess what my friend!? I live here. And I have to see my rustic barnwood each day. 😉
While barnwood accents do not bother me in other people’s homes, it just doesn’t make me “stop and stare” in my own space. So I decided to update it!
Long term, I would really like to do a modern board and batten on this wall. However, for my time, budget, and energy levels at this moment of life, paint will have to do the trick! So let’s get started. I’m going to show you exactly what I did to take this barnwood from rustic to modern{-ish}.
Barnwood Wall Update | Tutorial
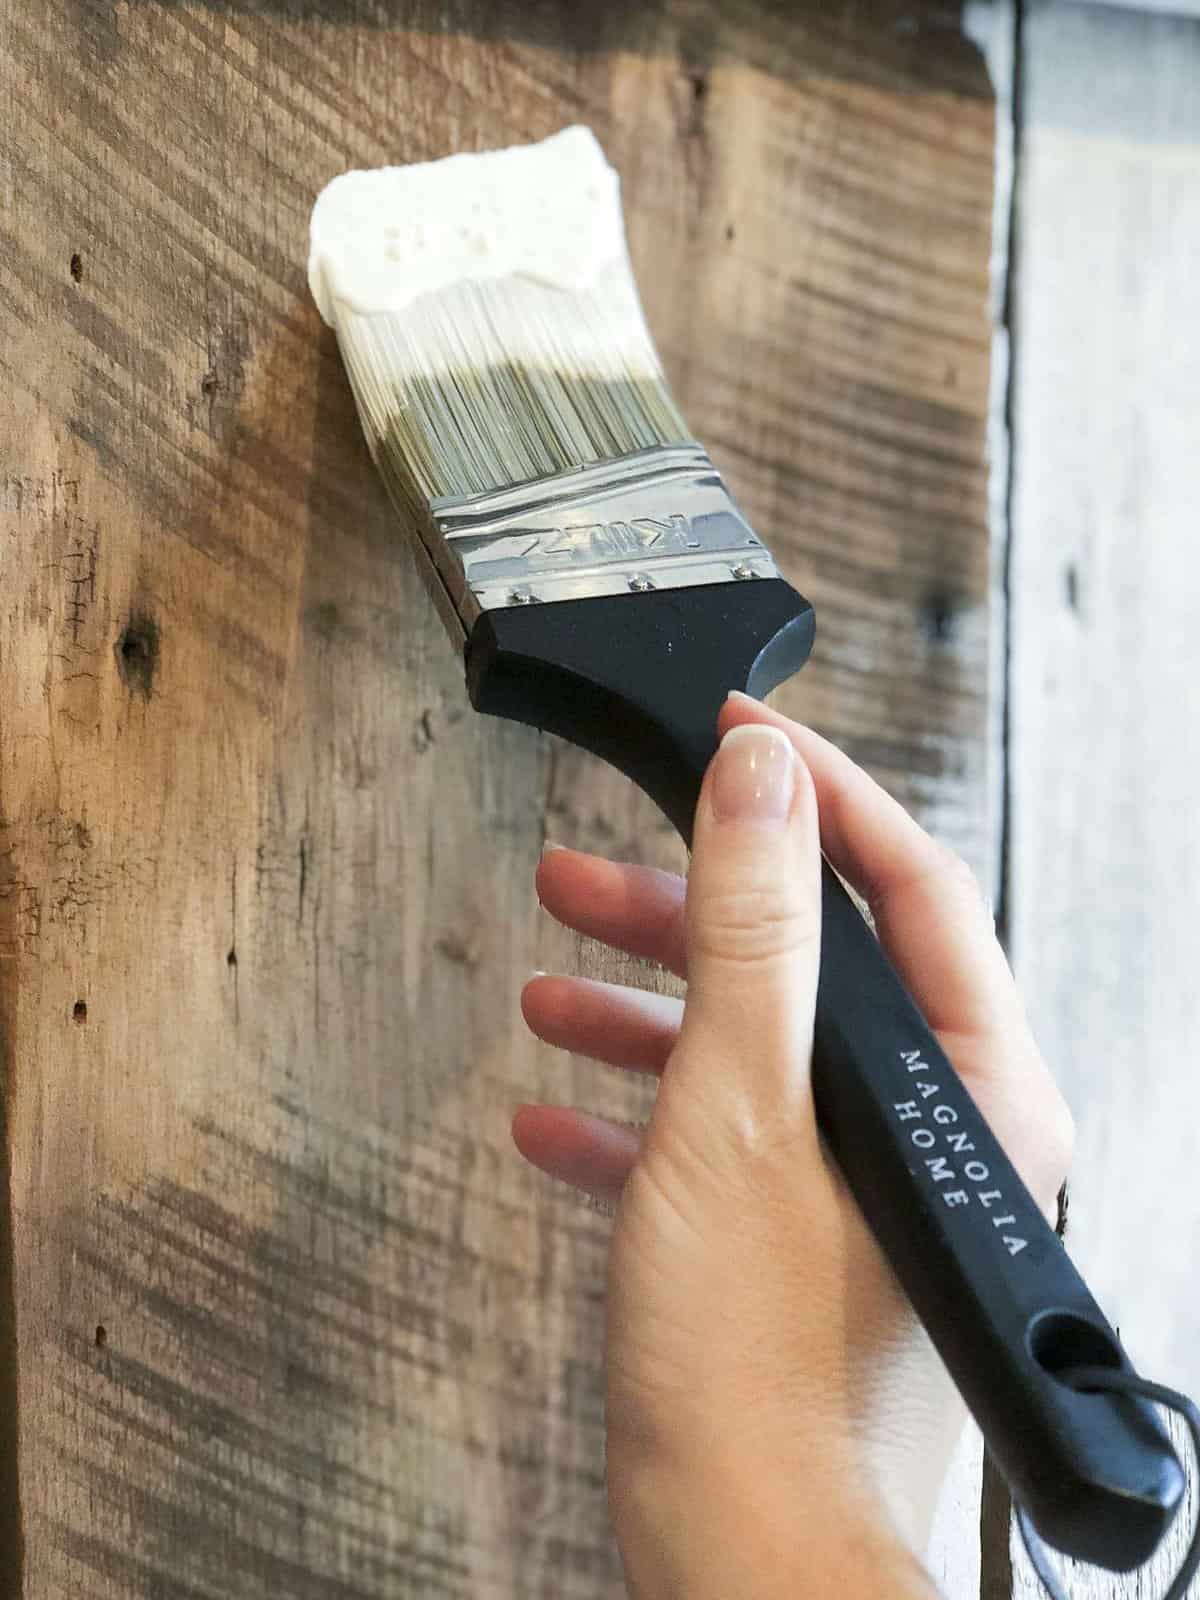
Sand
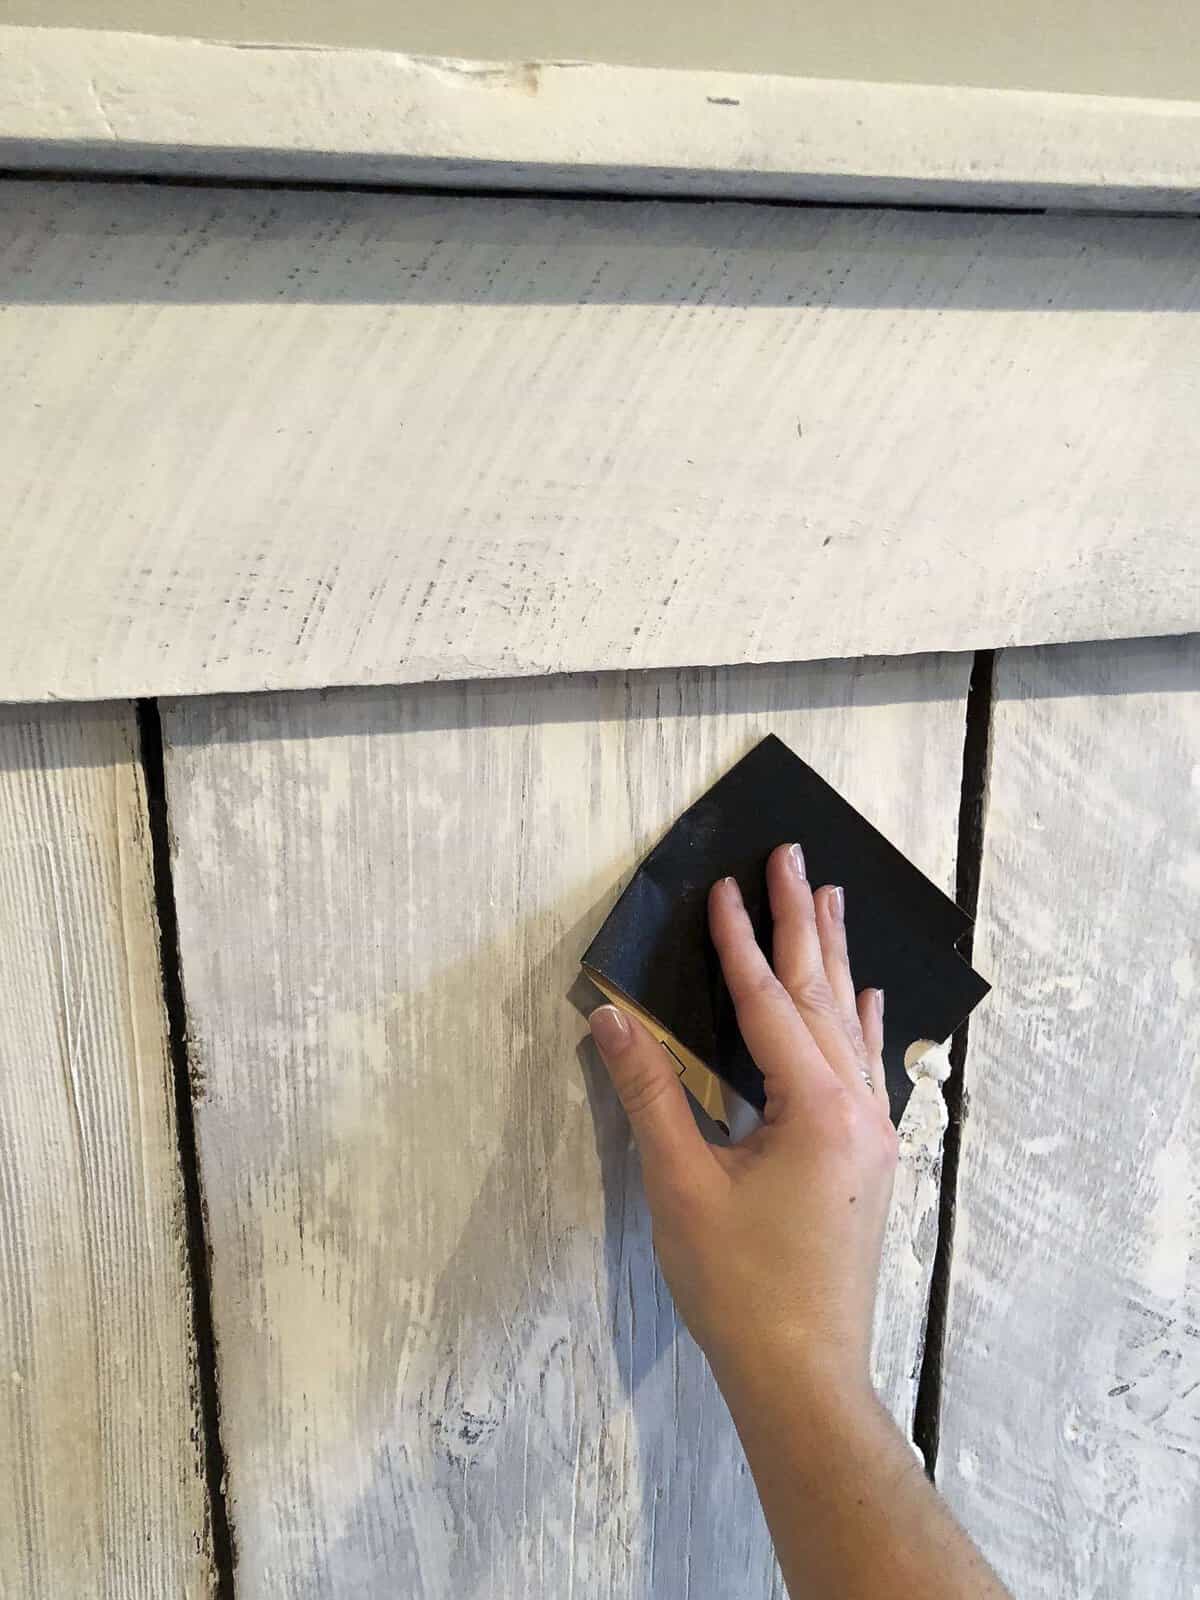
First things first, I sanded all the boards. My intent was to smooth out the roughness to modernize the wood. It did help, but it didn’t do the trick completely. So I attempted to prime the boards to see what would happen. Guess what? It looked really bad. Sometimes DIYs just don’t work out how you hope.
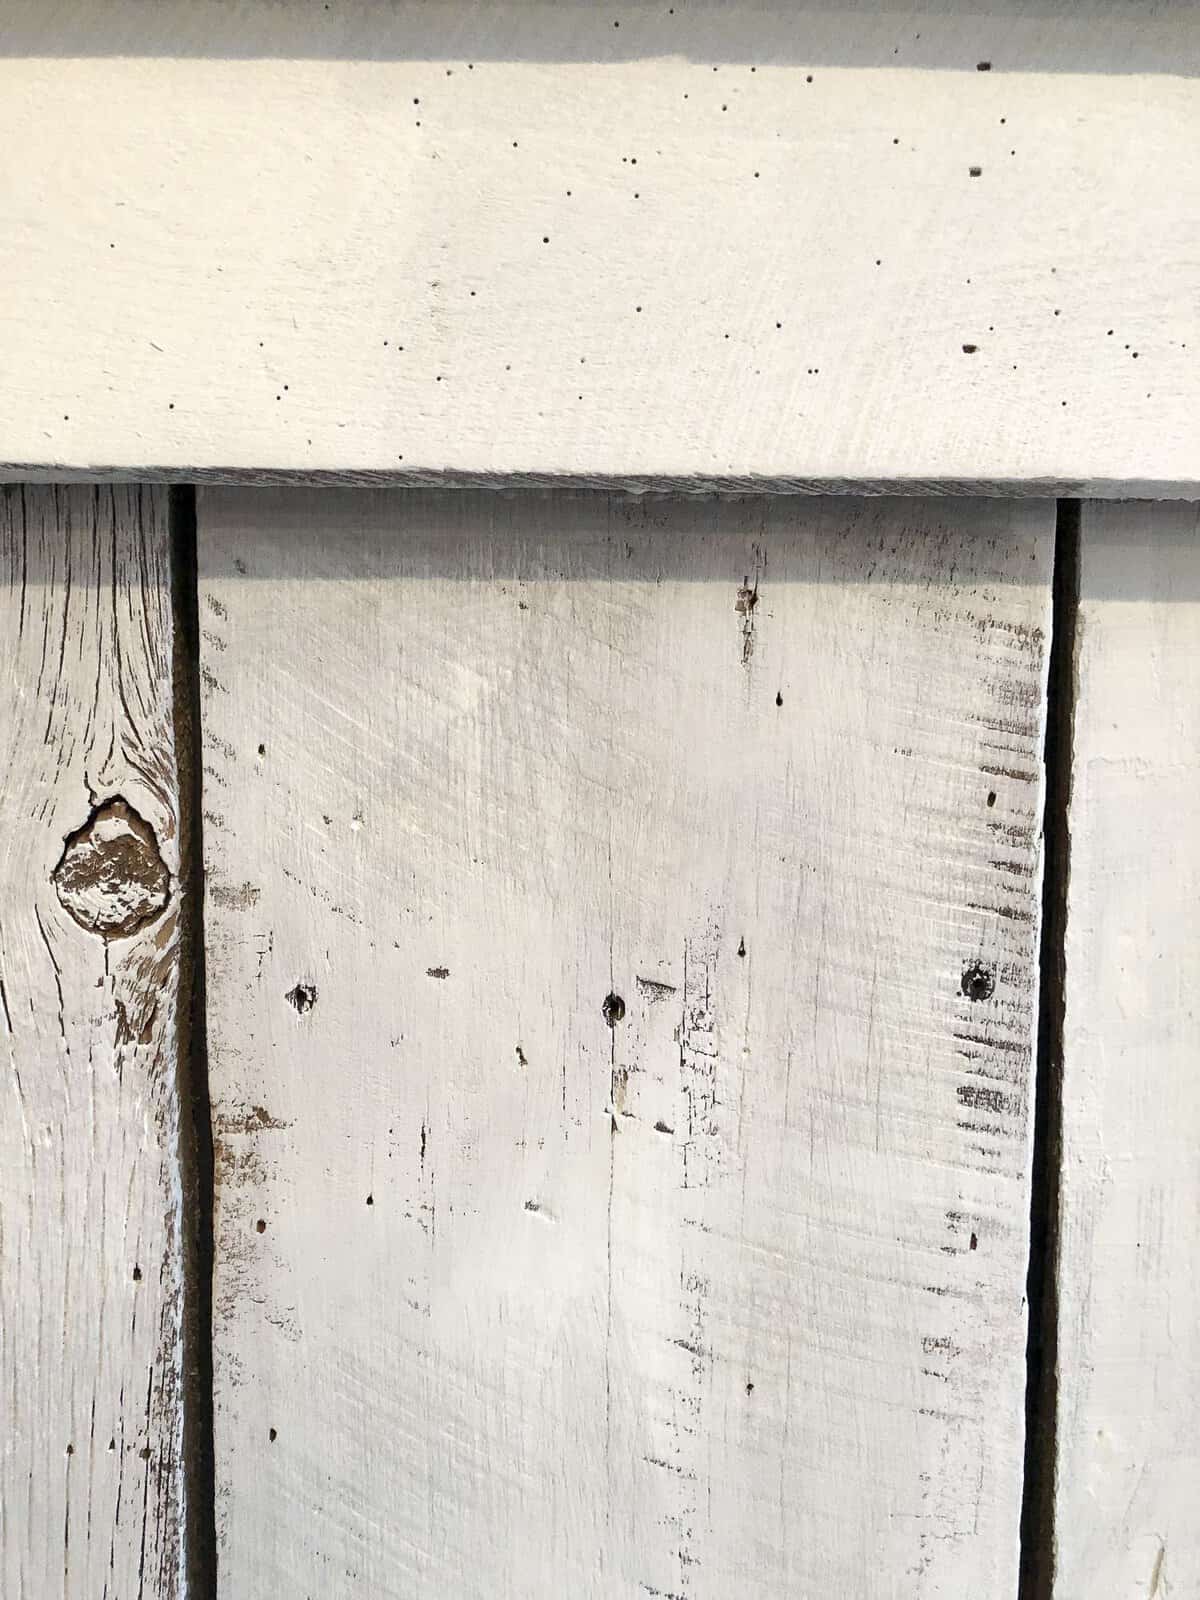
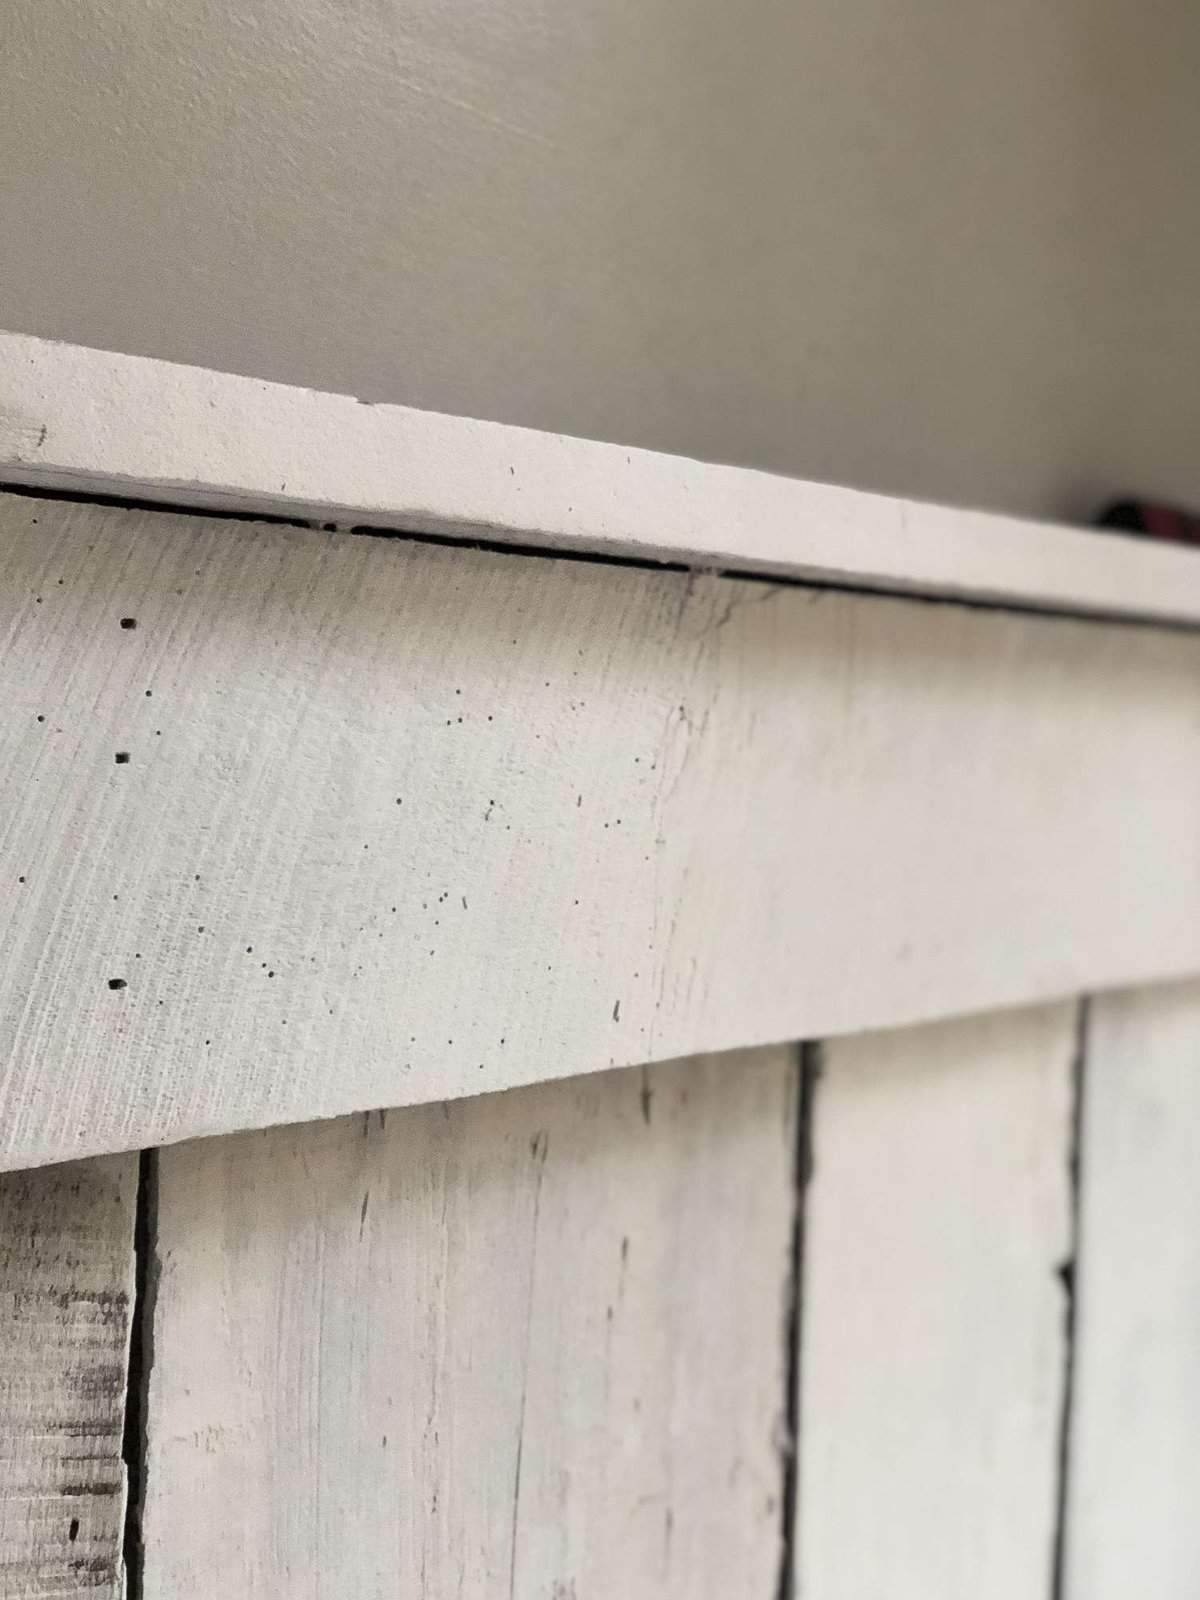
Painting directly onto the wood only emphasized every single nail hole, knot, and wood grain. It took my slightly rustic looking boards and made them look even more drastically rustic. That was the exact opposite of what I was trying to do. Boo.
Spackle
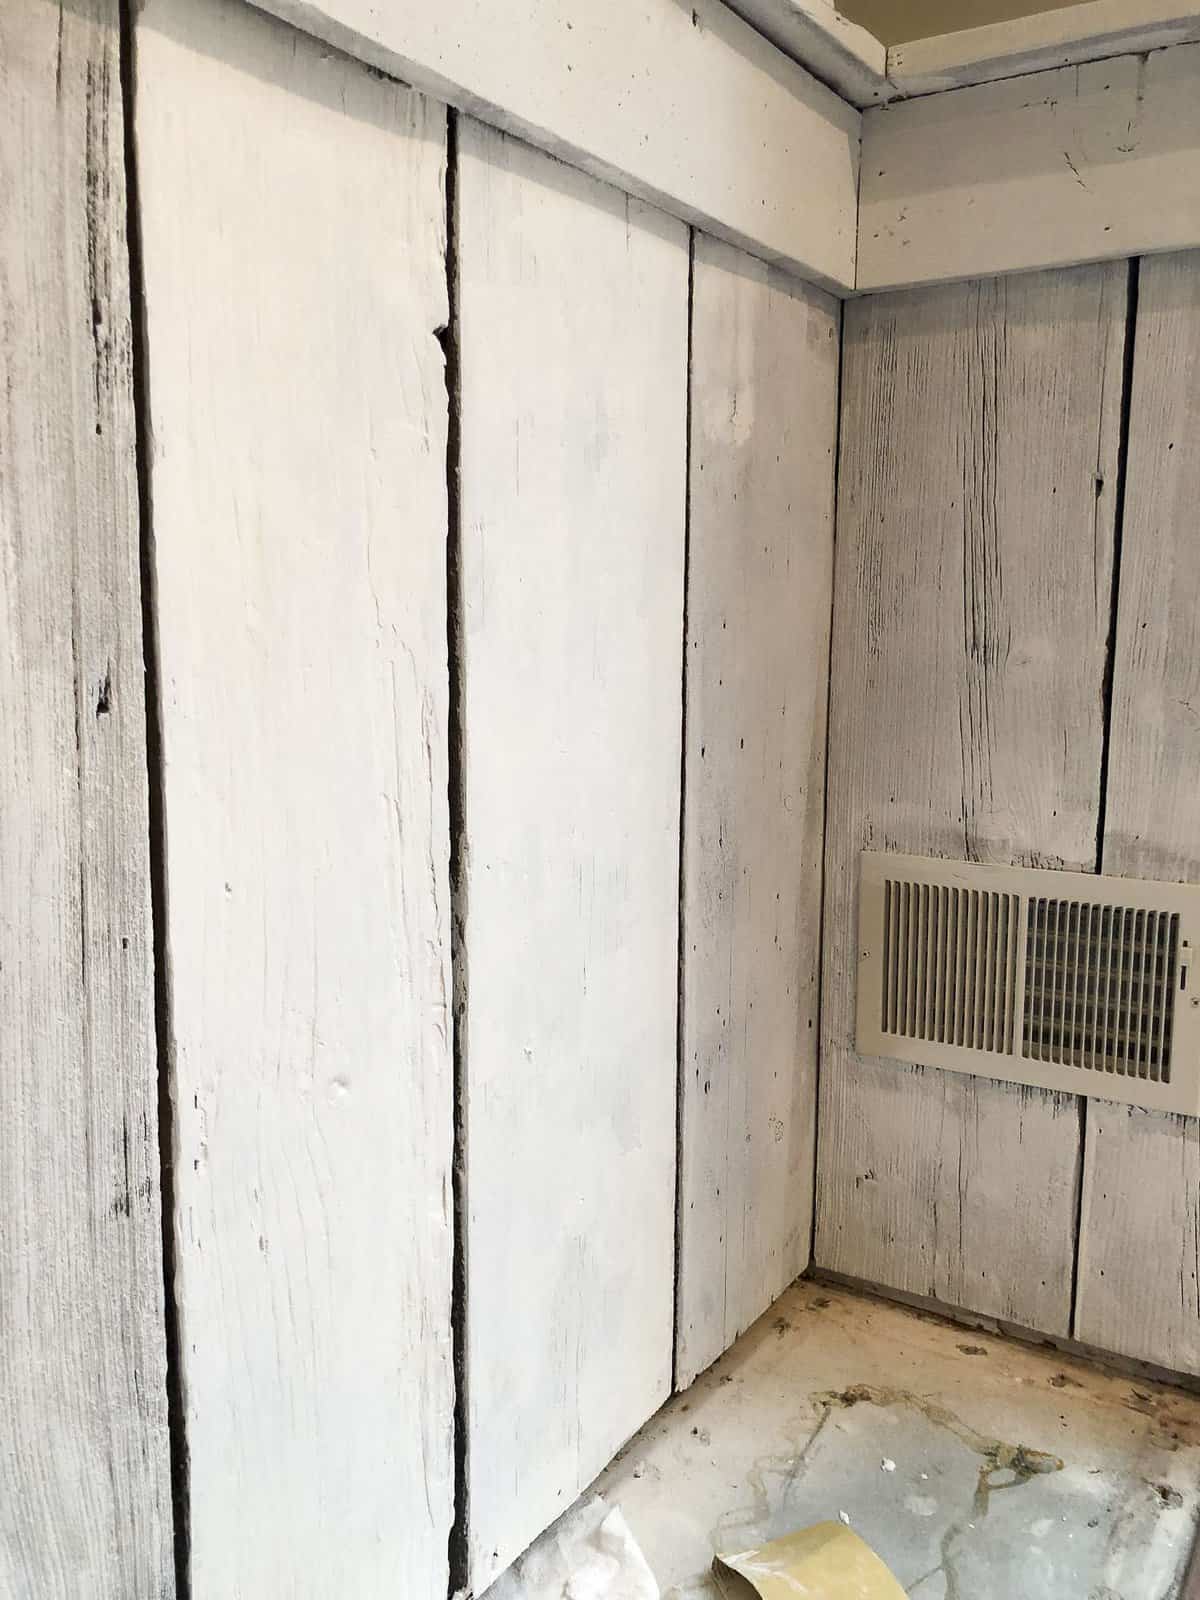
So, I tried to spackle the barnwood! My thought process was that if I can use spackle on drywall to fill nail holes and divots, then why couldn’t I on wood too?! The below photo shows two boards where I spackled the wood compared to the rest which are just painted. Big difference, right?!
Let me tell ya what though, folks. I shared this process on my Instagram stories and people have very strong opinions about using the right tool for the job.
Spackle is for drywall.
Yes! It certainly is! But guess what? The spackle police didn’t arrest me for using it on barnwood. 😉 I kid, I kid. But really my friends, sometimes in a DIY project I use what I have on hand. And it works! Most of the time.
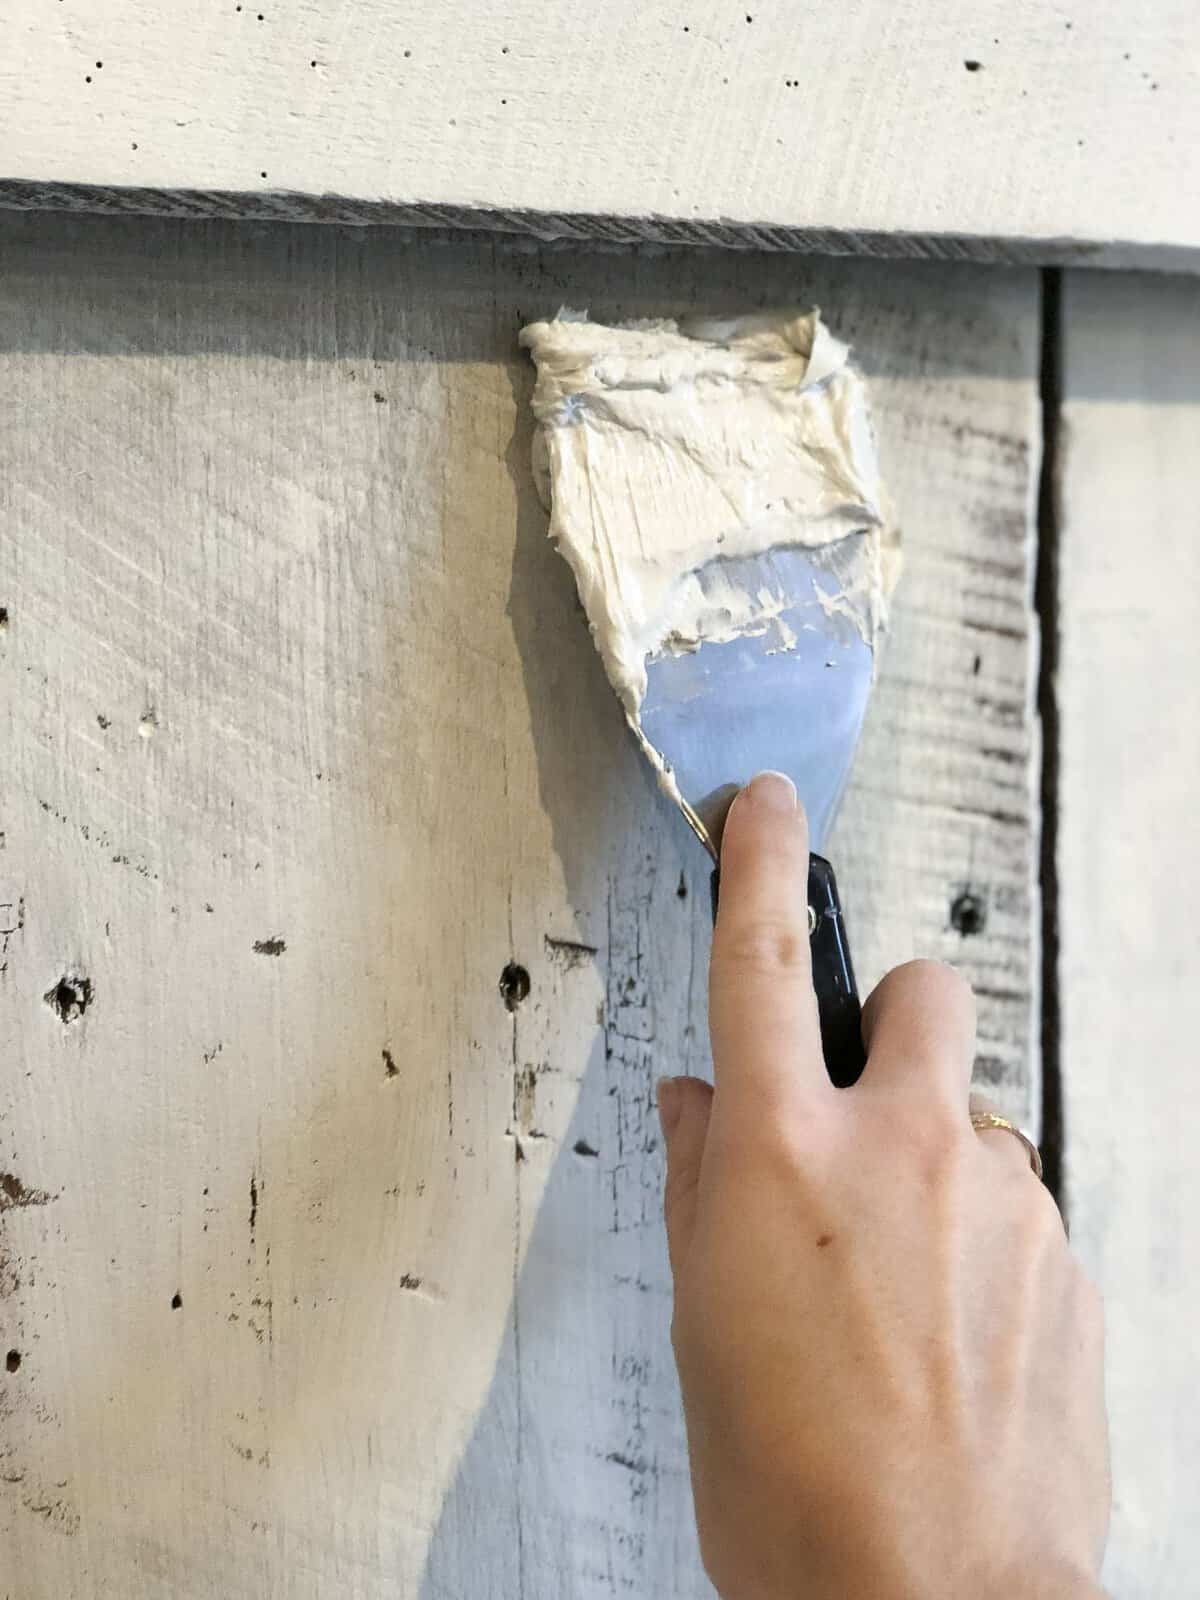
There are certainly better products (my painter recommended Timbermate if you’re interested) I could have used to smooth out the wood grain on my barnwood, but I already had the spackle on hand. Therefore I used what was free.
And that is precisely how I do most of my projects on the cheap. I actually updated this entire wall for $0. However, I’m sharing that it can be done for less than $40 because if you have to buy your own materials it will cost you around that for spackle and paint.
Sand Again
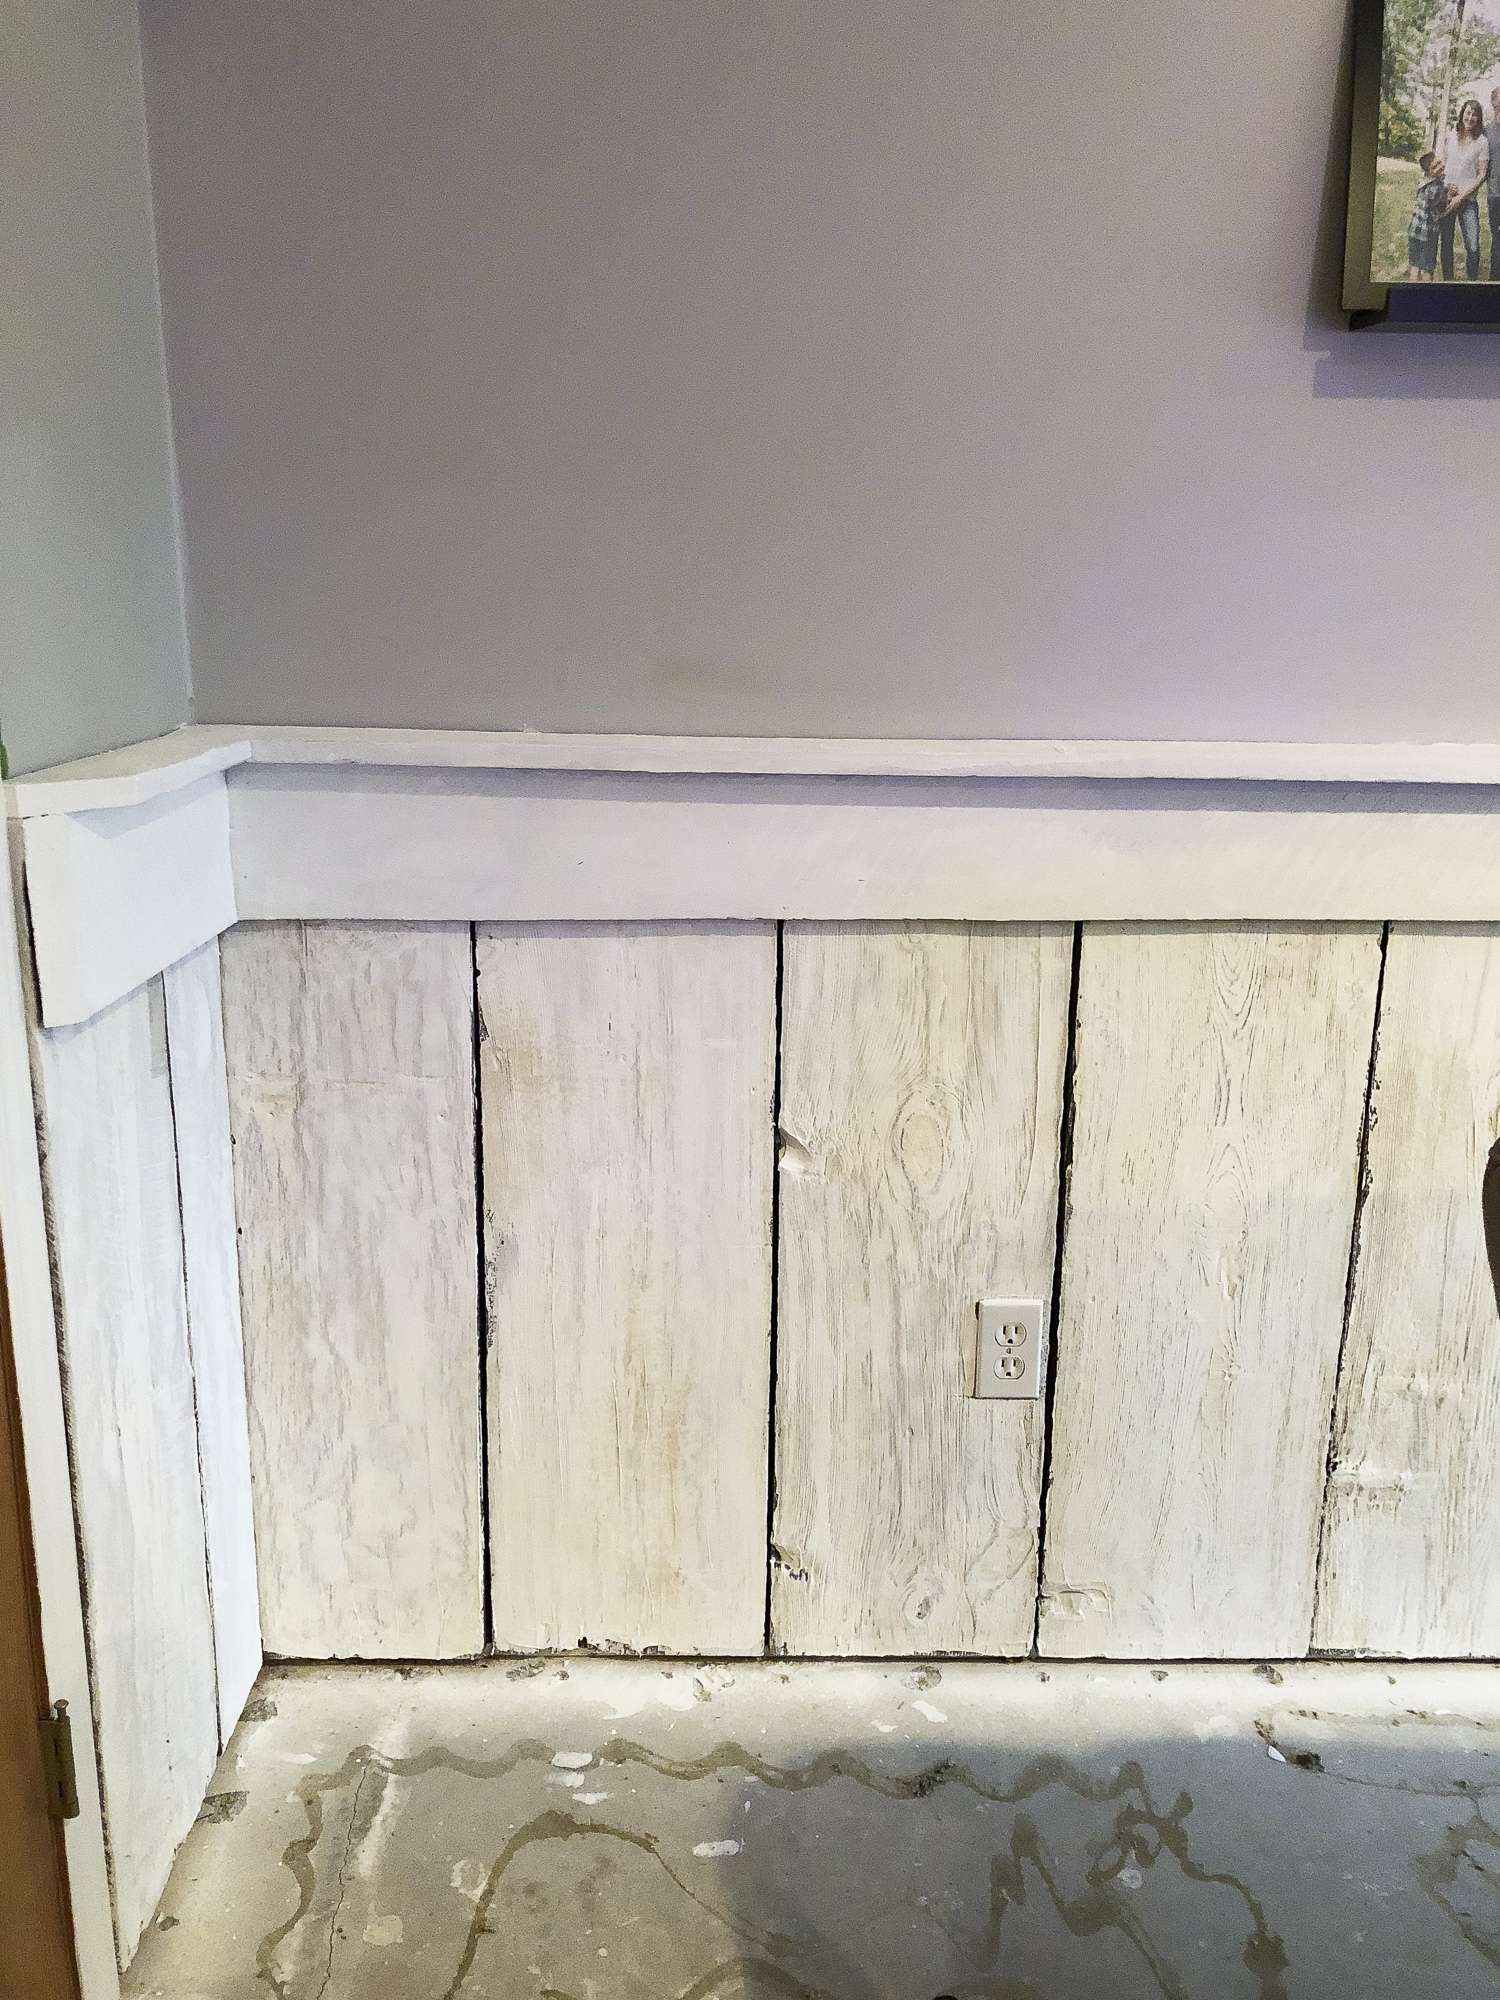
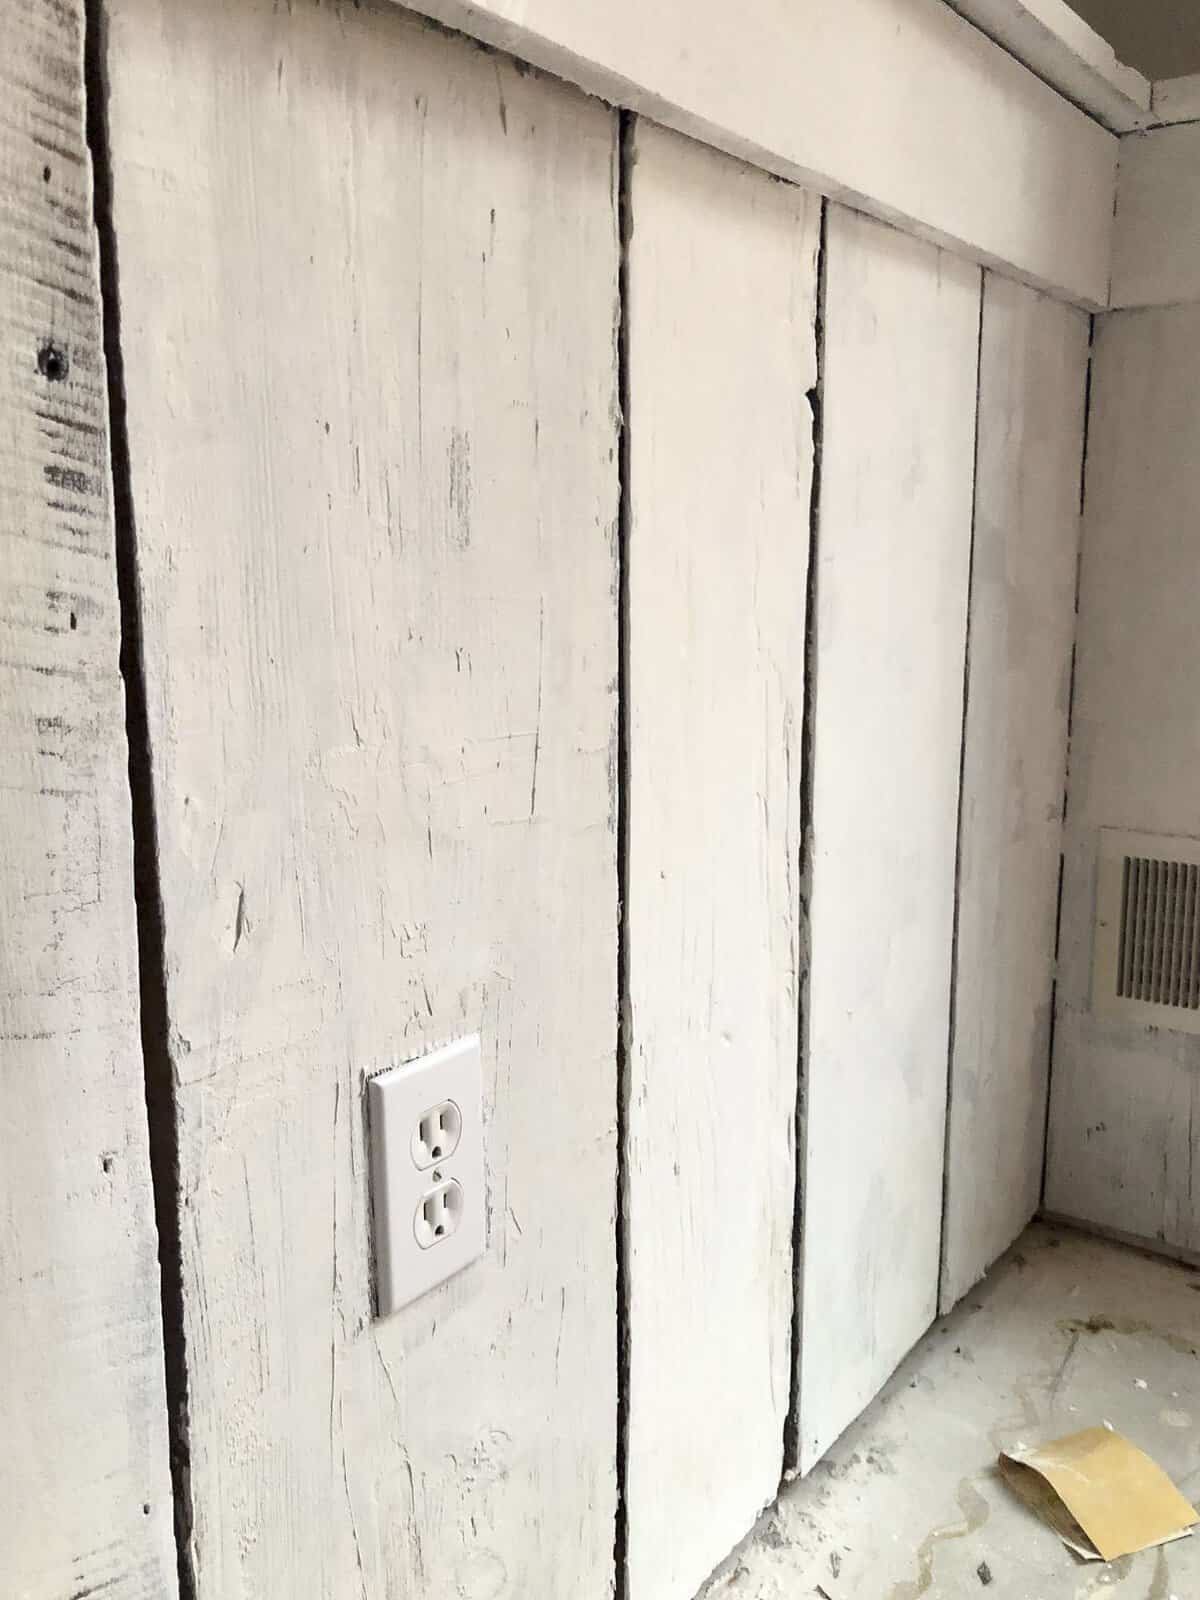
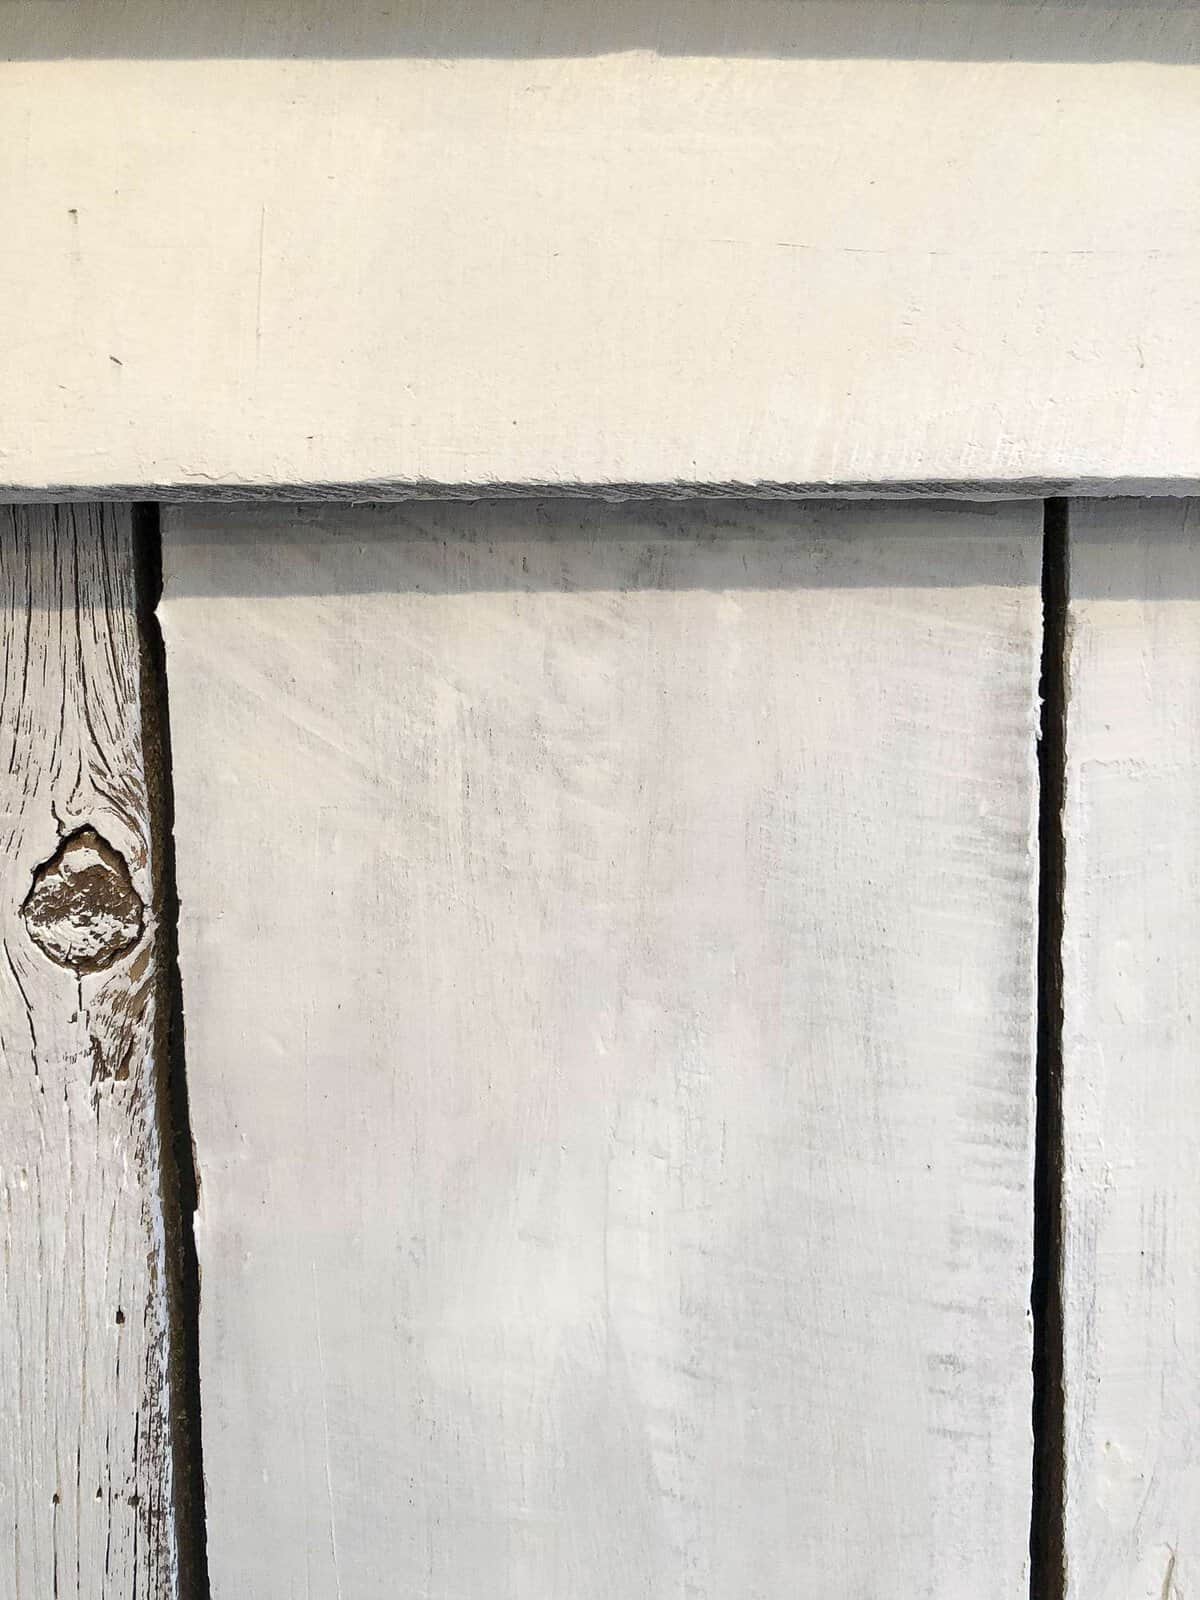
After I spackled every. single. hole. (it got old after awhile) I went back and sanded it all down. Remember, my intention was to modernize this wall, so I wanted it to be as sleek as possible.
Prime & Paint
Once all of the boards were sanded, spackled, and sanded again it was time to prime and paint. I used Kilz oil based primer to keep the tannin from showing through as the first coat.
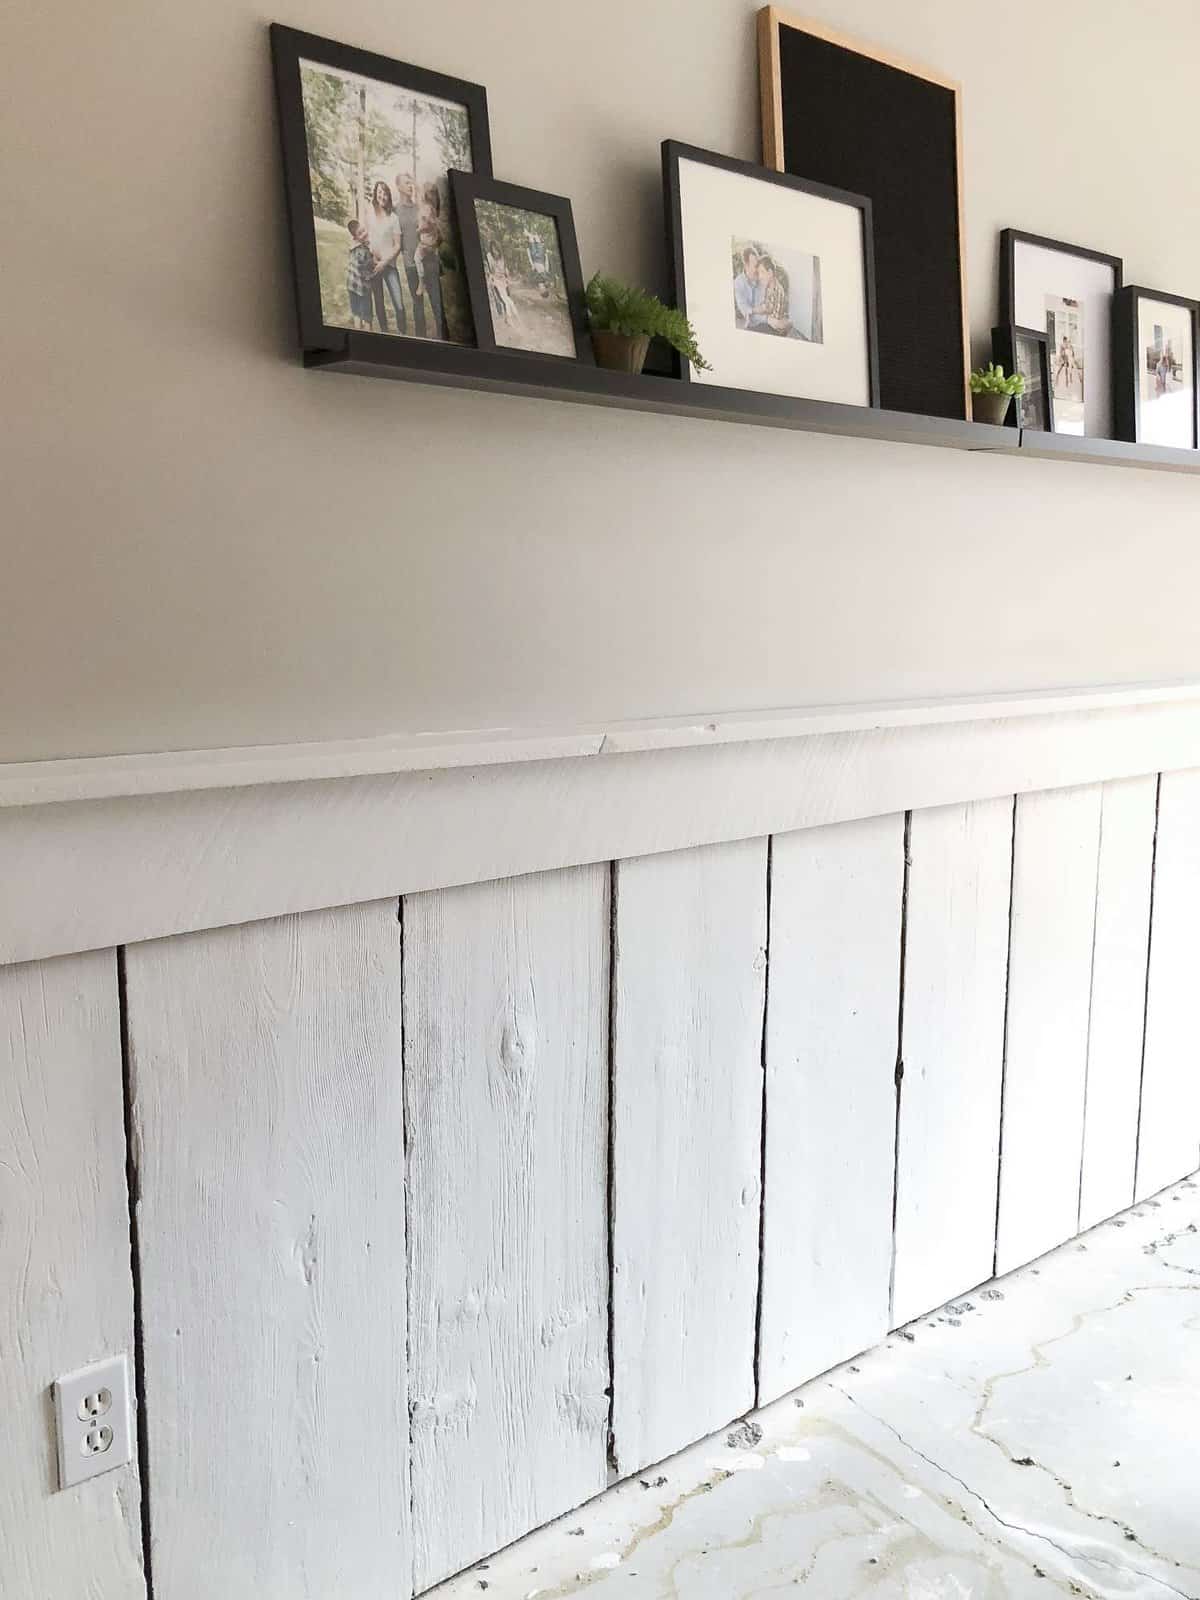
Next, I finished it off with leftover paint from my dining room remodel. And now it’s complete! Is it 100% what I wanted? Nope. Is that ok? Yep.
Sometimes in home ownership it is ok to make something a little bit better until you can make it what you love. Give yourself some grace my friends!
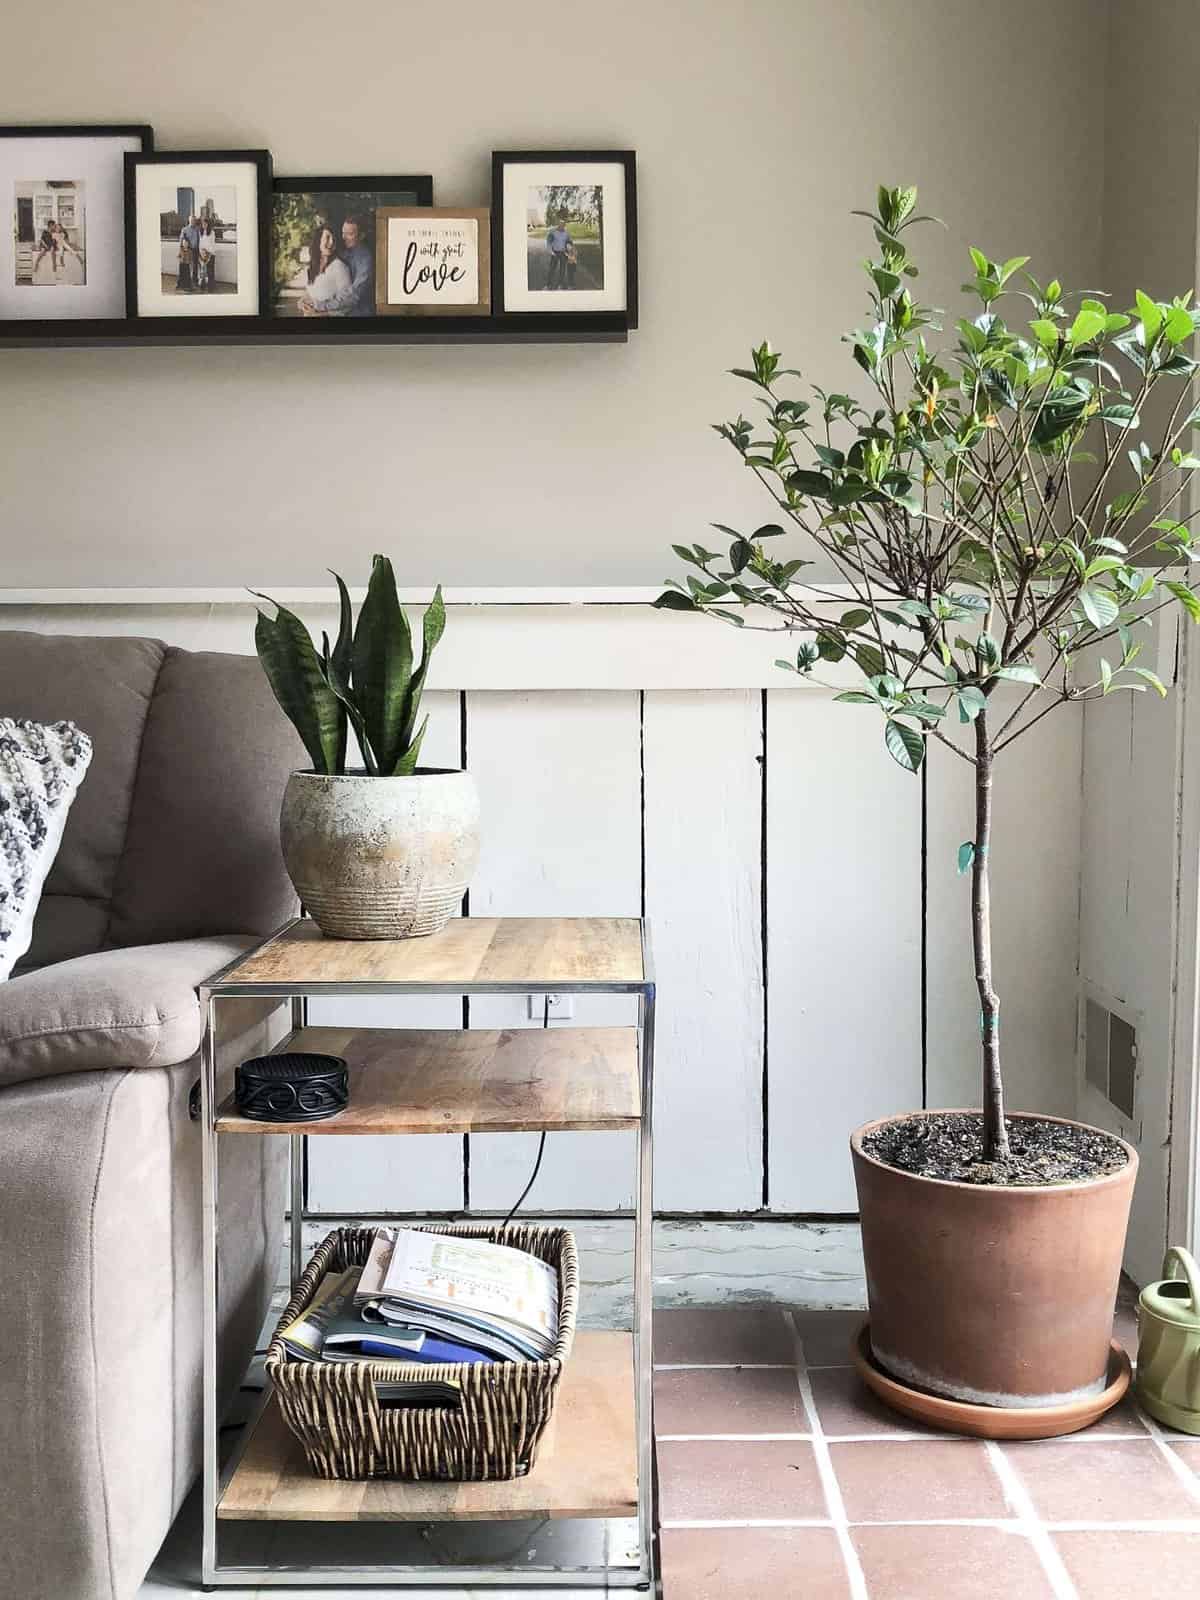
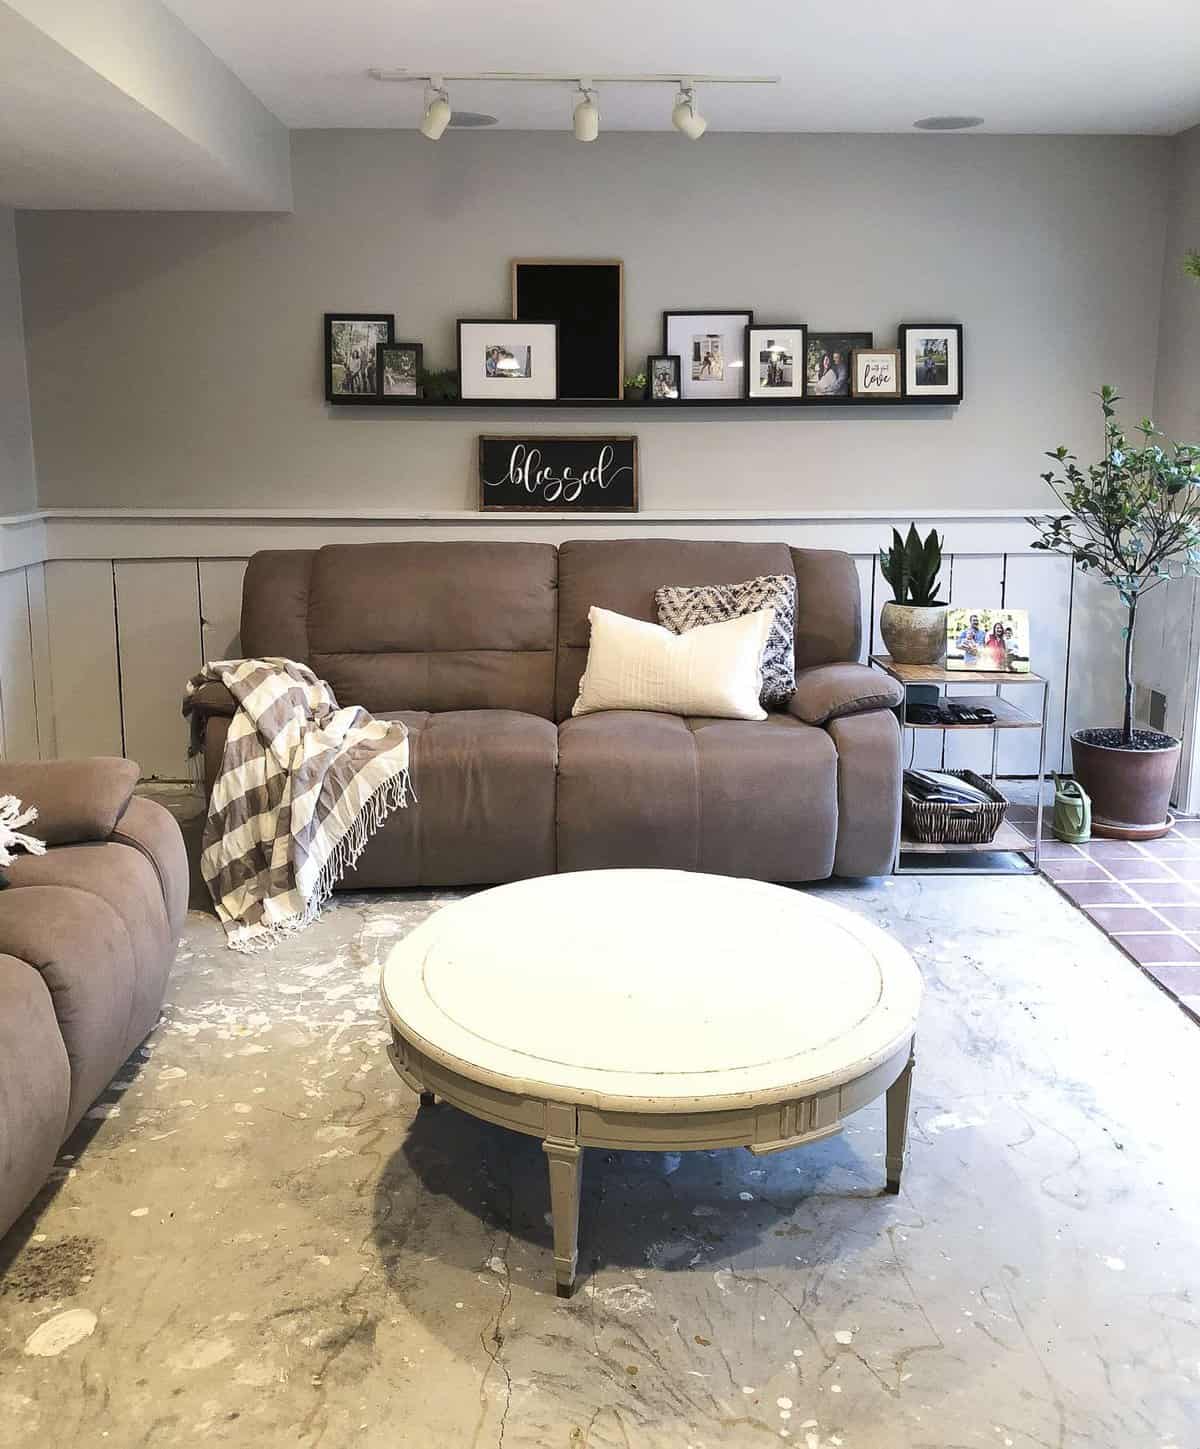
Do you love how I tried to make this space look styled? {Insert laughing emoji} There isn’t much I can do until we get our flooring laid to make this basement look tip top. But you get the idea. 😉
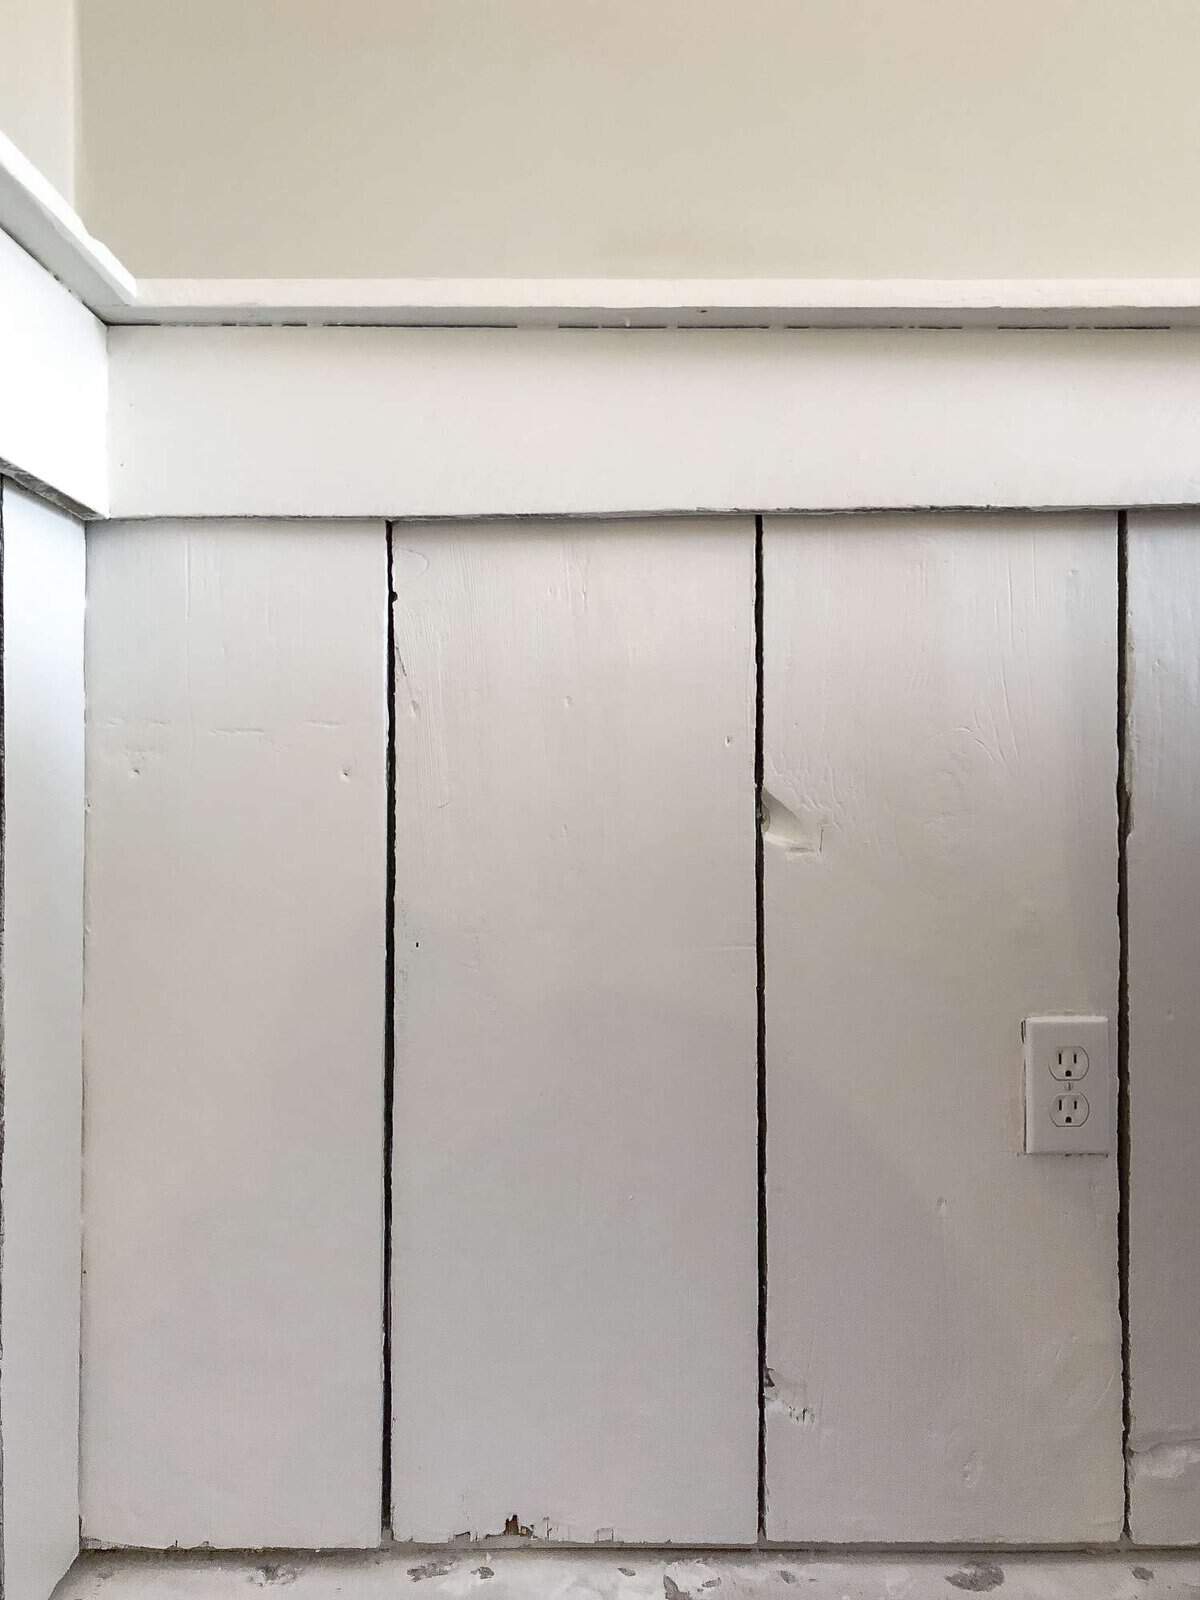
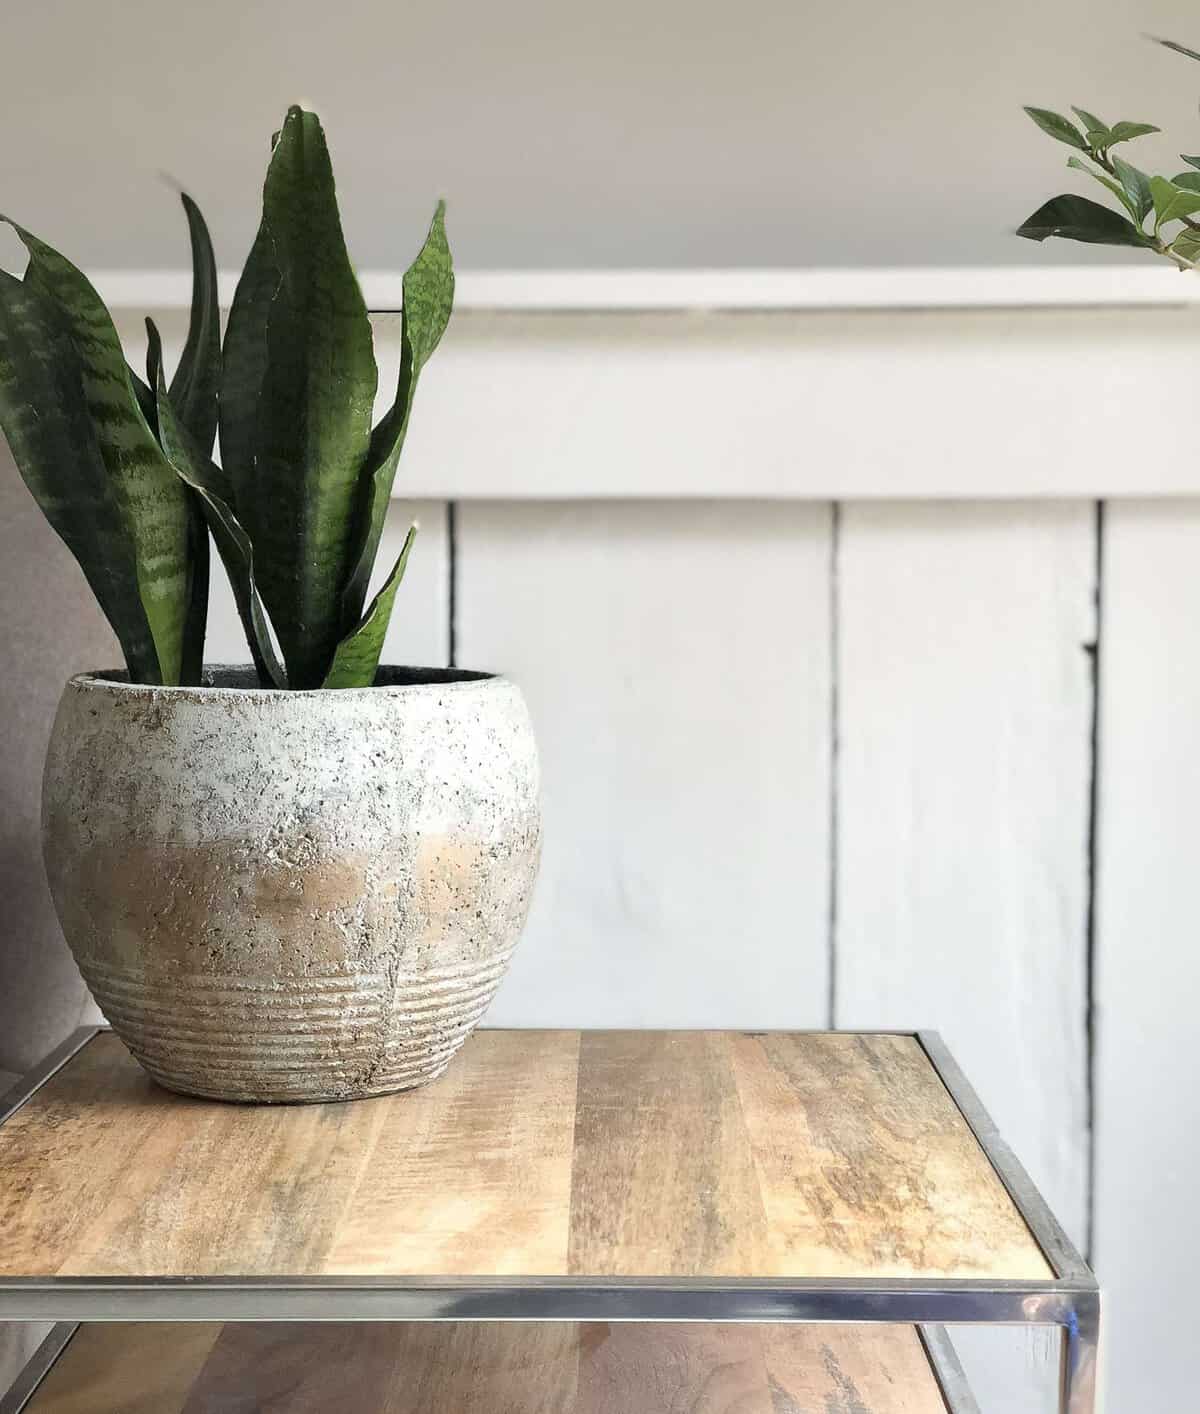
Now that this accent wall is light and bright I am enjoying it so much more. Sometimes it just takes a little creativity to think beyond completely ripping something out and starting new if you’re updating a space on a budget! What do you think? Would you ever use spackling on barnwood?
Make sure to stay tuned to our continued progress in the basement!

Basement Remodel Series
UPDATED: You can find my complete basement remodel series linked below!


Love this but what color are the walls>???
What color is the wall?
It is called Yarn by Magnolia Home.
Love this but what color are the walls>???
Wow! the top and bottom look like two different colors
I have to say I really like it!! I wasn’t sure till I saw the finished process. Thanks for going for it since it is barn wood. Looks awesome!!
Thanks Dina! I’m so glad you like it. I’m happy with it too!
Looks awesome!! You did a great job!!
Thank you Tammy! I appreciate that!