
Chive Blossom Sourdough Bread Recipe
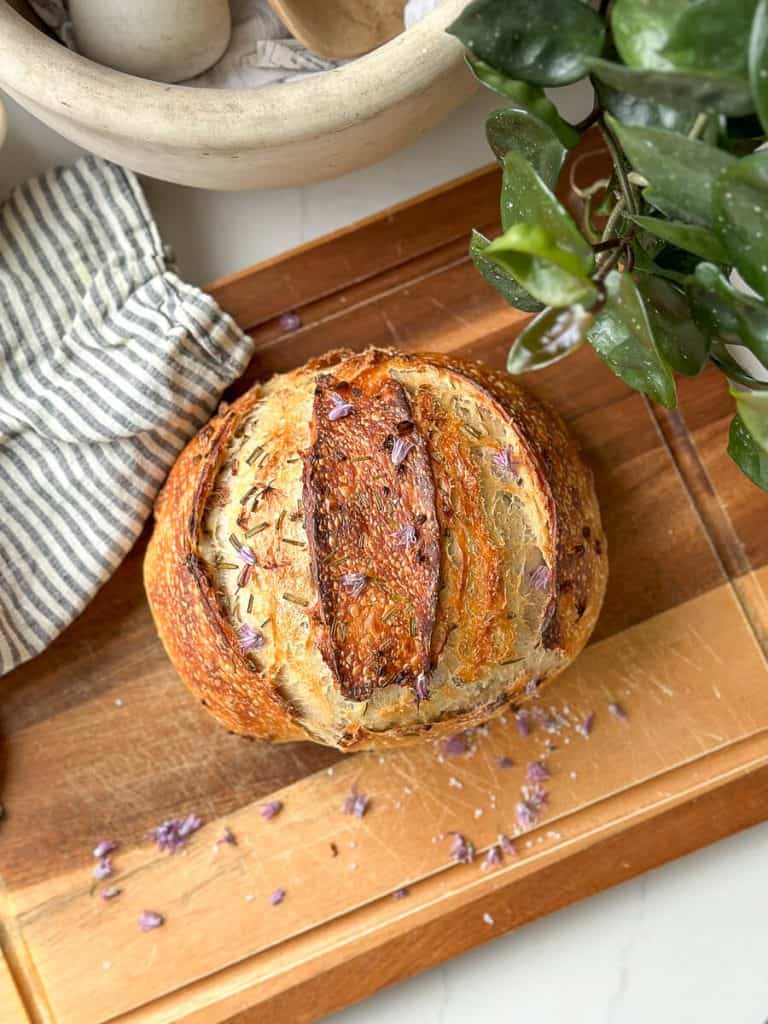
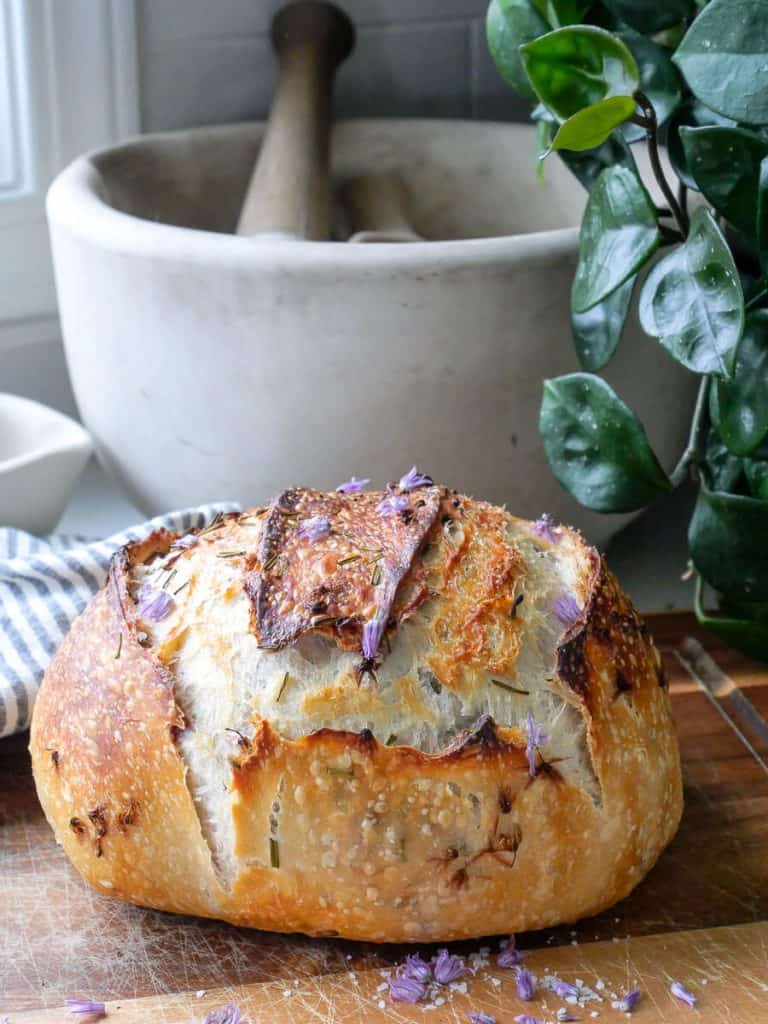
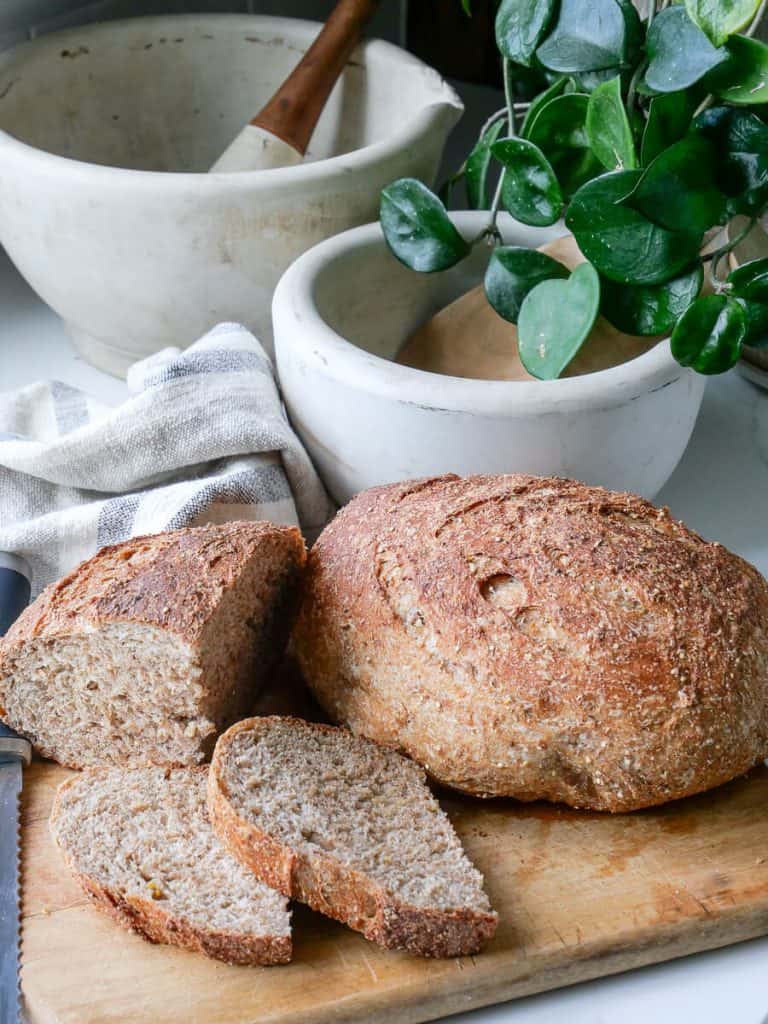
The garlic/onion flavor of this easy chive sourdough bread recipe comes together into a beautiful rustic boule that is moist, fluffy, and soft. The crust is slightly blistered without becoming tough. The chives add a boost of flavor to elevate the already delicious sour notes of sourdough bread.
Bonus, it’s a beginner friendly sourdough recipe! Make sure to read the recipe notes within the post for some tips on sourdough baking. Or, jump straight to the recipe card below!
This post contains affiliate links for your convenience.
Chive Sourdough Bread Recipe
While I have many sourdough bread recipes available for you, I don’t have too many with incorporations.
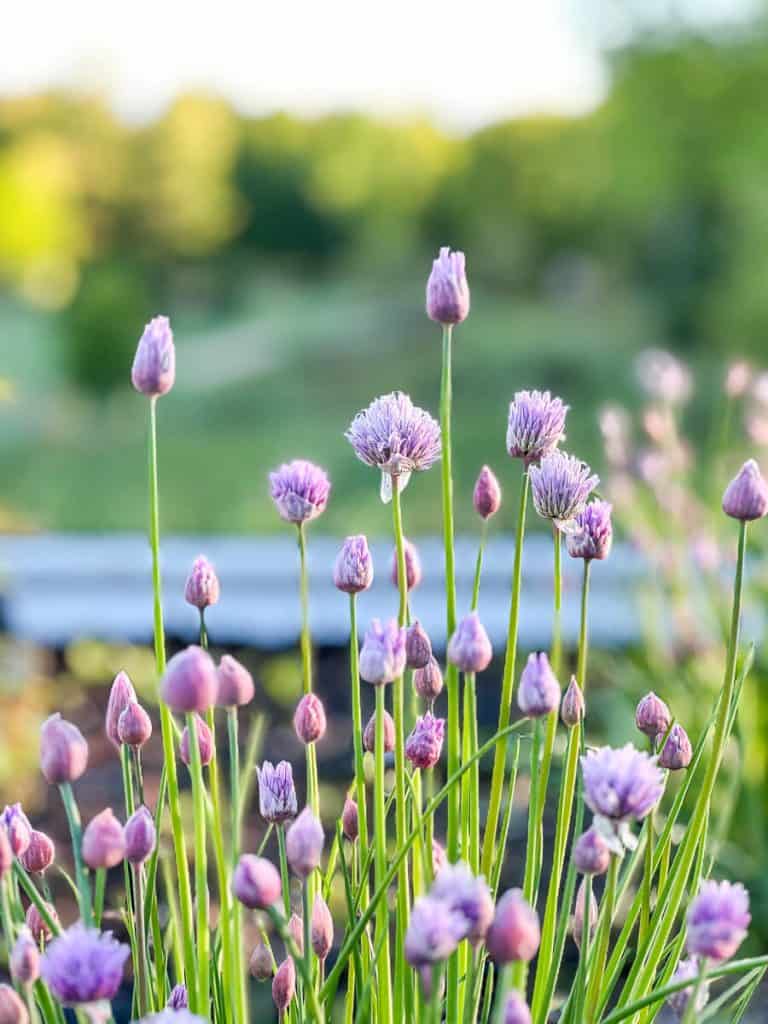
However, with fresh chives blooming in the garden, this chive sourdough bread recipe is top of my list for loaves I will have on repeat in my home all spring and summer.
If you don’t have chives blooming when you want to make this recipe, simply double the chopped chive greens in this recipe and omit the blossoms. You’ll lose a little bit of the beauty, but the flavor will still pack a punch.

Make sure to use the chive greens rather than the scapes (stems) that the blossoms bloom on. They are often thought to be the same part of the plant, however the stem of the blossom is tougher than the greens.
Baking Tools Needed
- glass mixing bowl (clear bowls make it easier to see bubbling activity)
- wooden spoon, spatula or dough whisk
- kitchen scale
- dutch oven
- banneton or similar sized round bowl with floured tea towel
SHOP SUPPLIES

Ingredients
- Dough
- 100 g bubbly active sourdough starter (see notes below for variation)
- 320 g warm water
- 500 g all purpose unbleached flour
- 10 g fine sea salt
- Incorporations
- 1/4 c. chive blossom petals
- 1/4 c. chopped chive greens
I recommend using a kitchen scale for all measurements. They are very affordable and will make a big difference in how your sourdough bread recipe turns out. However, if you are in a pinch and do not have one, below are the general recipe conversions.
1/2 c sourdough starter, 1 1/4 c warm water, 4 c flour, 2 tsp salt.
Recipe Instructions
Mix 320 g warm water with 100 g active sourdough starter until water is cloudy and all starter is mixed in.
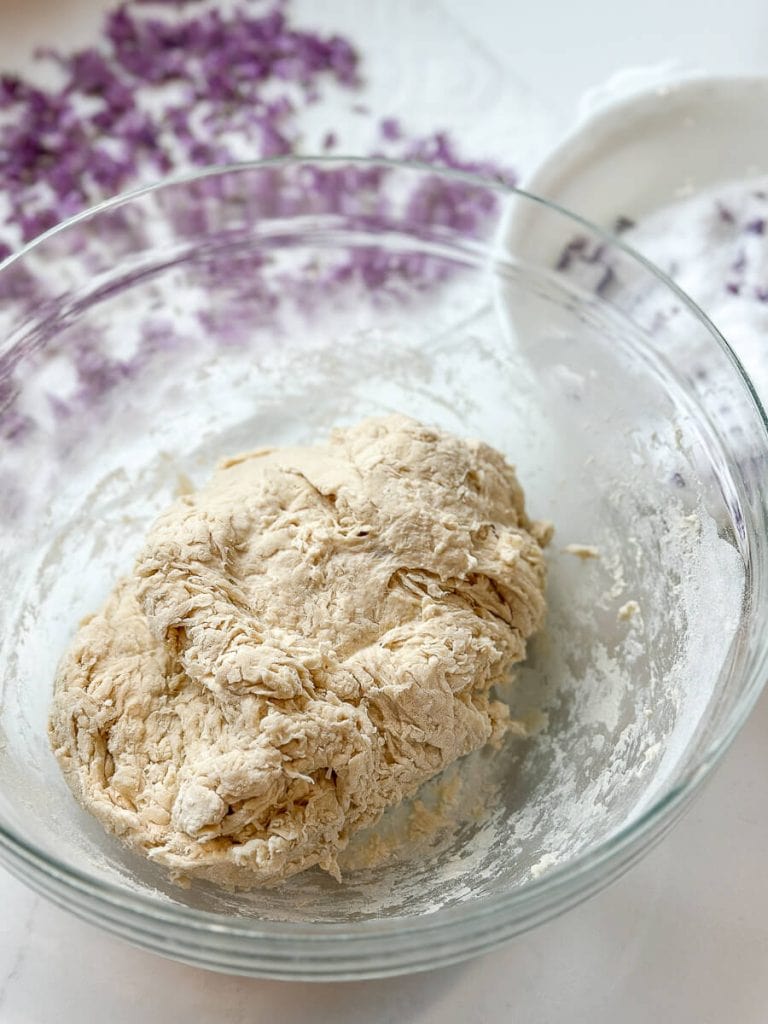
Add 500 g of flour to the wet ingredients and mix to form a shaggy dough. Let rest, covered with a towel or plastic wrap, for 15 minutes. This allows the flour and water to fully absorb.
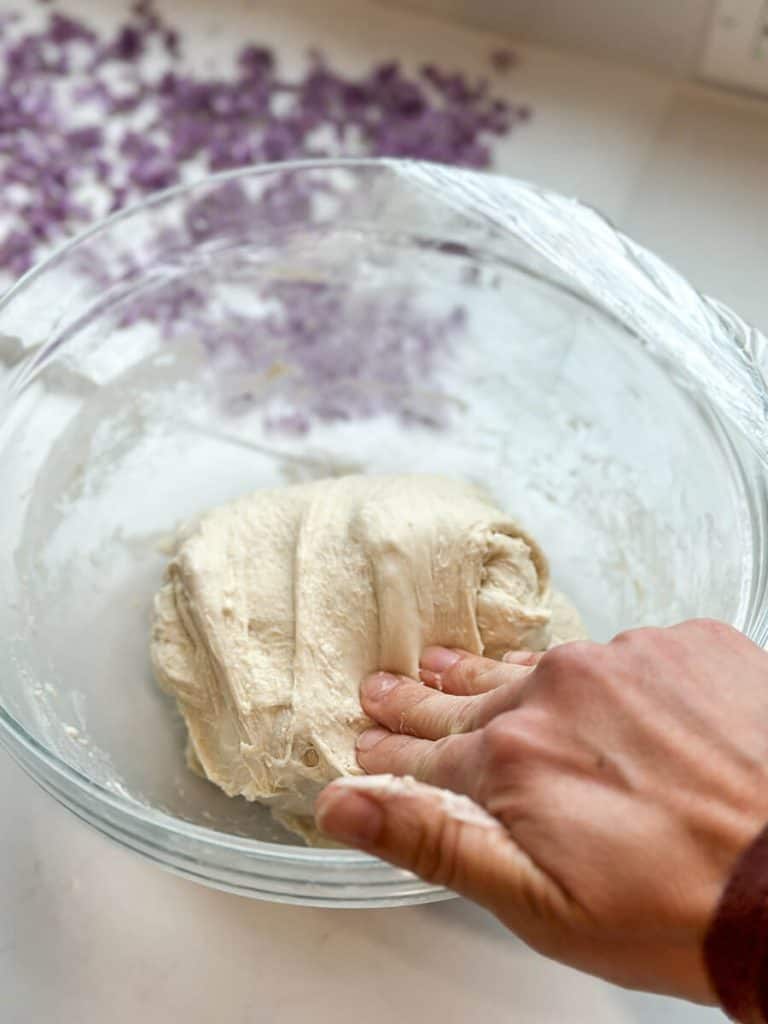
Next, add 10g of sea salt and incorporate well with your hands.
Stretch & Fold: Perform 4 sets of stretch and folds 30 minutes apart to help develop the gluten. (Re-cover the bowl between each set.)
To perform one set of stretch and folds, grab one corner of the dough and lift straight up, then fold it down on top of the rest of the dough. Turn the bowl 1/4 turn and repeat this process until you’ve stretched and folded all four corners, completing a 360 of the bowl.
Fermentation Process
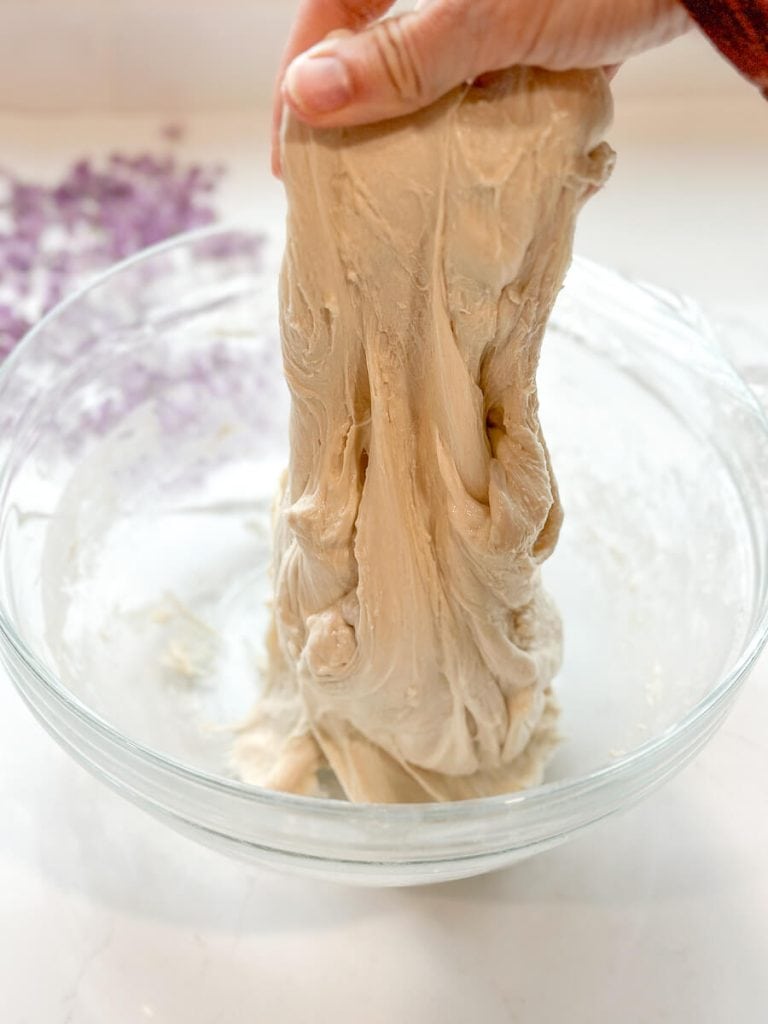
Bulk Fermentation: Cover the bowl with plastic wrap and let it rise on the counter until almost double in size (6-12 hours from when you first mixed the dough, depending on your home’s conditions).
You will know when bulk fermentation is complete when:
- You see air bubbles forming throughout the entirety of the dough, and on top.
- The dough should be jiggly and not stiff, but not sloppy.
- The dough should pull from the sides of the bowl without sticking.
- Your fingers should not stick to the dough.

You can also perform the poke test: If you poke your finger into the dough it should slowly rise back. During the poke test, if the dough bounces right back it is not ready for the next step. If it doesn’t rise back at all, it has over-proofed.
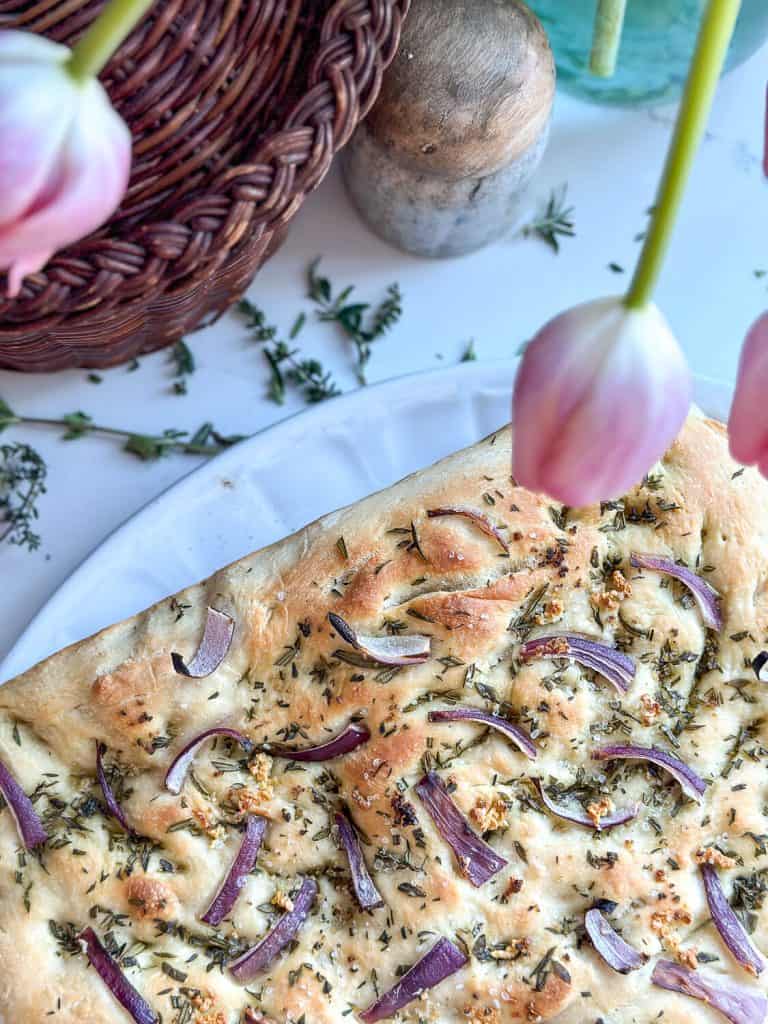
Bake it anyway or turn it into focaccia.
Bulk Fermentation Tips
- Bulk fermentation is by far the most difficult part of the sourdough process to get right. There are so many factors that play into the process, such as humidity, starter strength, flour type, air temp in your home, and your dough/starter hydration.
- Keep using the same recipe and flour every time you bake until you master this part of the process. Changing flours or recipes will add in other variables to contend with and make it harder to understand what the dough should look like when bulk fermentation is complete.
Incorporating Chives
Once bulk fermentation is complete, incorporate your chive add ins.
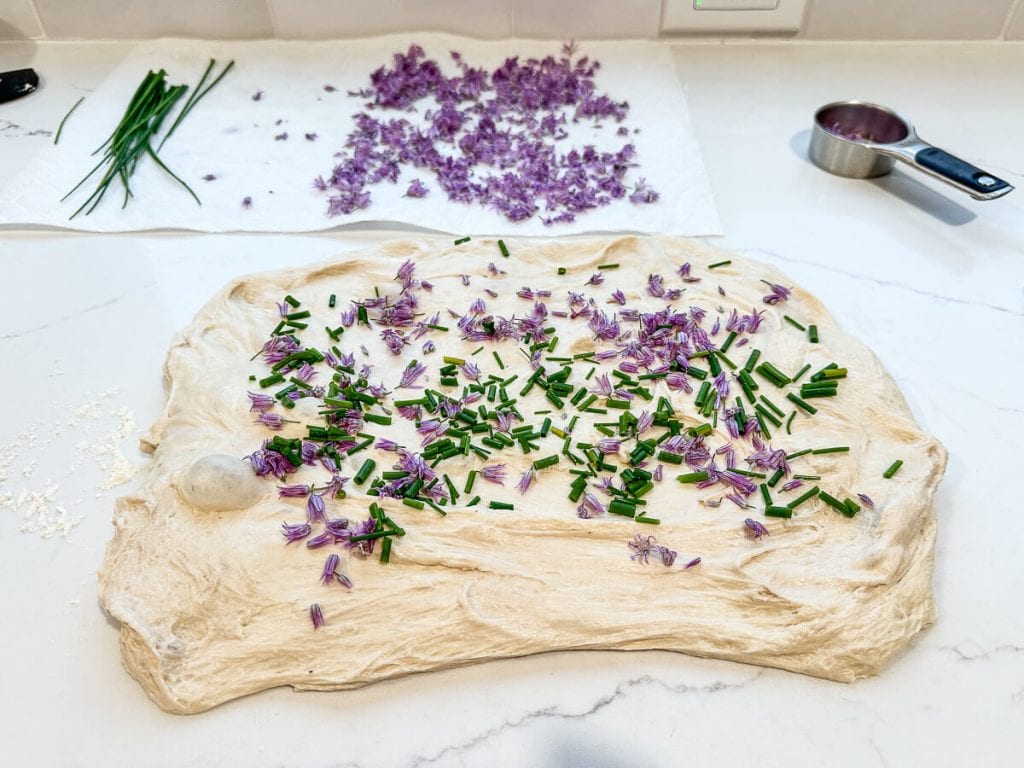
Use 1/4 c. chopped chive greens and 1/4 c. chive blossom petals, spread out over each step. Alternatively, use 1/2 c. chopped chive greens if you don’t have blossoms.
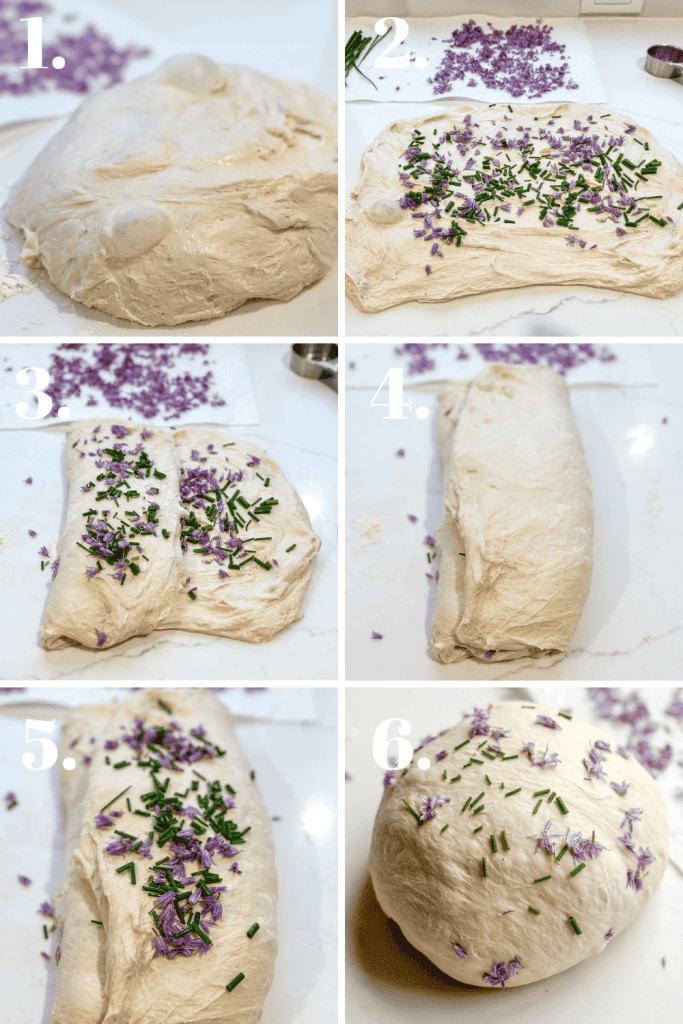
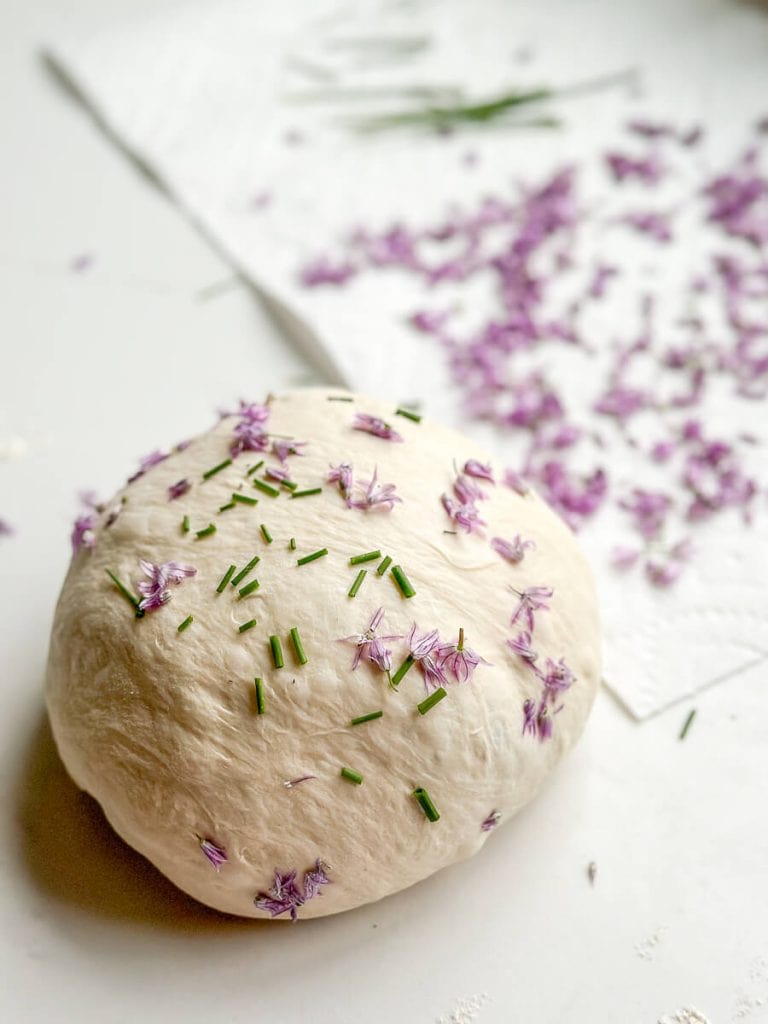
Stretch the dough into a rough rectangle and sprinkle part of the chive blossoms and chopped chives across the top. Fold one side in and add more chives, followed by the second side, and top with more chives. Next, roll the dough into a ball.
If you want another version of this chive sourdough bread, then you can also incorporate shredded cheddar. Cheddar and chive go together like peanut butter and jelly.
Add in 1/4 c. of shredded cheddar in this step if you’d like to make a delicious cheddar chive sourdough bread.
Shaping the Dough
Shaping: Shape your dough into a boule.
SHOP THE TOOLS
Flour your work surface with rice flour, then pour your dough onto it.
Shape your dough into a ball by gently cupping your hands on both sides, pushing with one and pulling back with the other. This creates tension in your dough.
Once you have a taut ball, place it in your banneton or floured bowl nice side down. Most people would use a banneton for this step as it will give you the best shape. However, most beginners don’t have one and can simply use a round bowl and floured tea towel instead.
Stitch the bottom seam together by overlapping the dough and pinching tight. Cover the banneton or bowl tightly.

Cold Fermentation: Place your dough into the fridge for cold fermentation. This will help develop the flavor. It also gives your sourdough bread a beautiful blistered crust. Leave it refrigerated for at least 6 hours, up to 24.
Baking
One hour before you plan to bake, preheat the oven to 450 F with your empty dutch oven inside.
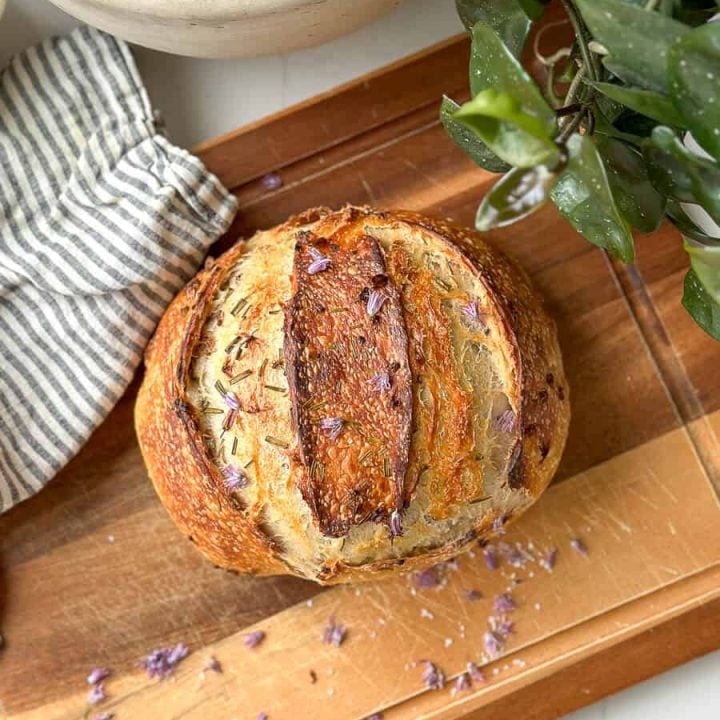
Right before you’re ready to bake, turn your dough onto a sheet of parchment paper and gently score. You can make a pretty design, or simply rough cut it with a pair of scissors. Wherever you score is where your bread will open when baking.

- Lift your dough into the hot dutch oven with the corners of the parchment paper. (I like to pour some uncooked rice into the bottom of my dutch oven first to keep the bottom of my sourdough artisan loaf from burning.)
- Toss 2-3 ice cubes into the dutch oven (on the outside of the parchment paper) to create some moisture. This helps with rise.
- Bake: Place the lid onto the dutch oven, and bake for 35 minutes. Then, remove the lid, lower the temperature to 410 F and bake for 15-20 minutes more. Test the temperature.
- Your bread should be around 205 F internal temperature with a deep golden brown crust. Lightly browned bread is likely underdone and needs more cooking time.
- Remove your bread by lifting with the parchment paper and let it cool at least an hour on a wire rack before slicing.
Can You Double This Sourdough Bread Recipe?
Yes, you can double this sourdough bread recipe.
Double the dough ingredients and follow all the steps through bulk fermentation in the same bowl.
Once the dough has fermented properly, divide the dough in half with a bench scraper. Proceed to follow the incorporation and shaping process to finish two separate loaves.
Chive Blossom Sourdough Bread Recipe
This flavorful chive blossom sourdough artisan loaf comes together into a beautiful rustic boule that is light and airy. Beginner friendly, no knead, no special tools required to create a delicious, garlic/onion rustic sourdough bread.
Ingredients
- 100 g Bubbly active sourdough starter (see notes for variation) (1/2 cup)
- 320 g Warm water (1 1/4 cup)
- 500 g All purpose unbleached organic flour (4 cups)
- 10 g Fine sea salt (2 tsp)
- 1/4 c. Chive blossom petals
- 1/4 c. Chopped chives
Instructions
- Mix 320 g warm water with 100 g sourdough starter until water is cloudy and all starter is mixed in.
- Add 500 g of flour to the wet ingredients and mix to form a shaggy dough. Let rest, covered with a towel or plastic wrap, for 15 minutes.
- Add 10 grams of sea salt and incorporate well.
- Perform 4 sets of stretch and folds 30 minutes apart to help develop the gluten. To perform one set of stretch and folds, grab one corner of the dough and lift straight up, then fold it down on top of the rest of the dough. Turn the bowl 1/4 turn and repeat this process until you've stretched and folded all four corners, completing a 360 of the bowl. (Re-cover the bowl between each set.)
- Cover the bowl with plastic wrap and let it rise on the counter until double in size (6-12 hours depending on your home's conditions). At the end of this fermentation stage, you should see air bubbles forming, the dough should be jiggly, and if you poke your finger into the dough it should slowly rise back. (See full post for bulk fermentation tips.)
- Once bulk fermentation is complete, incorporate your add ins. Stretch the dough into a rough rectangle and sprinkle part of the chive blossoms and chopped chives across the top. Fold one side in and add more chives, followed by the second side, and top with more chives. Next, roll the dough into a ball.
- Shape your dough into a boule. Flour your work surface with rice flour, then pour your dough onto it. Shape your dough into a ball by gently cupping your hands on both sides, pushing with one and pulling back with the other.
- Once you have a taut ball, top with remaining chives and place it in your banneton or floured bowl and cover tightly.
- Place your dough into the fridge for cold fermentation. This will help develop the flavor. Leave it refrigerated for at least 6 hours, up to 24.
- One hour before you plan to bake, preheat the oven to 450 F with your empty dutch oven inside.
- Turn your dough onto a sheet of parchment paper and gently score. Wherever you score is where your bread will open when baking.
- Lift your dough into the hot dutch oven. (I like to pour some uncooked rice into the bottom of my dutch oven to keep the bottom of my sourdough artisan loaf from burning.)
- Place the lid onto the dutch oven, and bake for 35 minutes. Then, remove the lid, lower the temperature to 410 F and bake for 15-20 minutes more.
- Your bread should be around 205 internal temperature with a deep golden brown crust. Lightly browned bread is likely underdone and needs more cooking time.
- Remove your bread by lifting with the parchment paper and let it cool at least an hour on a wire rack before slicing.
Notes
100 g of active starter is best for colder climates or longer bulk fermentation times. If you live in a warm climate, decrease starter to 50-60 grams.
Recommended Products
As an Amazon Associate and member of other affiliate programs, I earn from qualifying purchases.


Nutrition Information:
Yield: 16 Serving Size: 1 sliceAmount Per Serving: Calories: 120
Bake each loaf separately as directed. Keep the second loaf in the fridge while the first loaf is baking, or for up to 24 hours.
Can I Add Herbs to Sourdough Bread?
Flavoring sourdough bread is relatively simple by varying the add-ons. You can add any herbs you prefer!

However, most people wonder when to add herbs to sourdough bread. This is best done after bulk fermentation and before shaping.
These are my favorite add-ins and herbs to add to sourdough bread.
- Chives
- Rosemary
- Thyme
- Garlic
- Sage
- Oregano
- Basil
- Majoram
- Seeds
- Grains
- Shredded Cheese
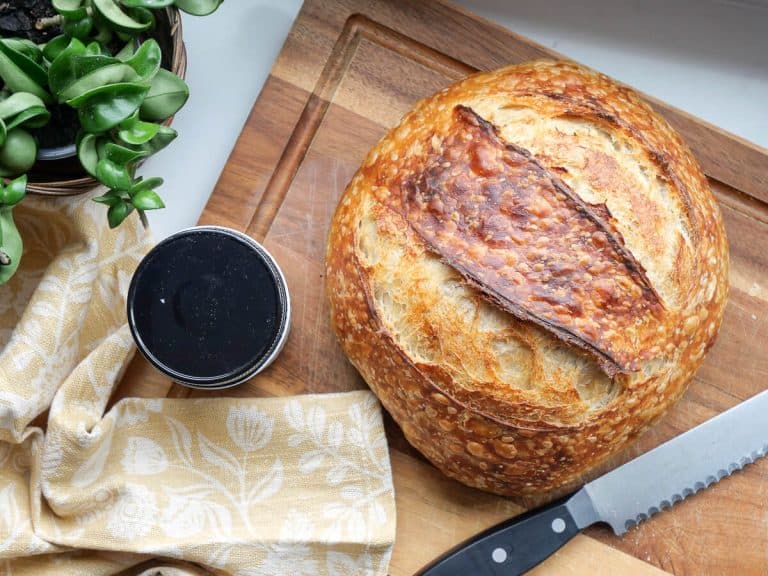
When To Cut Sourdough Bread After Baking
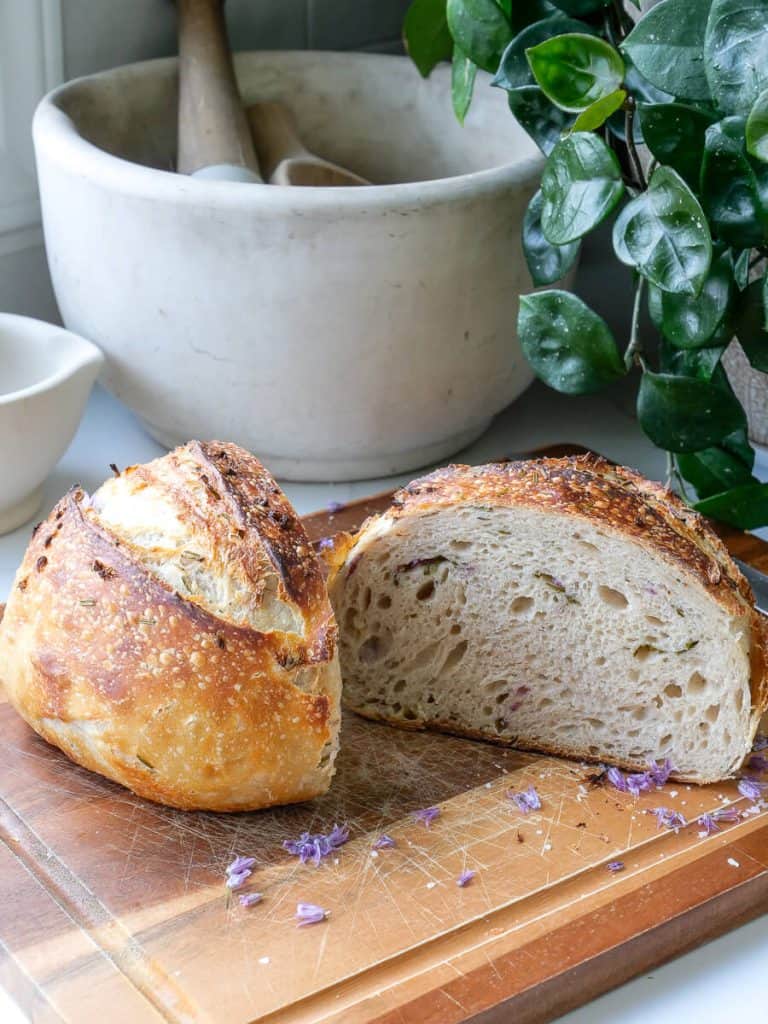
While it is extremely tempting to cut into a loaf of hot sourdough bread, I highly recommend waiting at least an hour.
Not only is the bread easier to handle when it’s not hot, but it also has a better crumb texture when allowed to cool fully.

If you’ve ever struggled to cut sourdough bread loaves, try this tip.
- Cut the loaf in half.
- Flip the loaf onto the cut side so you have it face down on the flat edge.
- Slice the bread from the top down with a quality bread knife.
- Repeat for the other half.
This creates the perfect size individual slices for dinner or a yummy snack.
More Sourdough Bread Recipes
I hope you enjoy this extra flavorful chive blossom sourdough bread recipe! It is on the top of my list for flavor.
I also love that the crust bakes up to a crispy texture that isn’t tough while the inside remains moist and fluffy.

If you are new to sourdough baking, this is a great loaf to start with.
Thanks so much for stopping by the blog today!
Check out all my sourdough recipes and make sure to subscribe to Grace In My Space to get access to my free printable library!
Plus, you can follow along with me daily on Instagram and weekly on YouTube!
~Sarah


Ooh, this chive blossom sourdough recipe looks so good! I’ve been wanting to try baking sourdough with different flavors, and this one seems perfect for spring. Definitely gonna give it a shot this weekend!