
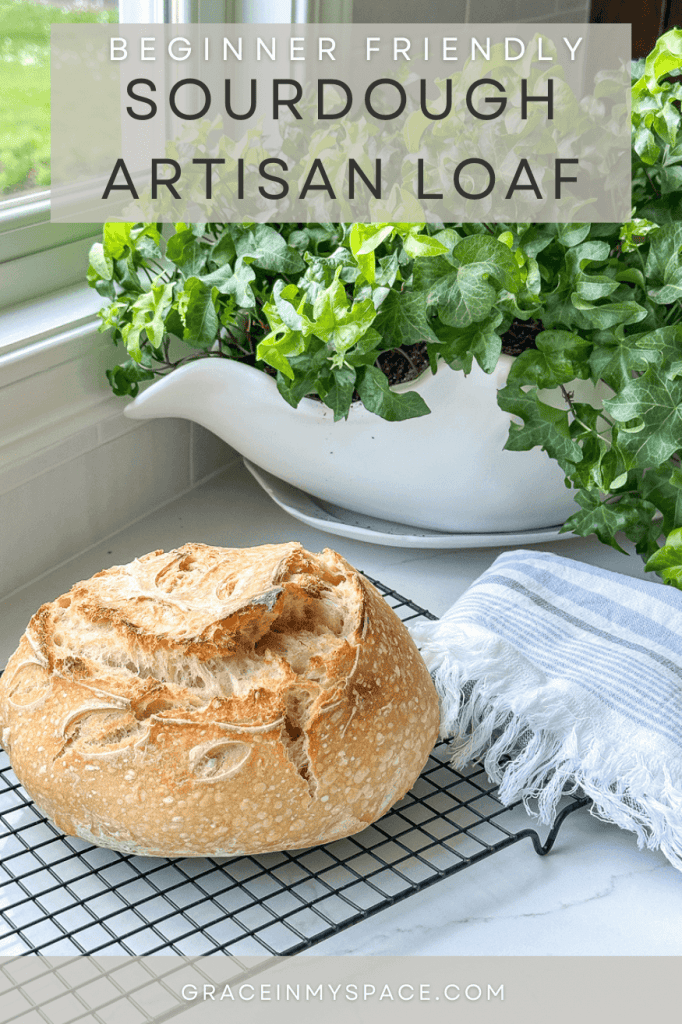
Easiest Rustic Sourdough Artisan Loaf
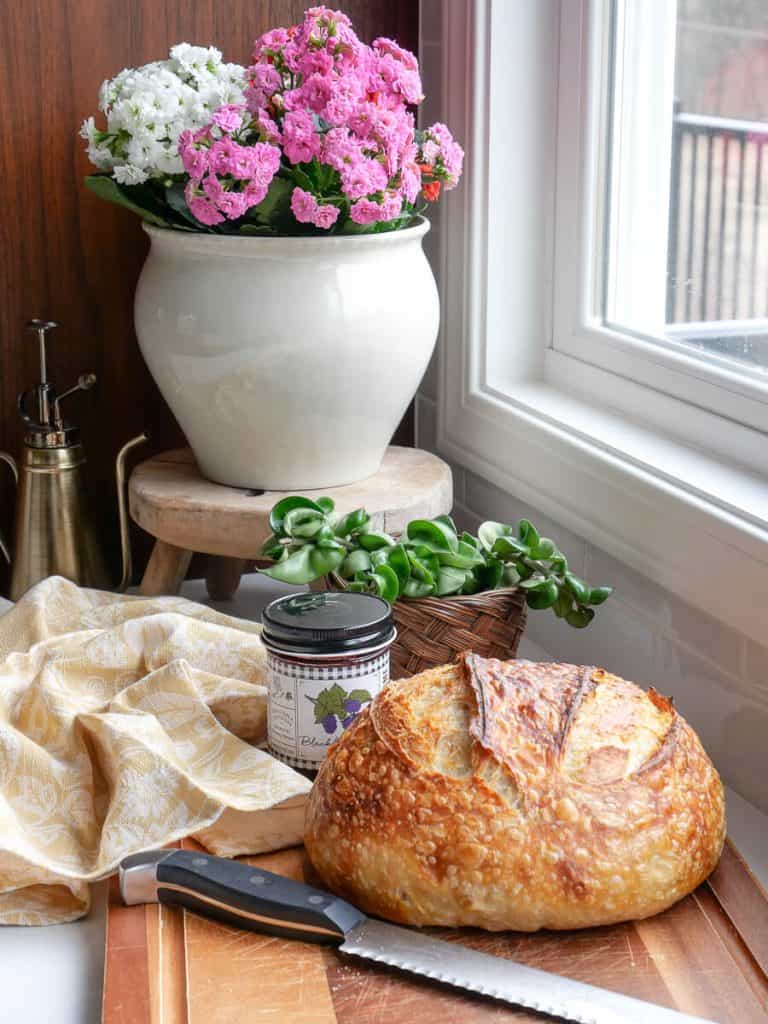
This flavorful sourdough artisan loaf comes together into a beautiful rustic boule that is light and airy. Beginner friendly, no knead, and no special tools required. It’s the perfect rustic sourdough bread recipe for novices or experts.
This post may contain affiliate links for your convenience.
Original recipe May 2024, Updated March 2025.
Rustic Sourdough Bread Recipe
Baking Tools Needed
- glass mixing bowl (clear bowls make it easier to see bubbling activity)
- wooden spoon, spatula or dough whisk
- kitchen scale
- dutch oven
- banneton or similar sized round bowl with floured tea towel
Ingredients
- 100 g bubbly active sourdough starter (see notes below for variation)
- 320 g warm water
- 500 g all purpose unbleached flour
- 10 g fine sea salt
I recommend using a kitchen scale for all measurements. They are very affordable and will make a big difference in how your sourdough artisan loaf turns out.
However, if you are in a pinch and do not have one, below are the general recipe conversions.
1/2 c sourdough starter, 1 1/4 c warm water, 4 c flour, 2 tsp salt.
Recipe Instructions
- Mix 320 g warm water with 100 g sourdough starter until water is cloudy and all starter is mixed in.
- Add 500 g of flour and 10 g of sea salt to the wet ingredients and mix to form a shaggy dough. Let rest, covered with a towel or plastic wrap, for 15 minutes.
- Stretch & Fold: Perform 4 sets of stretch and folds 30 minutes apart to help develop the gluten. To perform one set of stretch and folds, grab one corner of the dough and lift straight up, then fold it down on top of the rest of the dough. Turn the bowl 1/4 turn and repeat this process until you’ve stretched and folded all four corners, completing a 360 of the bowl. (Re-cover the bowl between each set.)
Fermentation Process
Bulk Fermentation: Cover the bowl with plastic wrap and let it rise on the counter until almost double in size (6-12 hours from when you first mixed the dough, depending on your home’s conditions).
You will know when bulk fermentation is complete when:
- You see air bubbles forming throughout the entirety of the dough, and on top.
- The dough should be jiggly and not stiff, but not sloppy.
- The dough should pull from the sides of the bowl without sticking.
- Your fingers should not stick to the dough.
You can also perform the poke test: If you poke your finger into the dough it should slowly rise back. During the poke test, if the dough bounces right back it is not ready for the next step. If it doesn’t rise back at all, it has over-proofed.
Bake it anyway or turn it into focaccia.
Bulk fermentation is by far the most difficult part of the sourdough process to get right. There are so many factors that play into the process, such as humidity, starter strength, flour type, air temp in your home, and your dough/starter hydration.
Bulk
Fermentation
Tips
- Use one recipe again and again, making tweaks in your timing, until you succeed. Often I see people trying a ton of different recipes thinking the recipe is the problem. More likely, you just need to adjust your timing for your home’s climate.
- If you live in a warm climate, bulk fermentation will be shorter. Cold climates, you may need to create a cozy spot for your dough to live during bulk fermentation to speed up the process.
- Do not change flour brands. One recipe. One flour brand. Until success! Making adjustments to any element (except timing) can throw off what works for you.
- Bulk fermentation will change with the seasons. Summer months will bulk ferment faster if your house is warmer, or slower if you have the AC cranked. Pay attention to the temperature in your home and adjust as needed.
- The more you practice and pay attention to how the dough looks and feels, the easier it will be to determine if it is finished with bulk fermentation.
- If you are brand new to sourdough, expect to have some flat loaves the first few times. But don’t give up! The more you bake, the easier it will be know what you’re looking for.
Shaping: Shape your dough into a boule.
Most people would use a banneton for this step as it will give you the best shape. However, most beginners don’t have one and can simply use a round bowl and floured tea towel instead.
Flour your work surface with rice flour, then pour your dough onto it. Shape your dough into a ball by gently cupping your hands on both sides, pushing with one and pulling back with the other. This creates tension in your dough.
Once you have a taut ball, place it in your banneton or floured bowl and cover tightly.
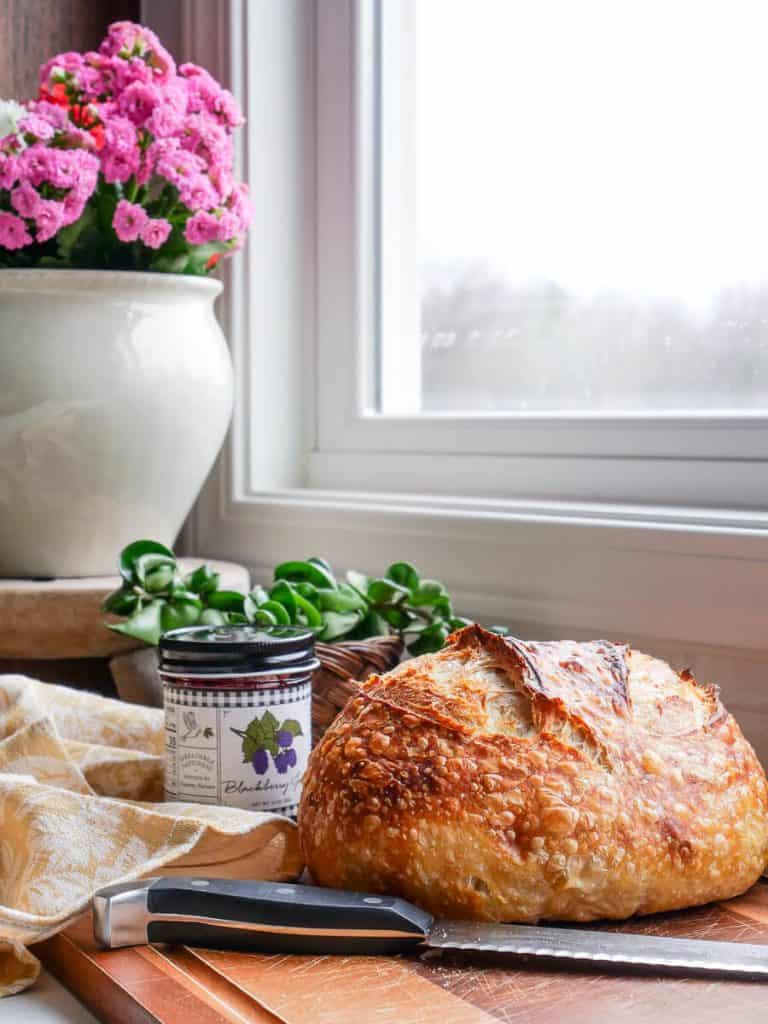
Cold Fermentation: Place your dough into the fridge for cold fermentation. This will help develop the flavor. It also gives your sourdough bread a beautiful blistered crust.
Leave it refrigerated for at least 6 hours, up to 24.
Baking
- One hour before you plan to bake, preheat the oven to 450 F with your empty dutch oven inside.
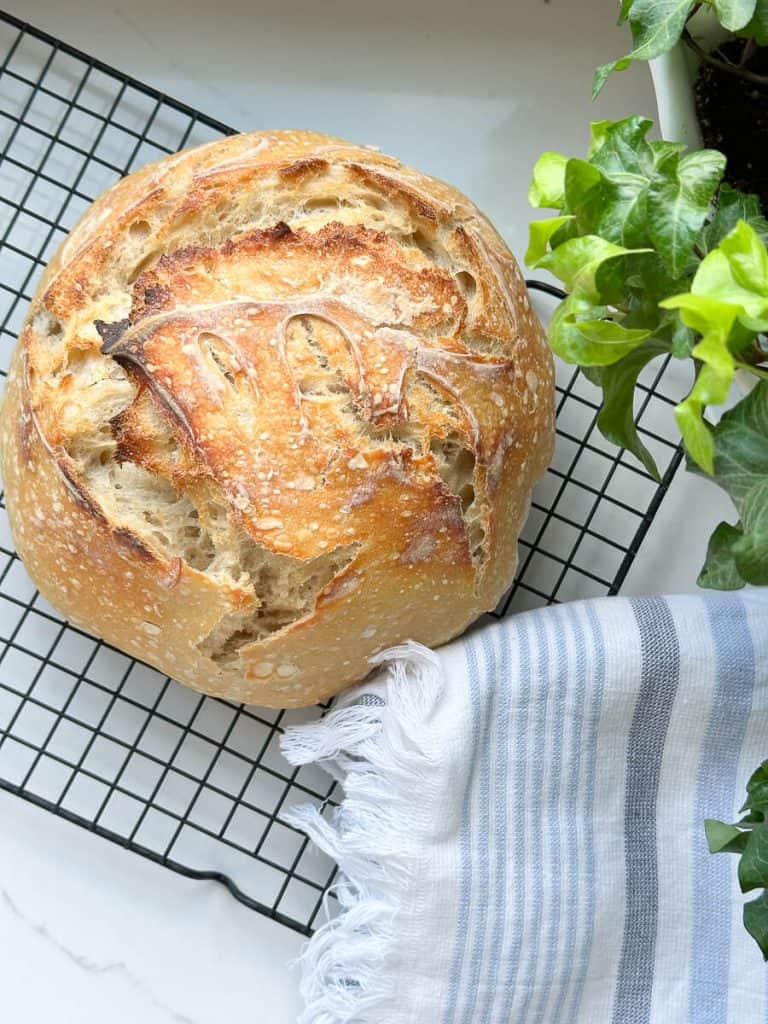
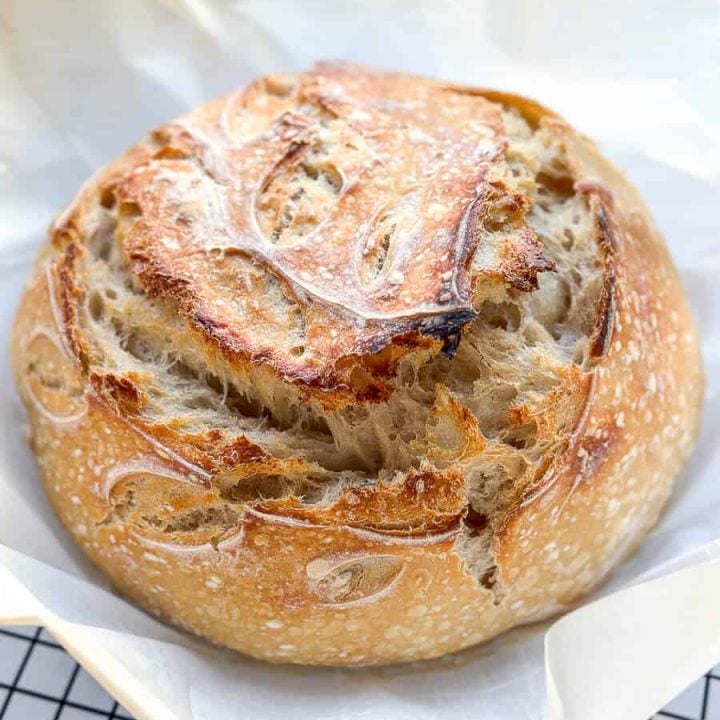
- Right before you’re ready to bake, turn your dough onto a sheet of parchment paper and gently score. You can make a pretty design, or simply rough cut it with a pair of scissors. Wherever you score is where your bread will open when baking.
- Lift your dough into the hot dutch oven with the corners of the parchment paper. (I like to pour some uncooked rice into the bottom of my dutch oven to keep the bottom of my sourdough artisan loaf from burning.)
- Bake: Place the lid onto the dutch oven, and bake for 35 minutes. Then, remove the lid, lower the temperature to 410 F and bake for 15-20 minutes more. Test the temperature.
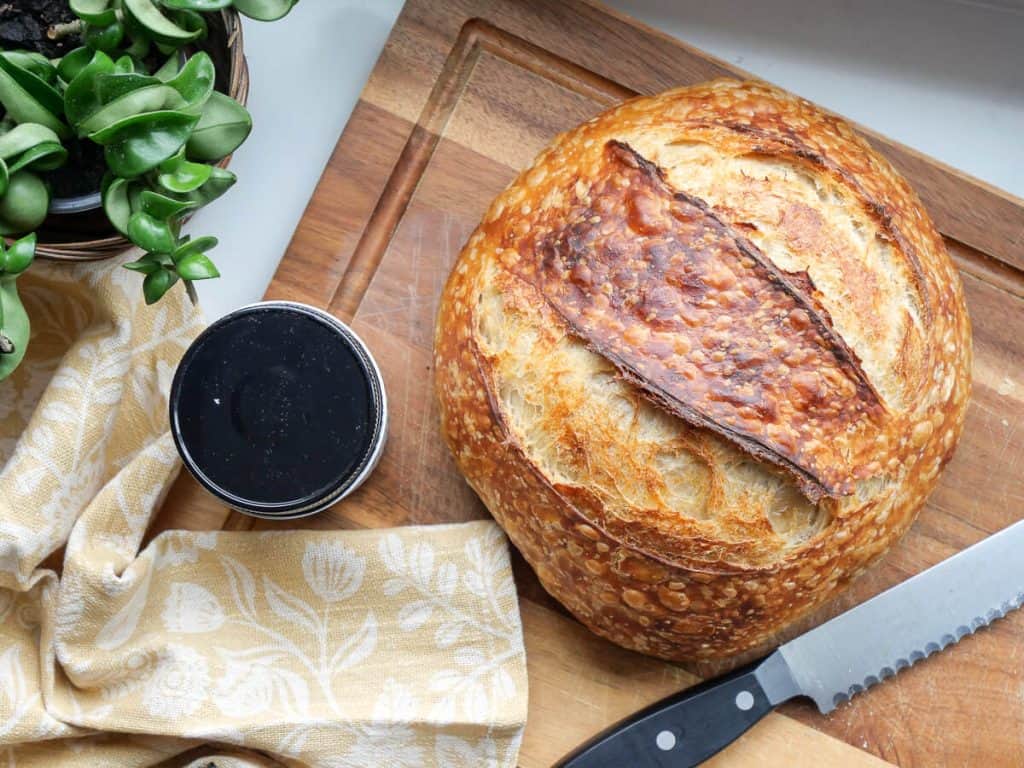
- Your bread should be around 205 F internal temperature with a deep golden brown crust. Lightly browned bread is likely underdone and needs more cooking time.
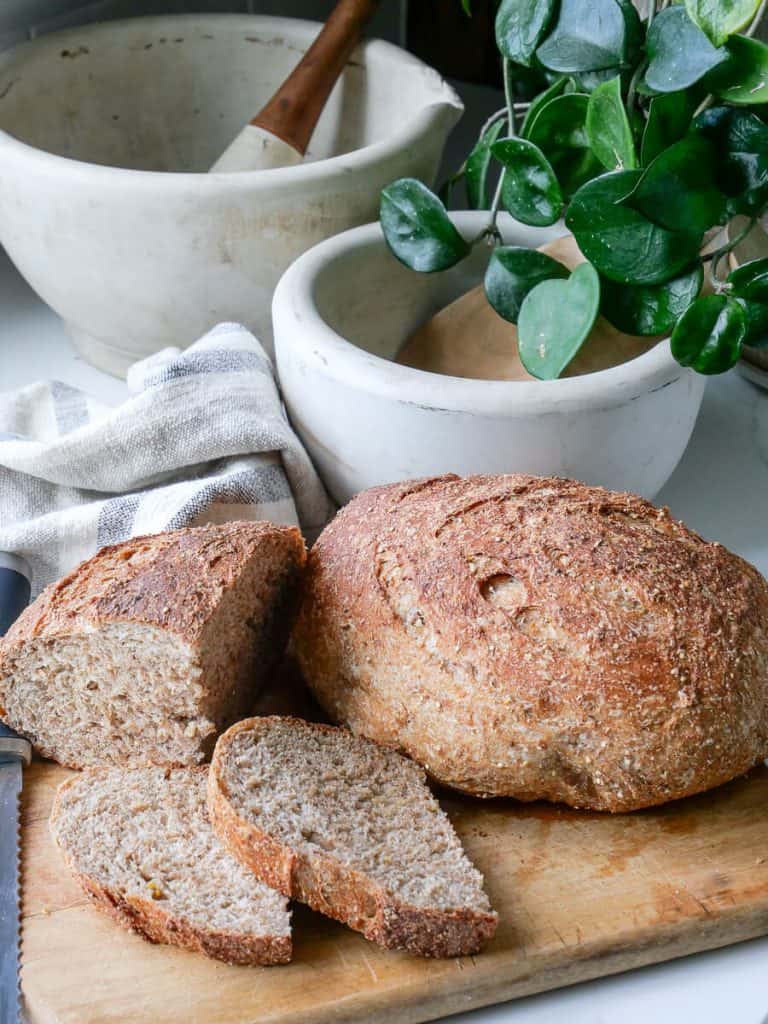
- Remove your bread by lifting with the parchment paper and let it cool at least an hour on a wire rack before slicing.

Sourdough Artisan Loaf Using All Purpose FLour
This recipe is extremely beginner friendly if you’re new to sourdough.
Most of my sourdough recipes use bread flour, however I wanted to offer an alternative for those who just have all purpose flour on hand.

View Details of My Kitchen Remodel Here
Just ensure that you are using unbleached all purpose flour and measuring accurately. This will be your best bet in getting a beautiful crumb.
Recipe Notes on Sourdough Starter
Ensure that you’ve fed your sourdough starter within the last 4-12 hours.
You will want to use your starter at its peak for this recipe to get the best rise.
The majority of the time that we see failed sourdough loaves, it is the starter to blame. Either it isn’t strong enough in the first place, or it wasn’t at its peak yet.
Make sure that your starter is robust and healthy before using for any sourdough recipe.
I am in Michigan and most of the year my kitchen is cold. I’m using 100 g of sourdough starter, which is helpful in colder climates. If you live in a warm climate, you may try 50-60 g of sourdough starter instead to avoid over proofing.

Whatever temperature you’re dealing with, watch this recipe closely in the bulk fermentation stage to avoid over or under proofing your dough.
Printable Sourdough Artisan Loaf Recipe
Easiest Rustic Sourdough Artisan Bread Recipe
This flavorful sourdough artisan loaf comes together into a beautiful rustic boule that is light and airy. Beginner friendly, no knead, no special tools required to create a delicious rustic sourdough bread.
Ingredients
- 100 g bubbly active sourdough starter (see notes for variation) (1/2 cup)
- 320 g warm water (1 1/4 cup)
- 500 g all purpose unbleached flour (4 cups)
- 10 g fine sea salt (2 tsp)
Instructions
- Mix 320 g warm water with 100 g sourdough starter until water is cloudy and all starter is mixed in.
- Add 500 g of flour and 10 g of sea salt to the wet ingredients and mix to form a shaggy dough. Let rest, covered with a towel or plastic wrap, for 15 minutes.
- Perform 4 sets of stretch and folds 30 minutes apart to help develop the gluten. To perform one set of stretch and folds, grab one corner of the dough and lift straight up, then fold it down on top of the rest of the dough. Turn the bowl 1/4 turn and repeat this process until you've stretched and folded all four corners, completing a 360 of the bowl. (Re-cover the bowl between each set.)
- Cover the bowl with plastic wrap and let it rise on the counter until double in size (6-12 hours depending on your home's conditions). At the end of this fermentation stage, you should see air bubbles forming, the dough should be jiggly, and if you poke your finger into the dough it should slowly rise back. (See full post for bulk fermentation tips.)
- Shape your dough into a boule. Most people would use a banneton for this step as it will give you the best shape. However, if don't have one, simply use a round bowl and floured tea towel instead. Flour your work surface with rice flour, then pour your dough onto it. Shape your dough into a ball by gently cupping your hands on both sides, pushing with one and pulling back with the other.
- Once you have a taut ball, place it in your banneton or floured bowl and cover tightly.
- Place your dough into the fridge for cold fermentation. This will help develop the flavor. Leave it refrigerated for at least 6 hours, up to 24.
- One hour before you plan to bake, preheat the oven to 450 F with your empty dutch oven inside.
- Turn your dough onto a sheet of parchment paper and gently score. Wherever you score is where your bread will open when baking.
- Lift your dough into the hot dutch oven. (I like to pour some uncooked rice into the bottom of my dutch oven to keep the bottom of my sourdough artisan loaf from burning.)
- Place the lid onto the dutch oven, and bake for 35 minutes. Then, remove the lid, lower the temperature to 410 F and bake for 15-20 minutes more.
- Your bread should be around 205 internal temperature with a deep golden brown crust. Lightly browned bread is likely underdone and needs more cooking time.
- Remove your bread by lifting with the parchment paper and let it cool at least an hour on a wire rack before slicing.
Notes
100 g of active starter is best for colder climates or longer bulk fermentation times. If you live in a warm climate, decrease starter to 50-60 grams.
Recommended Products
As an Amazon Associate and member of other affiliate programs, I earn from qualifying purchases.


Nutrition Information:
Yield: 16 Serving Size: 1 sliceAmount Per Serving: Calories: 120
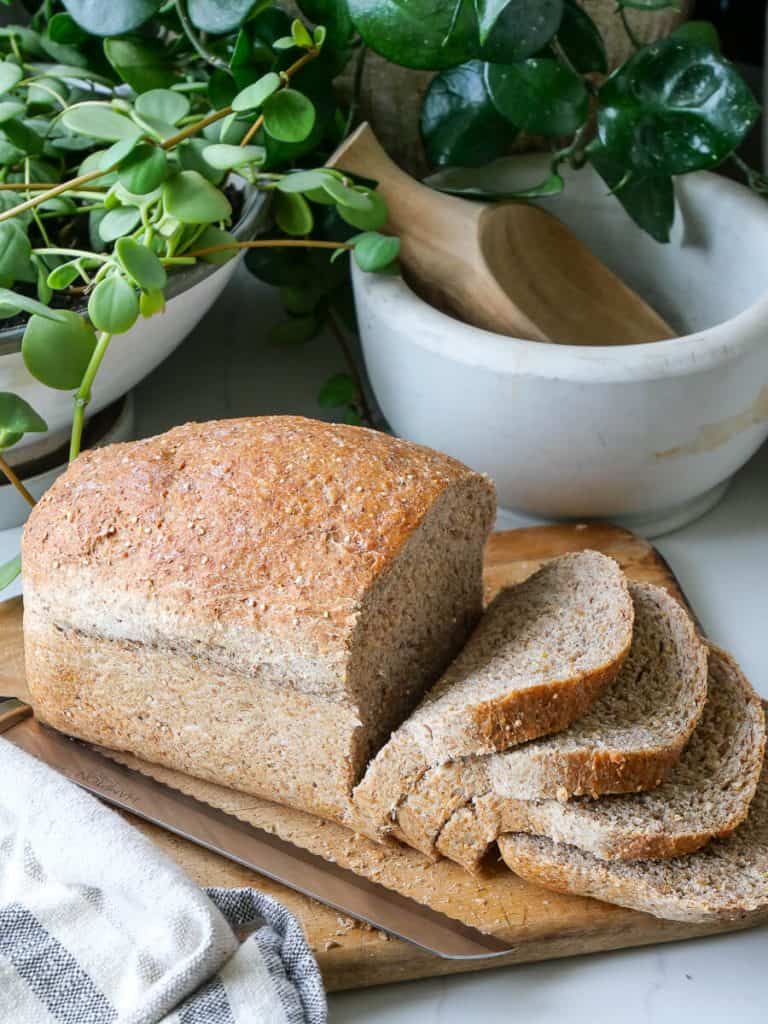
Ways to Serve a Sourdough Artisan Loaf
There is nothing quite like a slice of warm sourdough bread slathered with butter.
However, my favorite way to eat an artisan loaf is toasted with butter and my 4 ingredient strawberry jam.

If by some miracle your loaf isn’t devoured in the first two days, use it to make a delicious overnight french toast bake.
Or, turn it into cheesy garlic bread by slicing thin, topping with butter, garlic salt and shredded mozzarella. Bake at 350 for 5-7 minutes, broiling in the last minute if needed to melt the cheese.
Sourdough Archives
I hope you enjoy this rustic sourdough bread recipe!
I love that it is no fuss. No banneton? Don’t have a kitchen scale? No bread flour? This recipe has got you covered.

Thanks for stopping by the blog today! Make sure to subscribe to get my Grace Notes directly to your inbox and to access all my insider perks. Follow along daily on Instagram and weekly on YouTube!
~ Sarah


I found your explanation of UC Drive very helpful. Looking forward to more articles like this.
The sourdough bread looks delicious
My mouth sweting
I love that it doesn’t require any special equipment. Gonna try it this weekend!
this sourdough recipe looks super easy!
I appreciate the effort you put into spreading joy through your writing.