The Best Strawberry Jam Recipe | No Pressure Canning Required
There’s nothing quite like a freshly made jam. With just a few ingredients, you can whip up a delicious batch of strawberry jam that you’ll wish you made sooner. The best strawberry jam is homemade strawberry jam made with simple ingredients.
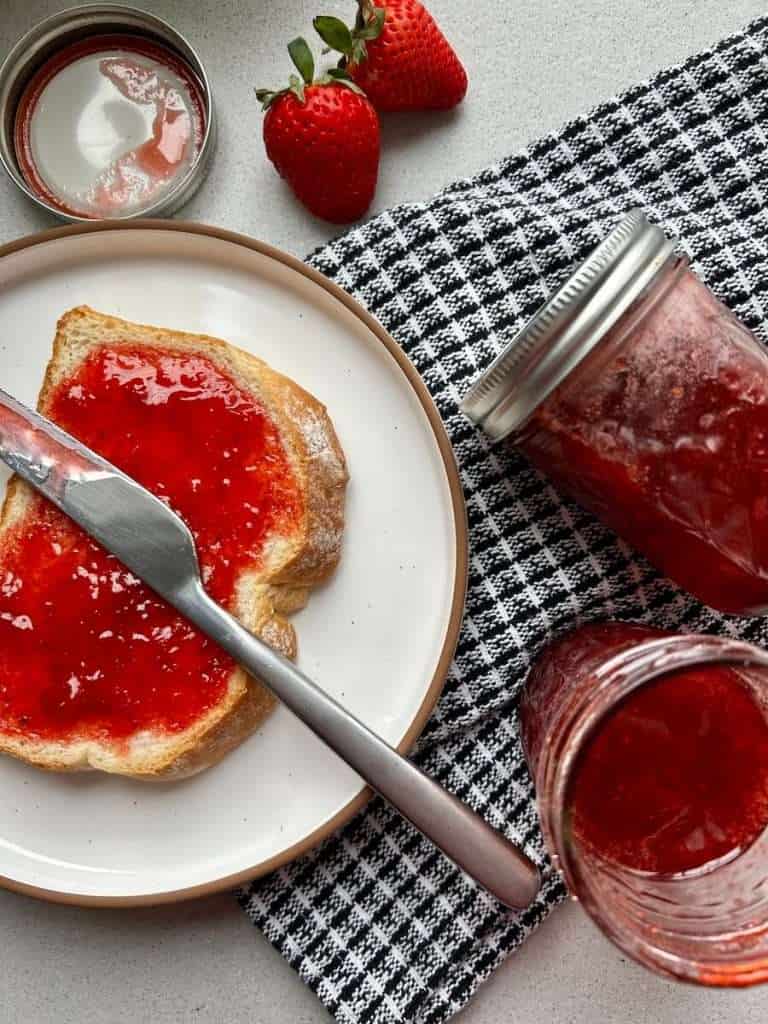
I promise, you won’t even want to go back to store-bought after you’ve made your own!
This post may contain affiliate links for your convenience.
There is something about canning and making homemade jam that makes me feel so domesticated and accomplished. Yet, the process of making stovetop strawberry jam is so simple, my friends!

All you need is fresh strawberries, granulated sugar, lemon juice, and vanilla extract and you’ll be enjoying the fruits of your labor in no time. (See what I did there?)
What You’ll Need to Make the Best Strawberry Jam
The Best Strawberry Jam Ingredients
- 1 quart of fresh strawberries
- 1 1/2 cups of granulated sugar
- 1/4 cup of lemon juice
- 1 teaspoon of vanilla extract

Supplies
- A large, heavy-bottomed saucepan: You’ll need a pot or saucepan that’s large enough to hold your fruit, sugar, and any other ingredients you’ll be using.
- Canning jars or glass container with a tight fitting lid: You’ll need jars with tight-fitting lids to store your jam. The size and shape of the jars will depend on your personal preference. I like to use these quilted jars. However, you can use larger or smaller jars depending on how quickly you go through jam, or if you want to gift some away!
- Canning funnel: A canning funnel is a wide-mouthed funnel that fits over the mouth of your jars, making it easy to fill them with hot jam.
- Ladle: A ladle is useful for transferring hot jam from the pot to the jars.
- Potato Masher: Or other method of breaking down the strawberries.
If you’re making jam for long term shelf-storage, you’ll want the following additional equipment:
- Canning jars with lids and bands
- Large pot with a rack or a canning pot set (ensuring the jars are fully submerged and yet lifted off the bottom of the pot)
- Jar lifter (to lift your jars out from the boiling water)
- Magnetic lid lifter (to help get the lids out of the boiling water)
How to Make the Best Strawberry Jam
Now that you have everything you’ll need to make the best strawberry jam, here is the step by step process on how to make it:

Step 1. Prepare Your Strawberries
Before you start making your jam, you’ll need to prepare your strawberries.

Rinse them thoroughly under cold running water, and remove the stems and any blemishes. Cut the strawberries into small pieces, about the size of a quarter.
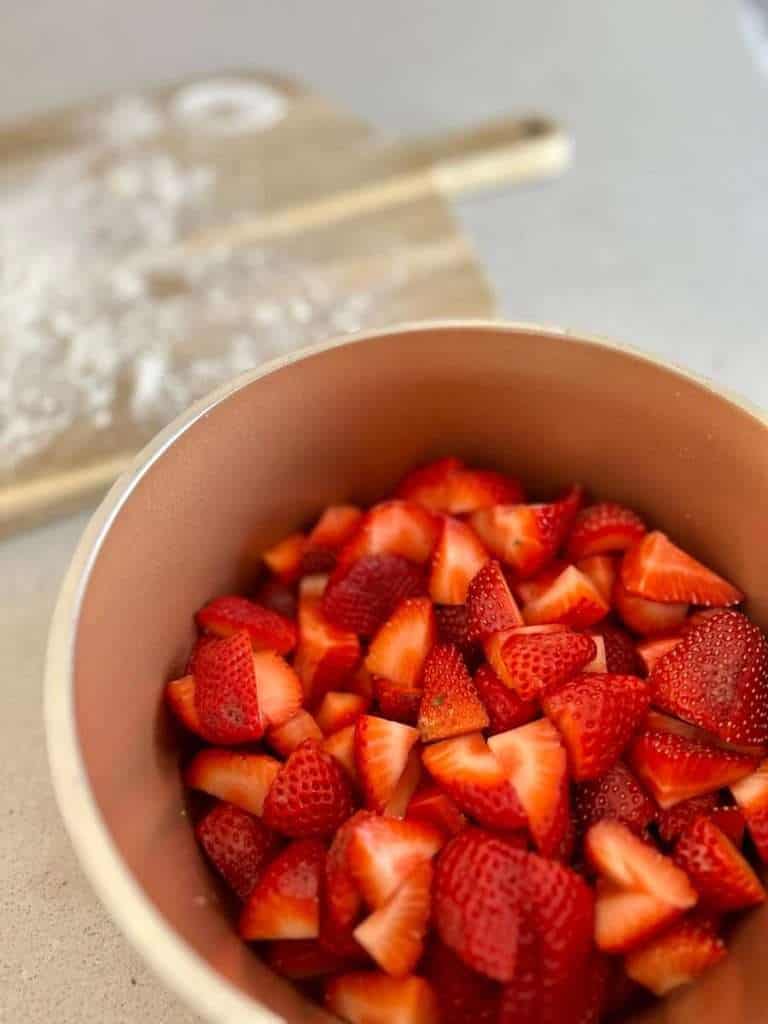
Use a potato masher to begin breaking down the strawberries to release some of their juices.
I also love this kitchen tool that works super well to mash up ground meat. It perfectly chops the strawberries smaller as you smash them.

Step 2. Boil the Strawberries
In a large, heavy-bottomed saucepan, combine the strawberries, sugar, and lemon juice.
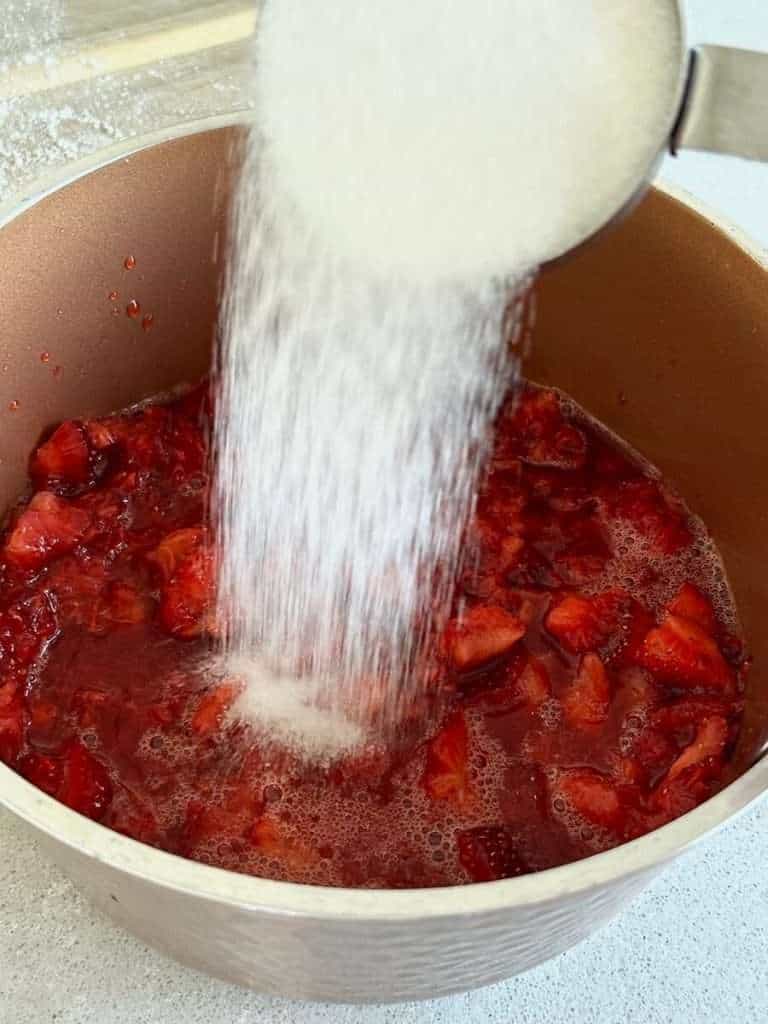
Stir to combine, and bring the mixture to a boil over medium-high heat. Reduce the heat to medium-low, and let the mixture simmer for 35-40 minutes, stirring occasionally.

During this time, the strawberries will start to break down and release their natural juices.
As the mixture cooks, use a spoon or a potato masher to gently mash the strawberries, to break them down further.

The consistency is really up to your own preference. If you prefer a smoother jam, then mash the strawberries more thoroughly. For a chunkier jam, go easy on the smashing and leave some larger pieces of fruit intact.
Step 3. Add the Vanilla Extract
After the jam has simmered for 35-40 minutes, stir in the vanilla extract. This will give the jam a hint of nice, warm flavor, which pairs perfectly with the sweetness of the strawberries.


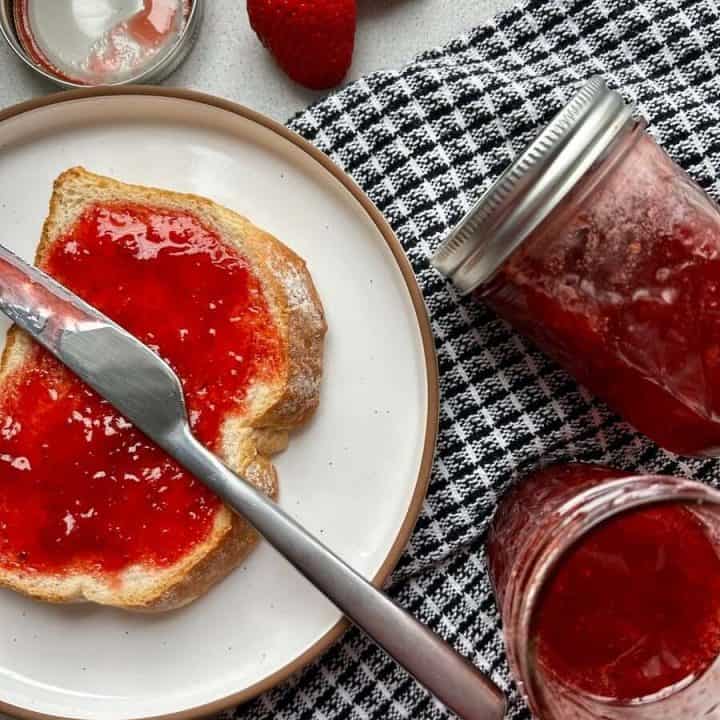
Step 4. Cool and Store Your Jam
Once you’ve added the vanilla extract, remove the saucepan from the heat and let the jam cool for 5-10 minutes. Then, transfer the jam to a canning jar or container with a tight-fitting lid.

You can store the jam in the refrigerator for up to 2 weeks, or freeze it for longer storage. If you choose to freeze it, leave an inch of space at the top of the jar to allow for expansion in the freezer.
Optional: Directions for Preserved Jam
If you prefer to can your jam for shelf-stable storage, here are the additional steps to follow:
Step 4 (for shelf-stable storage): Sterilize Your Jars and Lids
To can your jam, you’ll need to sterilize your jars and lids first.
Place your clean jars and lids in a large pot of boiling water, and let them boil for 10 minutes. Then, remove them from the water with tongs, and let them dry on a clean towel.
Step 5: Fill Your Jars
Using a ladle or a funnel, fill each jar with the hot jam, leaving 1/4 inch of space at the top. Wipe the rims of the jars with a clean, damp cloth to remove any jam or debris.
Place the lids on the jars and tighten just to fingertip tight. The boiling process forces air out of the jars so it needs to be able to release that pressure.
Step 6: Process Your Jars
Place your filled jars back into the large pot of boiling water, making sure that the jars are fully submerged and there’s at least 1 inch of water covering them.
Let the jars boil for 10 minutes, then remove them from the water with tongs and let them cool on a clean towel.
Step 7: Check for Seals
After your jars have cooled for 12-24 hours, check to make sure that they’ve sealed properly. You should hear a popping sound as the lids seal themselves.
To check, press down on the center of the lid with your finger. If it doesn’t move, the seal is good. If it pops back up, the seal is bad and the jar should be refrigerated for up to 2 weeks or frozen.
Free Printable Recipe Card
The Best Homemade Strawberry Jam Recipe
There's nothing quite like a freshly made jam. With just a few ingredients, you can whip up a delicious batch of strawberry jam that you’ll wish you made sooner. The best strawberry jam is homemade strawberry jam with simple ingredients. I promise, you won’t even want to go back to store-bought after you’ve made your own!
Ingredients
- 1 quart of fresh strawberries
- 1 1/2 cups of granulated sugar
- 1/4 cup of lemon juice
- 1 teaspoon of vanilla extract
Instructions
- Step 1. Prep the strawberries. Rinse them thoroughly under cold running water, and remove the stems and any blemishes. Cut the strawberries into small pieces, about the size of a quarter. Use a potato masher to begin breaking down the strawberries to release some of their juices.
- Step 2. In a large, heavy-bottomed saucepan, combine the strawberries, sugar, and lemon juice. Stir to combine, and bring the mixture to a boil over medium-high heat. Reduce the heat to medium-low, and let the mixture simmer for 35-40 minutes, stirring occasionally. Use a potato masher to gently mash the strawberries, to break them down further.
- Step 3. After the jam has simmered for 35-40 minutes, stir in the vanilla extract.
- Step 4. Once you've added the vanilla extract, remove the saucepan from the heat and let the jam cool for 5-10 minutes. Then, transfer the jam to a canning jar or container with a tight-fitting lid. You can store the jam in the refrigerator for up to 2 weeks, or freeze it for longer storage.
Notes
Jam will be slightly runny after you finish cooking, but should be visibly reduced. If it looks like it has too much liquid, cook a little longer. It will thicken as it cools.
If you wish to can for shelf-storage, sterilize your jars before you pour the jam into them. Seal tightly and then process the jars. If you're new to canning, head to the blog post to read more on how to can for shelf-storage.
Nutrition Information:
Yield: 3 Serving Size: 8 ozAmount Per Serving: Calories: 461
Ways to Enjoy the Best Homemade Strawberry Jam
Homemade strawberry jam is an absolute treat. Bursting with the sweet, tangy flavors of fresh strawberries, it’s the perfect compliment to breakfast foods like toast, biscuits, or croissants.
However it can also be used in a number of other unexpected ways!
- Swirl it into vanilla yogurt or oatmeal– a fruity burst of sweetness takes your yogurt bowl to the next level.
- Spread it onto a grilled cheese sandwich– one of my favorite ways to use jam is adding it to grilled cheese sandwiches. Make your grilled cheese extra fancy with jam, brie and brioche bread for a decadent treat.
- Use it as a glaze– consider it a marinade for your next BBQ. Brush it onto chicken, or pork when grilling.
- Warm it up and use as an ice cream topping– simply heat up some jam in the microwave for a few seconds and add it on top of some creamy vanilla ice cream.
- Add it to baked goods– use as a filling for crepes, thumbprint cookies or delicious fruit empanadas. (Try it in this amazing fruit empanada recipe!)

With so many possibilities for using homemade strawberry jam, it’s such a versatile treat to have on hand. Try making a batch to store in your pantry! Or just make some to enjoy throughout the next week or two.
Whether you enjoy it on toast or use it to create something new and exciting, you simply cannot pass up the deliciousness of the best strawberry jam made from simple and fresh ingredients.
More Recipes To Enjoy
I hope you enjoyed this simple strawberry jam recipe! I’d love to know if you gave it a try!
If you are looking for some other simple recipes, check out these next!
- Flavorful, Quick Pickled Cucumbers and Red Onions
- 7 Elements of an Amazing Italian Charcuterie Board
- Fresh Mango Pico De Gallo Recipe
Thanks so much for stopping by the blog today. Make sure to subscribe to access my free printable library and follow along daily on Instagram and weekly on YouTube!
~Sarah