
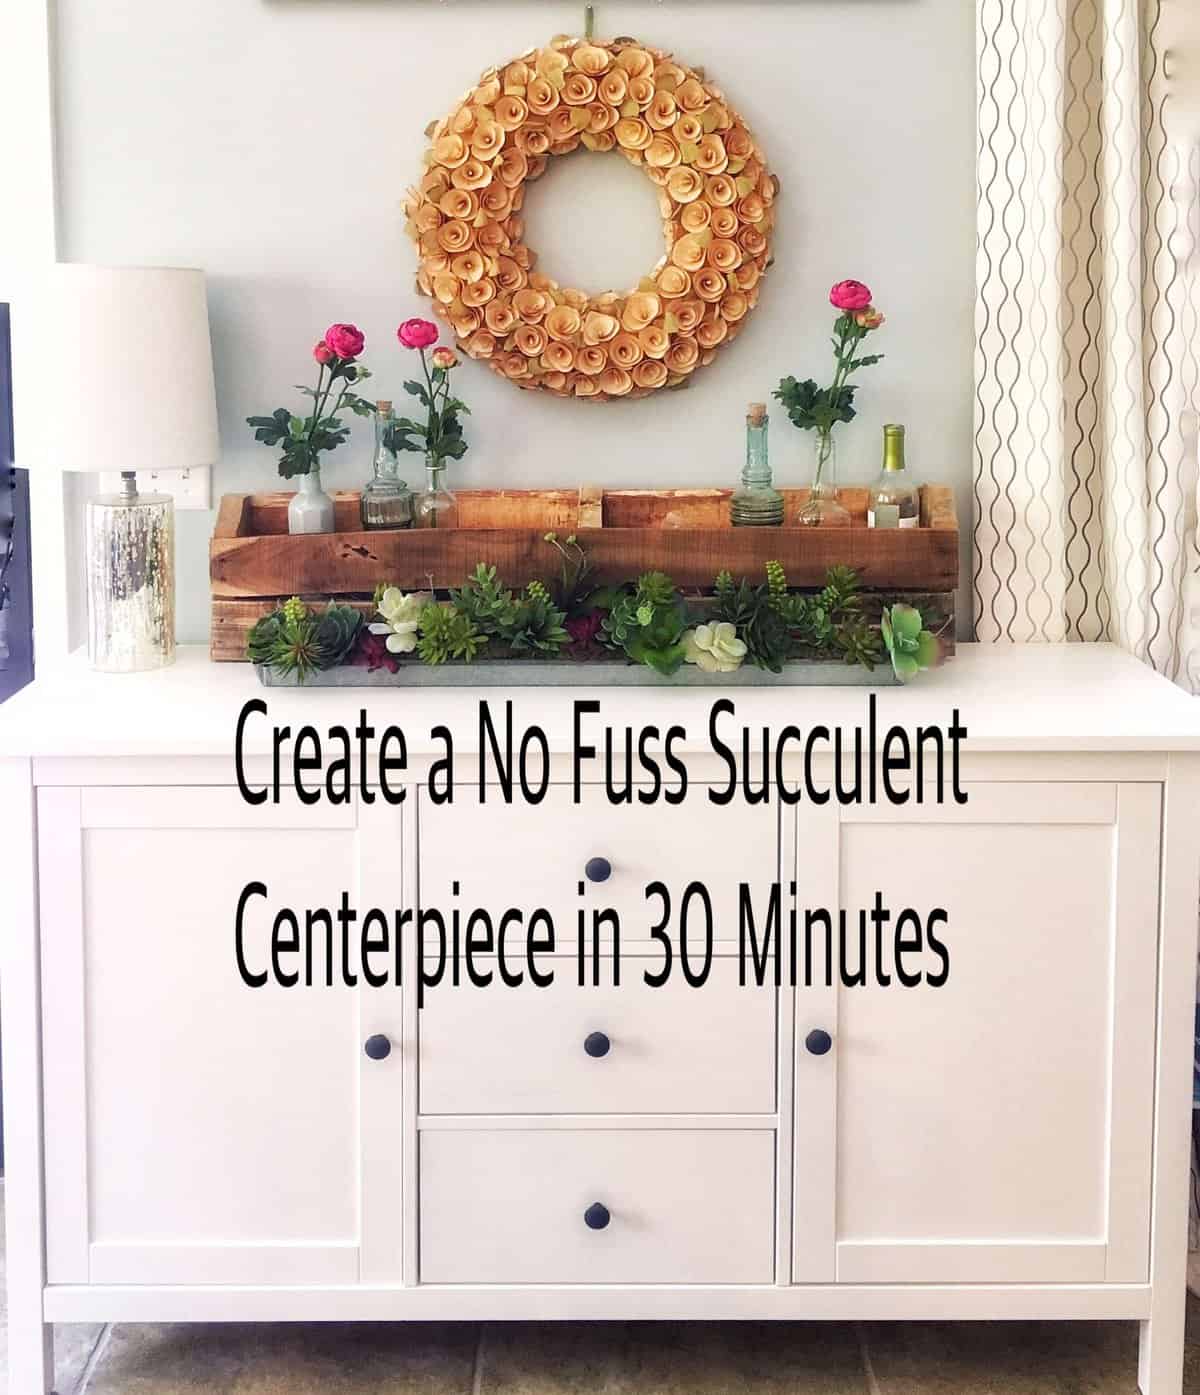
Create a No-Fuss Succulent Centerpiece
Good morning!
The sun has been shining for more than an hour and that makes today a good day! Today’s post is going to be short and sweet (if my antics will allow it). I wanted to show you how I created a succulent centerpiece in just 30 minutes.

Now, some may say, that is just silly. Anyone can plant a succulent. And while I can, indeed, plant succulents, I cannot keep them alive. Leave it to me to kill the one plant that is supposed to be a cinch to grow. Queue a photo of the one real succulent to my name. It isn’t a pretty sight.

So that is why, when I found this FABULOUS little feeder at a local shop, I decided I had to figure out a way to plant succulents in it without actually planting them. Why would I want to spend $4 a succulent (probably easily totaling $60) to watch them wither away all summer?

And that is when I remembered that our local dollar store carries fake succulents! Yay! Now, normally I would not recommend fake florals from a dollar store. Many of them are so fake looking you can hardly stand it. But I’ve bought their succulents before and found them to be very real looking and many ask me where they can find them. For this project it is all about the quality of the faux plants you can find to give it a life-like look.
Here are the supplies you will need:
- A planter. Obviously I am in love with my feeder as the planter but realistically you could do this in any pot, vase, box…etc. that you have and cherish.
- Floral foam. Or, in my case, whatever foam I could find in the grocery store because there was NO WAY I was going to one more store with my kiddos that particular day of the purchase. (Can anyone feel me here?)
- Scissors to cut the foam to fit your planter.
- Succulents galore!! I needed 30 for my project and my planter is about 3 feet long by 5 inches wide. You will need to estimate based on the size of your planter. But I would recommend overestimating. There is nothing worse than getting into a project and not having everything you need to complete it. You can always return what you don’t use.
- Moss (If desired. More on that later.)


This is a fairly easy project so I’ll just go step by simple step.
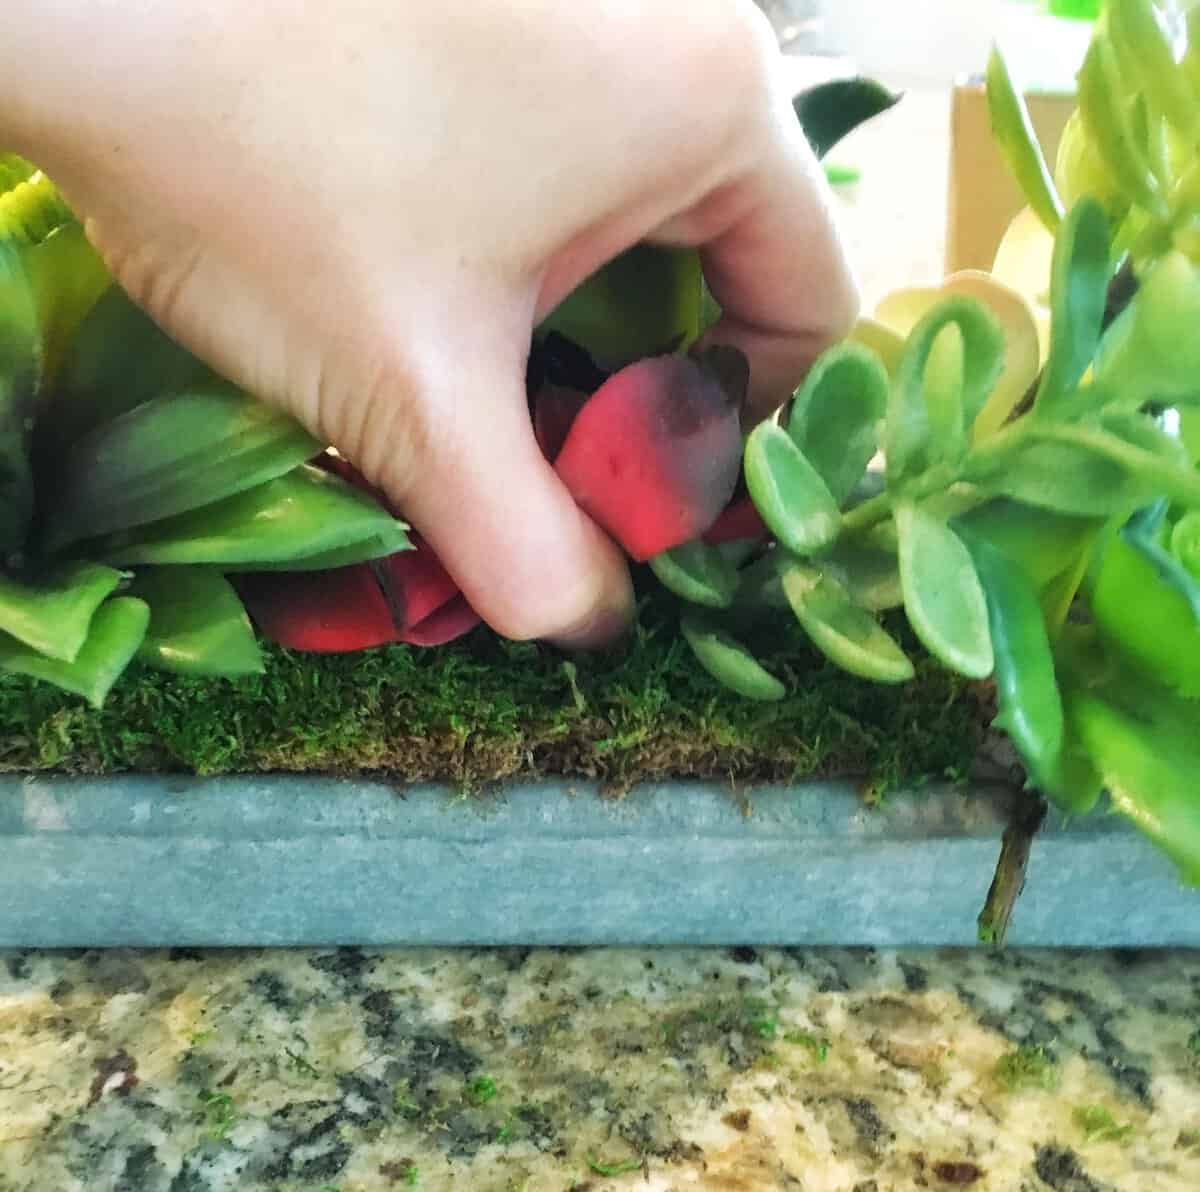
First, insert your foam into your planter. You will want to make sure it is in there tight to avoid the weight of the succulents from pulling it out. Second, take off all those pesky tags and start inserting the succulents one by one into the foam.

A few tips:
- Group smaller sprigs together for more effect.
- Space out similar succulents. Especially if you only have a few with color like I did. Those red beauties were hard to find or I would have gotten a few more.
- Be conscious of large gaps! You don’t want your foam to show through if you can avoid it. Below I have a couple of other solutions for this problem.
- Take a step back every now and then to look at the big picture. If you are too focused on one area the planter will be fuller in some areas than others.

Once you get into a rhythm you will find that you can place all the sprigs fairly quickly. Make sure that you look at it from all angles to avoid sparse areas.

Once you have inserted all the sprigs, inspect it closely to see if any of the foam is showing. There are a few solutions I could think of for this.
- Buy more sprigs. But I wasn’t all that keen on paying $10 more.
- Prior to beginning, you could spray paint your foam a dark green or other color that blends in.
- Insert the moss! This was the solution for me. It was only $3 more and covered all the spots where the foams was peeking through.

Now, had I known my succulents wouldn’t cover it fully I probably would have inserted the moss first. But I didn’t. And I wasn’t about to take all of it apart. So I just lifted the sprigs where the moss was needed and placed it accordingly.
I also like how the moss gave it a little bit more realistic look. And there you have it! Succulent centerpiece in 30 minutes for $30. At least mine was $30. Yours will depend on the amount of supplies you need. 🙂
And bonus. I won’t kill it! This beauty can be placed anywhere I want in my home regardless of sunlight. I don’t have to water it. And I could even put it on the covered porch for a pop of color. What do you think?


Have a blessed day!
Sarah
{Grace in women has more effect than beauty.-William Hazlitt}
Where did you find the moss?
Walmart!
I like it better with some moss.
Ahh!! I love this! I have also killed a number of succulents. I’m all about faux plants that look stellar (and REAL) when styled correctly! Thanks for sharing!
Thanks Brooke! I’m all about pretty and low maintenance. ?