
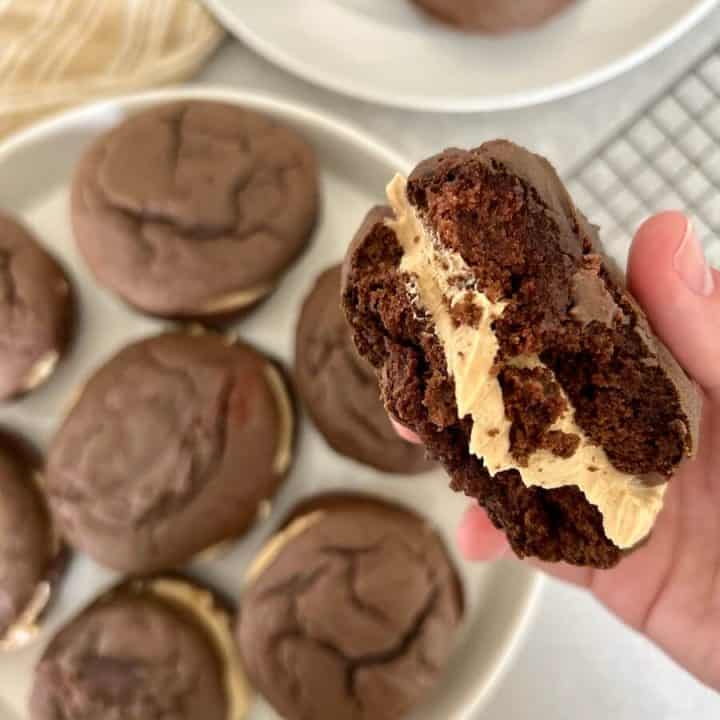
Decadent Chocolate Peanut Butter Whoopie Pies
These fluffy chocolate cake-like dessert sandwiches are filled with creamy sweet peanut butter filling. Rich and decadent, these chocolate peanut butter whoopie pies will be devoured faster than it took the make them!

Post may contain affiliate links for your convenience.
The first time I ever had a whoopie pie, I was around six years old. My parents had taken us on a trip to Hersey, PA and while we were there, we visited the Amish country. It was there at an Amish baked goods shop, that I tried my first ever whoopie pie.
I can honestly say, it was one of the most delicious desserts I had ever tasted!
The whoopie pie was so life changing, that my mom started making them herself every once in a while. The recipe has been passed on, and I too, now make whoopie pies from time to time for my kiddos.

These peanut butter whoopie pies are a spin off from our traditional recipe. The batter recipe is all the same, however I swapped my traditional white cream filling with a peanut butter filling for a little twist.
If you love chocolate and peanut butter together, you’re gonna love this recipe!
Where Did Whoopie Pies Come From?
There has been some controversy over this beloved treat when it comes to where it actually originated.
While I would assume it first originated in Lancaster County, as one of the Pennsylvania Dutch Country’s popular homemade treats, there are claims of them originating in Maine. At least, it is said that whoopie pies were commercially produced and sold by Labadie’s Bakery in Lewiston, Maine.

It’s sort of a mystery as to who learned from who. But having discovered them for myself in Lancaster County, I rest my case with the Amish.
How did whoopie pies get their name?
It’s sort of a silly story as to how whoopie pies got their name.
According to a quick search, working men would be so excited to open their lunch boxes to find these special treats made by their wives, that they would yell “whoopie!”
Hence, the name “whoopie pies”. Since then they have become a most beloved dessert for both locals and Pennsylvania Dutch Country visitors.
What is the difference between Maine and Pennsylvania whoopie pie?
The main difference between whoopie pies originating from Maine and Pennsylvania is the filling.
Most would agree that Maine’s filling is a commercial marshmallow fluff. On the other hand, Pennsylvania boasts an Amish homemade marshmallow filling.
For this recipe, you’ll be following the Amish’s lead and making homemade peanut butter filling!
How to Make Peanut Butter Whoopie Pies
Peanut butter whoopie pies are a labor of love, as they definitely take longer than just whipping up a simple batch of cookies. But once you’ve made them, you’ll know they were worth it!

What is Whoopie Pie Filling Made of?
Traditionally, whoopie pie filling is made of marshmallow cream or vanilla buttercream.
Marshmallow cream will result in a fluffier filling while buttercream will be thick and rich.
However, today we are using a delicious peanut butter filling.
If you’d like to make a different filling, see below for alternatives.
Peanut Butter Whoopie Pie Ingredients
For the cakes:

- 1 Cup Crisco Shortening
- 2 Cups Granulated Sugar
- 2 Eggs
- 1 Cup Sour Milk (splash a little vinegar in bottom of a liquid measuring cup then finish with milk, and stir)
- 2 Tsp. Vanilla Extract
- 1 Tsp Salt
- 2 Tsp Baking Soda
- 1 Cup Hot Water (scant)
- 1 Cup Cocoa
- 4 Cups Flour
For the peanut butter filling:
- 1 Stick Salted Butter (room temperature)
- 1 Cup Creamy Peanut Butter (Avoid all natural peanut butter as it is too runny)
- 1 Tsp Vanilla Extract
- 2 Cups Confectioner’s Sugar (more or less depending on consistency)
- Splash of Half & Half Cream or Milk (more or less to get the right consistency)
DIRECTIONS
For the cakes:
Step 1. Preheat oven to 375 degrees.
Step 2. In a stand mixer, cream together the shortening and sugar.

Step 3. Add in the eggs and beat until well combined.
Step 4. Slowly pour in the sour milk and vanilla and beat together.
Step 5. In a large bowl, sift together the flour, salt, and cocoa powder until fully blended.
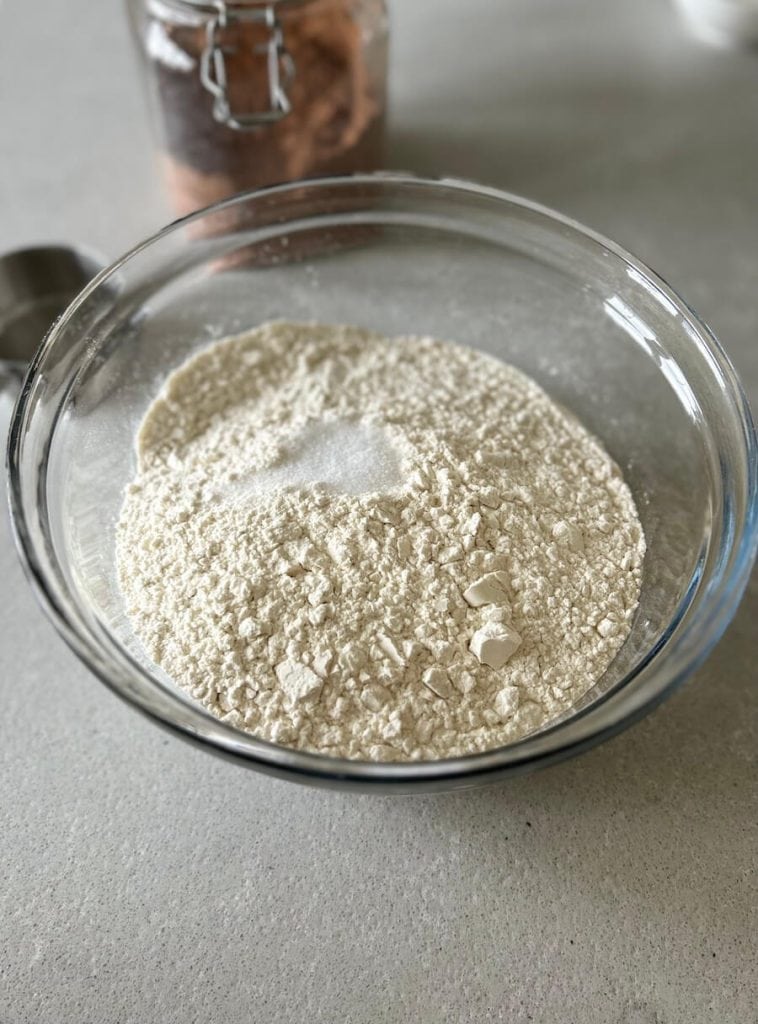

Step 6. Slowly add the dry mixture into the egg mixture and mix well.
Step 7. Combine the baking soda with the hot water and pour into the ingredients.

Step 8. Scoop out batter using an ice cream scoop. Drop onto a greased cookie sheet spacing about 3” apart.

Step 9. Bake at 375 degrees Fahrenheit for 7-10 minutes. You’ll want to keep an eye on these while baking, as you don’t want to over-bake or under-bake.
Step 10. Remove from the pan and let cool on a wire cooling rack.

For the filling:
Step 11. In a clean mixing bowl, beat butter with an electric mixer.

Step 12. Add in the peanut butter and vanilla extract and mix together.
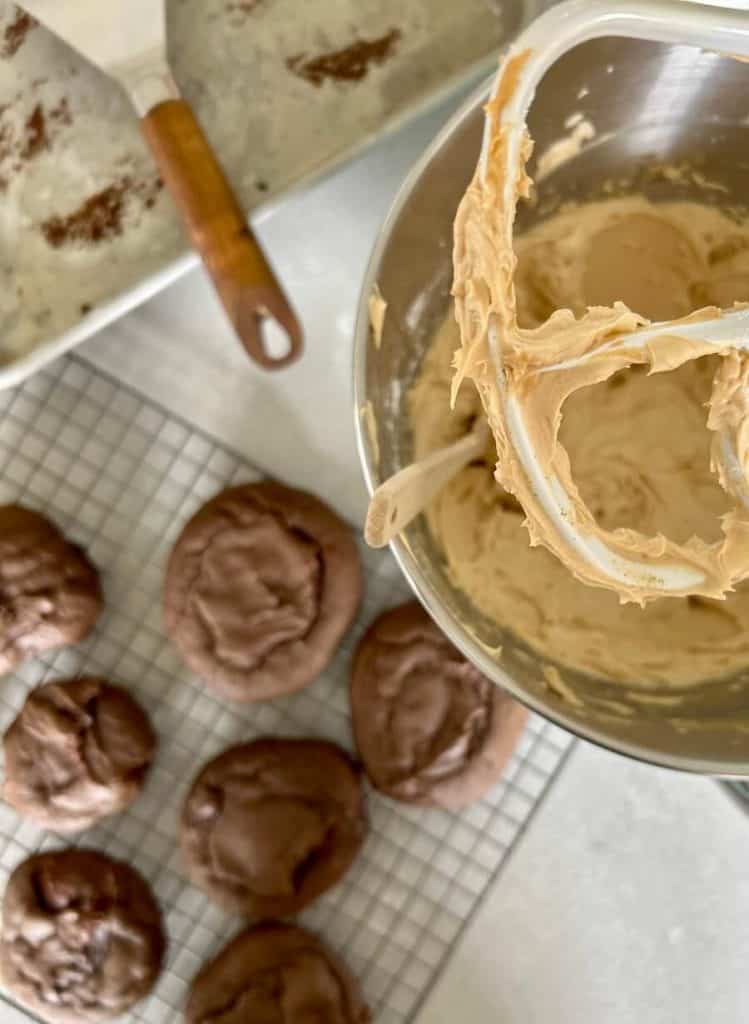
Step 13. Slowly start adding in the confectioner’s sugar. Start with the first cup and then add in the splash of milk. Mix to check your consistency. Add a little more sugar, alternating with a little more milk a bit at a time while beating.
Assembly:
Step 14. Match up similar sized cakes and then spread a generous helping of filling on the flat side of the cake. Top with the other cake to create a little sandwich.


Step 15. Take a bite and enjoy!

Can I Make A Different Filling?
Yes! This recipe is traditionally made with a white cream filling. So you could certainly try the traditional cream filling by following the recipe below:
- 2 Egg Whites (beaten until fluffy)
- 1 1/2 Tbsp Vanilla Extract
- 4 Tbsp Milk
- 4 Tbsp Flour
- 4 Cups Confectioner’s Sugar
- 1 1/2 Cup Crisco (the butter kind)
Directions: Start by beating the Crisco in a glass bowl, then add the rest of the ingredients, ending with folding in the beaten egg whites.
Want to avoid the eggs? Not a crisco fan? You can also just make a buttercream frosting to put between the cakes!
You can also experiment with adding additional flavors.

Try making a strawberry frosting or add orange zest to your white butter cream. Maybe you want to add in some mint extract for that thin mint taste. Feel free to customize your filling any way you’d like.
How to Store Peanut Butter Whoopie Pies
Peanut butter whoopie pies can be stored on the counter if using a buttercream frosting filling or any filling without egg whites. They will keep for up to 5 days if left on the counter when wrapped tightly with plastic wrap or stored in an airtight container.
I personally like to refrigerate mine, as it makes the cake even more dense and delicious to bite into when chilled. If you wish to refrigerate them, store in an airtight container or wrap the peanut butter whoopie pies individually in plastic wrap.

This also works great for freezing them. Then you can simply pull one out whenever you’re in the mood for one.
Whoopie pies will keep for up to 10 days in the refrigerator or up to 2 months in the freezer.
Free Printable Recipe Card
Don’t forget to subscribe to my Grace Notes to download dozens of free printable recipe cards, plus over 75 freebies!
Decadent Chocolate Peanut Butter Whoopie Pies
These fluffy chocolate cake-like dessert sandwiches are filled with creamy sweet peanut butter filling. Rich and decadent, these chocolate peanut butter whoopie pies will be devoured faster than it took the make them!
Ingredients
- (For the Cakes)
- 1 Cup Crisco Shortening
- 2 Cups Granulated Sugar
- 2 Eggs
- 1 Cup Sour Milk (splash a little vinegar in bottom of a liquid measuring cup then finish with milk, and stir)
- 2 Tsp. Vanilla Extract
- 1 Tsp Salt
- 2 Tsp Baking Soda
- 1 Cup Hot Water (scant)
- 1 Cup Cocoa
- 4 Cups Flour
- (For the Peanut Butter Filling)
- 1 Stick Salted Butter (room temperature)
- 1 Cup Creamy Peanut Butter (Avoid all-natural peanut butter)
- 1 Tsp Vanilla Extract
- 2 Cups Confectioner's Sugar (more or less depending on consistency)
- Splash of Half & Half Cream or Milk (more or less to get the right consistency)
Instructions
(For the cakes)
Step 1. Preheat oven to 375 degrees.
Step 2. In a stand mixer, cream together the shortening and sugar.
Step 3. Add in the eggs and beat until well combined.
Step 4. Slowly pour in the sour milk and vanilla and beat together.
Step 5. In a large bowl, sift together the flour, salt, and cocoa powder until fully blended.
Step 6. Slowly add the dry mixture into the egg mixture and mix well.
Step 7. Combine the baking soda with the hot water and pour into the ingredients.
Step 8. Scoop out batter using an ice cream scoop. Drop onto a greased cookie sheet spacing about 3” apart.
Step 9. Bake at 375 for 7-10 minutes. You’ll want to keep an eye on these while baking, as you don’t want to over-bake or under-bake.
Step 10. Remove from the pan and let cool on a wire cooling rack.
(For the filling)
Step 11. In a clean mixing bowl, beat butter with an electric mixer.
Step 12. Add in the peanut butter and vanilla extract and mix together.
Step 13. Slowly start adding in the confectioner's sugar. Start with the first cup and then add in the splash of milk and mix, to check your consistency. Add a little more sugar, then a little more milk at a time while beating.
(Assembly)
Step 14. Match up similar sized cakes and then spread a generous helping of filling on the flat side of the cake. Top with the other cake to create a little sandwich.
Step 15. Take a bite and enjoy!
Notes
See blog post for alternative fillings.
Nutrition Information:
Yield: 10 Serving Size: 1 pieAmount Per Serving: Calories: 877

More Delicious Recipes
I really hope you enjoyed this recipe!
And if you’re looking for more delicious baked good recipes, make sure to check these out next.
- Decadent Coconut Pecan German Chocolate Pie Recipe
- Healthy Gluten Free Banana Bar Recipe
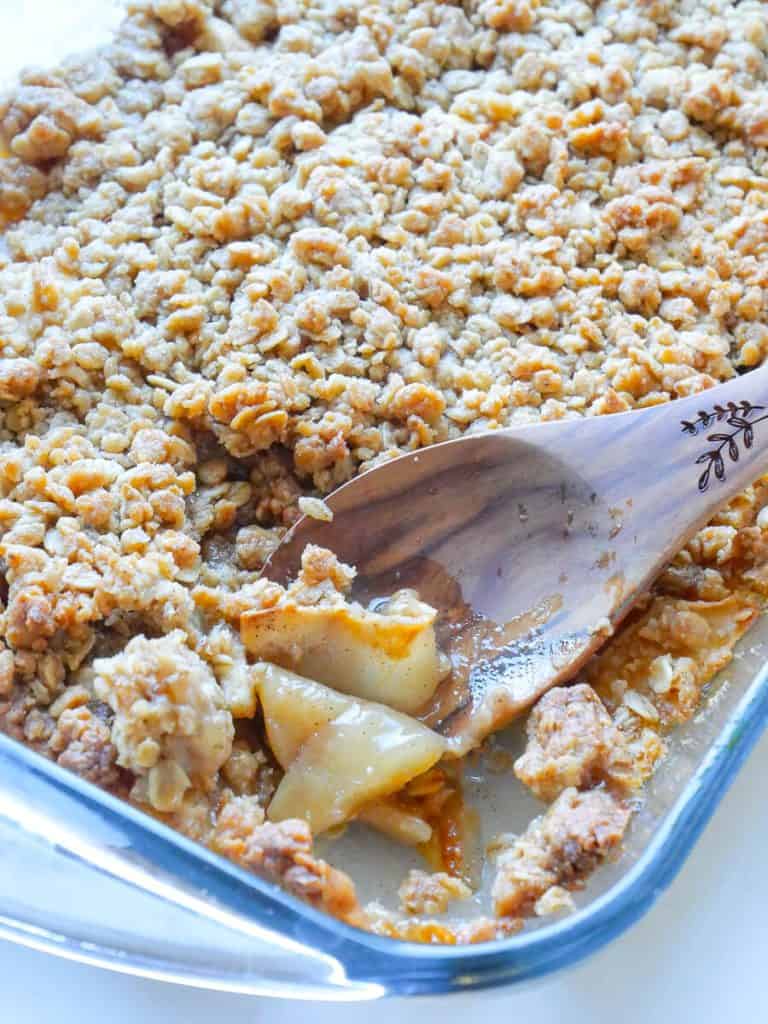
- Easy, Mouth Watering Blueberry Bars
You can also visit my recipe archives here.
Thanks for stopping by the blog today! Make sure to subscribe to get my Grace Notes directly to your inbox and to access all my insider perks. Follow along daily on Instagram and weekly on YouTube!
~ Sarah

I really enjoy eating pastries like this one.