
DIY Flocked Wreath…For The Outdoors!
Happy Thanksgiving my friends!
Let’s talk DIY today, shall we? I really like the look of flocked greens for Christmas. However, I don’t like white fluff all over my floor. And I also don’t like that you can’t use it outside! Wah Wah. Why would I want to hide all my pretty flocked greens indoors? So I decided to do something about it.

I bought three cheap-o wreaths and spray painted them. Yep. Spray paint is my forever friend and I use it on just about anything. Now before we go any further, I just have to admit that I don’t think I would use this method indoors. My wreaths look beautiful outside. But inside, where you will most likely walk up close and inspect them…yeah, they aren’t entirely flocked legit. There is no fluff. It doesn’t look like snow. But it works. Outside. 😉 So here we go.
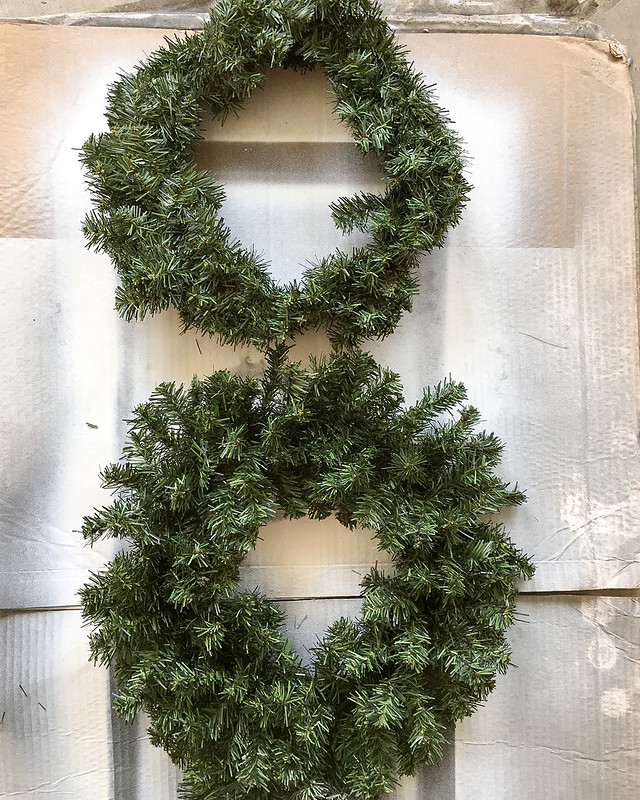
Get your self a wreath. Fluff it up. The smooshification factor of these inexpensive wreaths is abysmal. Smooshification? Smooshified? Smooshed? I don’t know. They are just really in need of some help. And for some reason this is the number 1 thing that people don’t do! Guys! Un – smooshify those babies! Pull each little branch out every which way and make them fluffy! Look at the difference between the top and the bottom! This one little step will go a long way.
Next, pull out whatever leftover spray paint you have (as long as it’s white! No one wants dirty snow…) and spray a fine mist at least a foot away from the wreath. If you hold the can too close then you will make it completely white and it will not look flocked. It will look like a plastic blizzard engulfed your wreath. Just sayin’….
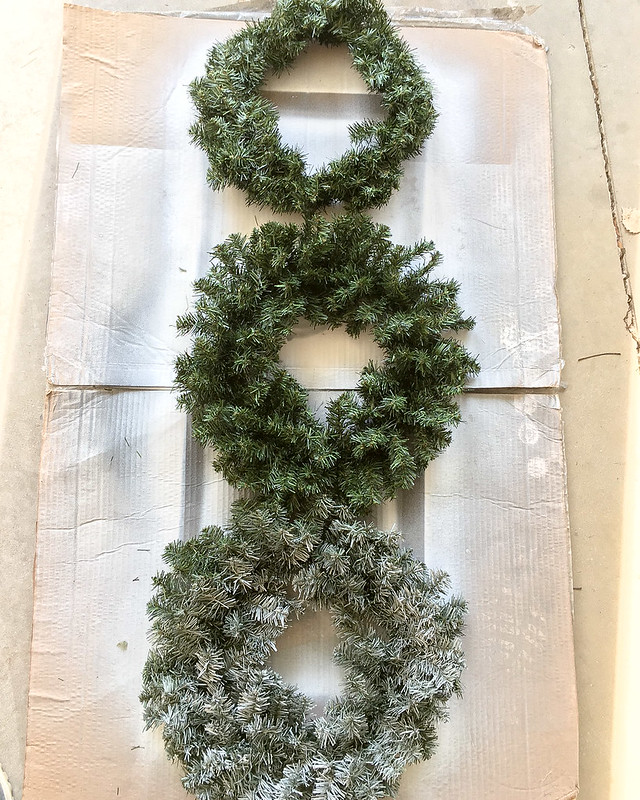
So, above are our three steps. 1. Get a cheap wreath. 2. Un-smooshify. 3. Spray a light mist of white spray paint. And that is it my friends. You have yourself a much cheaper version of a flocked wreath and it literally only takes 5 minutes.
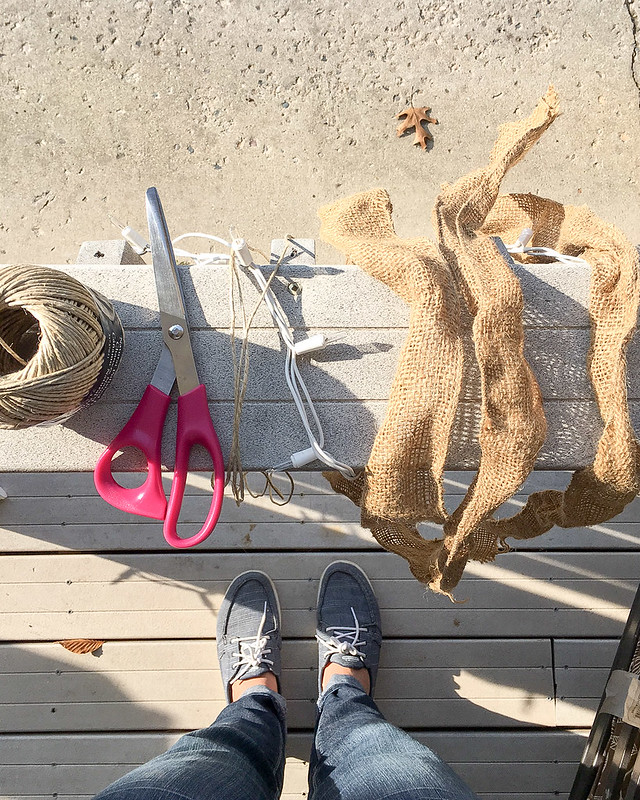
Next, I’ll very quickly show you what I did to spruce them up a bit. We live in a harsh winter climate so I didn’t want to use regular ribbon to hang them. Instead, I grabbed some left over twine and burlap ribbon and made a little cedar ribbon accent for the top.
First, gather your supplies and use your front porch railing as your workstation. Because doesn’t everyone use the skinniest surface available to try to balance everything? Next, cut your twine and burlap to length. Then just snip some fresh cedar (or pine or other such Christmas-y greenery) and insert it into a very simple knot. I like using burlap that has wire so that I can bend it a bit to make it more decorative.
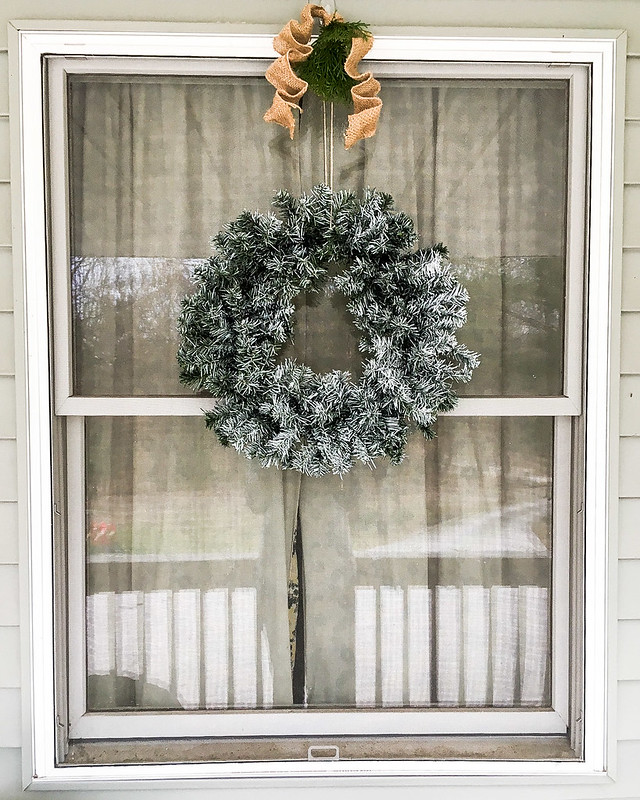
And voila. Super simple accent that will hold up to the weather.

Hang them using shingle clips or outdoor command strips on the windows (if you don’t have screens) and you are done!

This project cost me $3 per wreath for a total of $9! I had all the other materials on hand from other projects. What do you do for a cheap Christmas decorations?
Thanksgiving blessings!
Sarah
{Let them give thanks to the LORD for his unfailing love and his wonderful deeds for mankind, for he satisfies the thirsty and fills the hungry with good things. Ps. 107:8-9}

Do you think you could lacquer the flock to preserve the flock, or put a coat of spray paint over the flick?
I’ve never tried this so I don’t know how it would react. It might dissolve it.
Love it! I could see some snowflakes or inexpensive ornaments attached to it, too! Thanks for sharing!
Yes! They can be dressed up any way you like! Simple or decked out. ☺️