DIY Photo Christmas Tree
Oh Christmas tree, oh Christmas tree. How lovely are your branches. (You’re welcome.) Today I’m excited to be sharing a tutorial for a DIY photo Christmas tree!
Who saw my tutorial on how to make your own Charlie Brown Christmas tree earlier this week?! Today is the partner to my previous post because I’m sharing a tutorial for how you can adorn your tree with precious memories!
Joining me today are some amazing bloggers sharing their own DIY Christmas projects. Make sure to visit each of them after you’re done here as well. If you’re joining me from Brendt at She Gave It A Go, thanks for hopping over! Isn’t her gallery wall stunning?

Post may contain affiliate links where I earn a small commission on your purchases at no additional cost to you.
DIY Photo Christmas Tree
This simple DIY Christmas project can be made with your young kiddos and is the perfect way to bring family to the forefront for Christmas.

A few years ago my mom made a “people tree” and filled one of her Christmas trees with the people she loves. My kids love looking at those homemade ornaments every year so this year I decided to share her idea with all of you and make some of my own. I hope that my kids find our “people tree” just as special as I do.
Photo Christmas Tree Tutorial
As you saw above, my son helped me make these photo ornaments. This project is so simple that your young kids can join in the fun of making these and take some ownership of Christmas decorating in the process. It was such a sweet time to see him light up with excitement when I was done adding his handiwork to our tree. 🙂
Now let’s get to the tutorial!
Step 1
Print your favorite pictures. This tutorial is for double sided ornaments so print twice as many photos as you want ornaments.

Step 2
Gather supplies. You will need:
- Scissors
- Glue stick
- Pen
- Objects for your templates (more info next…)
- Yard sale or shipping tags
Step 3
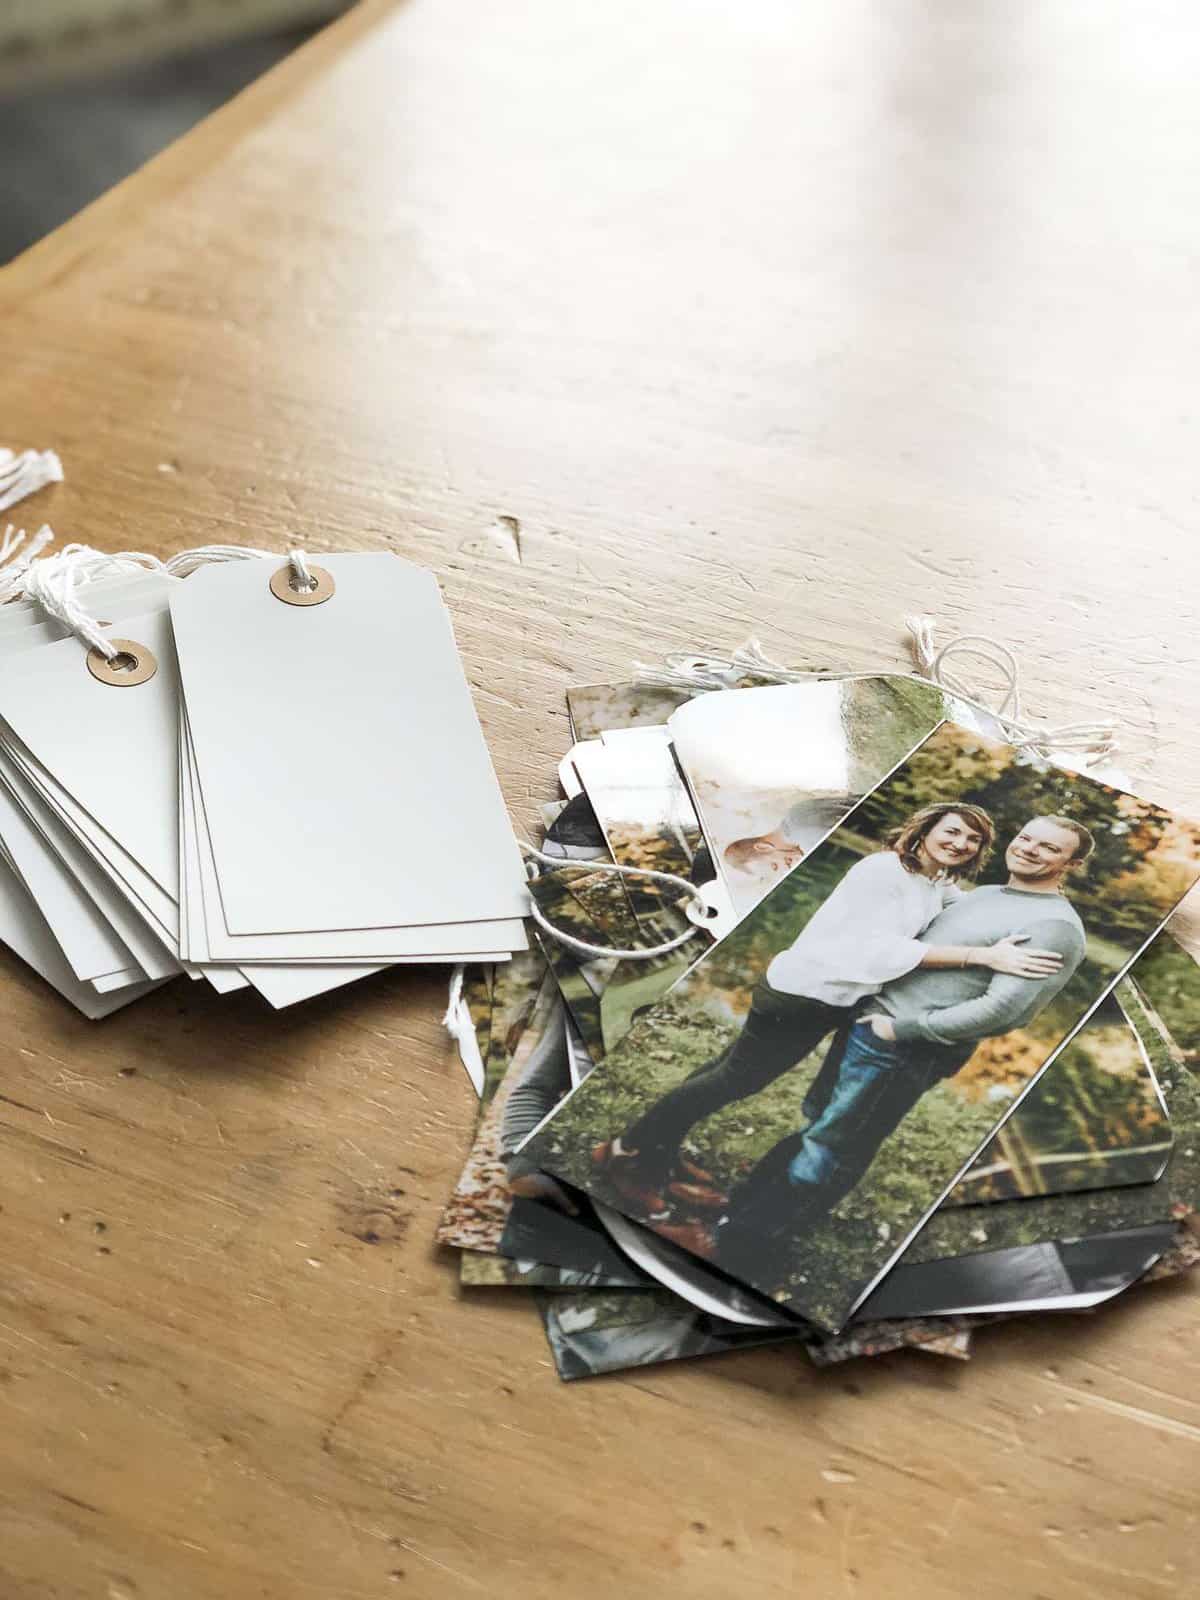
Using objects that you find around the house, trace shapes onto your photos to frame your subjects. I used simple things to create my shapes. A travel mug for my circles, M&Ms for my rectangles and squares (ahem…which may have also been our project snack later on), and a butter dish to create rounded edges.

Lay your photos out and simply trace lines where you want to cut. Then, cut them out. Make sure that the photos you are using back to back are cut identically so that they line up with each other when glued together.
You’ll probably notice some edges that aren’t quite identical in my photos, but that’s what happens when a 7 year old wields the scissors. 😉 And those imperfections are all just a part of the memory making.

Step 4
Glue a yard sale or shipping tag to the back of one photo. Then, glue the second photo directly on top. You’re goal is to sandwich the tag in the middle so that you can easily hang them on the tree.


Step 5
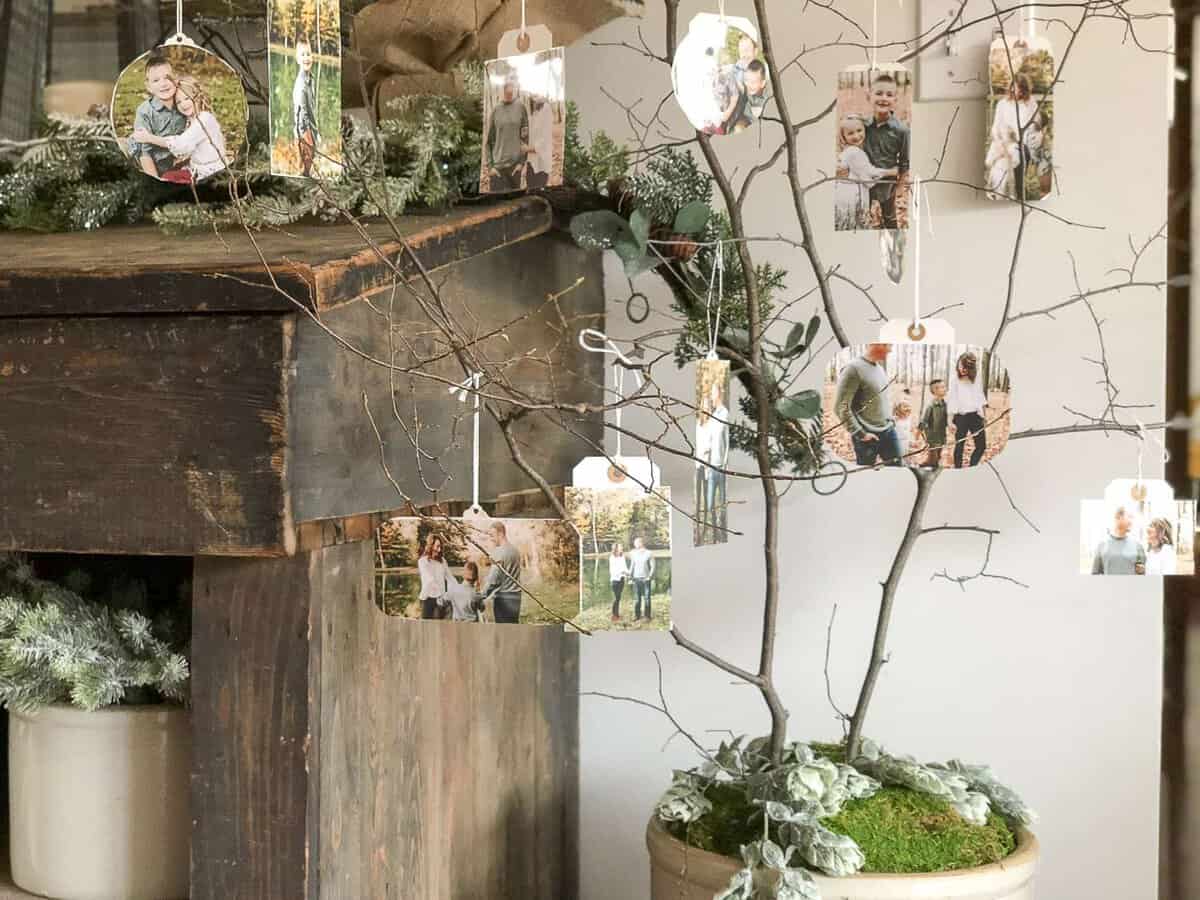
Let dry, and then hang! That’s it! Make sure to get creative with how you create your shapes and what size the photos are. This will create dimension and interest once you place them on your tree.

You can see how I made the base of this tree {here}.
I used two different types of tags because I ran out of the small yard sale tags. I think I preferred them over the shipping tags but those worked as well!
DIY Photo Christmas Tree
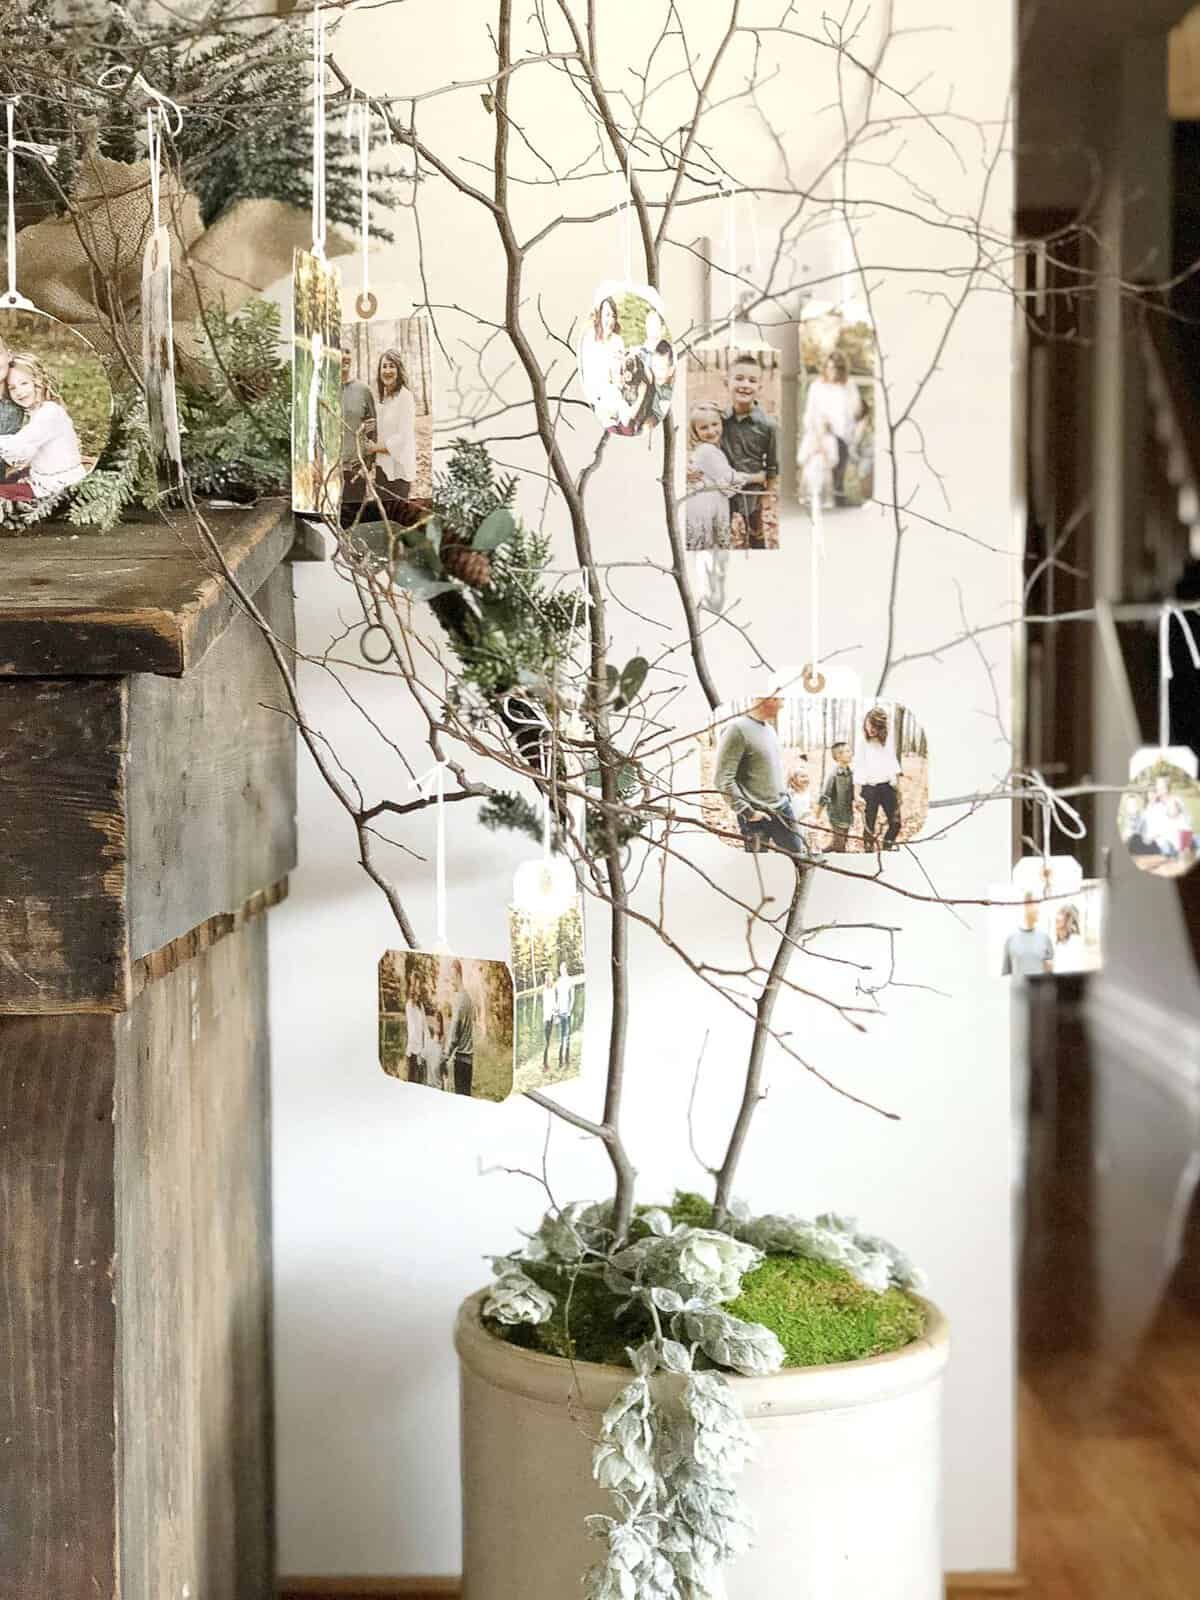
These photo ornaments can be used on your traditional tree or you can create a people tree like I’ve done here. They would also be fun to hang from a large branch as wall decor! I think I may do this once the holidays are over to keep our people ornaments up a bit longer. 🙂


Christmas Decor Sneak Peek
And here is a little sneak peek at some Christmas decor since you’re here! I’m not sure it will stay this way all season but I had some fun playing around while decorating this space.

Shop This Space


I had so much fun making these with my son. And I just know that we will treasure them each year when we pull them out. I can’t wait to add to them throughout the years and watch our family grow. It will surely become a favorite tradition.

I hope you enjoyed this simple project! If you decide to make some make sure to post a photo and tag me on Instagram so I can see how yours turn out! I love sharing reader projects in my Instagram stories!
Make sure to check out the other amazing DIY Christmas posts! If you’re following along on the hop, then head to Chelsey from Little Nest of Four next!
Wednesday
Aratari At Home // The Tattered Pew // My 100 Year Old Home
Crisp Collective // Bless This Nest // Adored House
Thursday
Seeking Lavender Lane // The Honeycomb Home // Joy In Our Home
She Gave It A Go // Grace In My Space // Little Nest of Four







This makes me happy! I will be doing this with my 5 children! ♥️♥️ thank you.
Sarah what a great idea! I love that it can be done with kids…makes it even better. Yours turned out so pretty! Thanks for the idea and for joining the hop! Now I’m ready to start decorating for Christmas!
Thank you Kelly! Thanks for having me on this fun hop!
I absolutely love this idea! You have inspired me to make my own!!
Thank you Lindsay!! I hope you do! Tag me so I can see how it turns out!
Sarah, this is truly so inspiring! I am in awe of the simply beauty of this project and its meaningful impact for our homes this holiday season. Thank you for the inspiration my friend, and it’s a true joy to be on this blog hop with you! xoxo-Brendt
Thank you Brendt! It’s such a fun project to preserve memories for years to come!