
DIY Wood Signs
Hello!
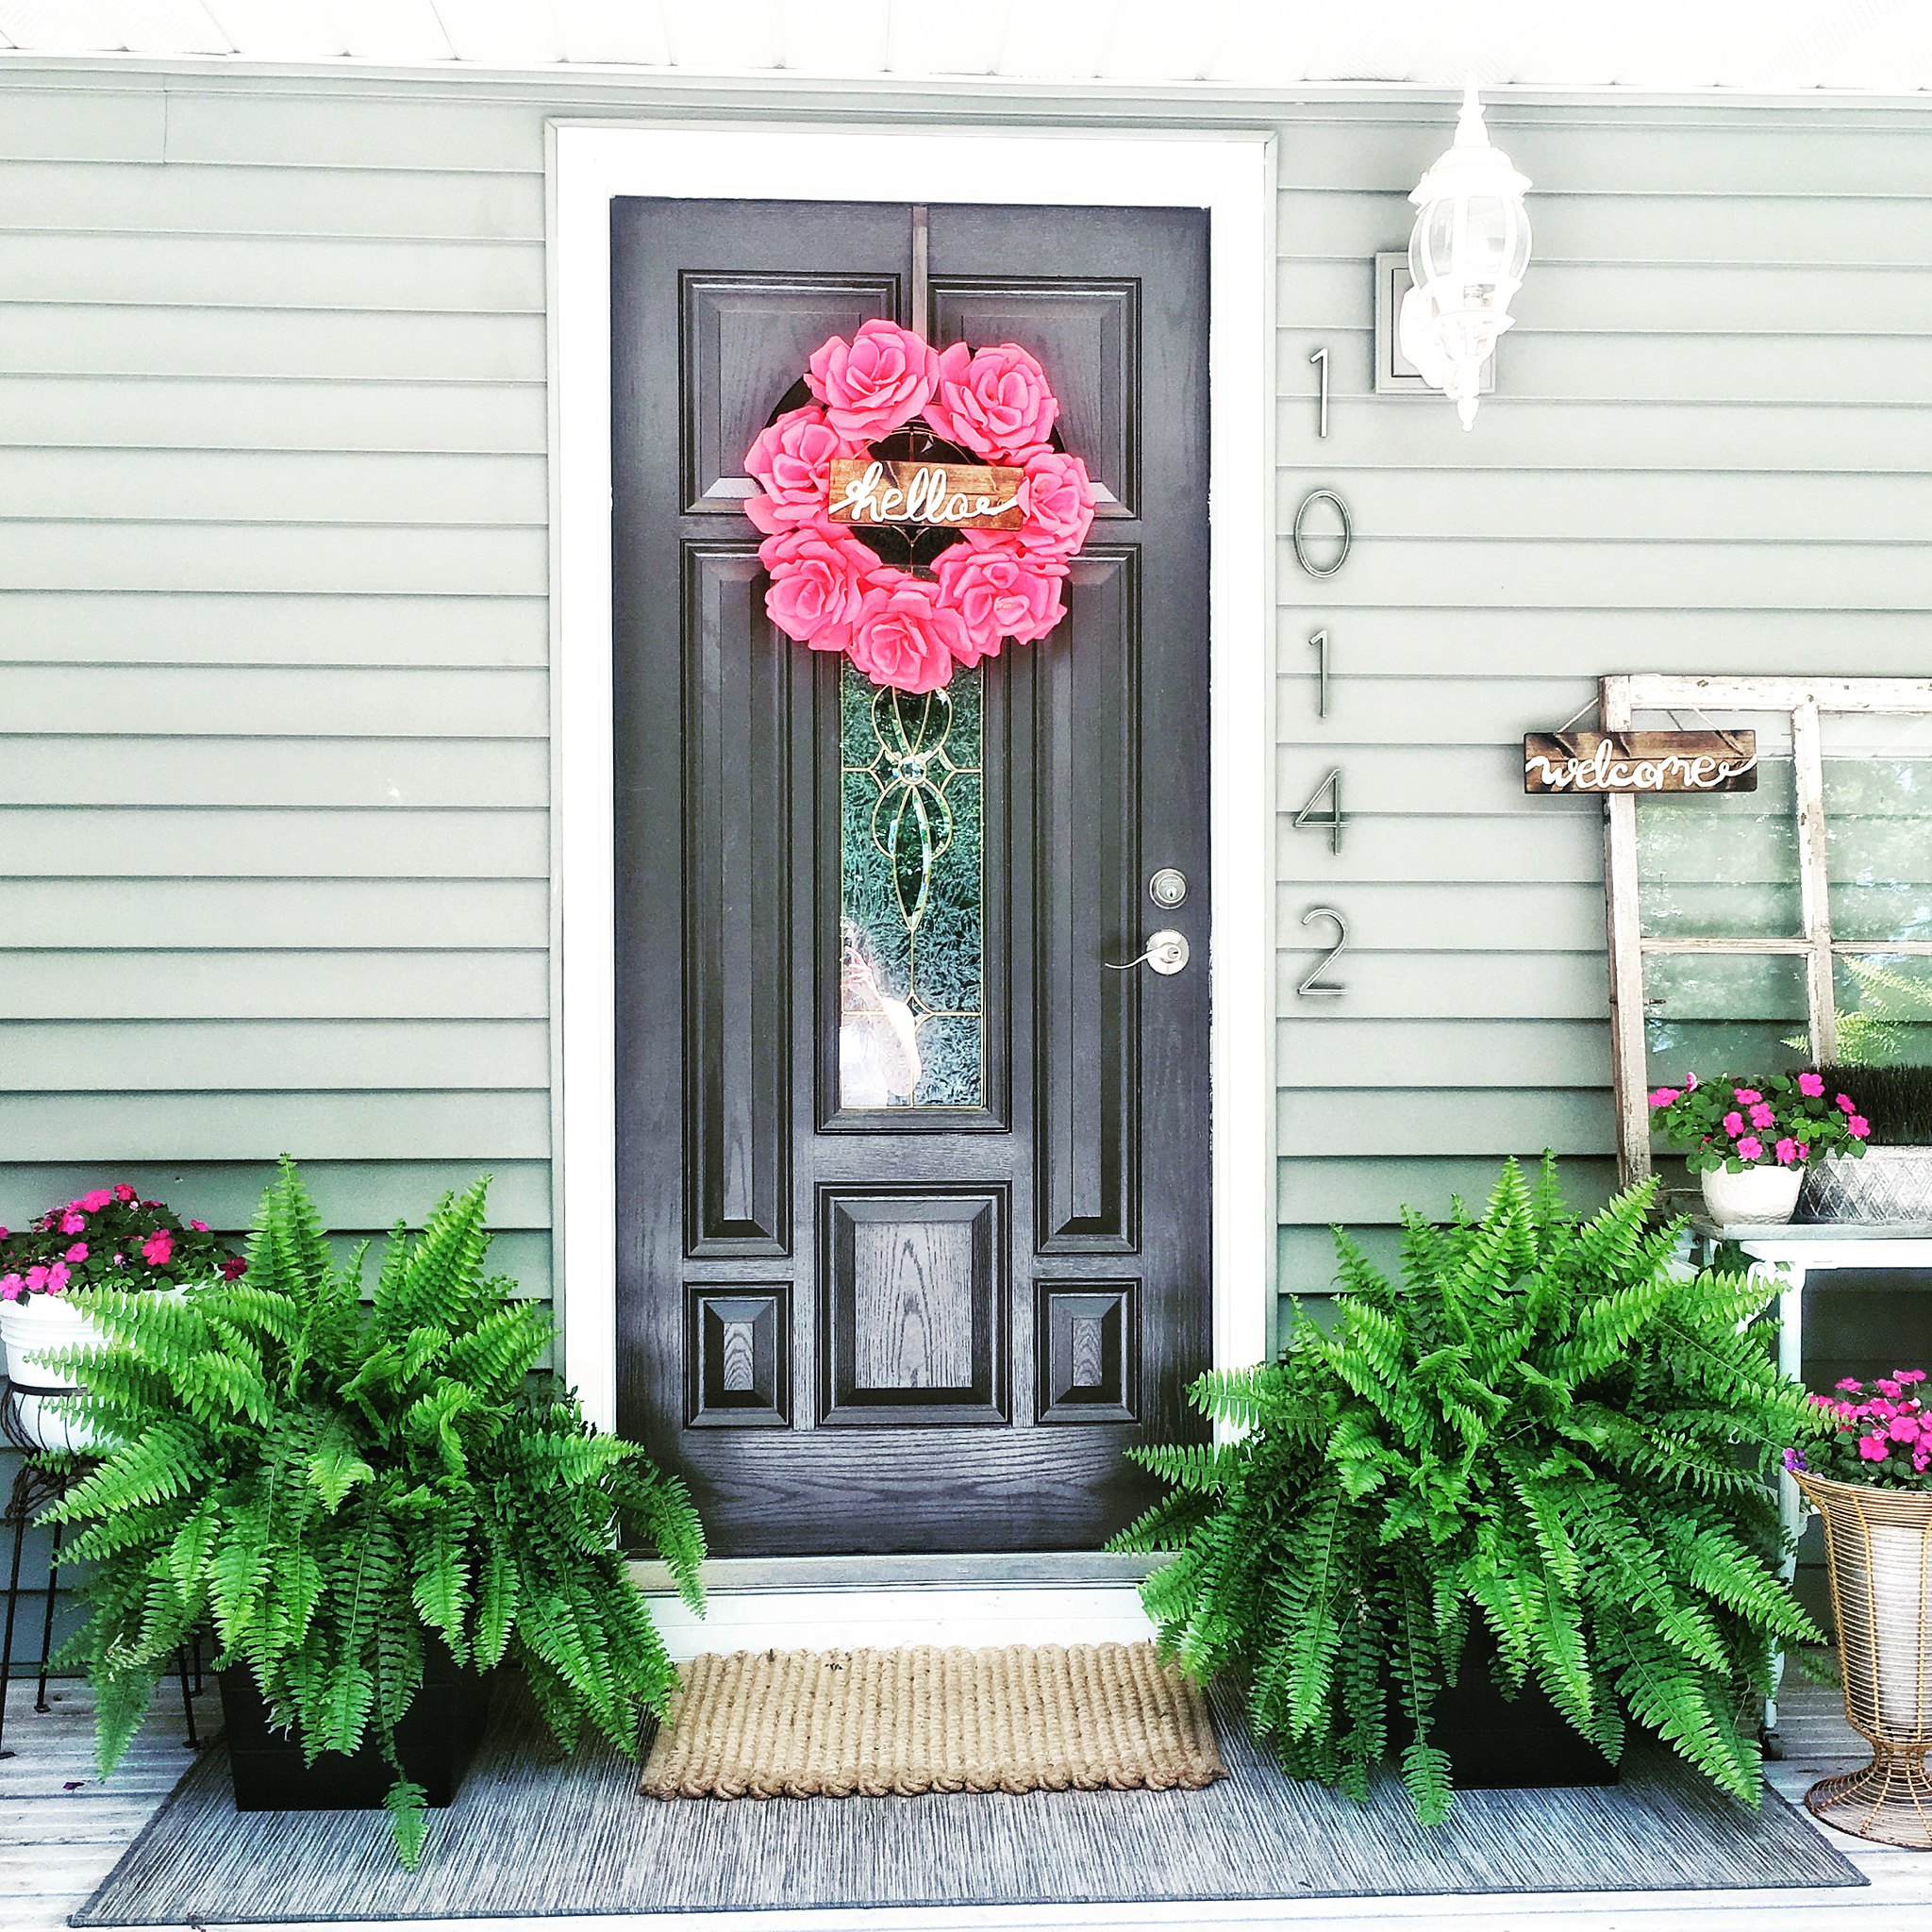
I know I’ve been absent! Sorry! But it is sum-sum-summatime and the kiddos don’t care if I have a blog. True story. But I had some kid-free time today (thanks Mom!) and thought I would share a quick DIY project I recently completed. I may have mentioned it in my post about my spring front porch refresh.
 I was wanting a couple of cute signs for my front porch to make it more welcoming so I started to search the famous Etsy.com. You know what I found? 1 million cute signs! But, the more I looked the more I thought, “I could probably do that.” Now, let me just stop here and say that I did NOT think, “I could do exactly that and make it look that good.” I am no fool. I knew my DIY version would not be picture perfect like some of these amazing makers on Etsy. But I was also ok with that. So if you are attempting a DIY sign and have never done it before, don’t expect it to look like the pros. Capsice?
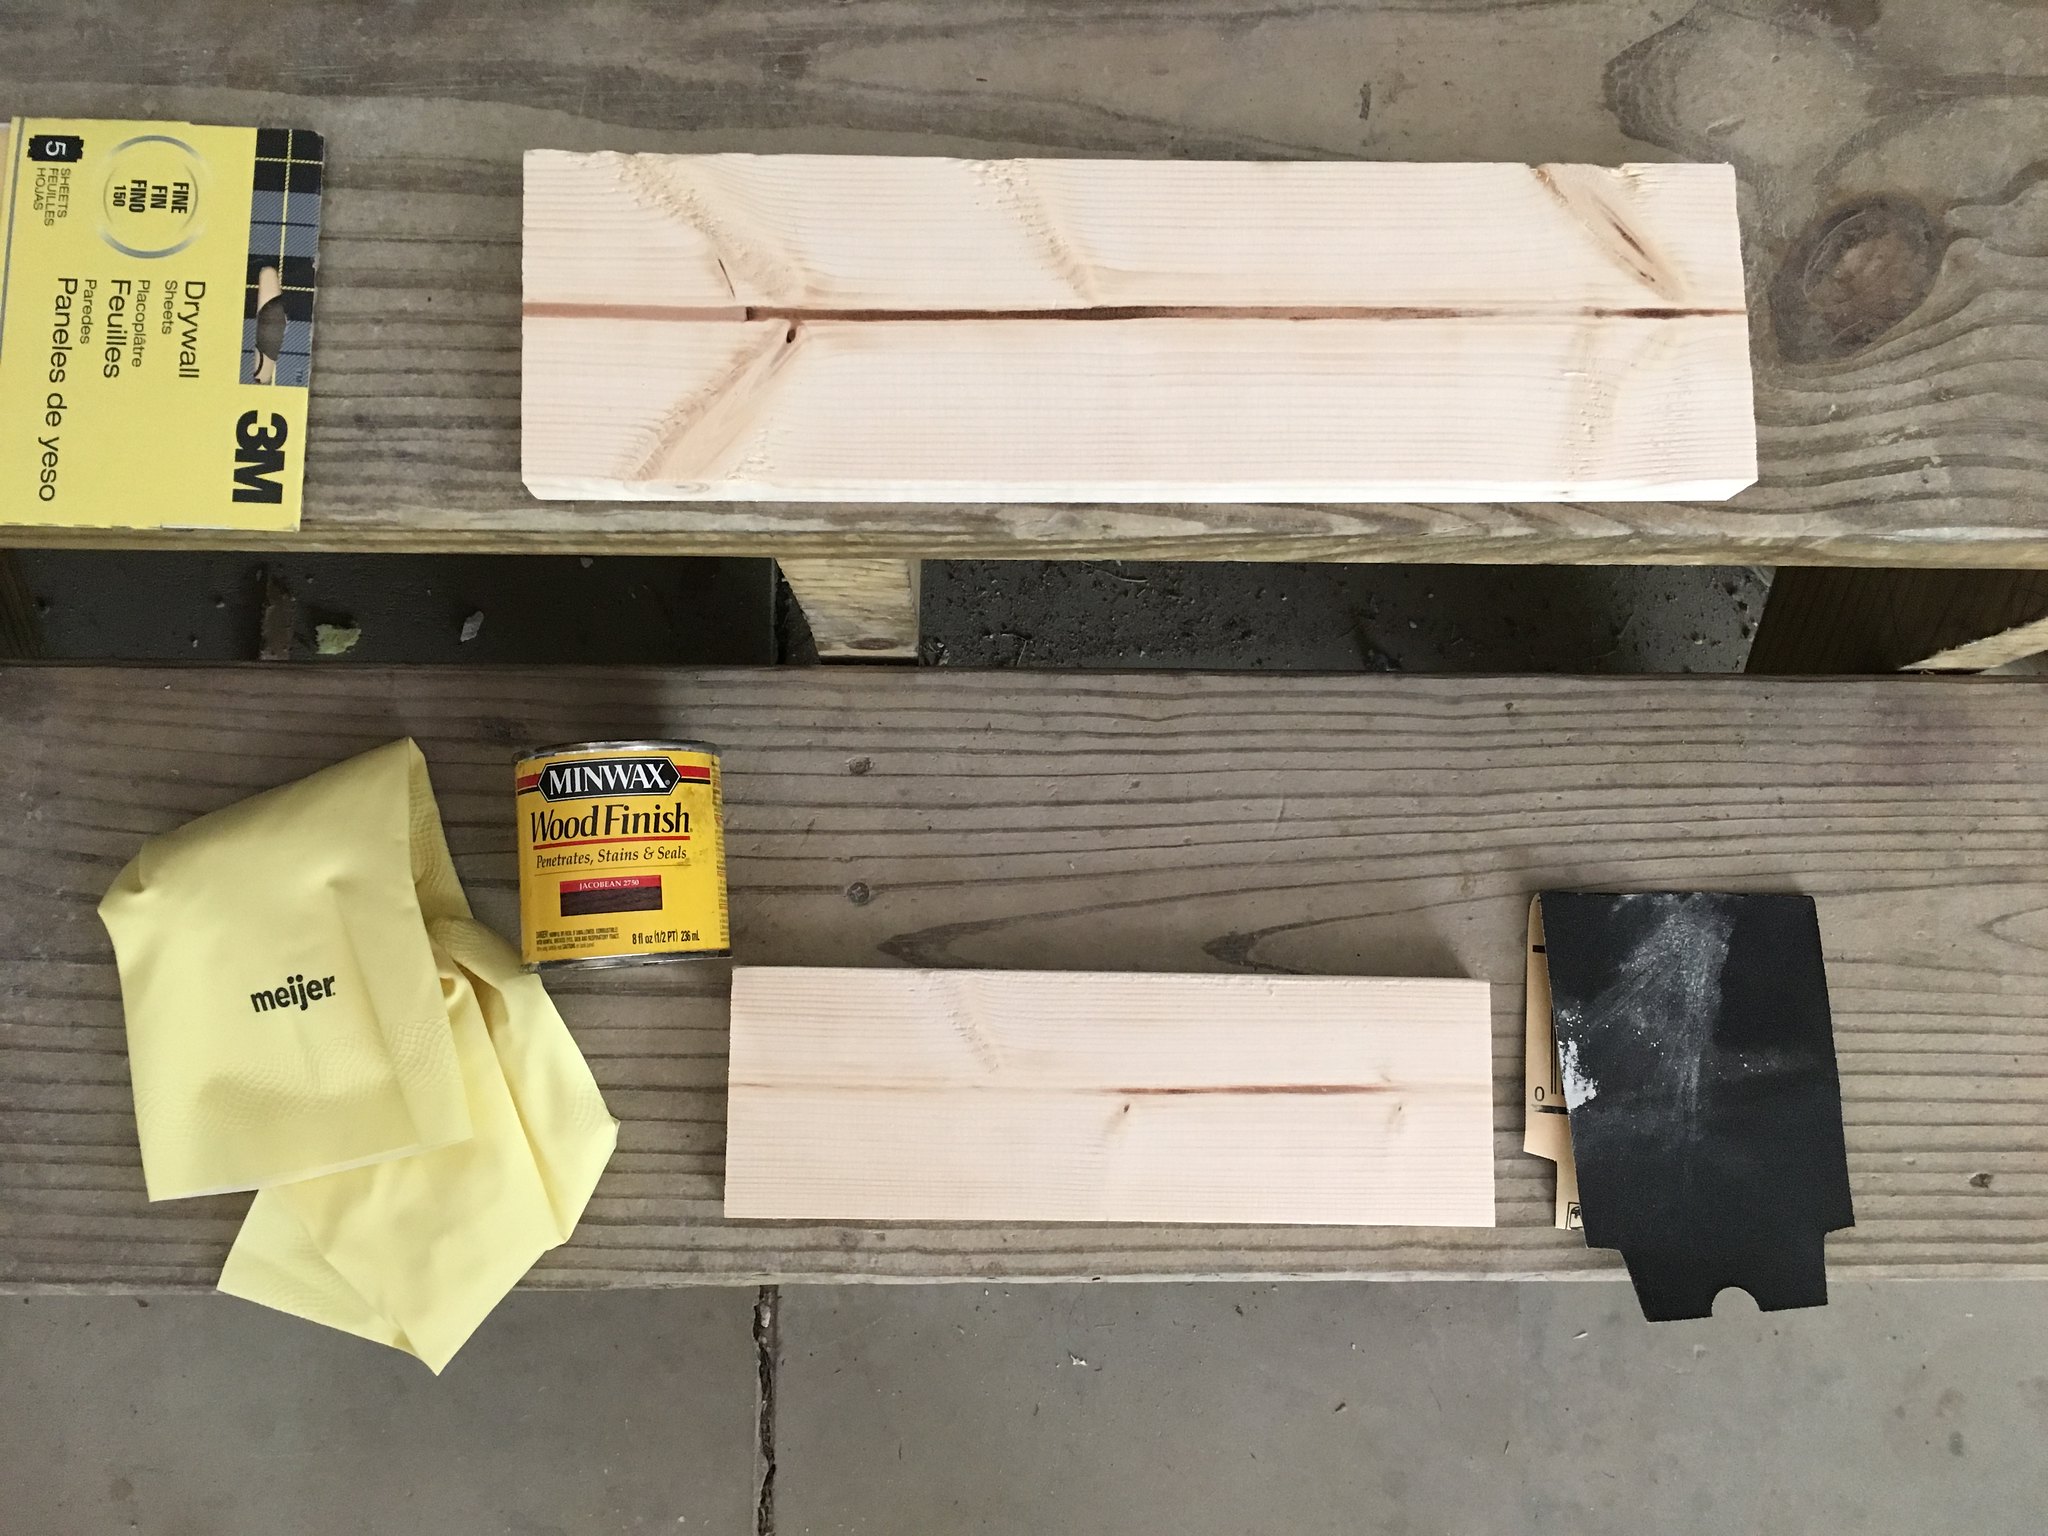
I decided that I wanted it to be super simple and CHEAP (because I was making it and am, once again, no pro). So I went to our local hardware store and bought the cheapest piece of wood I could find (I’m talking $2.49 here) and had the nice man in the building department cut it to size for me. I went with 10 inches and 12 inches for my signs and chose the words Hello and Welcome. Hello because I wanted it to be kind of fun and Welcome because I wanted it to be traditional. And I am bad at making decisions. So I did both! The rest of the materials I already had on hand. So I literally spent less than $3 to make two signs. Queue the music and happy dance! Besides the wood you will also need:
- Stain or paint (whichever you prefer)
- Sand paper
- Gloves if staining
- Rag if staining
- Paint for the lettering
- Paint brushes
I started out by sanding down the straight edges and making the cuts smooth. I wanted the edges to be slightly rounded.  After that, I stained the wood with paper towel and my favorite dark stain.
 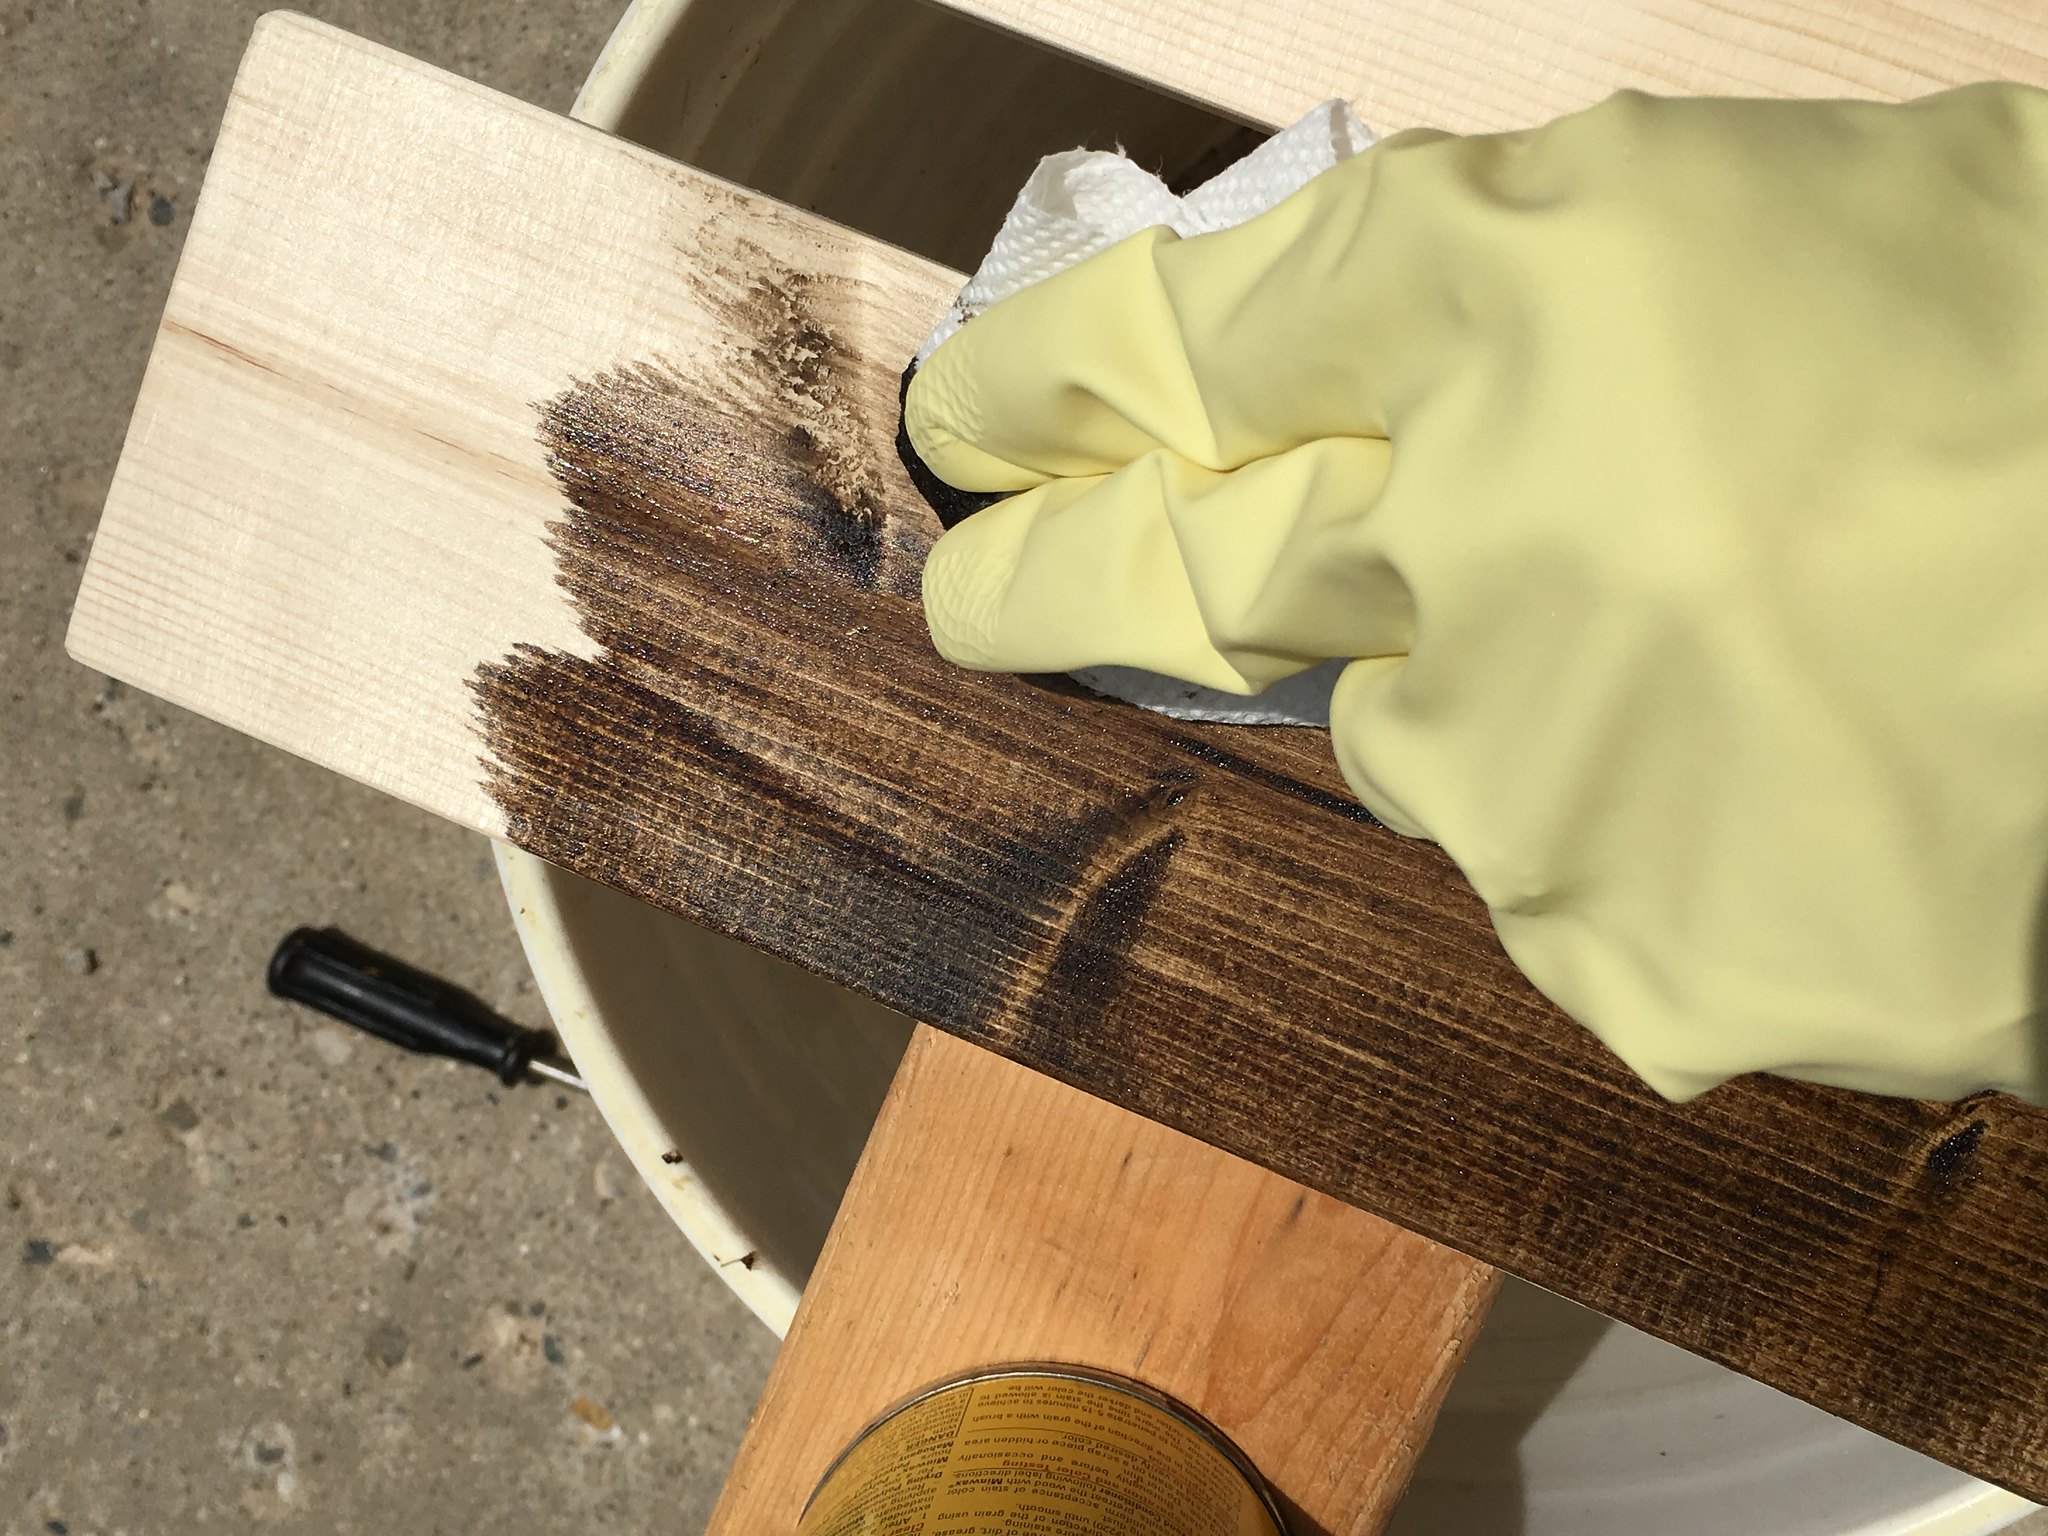 I especially like this stain because it is super dark and only needs one coat. And if you can’t tell by now, I like my projects to be quick and simple.
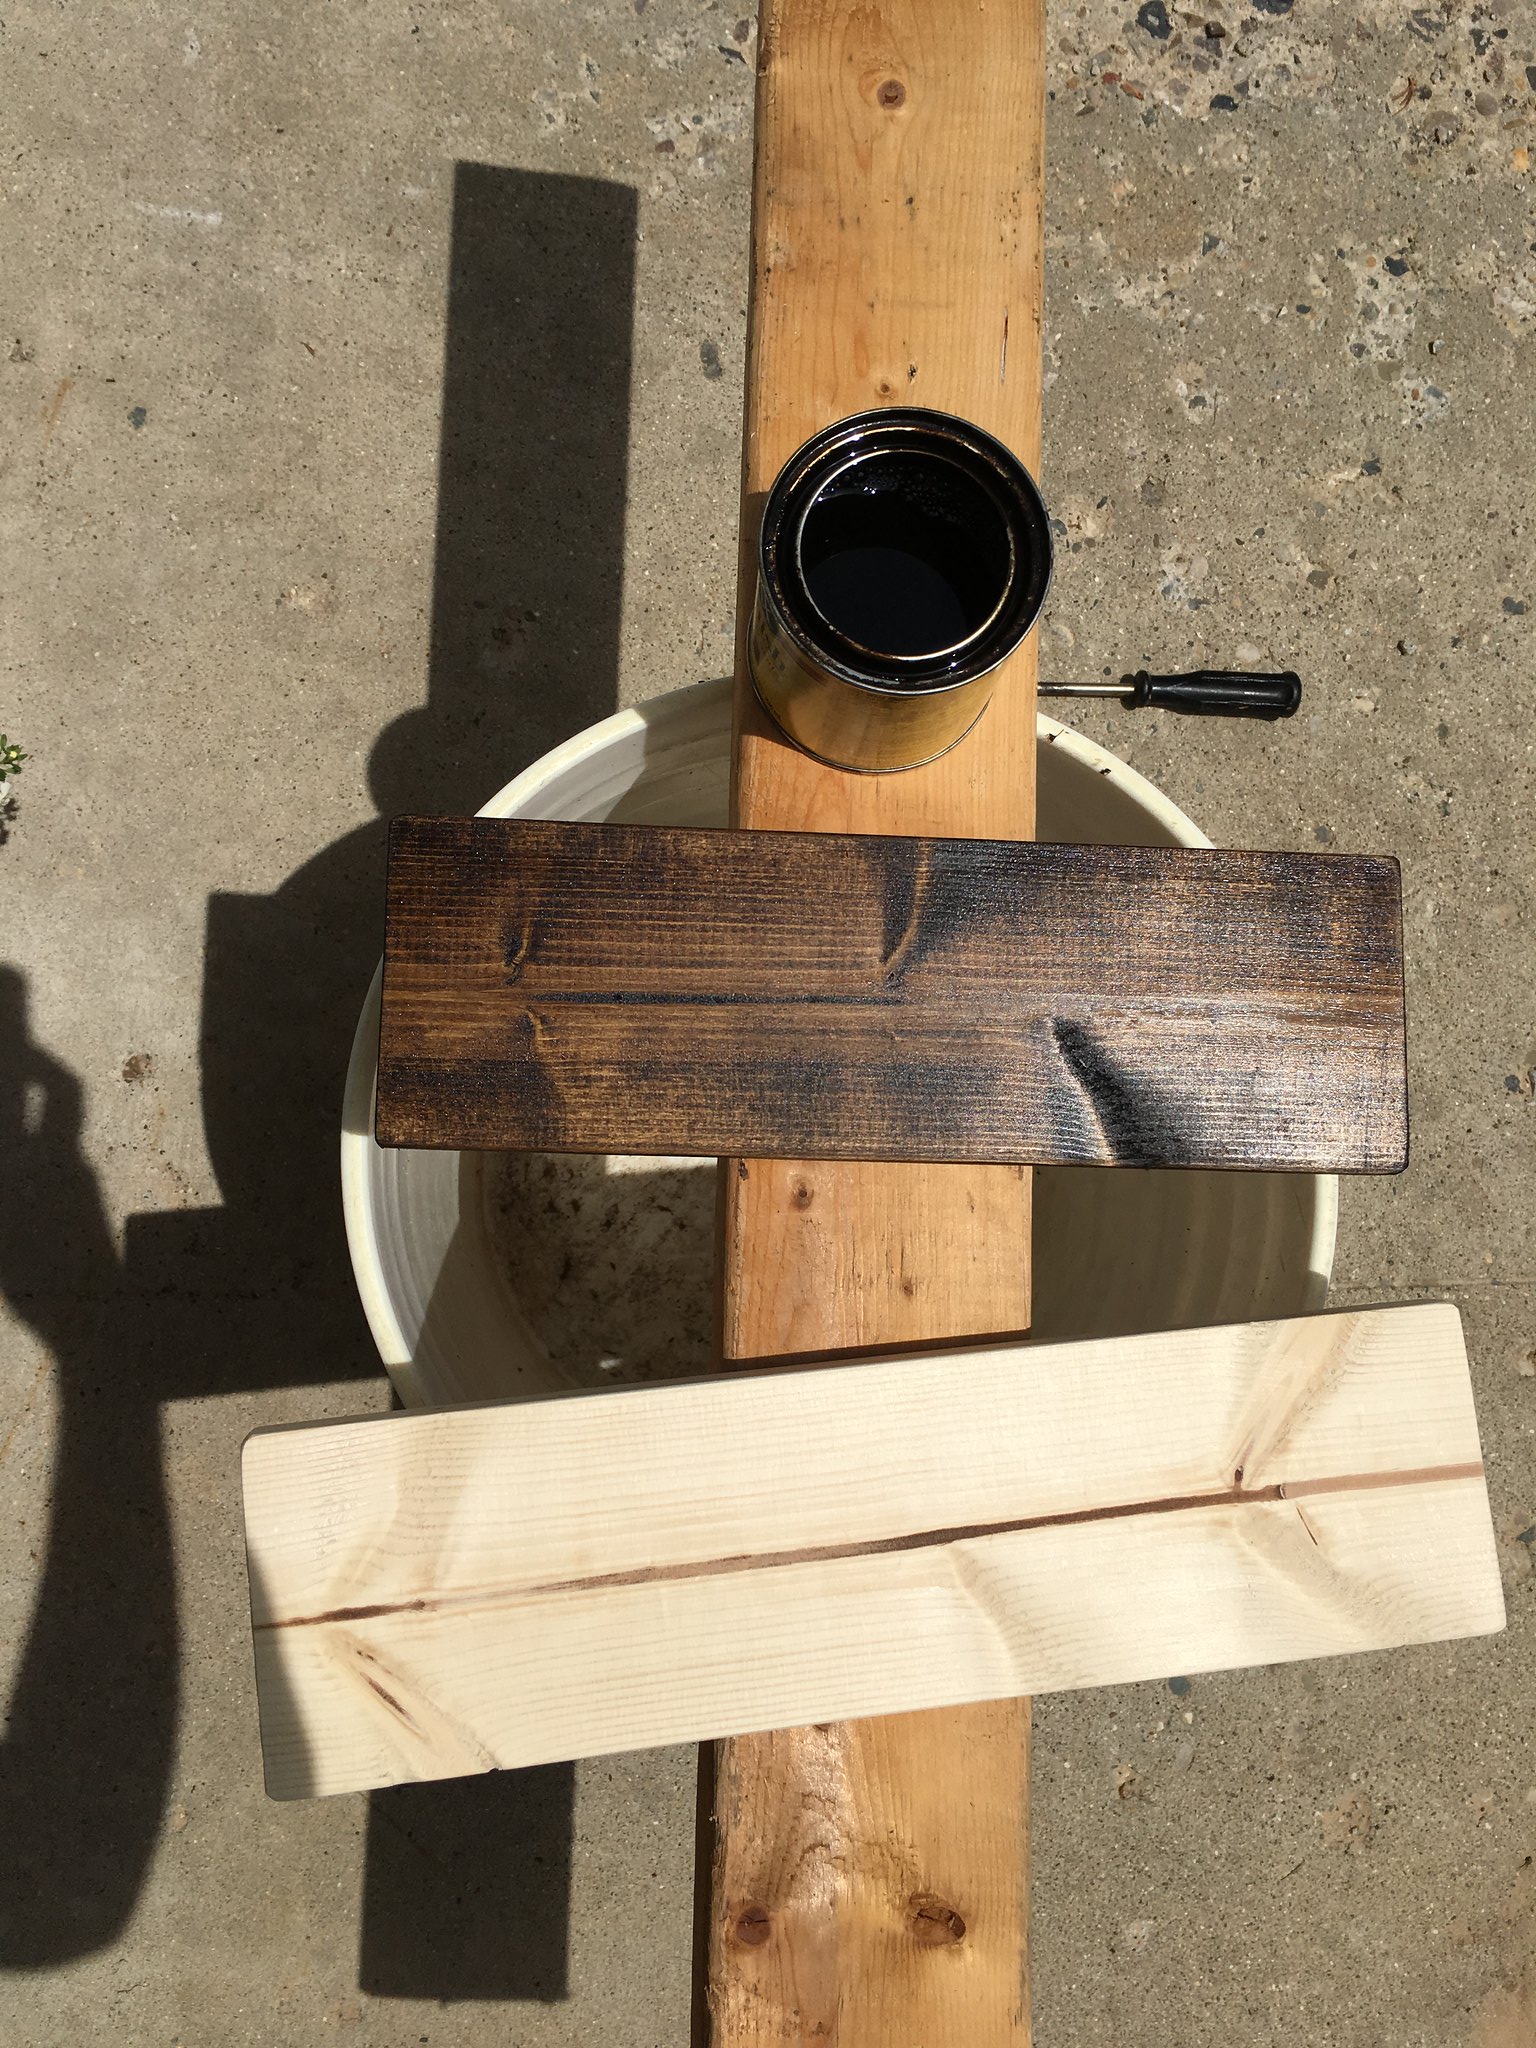
See how the grain shows through so nicely? I’m sure if I bought better wood it would be even prettier. But I didn’t mind the cheap stuff.
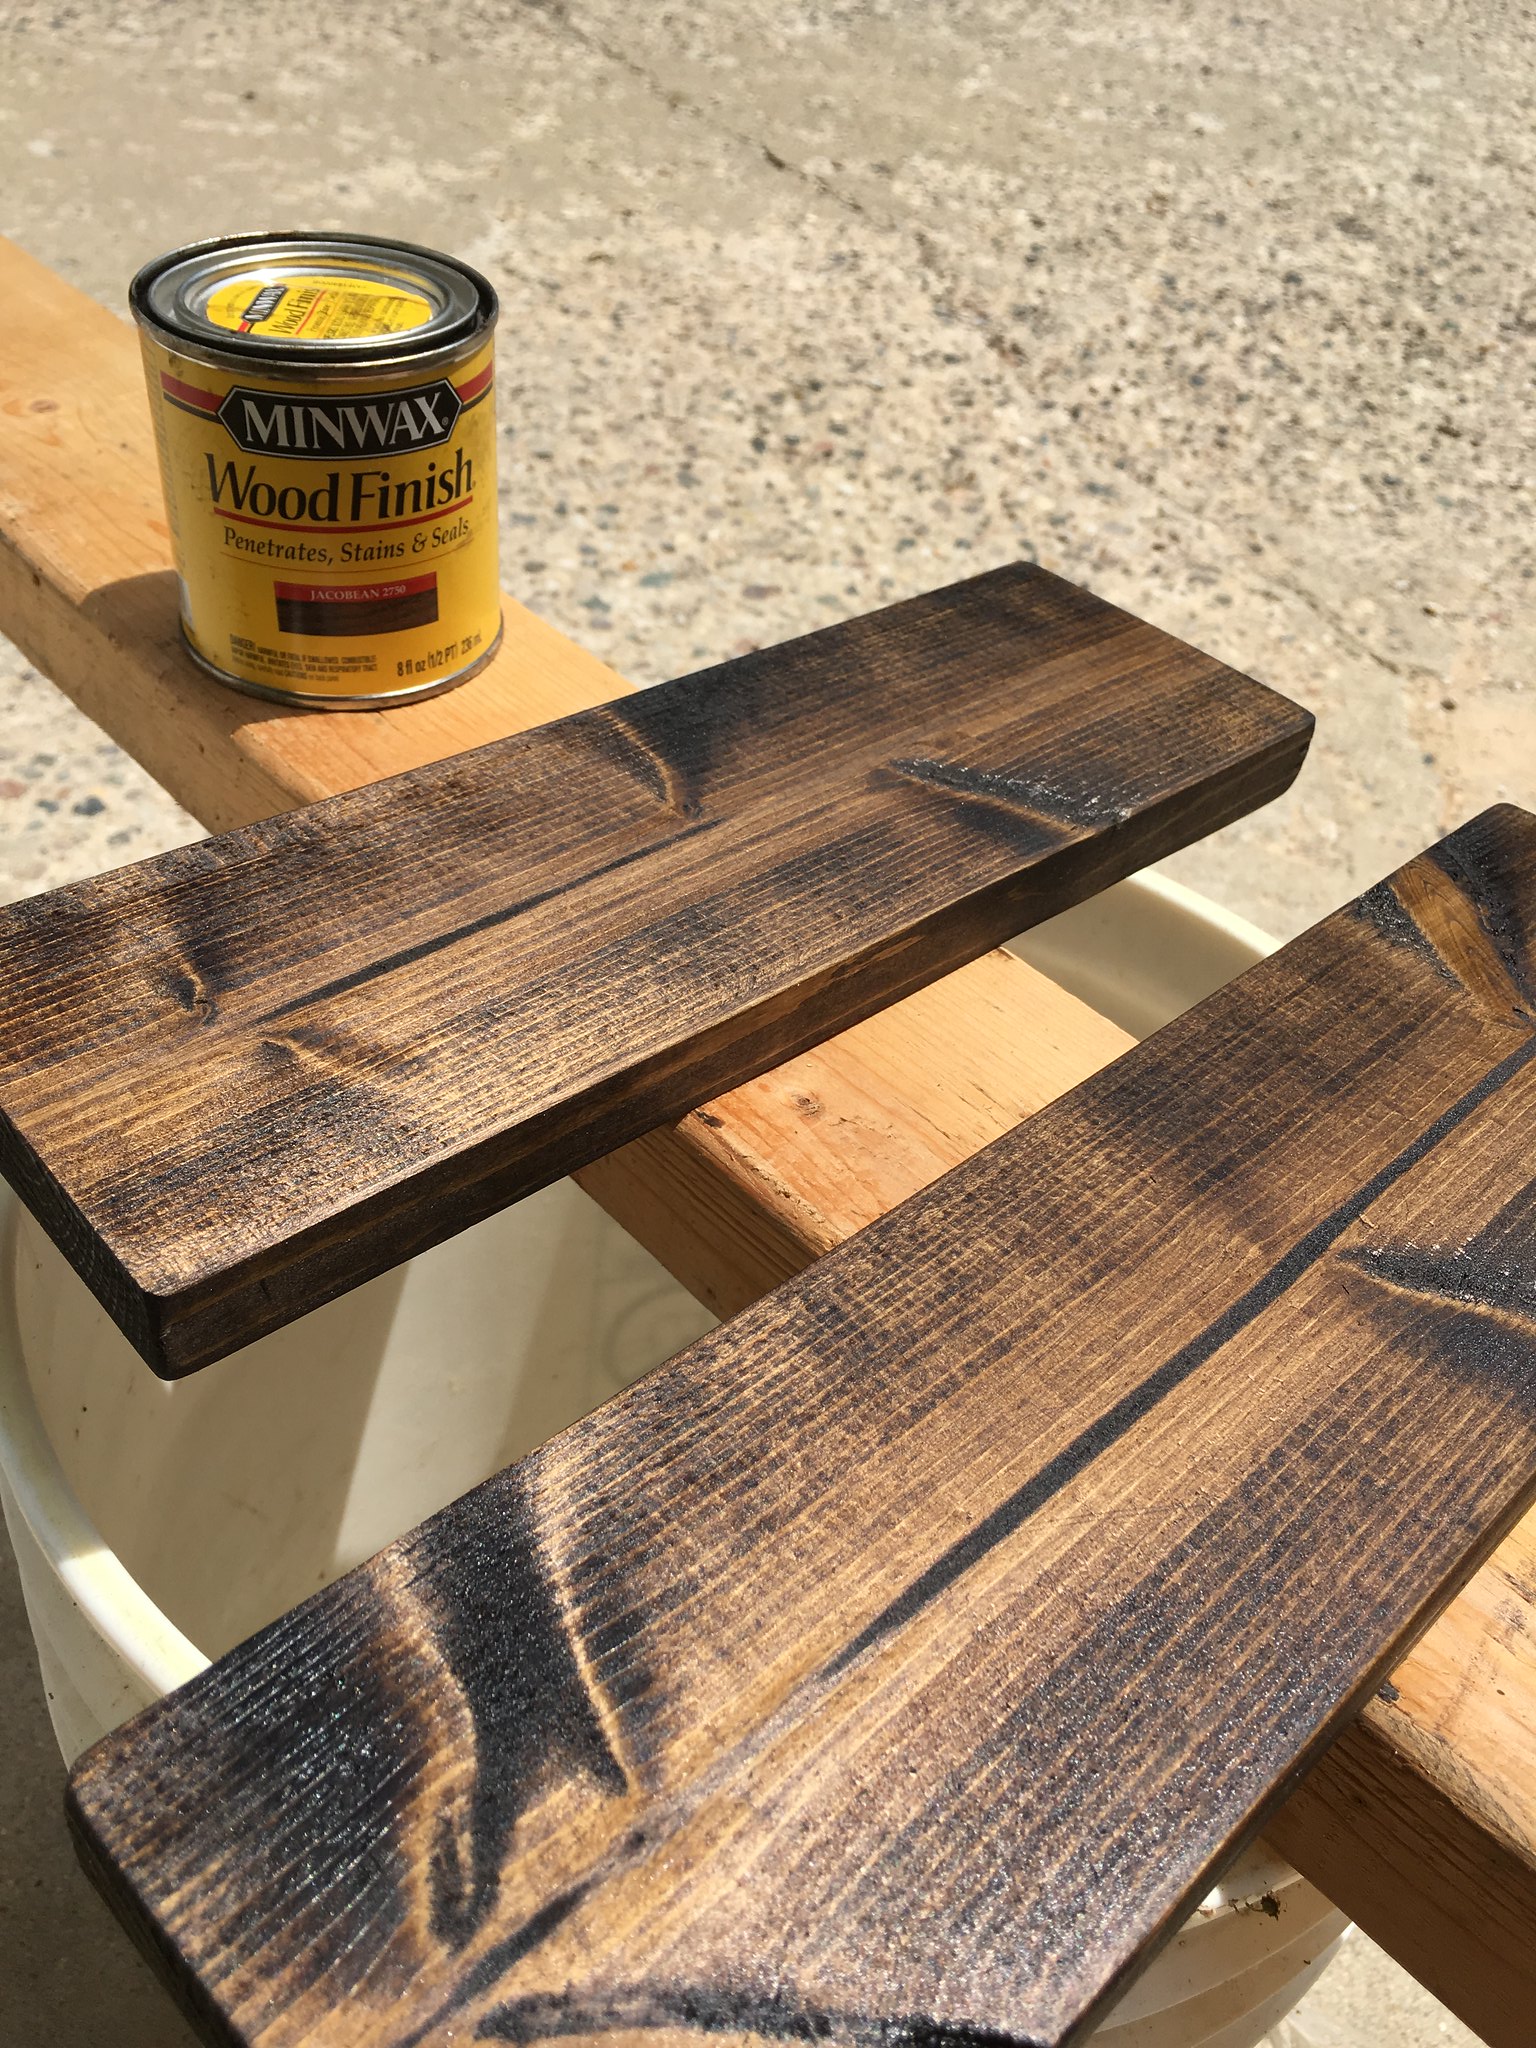 By the way, how do you like my make-shift work station? Who says a 5 gallon bucket and scrap 2×4 won’t work as a table? Like I said, I work with what I have on hand. And I am good at balancing.
So after the stain dried, I had PLANNED to stencil on the lettering. However, when your famously talented mother says she can just free-hand it, you pass it on to her and wish her best of luck. I explained that I wanted some loop-de-loos and a nice cursive and she did it to perfection. 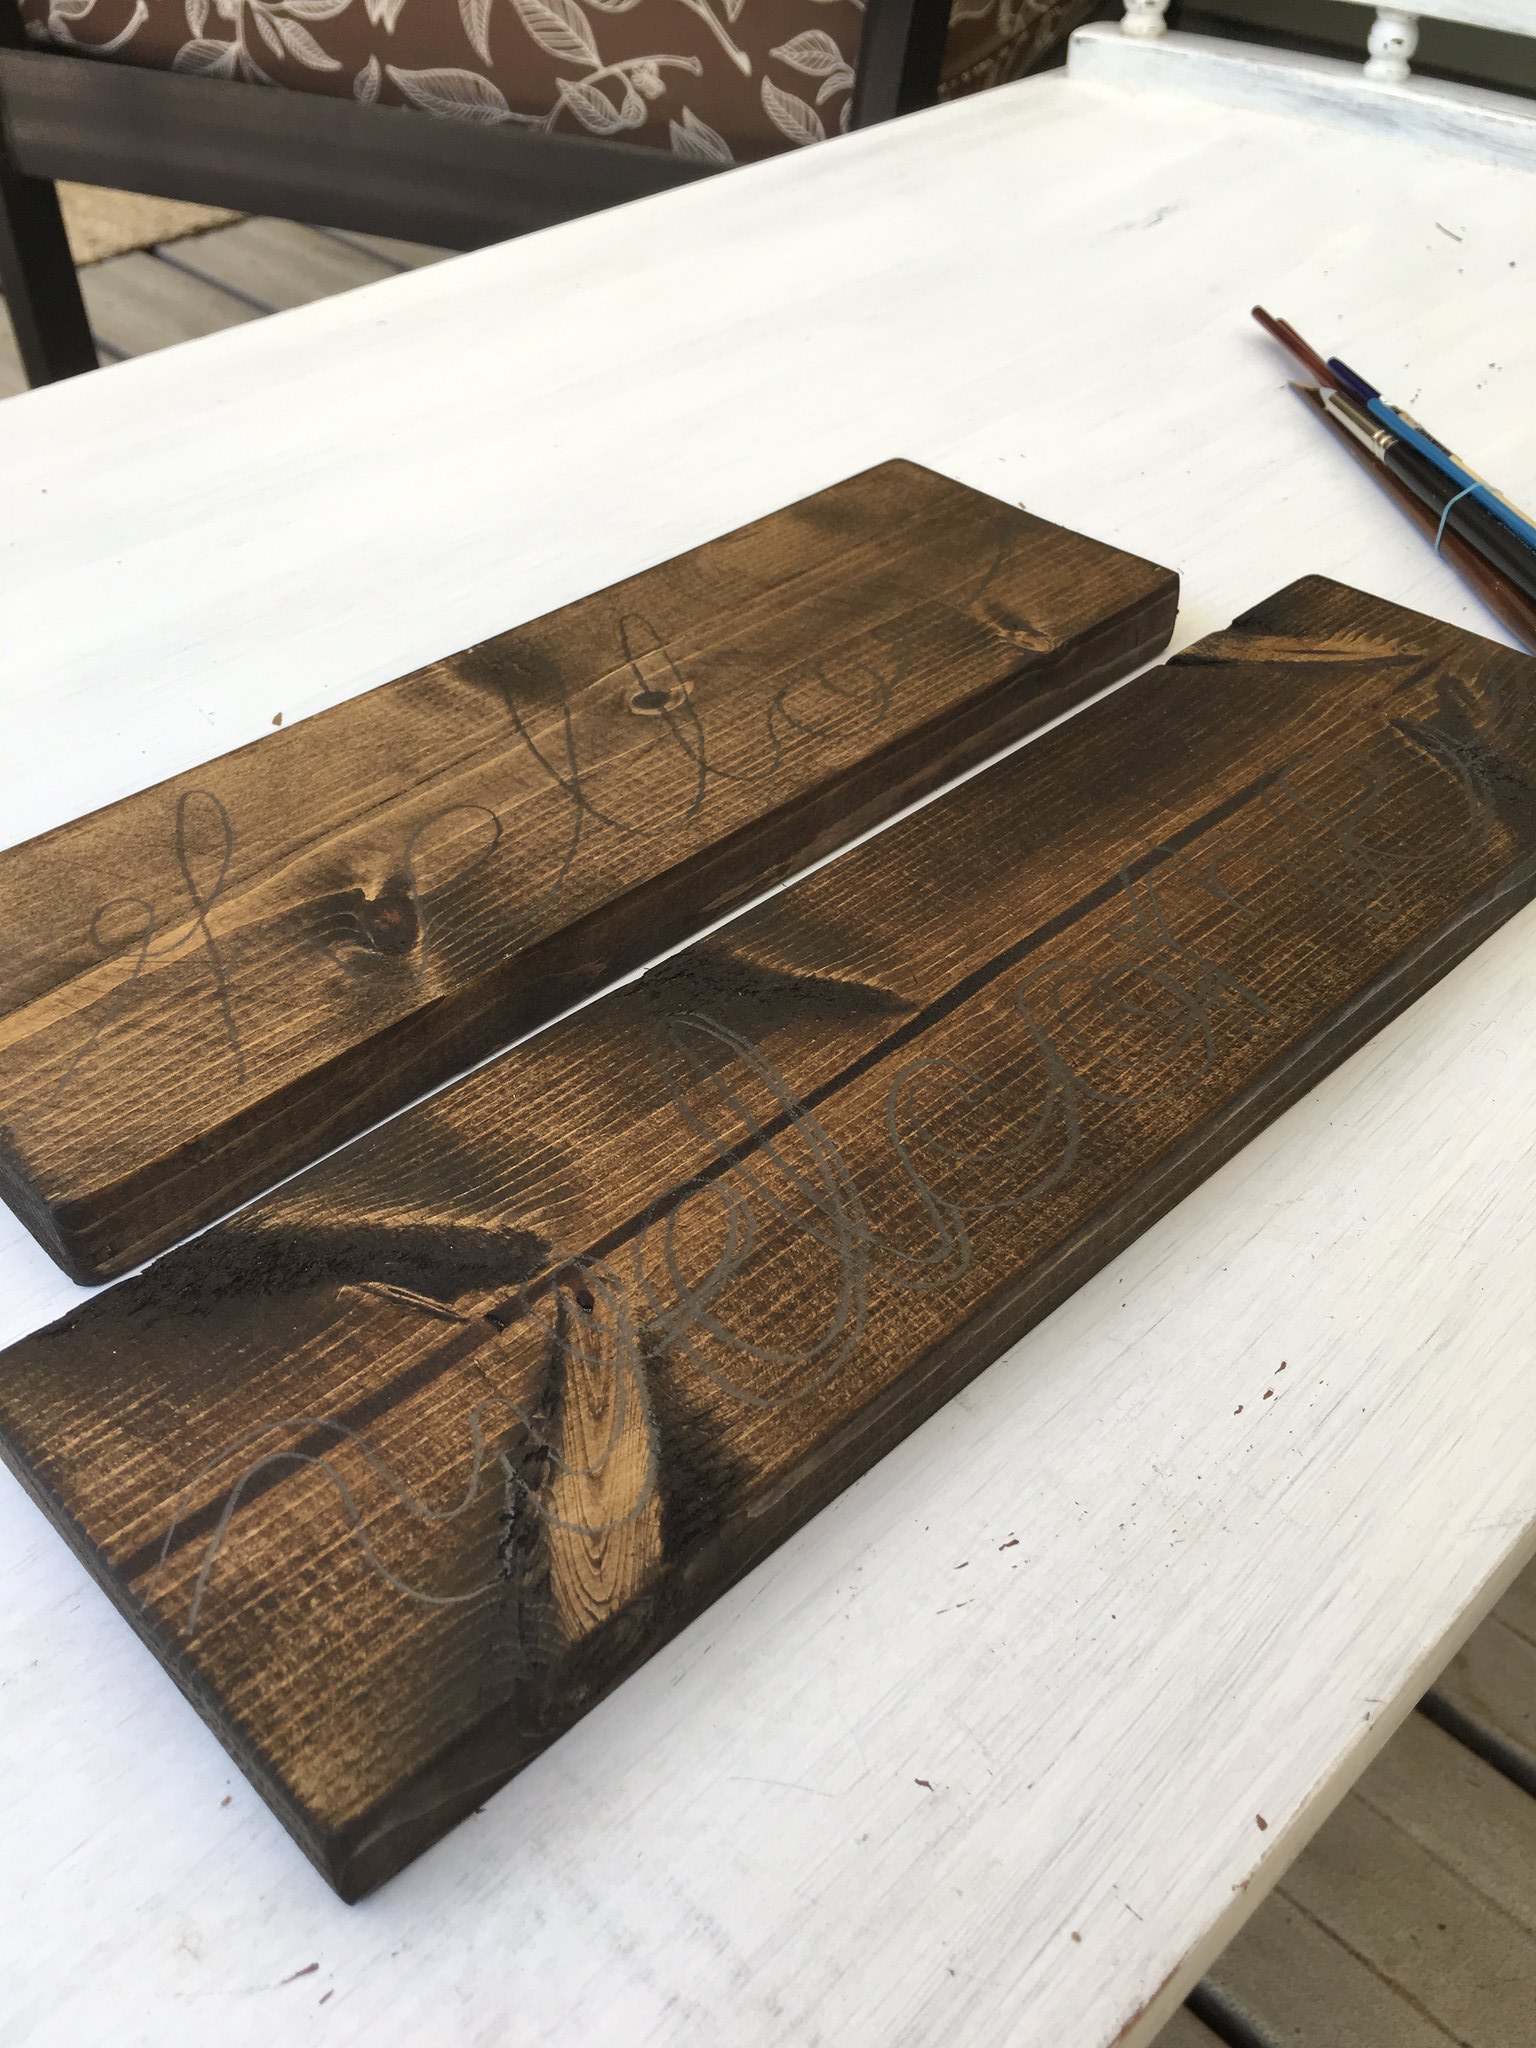
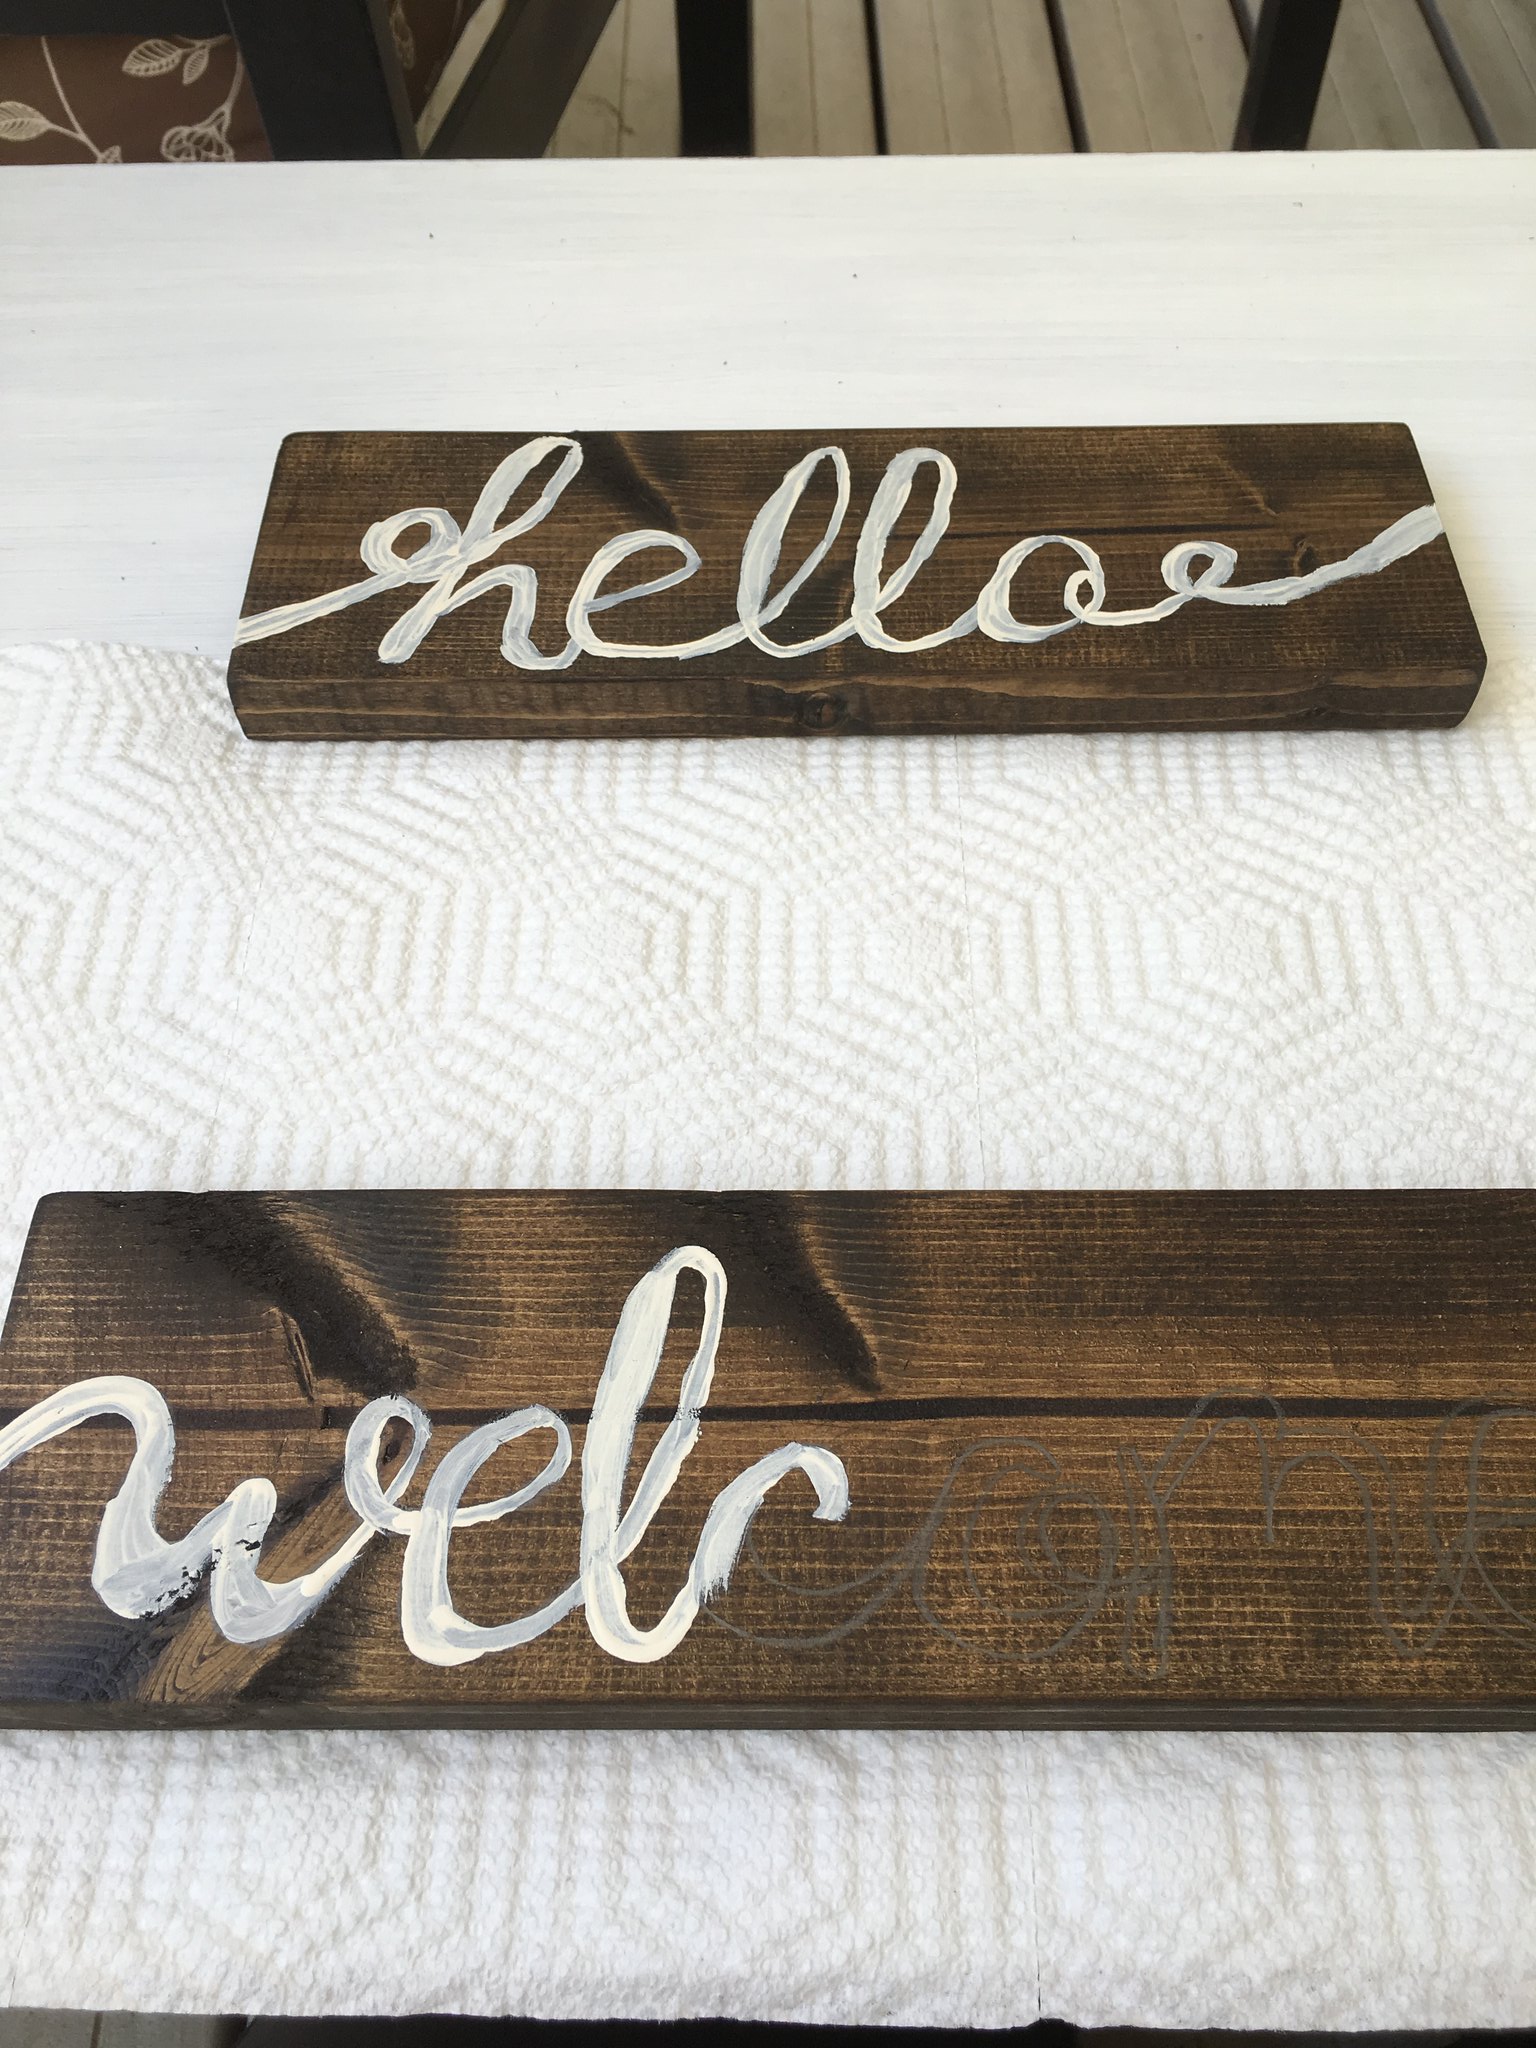
With the outline in place, I decided to hand paint it. Now, friends. This is why my blog is called Grace in My Space. This is where the grace comes in. Because I am not a painter. I actually hate to paint. And free-hand painting lettering is NOT EASY. And I do not have a steady hand. So in hind-sight, I probably should have stuck to the stencil. But then I wouldn’t have found the pretty loopy cursive font and I would have a cookie cutter sign. So I am choosing to be happy with my shaky paint job.
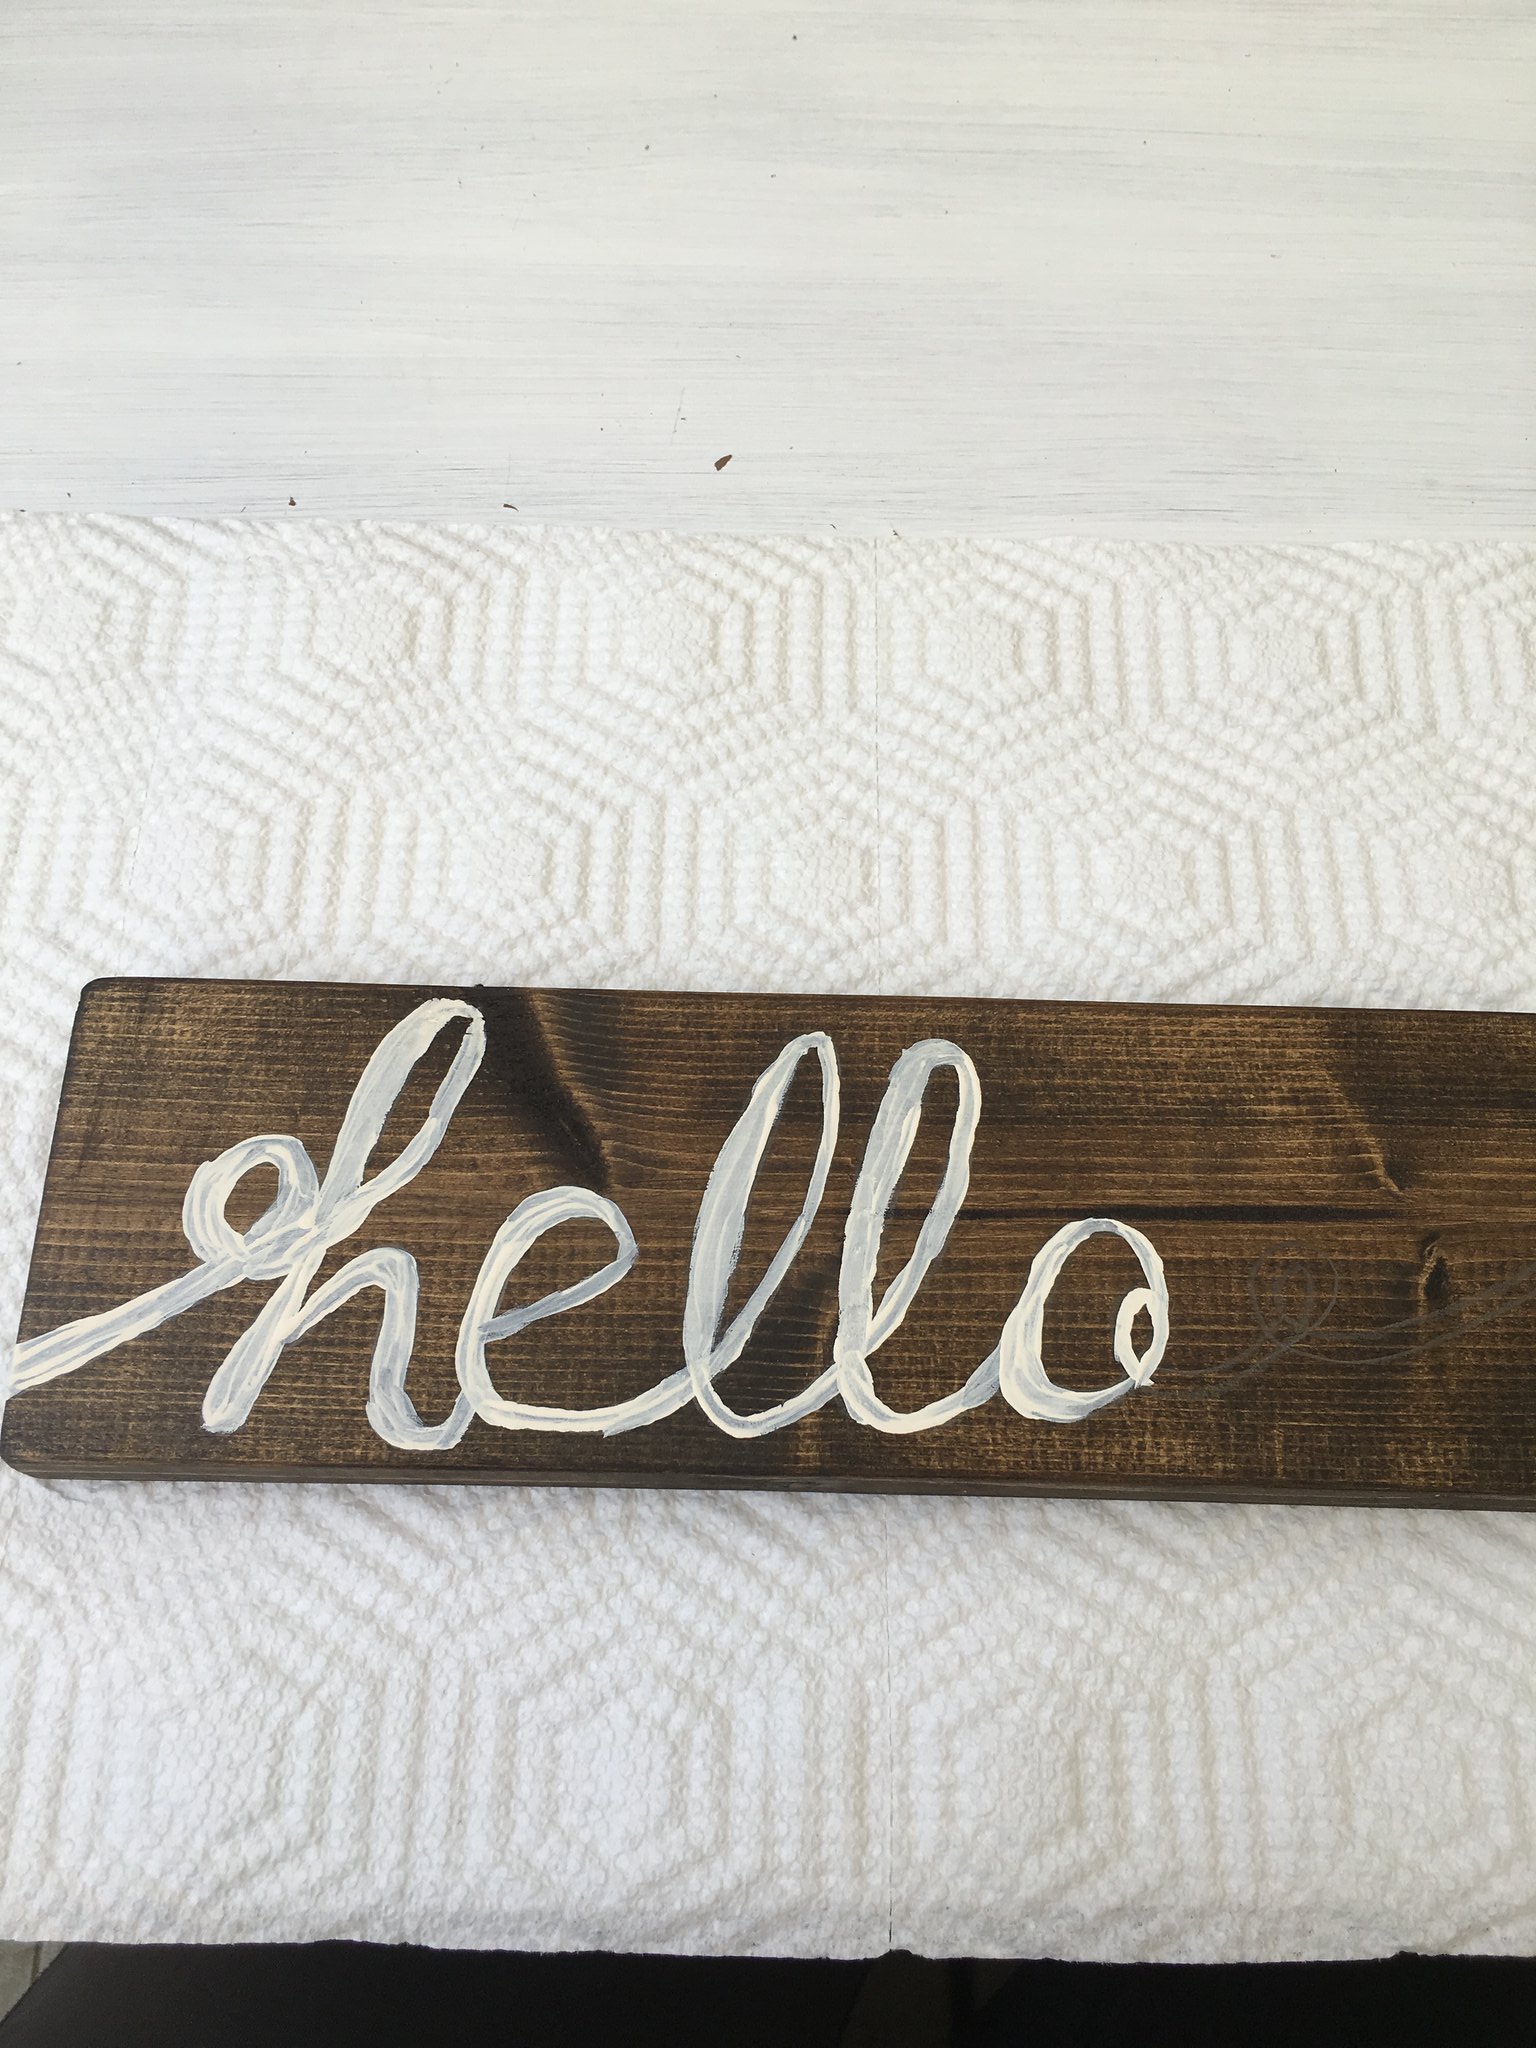 And of course they needed more than one coat of paint! So that means that every time I tried to fix it and smooth out my edges I made it worse. So eventually, I just decided to let Grace do its job and stop trying to make it perfect. Because it clearly wasn’t going to happen.
After the paint dried, I decided they needed a clear coat to protect them from the weather since they would be exposed on the front porch. Enter my fave spray paint brand, Rustoleum, and we have a winner! And no, I wasn’t paid to promote them. I just really like the coverage and quality.
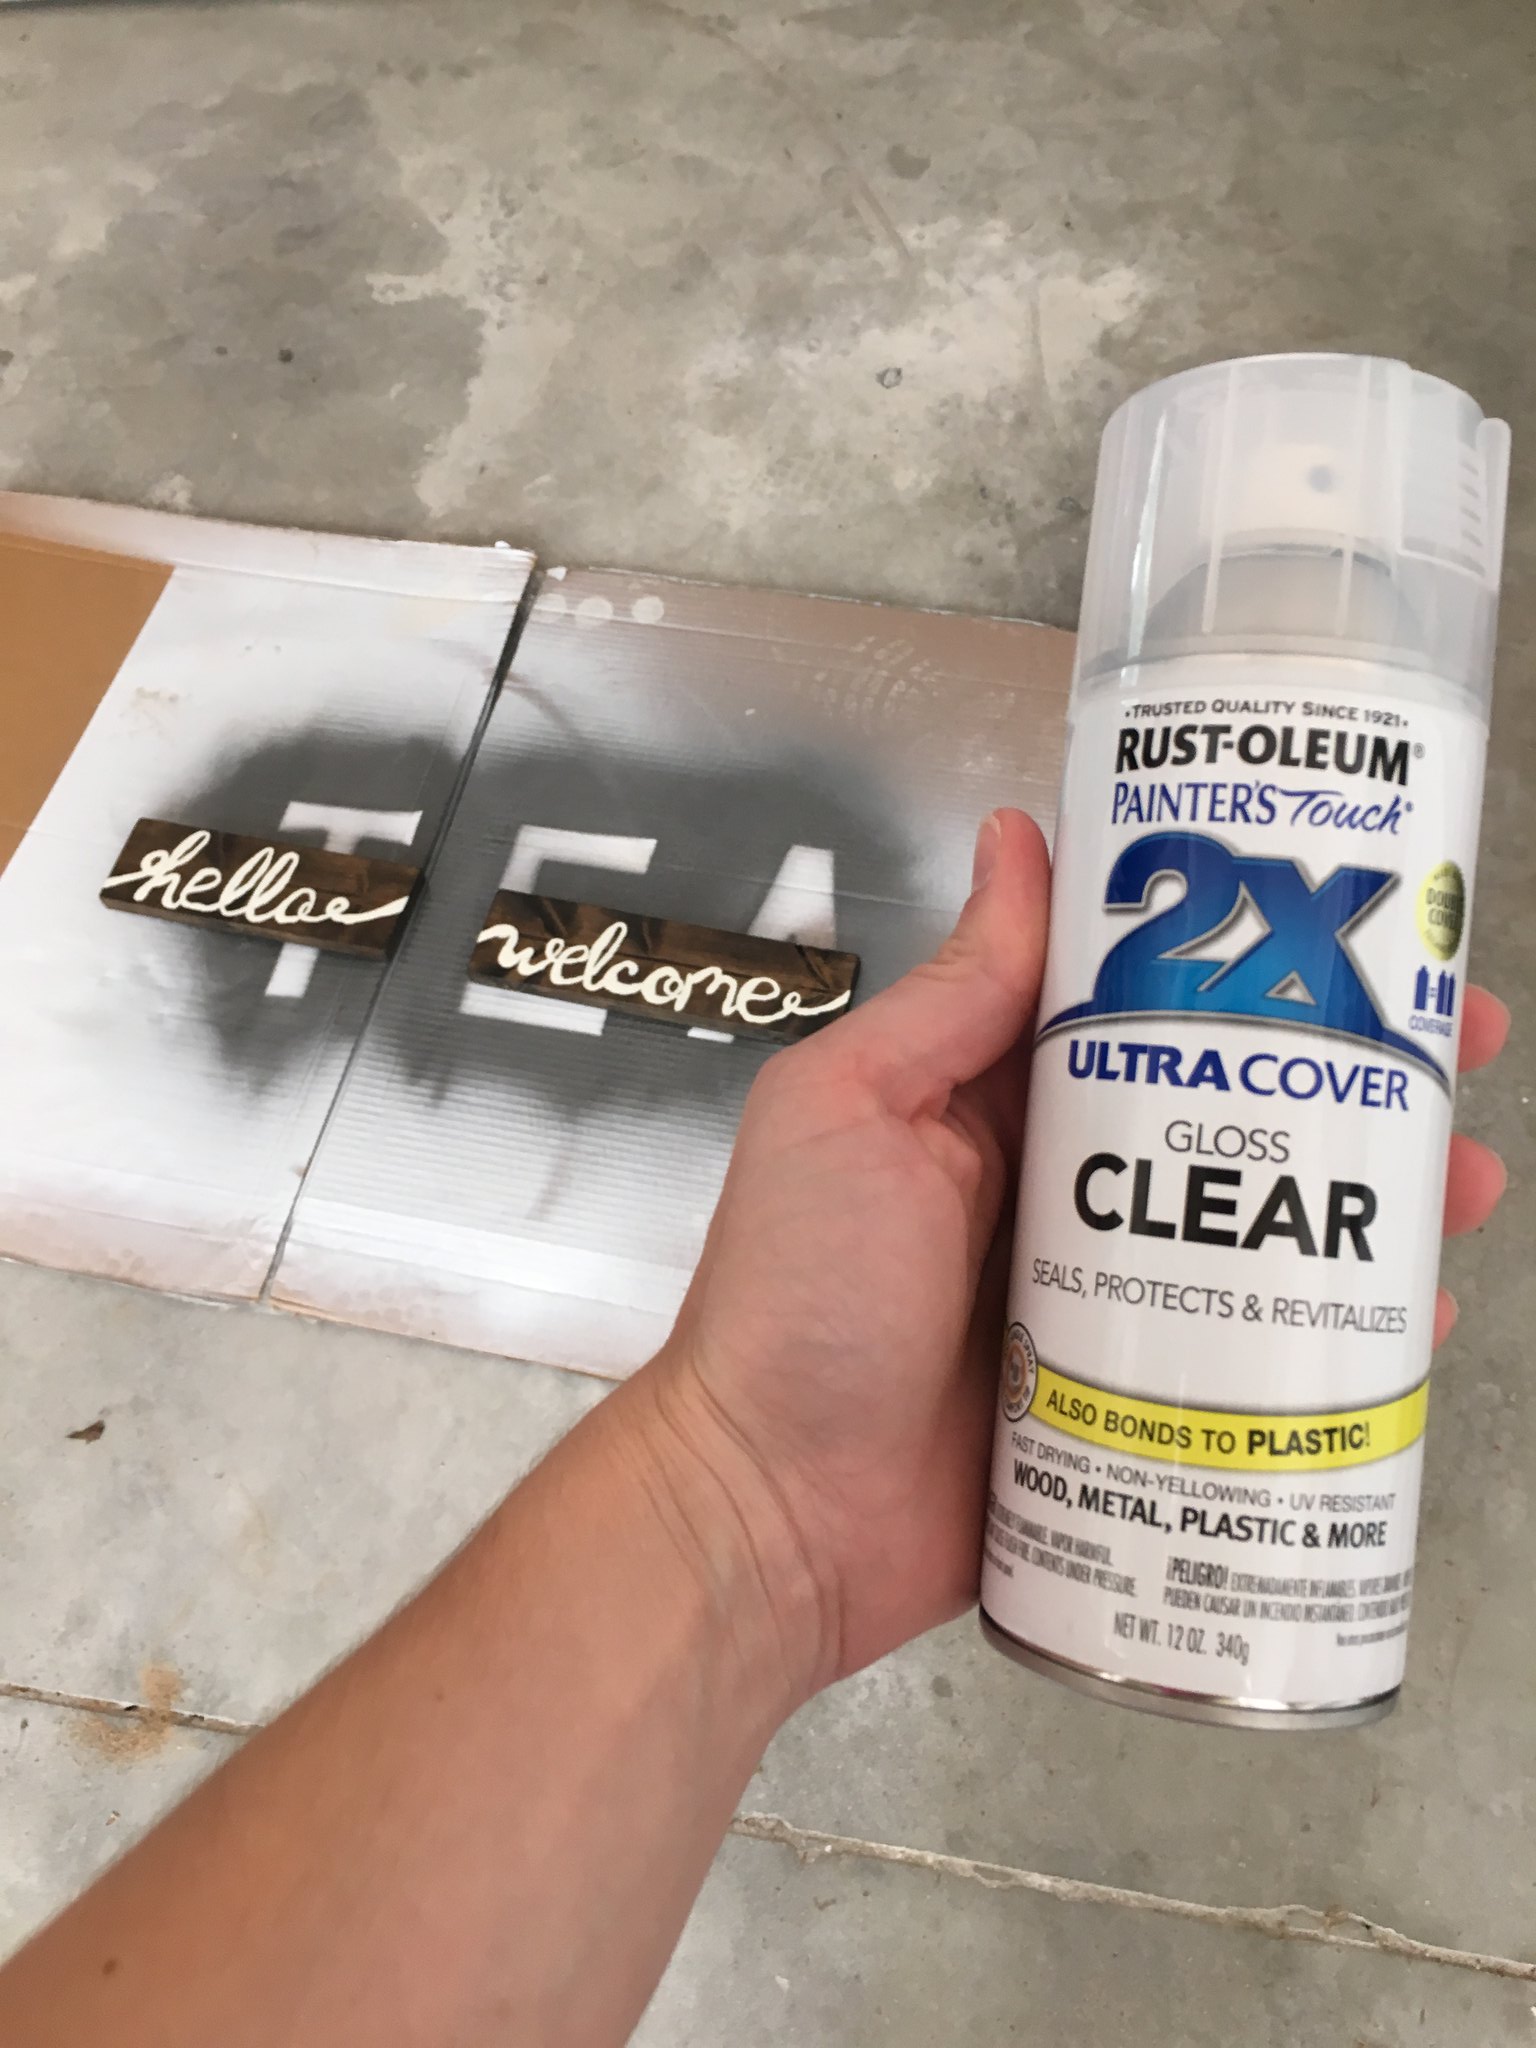
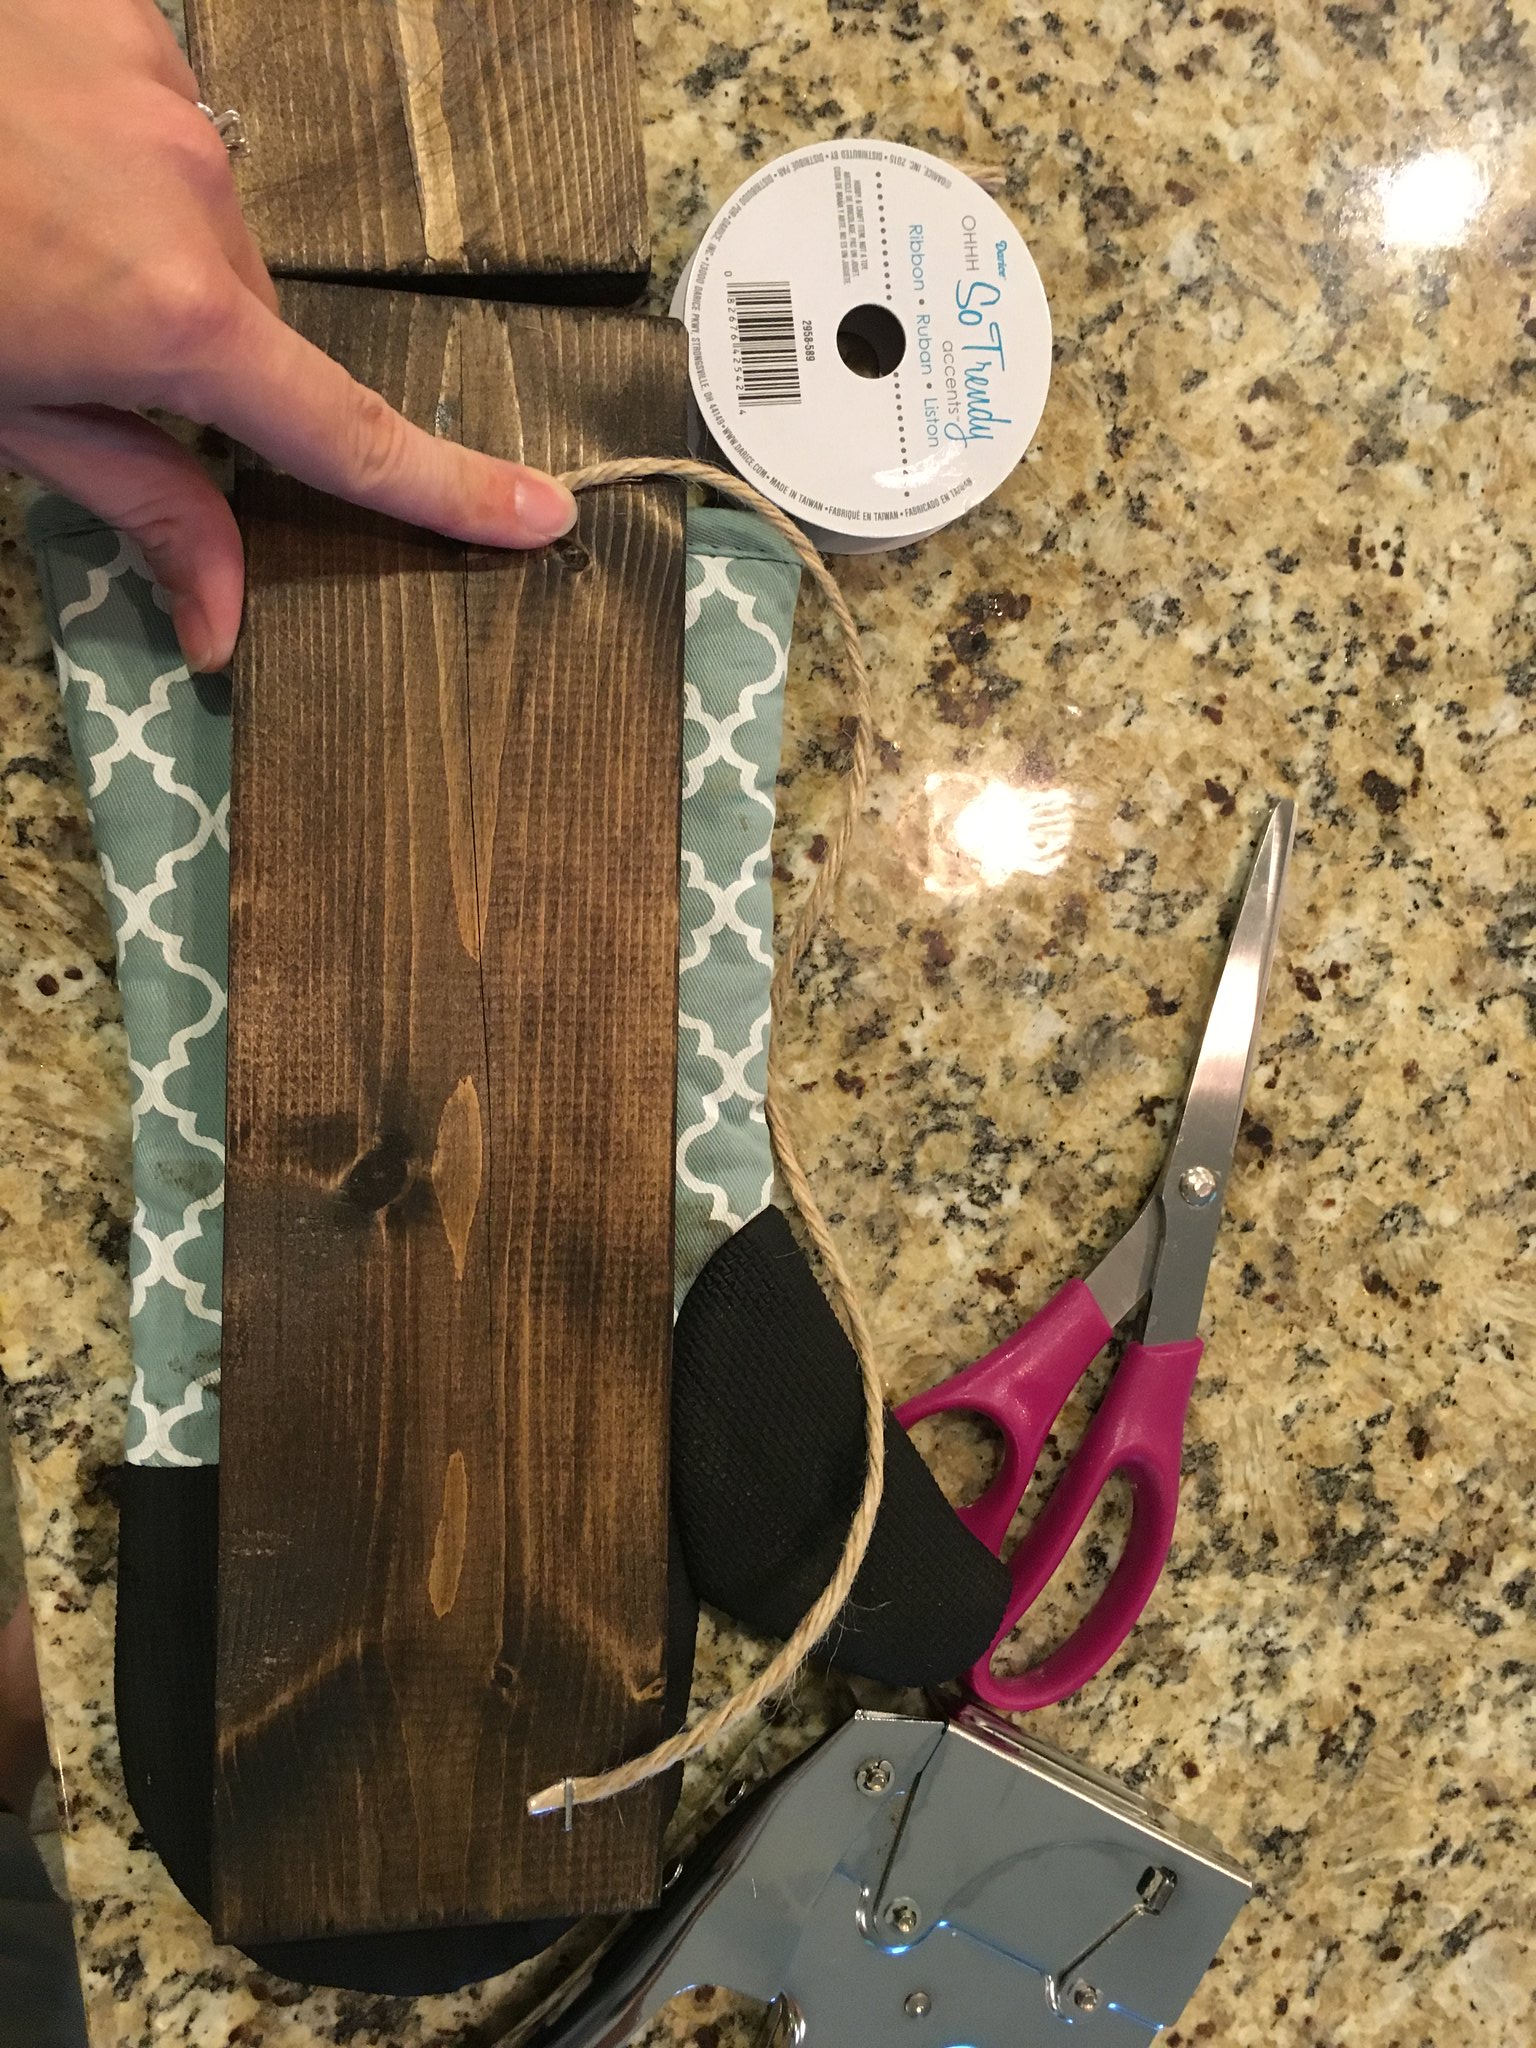
Once that dried I stapled some left over twine to the back and placed them on my porch! Easy peasy.
I did learn a few lessons.
- If you aren’t a good detail person, don’t try detailed DIY projects. 🙂 From afar, I really like my signs. From up close………Grace.
- Sometimes it is worth it to pay the pros. Sometimes it’s not. In this case, I am not some socialite who hosts fancy parties and needs her home to be picture perfect. So I was ok with it if these didn’t turn out perfect. You might need to make a better impression. So don’t feel bad about paying $20 more to get a good sign. 🙂
- Stencils are my friend. They make it so I can’t go outside perfectly good lines.
Either way, I am happy with my signs and I think they add a nice touch. After all, a welcoming home is all I desired.
Sarah
{Our worst days are never so bad that you are beyond the reach of God’s grace. And your best days are never so good that you are beyond the need of God’s grace. – Jerry Bridges}
Wow – this is awesome. Love your writing style too!
Thank you so much!
Beautifully said
Great DIY
Thank you so much! Glad you liked it.