
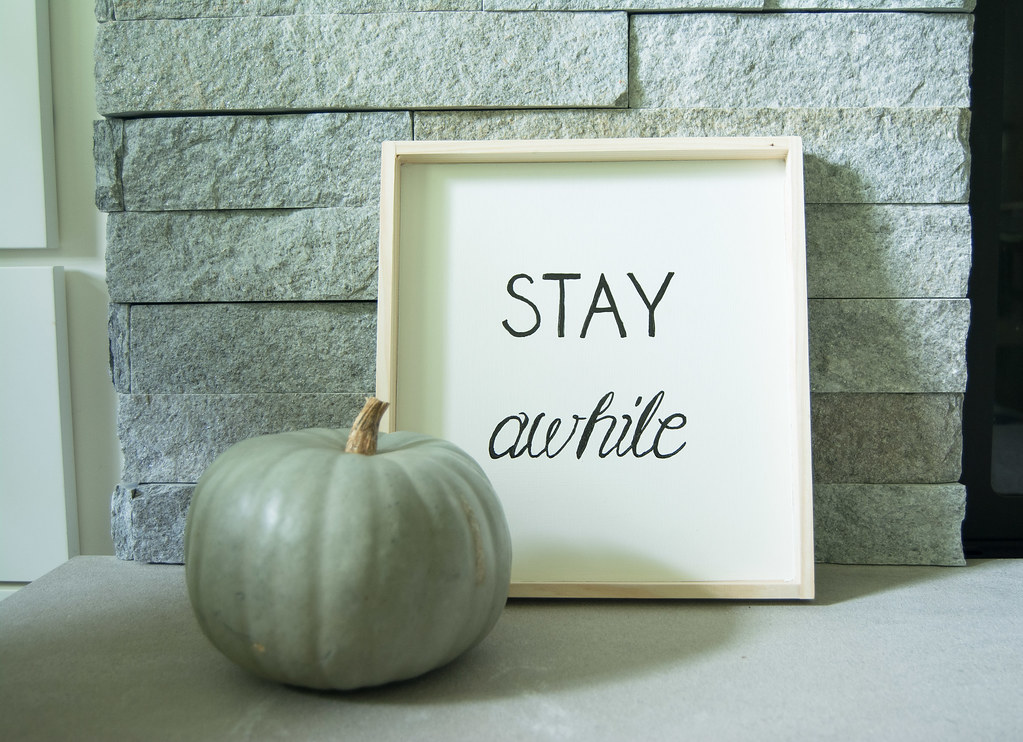
Stay Awhile
Hello Friends!
Have I mentioned that it was summer time? Or….that I’m not good at being a consistent blogger? Yeah. Sorry for my completely absence! 1. Blogging is no joke. It takes more time that you’d imagine. 2. I have to have something to blog about! And that is why I am back today! My last post was about making your own DIY sign. Well…I made another sign. But this time, there is a bit of a twist! So stick with me.
- This sign was 100% free to me! If you attempt something similar you may have to buy some supplies. But I am all about using what I have around the house. So if you can pull it off, use up some of those leftovers from other projects.
- My inspiration for this DIY project came from a lovely blogger over at Christina’s Adventures who I want to give credit to for the method I used for the lettering on my sign. So please check out her tutorial!
- Here’s my twist. I didn’t build my sign. {Insert happy dance and raised hands.} Here’s the scoop:
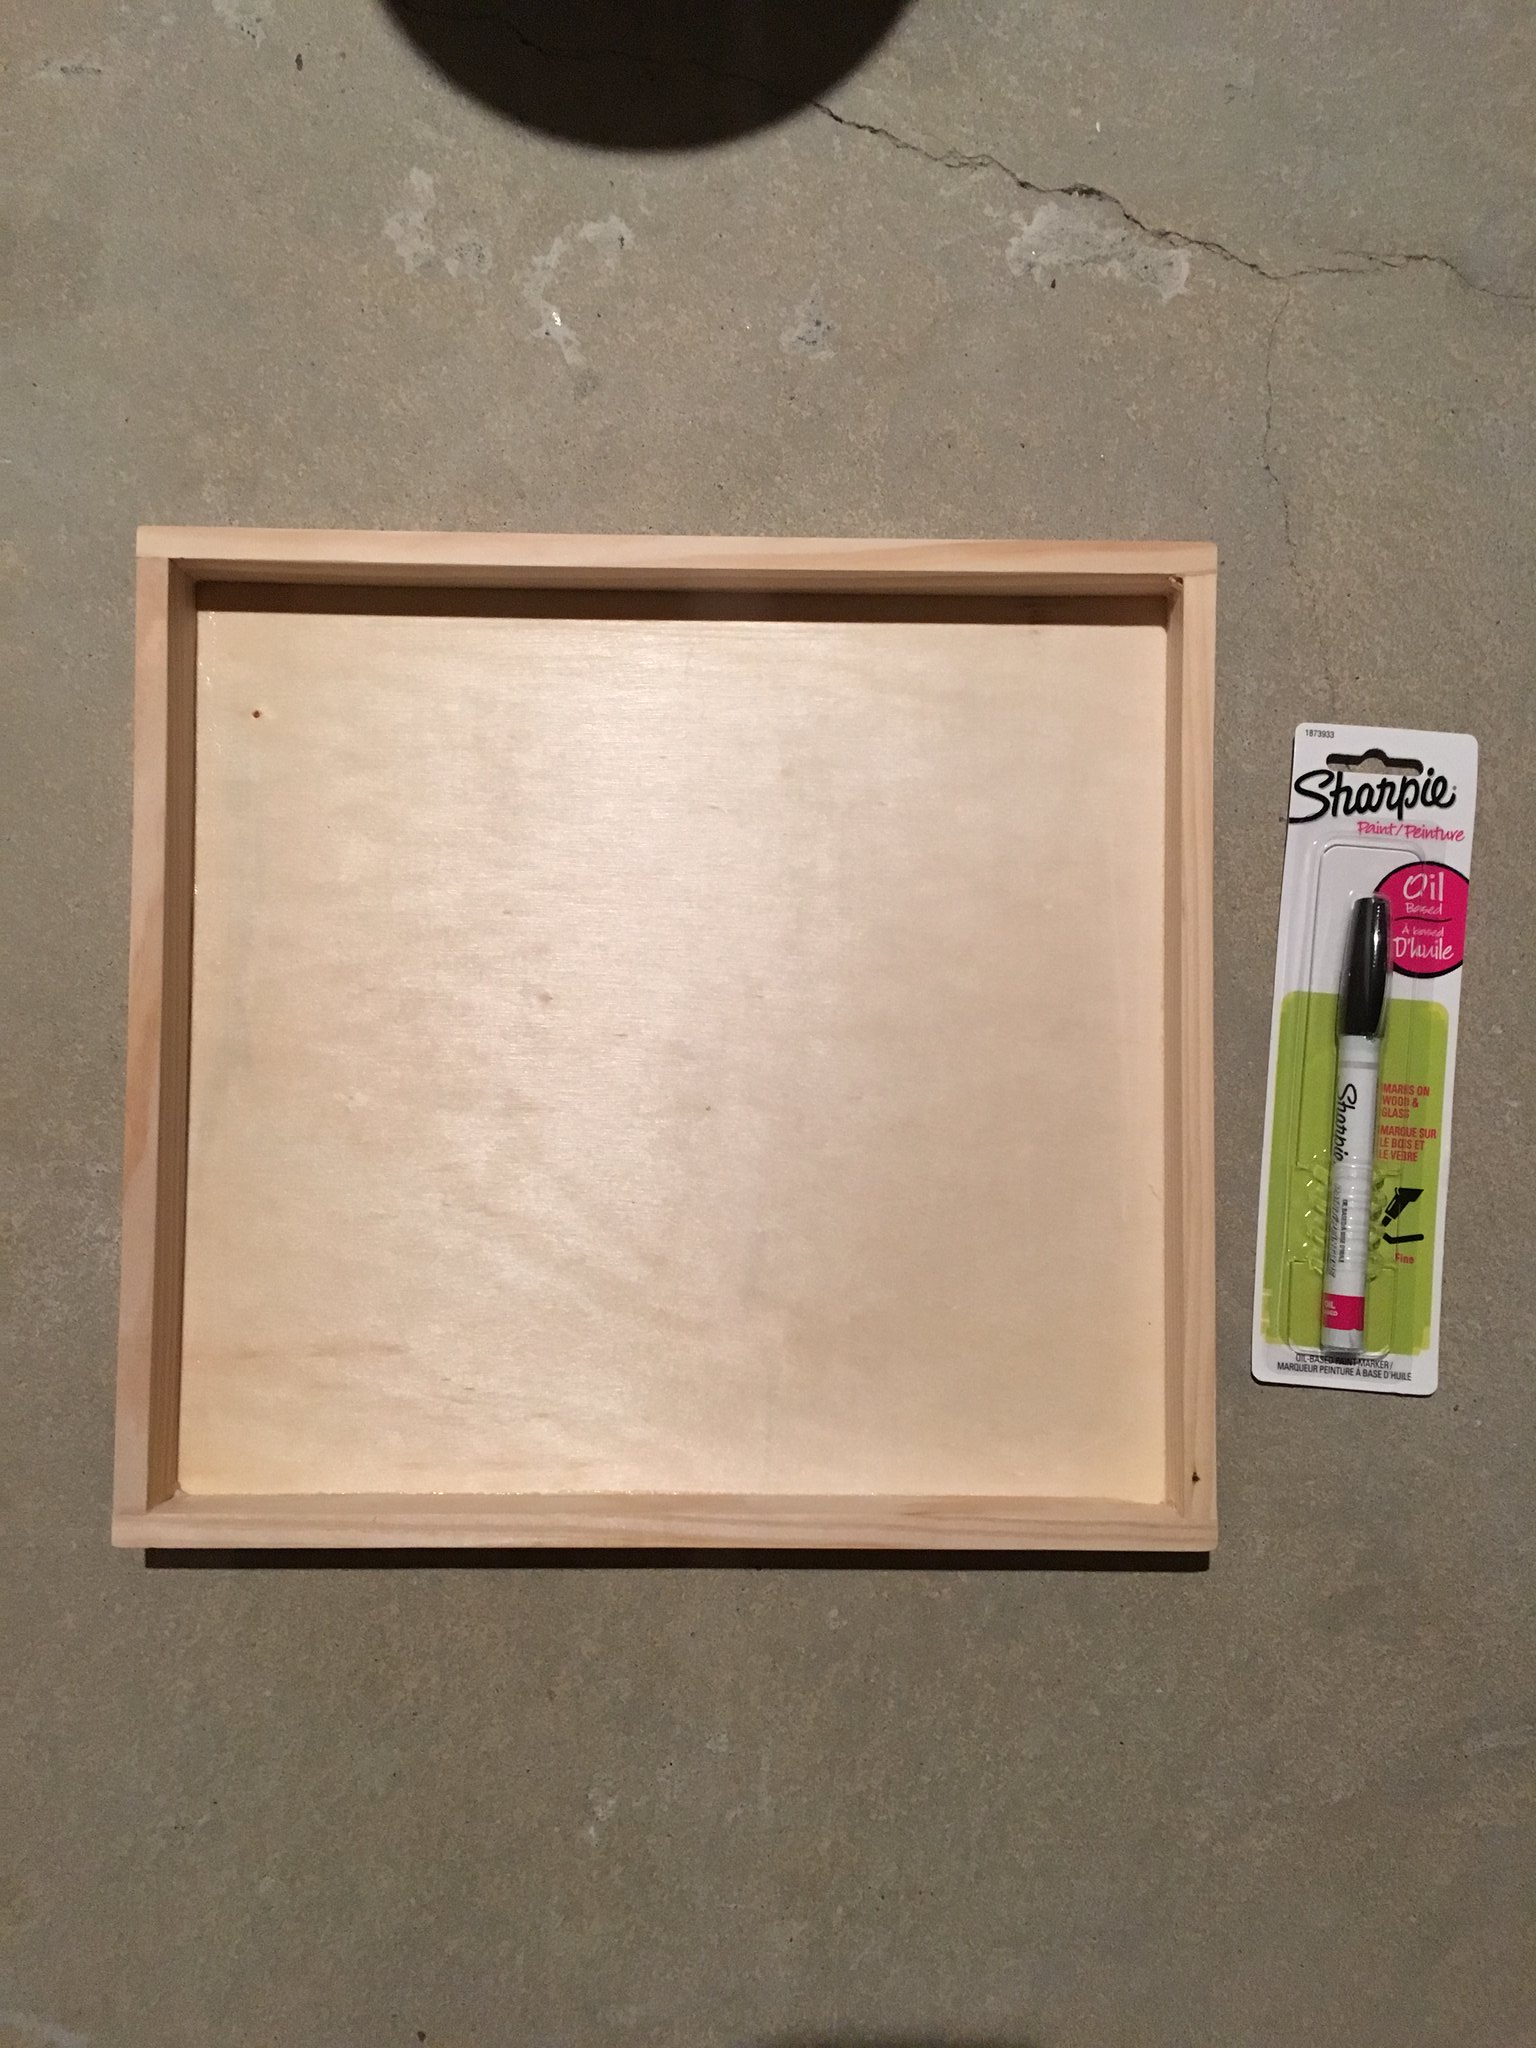
You know how much you love Melissa and Doug toys because of their quality and educational value? Me too! But now I may love them a little bit more because some of them come packaged in these perfect little wood boxes. Aka. My sign framework.
I know, right!? How many of these have you thrown away after all the little parts get scattered all over your house? This wood gem was about to meet its maker when the light bulb turned on. I’ve wanted a “Stay Awhile” sign for some time now. Isn’t she pretty? One of my favorite Etsy shops sells these beauties in all different sizes if you don’t want to go the DIY route.

But…my sign budget has been devoured. Plus, I do have a lot of signs. Like. A lot. So the thought of buying another one even made my own stomach a bit uneasy. But a FREE sign? Now that I can do. So here’s how I did it.
Remove the Melissa and Doug logo. This took a little elbow grease. I just used a magic eraser. {Which, by the way, is ACTUALLY magic. I can’t even tell you the stuff it’s removed for me.}
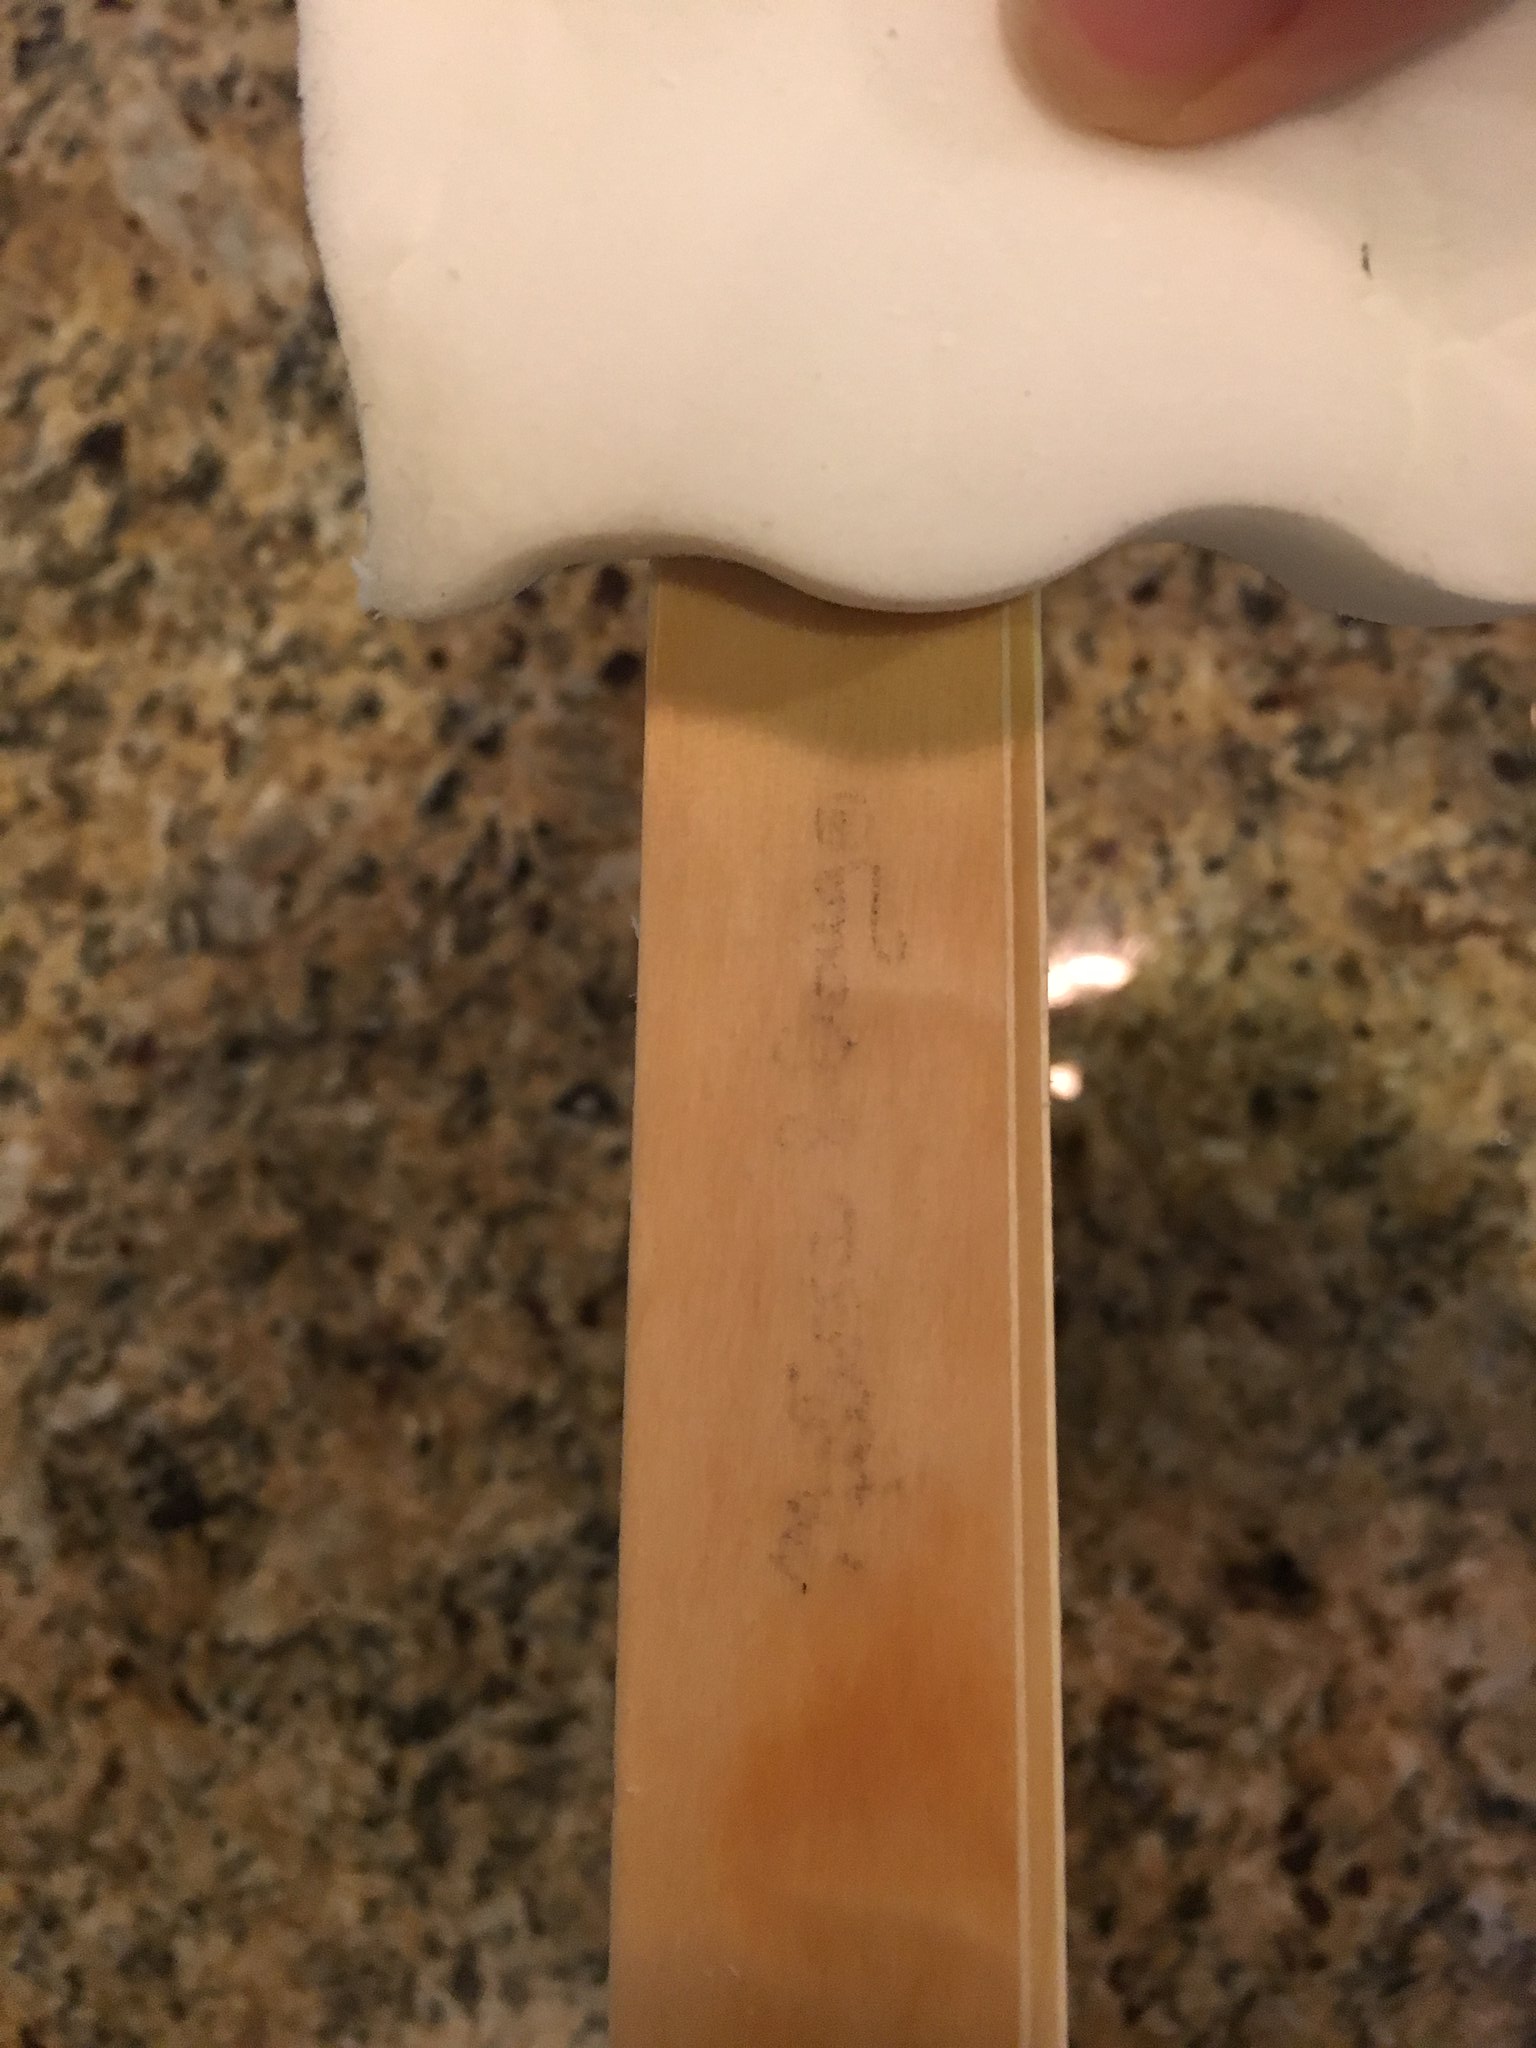
I probably could have kept scrubbing to get that little bit left off but my arm hurt and I didn’t care enough. #letsbereal Bye bye M & D.
Tape up those edges! Now some of you may want a darker trim. Or a painted trim. Either way, if you want to change the wood color that will be the trim you’ll want to do that first. I wanted to keep the blonde wood tone so I just left it as is. So make sure to tape the trim well so you don’t paint it up.
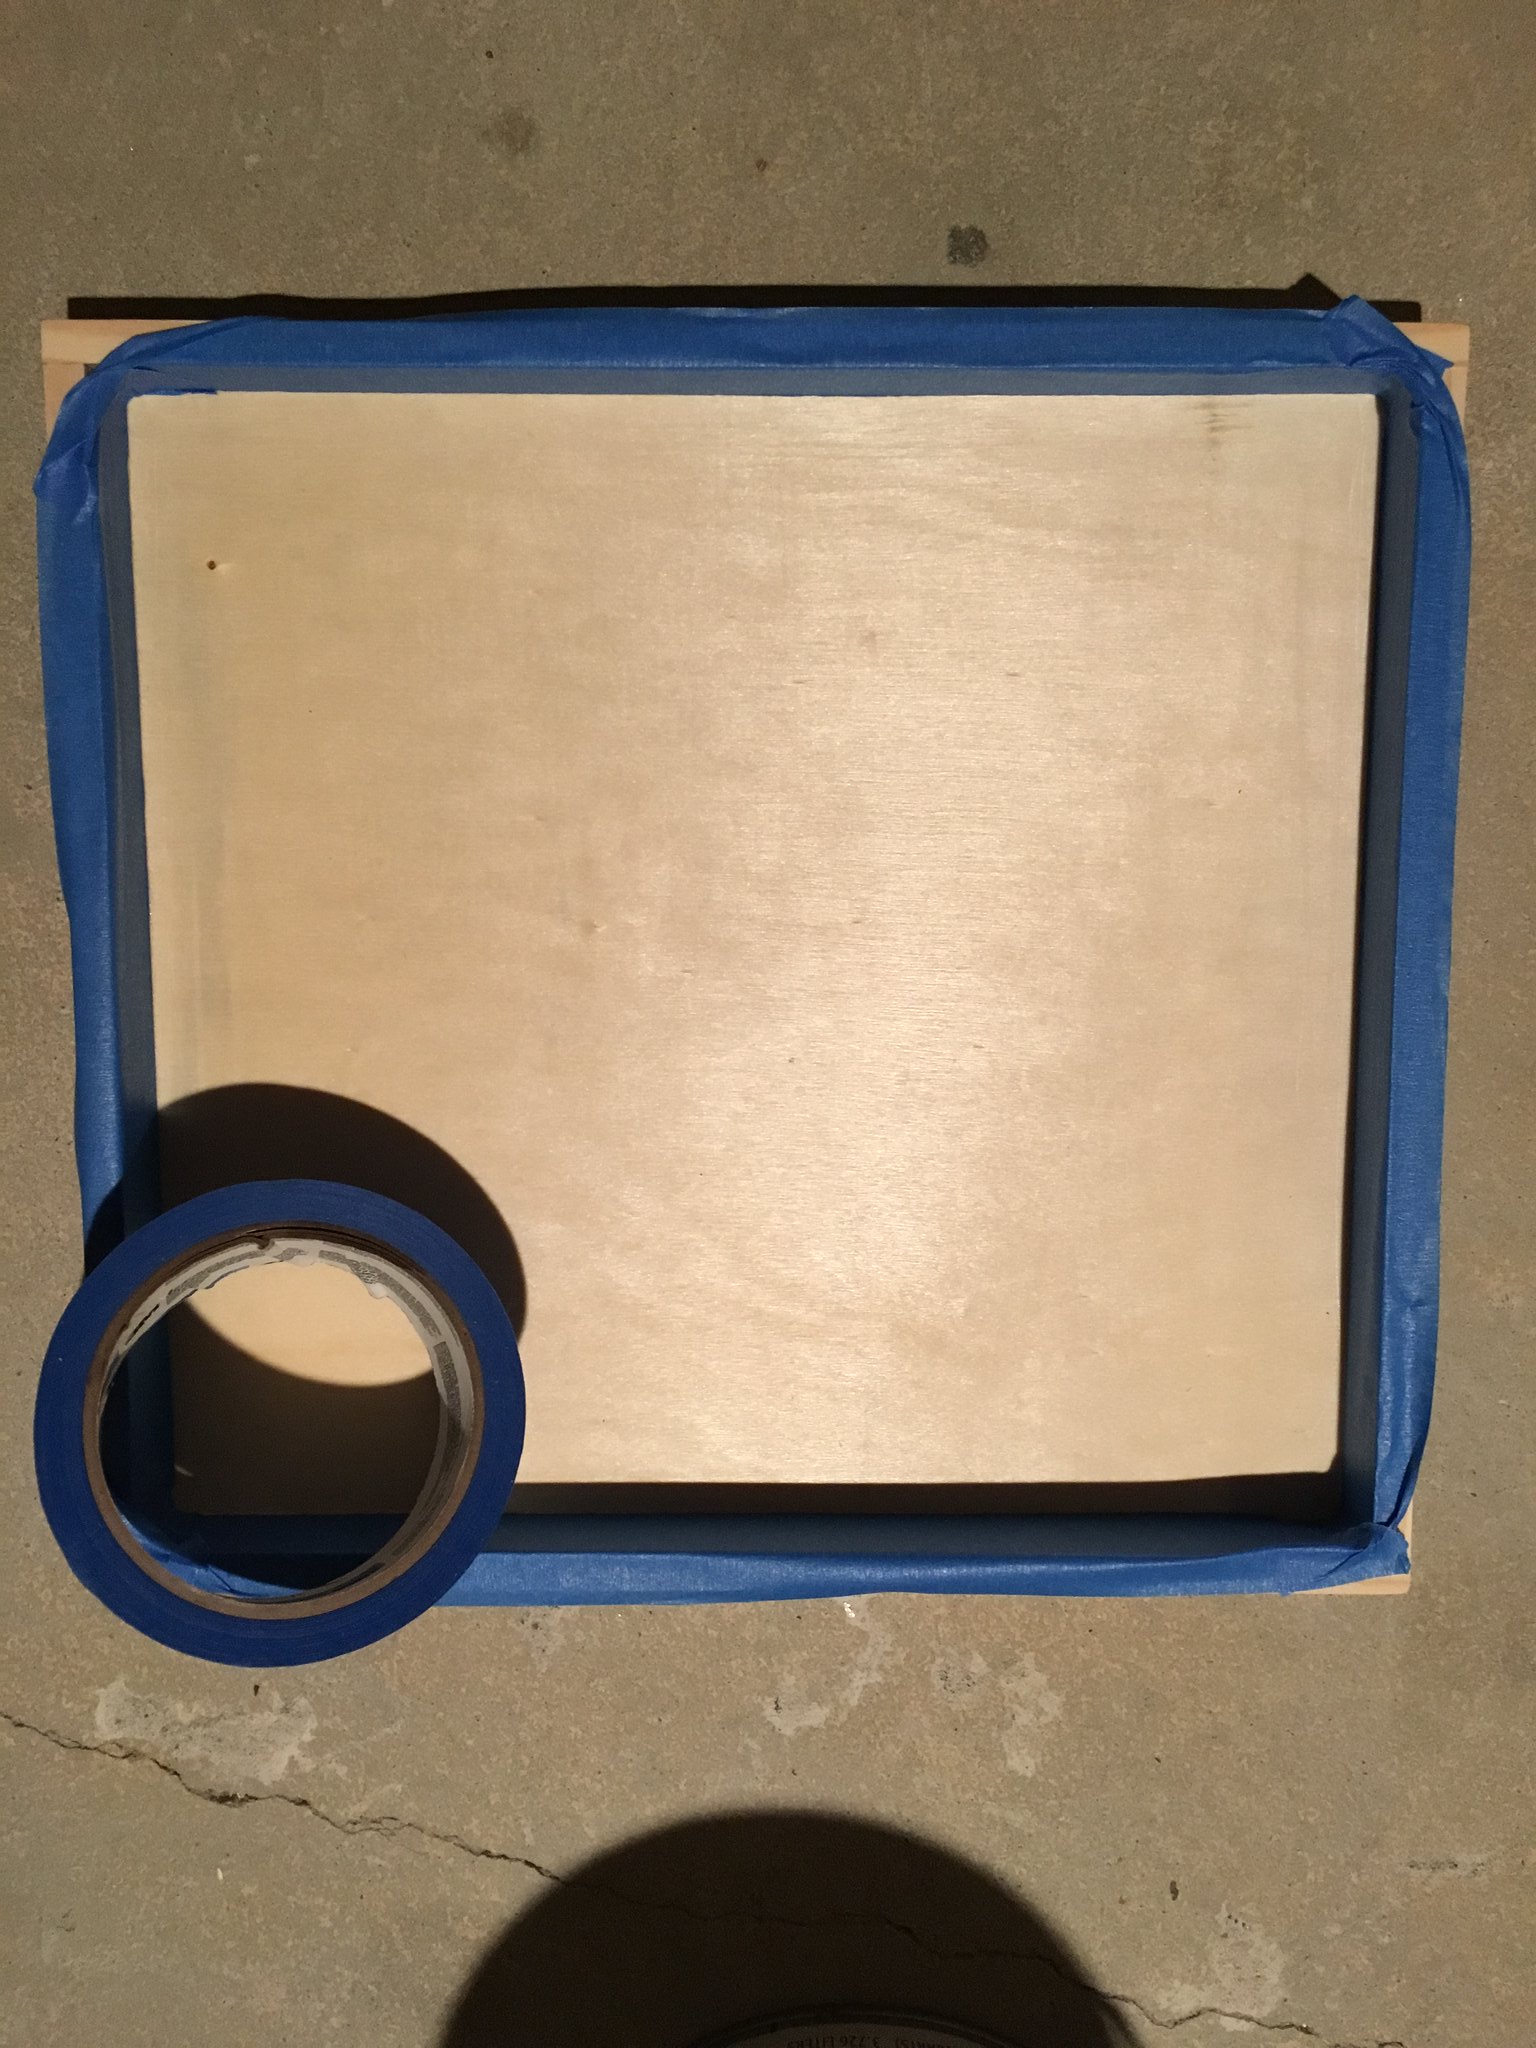
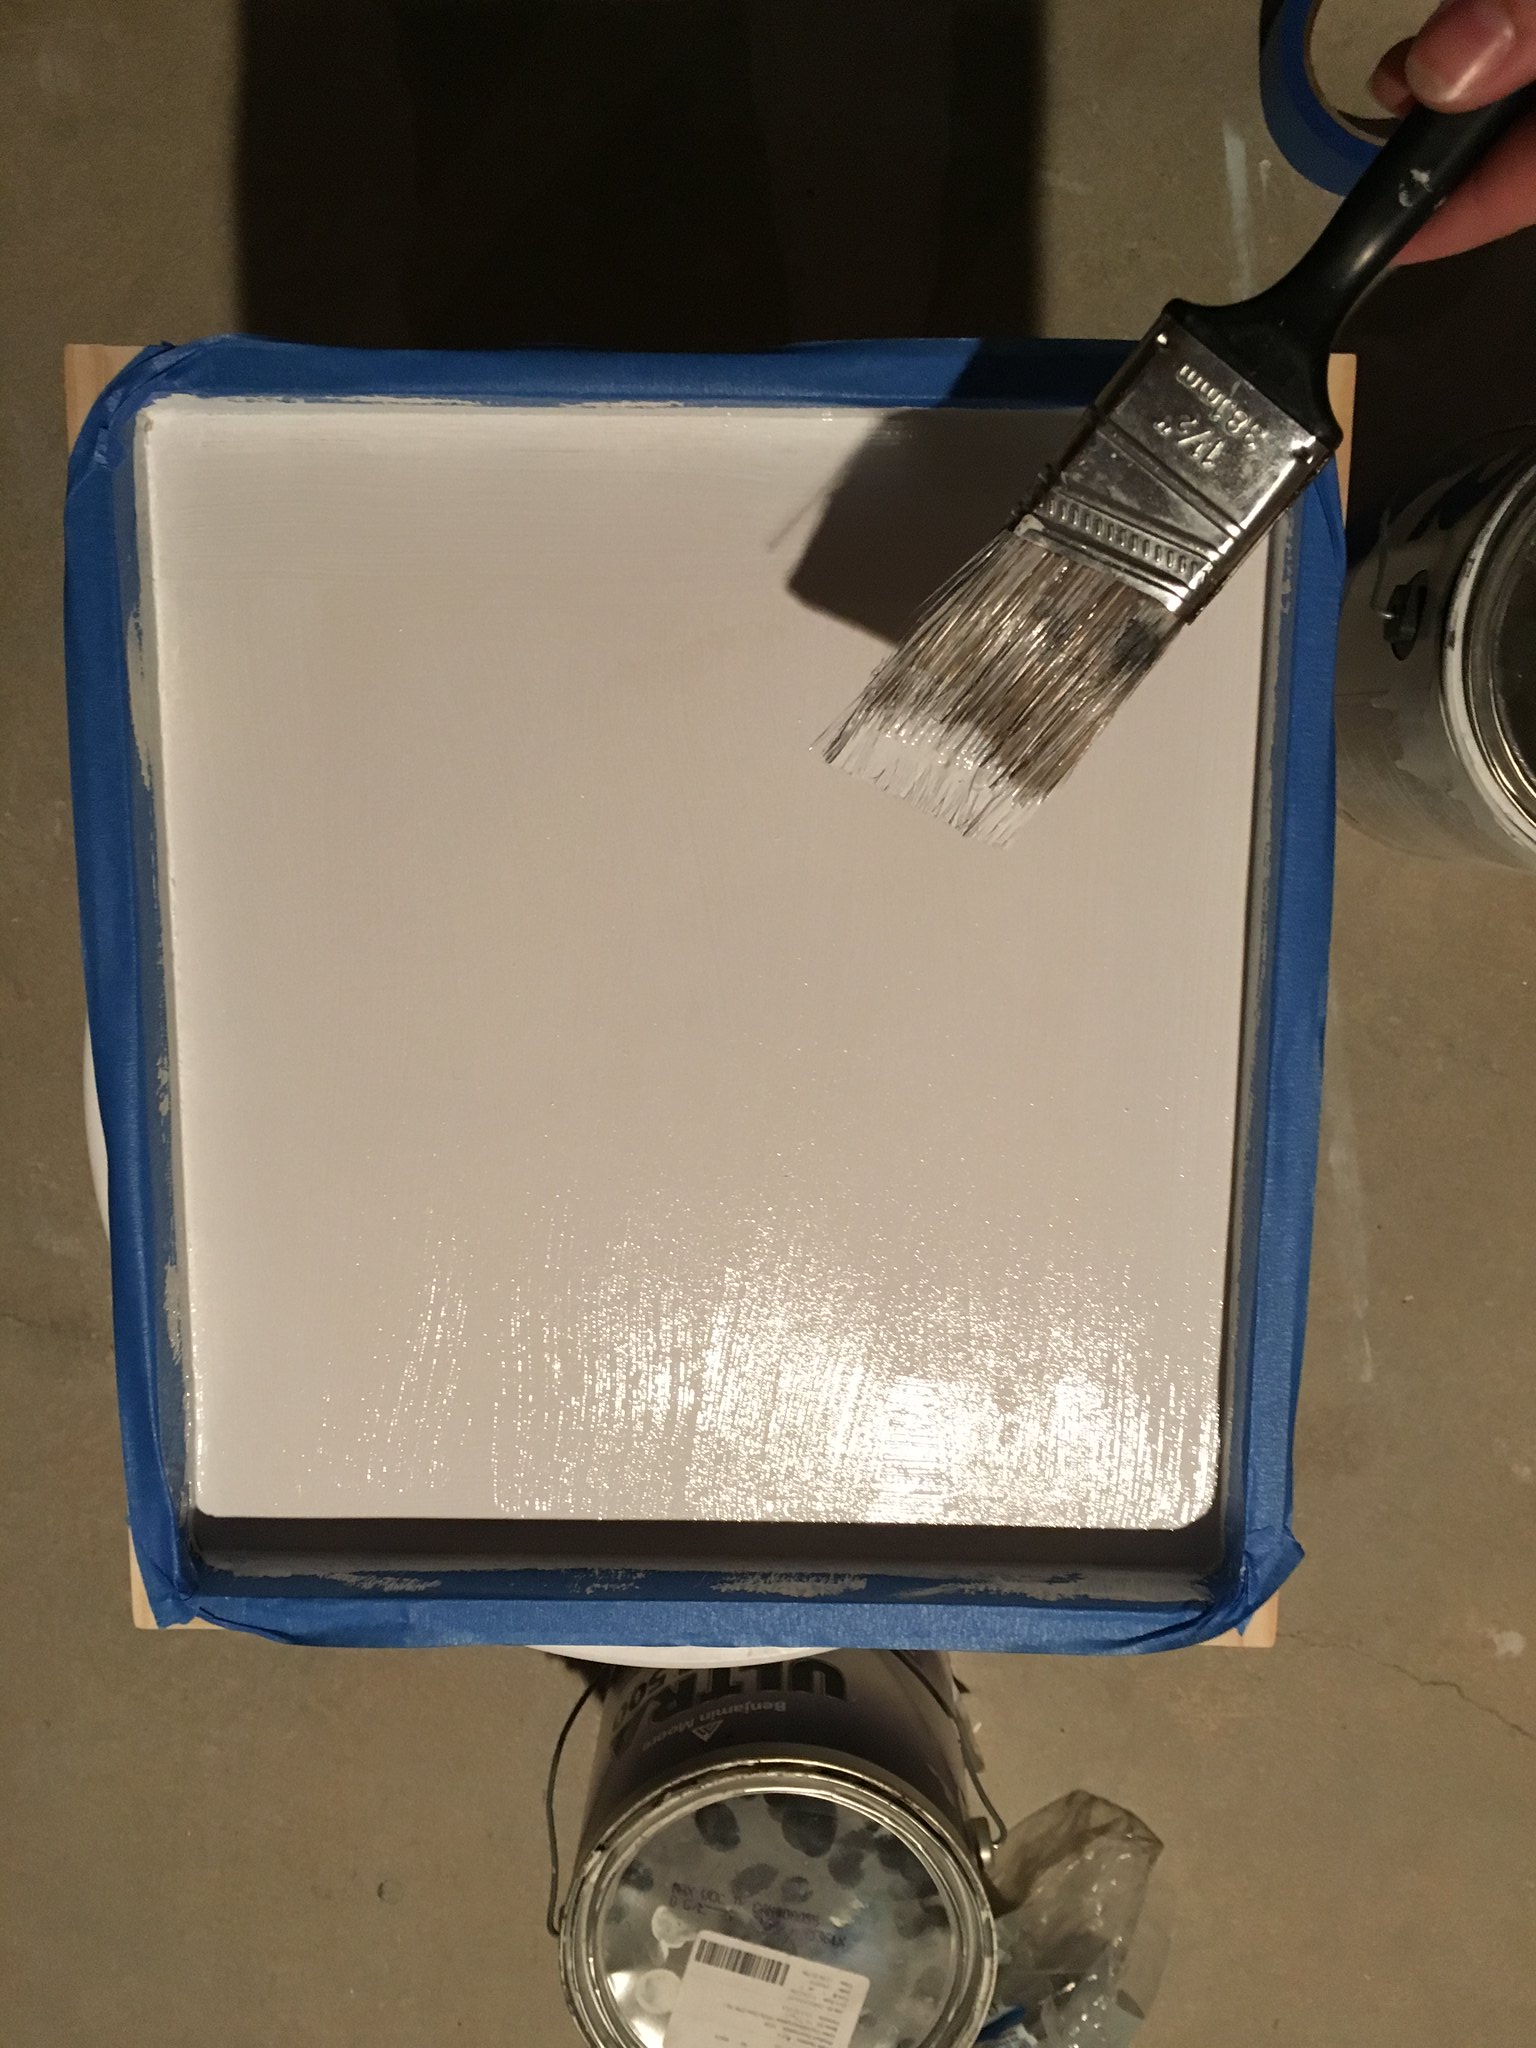
Paint your background. I chose the same white as the trim in my house because I had some leftover. But you can choose to use whatever color you want. I primed first to cover any wood grain and then used Benjamin Moore White Dove as my top coat.
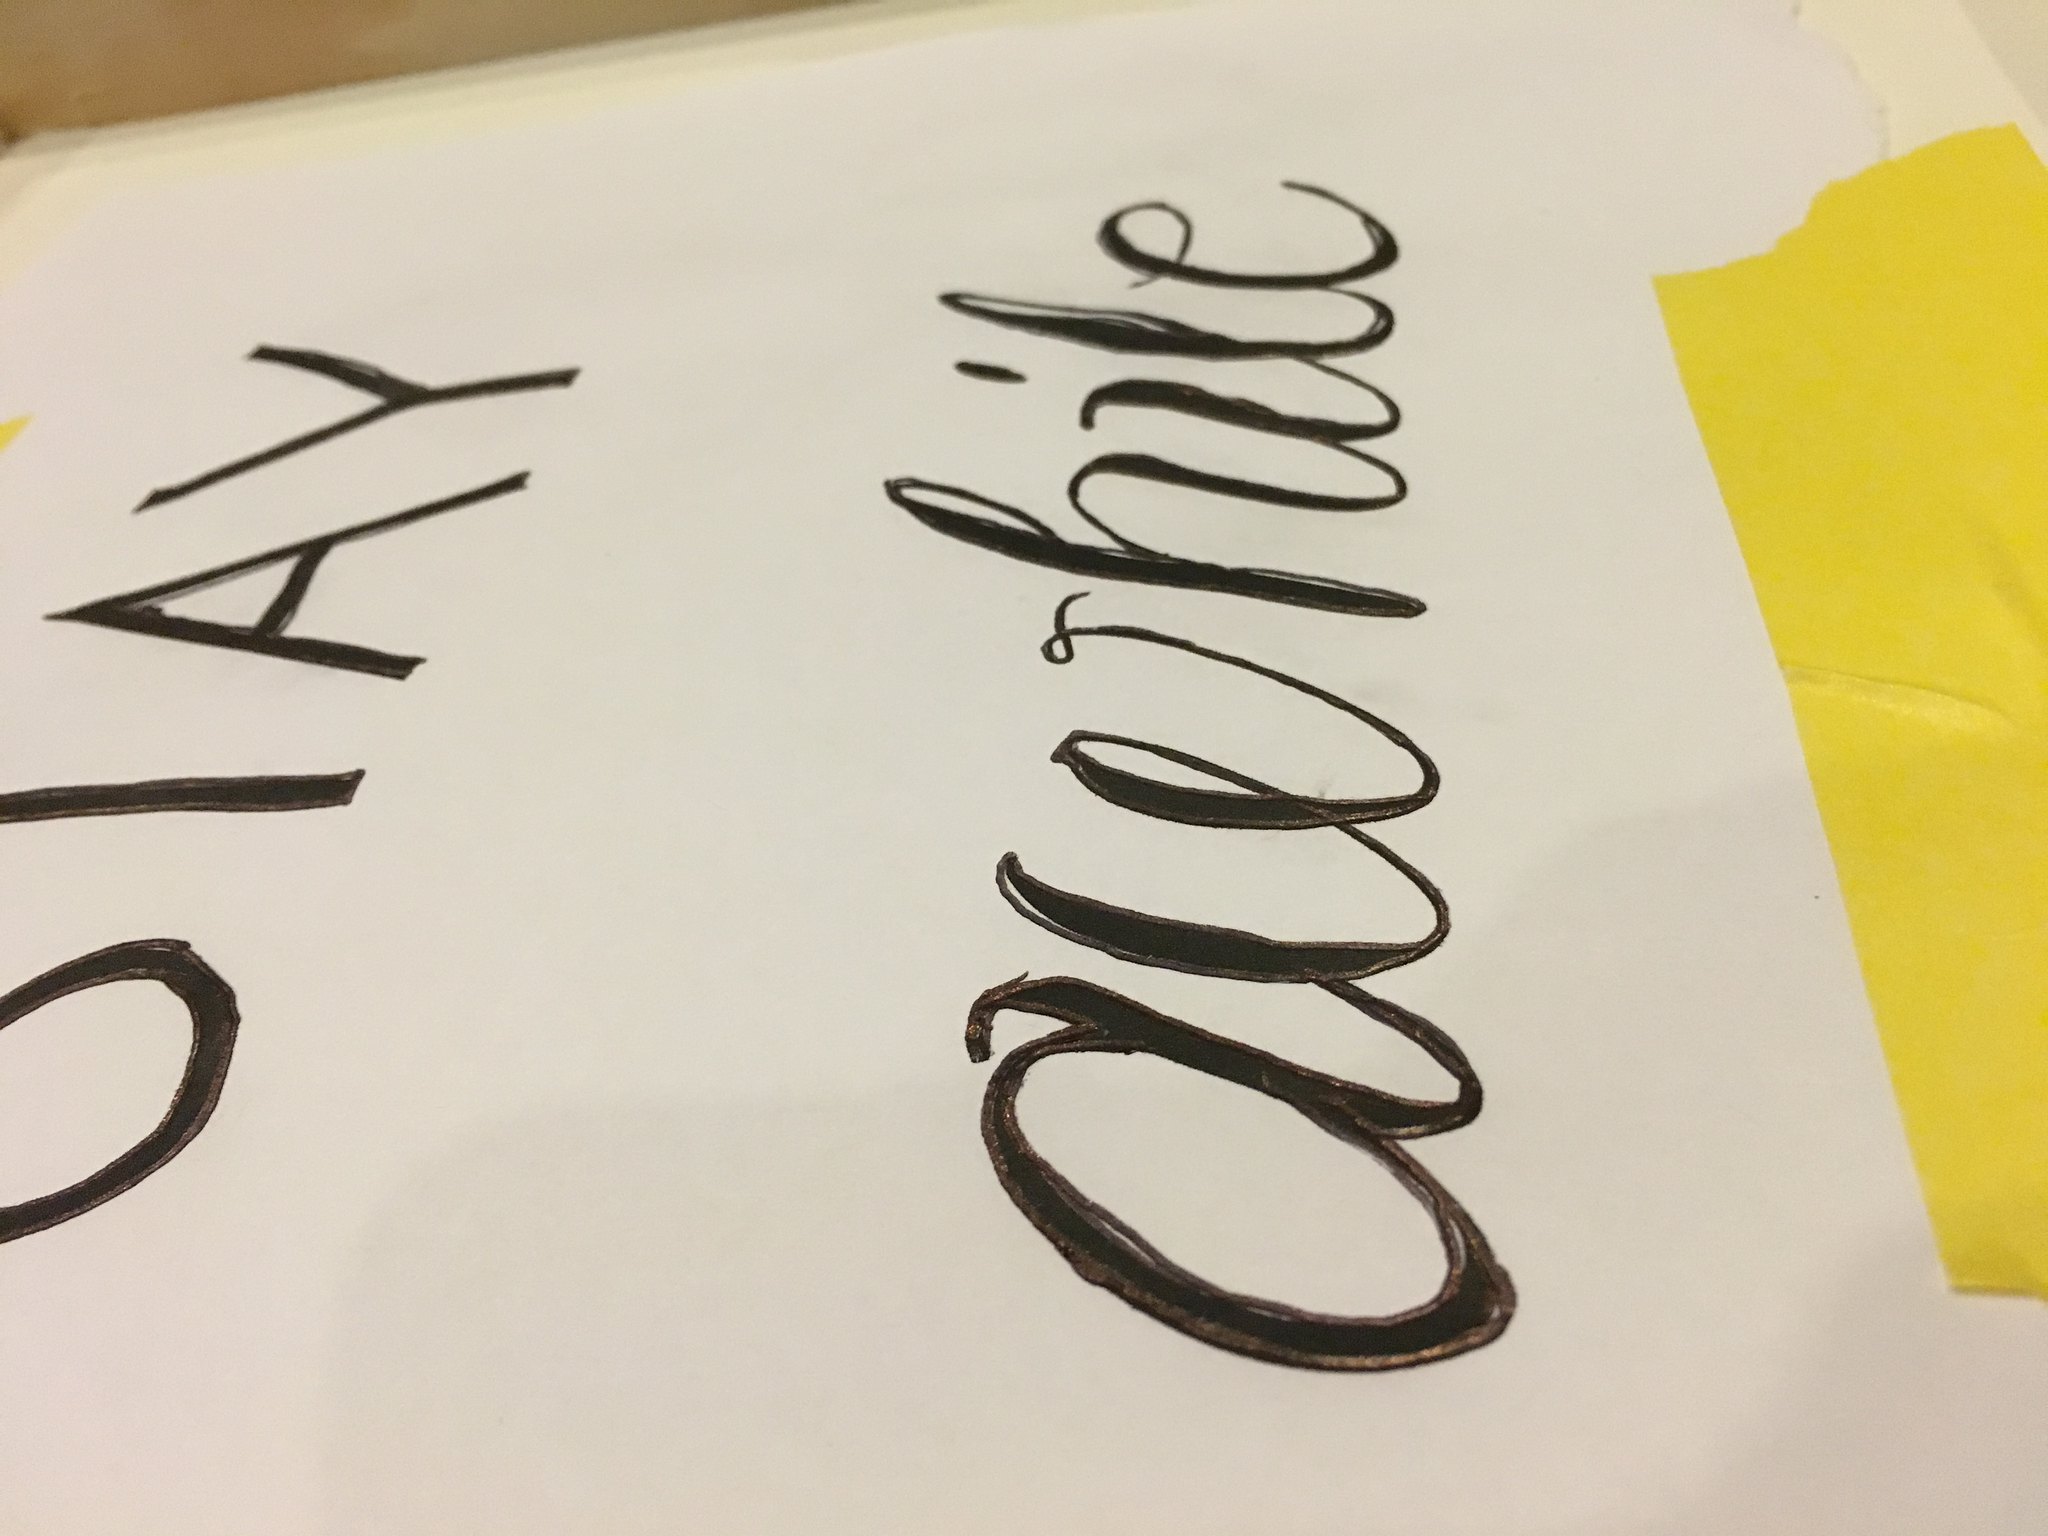
Next up, the fun part! Designing your lettering. I went to dafont.com and downloaded the fonts I wanted to use to create my saying. You can use whatever font you want! If you want to use the same lettering that I did you can download my free template.
My inspiration for this sign comes from seeing it EVERYWHERE on Instagram. Most of the signs have a very Scandinavian feel to them. I wanted mine to be a bit less modern to fit my style better. Once you have your fonts, pull up a document and type your saying. You’ll need to mess with your sizing to fit your sign. If you are doing a large one then Christina’s tutorial (above) is good to figure out how to print your saying. If you are using a Melissa and Doug wood frame (save them all!) then an 8.5 x 11 sheet of paper fits perfectly inside.
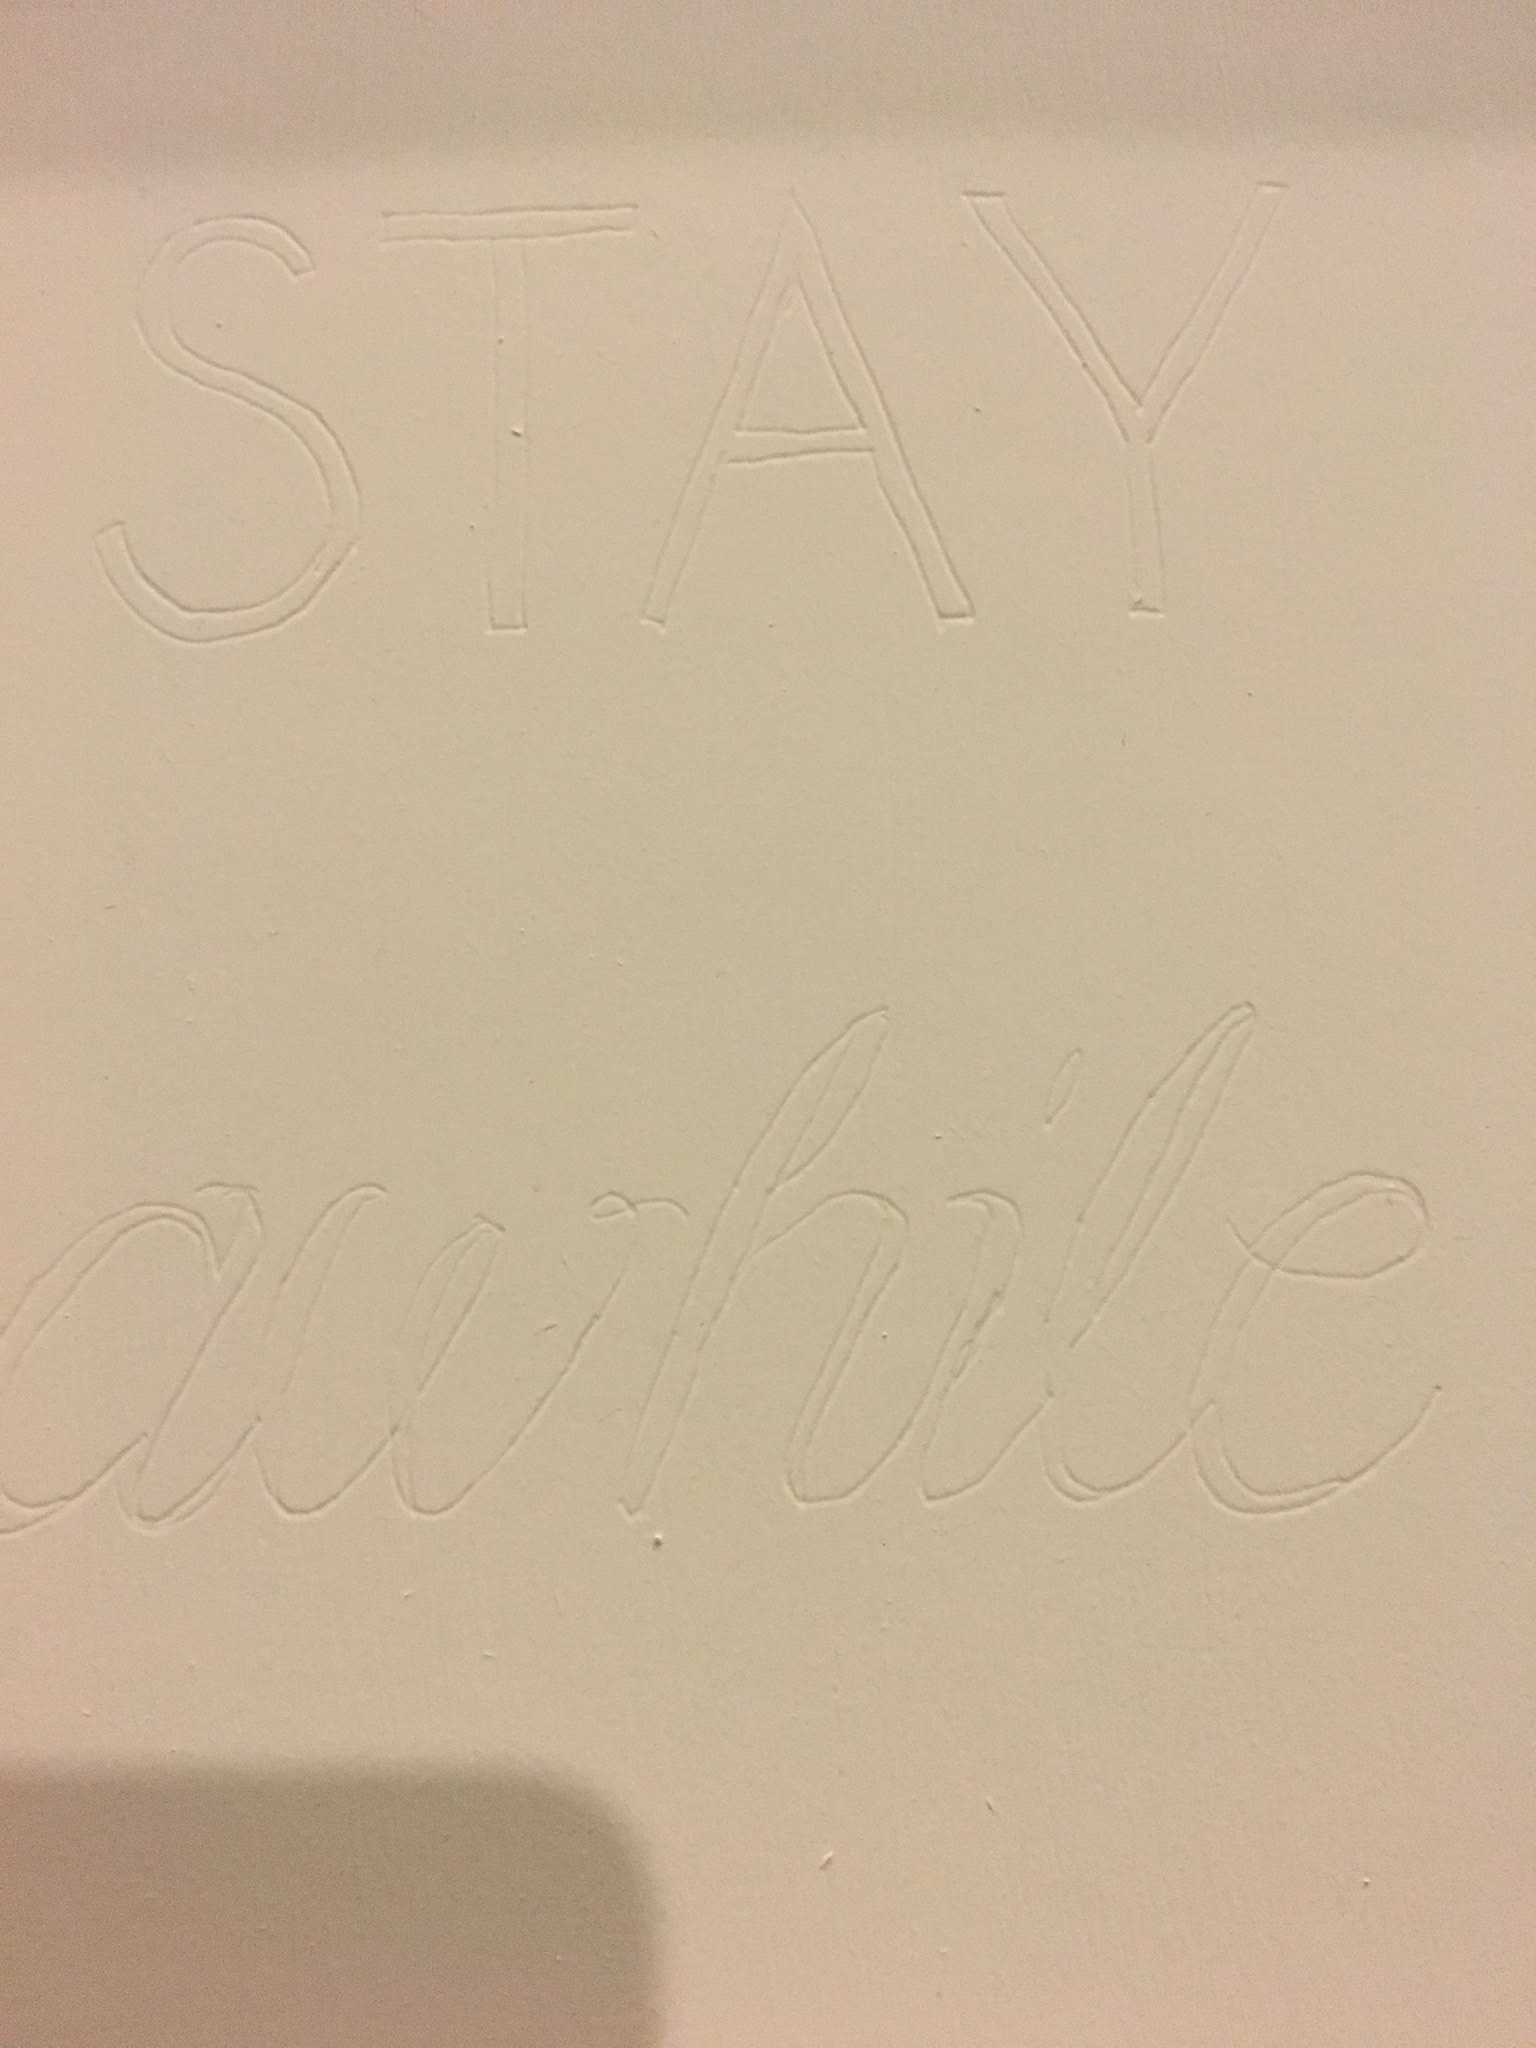
Print out your saying and trace your letters onto your wood using a ballpoint pen or other hard pointy tip. Your goal here is just to make an indentation that you can see when you pull away the paper.

After you’ve traced your word or phrase you can either hand paint it (you’ll need nerves of steal) or you can use a paint marker (You’ll still need a steady hand. But it makes it less difficult.) I chose a paint marker and was happy I did so. Especially after my last experience. 🙂
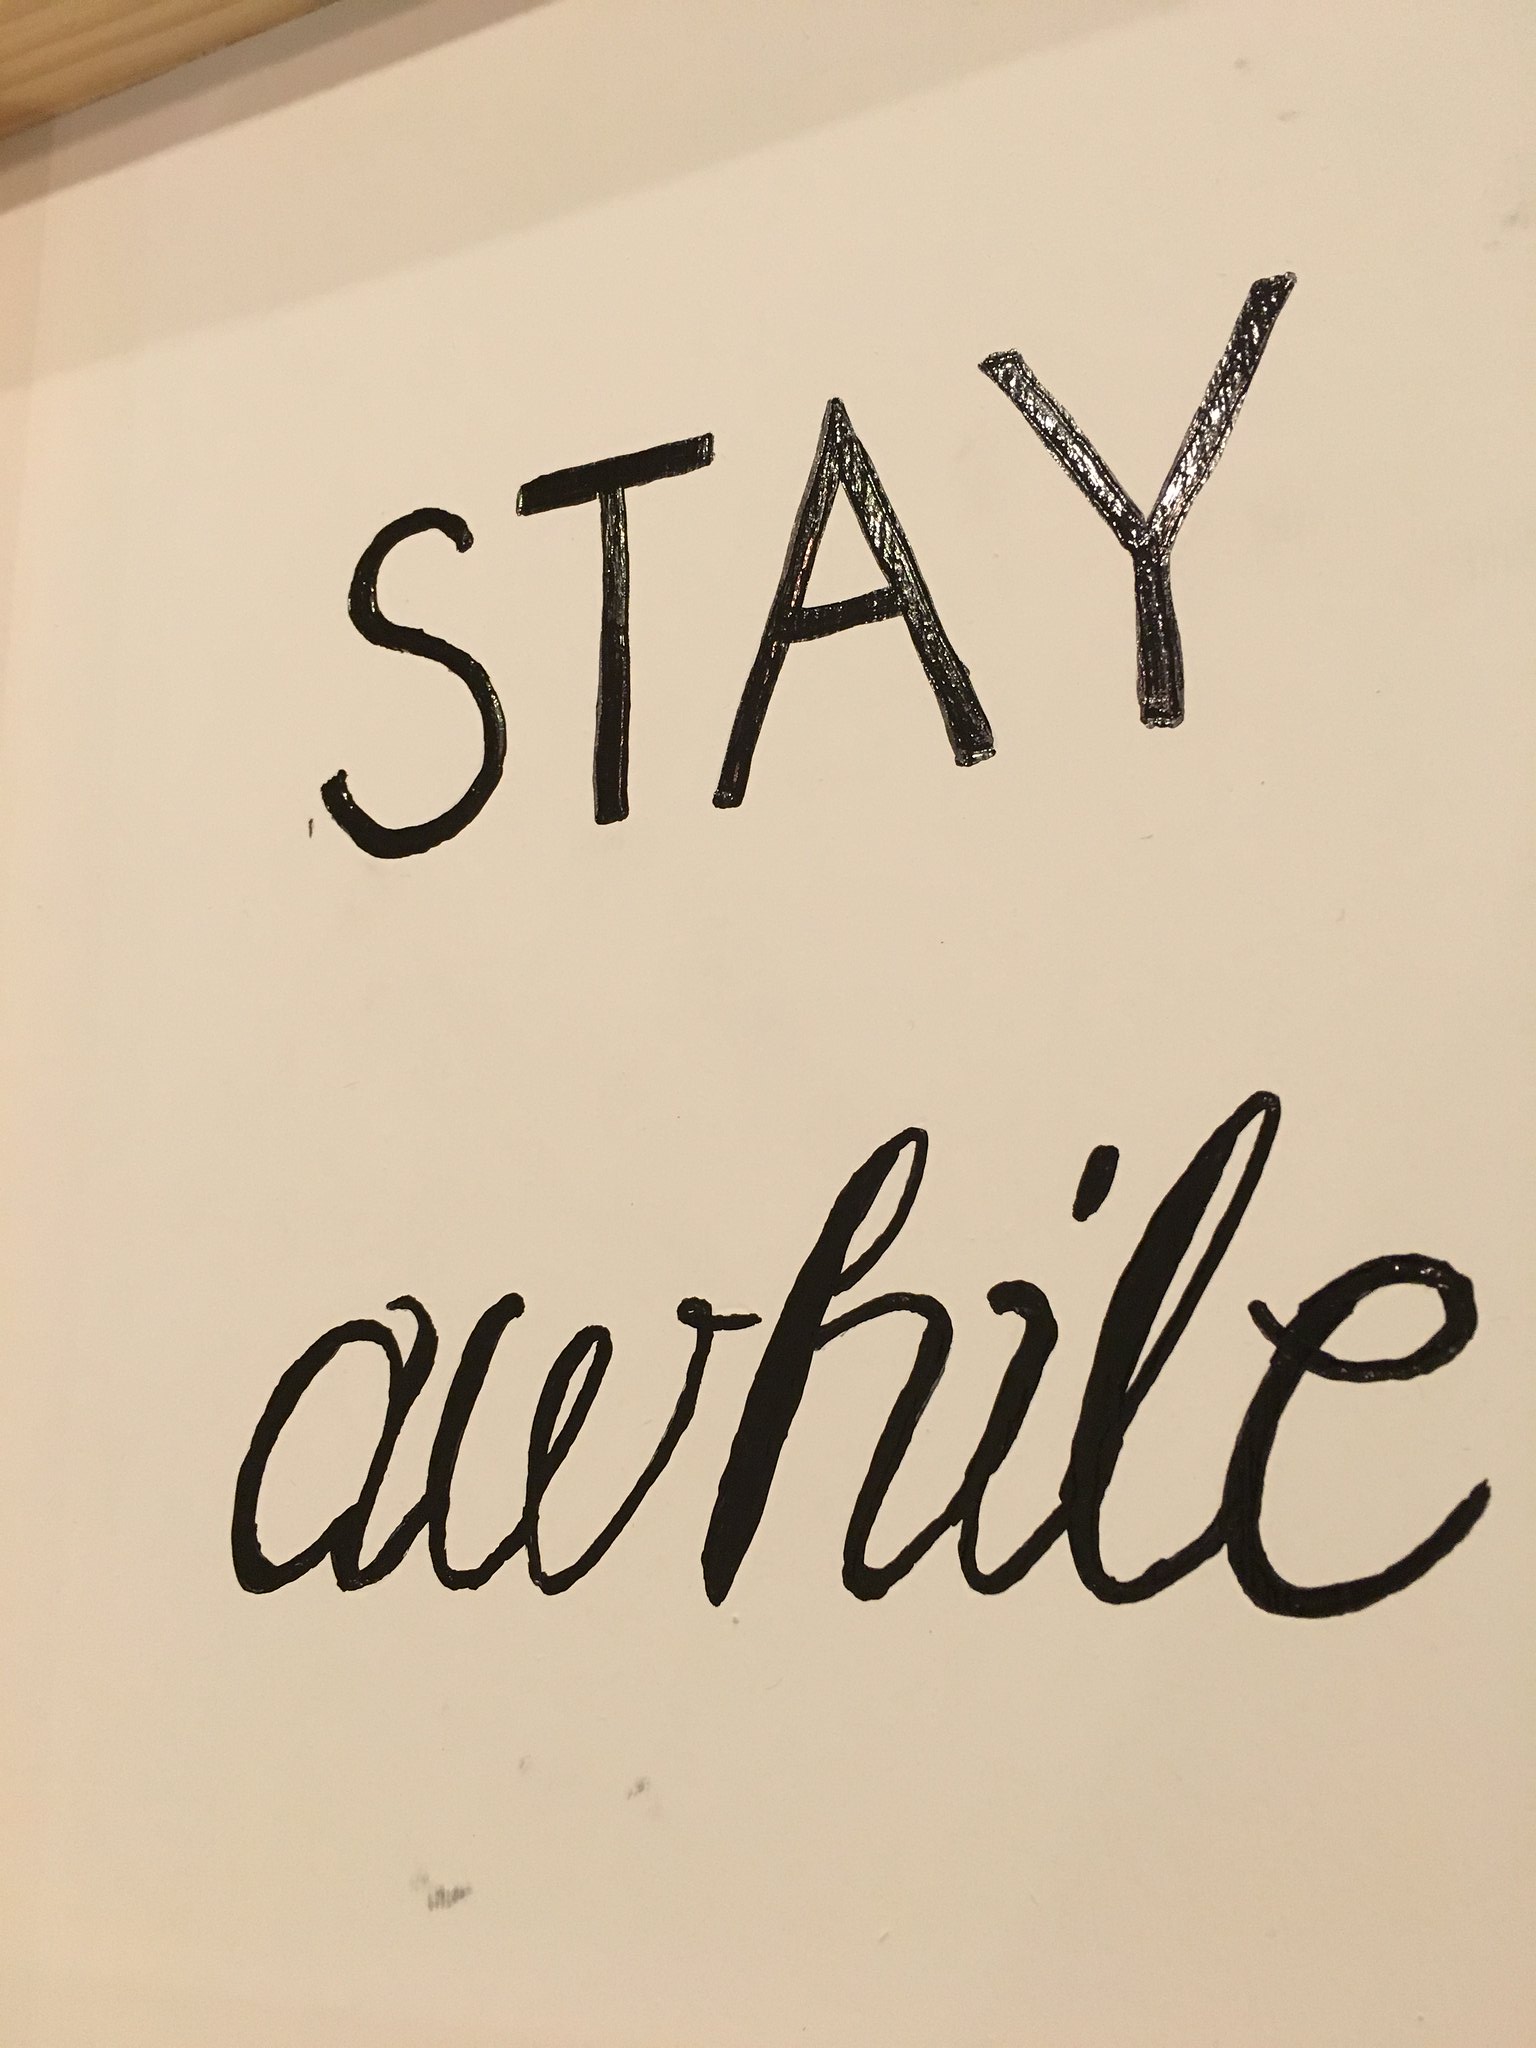
Above is the traced lettering. And below is the indentation after tracing it to use as your guideline.
This is after my first coat with the paint marker.
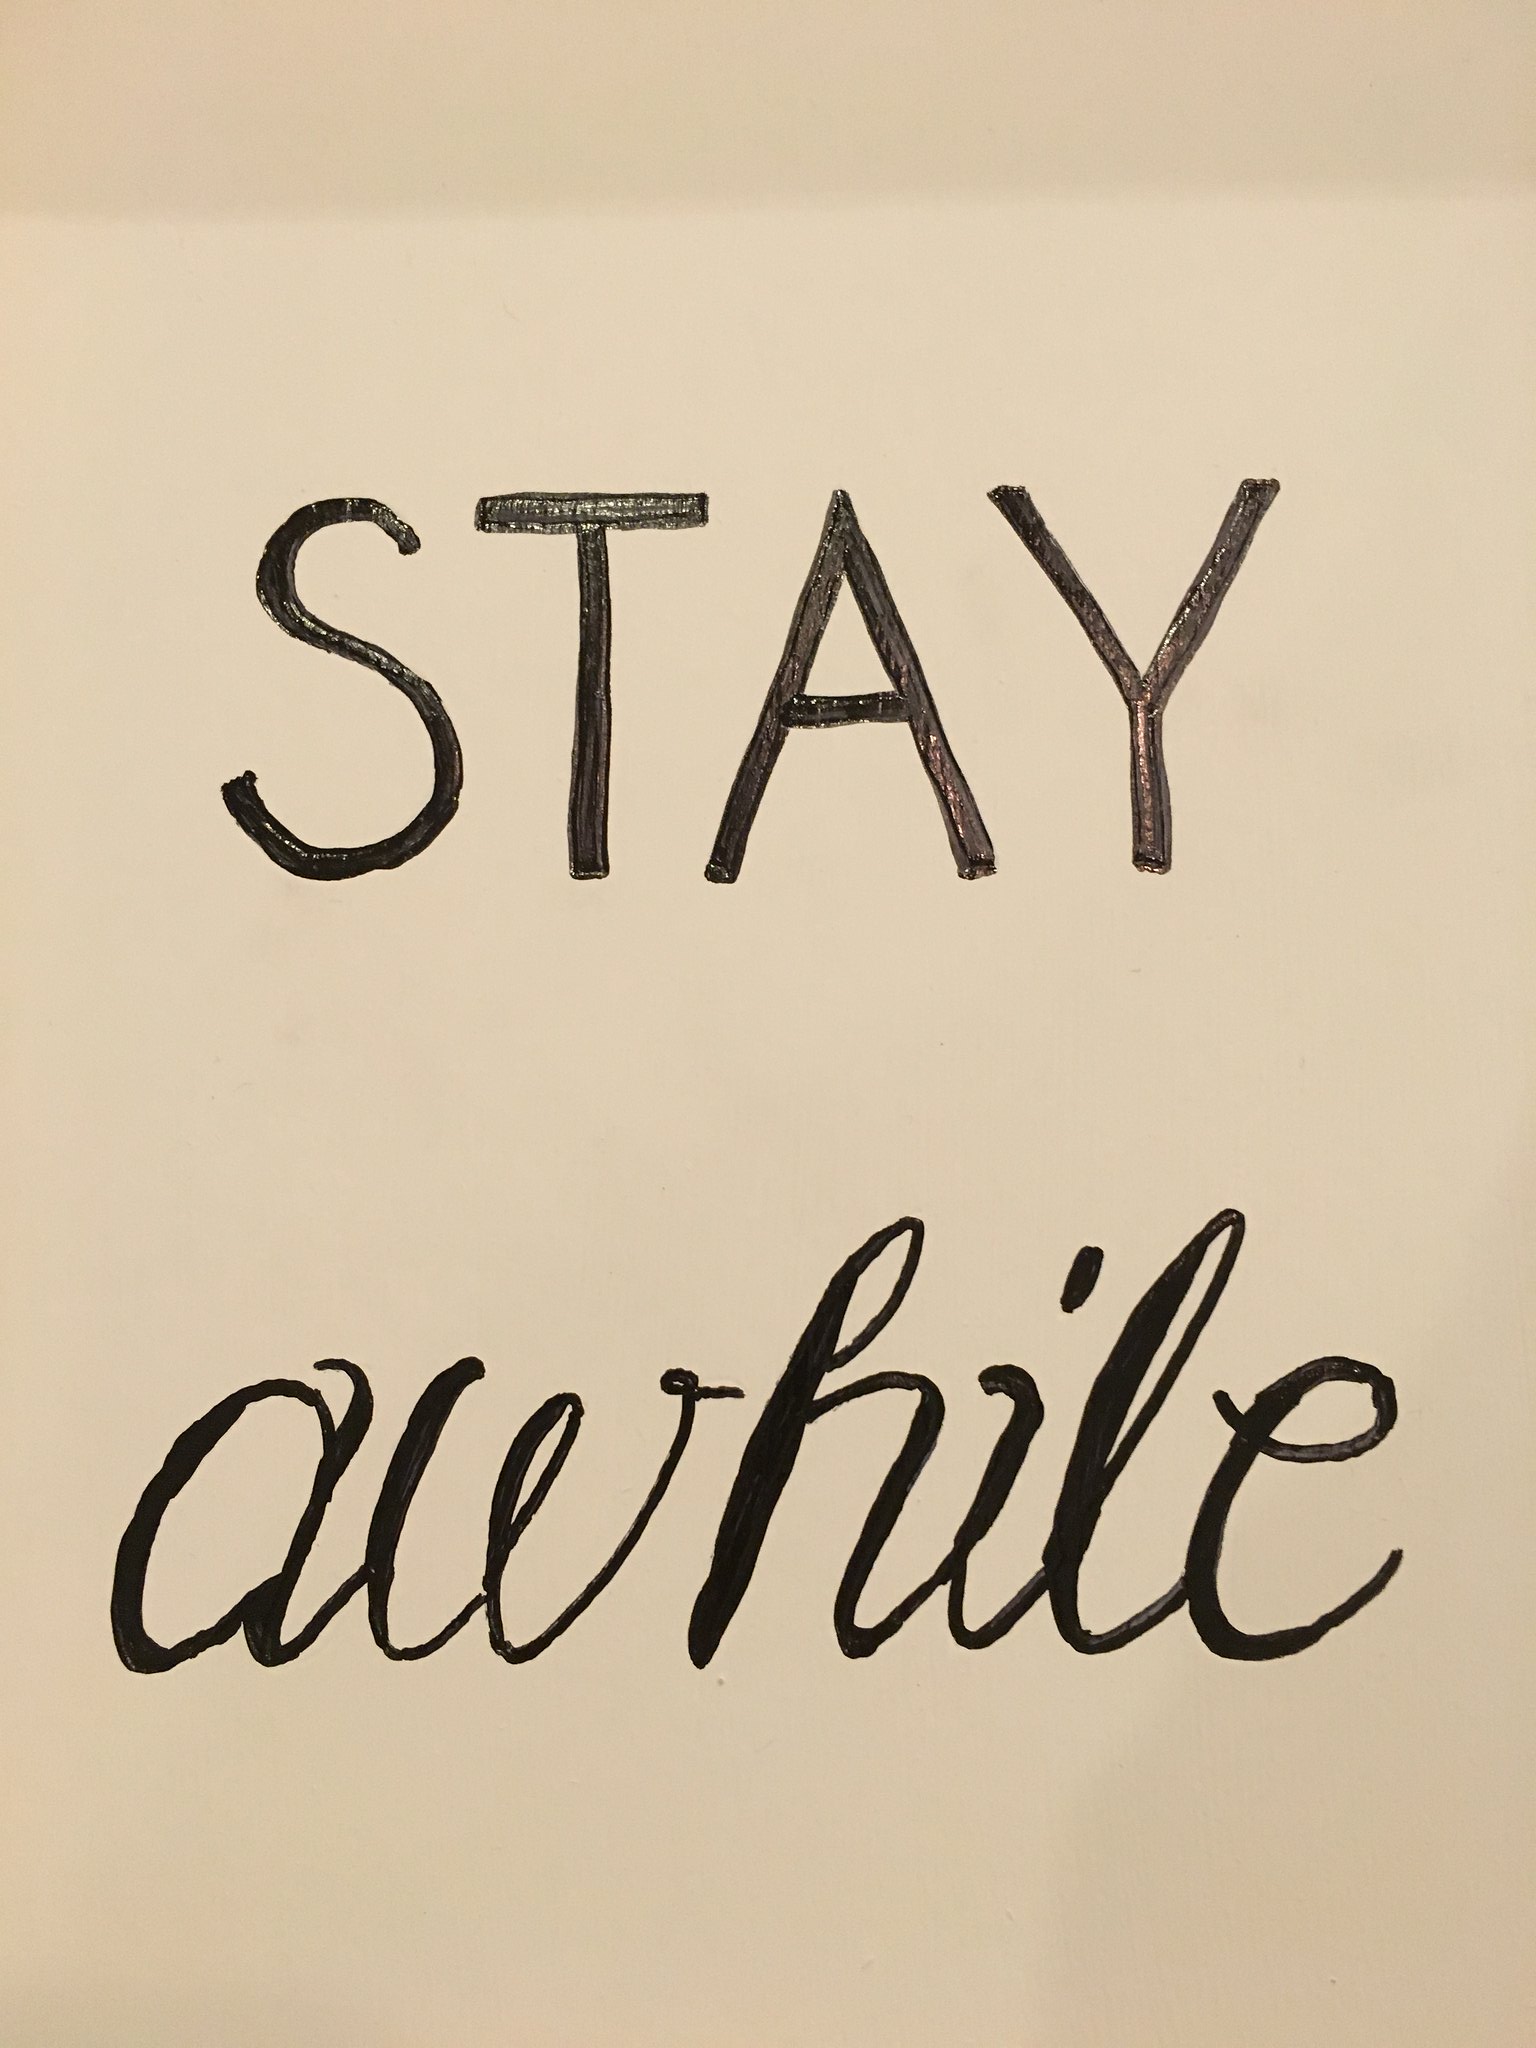
And after my second coat. You’ll notice my pinky rubbed some of the black paint onto my white background. Wah-wah. (Did you make the noise in your head like I did?) But that’s ok! Just a little touch up paint was all it took to restore my white to its glory.
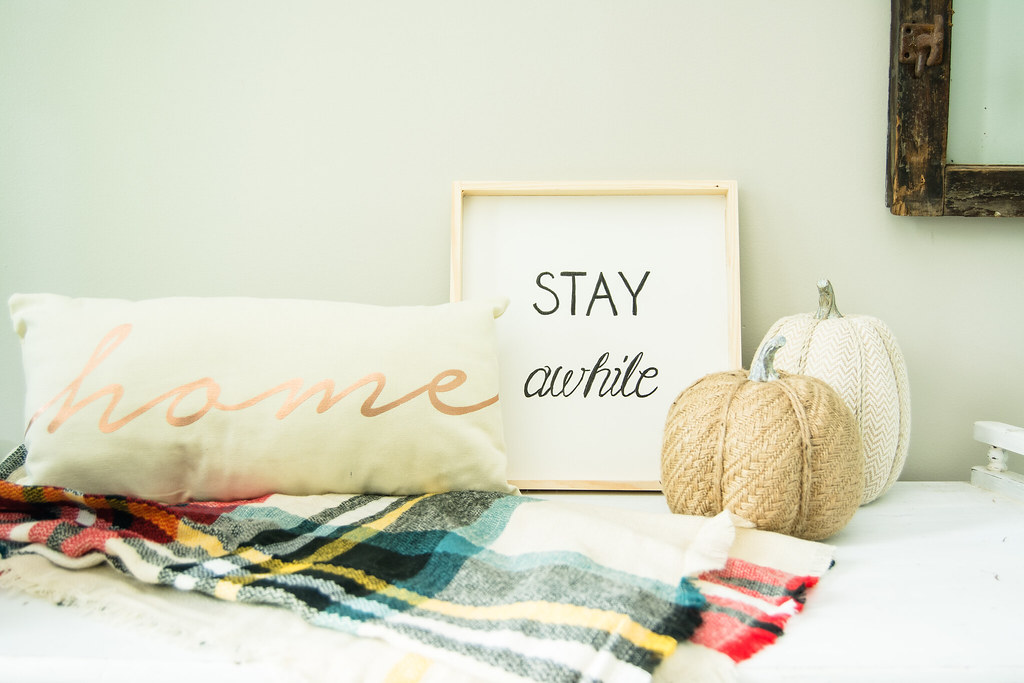
And voila! A free sign made from a child’s toy packaging. I’m going to give myself a little pat on the back for this one. Is it perfect? Nope! Are there perfectly clean lines and even letters? Nope! But that is ok. The idea is to show my guests that they are welcome here and they can kick back and relax. And I think I accomplished that goal.
Have you ever made a sign from unexpected materials!? Please share your genius ideas with me!
Sarah
{Do not neglect to show hospitality to strangers, for by this some have entertained angels without knowing it. Hebrews 13:2}
So cute….you are an inspiration in more ways than one! When I grow up I want to be like you. 🙂