Dual Purpose Utility Closet Organization
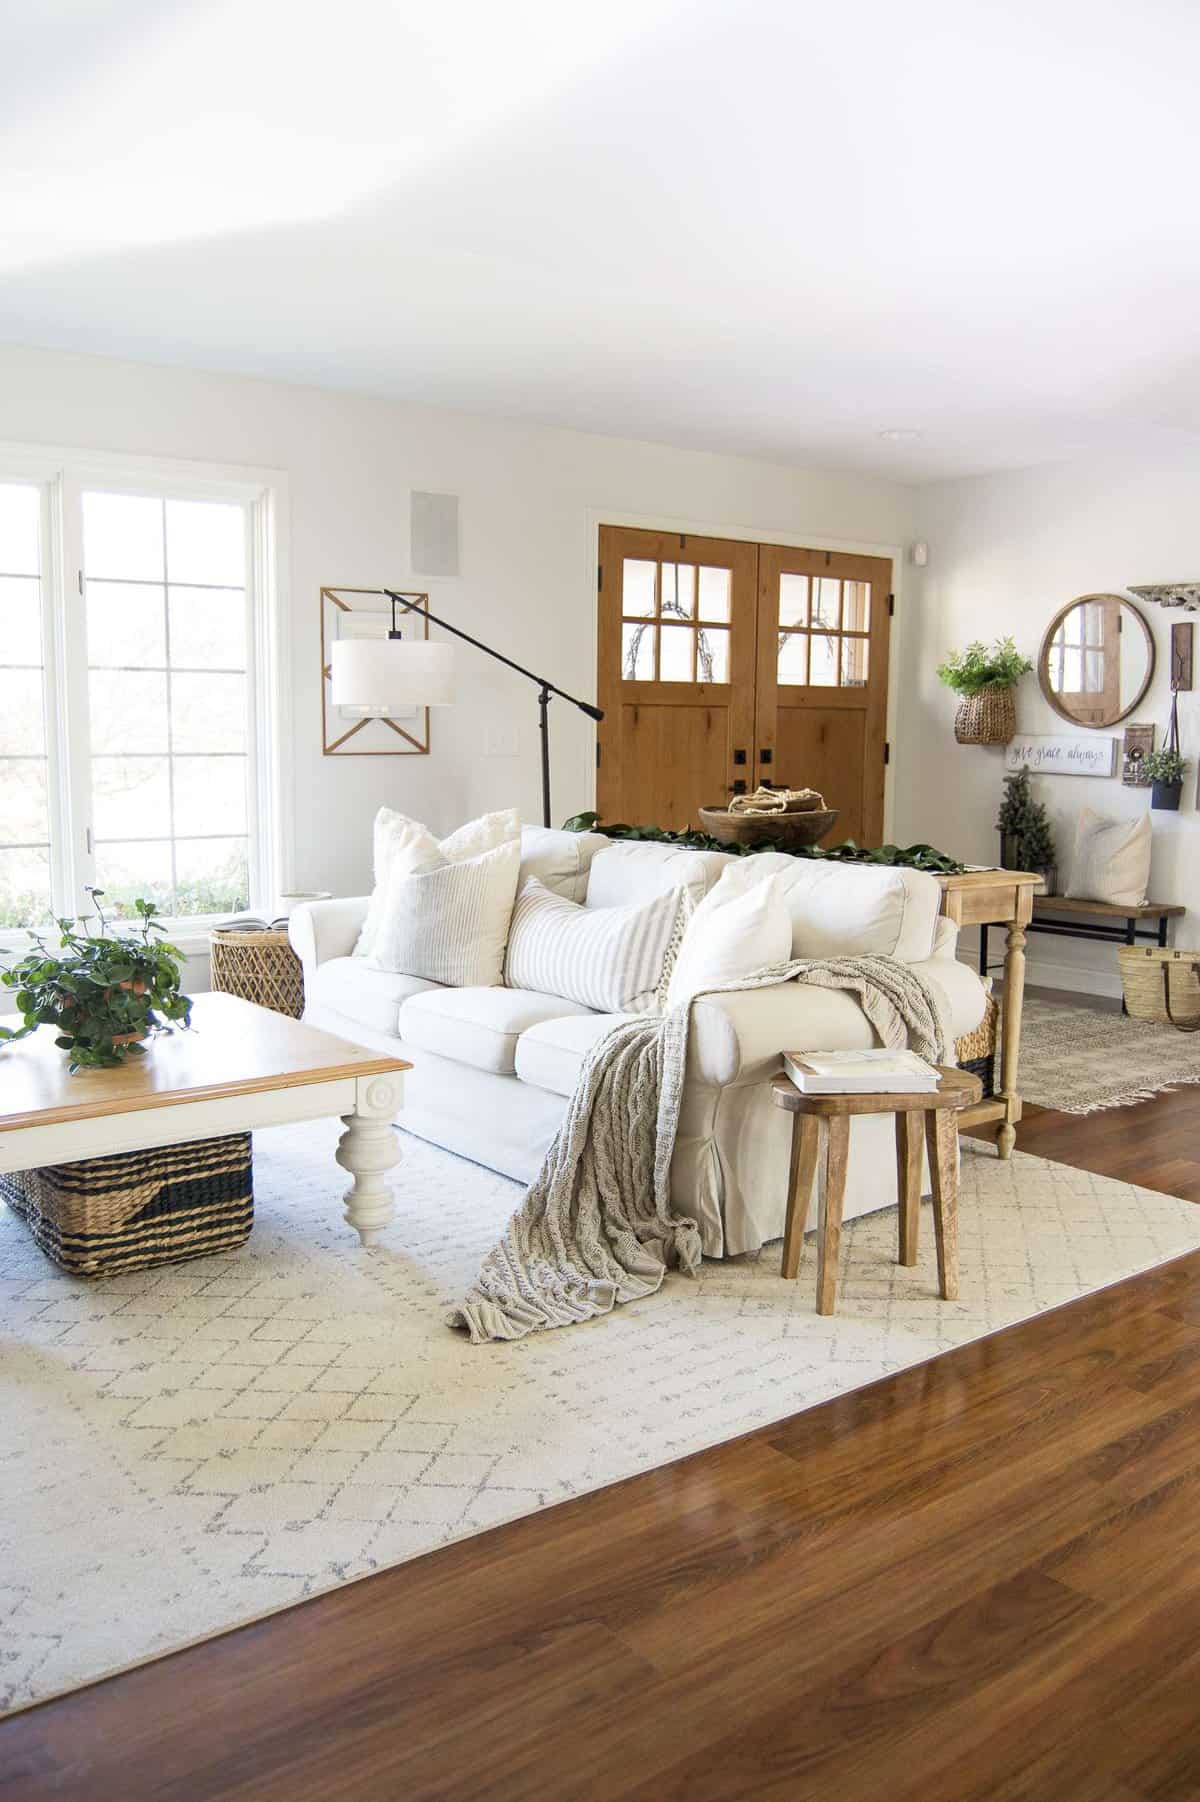
Do you have an awkward and underused entryway closet? Today I’m sharing how I created a dual purpose space with easy utility closet organization tips and tricks! I’m going to take a messy and ill equipped closet and show you how to designate the space for dual purposes.
Joining me today are some talented bloggers each sharing their own strategy to organize their homes. If you’re joining me from Kelly at The Tattered Pew, thanks for coming my way! Make sure to see the links to all their articles at the end of this post.
This post is sponsored by The Container Store. All thoughts and opinions are my own. This post may contain affiliate links where I earn a small commission on your purchases at no additional cost to you.
Utility Closet Organization
We all have that one space, don’t we? The catch all that inevitably becomes a heaping mess of random homeless objects. Our entryway closet was that space! It is the only hidden storage on our main floor for things like tools, however, it was also the only space we had for guests’ coats and seasonal storage.
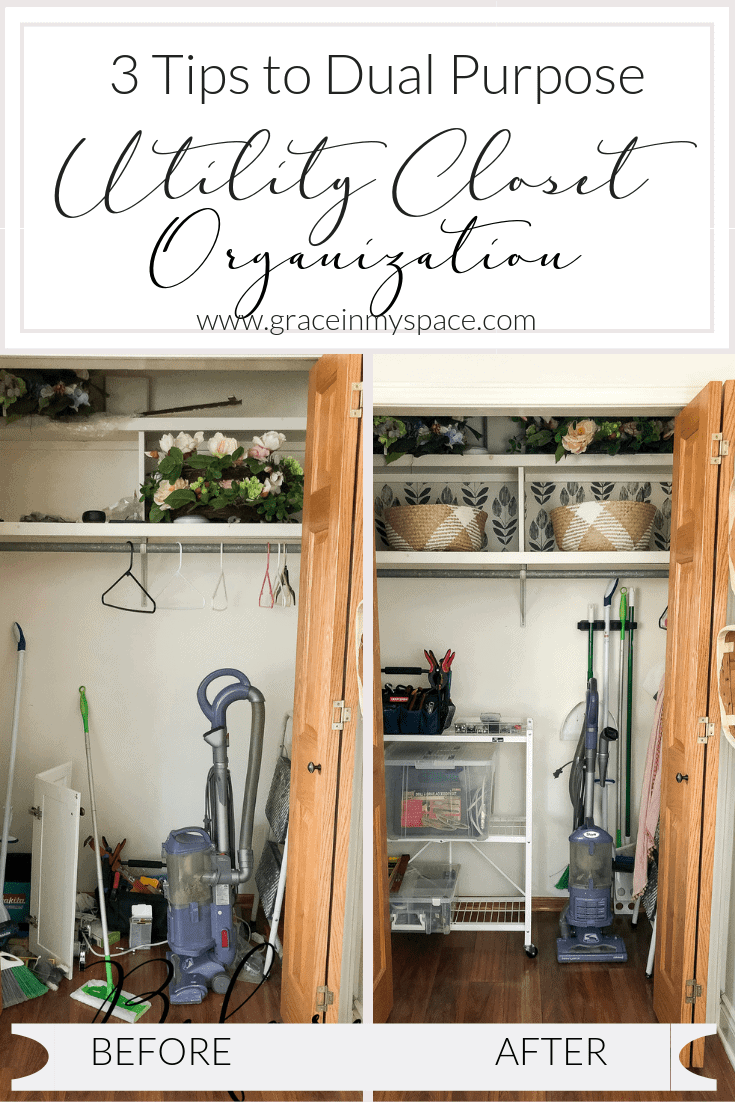
Before
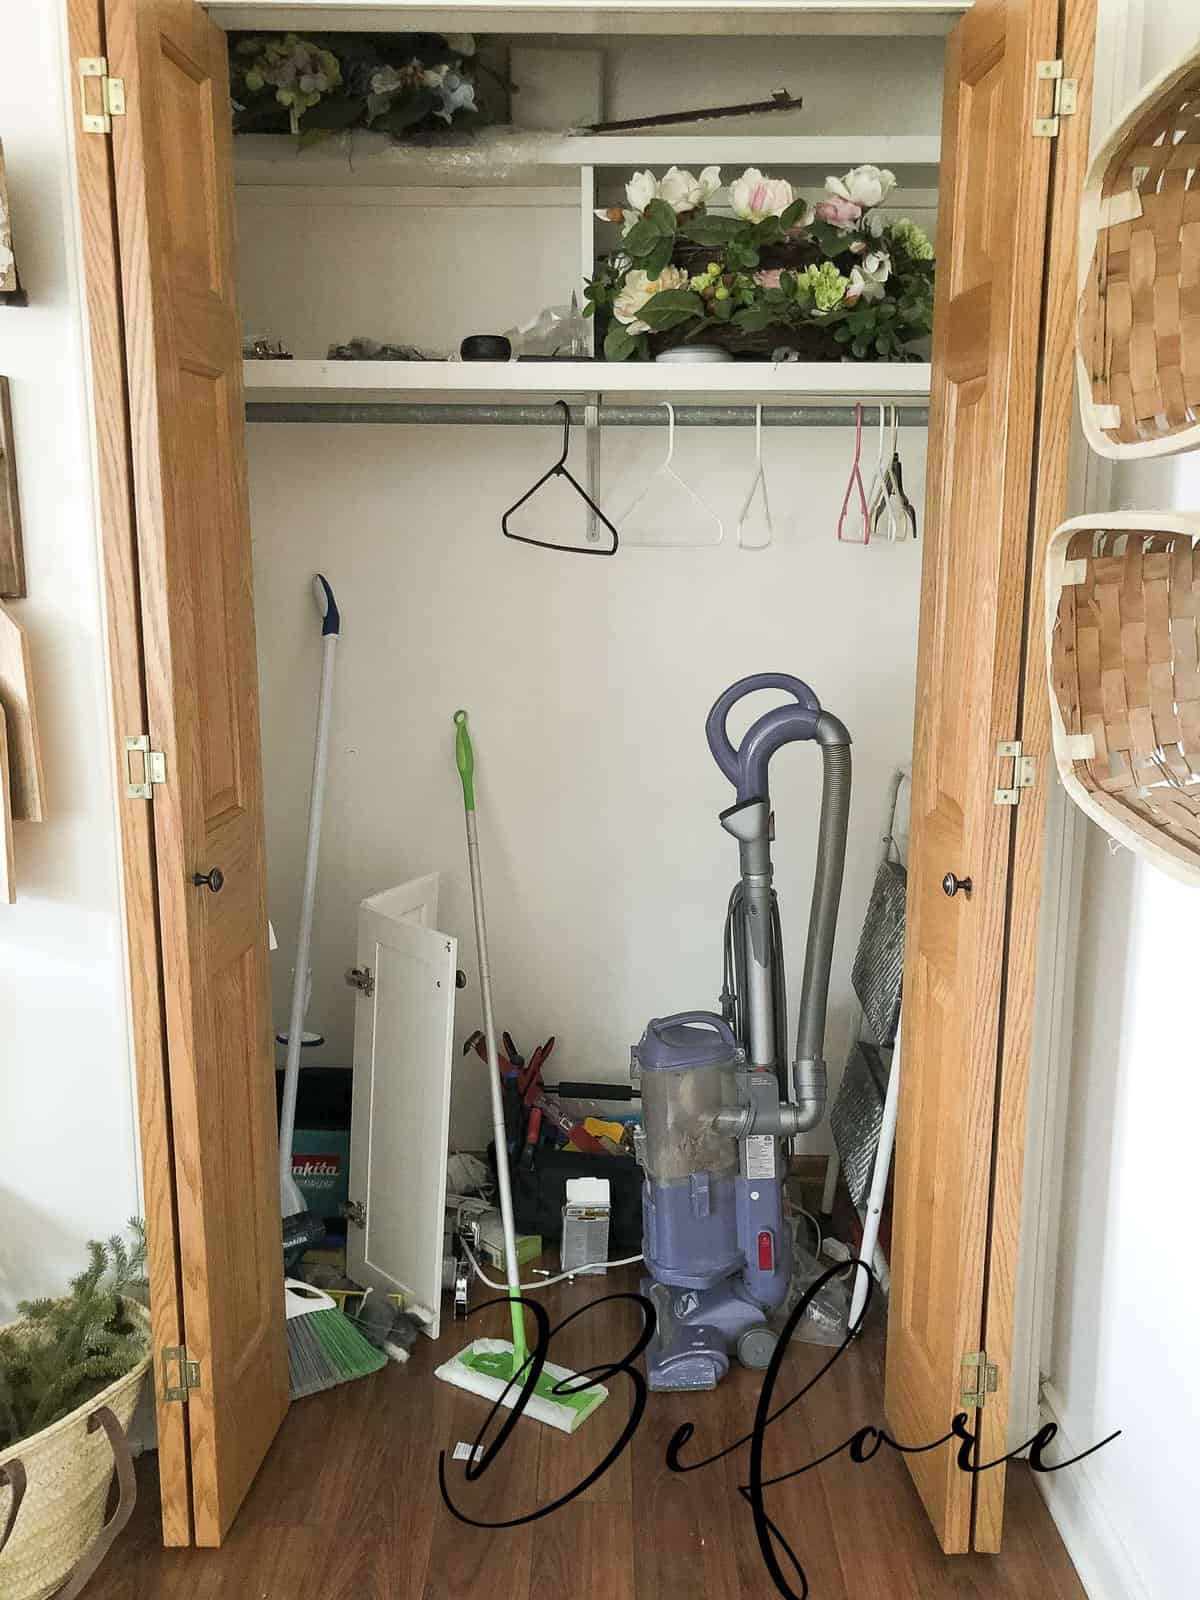
Broken kitchen cabinet door. Check. Tools scattered about. Check. Brooms and ladders cast to the side. Check. This space was a disaster! Plus, it was also an embarrassment when we’d open the doors to our shame in front of guests to hang their coats. 😉
So I was excited to partner with The Container Store to get this closet into shape! Below are the easy tips and tricks I used to allow this utility closet organization system to be dual purpose.
1. Add Shelving
The first step in organizing the closet to allow me to continue to use it as a utility closet, and as a coat closet, was to designate spaces with shelving. I chose to use this folding rack because of its small size, three shelf system, and one step assembly!
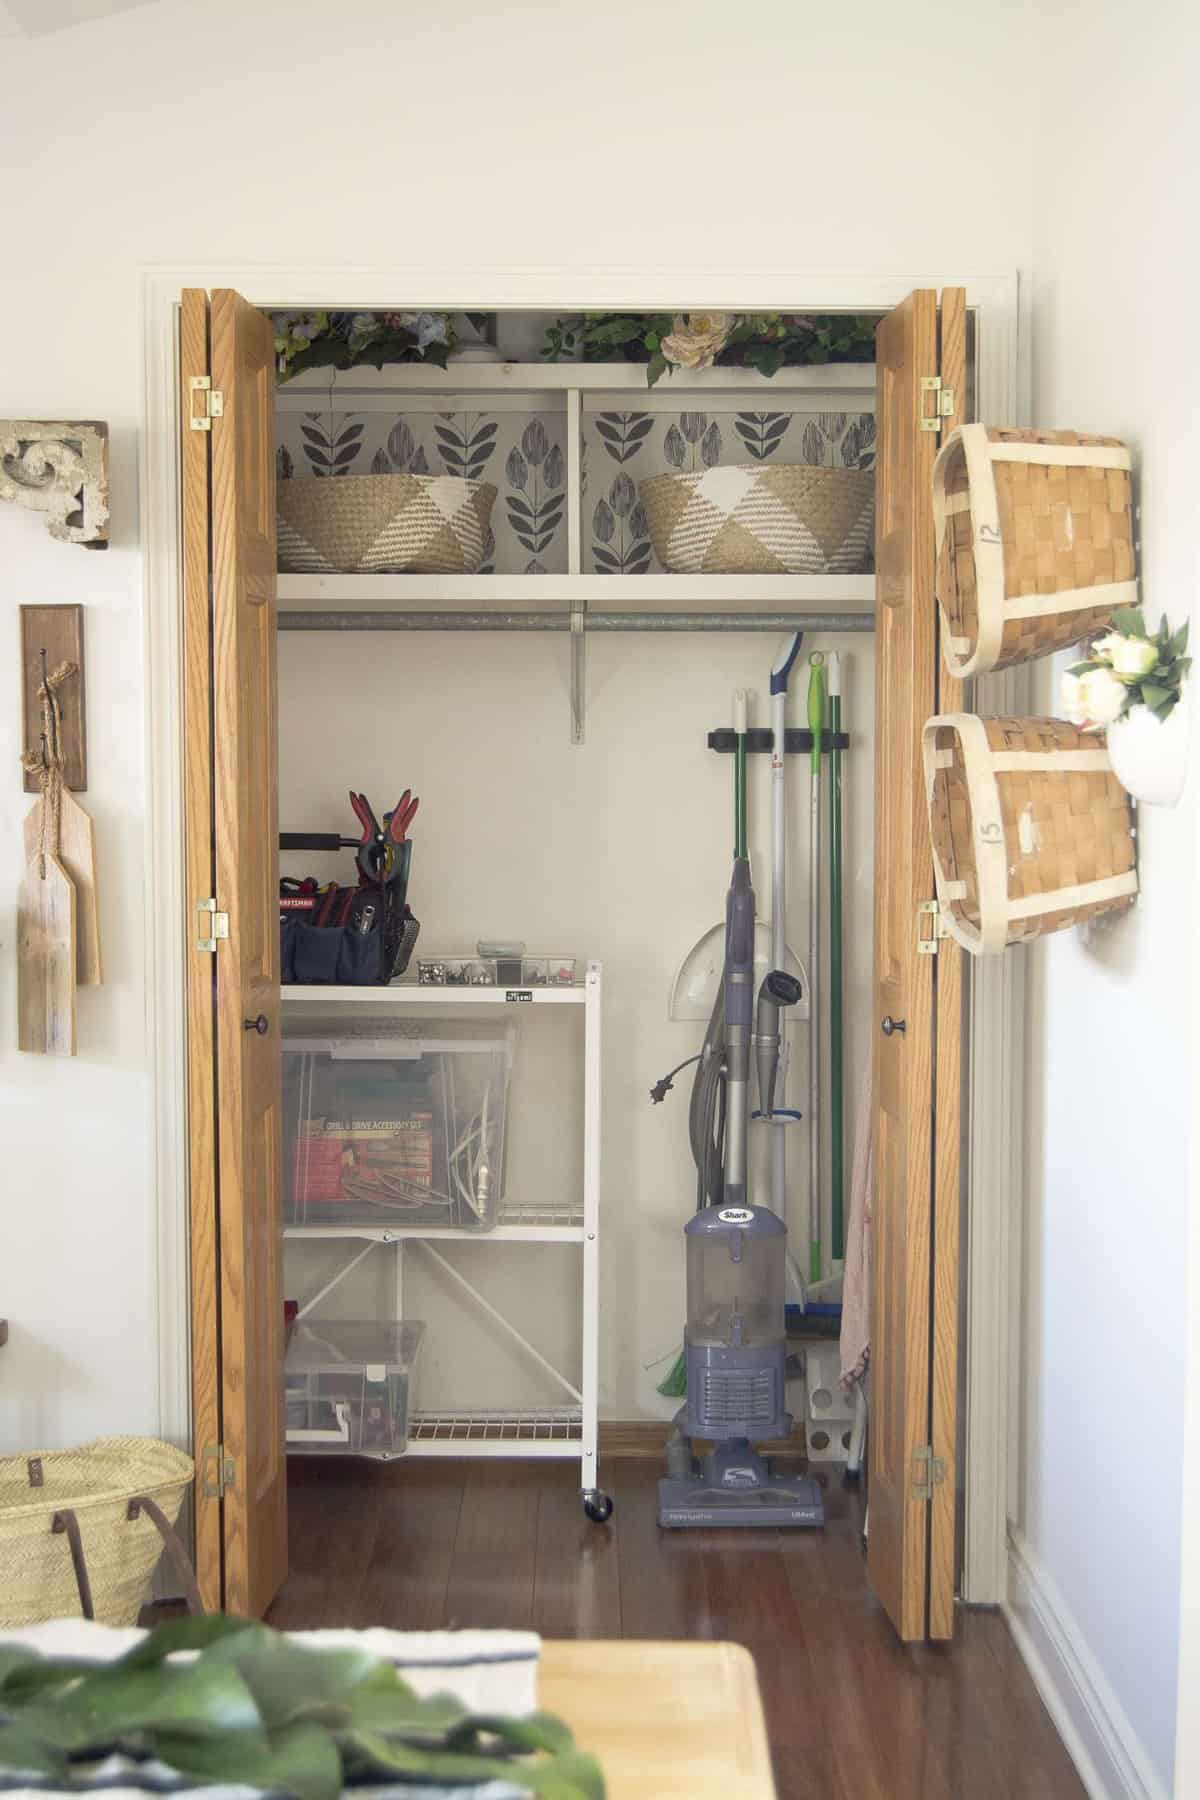
Adding shelving creates vertical storage for my many random items that I like to keep on hand. It allows me to layer my storage bins to clear up floor space while providing quick access to each shelf.
2. Customize Storage Bins
My next step was to customize my storage bins. Obviously storage bins are a given when it comes to utility closet organization. However, I’d highly recommend the following process to customize the size and style storage bins you purchase.
- Examine your space first to determine what items need to stay or should be relocated.
- Group like items together.
- Measure bulky items.
I first decided that some of the items I was storing in this closet were purely due to lack of motivation to put them away properly in the basement. 😉 After relocating items that aren’t used often, I was left with the items I wanted to keep on hand.
Next, I grouped like items together like screws/nails, extension cords, tools, and odds and ends. After that, I took my largest items and measured them. Doing this allowed me to use that measurement to customize the storage bins to fit the largest items first. Once you have a home for the bulkier items, the smaller items can fit in around them.
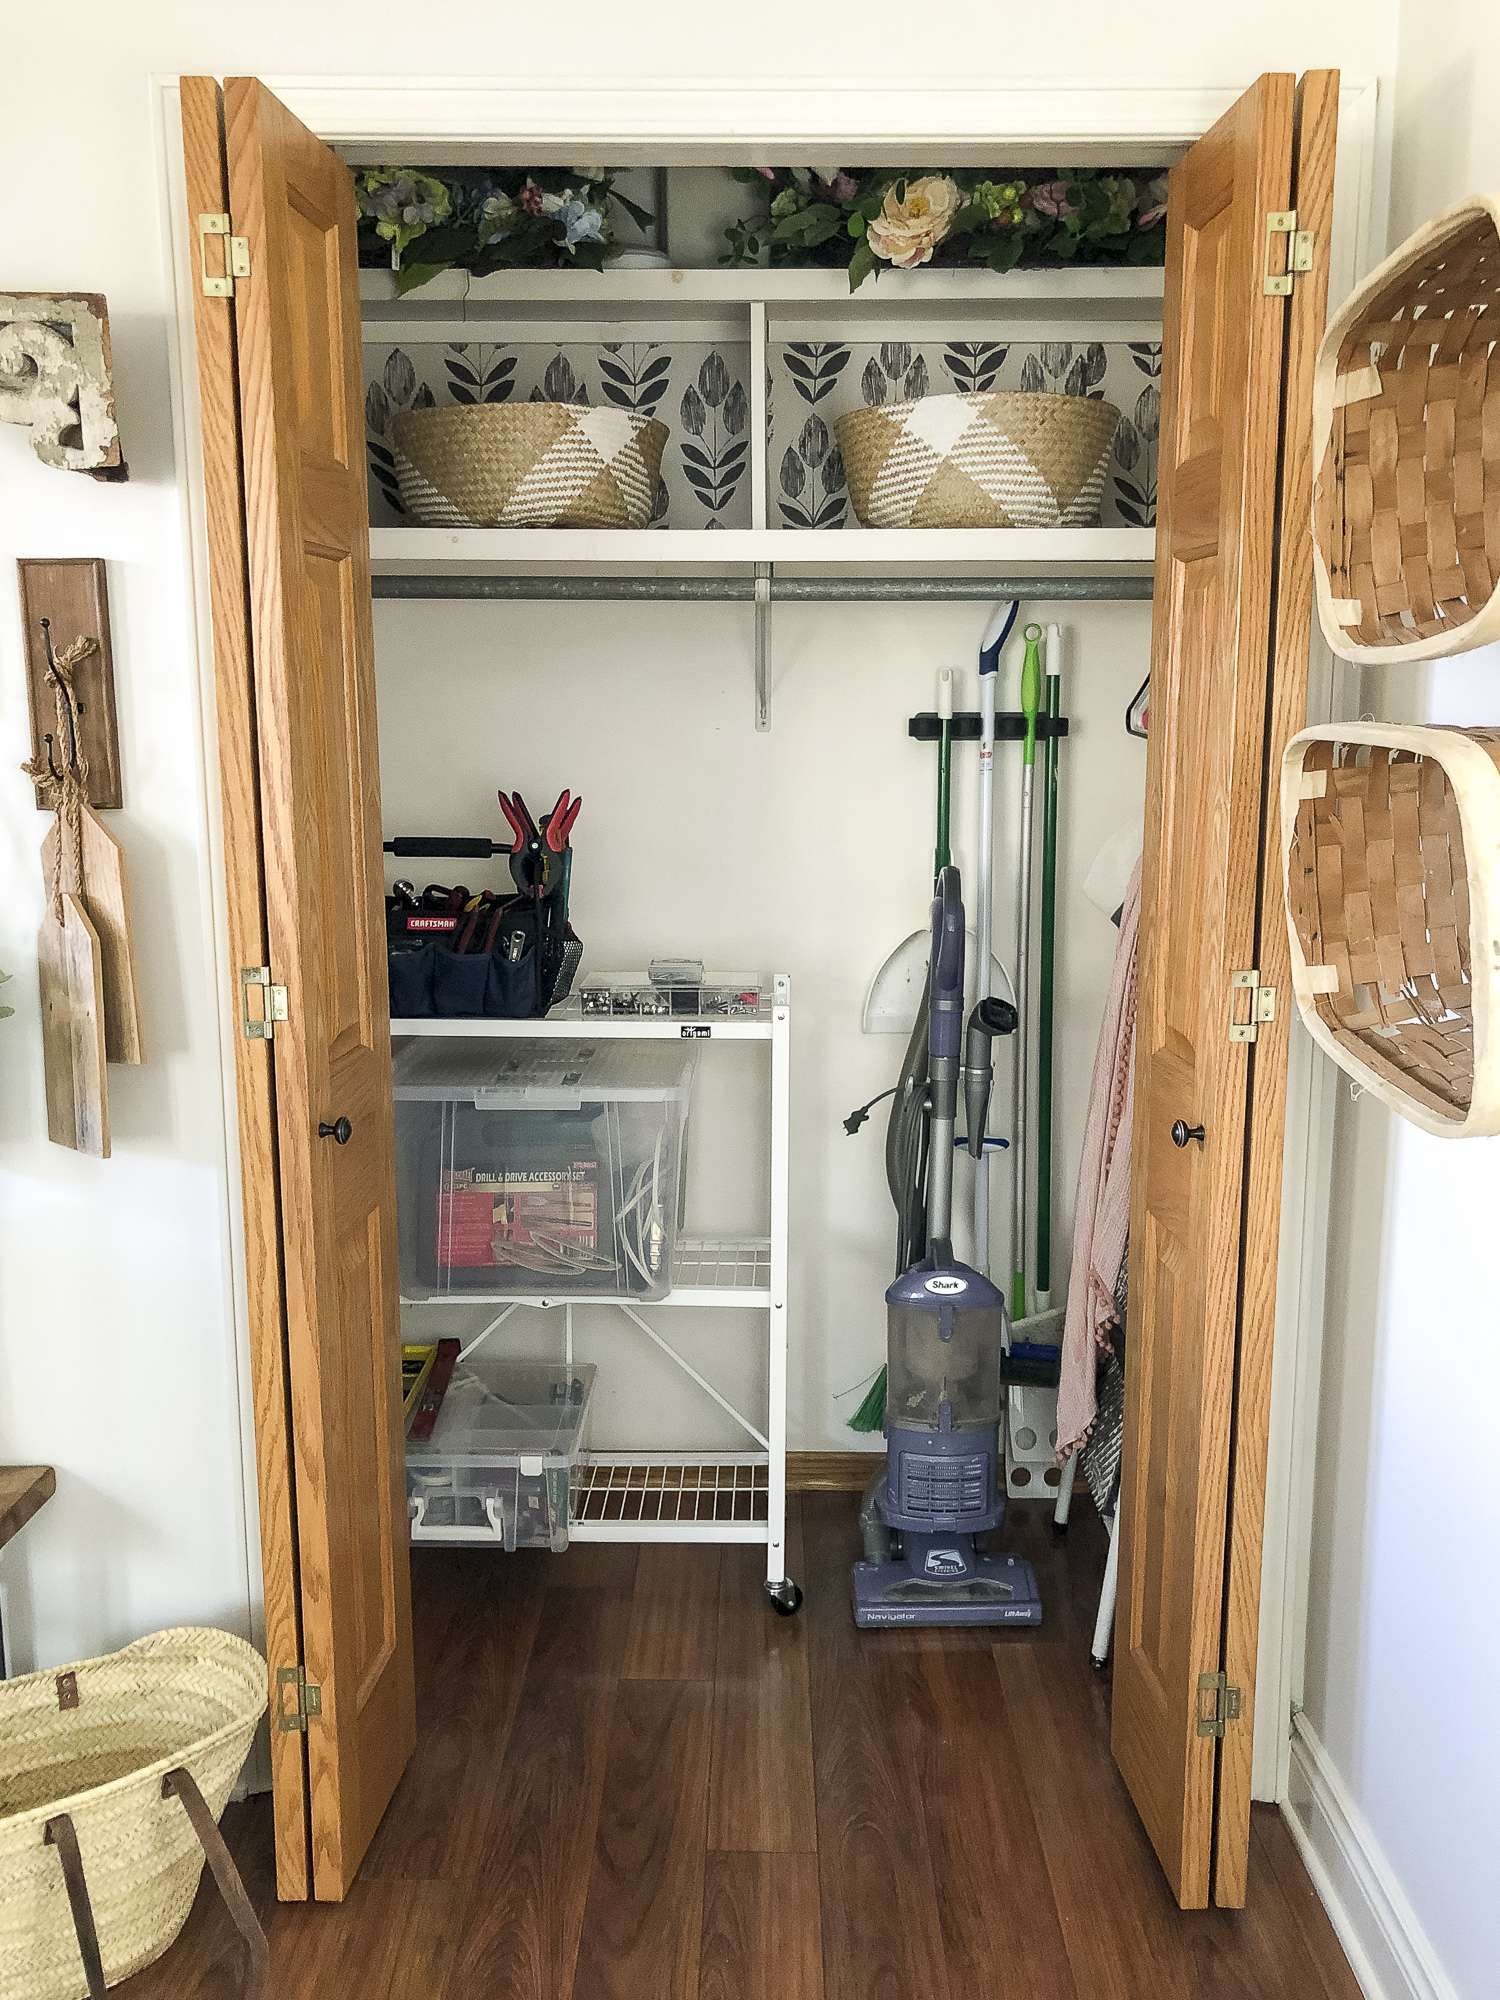
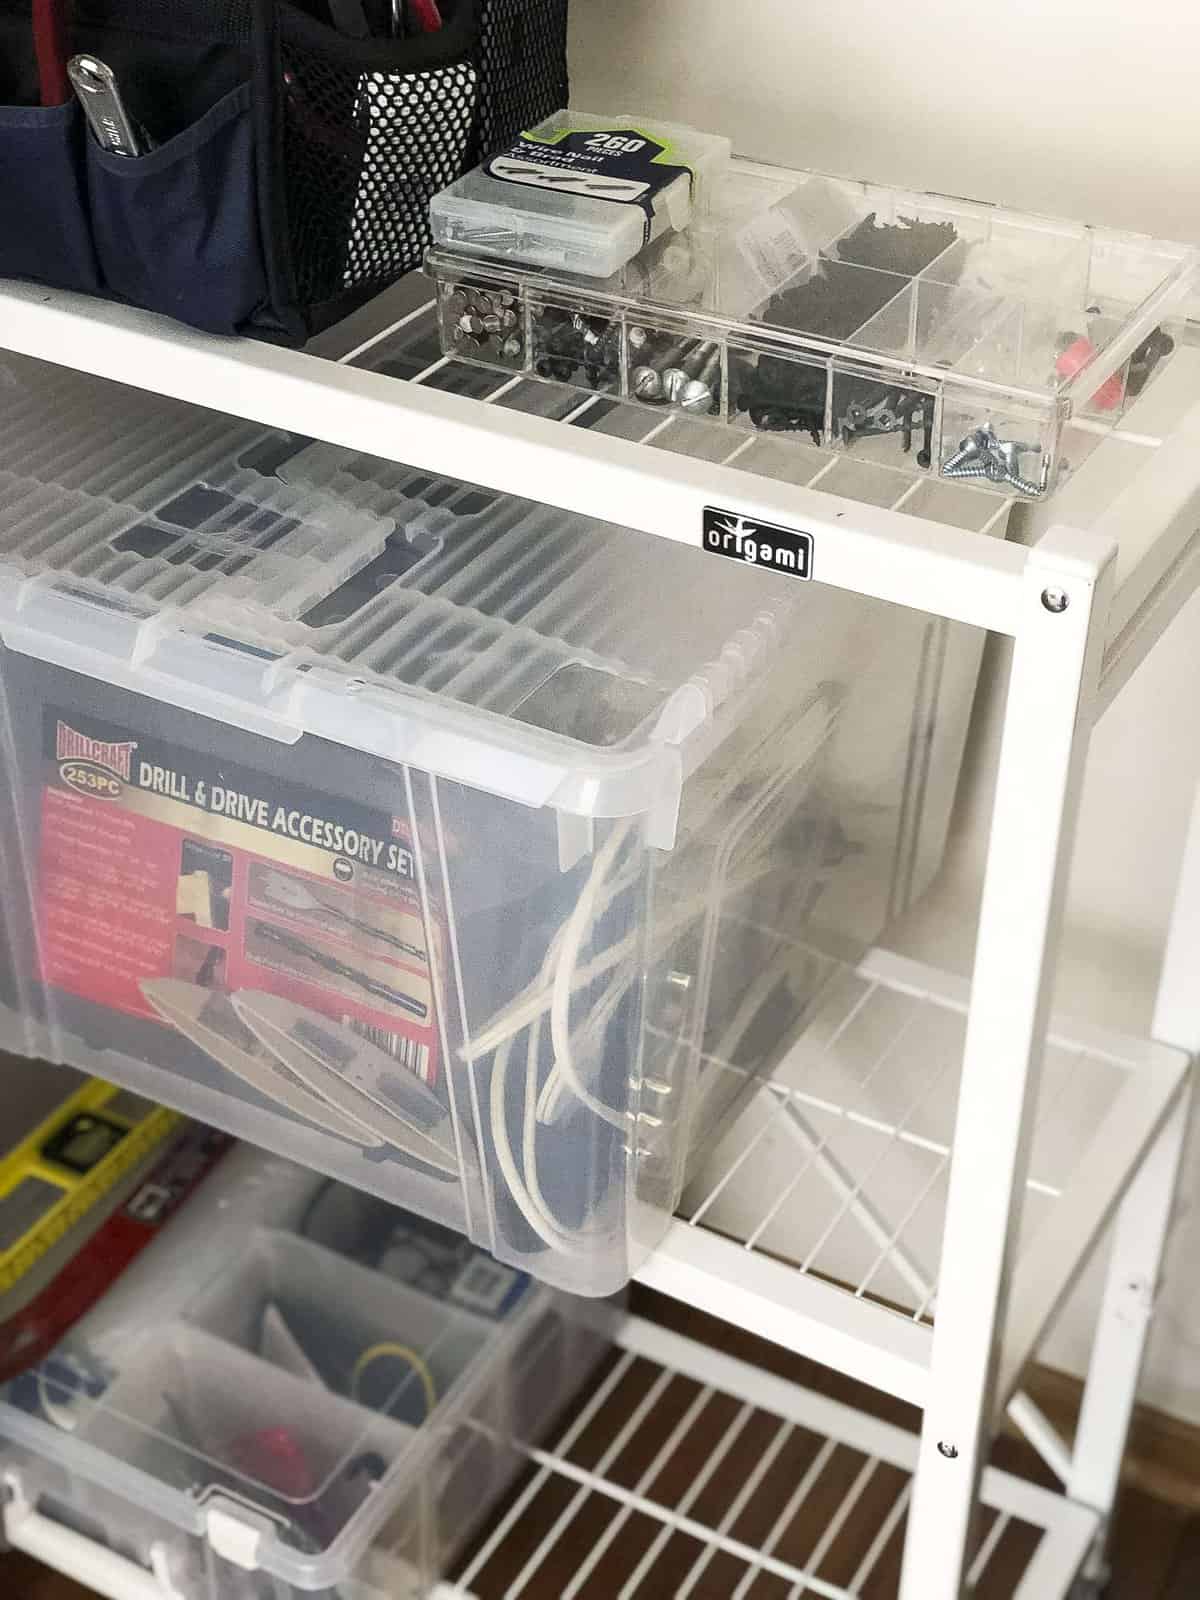
I realized quickly that my main issue was organizing small items like screws and nails. I love how easily they all fit into this 12 compartment clear box. It is the perfect size for even large screws and the spaces are perfect for organizing them into one box without having 12 separate hardware boxes laying on the floor!
My next grouping was for bulky items. After measuring my largest item I determined that this wing lid box would work well to hold my wonky items, but would still fit on a shelf! I wanted to keep all my storage totes off of the floor and this was the perfect size to fit my shelving.
The last piece I looked for was something to segregate my mis-matched items, like wall hooks, painters tape, plumbers putty….etc. For these items I wanted a tote that gave me customizable dividers. This super satchel was the perfect solution so I could add dividers where I needed them and remove them for larger objects.
3. Add Style
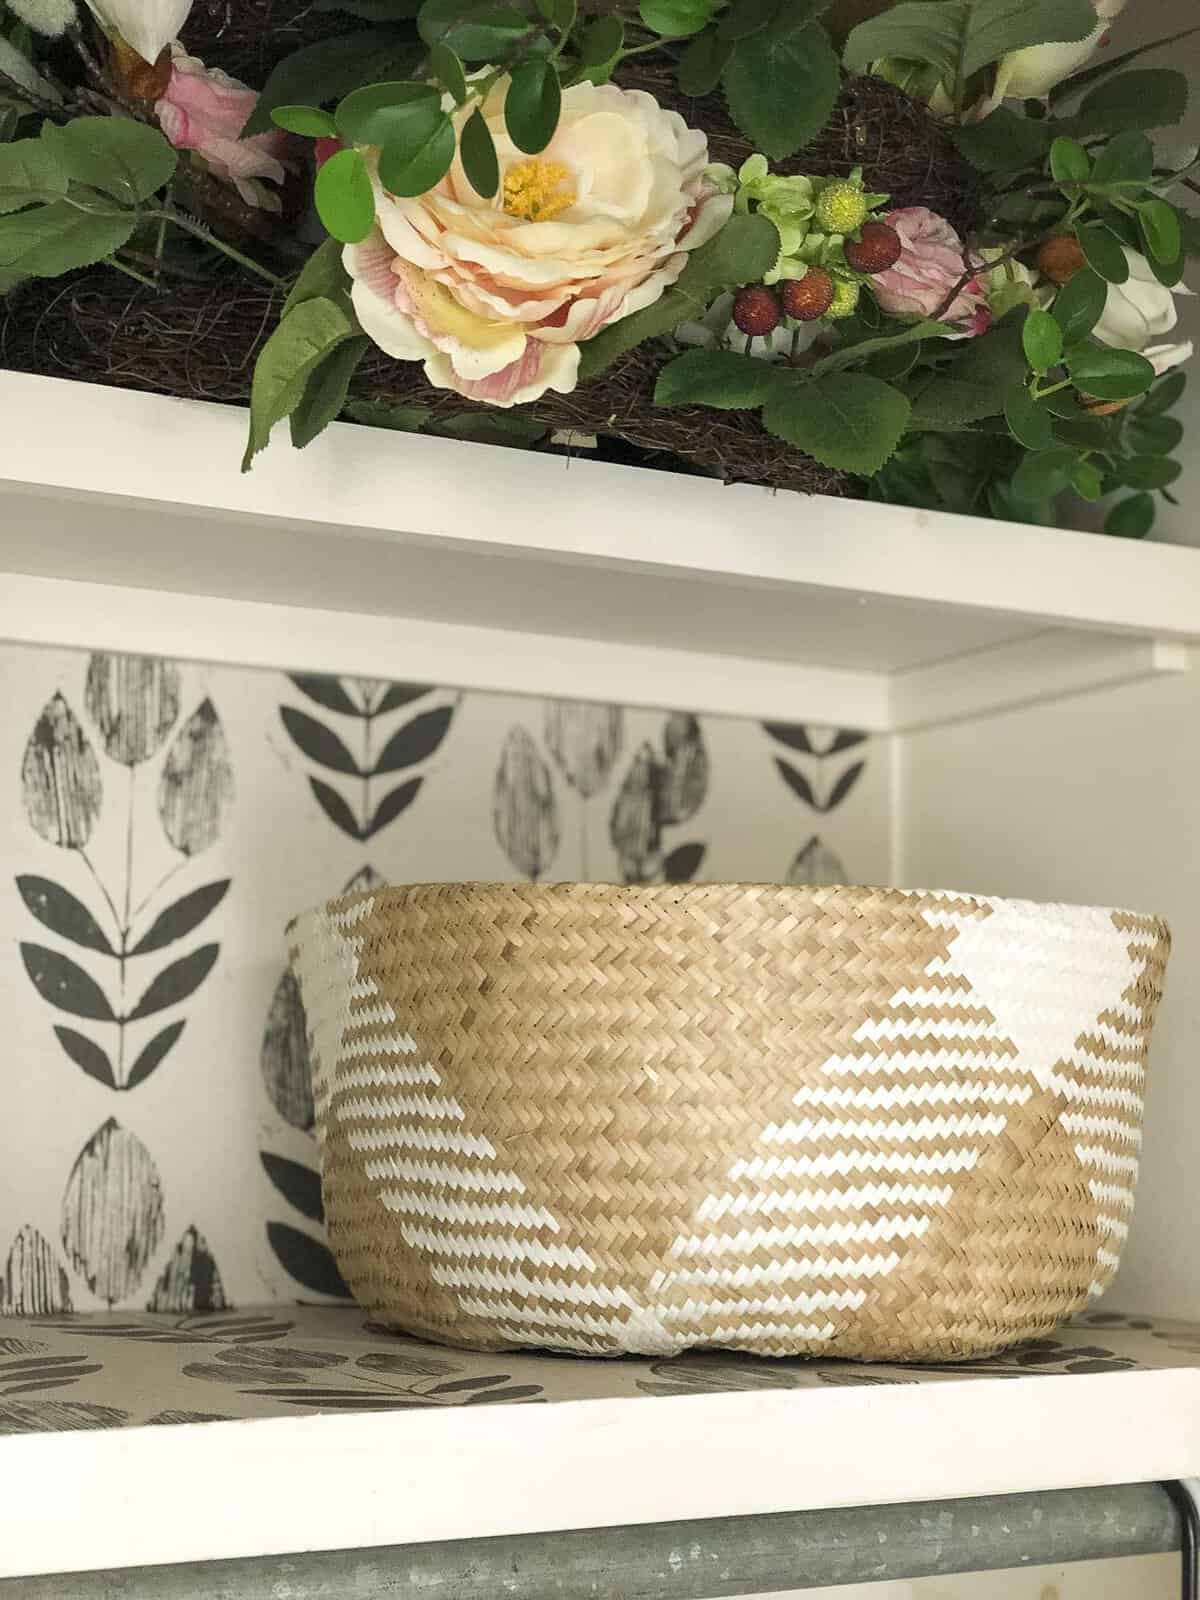
Once the utility closet was organized, the next step was to add style. Since we use this closet for guests’ coats I wanted to make it pretty as well as practical. So I added a small wallpaper accent to the upper shelving as a foundational step.
Next, I added these fun belly baskets that will serve to add style and also corral all our winter gear. I love that these offer a way to hide those necessities I want to have readily available.
Utility Closet Organization Complete
Now when our guests come in, I can easily allow this utility closet to double as a coat closet! It is the best of both worlds. Plus, just the process of organizing the space left me with better knowledge of what I already own and what supplies I might need for future projects. It was a win win!
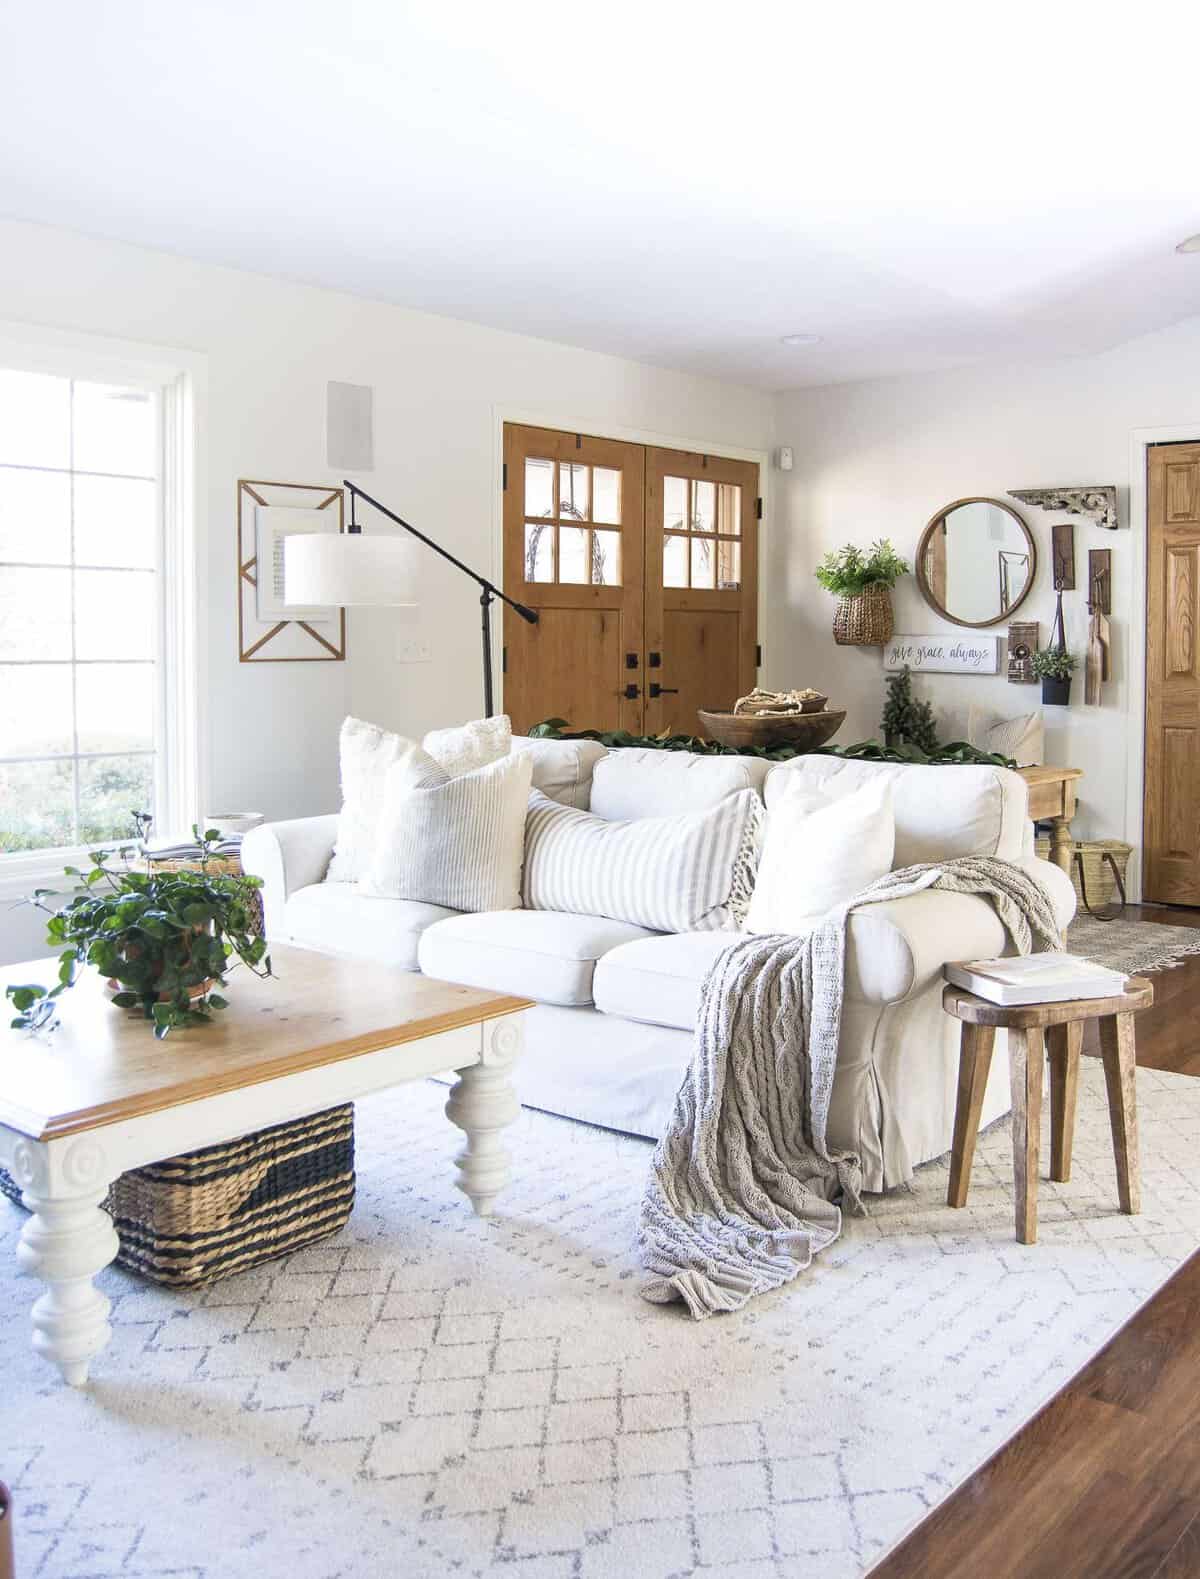
This project put me in the organizing mood! So next I’ll be sharing how I organized my kids’ art supplies that are always on our living room coffee table. (You know….instead of on their art desks I bought specifically so their art supplies wouldn’t be in our living room. Ha! What can I say, they love to be near the action.)
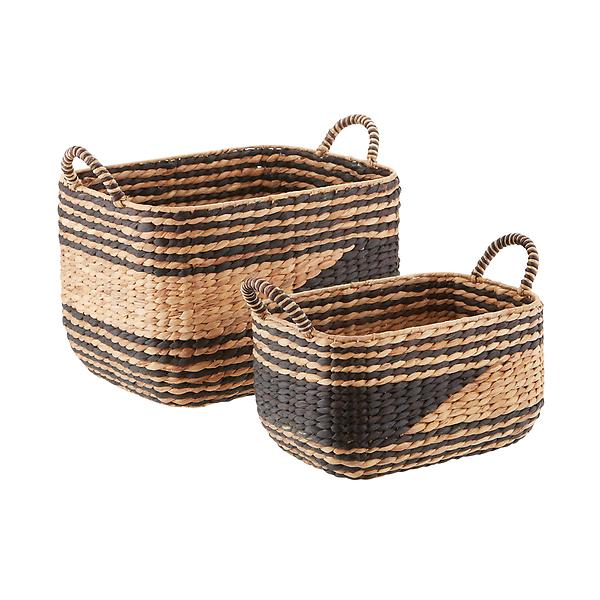
My strategy may have something to do with these amazingly stylish baskets! {UPDATED: You can see how I hide my kid’s craft supplies in plain site here.}
I hope these easy utility closet organization tips are helpful to you! Make sure to think outside the box for ways to make the storage you have work for your needs! Next, head to Amanda at Mid County Journal next to see how she organized her closet!
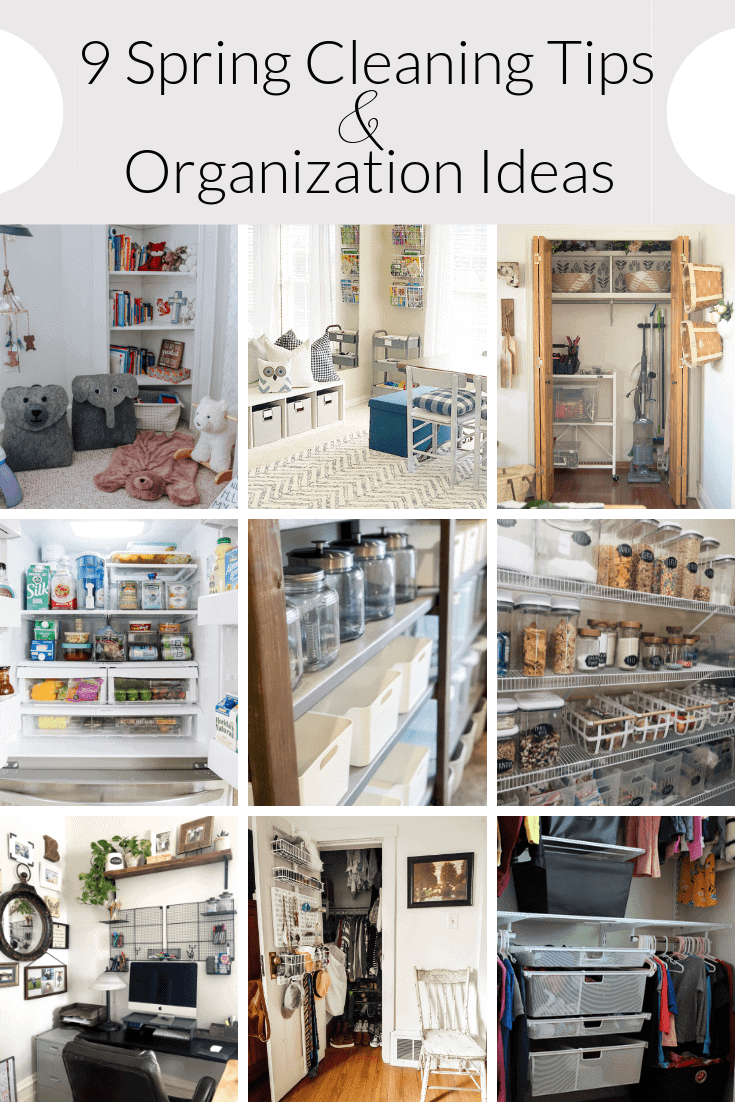
9 Spring Cleaning Tips & Organization Ideas
Grace In My Space | Mid County Journal | Crisp Collective
She Gave It A Go | Jenna Kate At Home | Designs By Karan
City Girl Meets Farm Boy | The Tattered Pew | Aratari At Home
Thanks for stopping by the blog today! Make sure to subscribe to stay up to date and access my free printable library.
~Sarah


It’s awesome to pay a quick visit this site and reading the views of all friends regarding this article, while I am also zealous of getting experience.
Oh Sarah I’ve never loved an entryway closet more! I think the wallpaper and baskets were the perfect touch. Just lovely. Thanks for inspiring me!
Thank you Kelly!! Your post is inspiring me to tackle Addie’s closet. It needs some help. Ha!
The before and afters were just amazing here! You did such a beautiful job and you inspired me to do some of my closets!
Thank you sweet Kelly! I loved seeing your pantry space. AMAZING!
This looks amazing Sarah! You did an awesome job I love your storage solutions!
Thank you so much Bethany!
OMGosh Sarah how fantastic. Maybe I’ll get my self going on organizing! Love this post! Gives me hope for my closets! Lol ? Thanks Sarah???
Closets are always tackled last but often need it the most! Ha! I’m glad this is helpful to you!
Sarah! It’s amazing what you’ve done with the closet! So much more functional for sure! So grateful to be on this hop with you! XO – Amanda
Thank you Amanda! I loved seeing how you transformed your closets too!
It looks so much more functional and organized, Sarah! I love those belly baskets – I have the same ones as not only do they look great but they have SO much storage!
Thank you Jenna! Yes I love those belly baskets! I need more to put in other areas of my house!
It looks AMAZING! You did a fantastic job! I love those baskets!
Thank you so much Lindsay! So happy to join up with you on this blog hop.
Sarah, this looks so good my friend! I definitely will keep this as an inspiration for “that” closet that I have too! I love your wallpaper, baskets and bins; they all look so great! It’s been a pure joy to join alongside you on this organizing tour. I am grateful for your hard work in putting it all together. xoxo-Brendt
Thank you Brendt! I’m always so happy to partner with you my friend.
Well done! You’ve gained some valuable storage! Love all of this items from the container store.
This has been so much fun.
Karan
Thank you Karan! It has been a blast! I love their products.