
Entryway Mini Makeover
Afternoon Friends!
Today I wanted to debut my first mini makeover in my own home. Last week I scored a beautiful old window from a little boutique in my neck of the woods and I could hardly wait to put it up. There is nothing that says character like an old window. Am I right?
And, by the way, I did this entire makeover for $30. Which happens to be the cost of the window. I used other decor that already existed in the entryway and swapped in some things from around the house to spice it up. And the other item that I LOVE is the new coat rack which was a birthday gift from my lovely mom. Thankfully she didn’t make me wait to get it until my actual birthday a month from now! Isn’t she the best?
So here is a before photo. Blah, right? I mean, I guess it has been functional. But it was not balanced with the other side of the entryway. And I’ve just never been in love with it. And ignore the messy playroom I forgot to crop out. 😉


Once I got that one special piece of decor that solved my problem I was good to go. Here’s my process.
Step #1: Gather supplies, take everything down and prep the walls. Nothing says ugly like dirty walls with nail holes that haven’t been properly fixed.
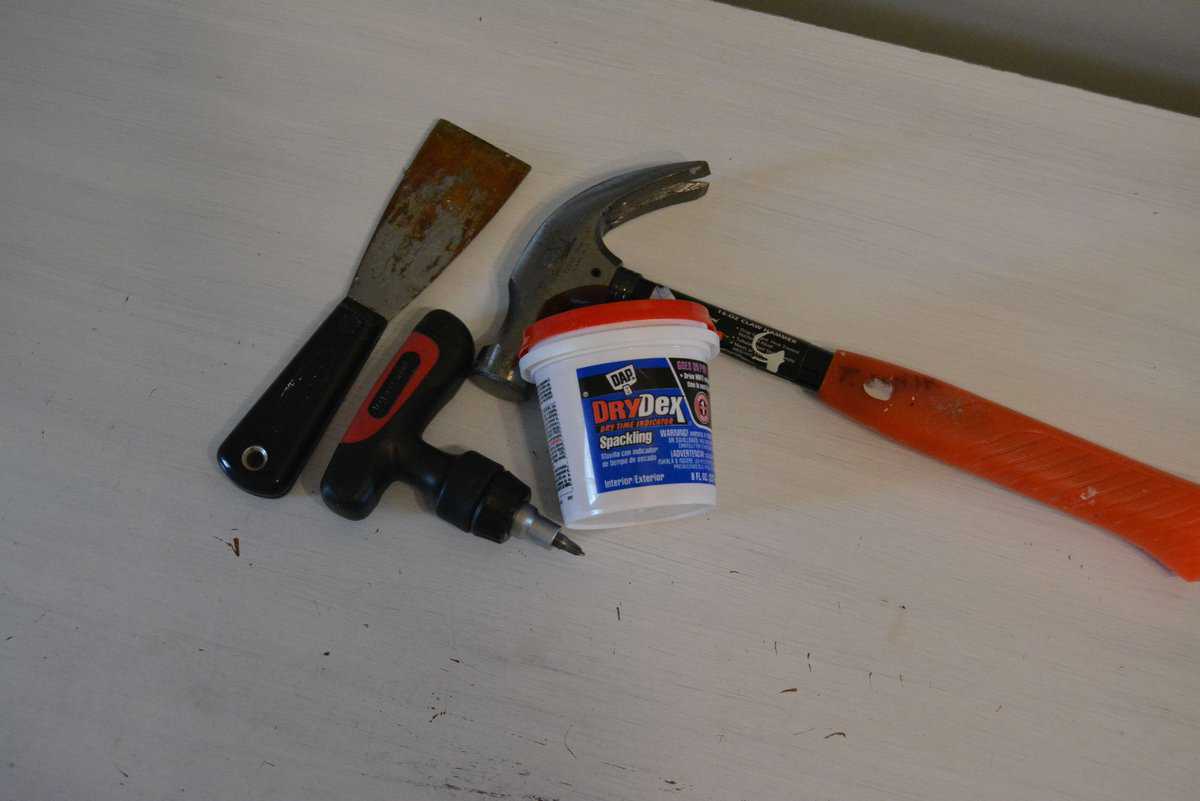


I always like to spackle nail holes right away so it can dry while I do everything else. That way I have time to also paint the spackled holes. You see, I don’t like to wait and do things in shifts. I am not the kind of person that allows a small project like this extend itself over more than 3 hours. So the drying time ends up being a problem for me. That is why I get it done early and with any luck it will be ready to go by the time I’ve gathered materials and decided my layout for the different items I’m planning to hang.
Step # 2: Clean! If your decor includes an old window like mine you will need to get the grime off. I don’t tend to go buy special things for these types of projects. I didn’t have wood cleaner so I used the next best thing. Murphy’s Oil Soap for my hardwood floors. The floors are wood. The window is wood. I’m sure it will work.
Before I used the good stuff, I first vacuumed off the cob webs (yuck) and wiped down the window with a wet rag. Tip: Don’t use wet paper towels! I’ve done this before and they leave little white particles everywhere. You want to make sure and use a rag that is lint free. I just happened to have my kids’ old wash cloths on hand and they did the trick. After the initial cleaning, I brightened up the wood with the soap. Good as new! Except with all the chippy goodness of an old window.
(Side note: If you don’t like the beautiful wood patina to show through you can opt to paint your window. But beware, that is a project in and of itself. Also, if your window was painted instead of stained, make sure there are no little hands around to snatch the paint chips off the floor when you are cleaning the window. Old paint typically equals lead paint. And that is a no-no.)


Step #3: Lay out the pieces you have for the wall that need to be hung. You don’t want to get one piece up first and then find out you don’t have room for the other things you wanted to use.

Step #4: Get to work! Make sure you have the right type of hardware to hang your decor. My window happened to be fairly heavy so I used some strong and long drywall screws and put one in each corner. If you go that route, just make sure not to put the screw too close to the glass. Breaking glass is never a good way to end a project.


And RULE #1 of using screws! DON’T grab the screw head of the screw you just majorly stripped out. It will be HOT. And your fingers will be branded just like mine were. See that white? It isn’t paint. It is my seared skin. I’ve learned my lesson. Don’t make the same mistakes I did please.

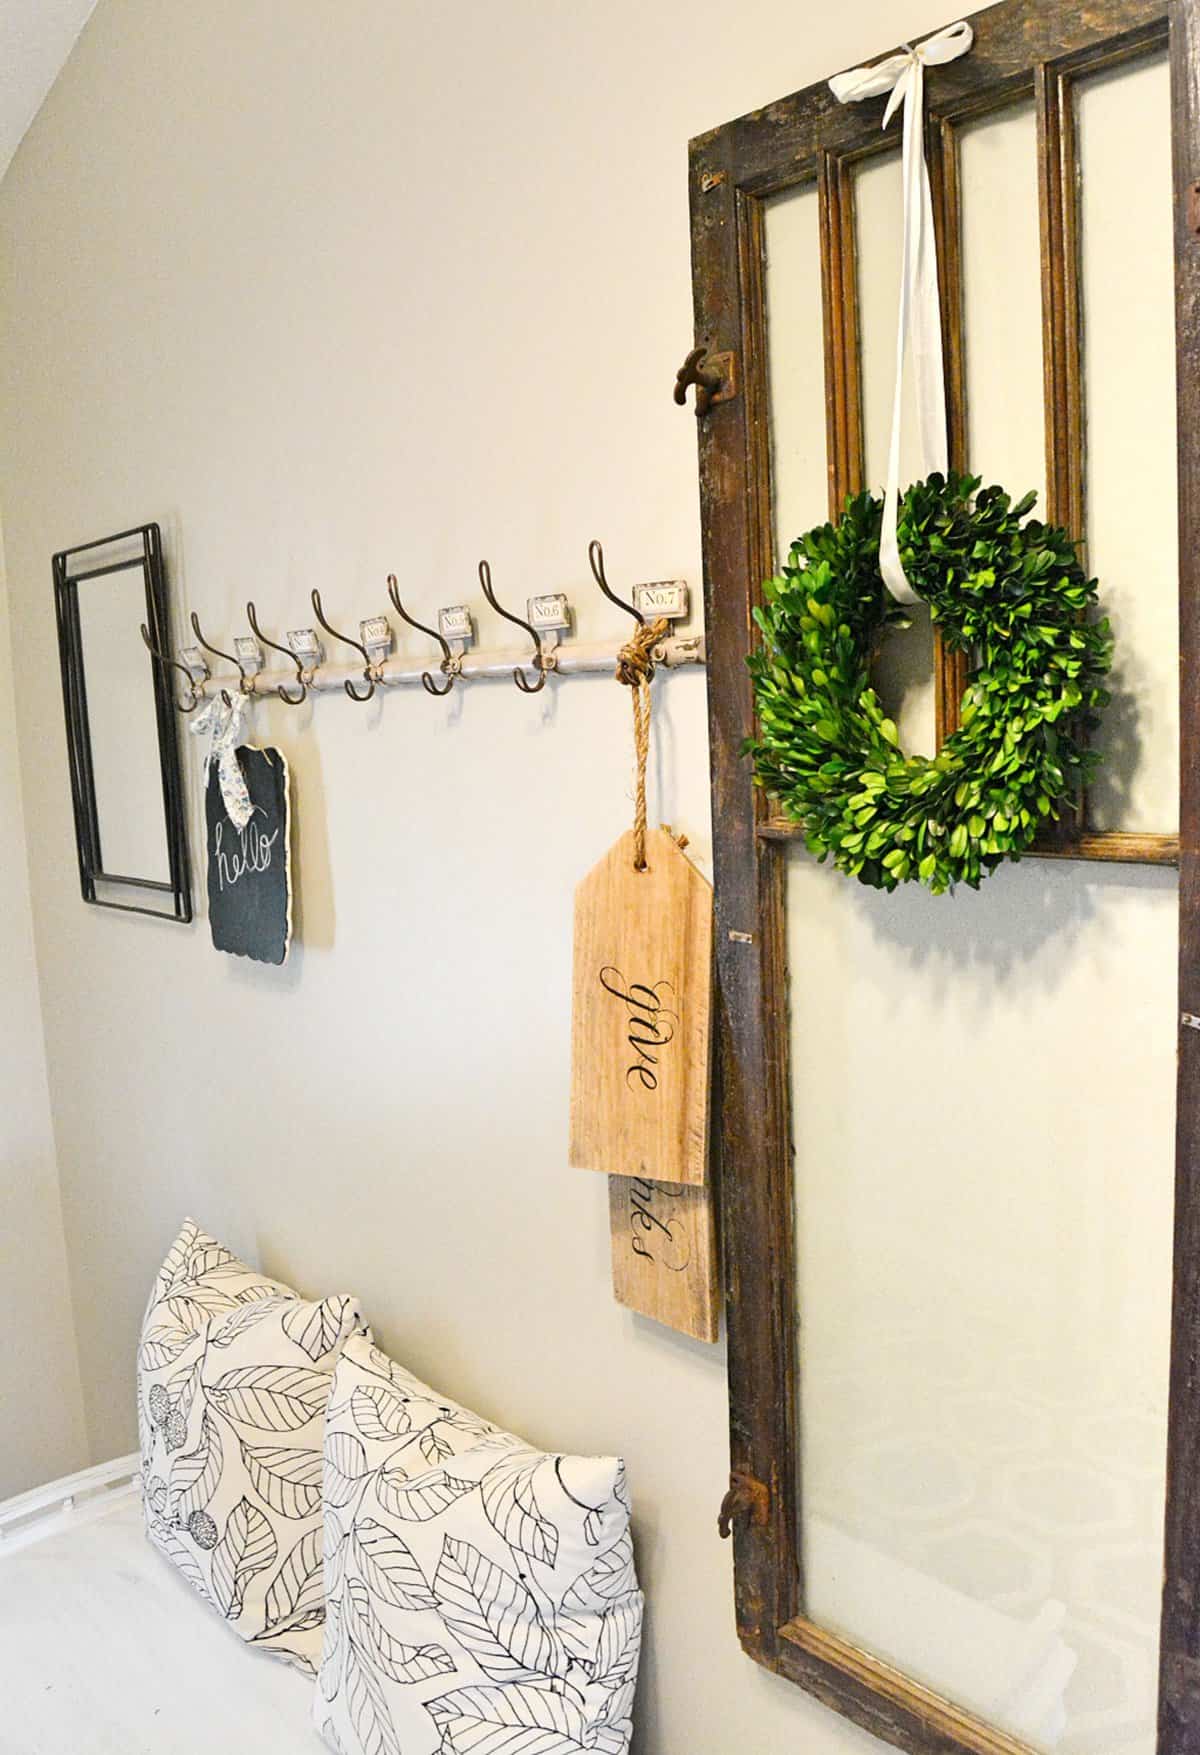
Step #5: Get to decorating! One everything that requires hanging is up it is time for the fun part. Making plain jane decor come to life is all about layering. And texture. And contrast. And just loving the pieces you include. Someone else might not love it. But that’s ok. If you love it, put it up. It is your home after all!
I wanted to add some natural elements and greenery. What better way than with a boxwood wreath. I love them. And they are expensive. So if you ever come across one that is cheap snatch it up! I also wanted to get another wood element in there and so I hung my CUTE “Give Thanks” wood tags up. Normally, those would be fall decor because of Thanksgiving. But, my house, my rules. So out they came. And every wall can use a little black so my chalk plaque stays as well. I bought it with the “hello” already written on it and haven’t changed it since. Add in some textiles with throw pillows and you have yourself an entryway. What do you think?


Hope you have success finding that one piece that will MAKE your entryway!
{Finally, brothers, whatever is true, whatever is honorable, whatever is just, whatever is pure, whatever is lovely, whatever is commendable, if there is any excellence, if there is anything worthy of praise, think about these things.- Philippians 4:8}

I love the simple and elegant makeover of your entryway. The neutral color scheme and stylish decor create a warm and inviting ambiance.
love love love it. the funny thing is…when I saw the writing above the coat hook in the last photo I thought …oh it looks great-what phrase did she use? then I read it…too funny. pretty sure that wording is an implant.
Yes, indeed! That way people know what the post is about. 😉