Flavorful, Quick Pickled Cucumbers and Red Onions
I love tangy pickled cucumbers and red onions with a bit of sweetness, and just a small pinch of garlic and spice. Pickled cucumbers and onions are the perfect topping for a pulled bbq chicken sandwich, or a delicious grilled bratwurst. In my opinion they encompass Summertime and should be placed on the picnic table for every Summer cookout!
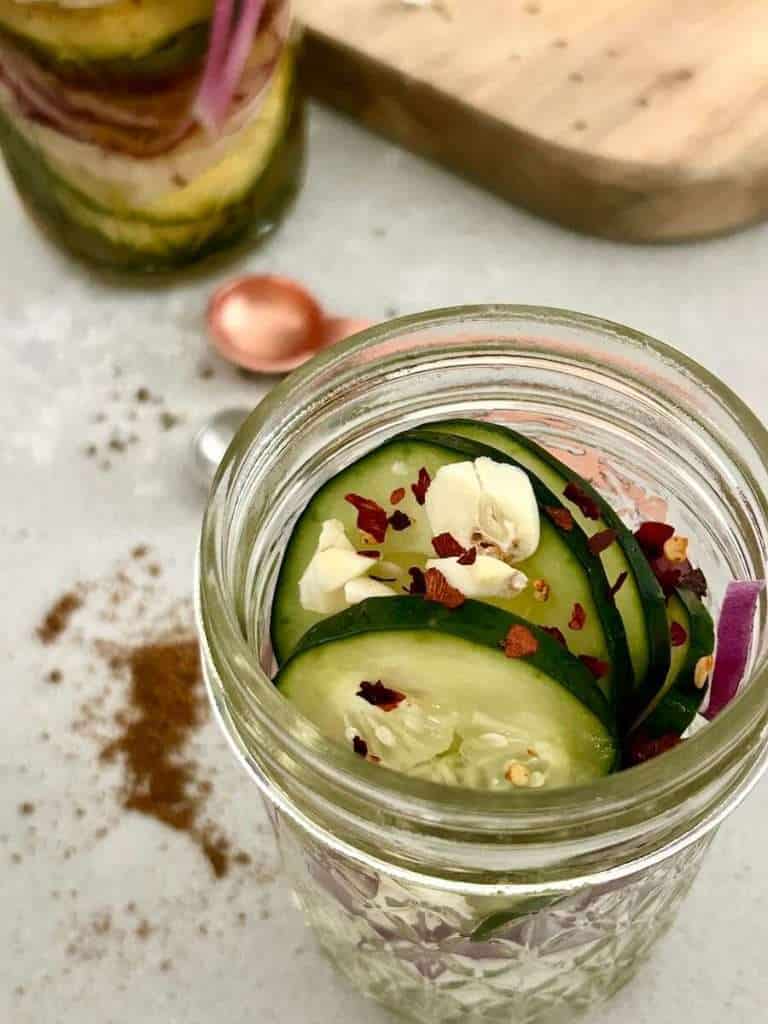
These sweet and tangy pickled cucumbers and red onions can be made overnight or canned traditionally. Make your own pickled cucumbers and onions with these simple recipes!
Post may contain affiliate links for your convenience.
What to do with extra cucumbers and onions
With more and more people seeking the fulfillment that comes from growing fresh fruits and vegetables themselves, homegrown vegetables are on the rise. Sometimes people even harvest more than they can consume themselves and either share the the love, by passing some on to friends and family, or take up canning!
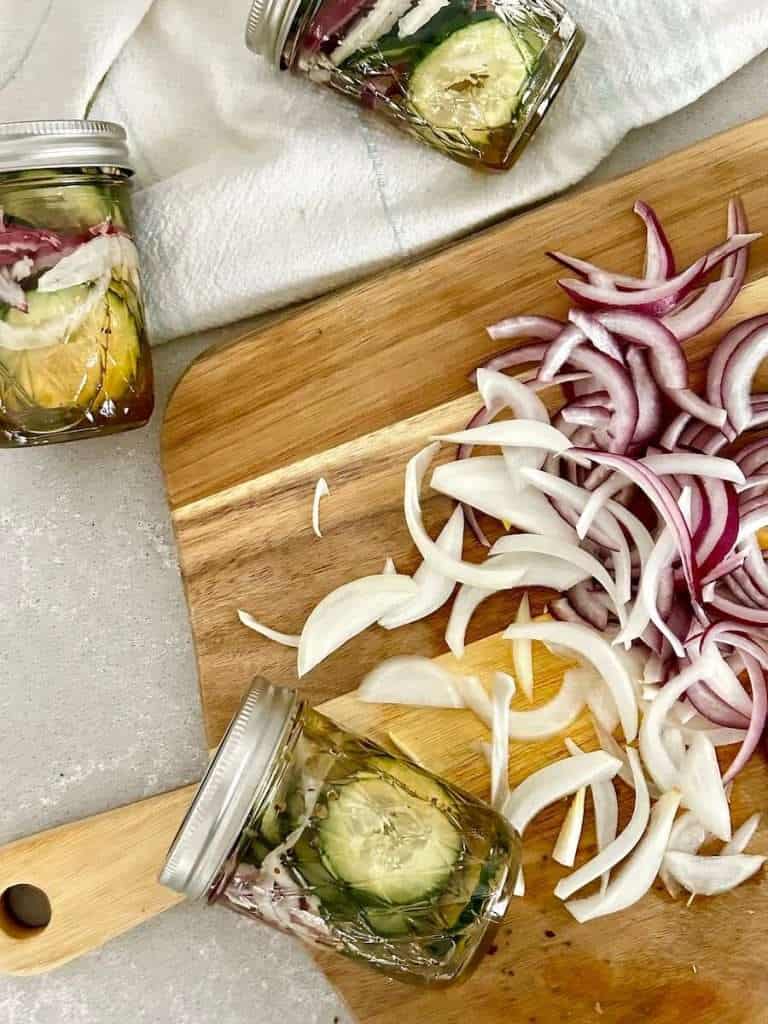
Canning can easily become just as time-consuming as tending to your own small raised garden bed. But it is also just as rewarding. It’s a great way to avoid wasting all your hard-earned, homegrown produce.
Now canning cucumbers and onions, in its true form, is a process. But the good news is, this old fashioned pickled cucumbers and red onions recipe can be made the day before consuming, with no canning process required!
How to Make Pickled Cucumbers and Red Onions Overnight
It’s amazing how simple it is to make these delicious pickled cucumbers and onions. Whip them up the night before a BBQ and you’ll instantly have a snack or sandwich topping everyone raves about.
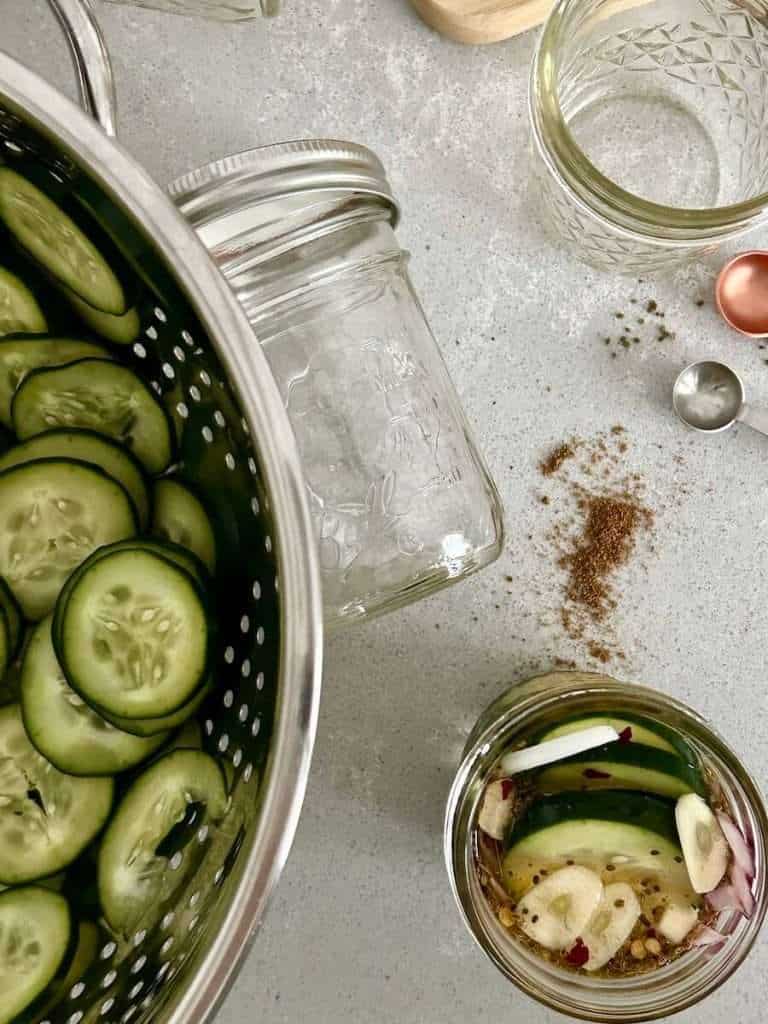
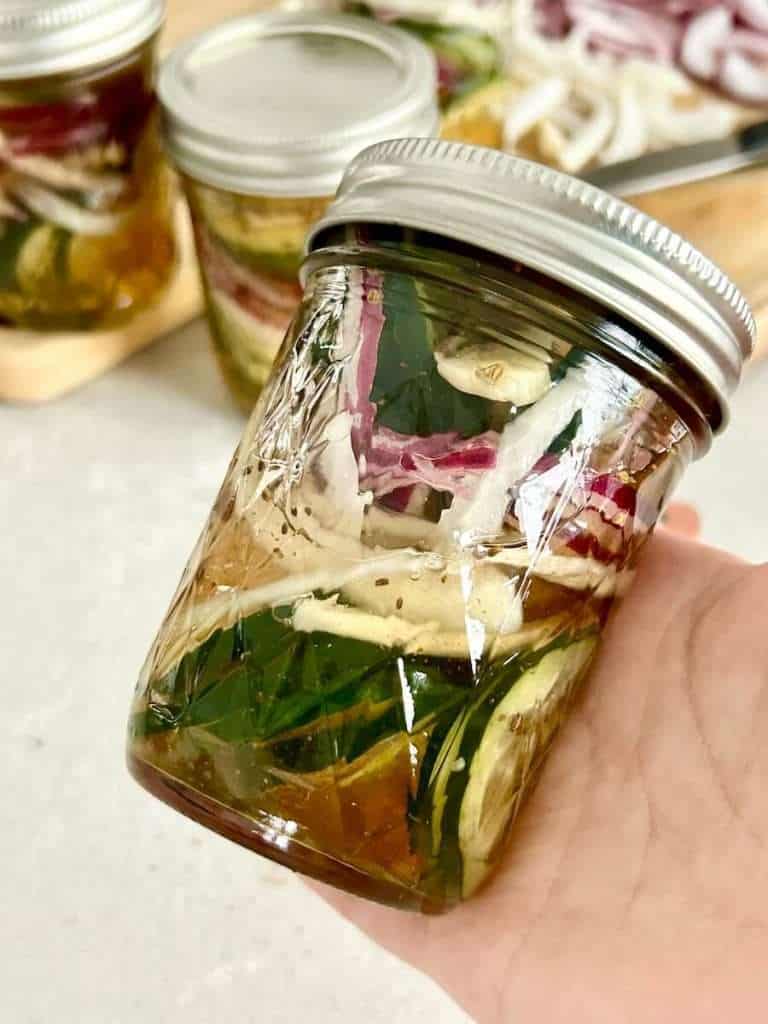
You will need a 32 ounce glass canning jar, or you can use (3-4) 8 ounce canning jars. I find that these quilted 8 ounce jars make the perfect little gift for family, friends or neighbors. Be sure to see the note in the directions if dividing amongst (4) 8 ounce jars.
If you plan to make your pickled products ahead of time and keep them for longer than a day without pressure canning, I’d recommend these plastic jar lids. The vinegar can corrode traditional mason jar metal lids. A simple swap to these lids will prevent that from happening.
Pickled Cucumber and Red Onion Ingredients
- ¾ cup apple cider vinegar
- ½ cup white vinegar
- ½ cup sugar
- 1 tablespoon salt
- 3 garlic cloves crushed or sliced
- ½ teaspoon celery seeds
- ¼ teaspoon coriander
- ¼ teaspoon red pepper flakes (optional)
- 2 medium cucumbers
- ½ sweet onion
- ½ red onion
Directions
Step 1. Sprinkle cucumber slices with salt and set the colander over a bowl, then place in the refrigerator for 1-2 hours.

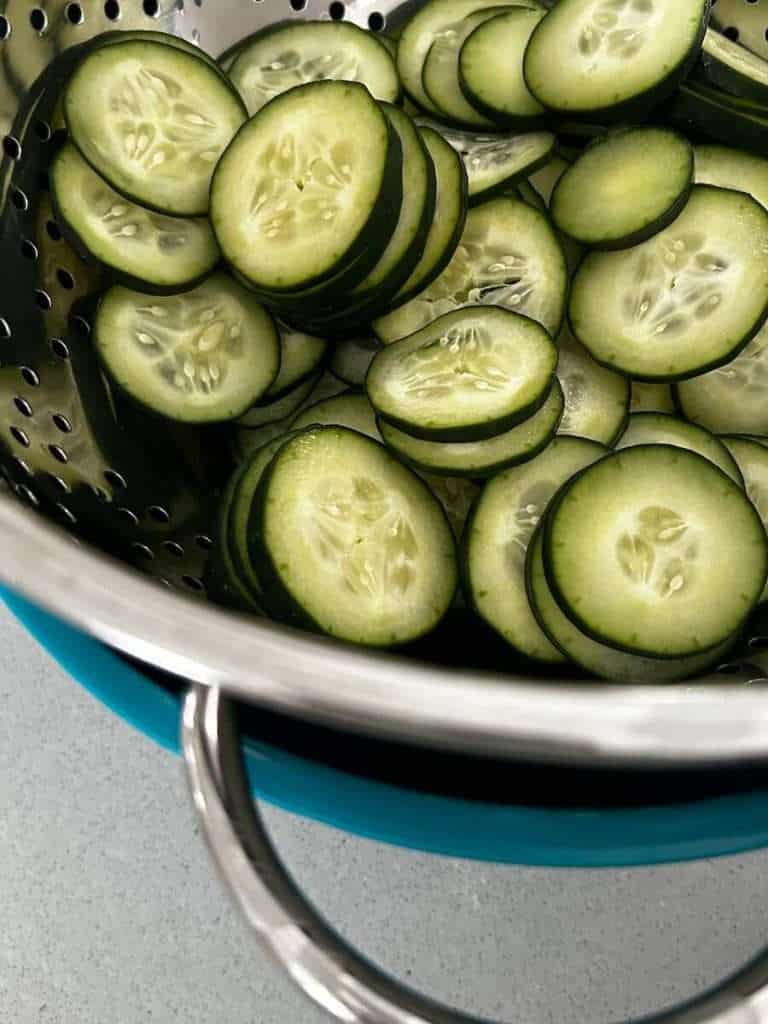
Step 2. Press down on the cucumbers using a cloth to gently squeeze out any remaining liquid and pat dry.
Step 3. In a saucepan, combine both vinegars, sugar, and salt. Place over medium heat and stir until the sugar is fully dissolved. Remove from heat and then let cool while you slice your onions and prepare your garlic.
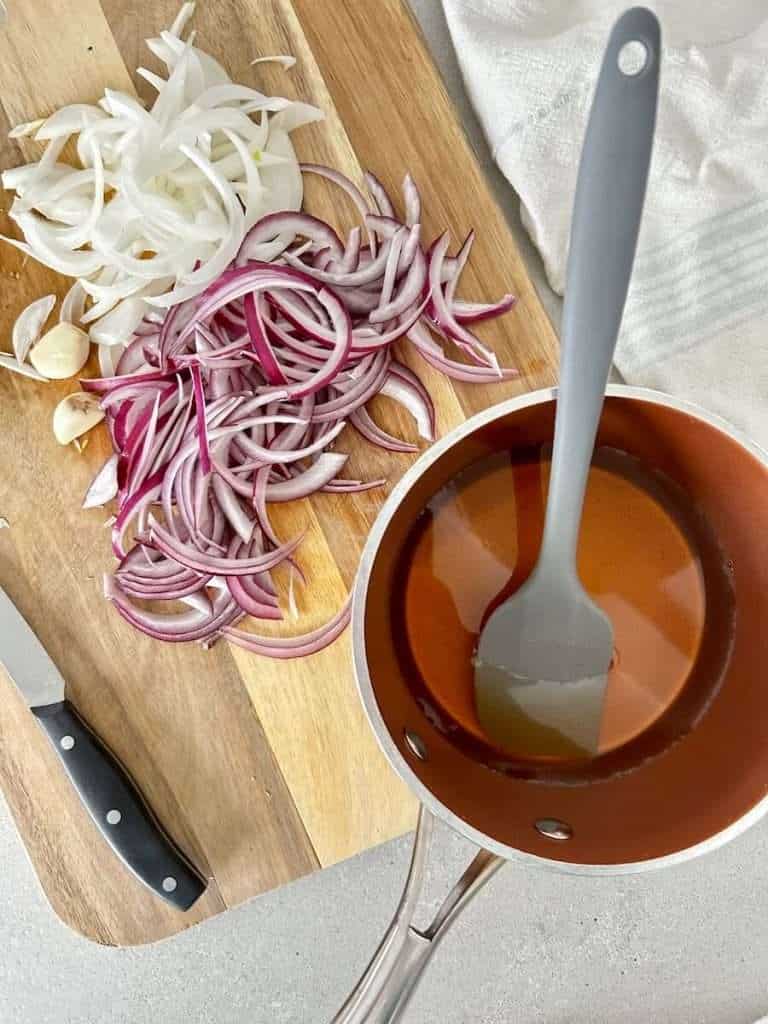
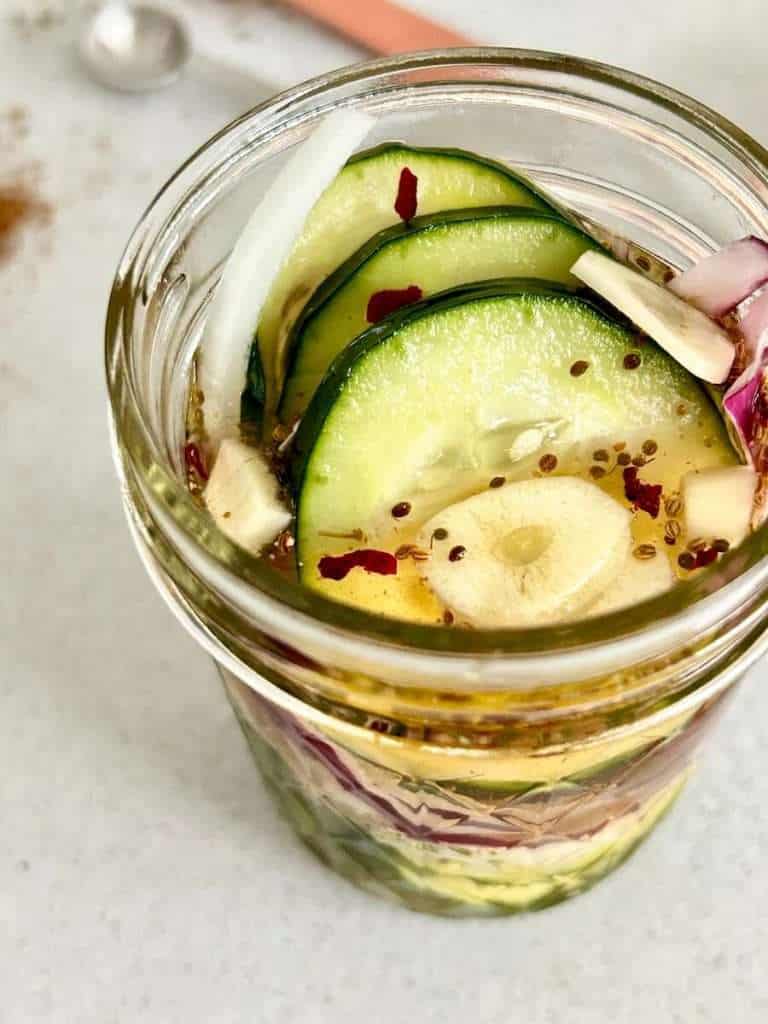
Step 4. Place celery seeds, coriander, garlic cloves, cucumbers, sweet onion, and red onion into a 32 ounce canning jar. (If you don’t have a large enough one, you can also make 3-4 8 ounce jars which are perfect for gifting.)
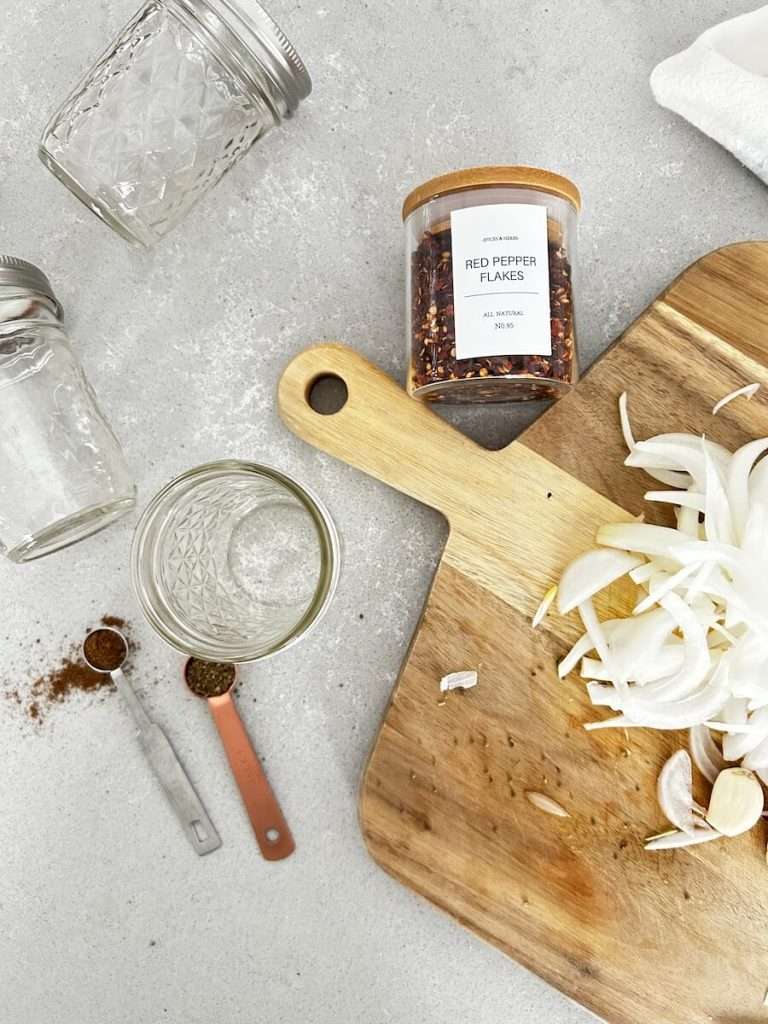
Note: If dividing between four 8 ounce jars, add the celery seeds and coriander to the vinegar mixture and stir. Also, slice your garlic and divide accordingly. Sprinkle a pinch of red pepper flakes in each, if desired.
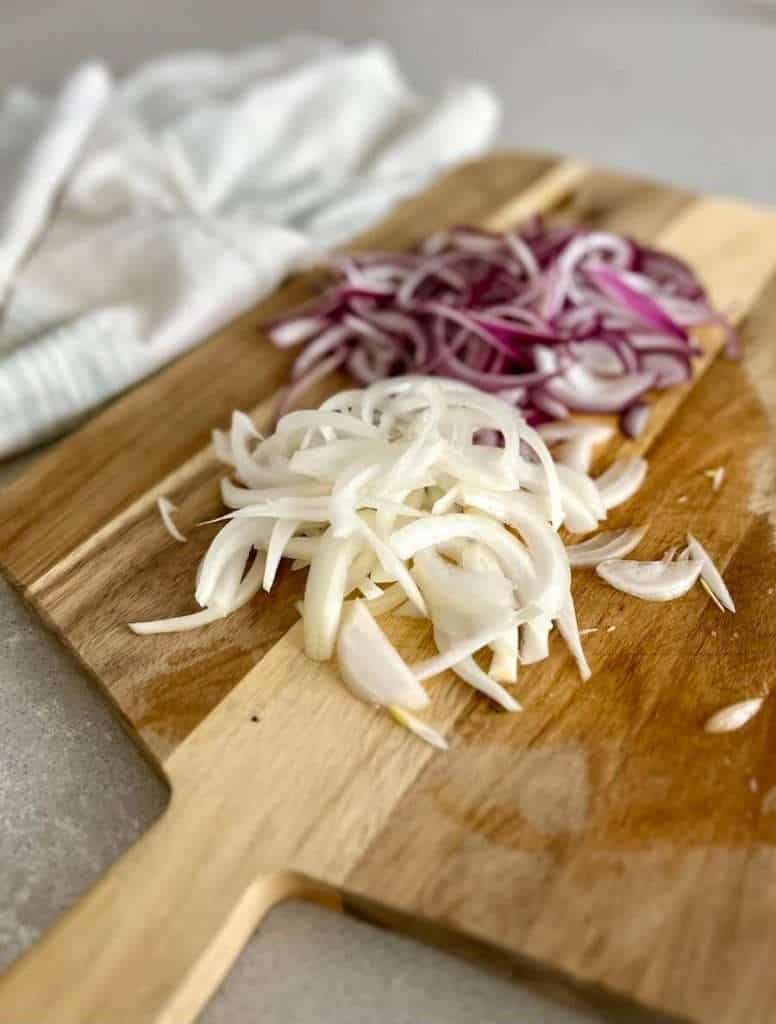
Step 5. Pour vinegar mixture over the cucumbers and onions in the jar. Cover and refrigerate for at least 12 hours.
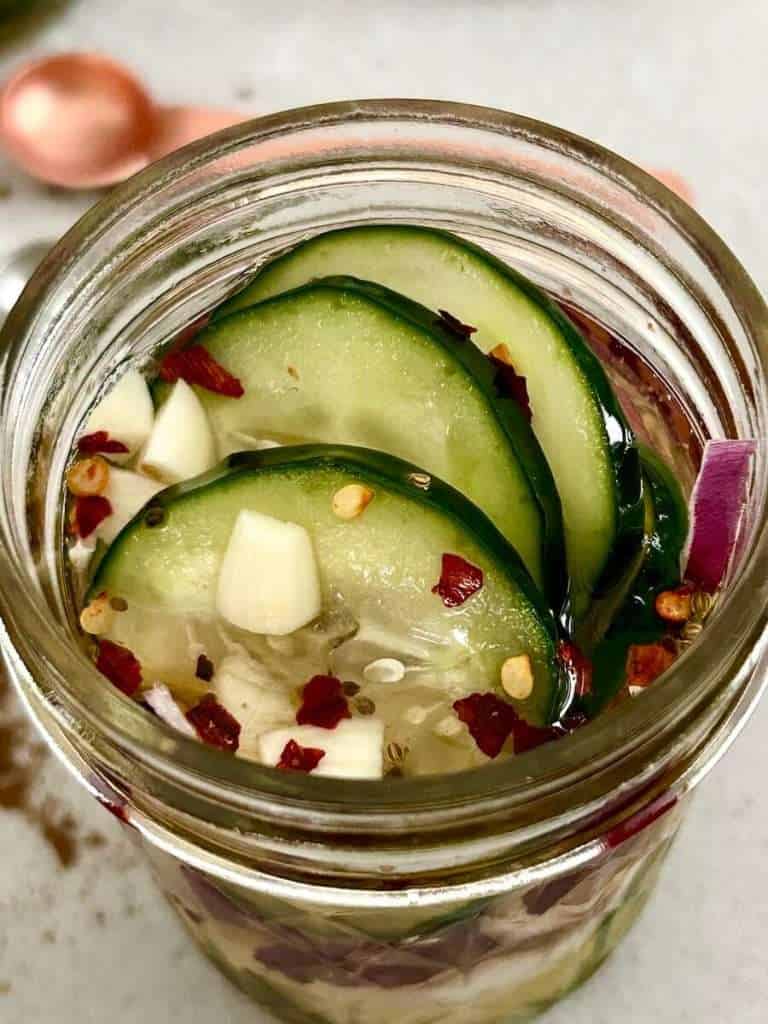
These Pickled Cucumbers and Onions will keep refrigerated for 3 to 4 weeks.
Tips
Recipe Tips
- If you have a mandoline slicer, feel free to use it to get consistent, even slices.
- I like to keep my skins on the cucumbers, and don’t make them overly thin. This way, they still have a bit of a crunch to them.
- Salting them and letting them sweat for an hour or two in the fridge is a step that also helps. This process draws out most of the excess moisture, so the cucumbers still have a bit of a crunch, even when pickling in the vinegar mixture.
Printable Recipe Card

Quick Pickled Cucumbers and Red Onions
These sweet and tangy pickled cucumbers and onions are the perfect topping for a pulled bbq chicken sandwich, or a delicious grilled bratwurst. In my opinion they encompass Summertime and should be placed on the picnic table for every Summer cookout!
Ingredients
- ¾ cup apple cider vinegar
- ½ cup white vinegar
- ½ cup sugar
- 1 tablespoon salt
- 3 garlic cloves crushed or sliced
- ½ teaspoon celery seeds
- ¼ teaspoon coriander
- ¼ teaspoon red pepper flakes (optional)
- 2 medium cucumbers
- ½ sweet onion
- ½ red onion
Instructions
- Sprinkle cucumber slices with salt and set the colander over a bowl, then place in the refrigerator for 1-2 hours.
- Press down on the cucumbers using a cloth to gently squeeze out and remaining liquid and pat dry.
- In a saucepan, combine both vinegars, sugar, and salt. Place over medium heat and stir until the sugar is fully dissolved. Remove from heat and then let cool while you slice your onions and prepare your garlic.
- Place celery seeds, coriander, garlic cloves, cucumbers, sweet onion, and red onion into a 32 ounce canning jar. (If you don’t have a large enough one, you can also make 3-4 8 ounce jars which are perfect for gifting.)
- Pour vinegar mixture over the cucumbers and onions in the jar. Cover and refrigerate at least 12 hours.
These Pickled Cucumbers and Onions will keep refrigerated for 3 to 4 weeks.
Notes
Note: If dividing between four 8 ounce jars, add the celery seeds and coriander to the vinegar mixture and stir. Also, slice your garlic and divide accordingly. Sprinkle a pinch of red pepper flakes in each if desired.
See blog post for traditional water bath pressure canning instructions.
Nutrition Information:
Yield: 4 Serving Size: 8 ozAmount Per Serving: Calories: 133
Canning Cucumbers and Onions
If you want to prepare this recipe for traditional canning, you certainly “can”!
See what I did there?

The recipe will all stay the same, but the process will look a bit different.
Canning cucumbers and onions is relatively easy, the process just takes longer. But this method is best for storing sealed pickled cucumbers and onions to use weeks, months or even years down the road.
Now if you have a pressure canner and/or cooker, chances are you probably already know how to properly can. But for those that are new to the idea of canning, and do not own a pressure canner, rest assured!
I will explain how to accomplish properly canning cucumbers and onions using the boiling water bath method.
How To Can Without A Pressure Canner
Boiling cans to seal them is the old fashioned method of canning that is safe and effective for high-acid foods, such as anything pickled, tomatoes and other fruits. Here how to properly boil cans to seal them:
What You’ll Need
- Your prepared high-acid food (pickles, fruits, tomatoes, etc.)
- Canning jars with lids and bands
- Large pot with a rack or a canning pot set (ensuring the jars are fully submerged and yet lifted off the bottom of the pot)
- Jar lifter (to lift your jars out from the boiling water)
- Canning funnel (needed for pouring your mixtures into the jar without spilling)
- Magnetic lid lifter (to help get the lids out of the boiling water)
- Clean kitchen towels
Directions
Step 1. Sterilize your jars in boiling water for 5 minutes, lift out and let cool on a kitchen towel and fully dry.
Step 2. Pack the canning jars with cucumbers and onions, leaving 1/2 inch of space at the top.
Step 3. Pour your cooled vinegar and sugar mixture over the cucumbers and onions in the jar, again, leaving that ½ inch of space at the top.
Step 4. Wipe the rims of the jars with a clean, damp cloth or towel to remove any spills or drips.
Step 5. Place the lids and bands on the jars, turning just until you feel resistance, then turn the band one-quarter turn more.
Step 6. Place the rack in the bottom of a large pot or use a canning pot, and fill it with enough water to cover the jars by 1-2 inches.
Step 7. Place the jars on the rack, making sure they are not touching each other or the sides of the pot.
Step 8. Bring the water to a rolling boil and process the jars for roughly 15 minutes for a quart-sized jar.
Step 9. After processing, turn off the heat and remove the pot from the stove. Use the jar lifter to carefully remove the jars from the pot and place them on a clean kitchen towel to cool for 12-24 hours. You may hear a “ping” sound as the jars seal, indicating that the lid has been sucked down and a vacuum has formed.
Step 10. Once the jars have cooled, check the seals by pressing down on the center of each lid. If the lid is firmly sucked down and does not move, it is sealed. If it pops up and down, the jar is not sealed and the food should be refrigerated or reprocessed.
Step 11. Label the sealed jars with the date and store them in a cool, dry place for up to two years!
Note: It’s important to note that this method is not safe for low-acid foods, such as meats, fish, and most vegetables (when not pickled). For these non-acidic foods, you should use a pressure canner, which provides higher temperature and pressure required to kill harmful bacteria and spores that can survive boiling water bath canning.
How to Use Old Fashioned Pickled Cucumbers and red Onions
Sweet, tangy and a bit garlic’y’, these pickled cucumbers and red onions are the perfect compliment for many dishes.
Here are a few of my favorite ways to use pickled cucumbers and onions:
- As a sandwich topping. Whether your classic deli turkey sandwich with mustard and mayo, or BBQ pulled chicken or pork sandwiches, these will pair deliciously.
- Add them to burgers or grilled bratwurst for a refreshing crunch.
- I love adding them to pulled pork street tacos, or pulled chicken tacos.
- Add them to a charcuterie or cheese board for entertaining!
More REcipes to Enjoy
I hope you enjoyed this recipe! I’d love to know if you made them to enjoy overnight, or pressure canned!
If you are looking for some other great picnic style foods, check out these recipes next!
- Tomato Cucumber Quinoa Salad, Served 3 Ways
- 7 Elements of an Amazing Italian Charcuterie Board
- Fresh Mango Pico De Gallo Recipe
Thanks so much for stopping by the blog today. Make sure to subscribe to access my free printable library and follow along daily on Instagram and weekly on YouTube!
~Sarah

Thanks so much for stopping by the blog today.