
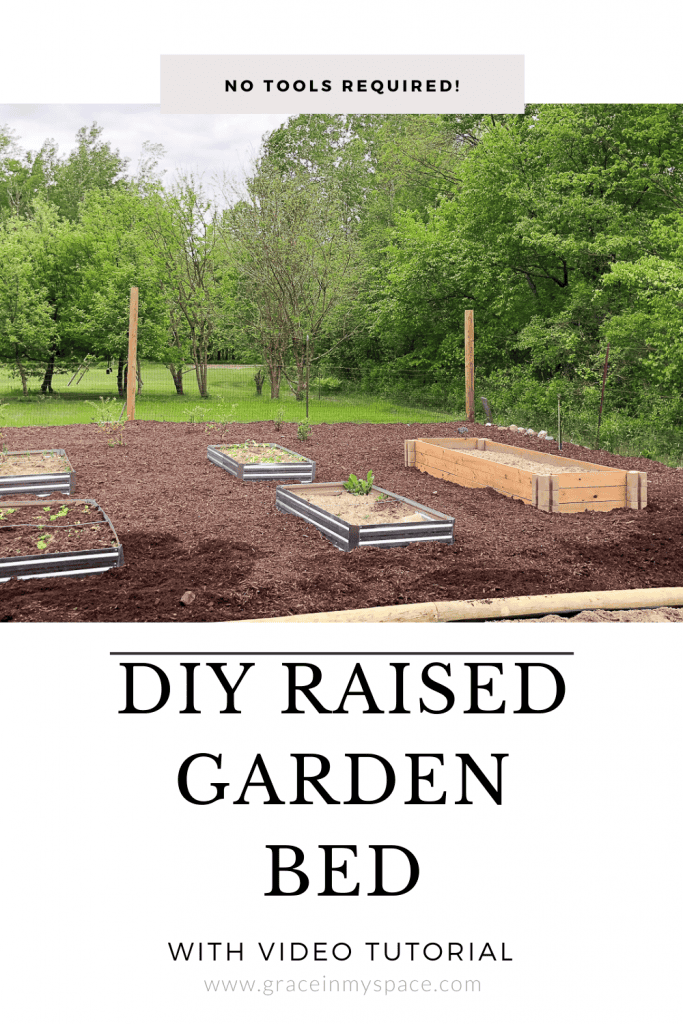
Easy Raised Garden Bed | DIY Without Tools
Raised garden bed ideas are so accessible these days, but I was excited when I stumbled upon this easy raised garden bed method that requires almost no tools! This is perfect for those who have no building experience, but still want to make their own DIY raised garden bed.
Bonus, it is also extremely easy to assemble. Grab a second set of hands (even a young child can help!) to stabilize the boards as you go and you will have your own raised garden bed in no time.
Post may contain affiliate links for your convenience.
Originally published June 30, 2020. Updated March 15, 2026.
Raised Bed Ideas
All it takes is a quick google or pinterest search to reveal hundreds of raised garden bed ideas. There are so many raised bed kits, including some that I’ve personally used, that are great options!
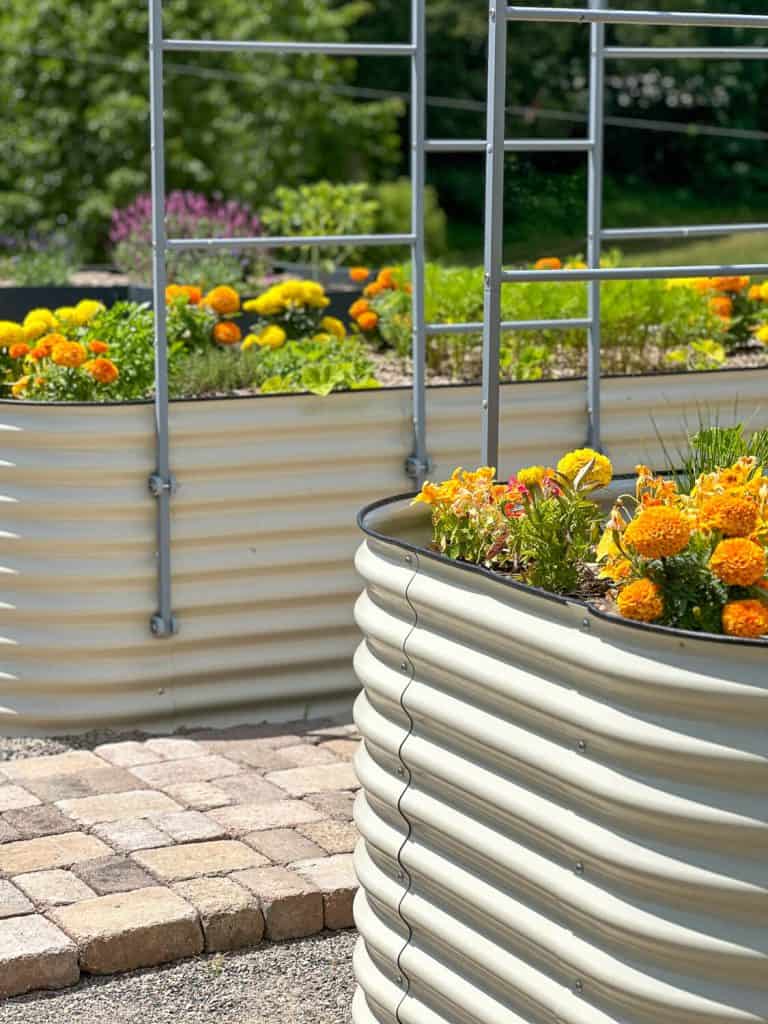
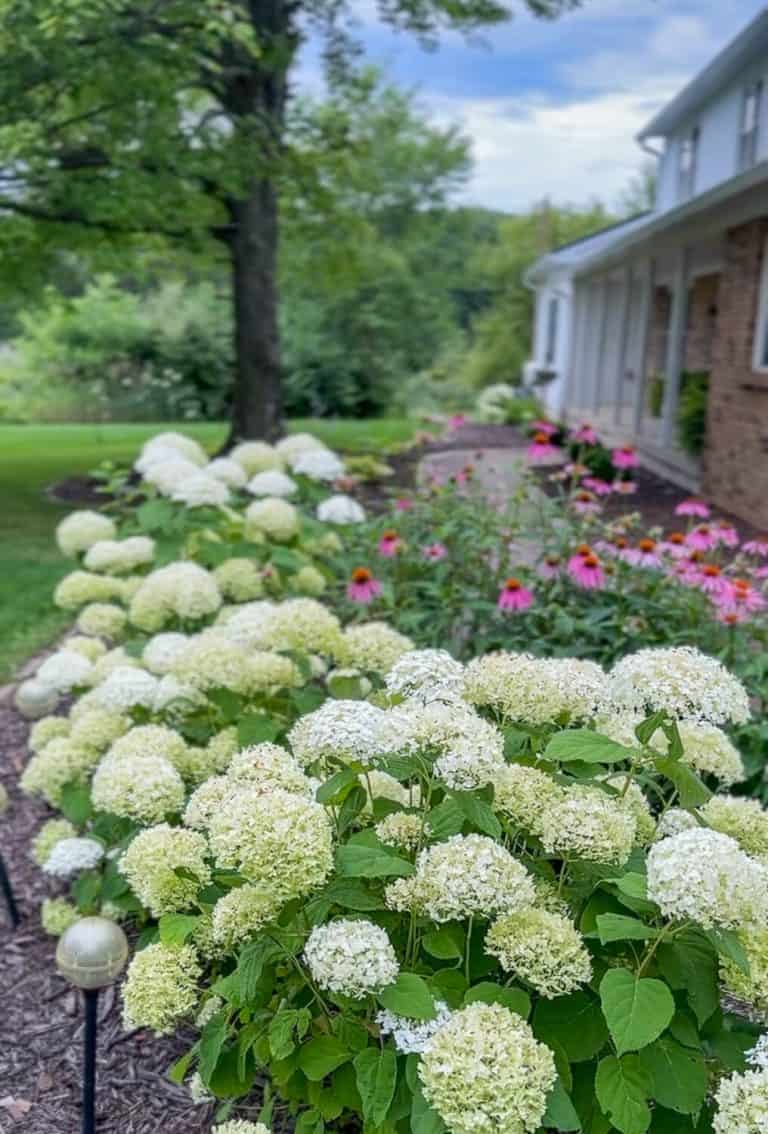
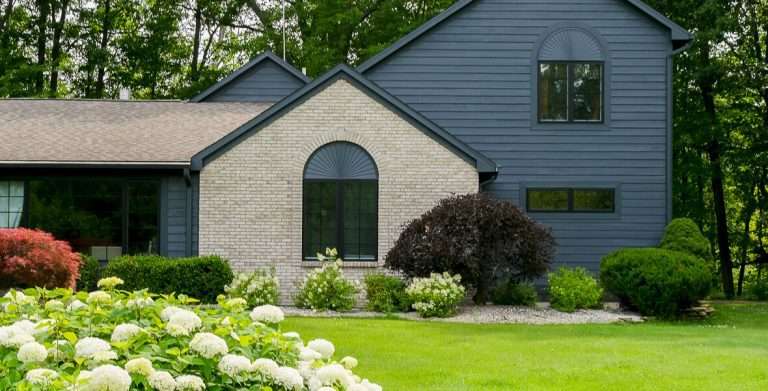
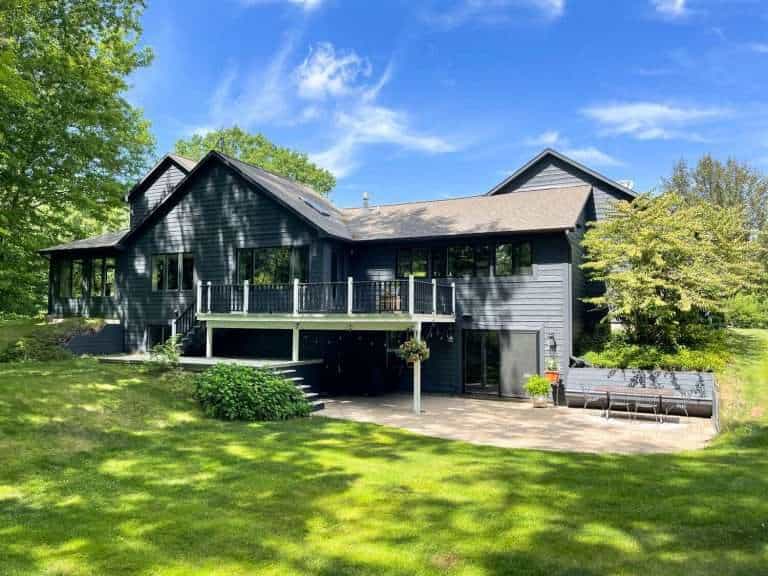
However, after adding four raised galvanized beds to our garden, I wanted to bring some warmth and scale to the remaining space.
Cedar raised beds have been high on my radar for over a year. They are one of the best raised garden beds you can DIY for aesthetics. However, I wanted to get a bit more life out of my wood raised beds, so I chose to go another route!
Here’s how I made a 3 foot x 10 foot easy raised garden bed in under an hour, all by myself!
Easy Raised Garden Bed
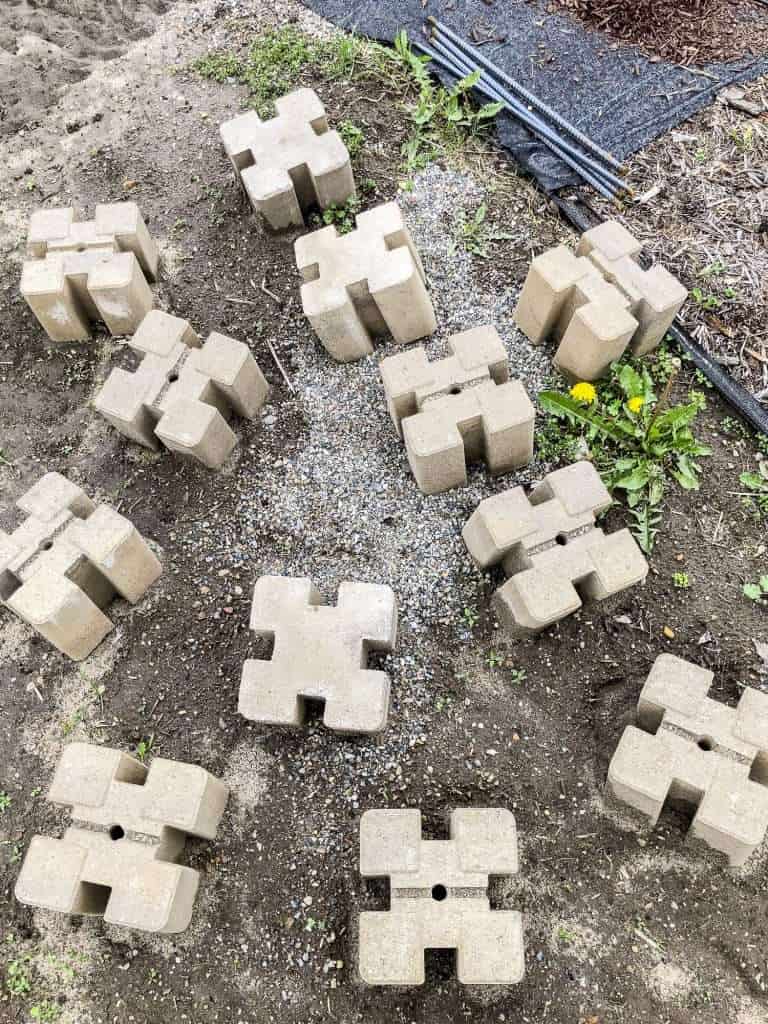
The number one reason I chose this method for my DIY garden bed is the raised bed corners (available at Lowe’s and Home Depot depending on what’s convenient for you).
While I’ve built many things, wood joinery is not one of my strong DIY skills. So the thought of trying to stabilize and join a very large raised garden bed on my own didn’t sound too appealing.
Then, I came across these corner blocks and the whole game changed!
Raised Garden Bed Materials
For this version of a DIY raised garden bed, you will need a few materials. Thankfully, very few tools are needed and absolutely no screws!
- Raised Bed Corner Blocks (Amount depends on the size bed you build.)
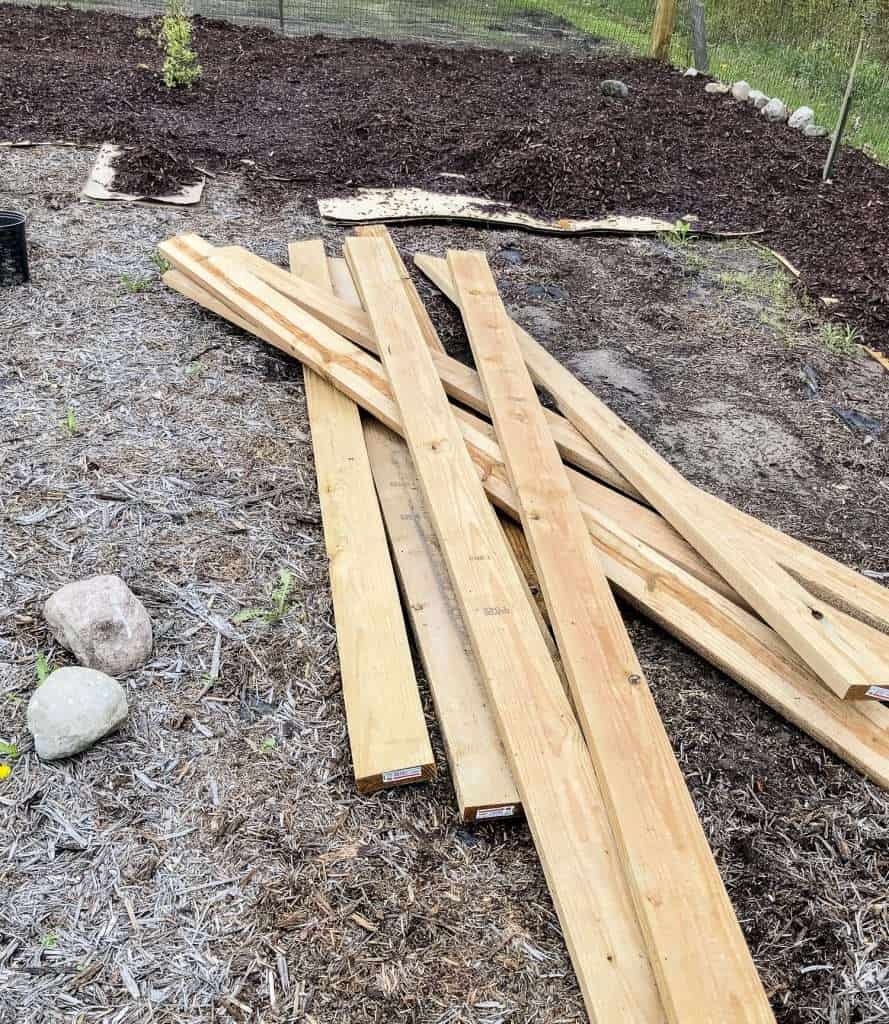
- 2×6 Wood boards (Amount depends on the size bed you build. You can adjust the length as needed as well!)
- Rebar (Amount depends on the size bed you build.)
- Sledge hammer
- Level/square
What Type of Wood Do I Use?
I chose to use #2 Prime Cedar Tone Ground Contact Pressure-Treated Lumber rather than Cedar. I did this for two reasons:
- I wanted extra longevity from the wood.
- I ONLY plan to plant flowers in this bed.
If I planned to plant vegetables or fruit in this raised bed, I would not have used treated lumbar to ensure it didn’t leach into my food.
Cedar or redwood are great options if you are planting food.
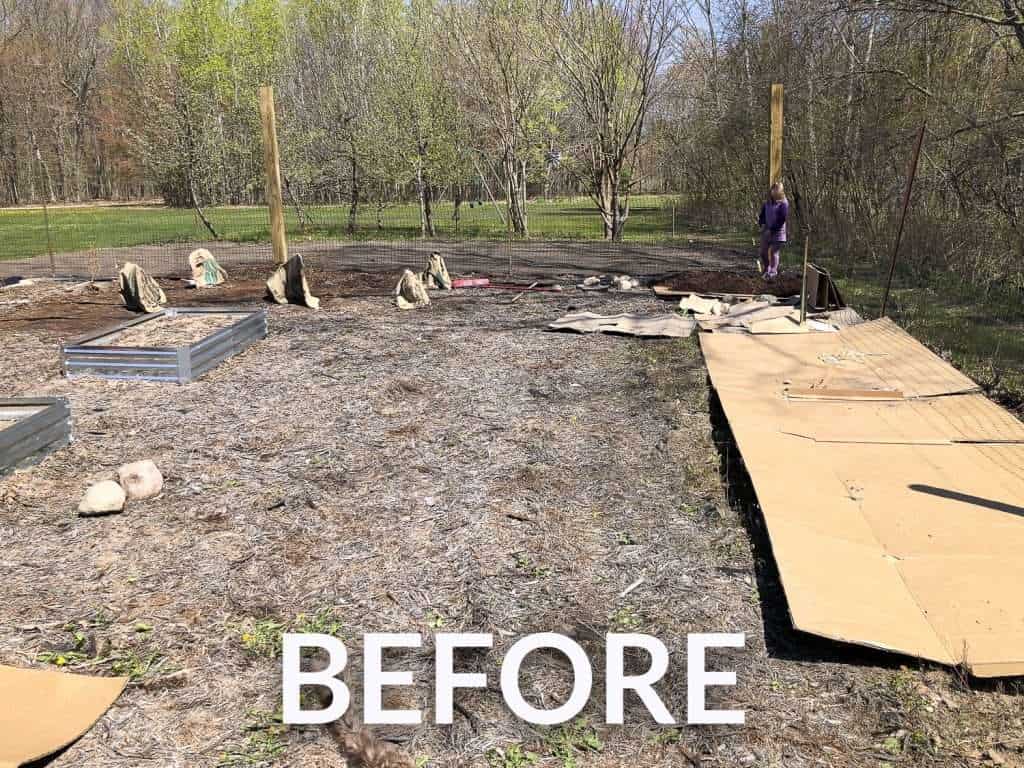
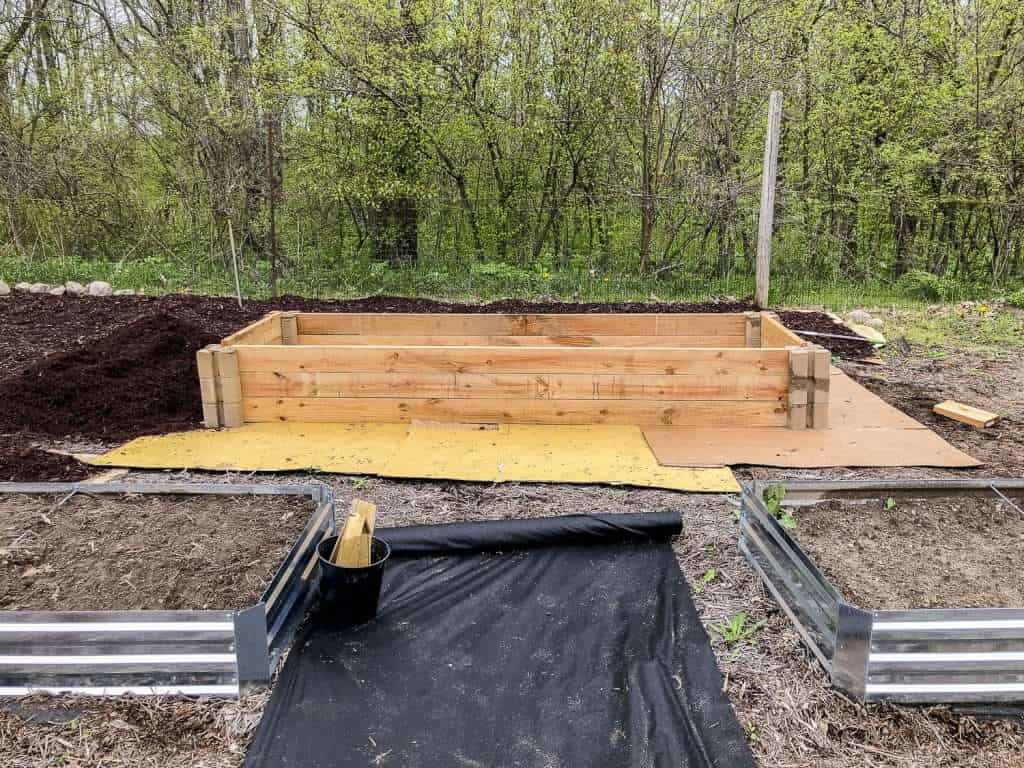
Step 1 | Level the Ground
The first step to a successful raised garden bed, no matter the method you use to build it, is to level the ground. This gives your bed a solid surface to rest and will help avoid heaving and splitting down the road.
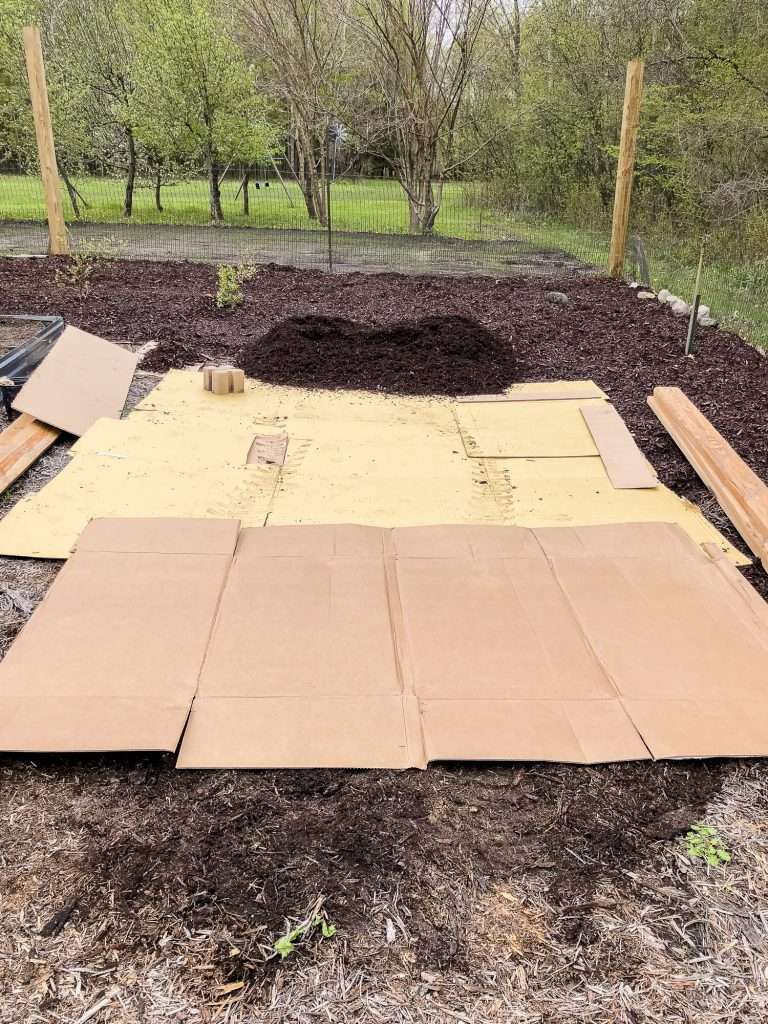
I also chose to place cardboard down as a weed barrier. This is an optional step, however I would highly recommend this if you plan to plant flowers or vegetables that aren’t deep-rooting.
Step 2 | Layout and Measure
The next step is to create your layout and measure the size of the raised bed that you desire.
This method of an easy raised garden bed is extremely versatile. You can choose to buy your materials at length and have zero cutting. Or, you can also have a home improvement store cut your boards for you.
I chose to build a 3×10 foot bed that is 18 inches tall. For that, I needed:
- 9- 2×6 boards at 10 foot length
- 4- 2 foot pieces of rebar
- 12- corner blocks
When purchasing your lumber, take care to find very straight boards. Bowed boards will cause you a headache in assembly.
Adjust your materials based on how large and tall you want your raised bed to be.
18 inches tall is a good height for most raised beds.
However, if you have back issues then I’d recommend going taller in height and shorter in length to help with the dirt load. A 32″ tall bed at 4 foot long would be a great option. If you choose to go taller, make sure you adjust your rebar height (this 4 ft. rebar works to cut down!)
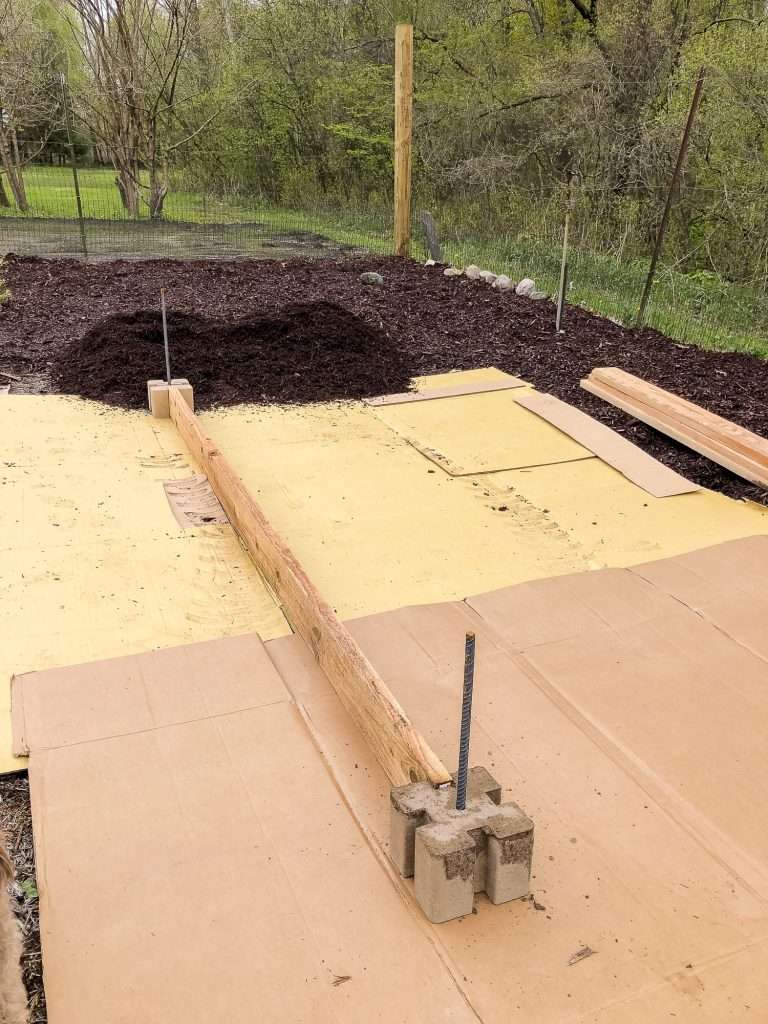
Step 3 | Place Your Raised Bed Corners
Now that you have your layout, shape, and size determined, it’s time to place your first two corner pieces.
The key to this type of raised bed is to ensure that your corner pieces are square and level. I slid my rebar into place in the beginning, but wait to drive it into the ground until you’re sure that your corners are square.
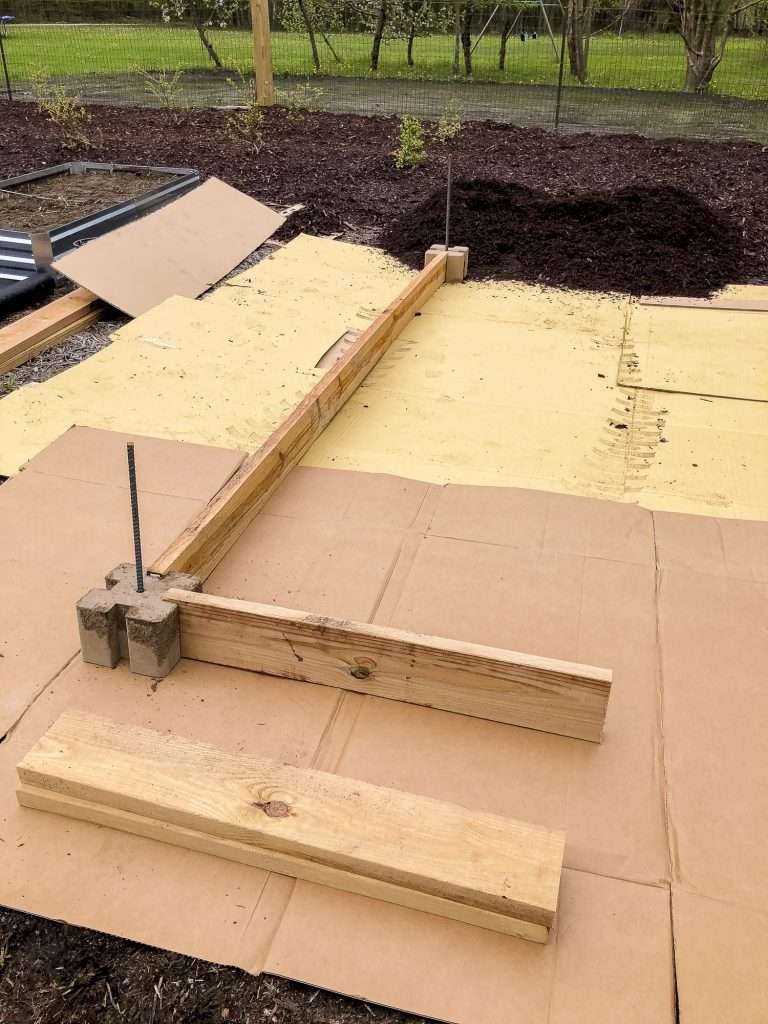
Create an L with your first two boards and square them up before proceeding.
Step 4 | Finish your foundation
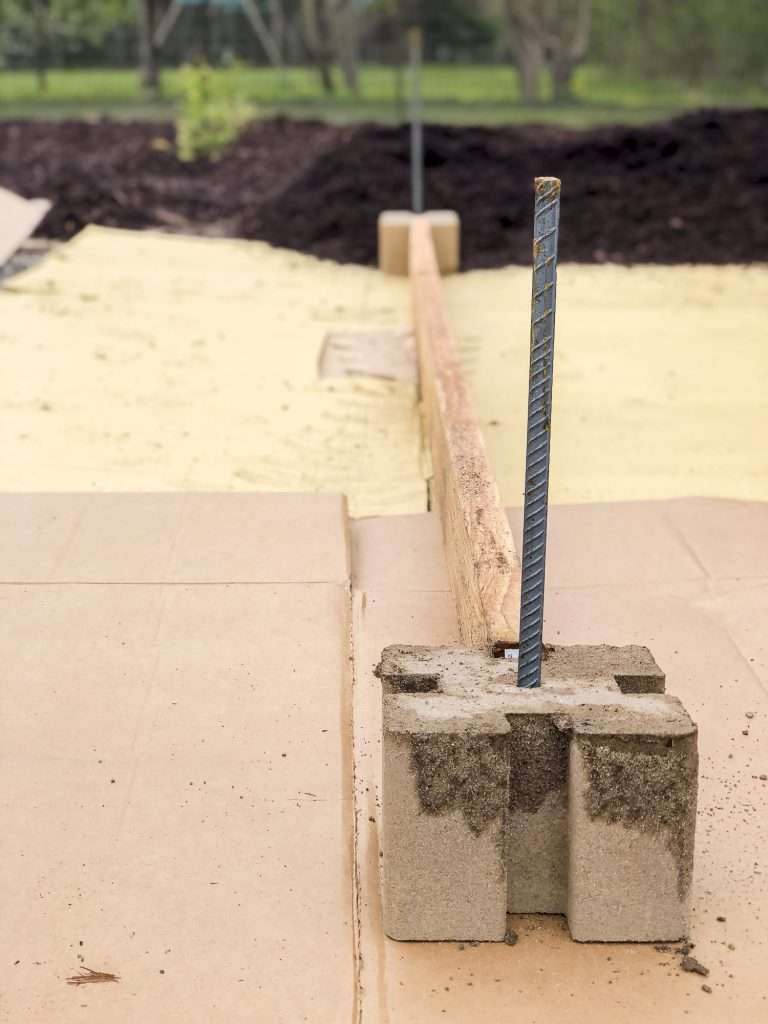
Once you’ve squared the first two corner pieces, continue adding your 2×6 boards until you’ve made the full box for the foundation of your raised bed.
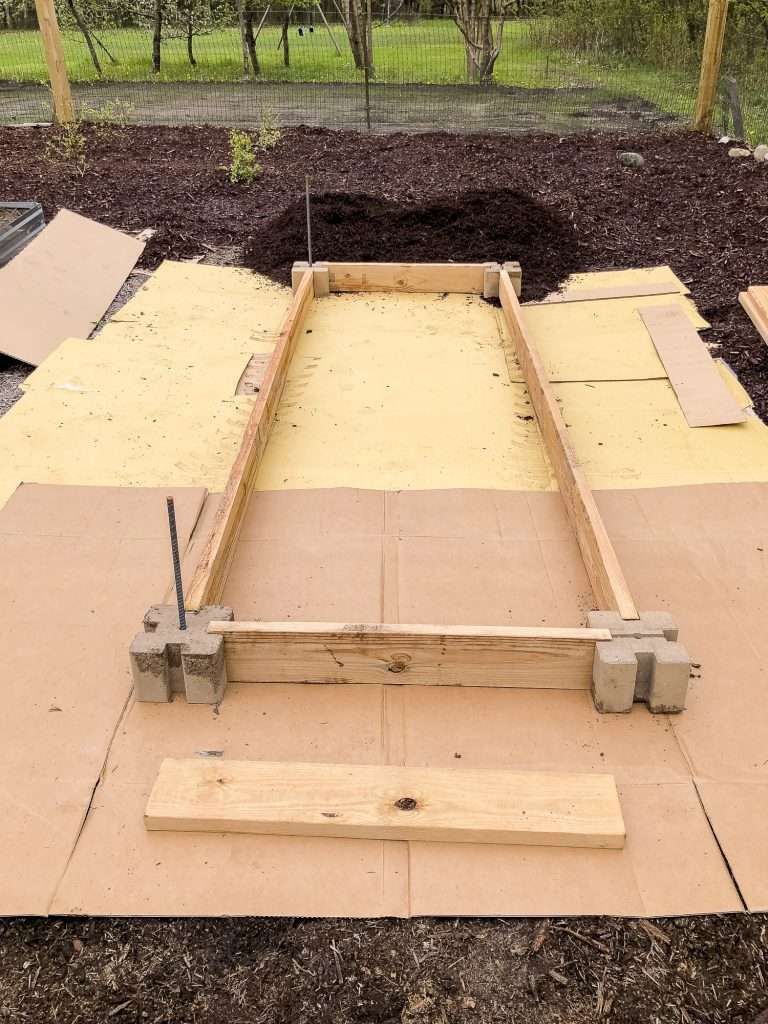
As you can see, the 2×6 boards simply slide into the slots in the blocks.
Now that all four corners are in place, square up your box one more time. This will give you the foundation you need to add the next layers.
If you’re finding it difficult to slide your boards into the slots, then chances are your box isn’t square on the corners. Make small adjustments to accommodate.
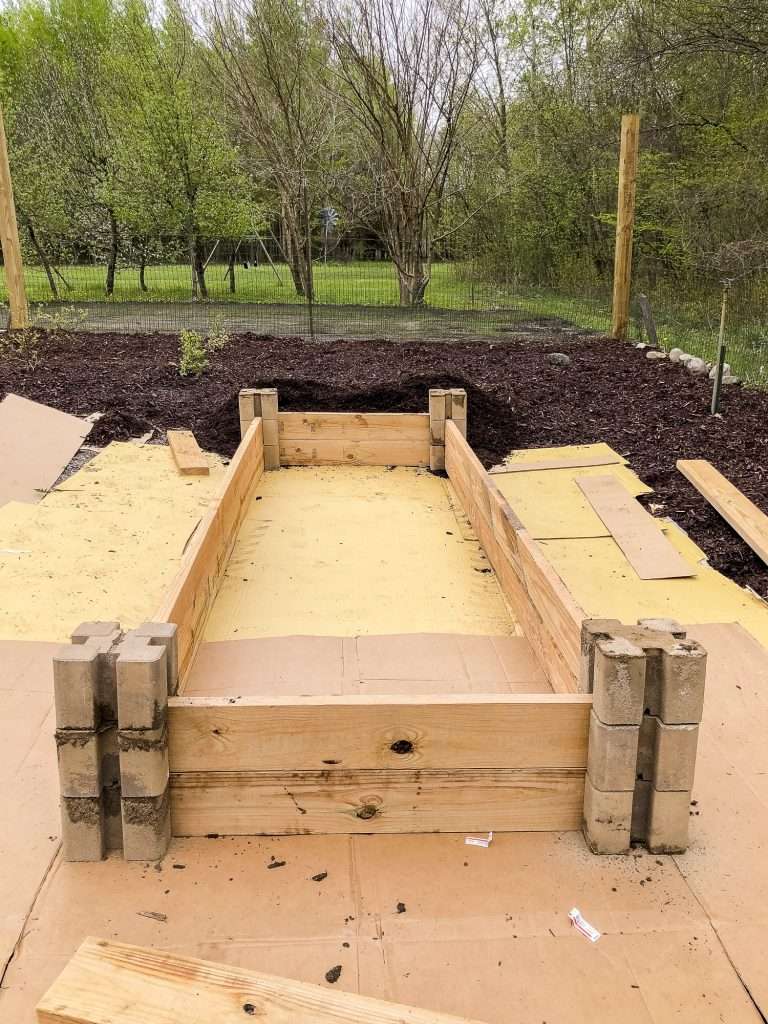
Step 5 | Add Layers
The next step is to add your layers. I chose to build my raised bed 18″ tall, so I have three layers.
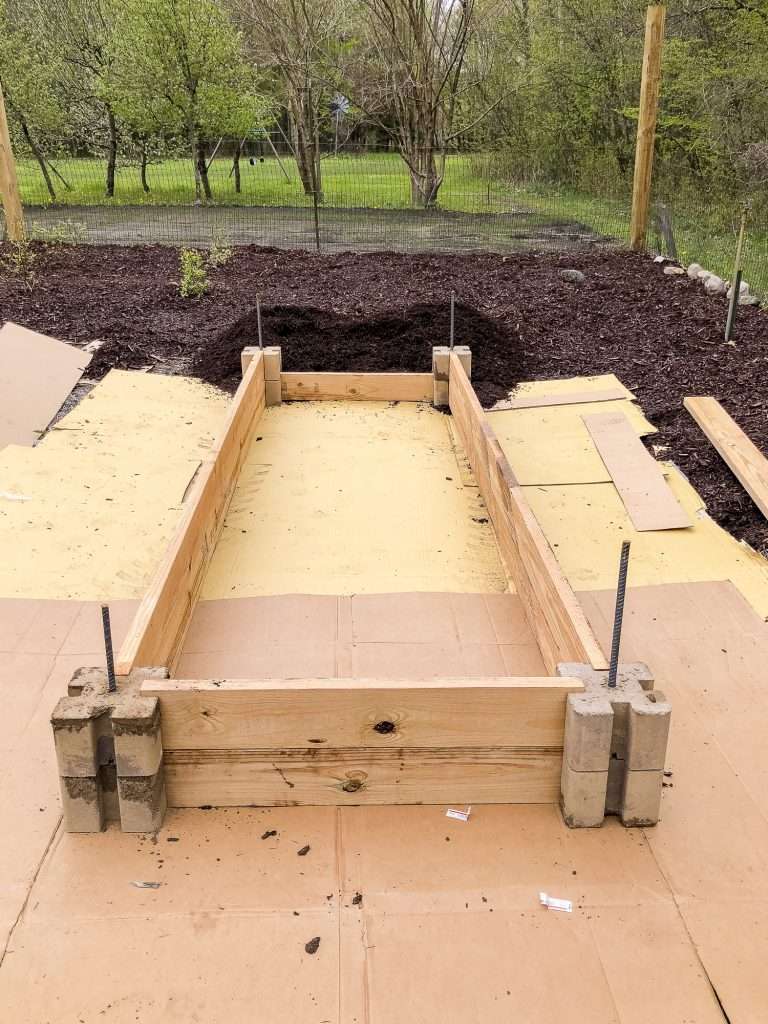
Have you ever played with Lincoln Logs? This reminds me of a real life version of that childhood toy.
Simply stack your corner blocks on top and then add your 2×6 boards. Go around the box until all four sides have been added.
Then, do it again! (If you are doing an 18″ tall box, of course.)
Step 6 | Drive In Rebar
The final step, once you’ve stacked all your layers, is to drive the rebar into the ground.
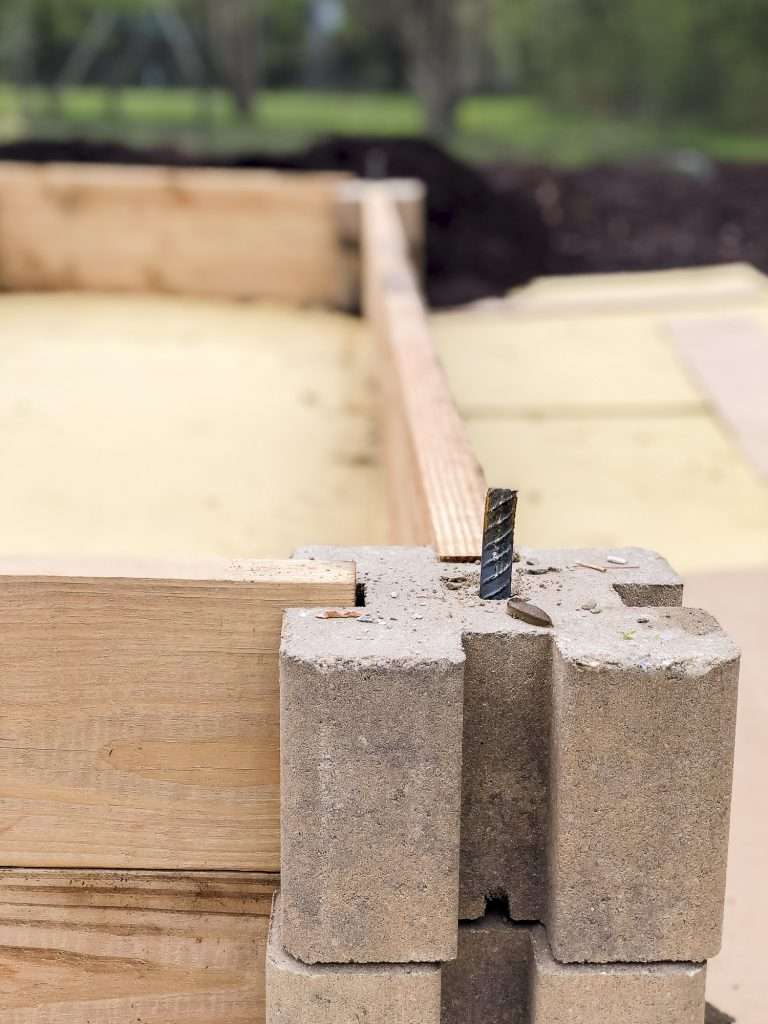
This secures the stack of blocks and gives them full stability.
You can also choose to do this before you add your third layer. Simply ensure that you leave at least 6 inches of the rebar sticking out so that the third layer of blocks has something to hold onto.
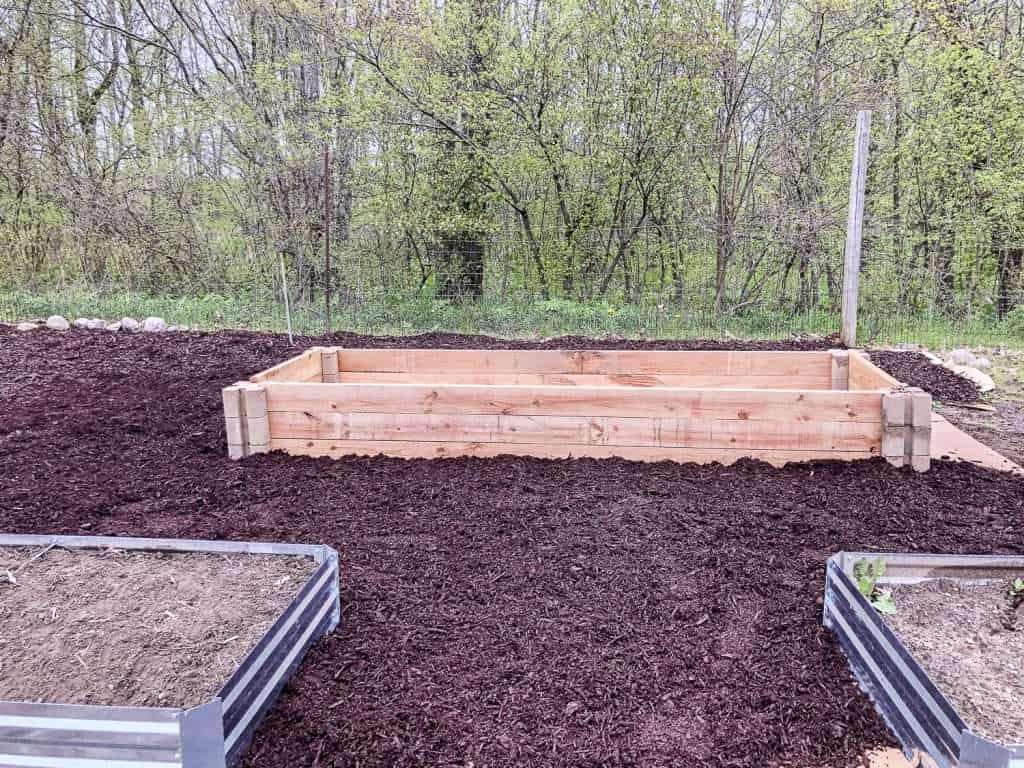
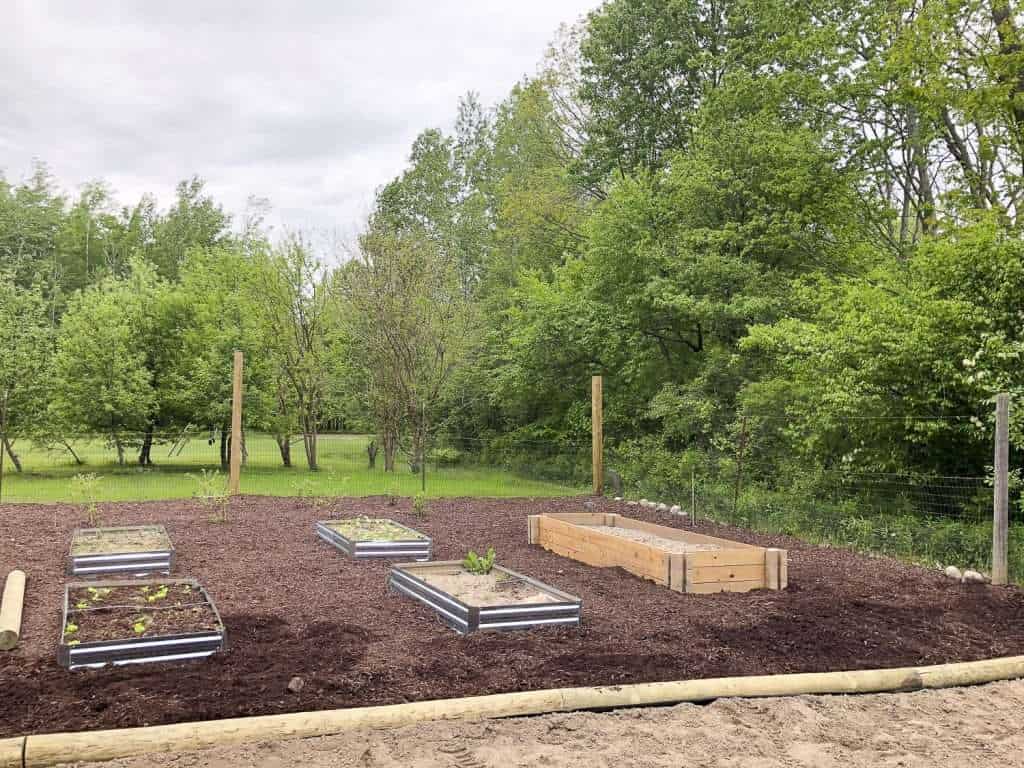
Easiest and Tool Free Raised Garden Bed
And it’s complete! Simply fill with dirt and compost and plant!

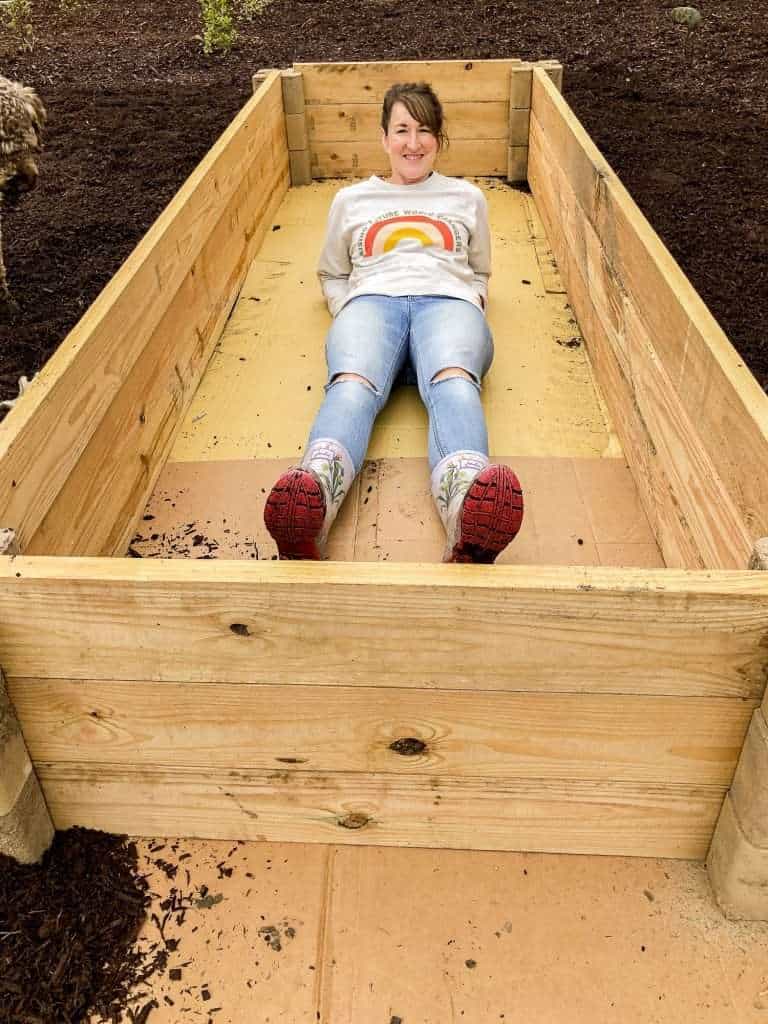
The beauty of this method is that no building experience is required. I completed this easy raised garden bed in under an hour, all by myself.
While I love our galvanized raised beds as well, the wood bed was much easier and faster to build. And it’s twice their length!
Best Way to Fill a Deep Raised Bed
Shallow raised beds can be easily filled with compost and soil. However, that method in a deep raised garden bed would not only cost a lot of extra money, but would also put a ton of weight on your garden bed walls.
Below is a great method of layering your raised beds for affordability as well as nutrients for your soil. Using all natural matter allows it to break down over time.
Start from the ground up with this method:
- Lay cardboard on the ground for a natural weed barrier that will break down over time and not smother the soil from earthworms and other beneficial insects.
- Lay larger logs on the bottom. The deader the better. If you use green logs it can cause moisture and mold issues.
- Add sticks, leaves and other yard waste next. Make sure you aren’t including diseased matter.
- Top with a mixture of compost and soil with enough depth for what you plan to grow.
Garden Update
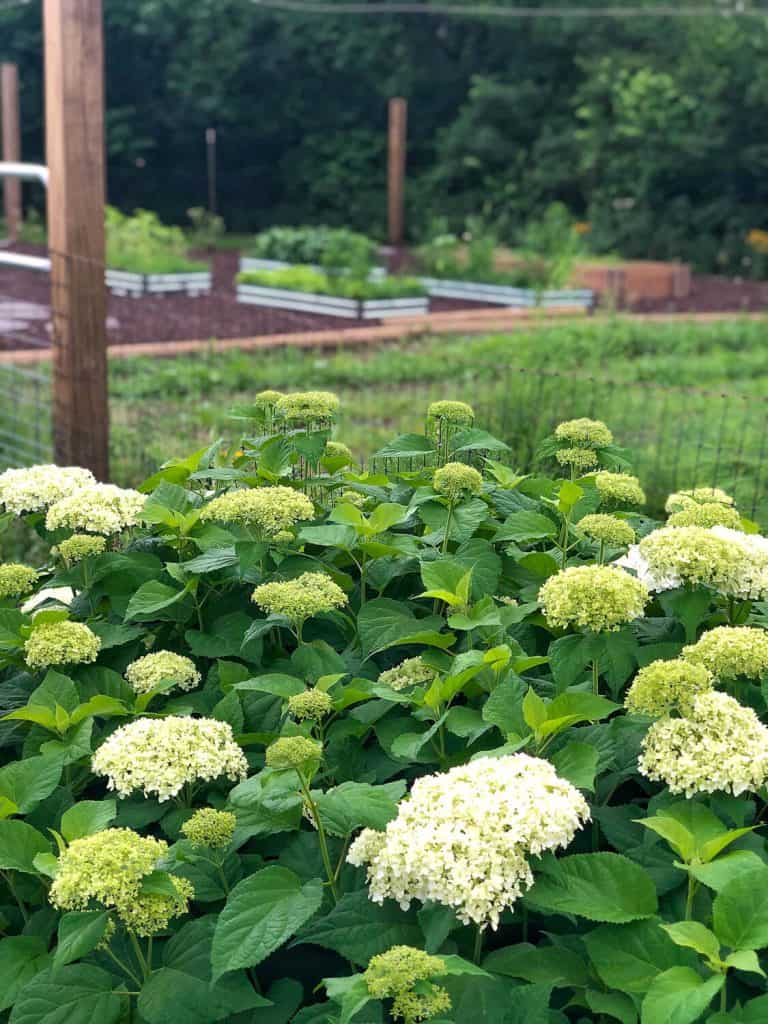
Adding this wood raised bed was the final step to updating our garden in 2020.
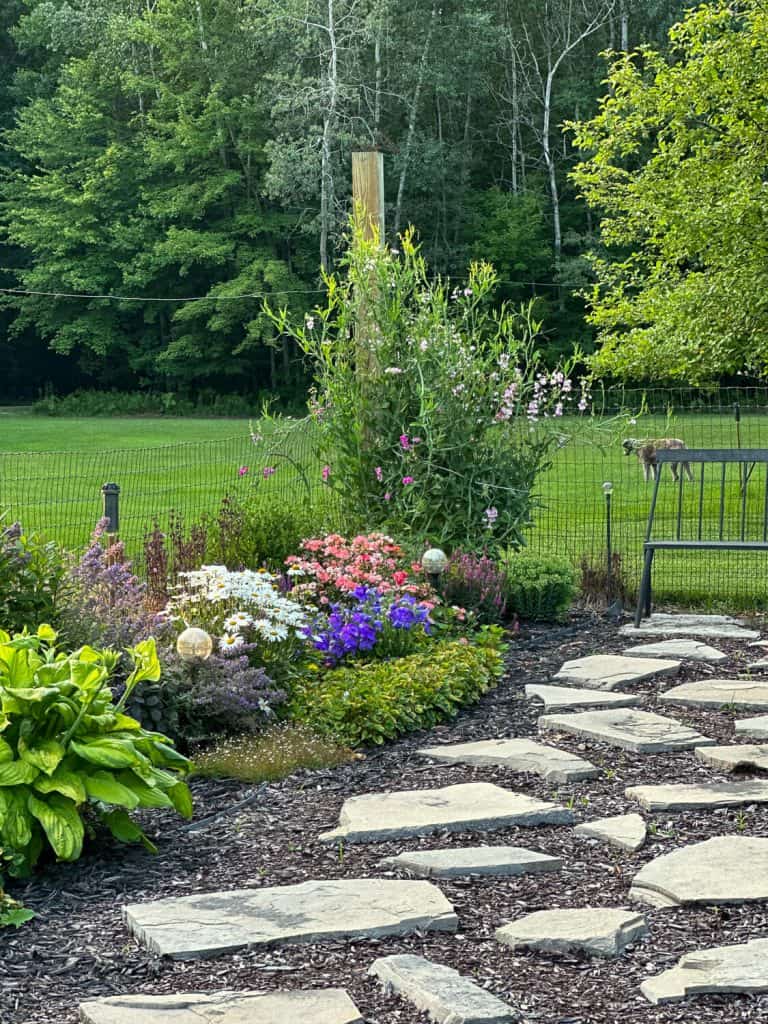
If you missed it, we did a total revamp of the 5,000 square foot garden that spring. You can see how we laid this flagstone path in this tutorial.
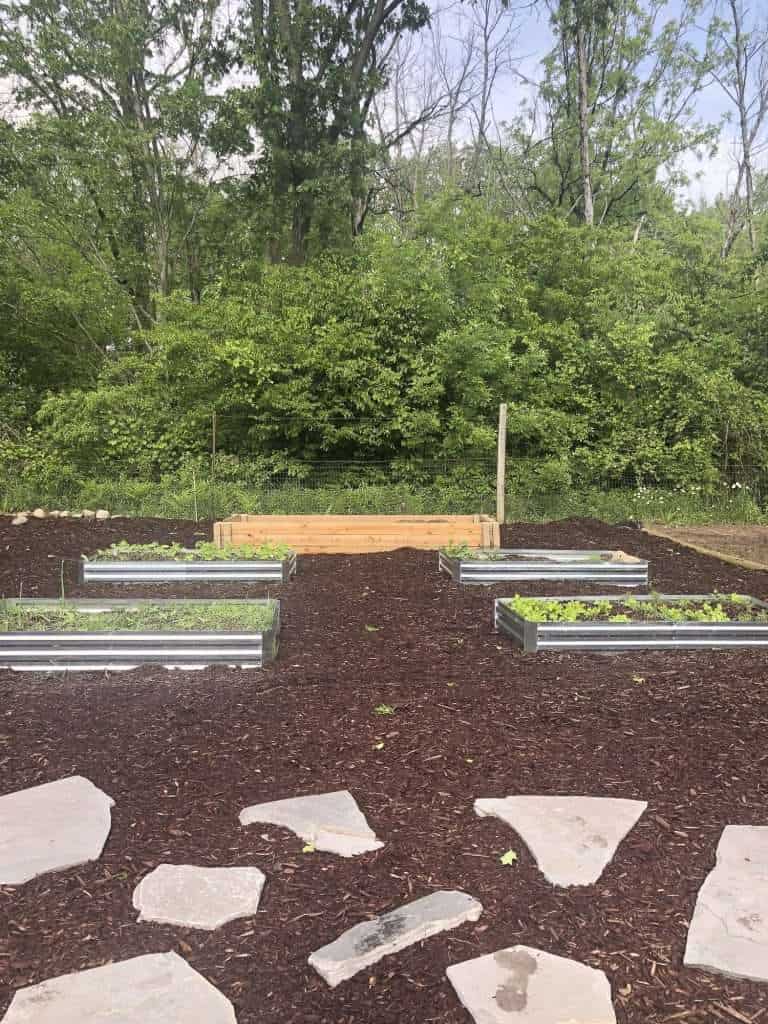
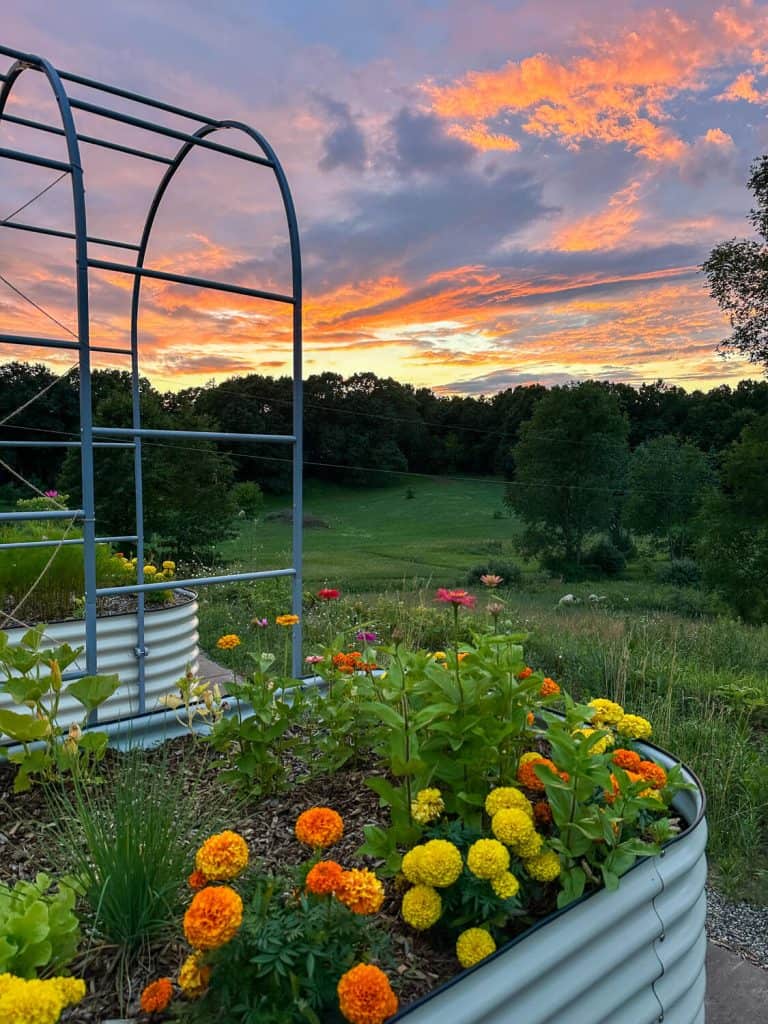
We mulched the entire raised bed area and left about 1,500 square feet for planting on the opposite side.
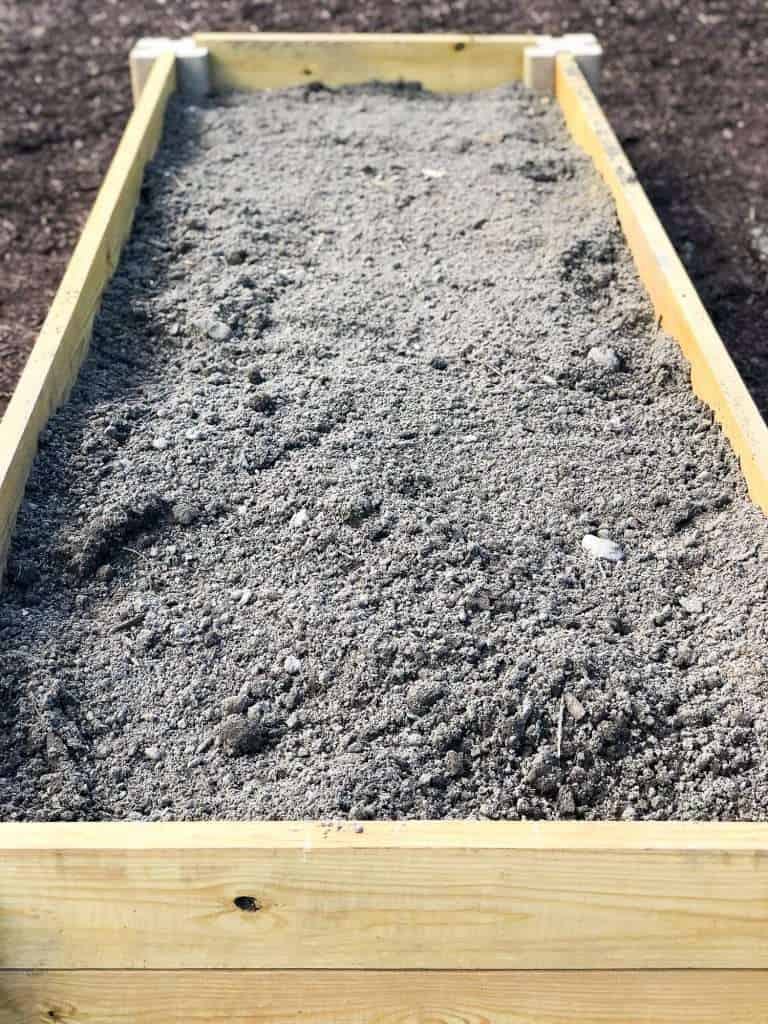
I decided to plant cut flowers in my new raised bed and the seedlings are already sprouting up!

DIY Flagstone Pathway Video Tutorial
I have so many video tutorials for gardening over on YouTube. If you want to browse them, you can start with this flagstone tutorial!
Stay Connected
Thanks so much for stopping by the blog today!
Since I wrote this tutorial we have moved to a new home and I used a totally different raised garden bed method with these 32″ tall beds!
I’m considering adding this DIY raised garden bed behind our house this summer to bring that warmth I’m lacking back in!
Make sure to subscribe to Grace In My Space to get access to my free printable library!
And, you can follow along with more DIY projects, home styling tips, easy recipes and more on my YouTube channel and daily on Instagram!
~Sarah
More Garden Ideas
What products would you use if doing for a garden not flower bed?
I have a plan to make the most of the area on our hillside, and I believe stacking these will help us get where we want to go!
How did you get the rebar cut to the right size? Hardware stores won’t do it for you where I live.
I just drove it deep enough into the ground that it was flush with the top of the corner pieces. 🙂
I love this! My husband and I have had an idea to maximize the space of our hillside and I think creating these stacked will help us achieve what we are looking to accomplish!
We saw those blocks at a Lowe’s yesterday. Wow, those are such a great idea and product! We have several raised beds that my husband built several years. Some of our beds are now at a point to be redone. This will make it so much easier!! I enjoy a lot of your ideas.
Blessings,
Shonda
They are amazing! I want to build more with them!
I loved seeing what you did–they’re huge! And so impressive you did the one in under an hour.
How do you water the beds consistently? (Sprinklers? Manual with a hose?)
Thank you! That was such an easy build!
Love this! The idea of an easy raised garden bed that requires almost no tools is brilliant, especially for those with no building experience.