
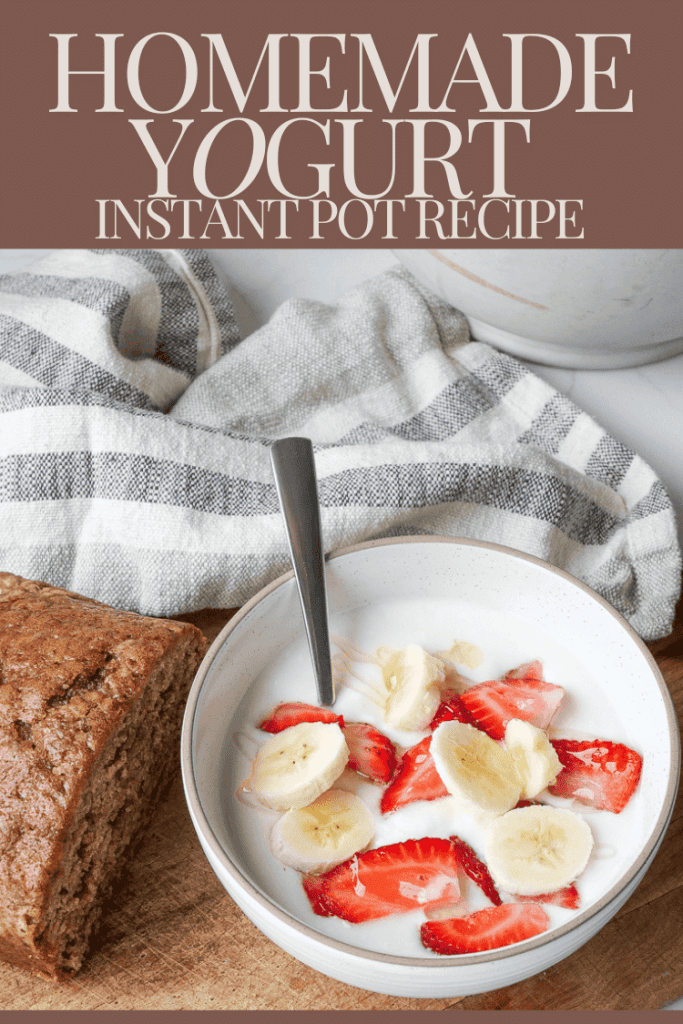
Simple Homemade Instant Pot Yogurt Recipe
Make your own greek or traditional yogurt with this simple homemade instant pot yogurt recipe. Homemade yogurt is healthy with no added sugars. It is simple to add your own flavoring and enjoy the health benefits of yogurt on a major budget!
Post contains affiliate links for your convenience.
Benefits of Making Your Own Yogurt
My family consumes a lot of yogurt.
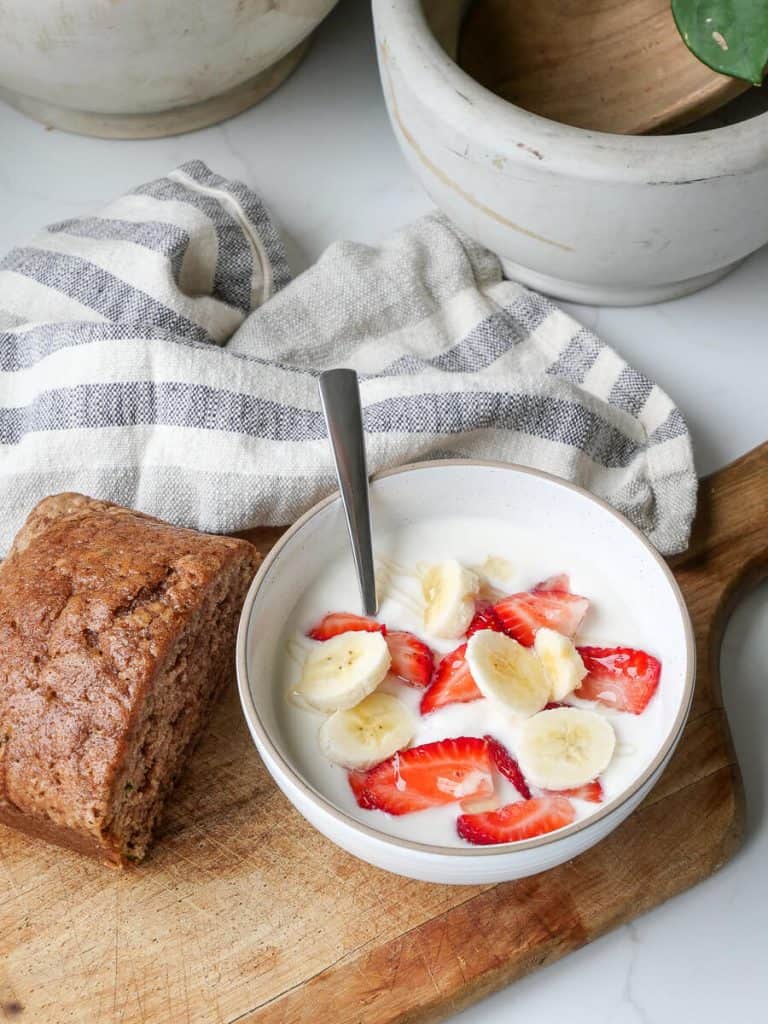
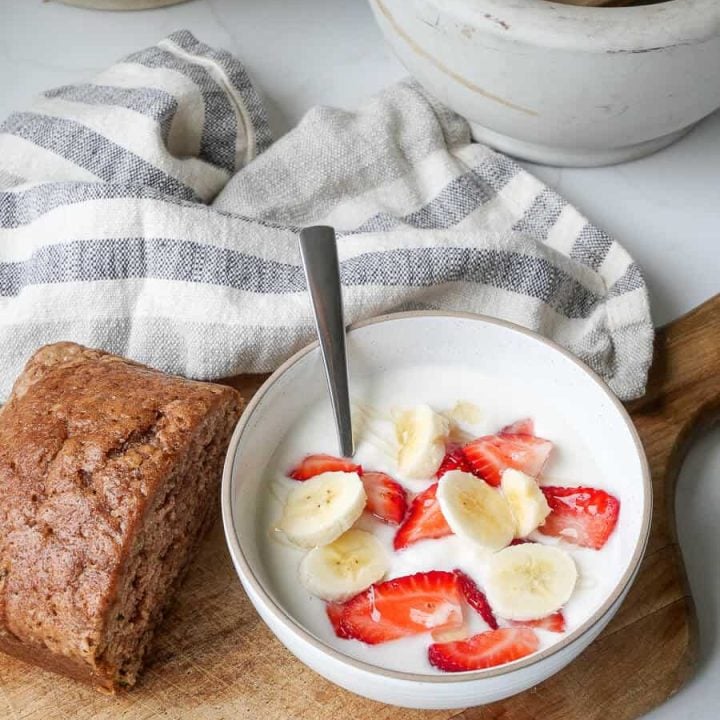
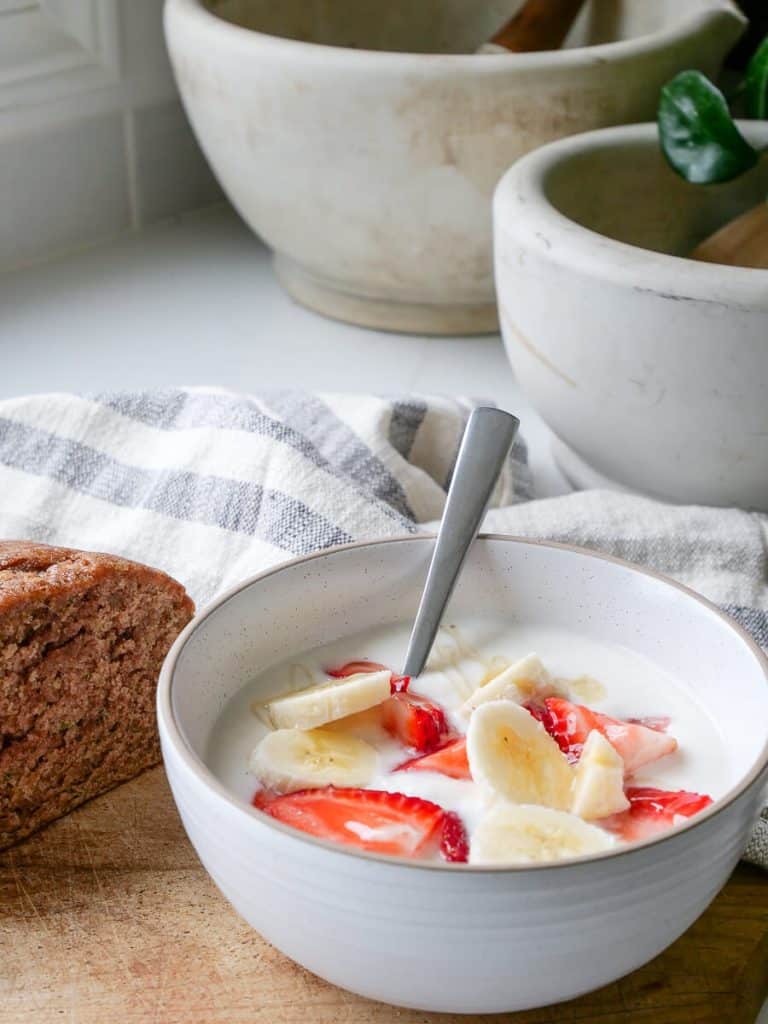
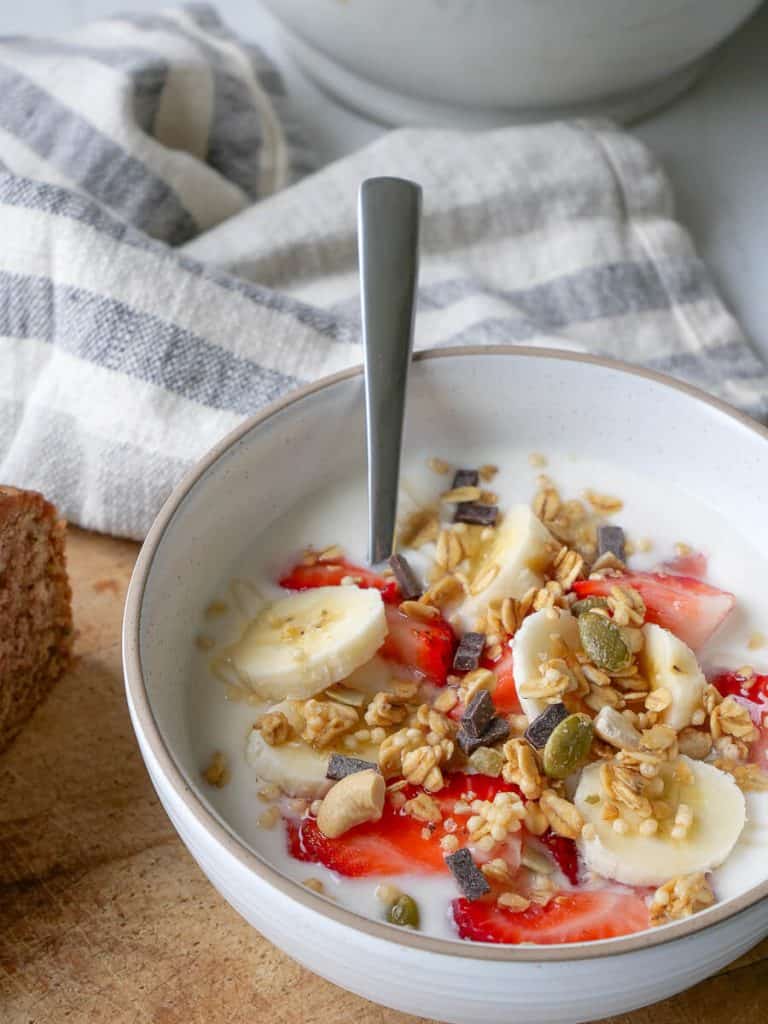
It is a staple for breakfast, but is often topped with fruit and granola for lunch, or an evening snack.
Unfortunately, most store bought yogurts are filled to the brim with added sugars and preservatives. This homemade instant pot yogurt is not only healthier by excluding added sugars and preservatives, but it is also much more affordable.
Is It Cheaper to Make Your Own Yogurt in an Instant Pot?
Store bought yogurt: Average price $6.00 for one 32 oz. container
Homemade Yogurt:
- Gallon of milk: $4.00
- Starter Yogurt: $2.00
- Produces: 96 oz
Triple the amount of yogurt for the same price!
How to Make Homemade Instant Pot Yogurt
For this recipe, you will need an instant pot.
My model is the 6 qt, which is necessary if you are using a full gallon of milk.
It conveniently has a yogurt setting and is an absolute star at making delicious yogurt.
Tools Needed
- 6 qt instant pot
- Hot pads
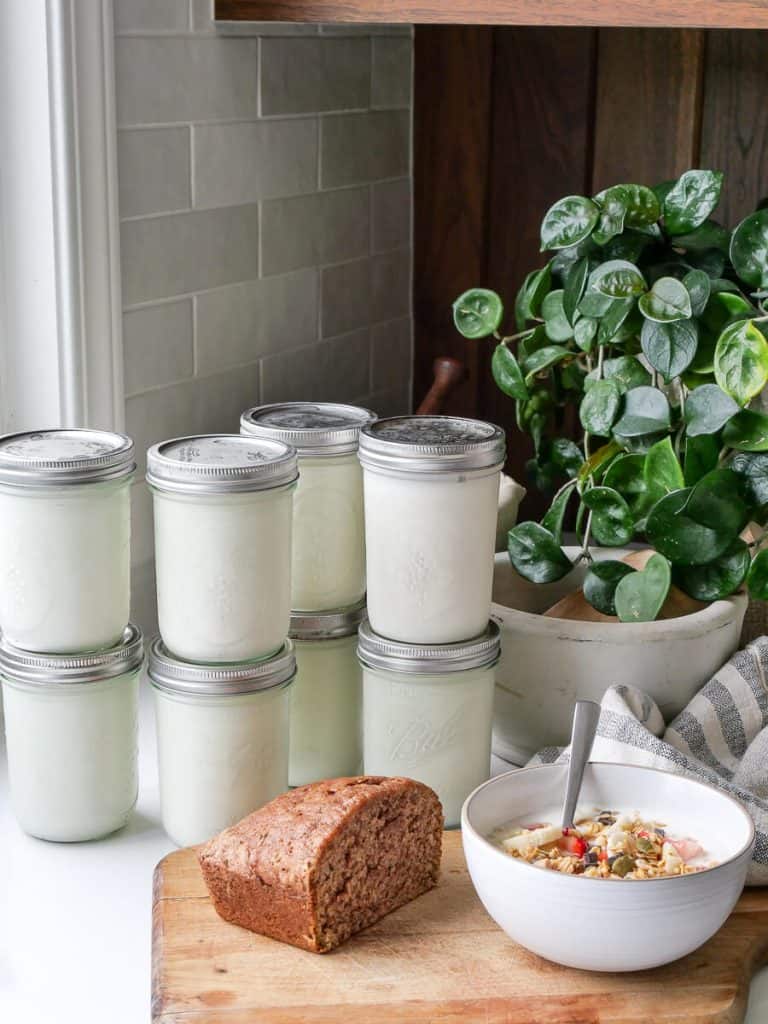
- Mason jars (Straight side, large mouth is preferred for easy access)
Or other storage containers - Food thermometer
- For Greek Yogurt:
Yogurt Recipe Ingredients
- Gallon of milk (I use 2%)
- 2 Tbs. Plain greek yogurt (Called yogurt starter) with active cultures
Homemade Instant Pot Yogurt Instructions
Quick Schedule:
- Yogurt BOIL Cook Setting (About 1 hour)
- Cooling Period (About 1 hour)
- Yogurt NORMAL Cook Setting (10 hours)
- Cooling Period (About 1 hour) before storage
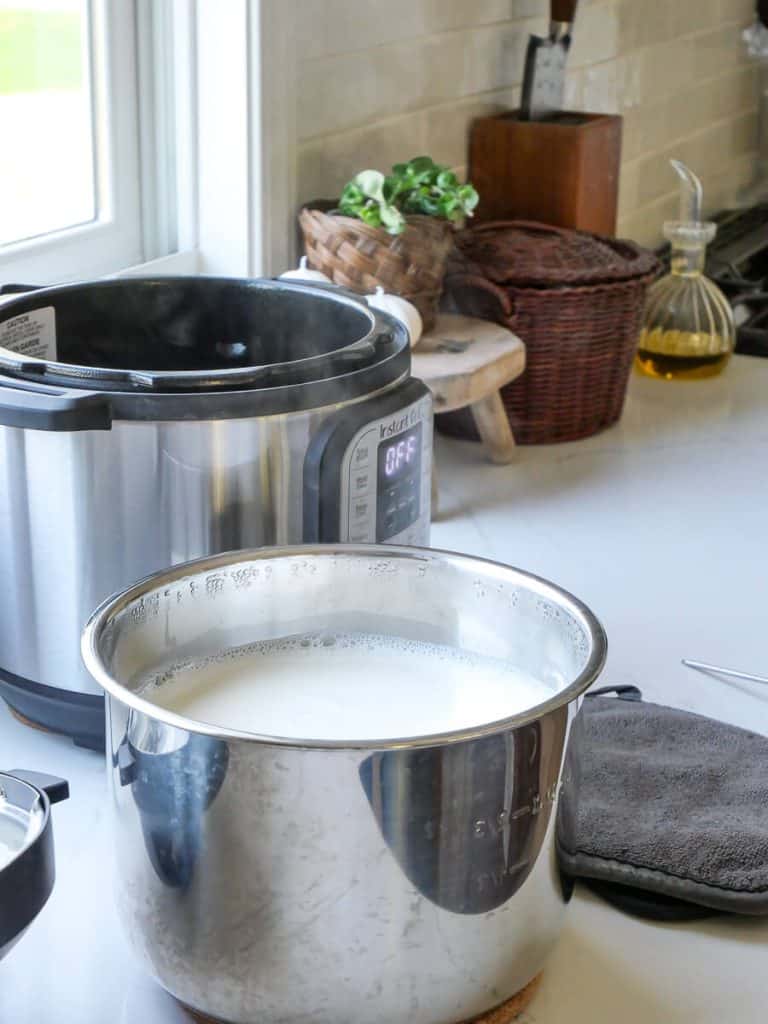
First, pour your gallon of milk into your 6 qt. instant pot.
(If you’d like to make less, simply use 1/2 gallon of milk and 1 Tbs. of plain yogurt.)
Close your lid to your instant pot (does not need to pressurize) and hit the Yogurt button until it displays BOIL.
Release and the pot will beep when it begins. When it has completed the boil cycle, the pot will beep and show END.
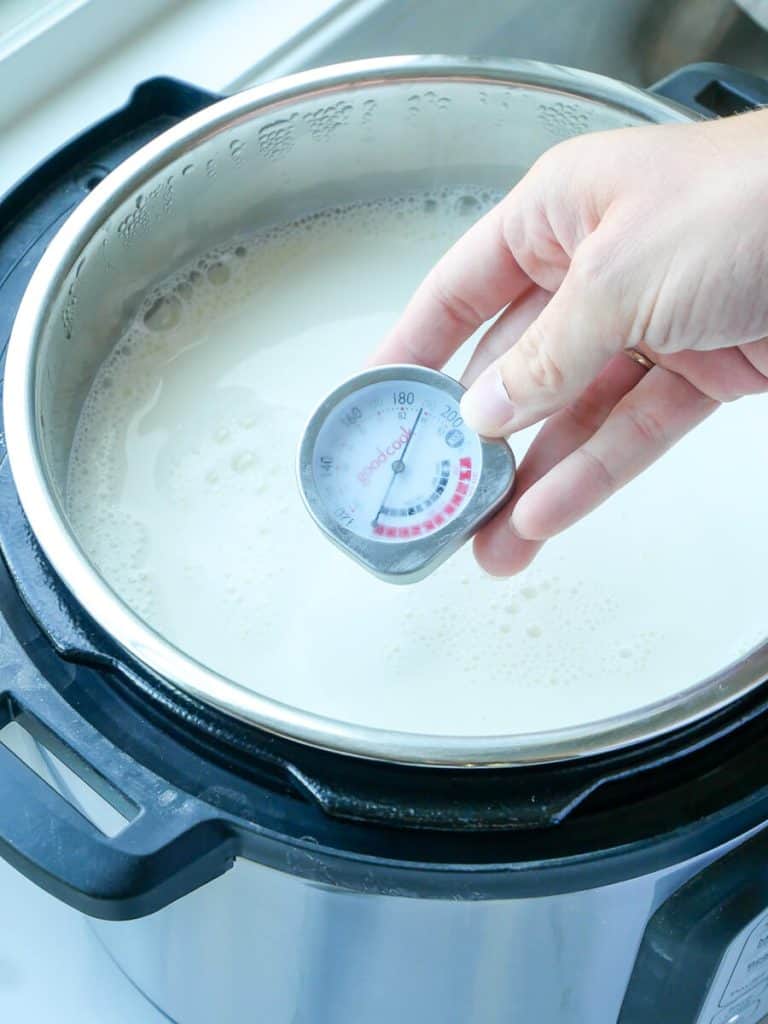
Remove the lid and check that the temperature has reached at least 180 degrees. I prefer to heat to 185. If your milk isn’t to temperature, turn on the saute function and heat the milk. Stir occasionally until it reaches 185.
Using two hot pads, carefully remove the inner pot and place on a heat-safe surface.
Let your milk cool to 110 degrees for about an hour. Doing this prevents your active cultures from being killed in your yogurt starter.
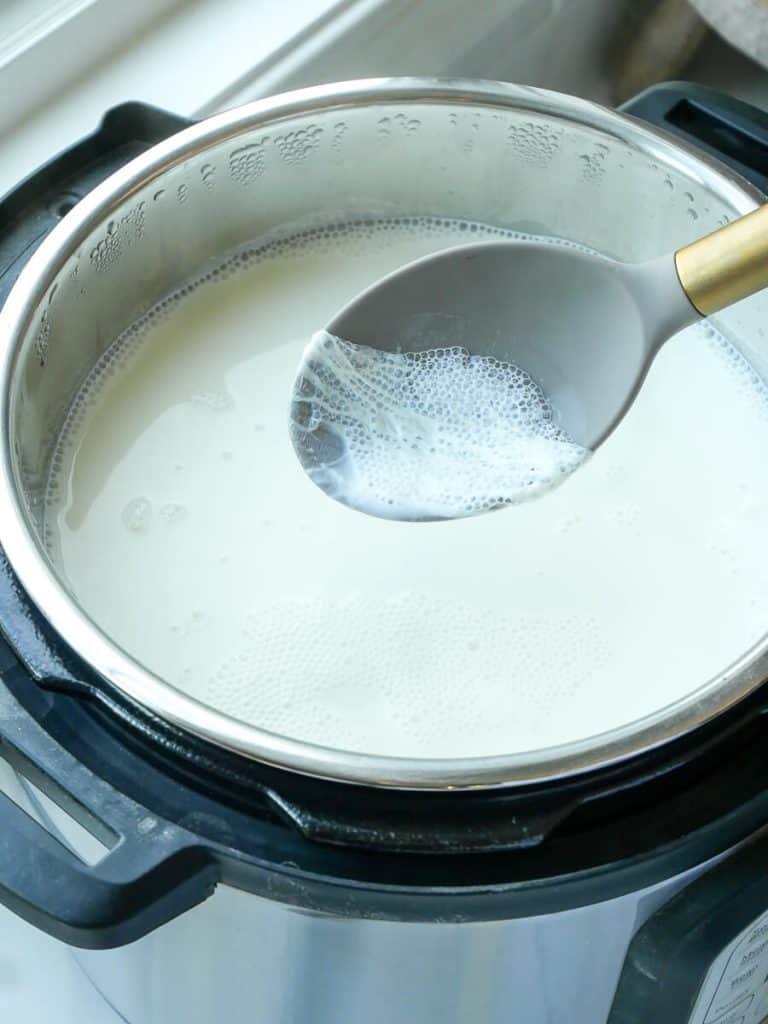
Once your milk has cooled to 110, remove about a cup of liquid and stir in your yogurt starter until mixed smooth.
Next, place the yogurt starter mixture back into the inner pot and stir well. (If your yogurt develops a film on the top, scrape it off and discard to prevent future lumps.)
Using hot pads, place your inner pot back inside the instant pot and close the lid (no need to seal the valve).
Hit the Yogurt button to NORMAL and then set the time to 10:00 hours.
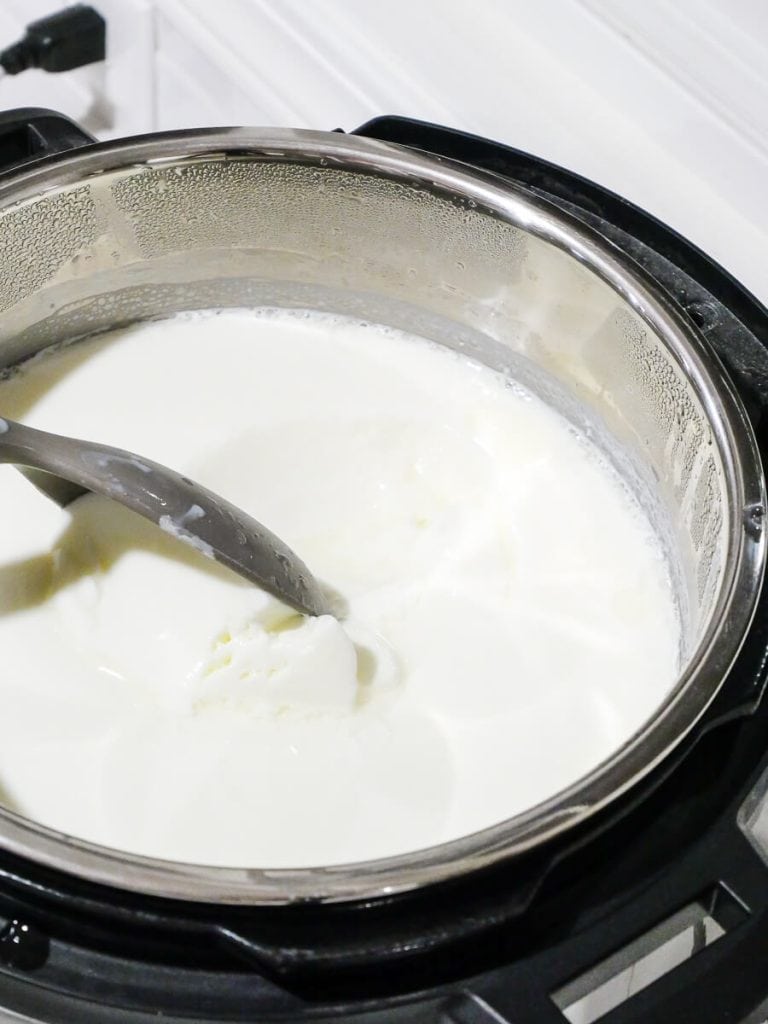
Your yogurt will cook for 10 hours and once the setting has ended, stir and store!
Simple Homemade Instant Pot Yogurt Recipe
Make your own greek or traditional yogurt with this simple homemade instant pot yogurt recipe. Homemade yogurt is healthy with no added sugars. It is simple to add your own flavoring and enjoy the health benefits of yogurt on a major budget!
Ingredients
- 1 Gallon 2% (Or Whole) Milk
- 2 Tbs. Plain Greek Yogurt with Active Cultures
Instructions
- First, pour your gallon of milk into your 6 qt. instant pot.
- Close your lid to your instant pot (does not need to pressurize) and hit the Yogurt button until it displays BOIL.
- Release and the pot will beep when it begins. When it has completed the boil cycle, the pot will beep and show END.
- Remove the lid and check that the temperature has reached at least 180 degrees. I prefer to heat to 185. If your milk isn't to temperature, turn on the sauté function and heat the milk. Stir occasionally until it reaches 185.
- Using two hot pads, carefully remove the inner pot and place on a heat-safe surface.
- Let your milk cool to 110 degrees for about an hour. Doing this prevents your active cultures from being killed in your yogurt starter.
- Once your milk has cooled to 110, remove about a cup of liquid and stir in your yogurt starter until mixed smooth.
- Next, place the yogurt starter mixture back into the inner pot and stir well.
- Using hot pads, place your inner pot back inside the instant pot and close the lid (no need to seal the valve).
- Hit the Yogurt button to NORMAL and then set the time to 10:00 hours.
- Your yogurt will cook for 10 hours and once the setting has ended, stir and store!
Notes
Homemade yogurt will last 1-2 weeks, stored tightly and sealed in the refrigerator.
If you prefer a thicker greek yogurt, all you have to do is remove the excess whey liquid.
Once your cooking setting has ended:
- Place a large bowl in the sink
- Add a strainer/colander into the bowl. (Or suspend your strainer if you don't want to collect the whey.)
- Place a cheese cloth in the strainer.
- Pour the yogurt into the cheese cloth and let drain for 1-2 hours.
- Remove the remaining greek yogurt from the cheesecloth and store.
- Use the leftover whey for other purposes or dispose.
Recommended Products
As an Amazon Associate and member of other affiliate programs, I earn from qualifying purchases.


Nutrition Information:
Yield: 12 Serving Size: 8 ozAmount Per Serving: Calories: 165
Recipe Notes
The longer you ferment your yogurt, the more tart and thicker it will be.
I wouldn’t ferment for less than 9 hours or your yogurt will be fairly runny and extremely mild.
9-10 hours is a good balance to bring in a slight bit of that tart yogurt flavor you may be used to.
Anything over 11 hours and your yogurt may bring in too much of a sour flavoring.
How long Does Homemade Yogurt Last?
Homemade yogurt will last 1-2 weeks, stored tightly sealed in the refrigerator.
As with any dairy product, signs of the yogurt going bad include sour smell or taste, curdling or visible mold.
To Make Greek Yogurt
If you prefer a thicker greek yogurt, all you have to do is remove the excess whey liquid.
Once your cooking setting has ended:
- Place a large bowl in the sink
- Add a strainer/colander into the bowl.
(Or suspend your strainer if you don’t want to collect the whey.) - Place a cheese cloth in the strainer.
- Pour the yogurt into the cheese cloth and let drain for 1-2 hours.
- Remove the remaining greek yogurt from the cheesecloth and store.
- Use the leftover whey for other purposes or dispose.
Flavor Additions to Homemade Yogurt
Right off the bat I know I want to add flavoring to my homemade instant pot yogurt.
Before placing my yogurt into storage jars, I add 3 Tbs. of vanilla and stir well. Instant vanilla yogurt.
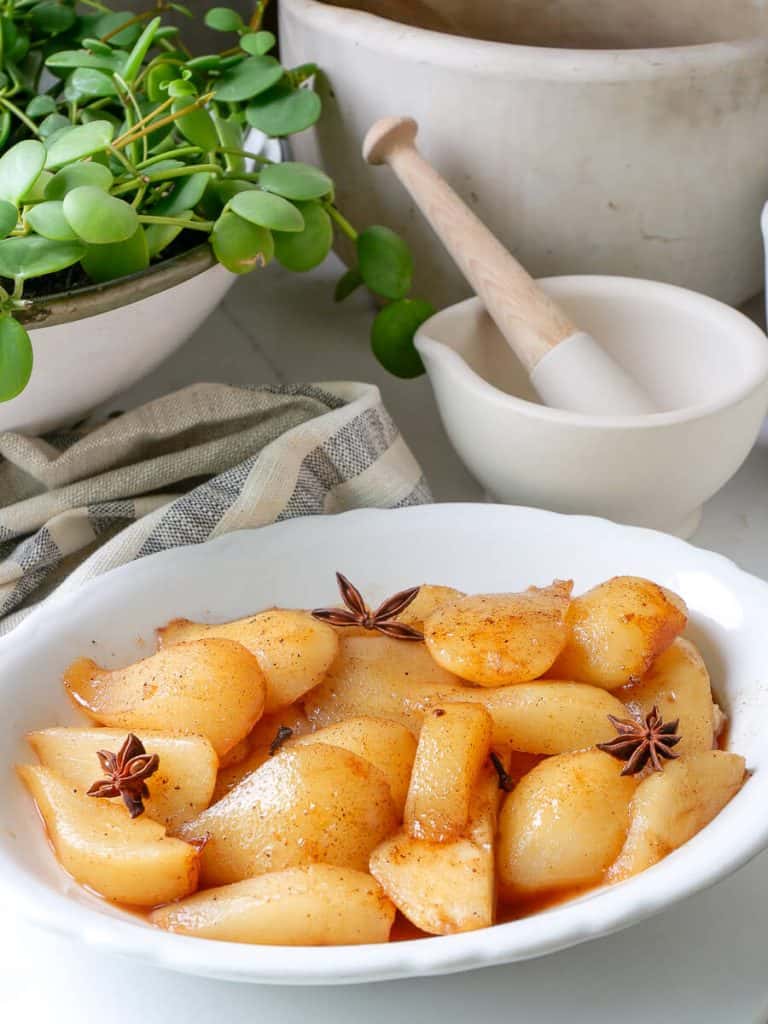
All other flavoring I’d add at the time of consumption. Here are some great options to stir in:
- honey
- maple syrup
- strawberry jam (or other fruit jams)
- spices like cinnamon or nutmeg
You can see all the ways I like to top yogurt in this recipe for homemade yogurt parfaits.
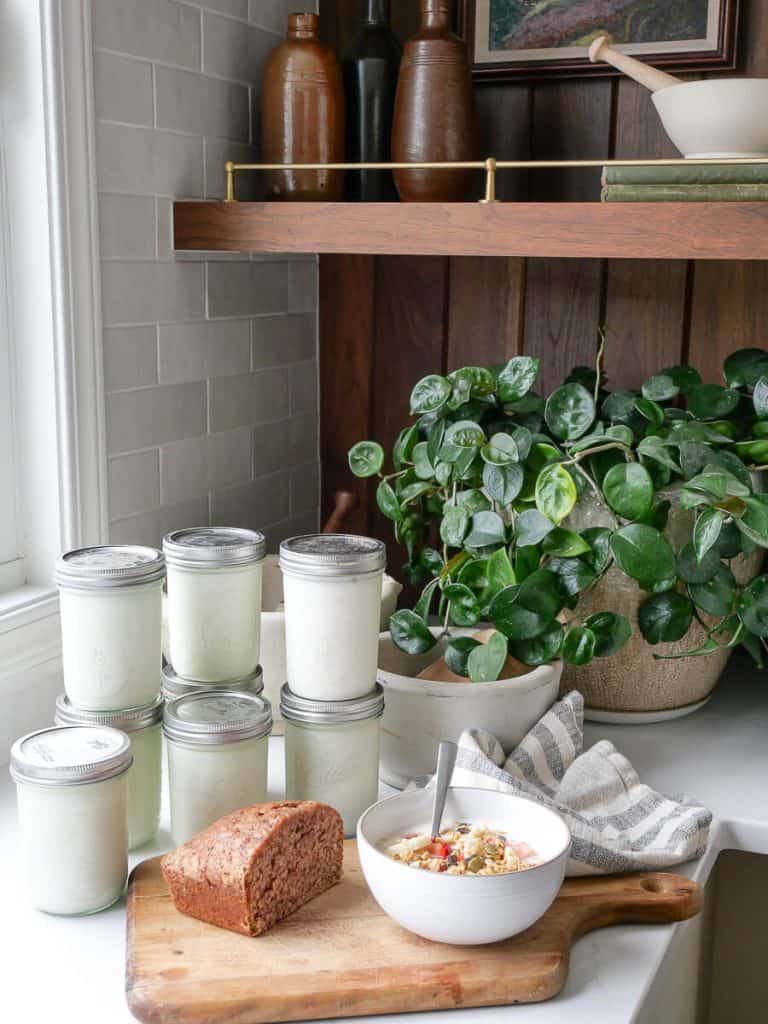
It makes a great breakfast served with a slice of homemade zucchini bread.
More Recipes to Enjoy
I hope you love this homemade instant pot yogurt!
It has become a staple in our family. This recipe makes enough to last us two weeks (traditional yogurt style) as a family of four.
If you love to cook and bake, make sure to browse my recipe archives for dozens of simple meals, recipes and homemade breads.
Thanks so much for stopping by the blog today!
Make sure to subscribe to get my Grace Notes directly to your inbox and to access all my insider perks. And you can follow along daily on Instagram and weekly on YouTube!
~ Sarah


Simple and easy to make, I have recommended this recipe to my friends
3 tablespoons of vanilla is a lot of vanilla. If you’re buying pure vanilla, like I do, that gets very expensive. Can you get away with using less vanilla to get enough of that vanilla taste?
You can adjust to taste! I will say though, with this big of a batch, 3 tablespoons isn’t an overpowering flavor at all. So you may not even notice the addition if you decrease the amount.
Why do you have to heat the milk so much before making the yogurt……….
Heating milk before adding the yogurt starter ensures that only the beneficial bacteria is cultured. 🙂