
DIY Barnwood Shelves
Happy October Friends!
So I have this nook. Hmmm….not sure how that sounds. Well anyway, it’s a nook in my hallway. Better? It has been an awkward space for me for the last four years. Four years! Why do I wait so long to make improvements on a space that really bothers me? Because I have kids. And a life beyond my home. And apparently it takes four years to build up my dislike of a space to finally take some action. Or maybe I was just waiting for the right piece to come along to inspire me. I’m gonna go with that one.
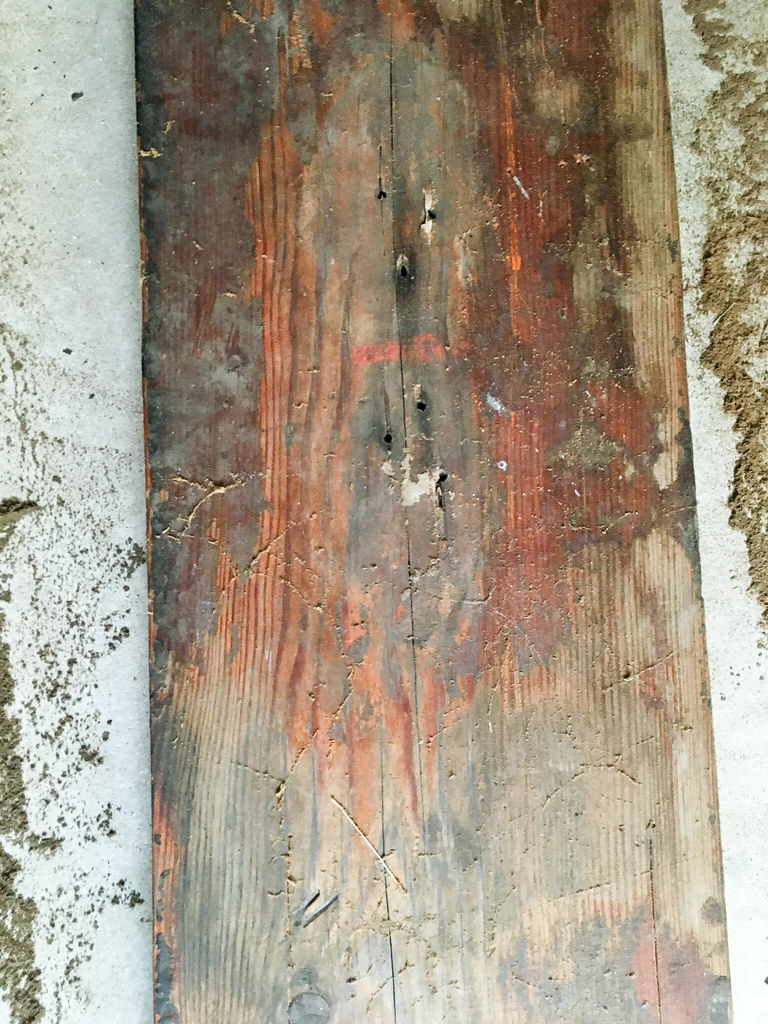
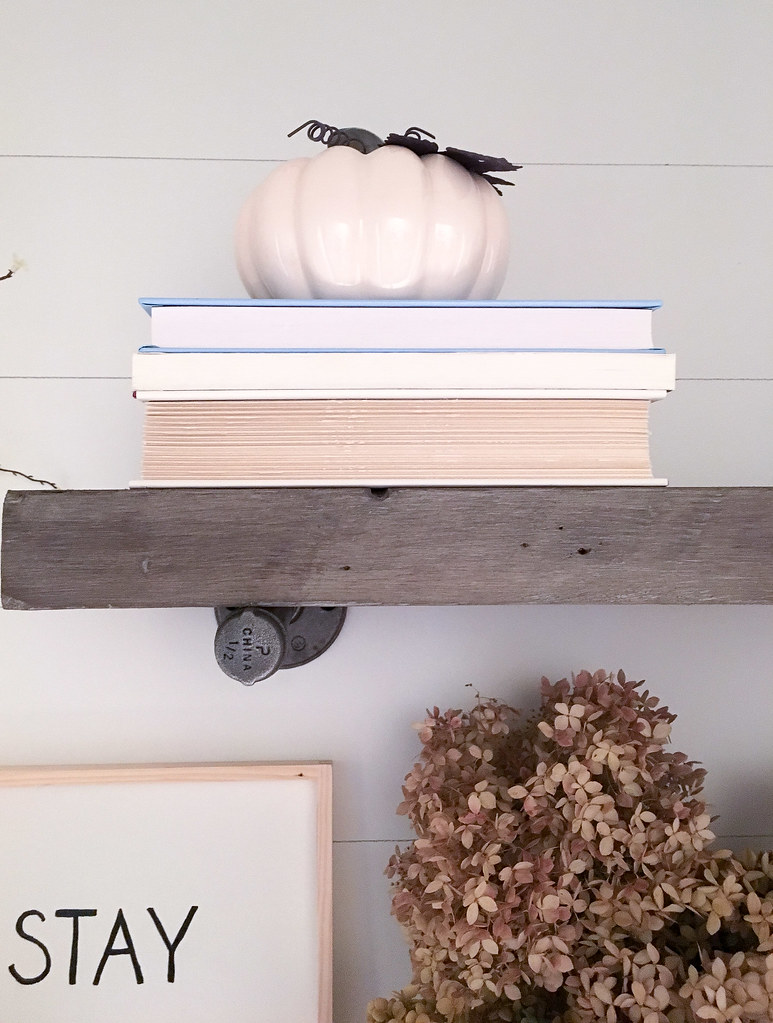
So my nook project is going to comprise of a few different posts and today I’m starting with that special piece that inspired me to redo the whole space! Barnwood. Yep- I scored these beat up pieces of junk beauties for….wait for it….$1.00!

I would be lying if I said these caught my eye at the estate sale I found them at. I had to DIG through a pile over my head to come up with the pieces of wood I wanted. But look at the potential! Solid wood. Character oozing from every grainy inch. And I knew they would be useful at some point. Who passes up barnwood for $1.00? Besides, doesn’t everybody buy barnwood with absolutely no plan and then leave it in their garage for 6 months until you remember it is there? And it is PERFECT for your nook?! I thought so.
I envisioned two shelves to fill my space which was about 8 feet long and 6 feet high. Originally, I wanted to use both 7 ft boards one above the other. But my studs weren’t centered. Come on builder! Didn’t you know I would want to put shelving in my weird nook and it would need to be centered on the brackets? These are the things I think about.
So instead of two 7 ft shelves my fabulous hubby cut them down to about 40 inches and I staggered them to deal with the stud issue. More on that later. For now, out came the sander! Look at that rich wood shining through.
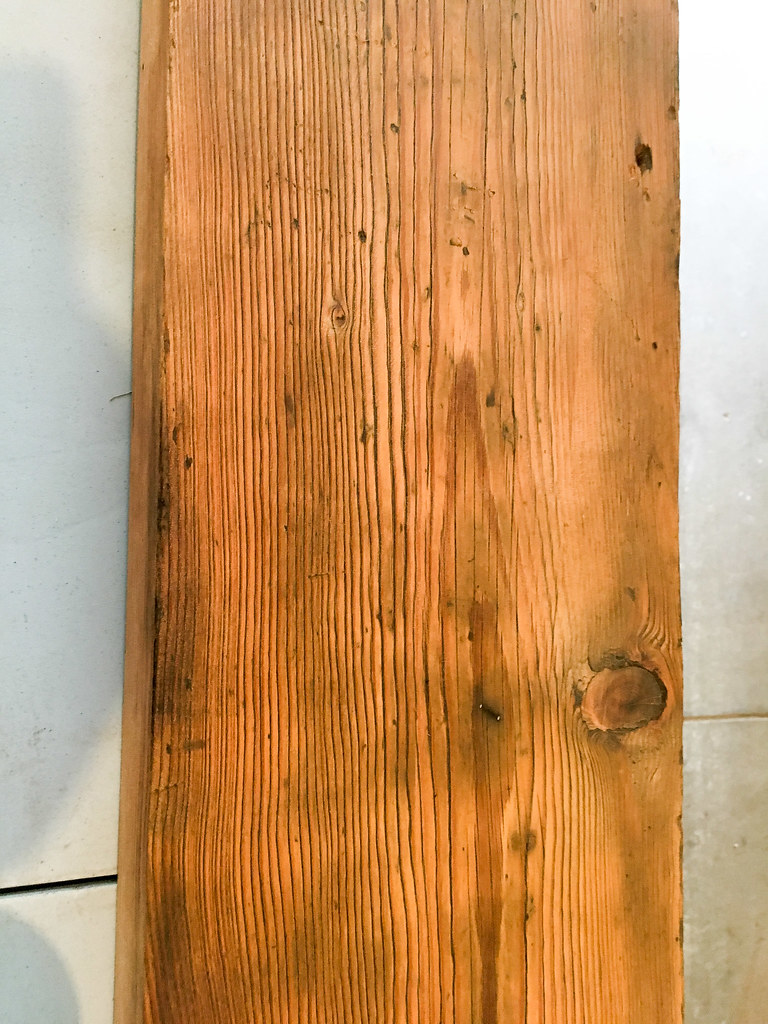
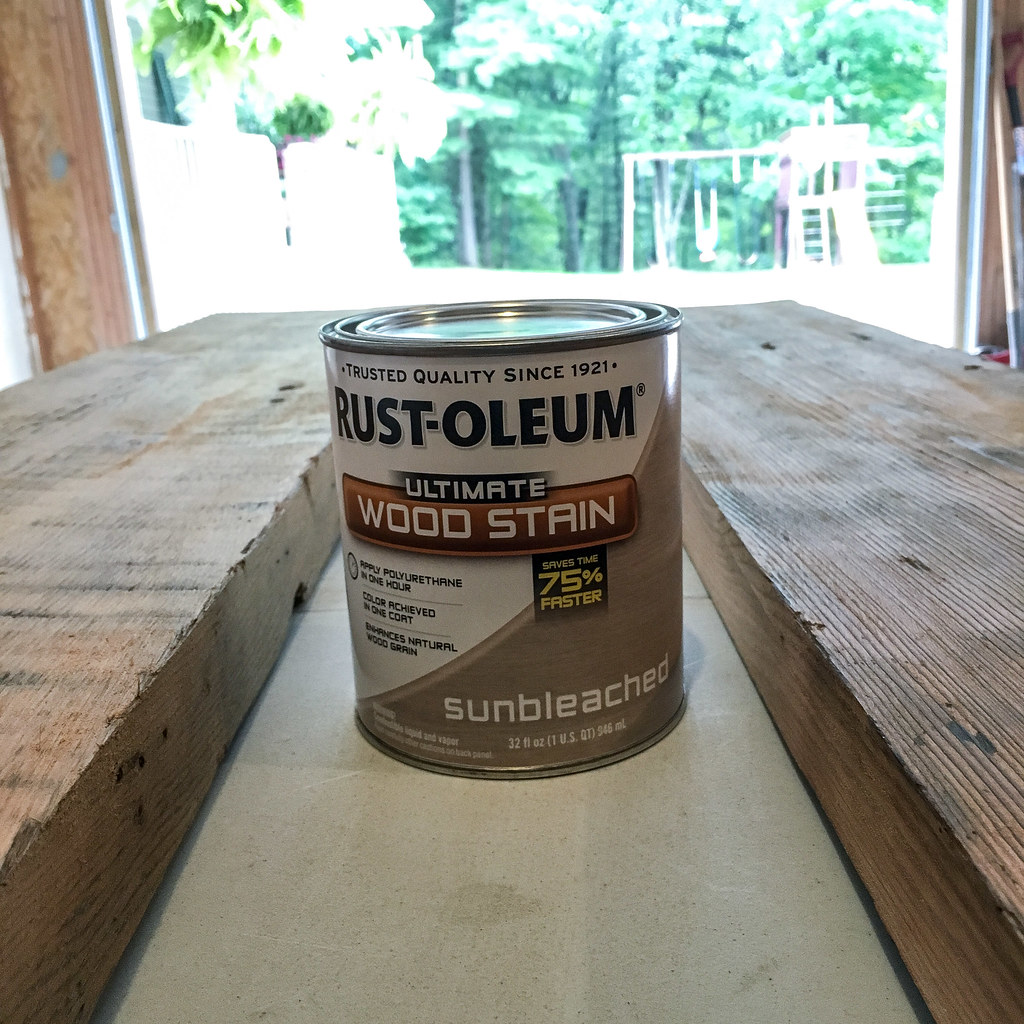
I didn’t sand it smooth. It is barnwood after all. I wanted it to keep that knotty character and just get rid of the red finish it had. I wanted it to have a weathered look so I went for this Sunbleached stain. I did the first coat and was pretty happy.
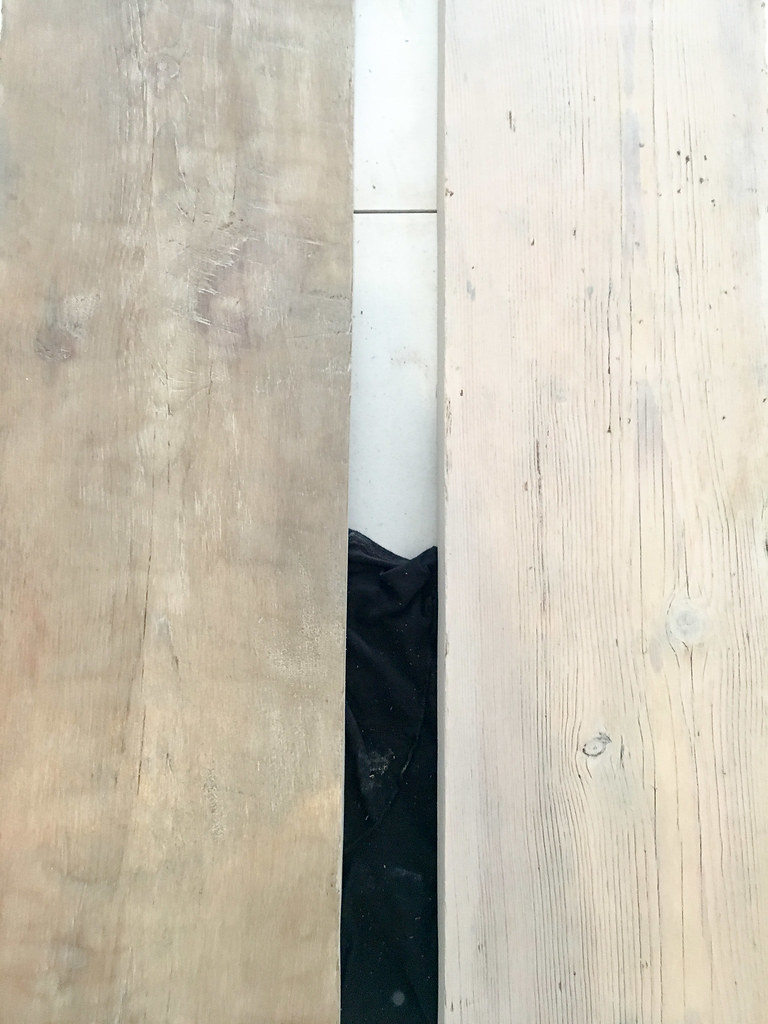
You can see here the right has one coat of Sunbleached and the left is original wood. But then the stain fully soaked in and dried. And it looked pink. Queue the sad face. 🙁
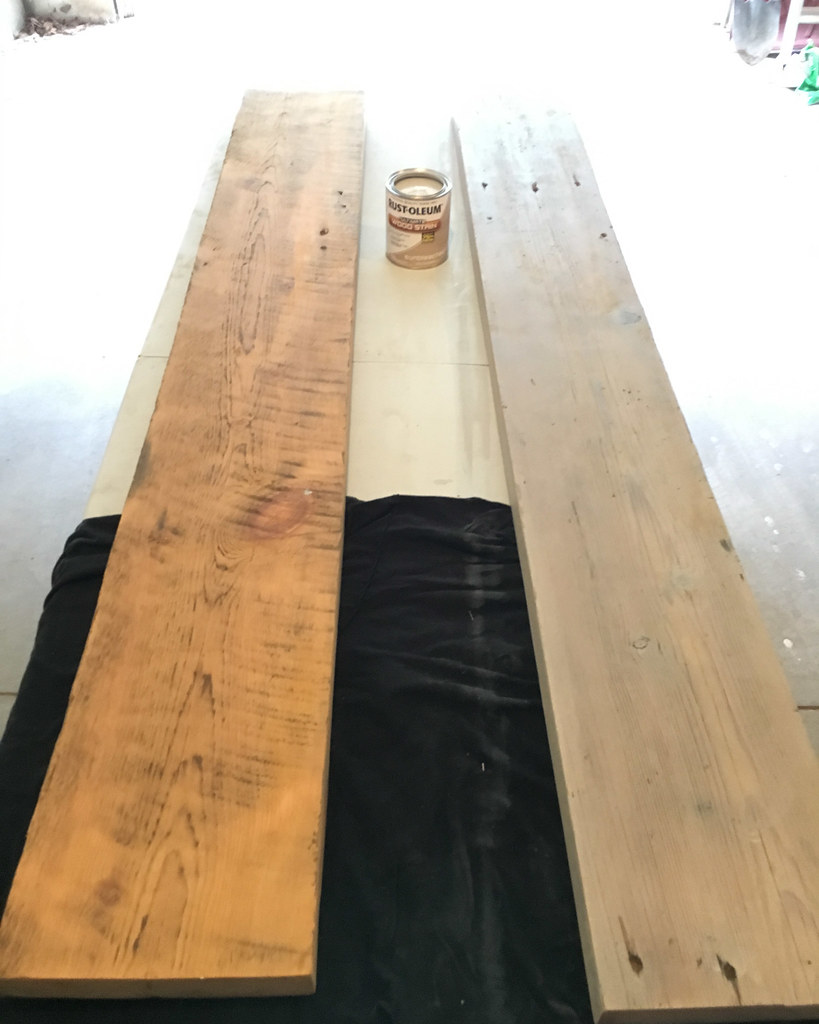
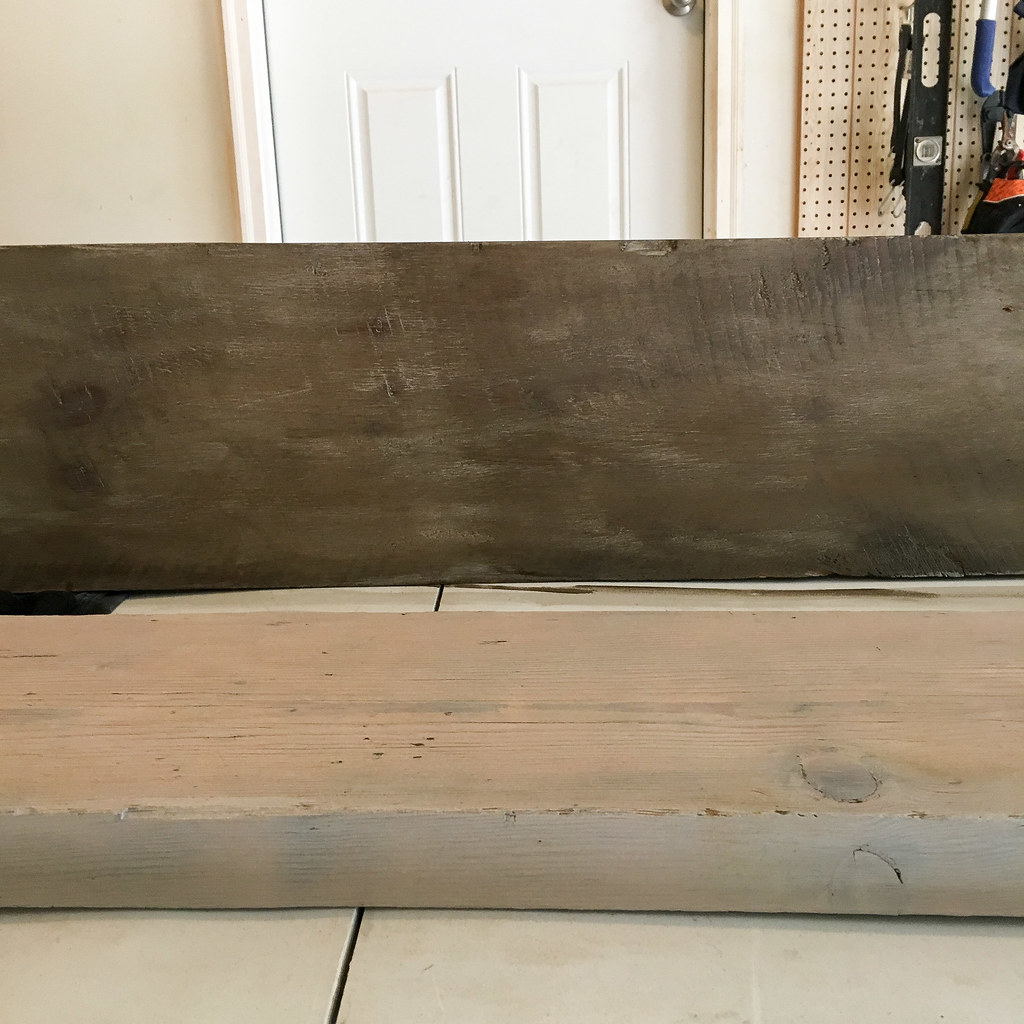
So what’s a girl to do? Because ya’ll know I wasn’t about to re-sand those boards! So, I got another stain out and went right over top of it with Jacobean, which I just happened to have lying around! Just look at the difference it makes! Left has a coat of Jacobean (that was put on with a rag and wiped lightly so it didn’t have time to fully soak in). The right is just Sunbleached.
And this shows the difference after it fully soaked in and dried. So much better right?! Now it looks like barnwood again. Whew! I have to admit I had a moment of panic thinking I ruined the character a good barnwood brings.
And now for a little teaser! I did so much work in this little space and I can’t wait to share the rest with you! Up next: DIY Shiplap!
Have a blessed day! And be on the lookout for some junky old barnwood slabs!
Sarah
{I’m so glad I live in a world where there are Octobers. – L.M. Montgomery, Anne of Green Gables}
My sincerest thanks go to the author for their commitment to intellectual rigor
so very cleaver!!! looks amazing.