DIY Christmas Grapevine Wreath
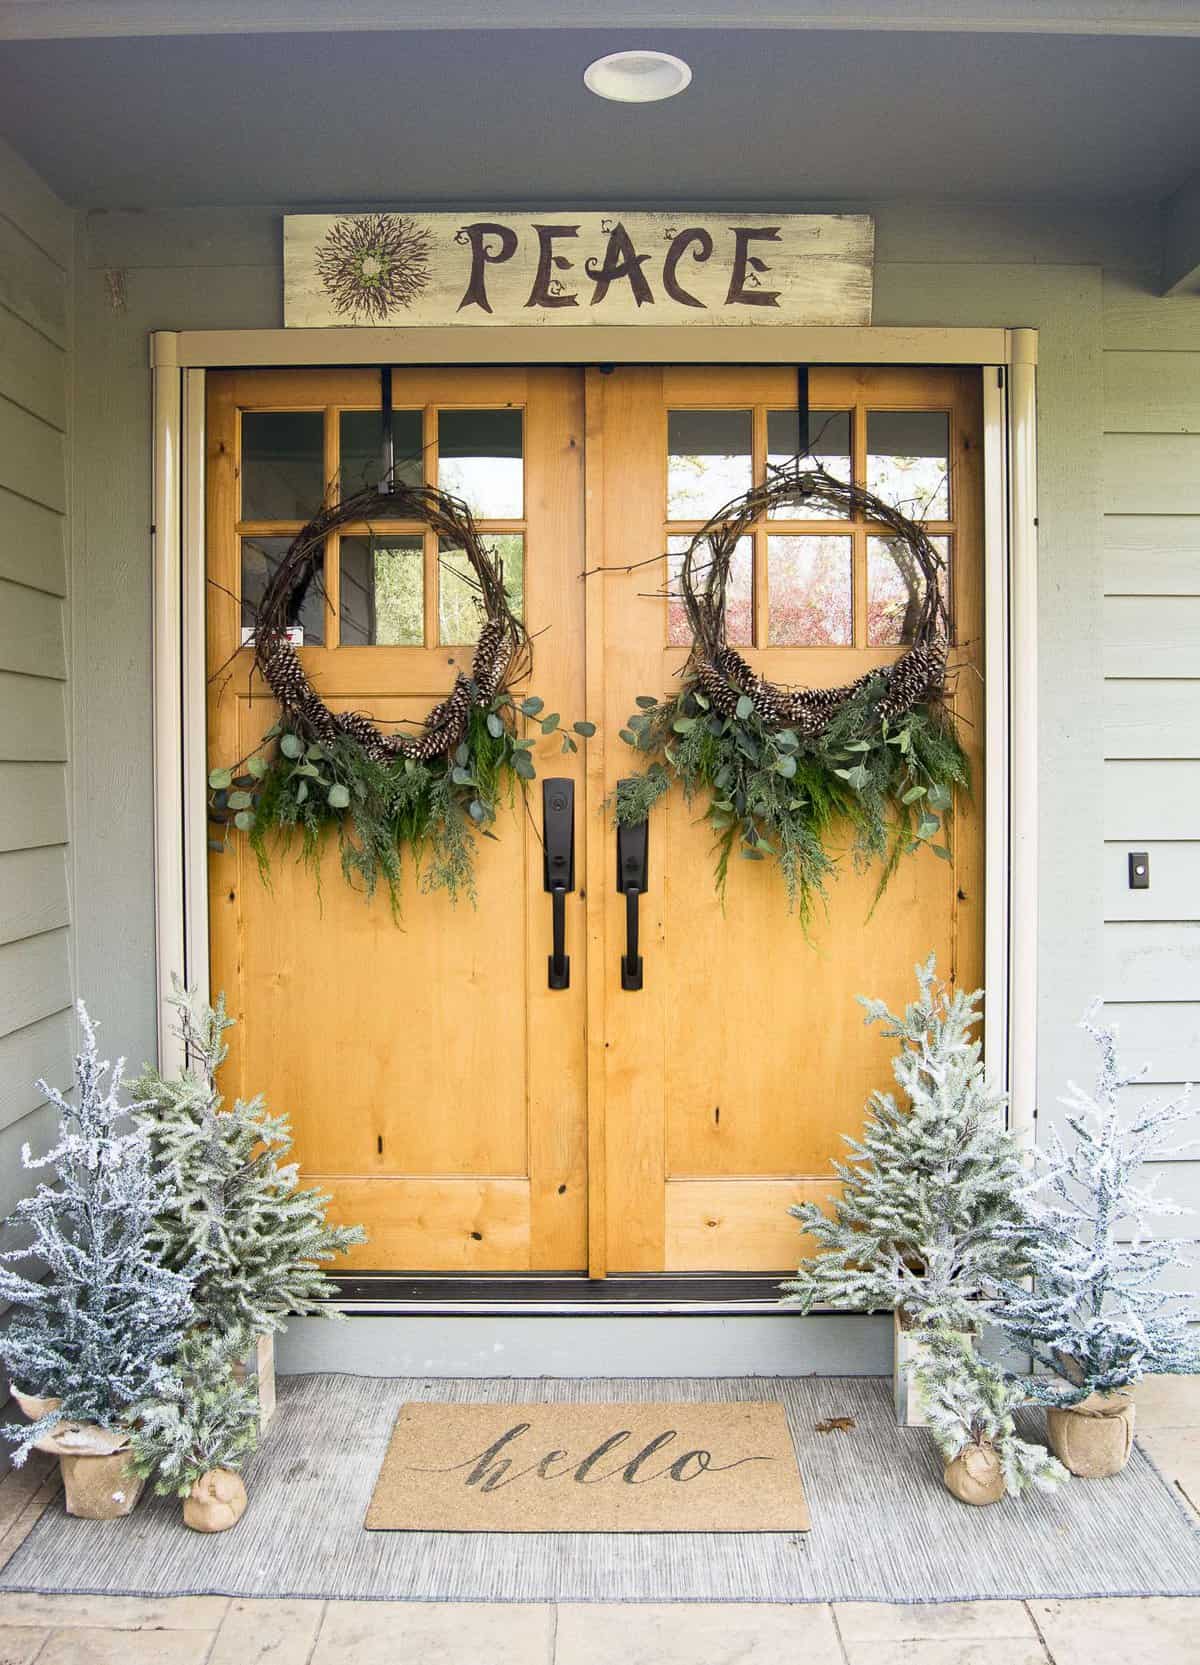
Welcome to the holiday season! Are you looking for an affordable Christmas wreath? I was too but quickly found that my double doors make buying Christmas wreaths cost a pretty penny. So my solution: Make my own! Today you get the full tutorial on how to make a DIY Christmas grapevine wreath.
Bonus! I’ve teamed up with Remodelaholic for their Creative Christmas Challenge where you will get to enjoy many DIY tutorials for Christmas decor on a budget!
DIY Christmas Grapevine Wreath
Post may contain affiliate links where I earn a small commission on your purchases at no additional cost to you.
If you are a blog subscriber, then you know that I love a good DIY. I’m not afraid to put a little elbow grease into a project if it means saving some moolah. Apparently wreath making is a thing for me. Last year I created a few of my own around Christmas time as well!
And, I also created a DIY Christmas scroll for last year’s Remodelaholic Challenge. That is one of my most loved posts by readers so I hope you get a chance to check it out!
DIY Grapevine Wreath
Now on to this year’s project! You can read the full tutorial here but I’ve also created a video tutorial for all my visual learners!

Mother nature blessed us with a fallen tree this fall which took out my grapevine. Bummer! But what was once a sad event turned into my grapevine wreaths, so I’m going to count this as a win. If you do not have access to grapevine, you can also purchase affordable pre-made grapevine wreaths like this one.
But for today’s project, I’m showing you how to actually make a grapevine wreath for Christmas from start to finish!
Supply List
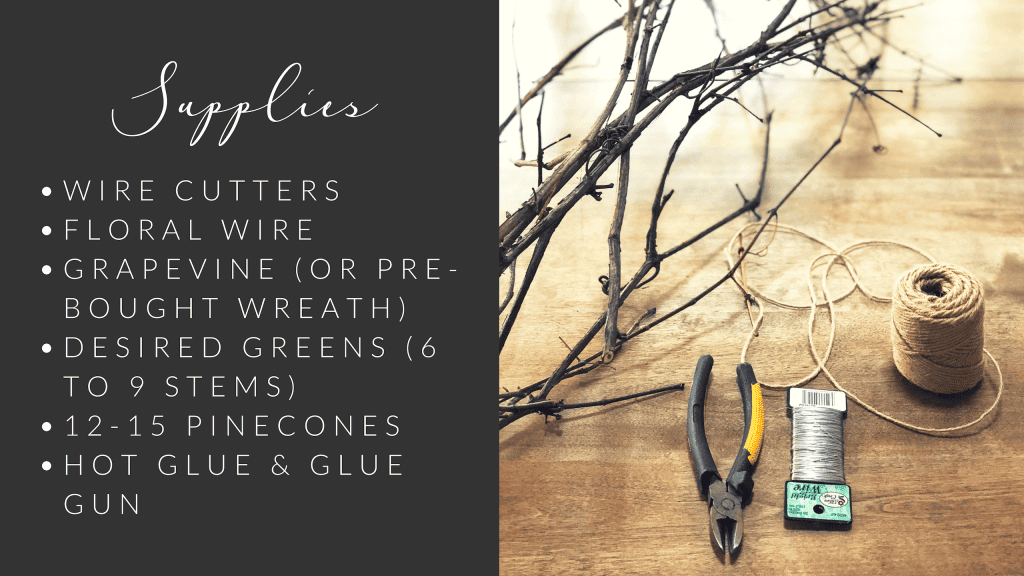
The beauty of this grapevine wreath is that you can use whatever greens you love. Personally, I had a few stems of eucalyptus and cedar pine on hand from previous projects. I love that they vary the shades of green to add interest, as well as hold different shapes to make the eucalyptus pop.
Some of My Fave Faux Greens
What I had on hand didn’t end up being enough to fill my wreaths, so I also snipped some cedar from my landscaping to include. This will dry and get brittle as the season goes on, so I only inserted a few cuttings.
Realistically, you can use all 100% natural cuttings from your landscaping if you have it available! You’ll want to preserve them as best as possible to avoid drying. I’ve never tried this myself, but have heard many recommend Silica Gel and Floral Protectant to do this. If you decide to go this route I’d love to know how it turns out for you!
Step 1: Make Your Base

First, wrap your grapevine around one time to make the desired size and secure it using your floral wire. Next, weave the grapevine in and out around the circle you just made. Secure it with wire periodically when you have to stop one piece of grapevine and start another.
I made large wreaths and used about 5-6 four foot sections of grapevine each. You will need more or less depending on the size of the wreath you want, the thickness you desire and realistically, availability!

Step 2: Add Your Greens

I’d like to say that there was some kind of science behind how I added my greenery, but I tend to just evaluate as I go! For this style of grapevine wreath I went about my greenery placement by thinking of my stems as part of a beard. Weird? Maybe so but…do what works. 😉

That means that I only wanted my greenery to hang down from the bottom third of the wreath. I added the greens from the bottom up to accomplish this effect.
I started with the eucalyptus (I had three stems) and inserted one on each side and one in the middle to balance it out.
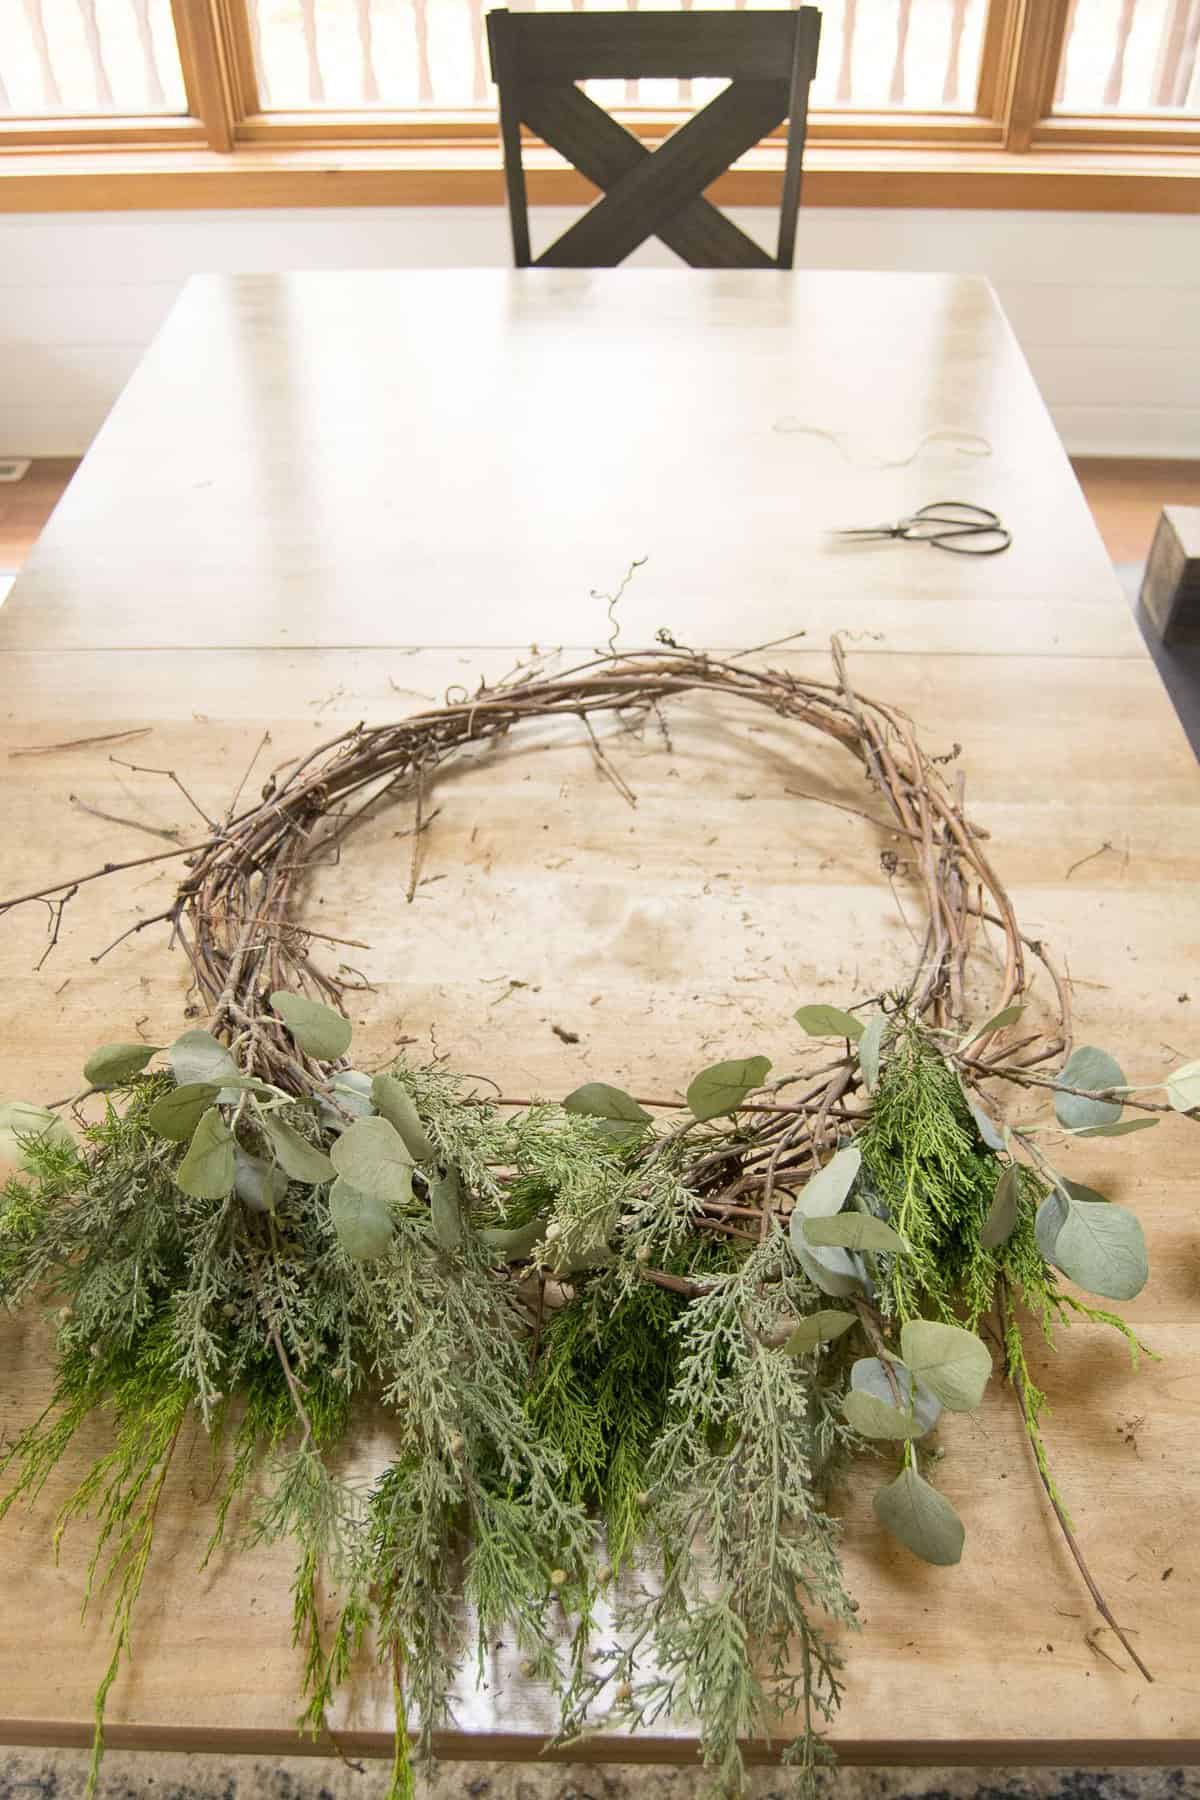
Next, I added the cedar pine (I used 3-4 stems) to fill in the gaps. Each stem was secured with the floral wire.
After I completed my faux greenery I assessed the progress. I wanted my “beard” to be full and thick and the faux greenery left some holes. So I went to my yard and cut 3-4 snips of fresh cedar.

Step 3: Add Pinecones

The last step is adding pine cones. I used 12-15 pine cones for my large grapevine wreath. I simply secured them with hot glue, trying my best to cover up any stem ends or visible wires. They are a great way to mask those imperfections.

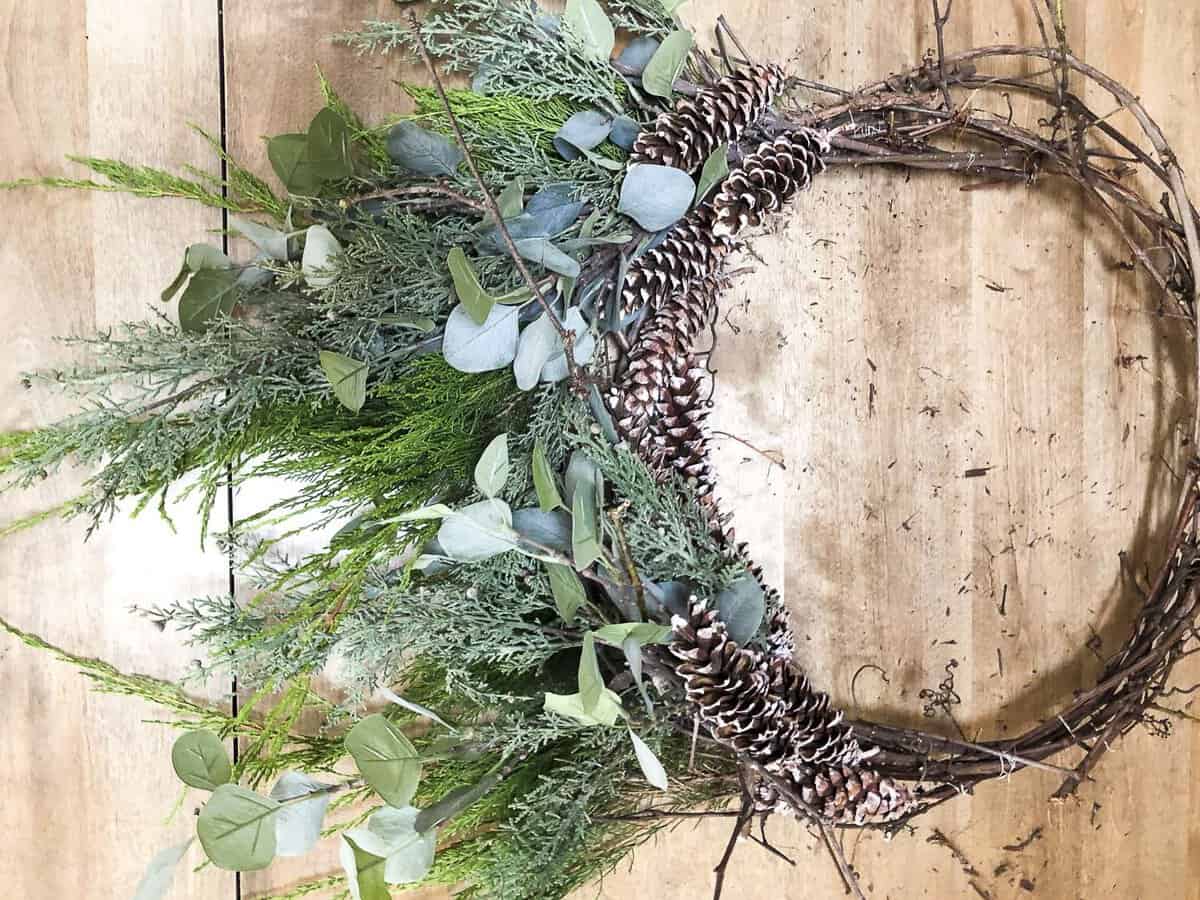
Once you’re done gluing the pine cones on you can clean up any hot glue strings. Then, just give your wreath one last review to make sure everything is secure and there aren’t any holes to fill. And voila, you’re done!
Hang and Enjoy
This is such a simple way to add a festive touch to your Christmas decor, either inside or out! And next year, if my real cedar falls apart I can simply insert fresh in it’s place when the time comes.
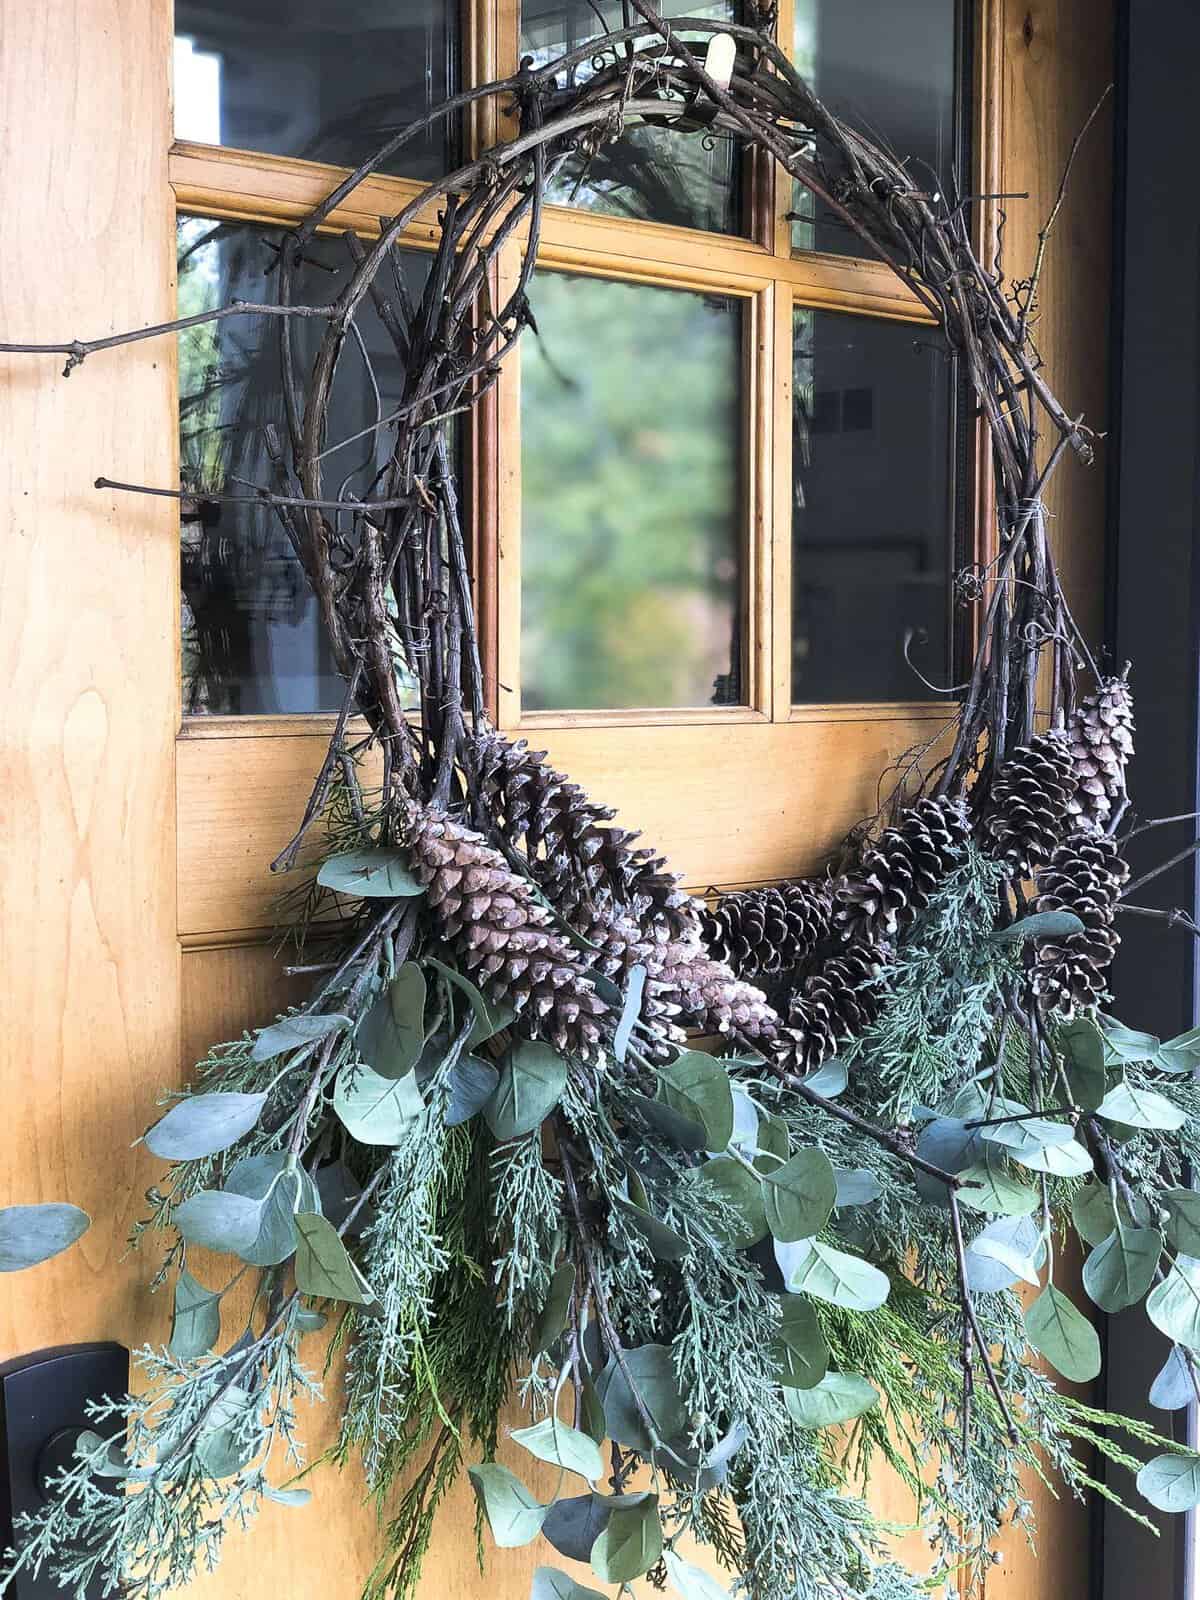

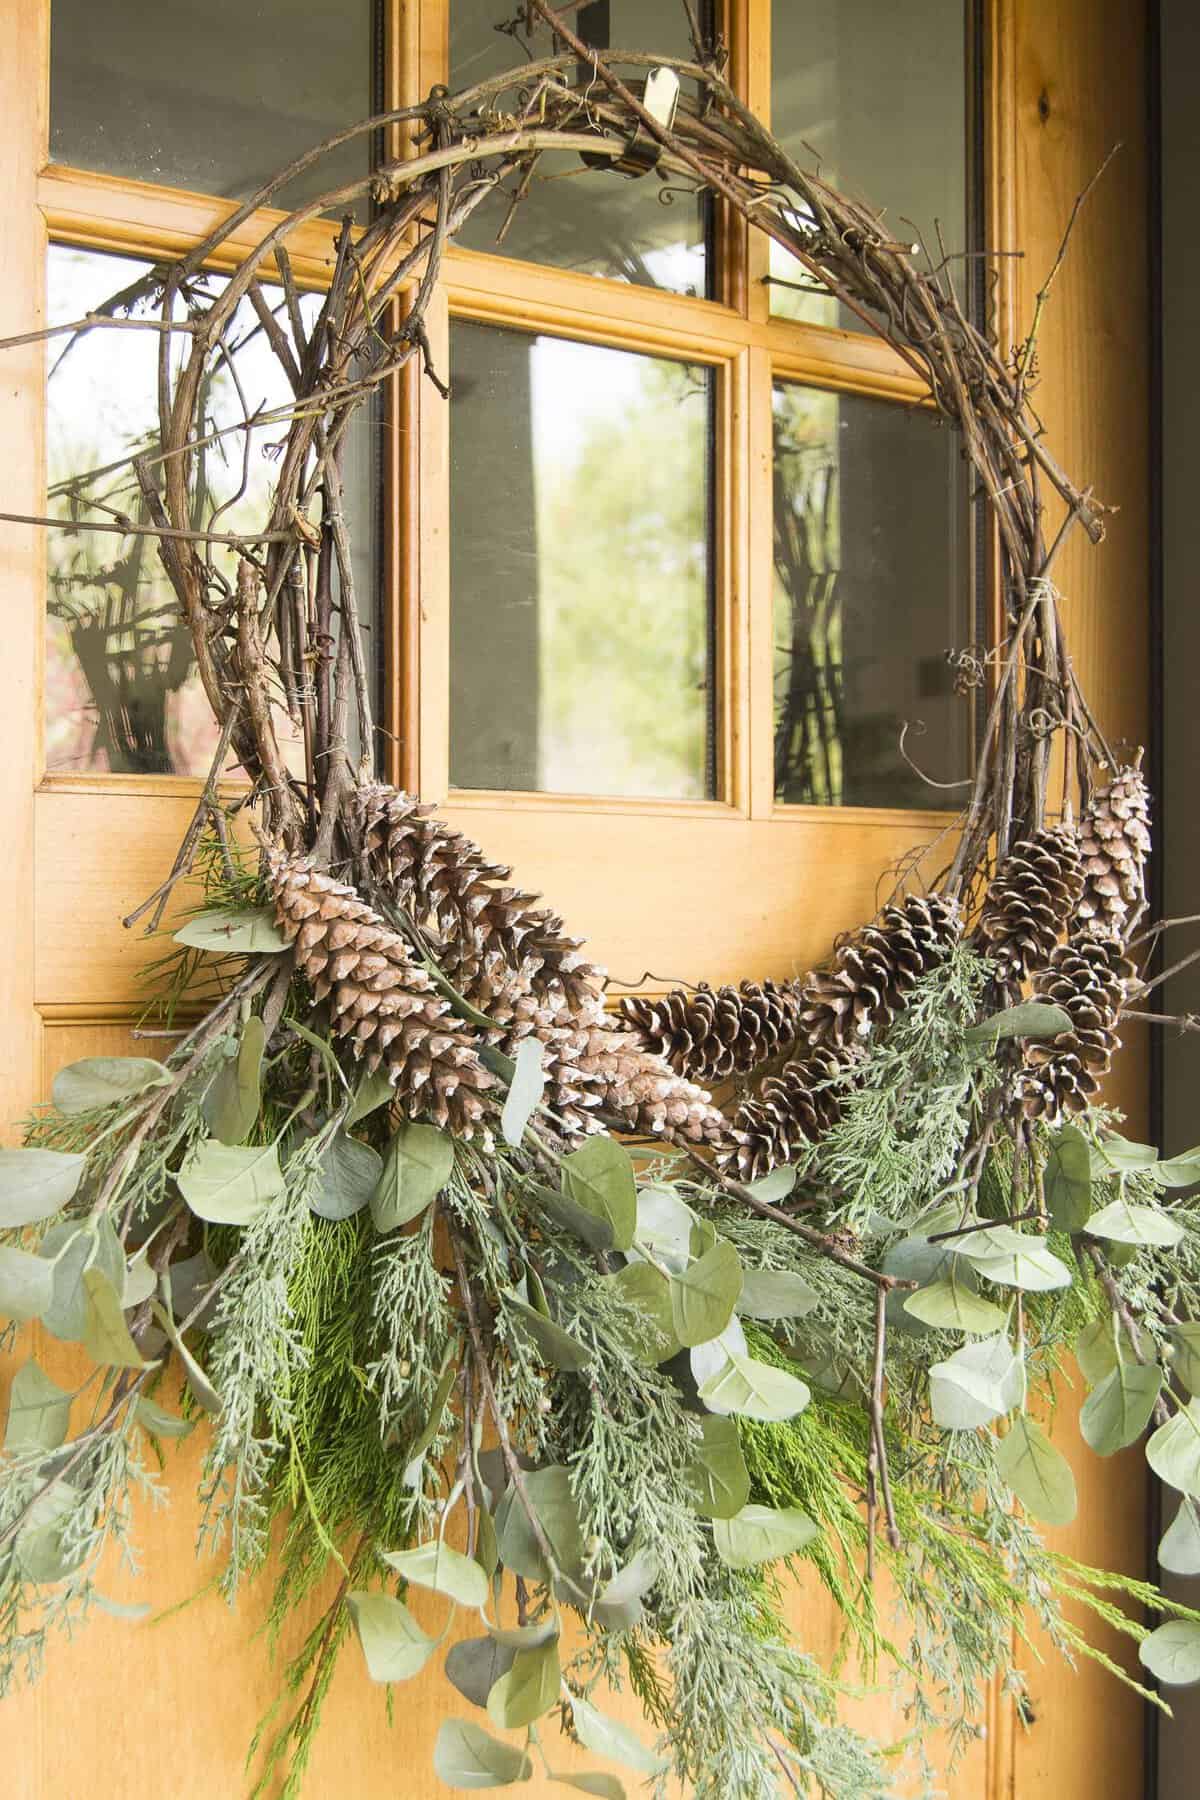
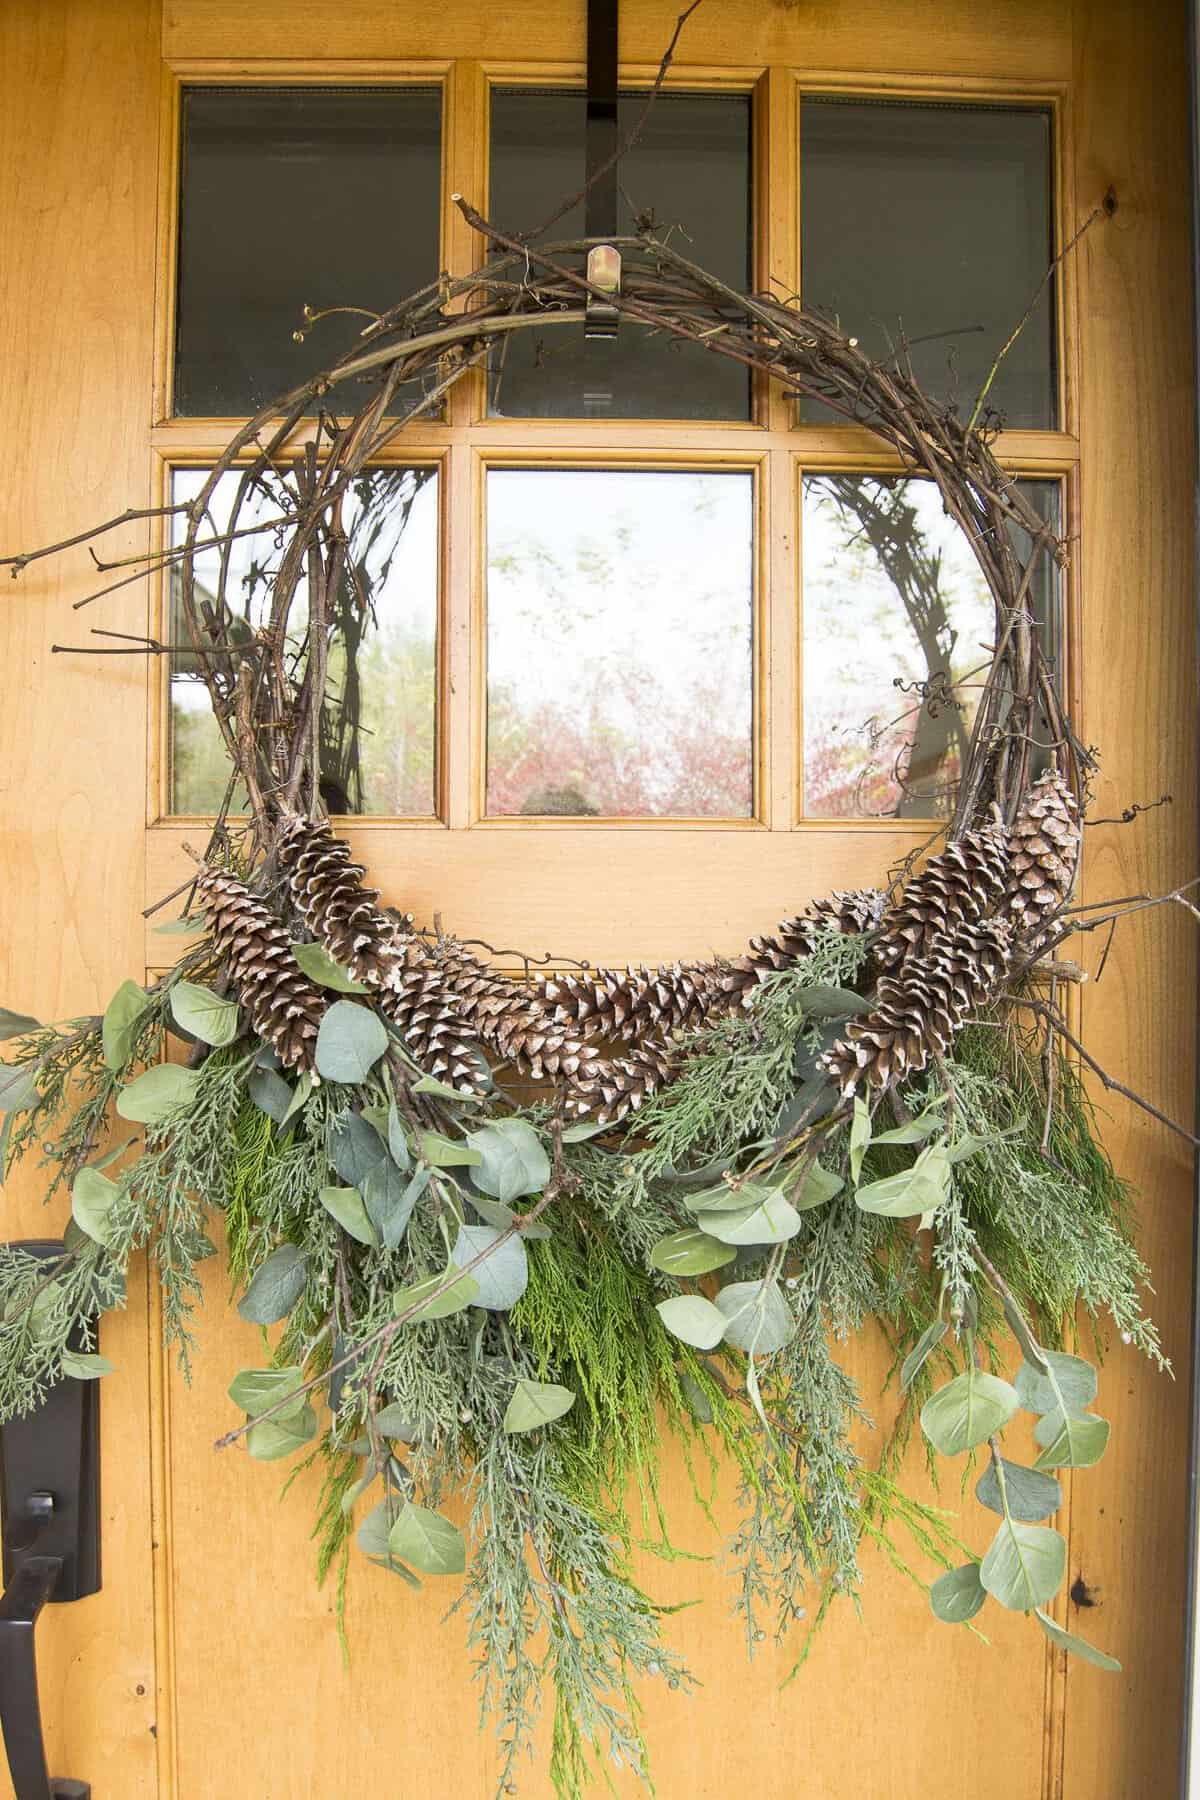
Here are some shots of the finished product.
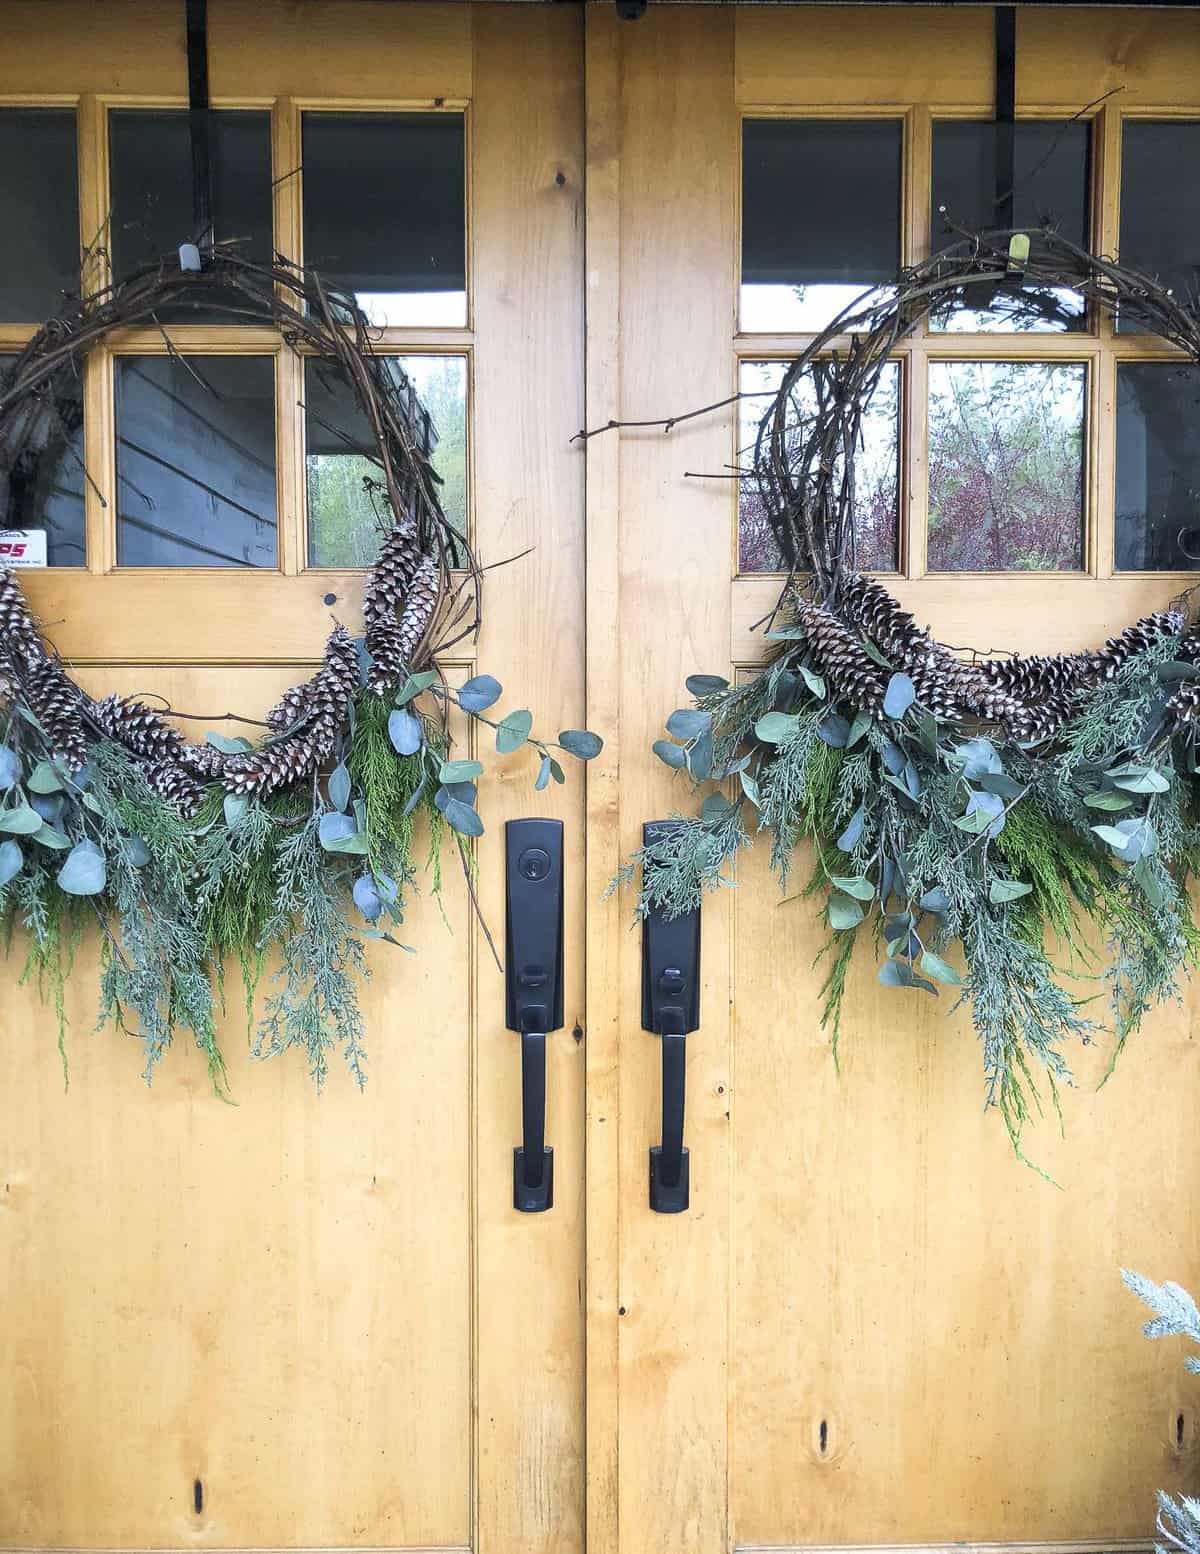
And a little sneak peek of what I plan to do on the front porch! In all reality, my plans may change, but for now I am loving simplicity.

Shop the Look
I also love that I can keep these wreaths up through the winter without them feeling too much like Santa should be showing up at any minute. 😉
I hope that this tutorial on how to make your own grapevine wreath for Christmas has been helpful! Make sure to follow along with me for more Christmas inspiration this season here on the blog and daily on Instagram!
And be sure to head check out 21 other amazing bloggers who’ve come up with creative ways to DIY Christmas decor! Thank you to Remodelaholic for hosting the Creative Christmas Challenge!

Nutcracker Christmas Tree Decorating | Remodelaholic
Copper Christmas Ornaments | From House to Home
DIY Rustic Carved Wood Ornaments | Ugly Duckling House
Snowman Globe Ornaments | Kailyn Williamson
Dollar Store Snow Globe Ornaments | Our Crafty Mom
Wood Disc Ornaments | Everyday Party Magazine
Button Christmas Ornaments | Girl Just DIY
Handlettered Ornaments 3 Ways | Lemon Thistle
Wood Slice Snowman Ornament | Creative Ramblings
Mini Wreath Ornaments | Love Create Celebrate
Buffalo Plaid Ornaments | Leap of Faith Crafting
Easy DIY Geometric Ornaments | Practical and Pretty
7 Cheap and Easy Christmas Ornaments | Toolbox Divas
Macrame Ornaments | Frazzled JOY

Grapevine Christmas Wreaths | Grace in My Space
DIY Apple Candle Village | Life on Summerhill
Festive DIY Christmas Card Holder | Red Cottage Chronicles
Lettered Tree Sign | Smiling Colors
Modern Christmas Wreath | Sister’s What!
Reversible Holiday Easel | Queen Bee of Honey Dos
Pretty Decorative Clothespins | Sustain My Craft Habit
DIY Wooden Triangle Christmas Tree | Adventures of a DIY Mom


hy
its looking amazing. DIY Christmas Grapevine Wreath is so good.
Thanks for the quality content, just loved it
What an amazing post! Just loved it
Thank you so much!
Wow what an amazing design! Thanks for sharing
Thank you! So glad you like it.
Thank you for such a clear tutorial! I made a wreath and love it!
Yay! I’m so glad it was helpful Jenna!
Love this look! Thanks for joining Creative Christmas!
Thank you Lorene! I’m always happy to join up with Remodelaholic.
Your front doors are stunning and these grapevine wreaths are the perfect holiday accessory.
Thank you so much Sarah!
Beautiful! I love the wreaths!!
Thank you Linda! They were fun to make.
“I also love that I can keep these wreaths up through the winter without them feeling too much like Santa should be showing up at any minute. ?” Haha! They look so lovely and elegant, yet so simple!
Thank you Laura! I appreciate that.
Love the natural beauty of these. Am feeling totally inspired to “shop my backyard” :).
Thank you Jane! Backyards offer more than we think! 😉
Sarah your wreaths are gorgeous!!! I loved your video and want to try my own now! Thanks for the inspiration!
Thank you Kelly! You should definitely make one!
I love the natural look of this wreath! They look so pretty on your front door!
Thank you so much Wanda!