
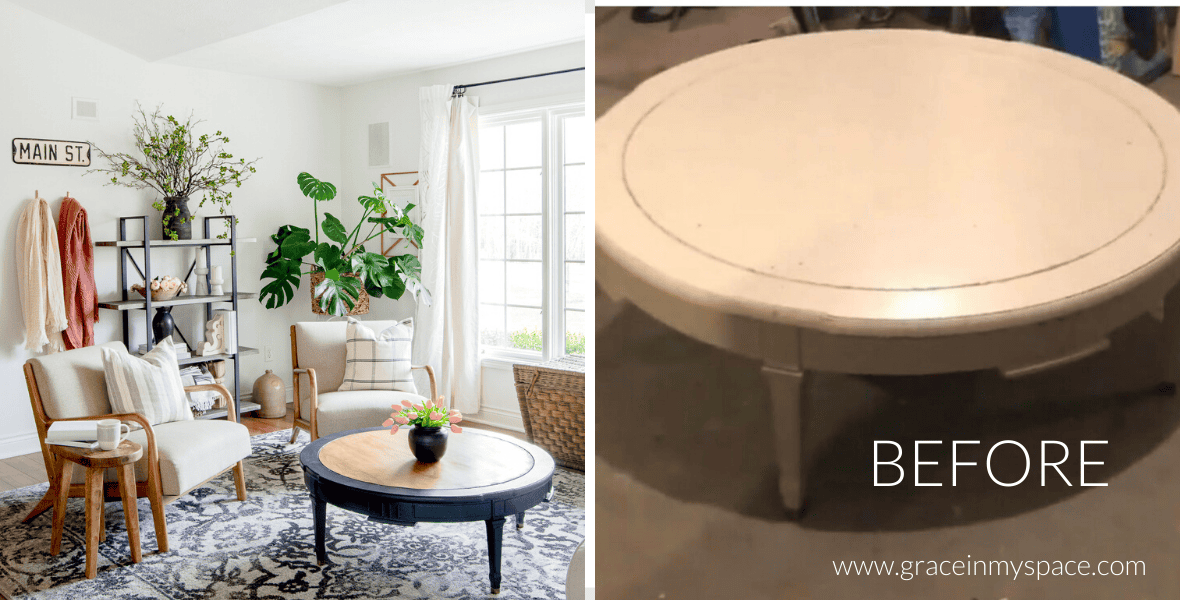
DIY Furniture Restoration | Coffee Table Update
Furniture restoration is such a rewarding process. Taking a worn out piece with good bones and transforming it into something beautiful is a great way to add style to your home on a budget. Learn how to transform furniture with the same process I used on this DIY coffee table update!
Post may contain affiliate links for your convenience.
DIY & Upcycling Projects
Joining me today are some amazing bloggers also sharing their DIY and upcycling projects! Make sure to check out their projects via the links at the end of this post for more inspiration.
DIY Furniture Restoration
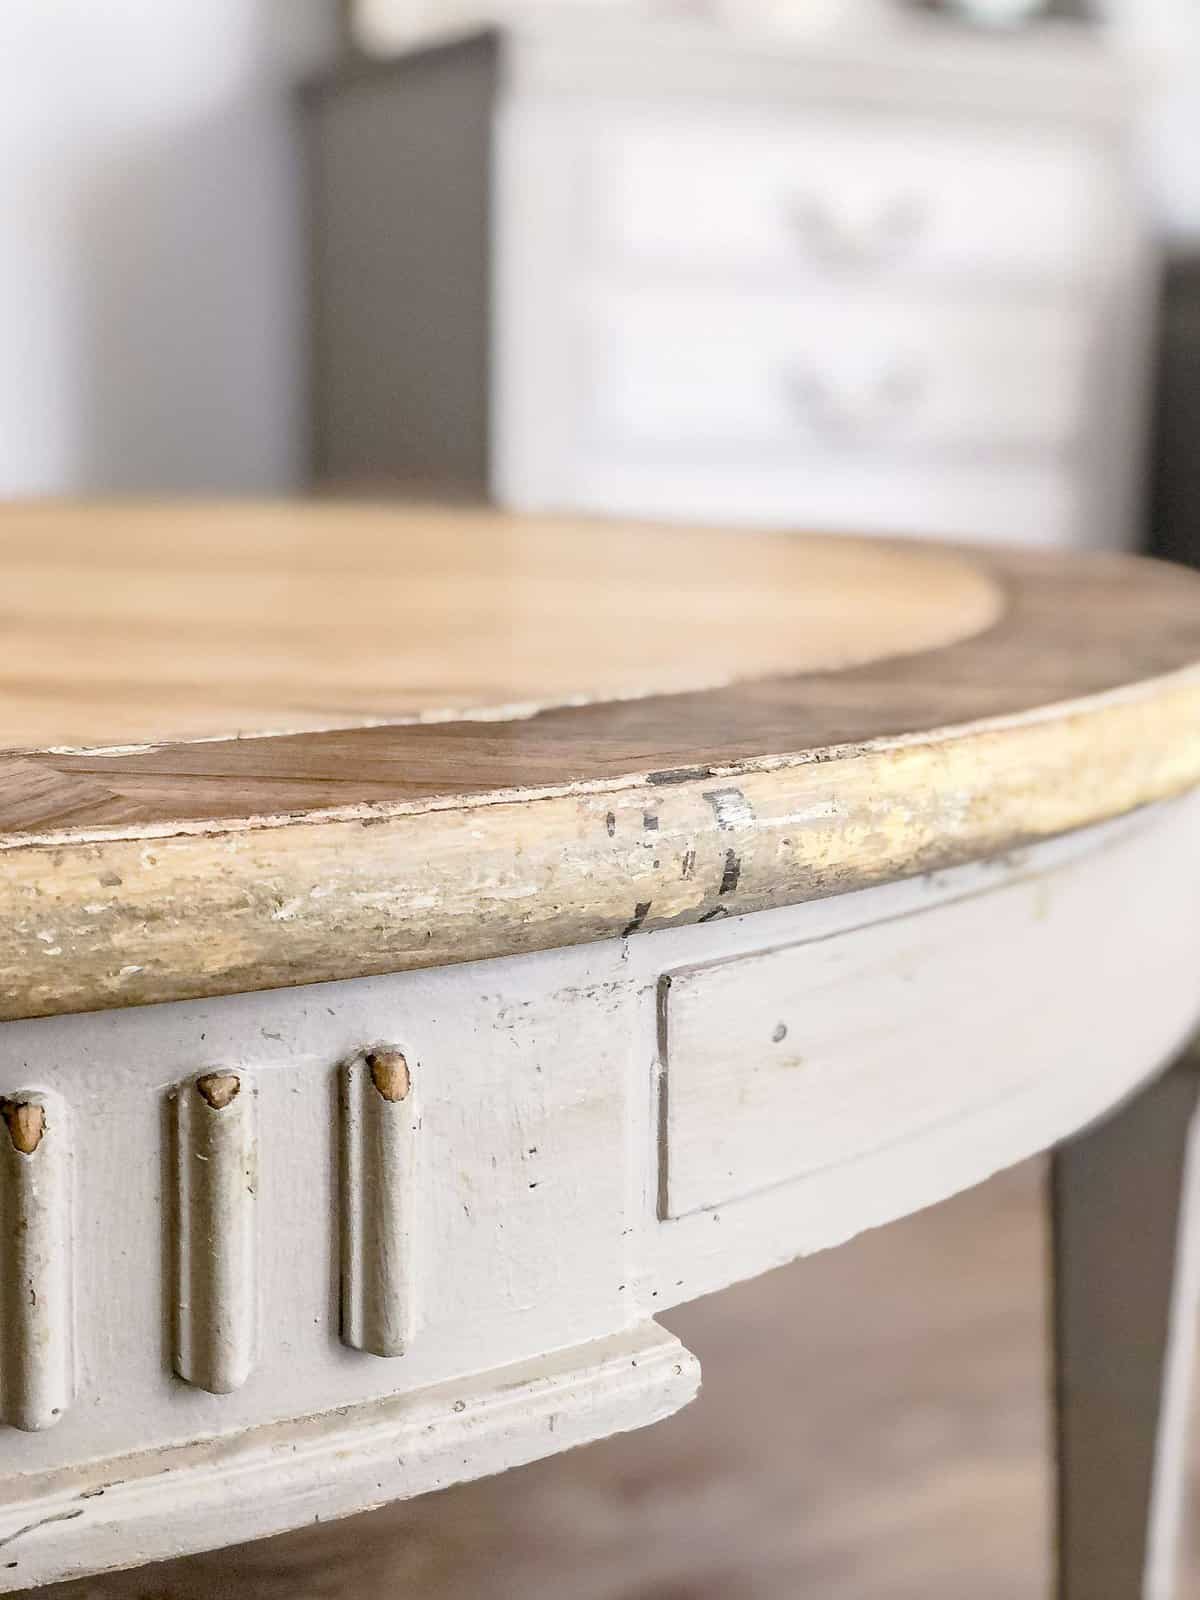
Let’s take a look at my small coffee table that I’ve had for almost 10 years! I thrifted this for $30 and it has served our family well. However, it was certainly looking dinged up and pitiful. I was once a fan of the shabby chic coffee table look, but now my styled is more modern.
So, I decided to try to strip the top using the same method and process I used to transform our dining table.
I used this same method when I restored my living room coffee table as well and it has always worked well.
Furniture Restoration Process
So, let’s take this step by step! It is a very simple process to strip a flat surface like a table. It is more complicated and tedious to do so with a piece that has intricate details and moldings. So, be aware of that when choosing your furniture piece you want to restore.
DIY Materials
You will need a few materials for this project that you may not have on hand.
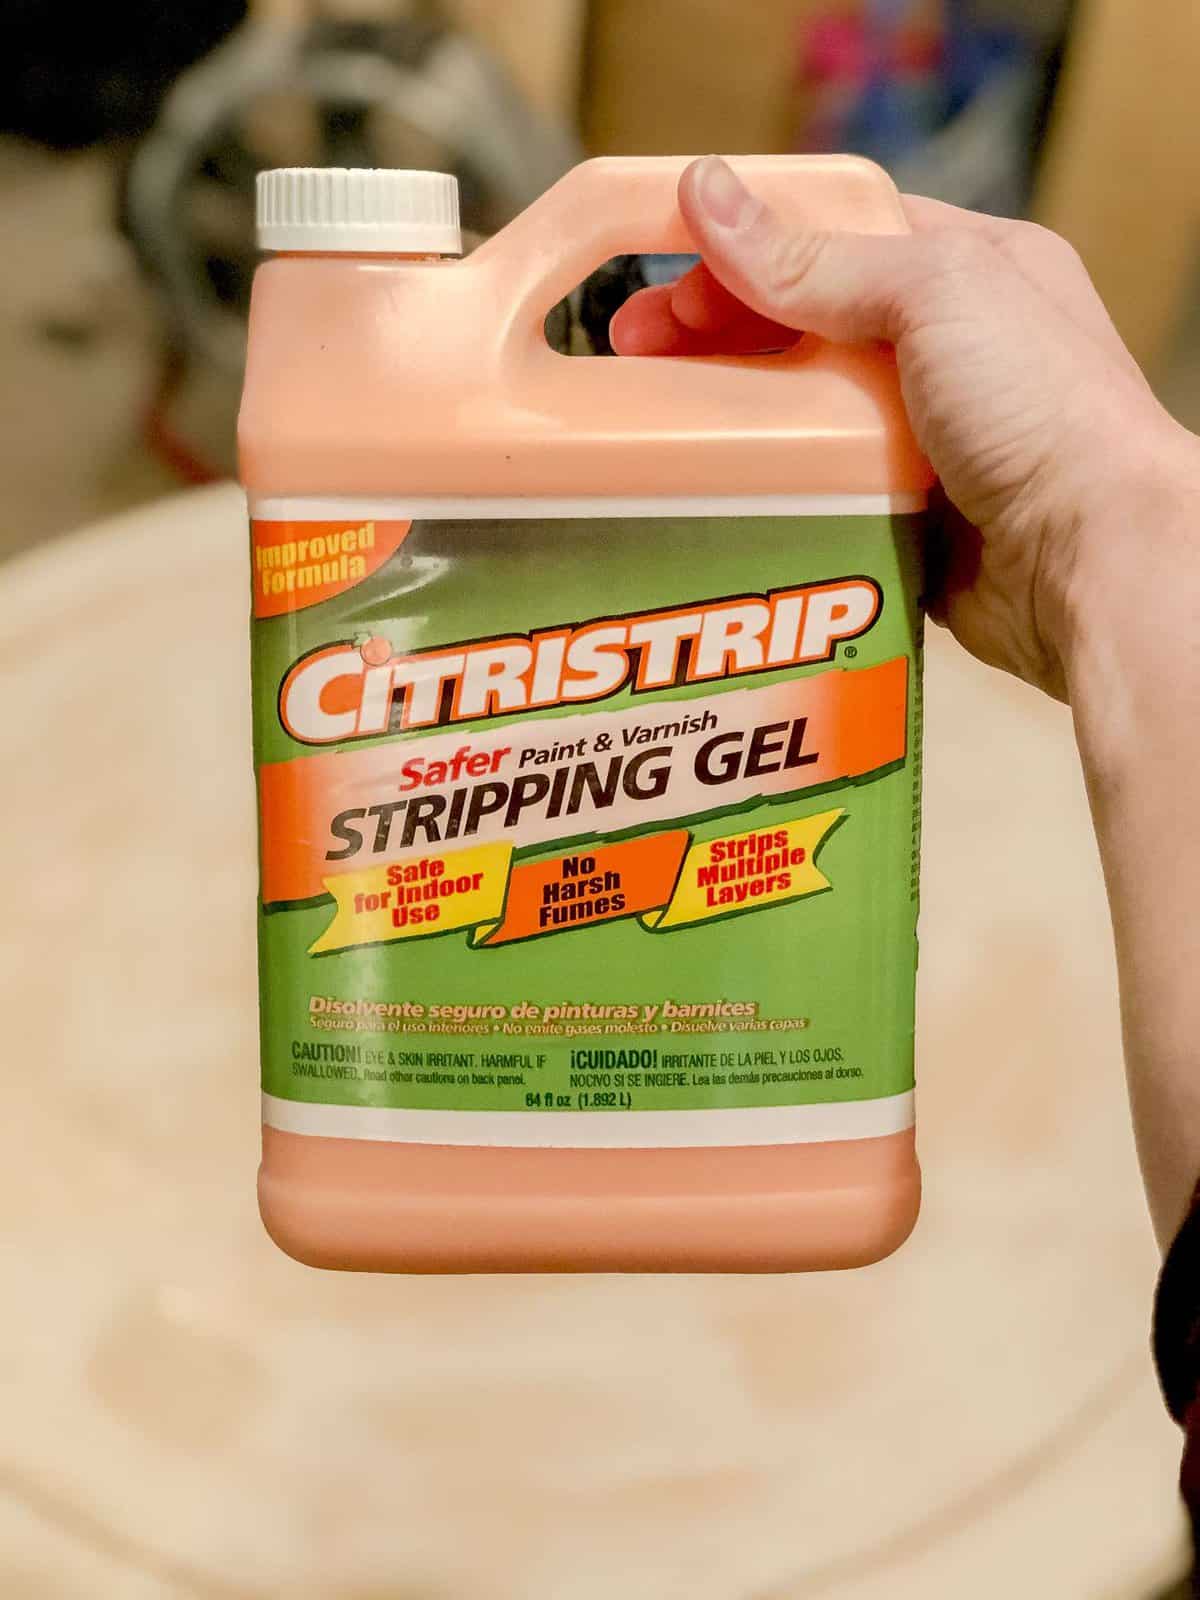
- Citristrip or other paint stripper
- 1 package Very fine steel wool
- 1 package Fine steel wool
- 2 packages Medium steel wool
- Mineral Spirits
- Heavy duty gloves
- Protective plastic for floors
- Painters Tape if you want to protect parts of your furniture piece
- Paint brush
- Putty knife
- Tack cloth
- Wood Filler to repair damage
- Bucket or bowl to scrape paint into (aka…something you can throw away)
- Finishing Product of choice
- Stain
- Polyurethane
- Paint
I’ve linked some of my favorite products for you below. Simply click the image to shop.

Step 1 | Preparation
First, prepare your furniture according to which areas you want to refinish. For my DIY coffee table, I wanted to only strip the table top. My plan was to paint the legs and keep the wood top natural.
Lay down your floor protection and tape off the areas you don’t want to strip. Citristrip has less fumes than most strippers, but still make sure you’re working in a space with good ventilation.
Step 2 | Apply Stripper
Next, brush the Citristrip onto the surface heavily.
Make sure to glop it on. That’s a pro DIY term, if you didn’t know. 😉 The areas that I lightly applied the stripper were much more difficult to remove when the time came.
Then, let it do it’s job! The directions say to let the stripper sit for 30-40 minutes. The reason I like working with Citristrip is that it can actually sit for much longer without damaging the wood if necessary. I always err on the side of a longer timeframe.

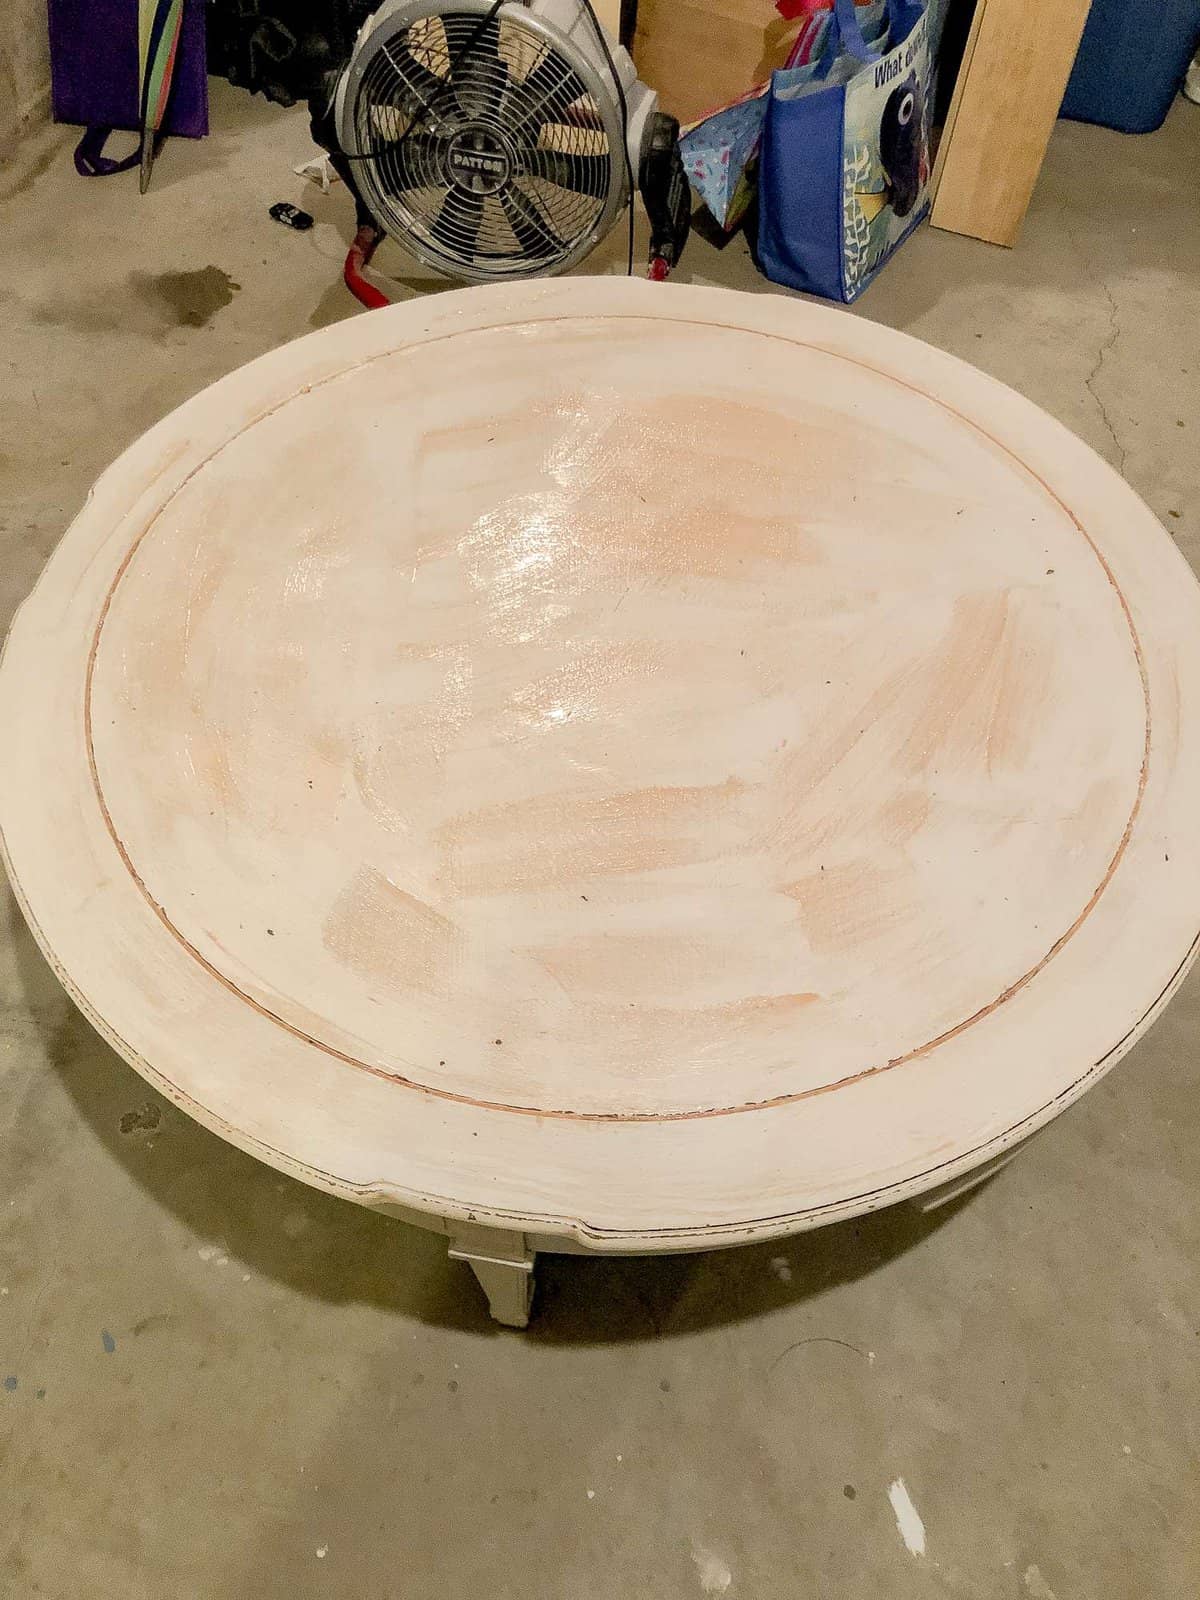
You will begin to see the paint separating and cracking as it sits.
Step 3 | Scrape off the Citristrip and Paint
Next, use your putty knife and scrape off the Citristrip and paint or varnish. Always scrape with the grain of the wood.
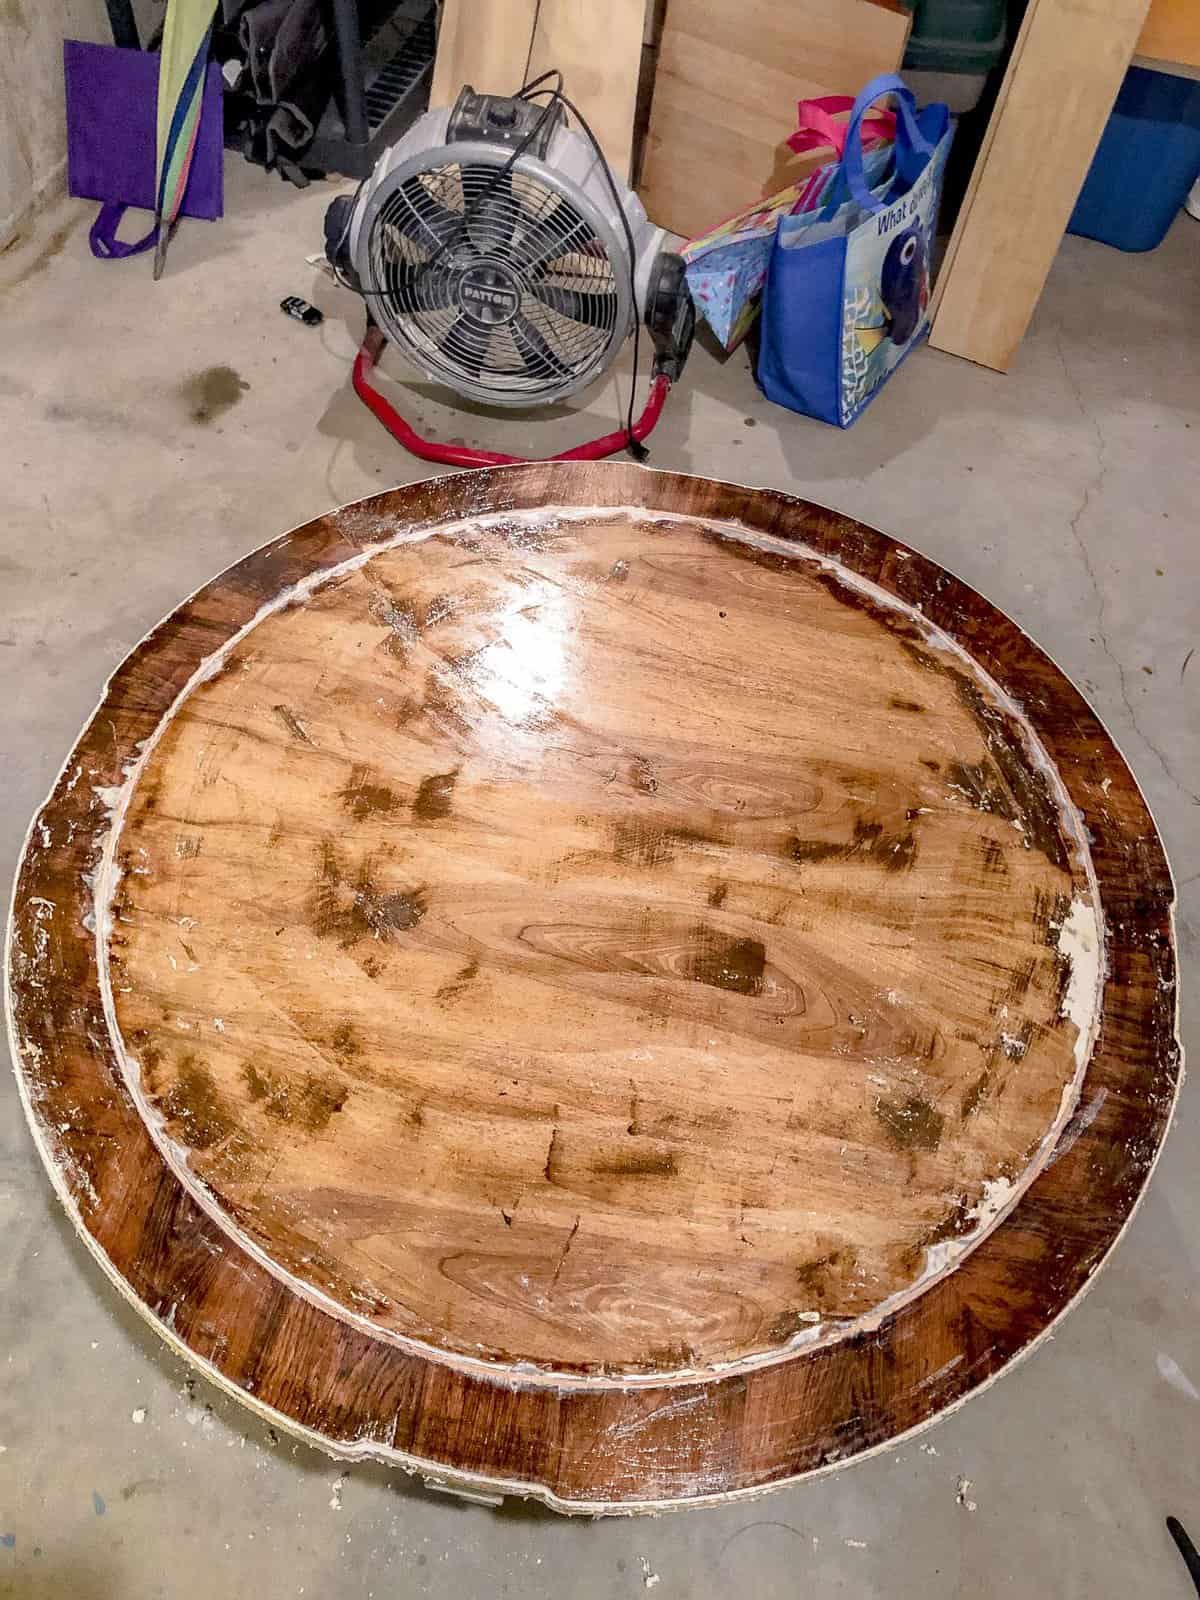
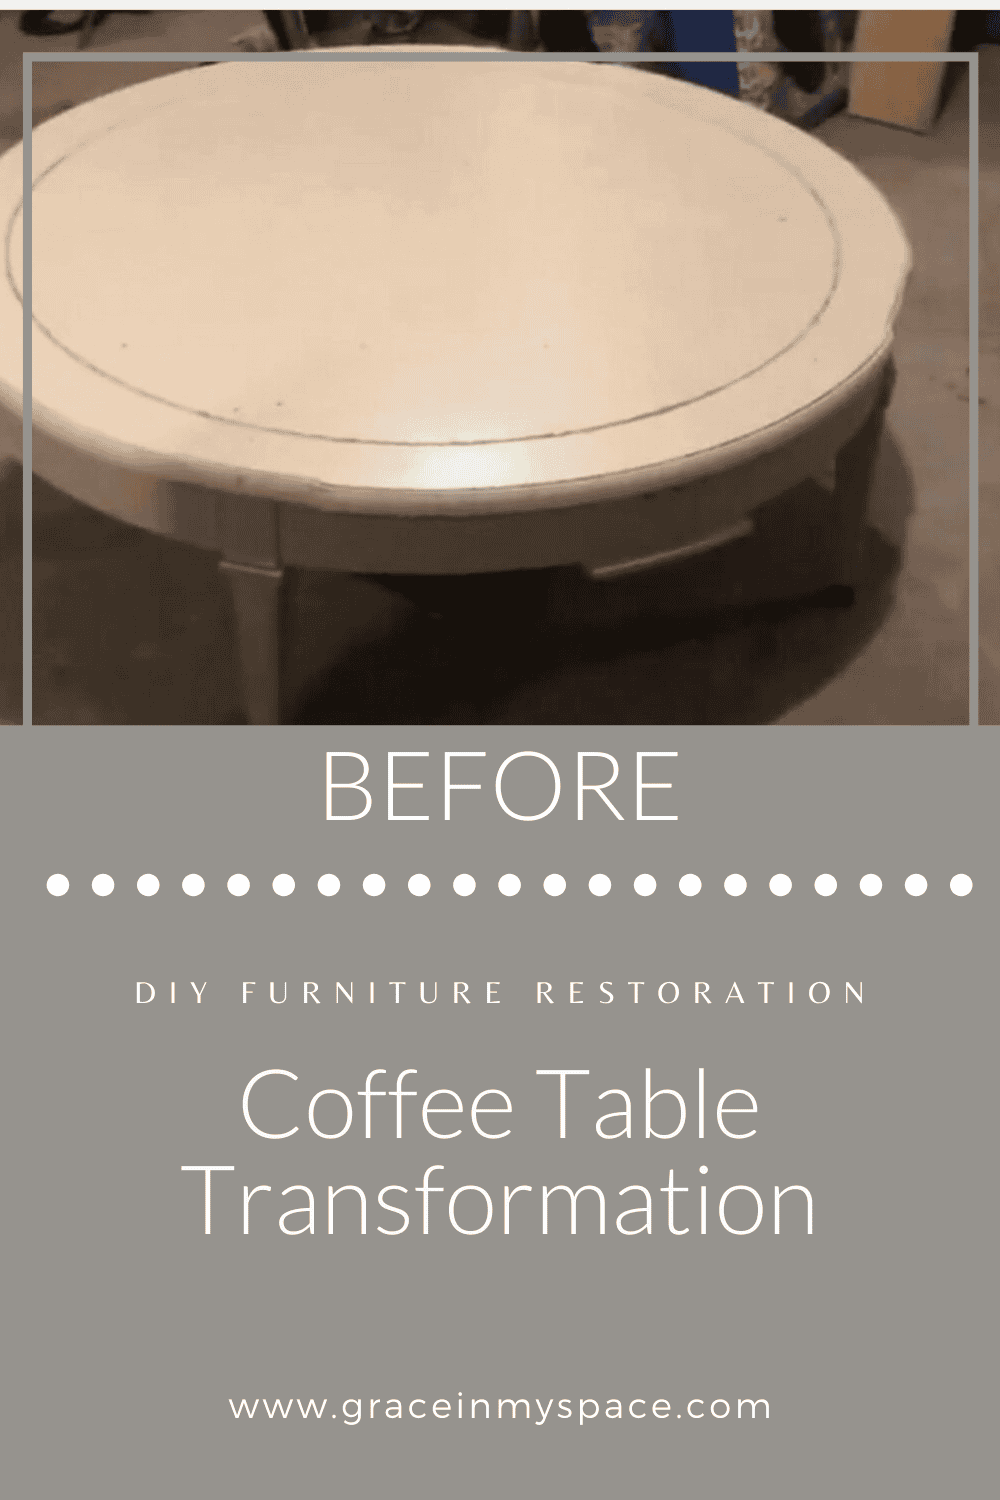
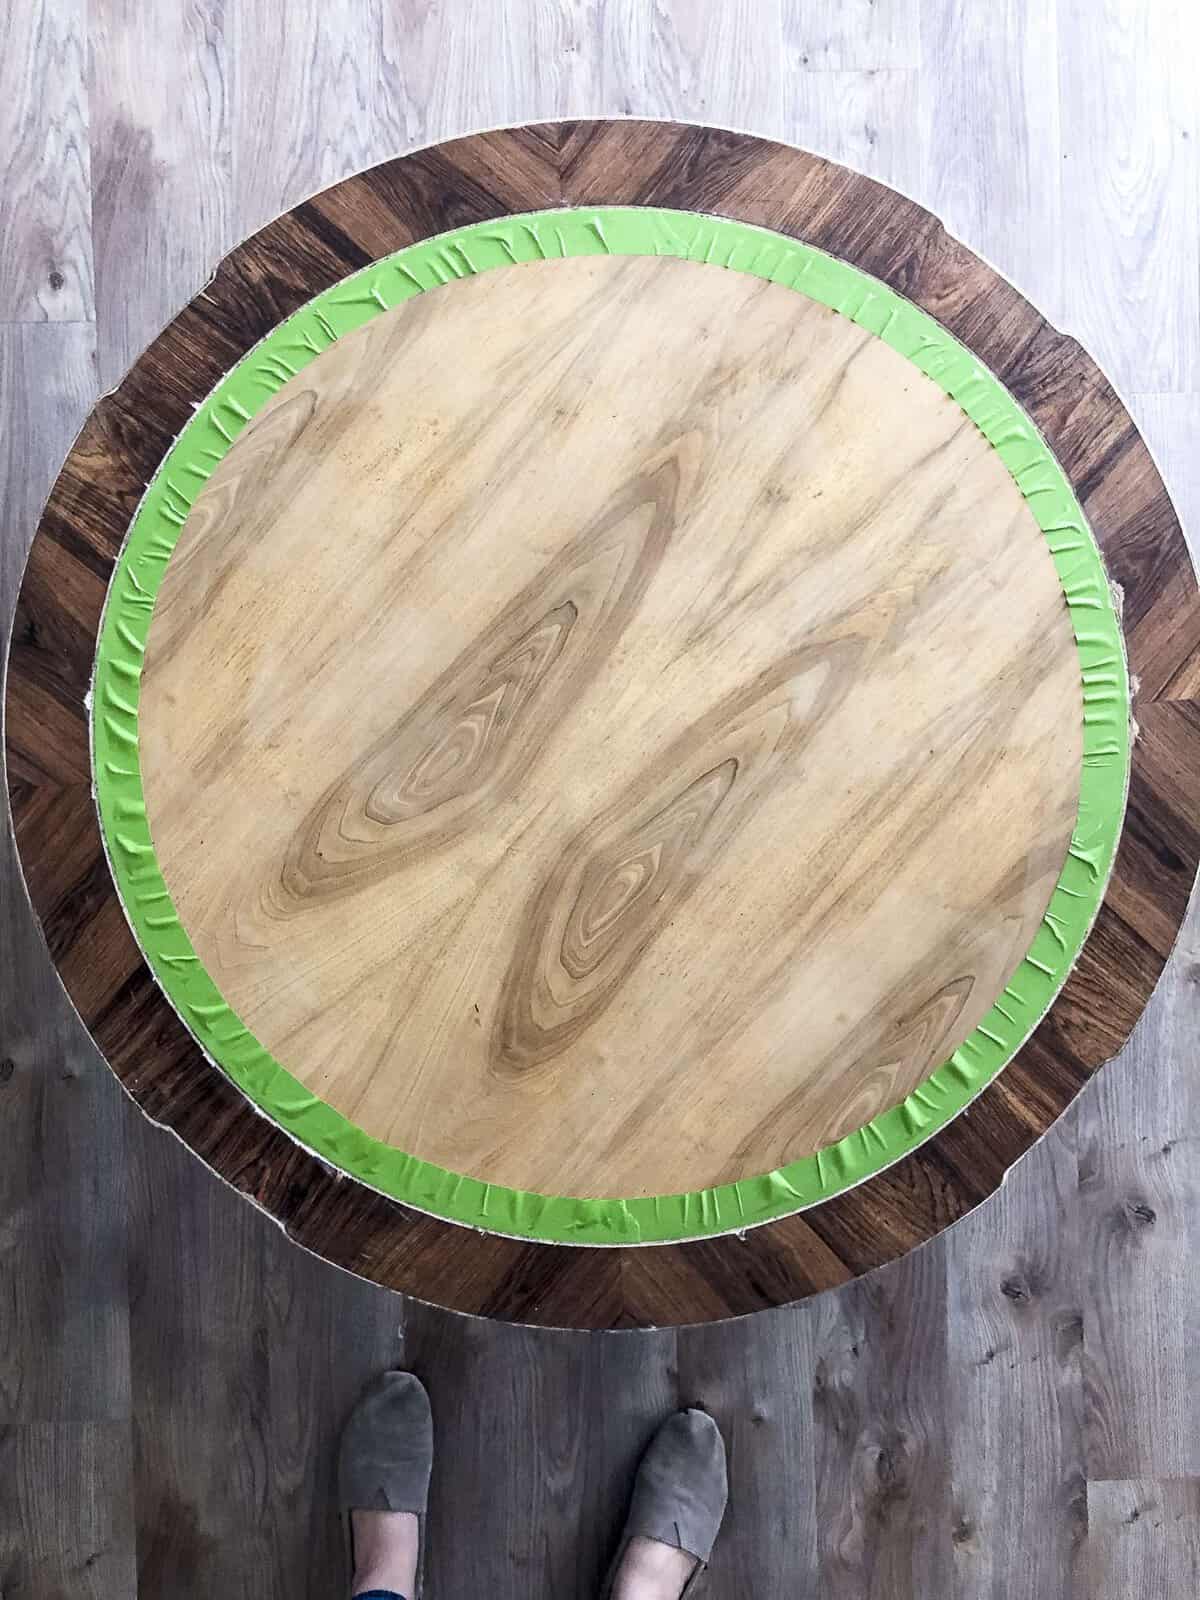
Your paint should come off easily. If you begin to scrape and it is difficult, wait another 15 minutes and try again. This is my coffee table with the first layer of Citristrip taken off.
You can see that most of the paint was removed, but I had a few areas that I needed to re-coat. If this happens in your project, simply add another layer of stripper and repeat the process.
Step 4 | Steel Wool
Once you’ve scraped as much of the stripper and paint off as possible with a putty knife, you’ll use steel wool to remove all the tacky residue. Make sure to wear gloves! This is a messy process.
Start with the medium grade and rub the steel wool across the surface, going with the grain of the wood.
During this process you will remove all the stripper residue.
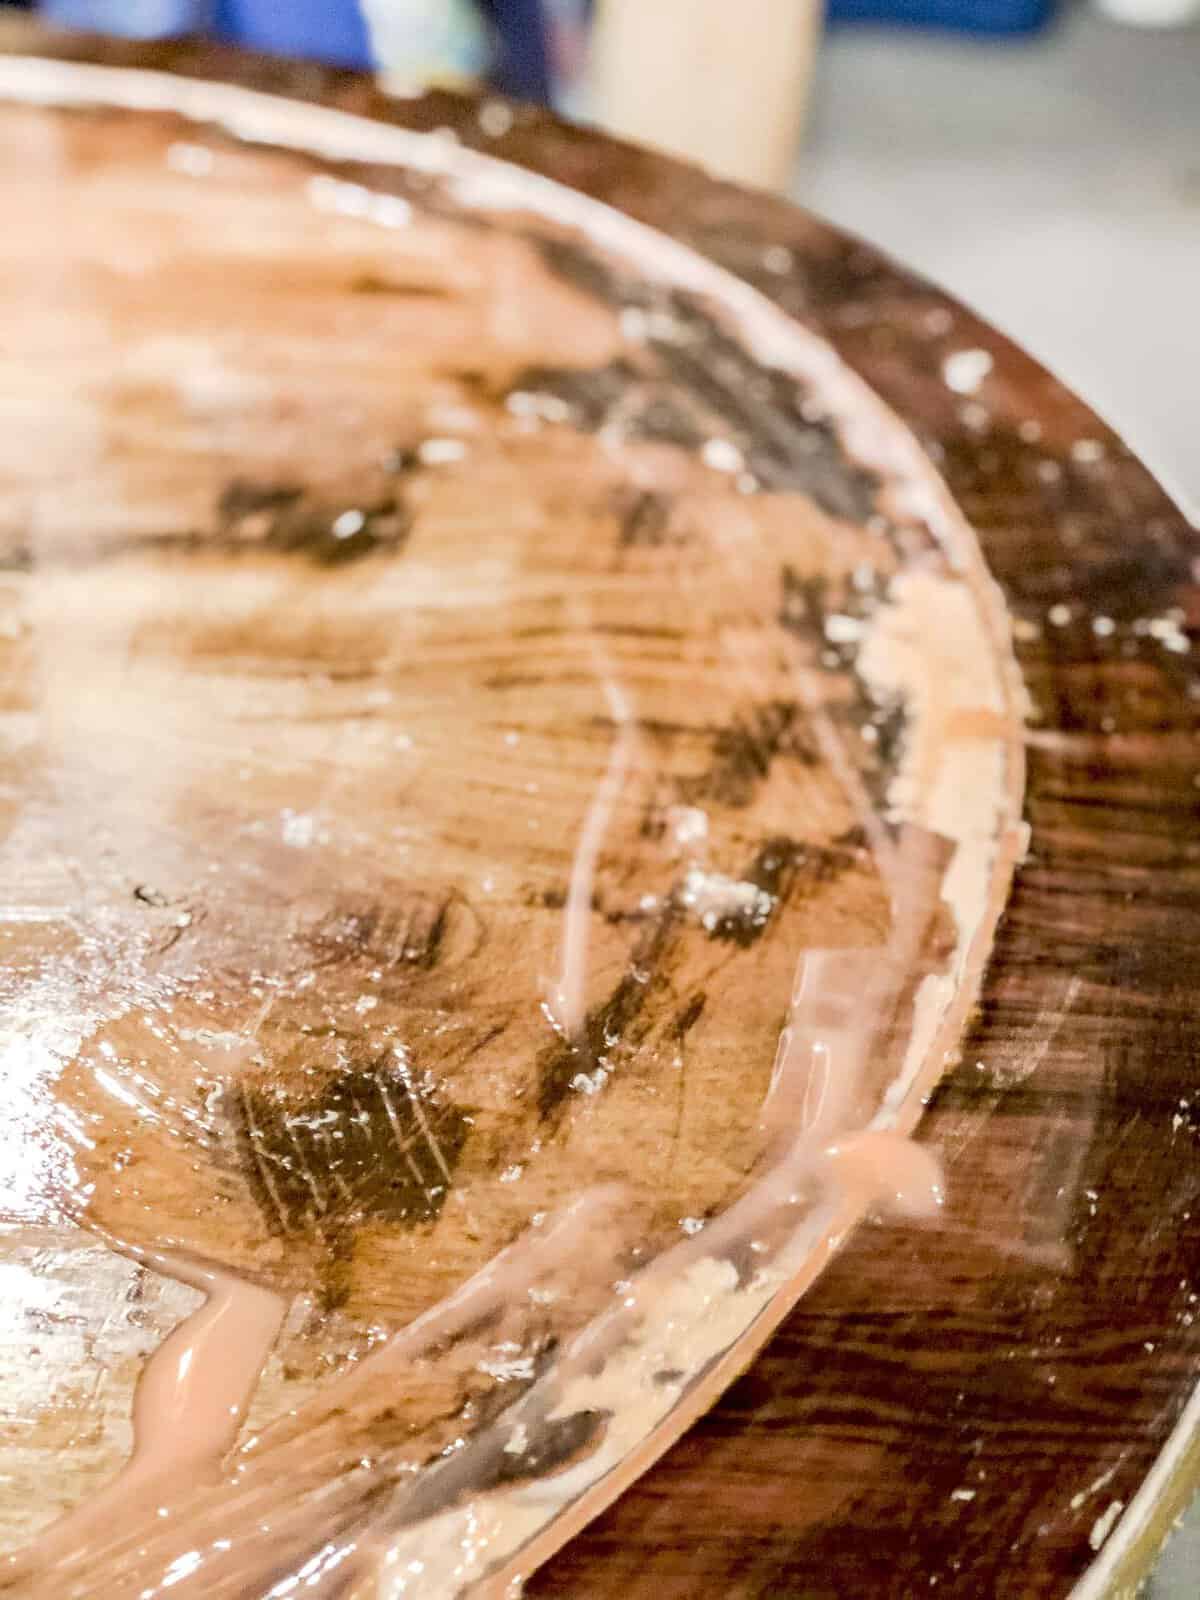
Once the majority of the residue is gone, go over the surface again with fine steel wool, followed by very fine steel wool. This will continue to refine the wood and ensure no residue is left behind.
As you can see above, my table’s surface looked very uneven after this process. That’s what the next step is for!
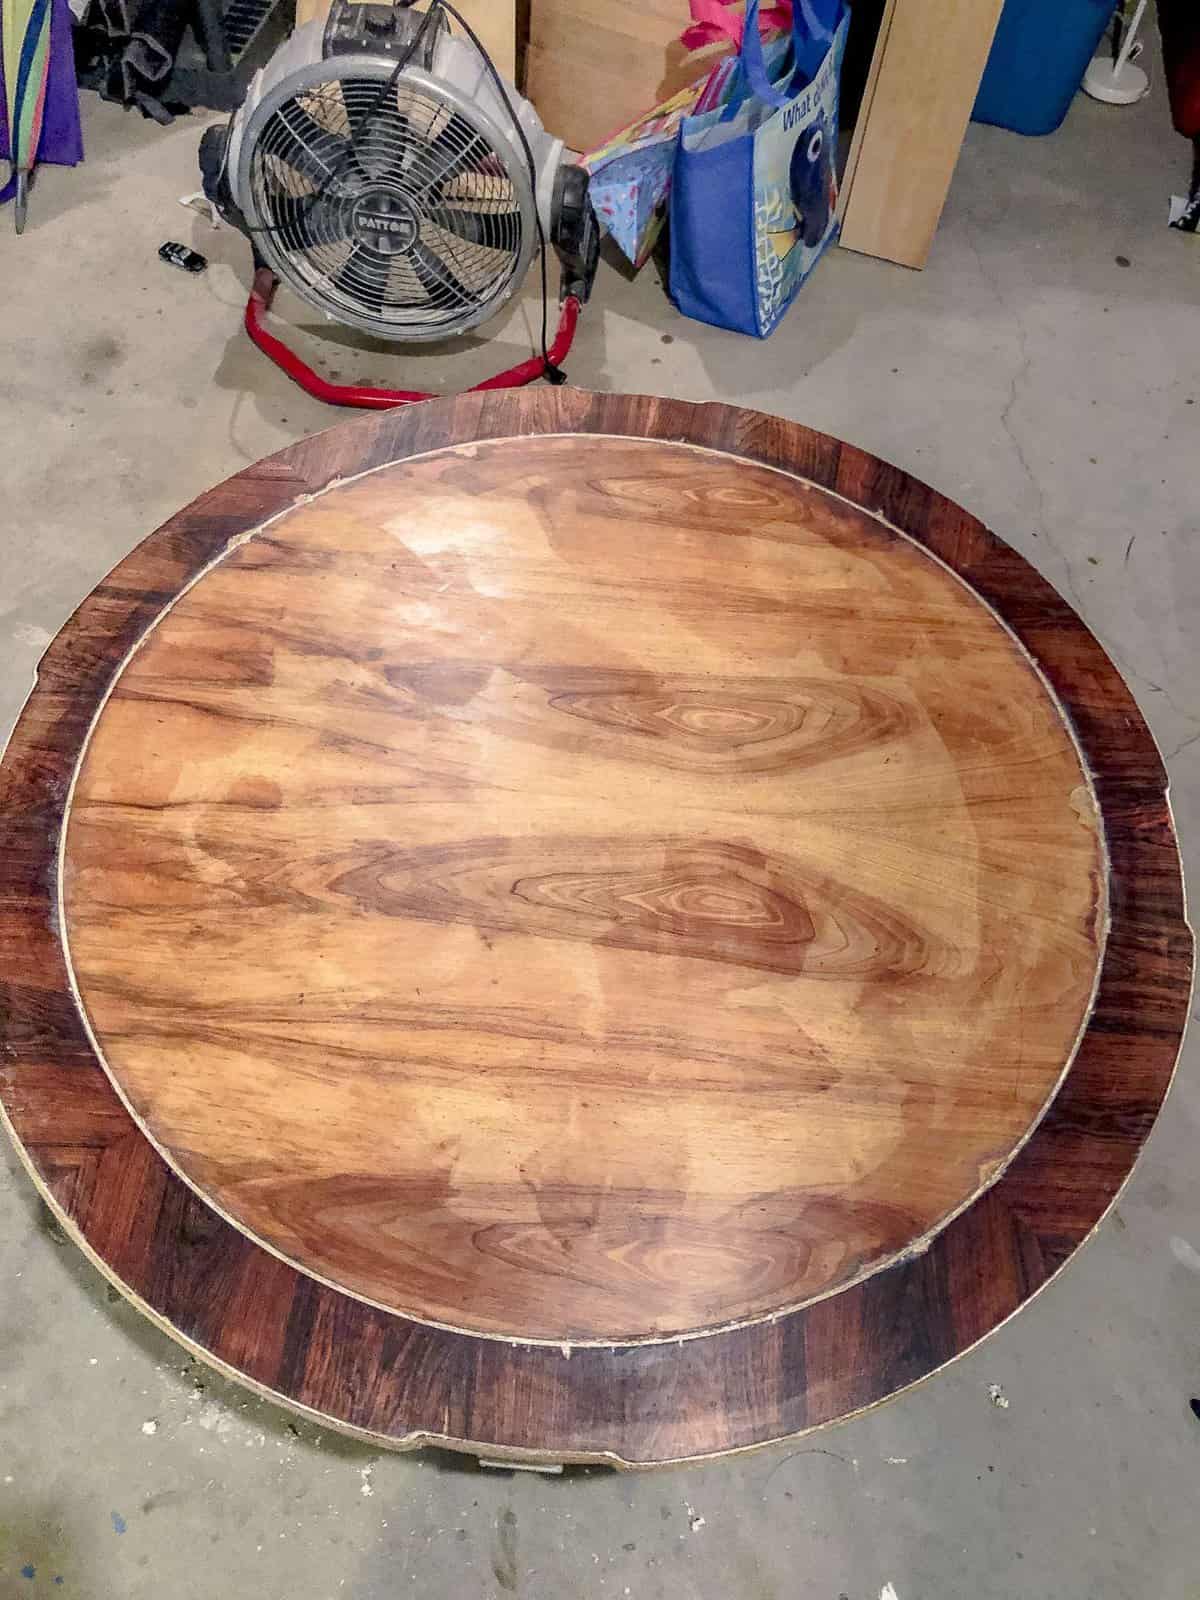
Step 5 | Mineral Spirits
Apply mineral spirits to the surface with a tack cloth or old white undershirt. This removes any steel wool particles and conditions the wood.
After applying the mineral spirits, the wood tone of my coffee table evened out dramatically.
Let your wood dry fully before going to the next step.
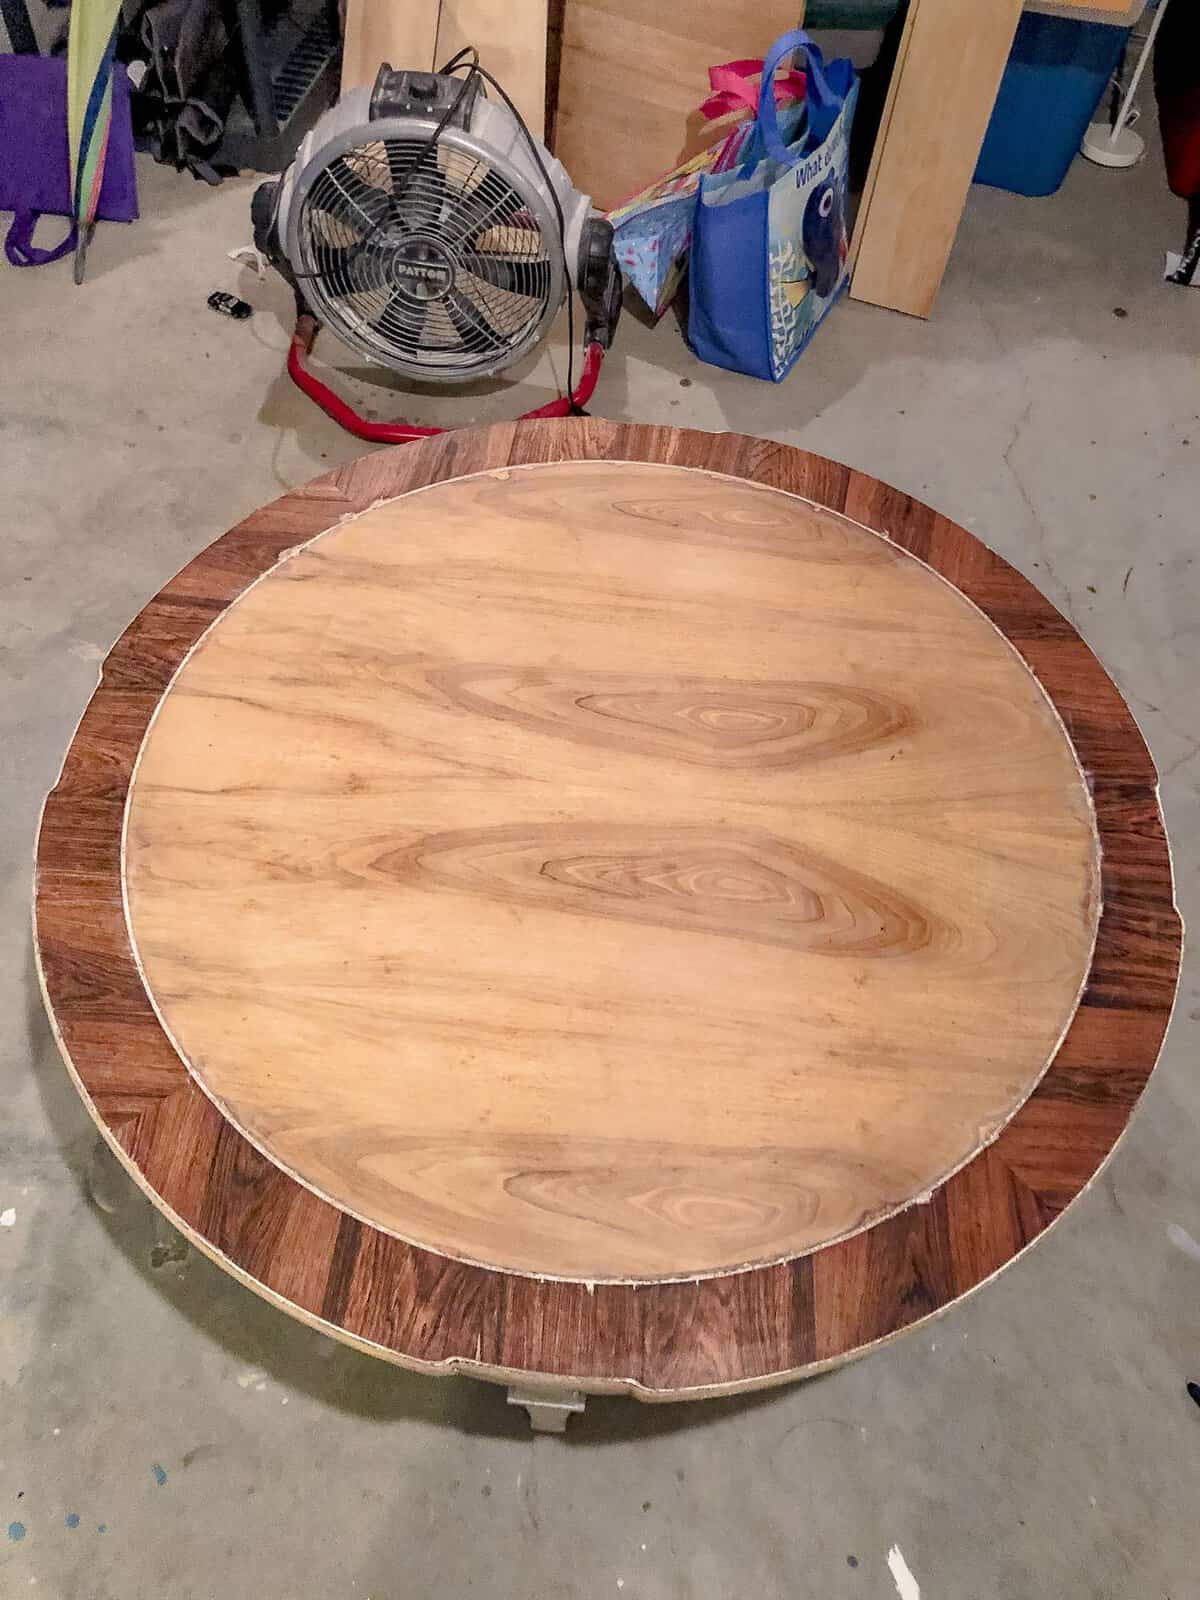
Step 6 | Furniture Repair
When I bought my table it was already painted, so I had no idea what to expect the wood underneath to look like. It was in very bad condition, with most of the veneer on the sides completely gone and large chips taken out of the top.
If you’re able to, take the time to apply wood filler to repair any damage to your furniture at this stage of the project.
I felt it would not benefit my project to try to repair the edges due to the extent of the damage. So, rather than have a poorly finished piece, I kept the part of the top that was in the best condition and painted the rest.

Step 7 | Finishing Touches
Once you’ve stripped all the paint or varnish off, and repaired any damage, it is time to finish your furniture restoration project!
This part of the process will look different for everyone depending on what you want the final product to look like.
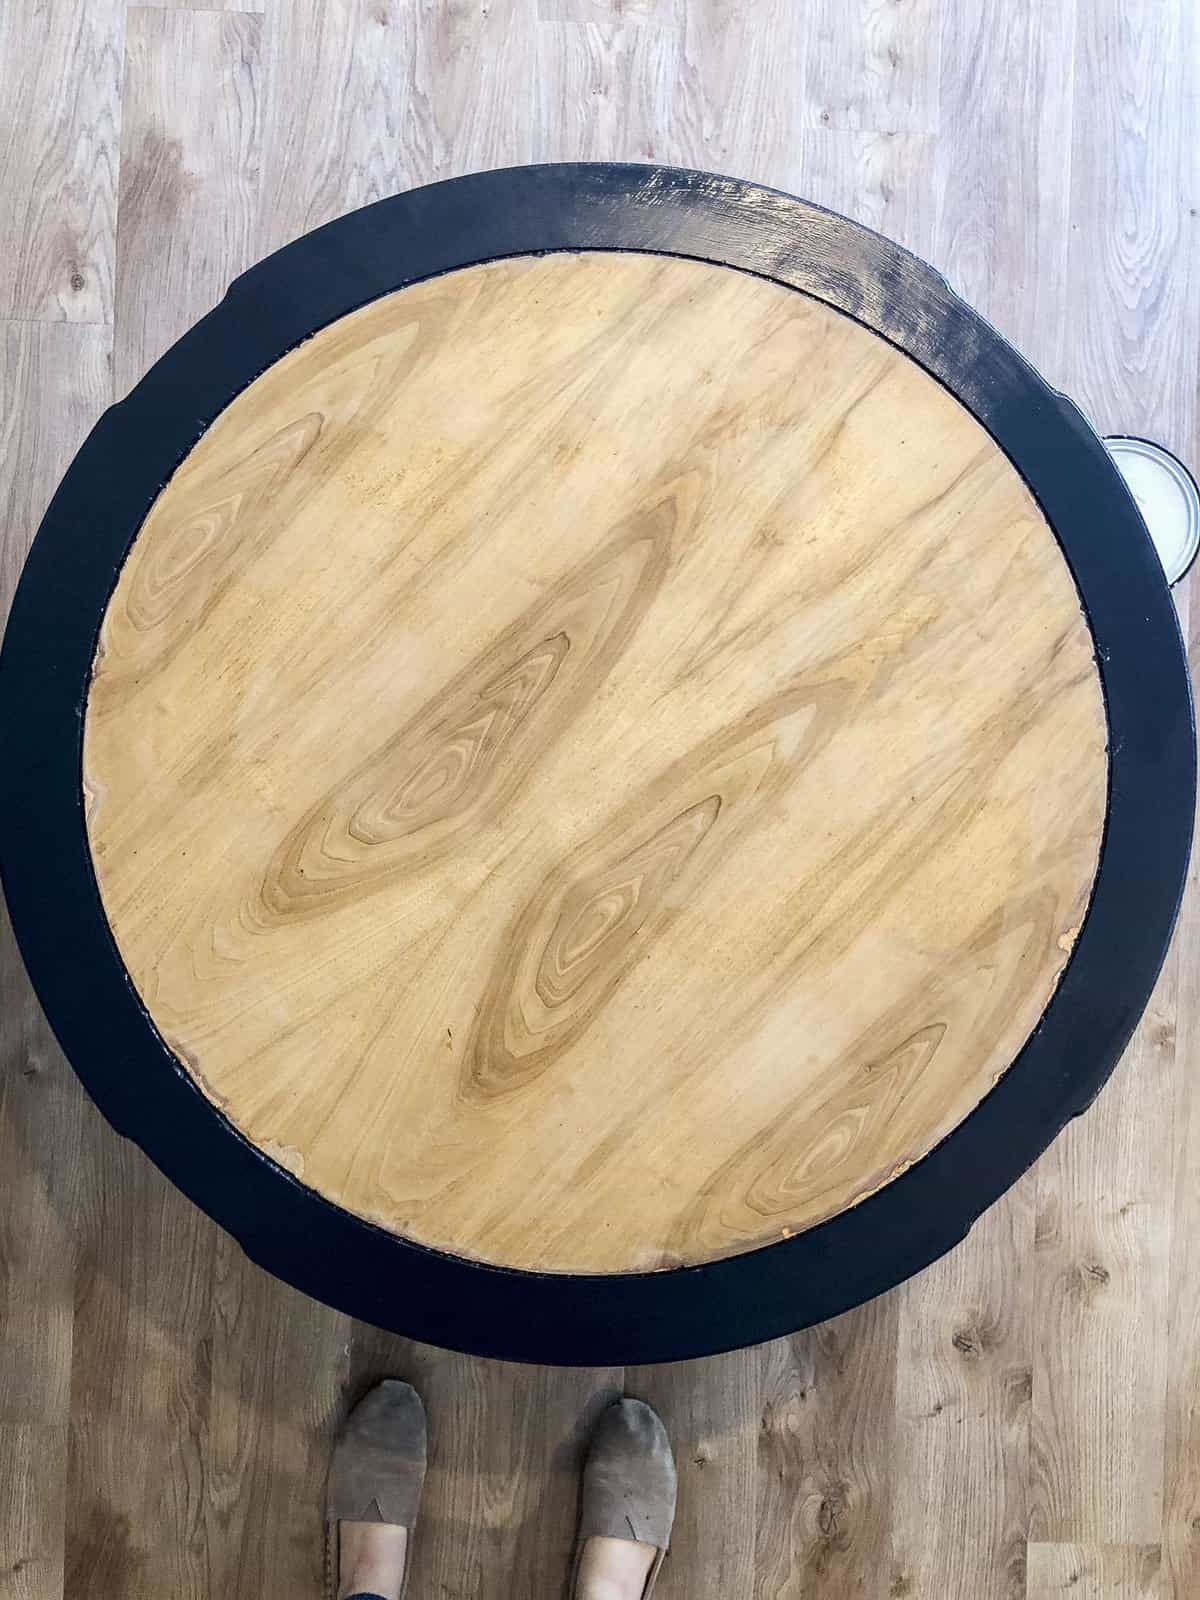
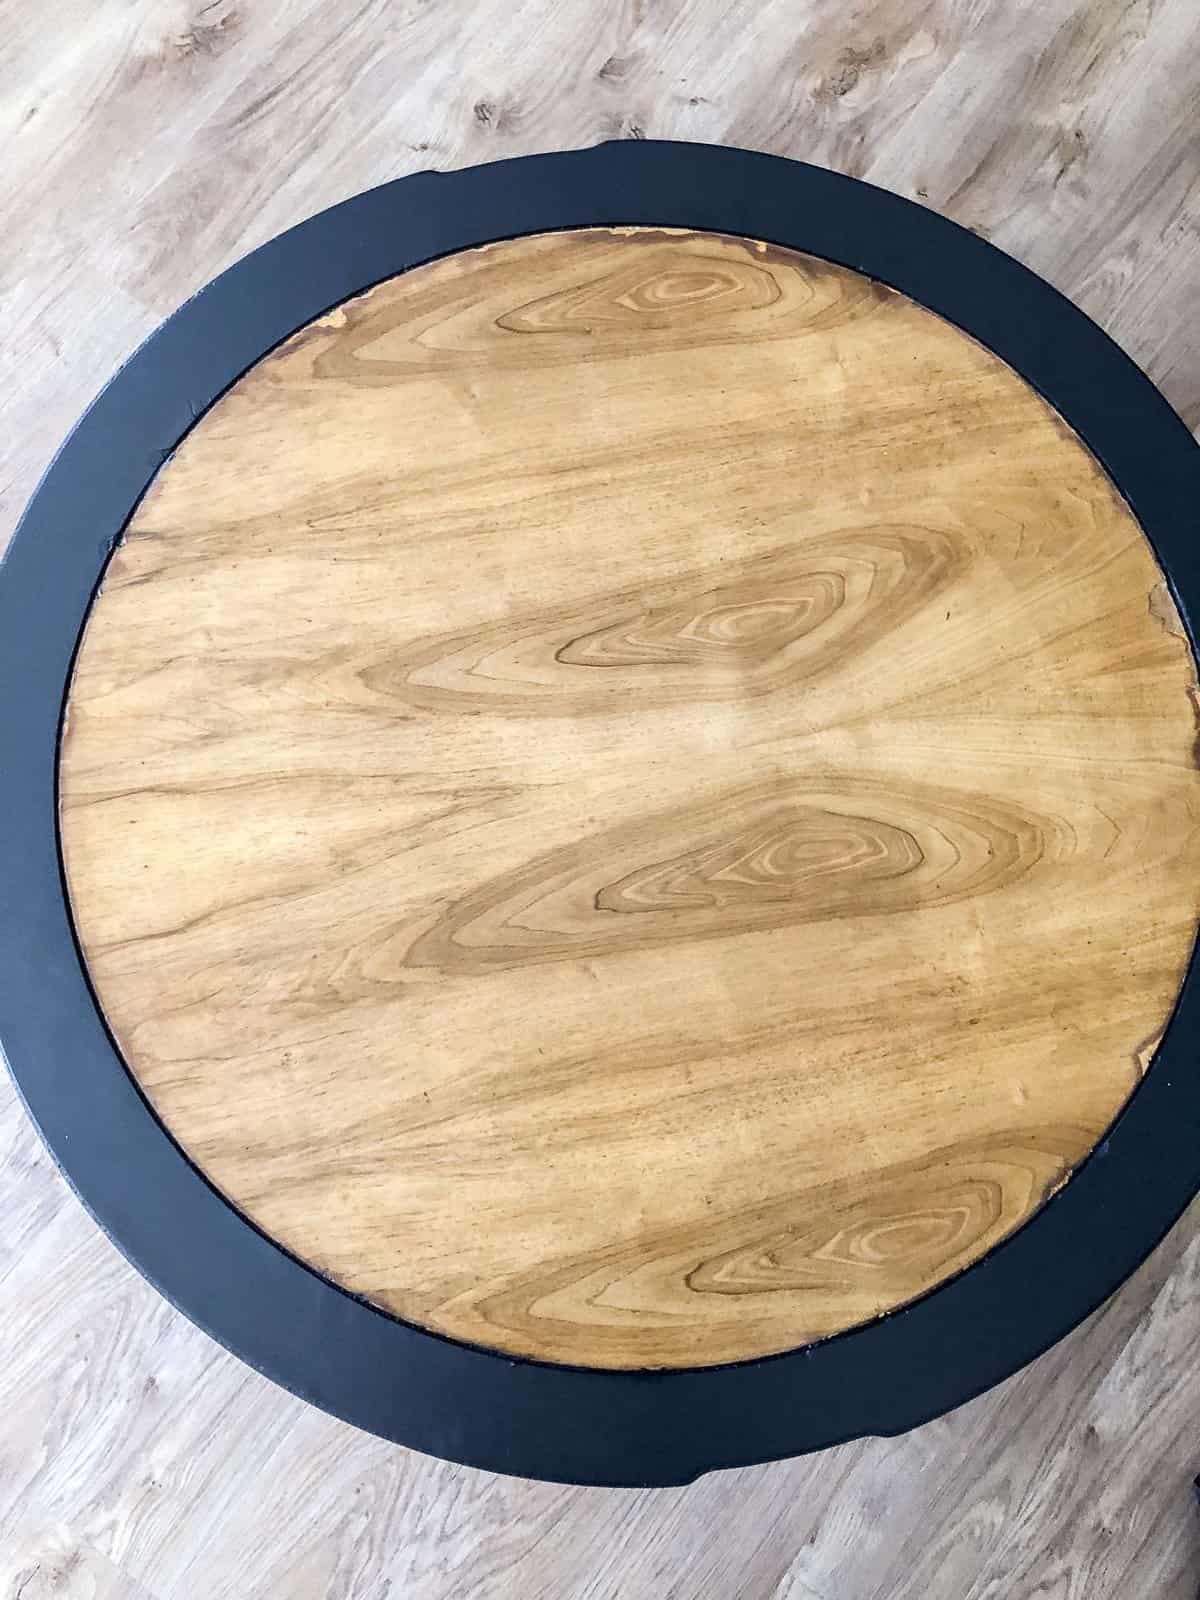
I chose to paint the table legs and the damaged ring around the top.
I applied painter’s tape to the inside circle so I didn’t mess up the part I just restored. Then, I painted the remainder of the coffee table with Blackboard by Magnolia.
You can see that the damage on the edges is still there. It was evident in the stripping process that someone else had already attempted to repair them with wood putty. So rather than compound the problem, I kept them as is and applied my stain more heavily in those areas to help mask the imperfections.
I added a light layer of Early American stain first.
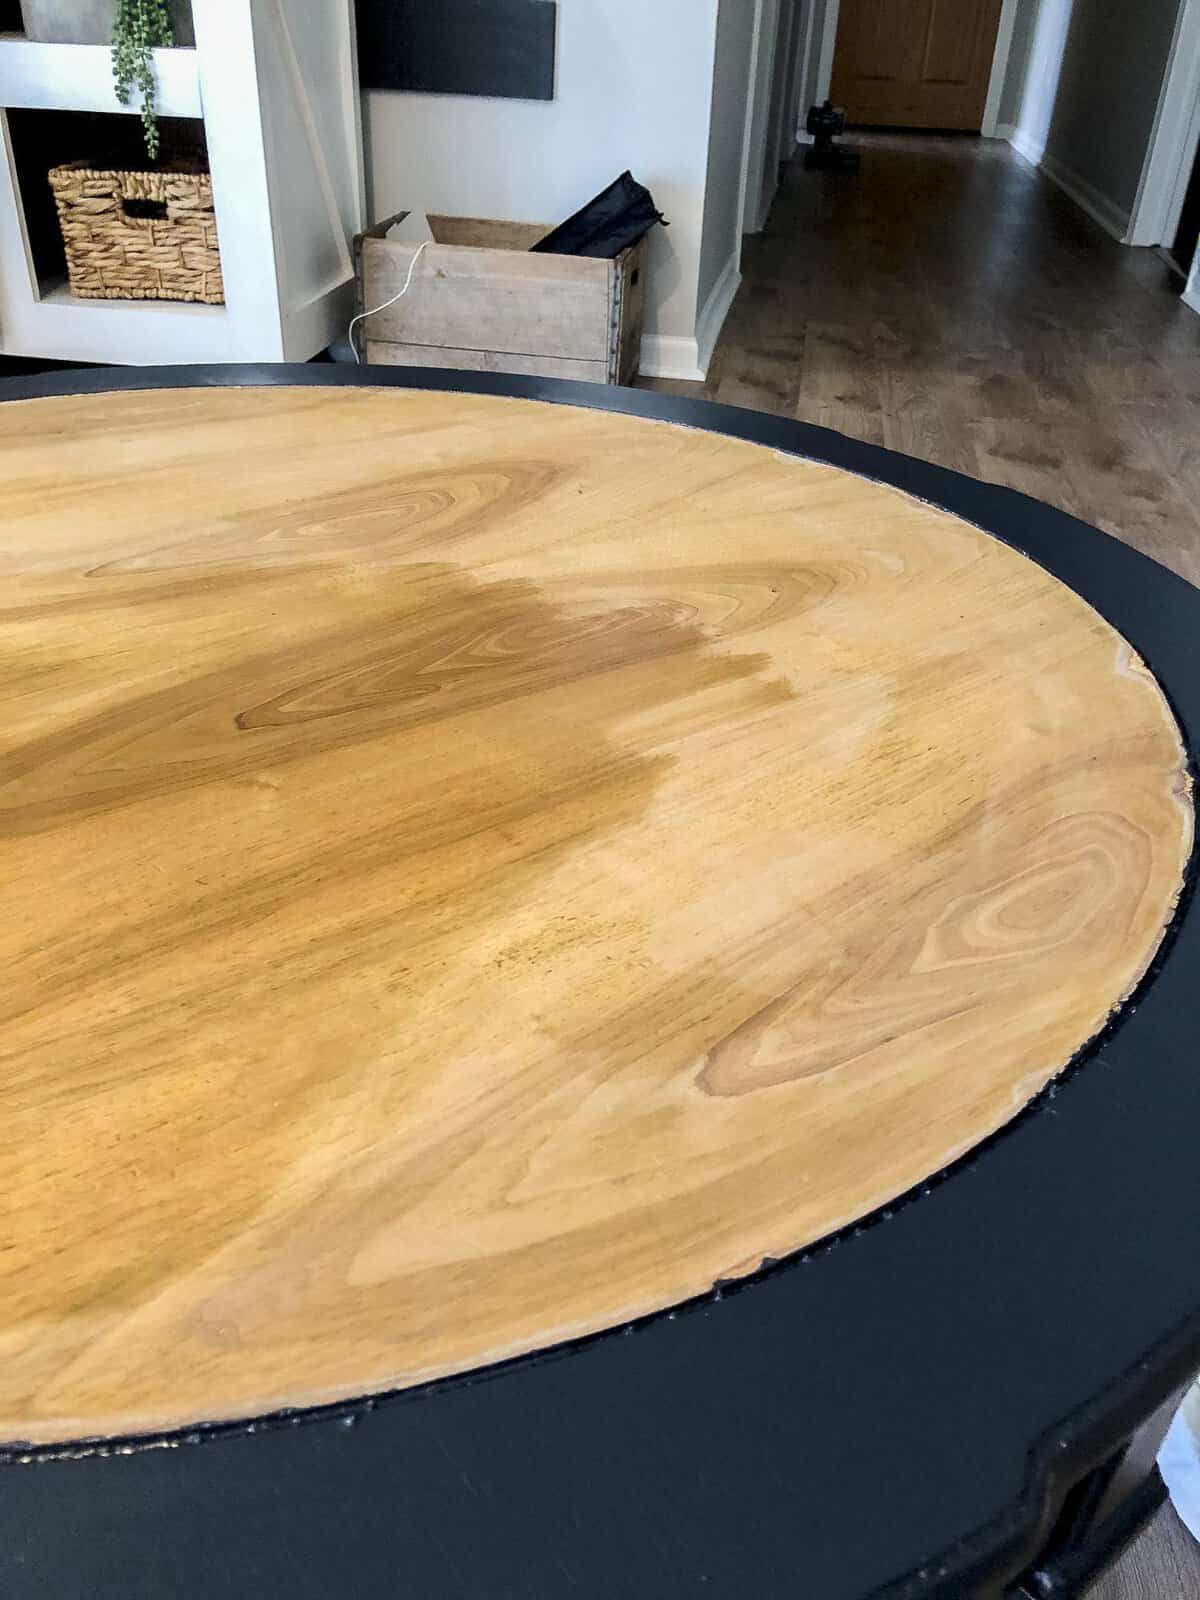
Then, to tone down the orange hues, I added a layer of Special Walnut.
The final step is to finish off the surface with a protectant like polyurethane. This seals the wood to prevent further damage from use. I prefer matte finishes for stained surfaces and a satin or semi-gloss for painted surfaces. The finish is totally up to your preference!
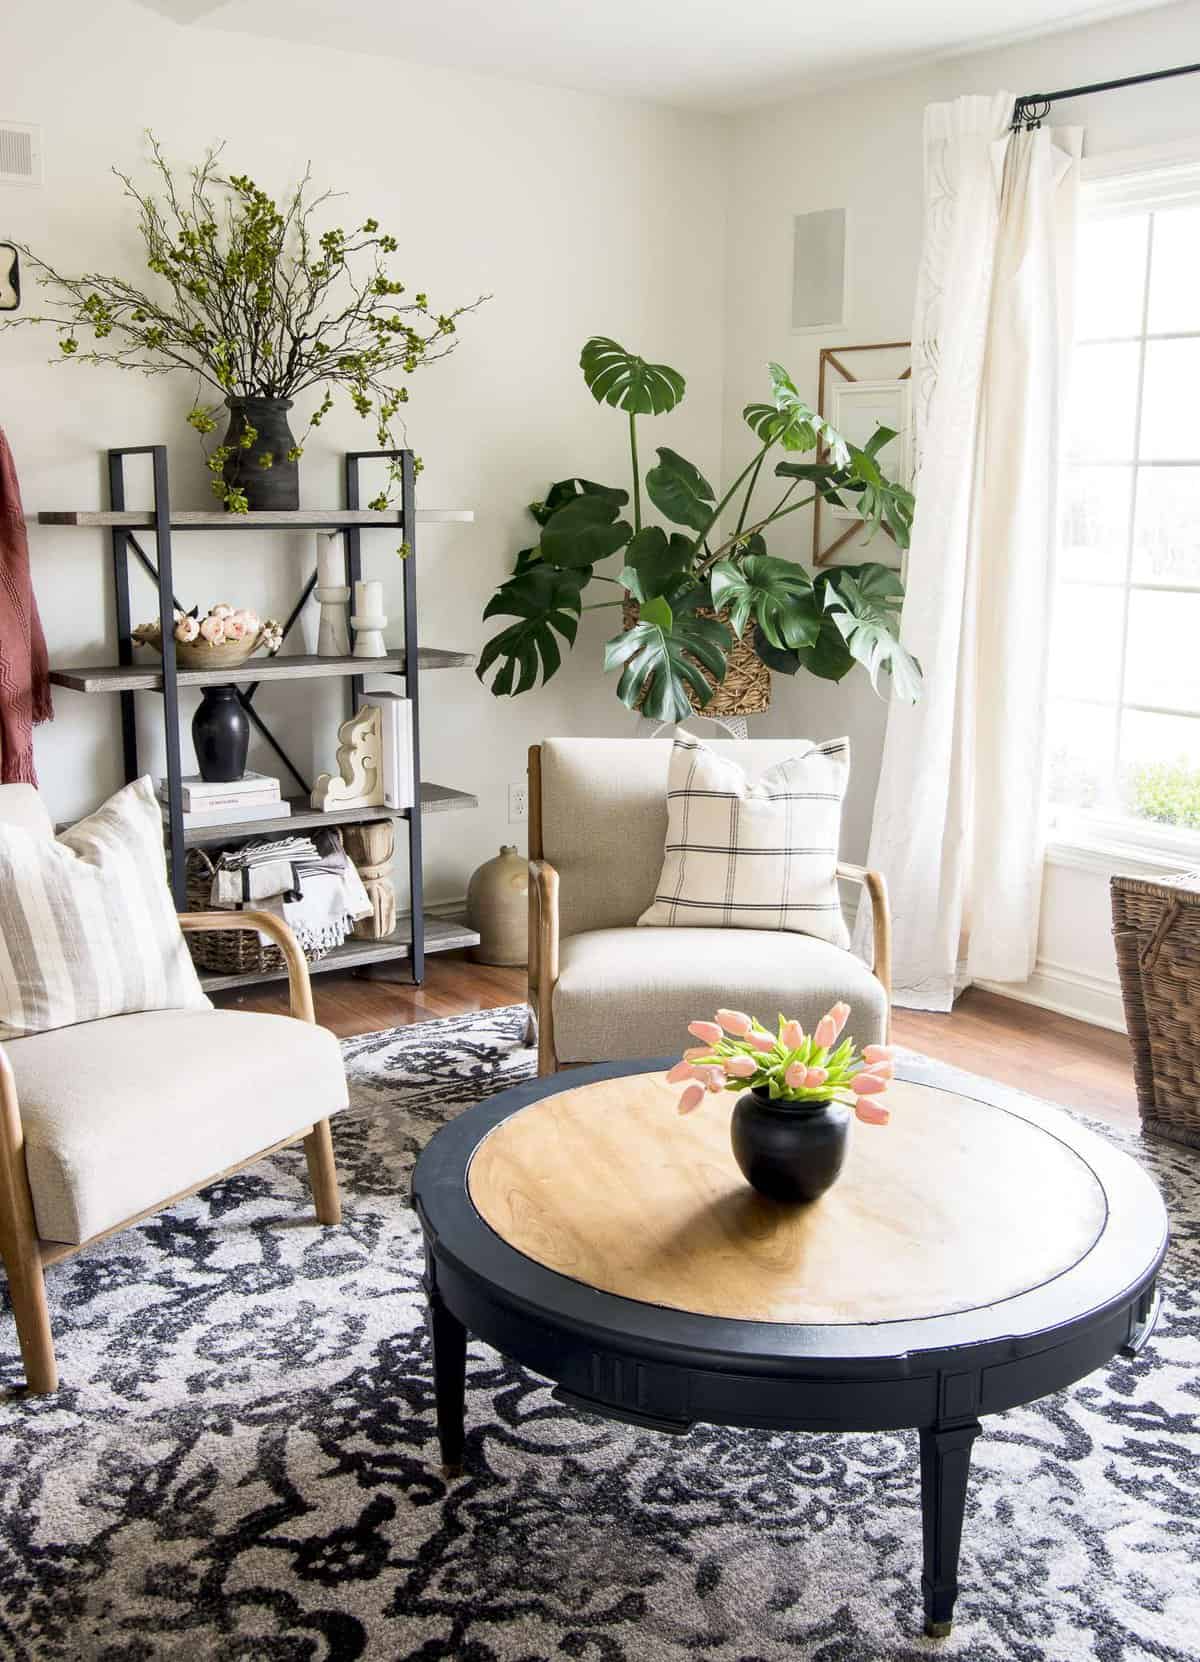
DIY Restored Coffee Table
And here, she is! She’s not perfect by any means. Some of the damage was more than expected, but that is all a part of DIY! Sometimes our expectations are unrealistic and we have to be flexible and creative to come up with another solution.

Shop This Space
This coffee table is actually going into our guest house after it is remodeled. I plan to have all the details for that large renovation project up on the blog soon! Make sure to subscribe to be notified via email once it is underway.
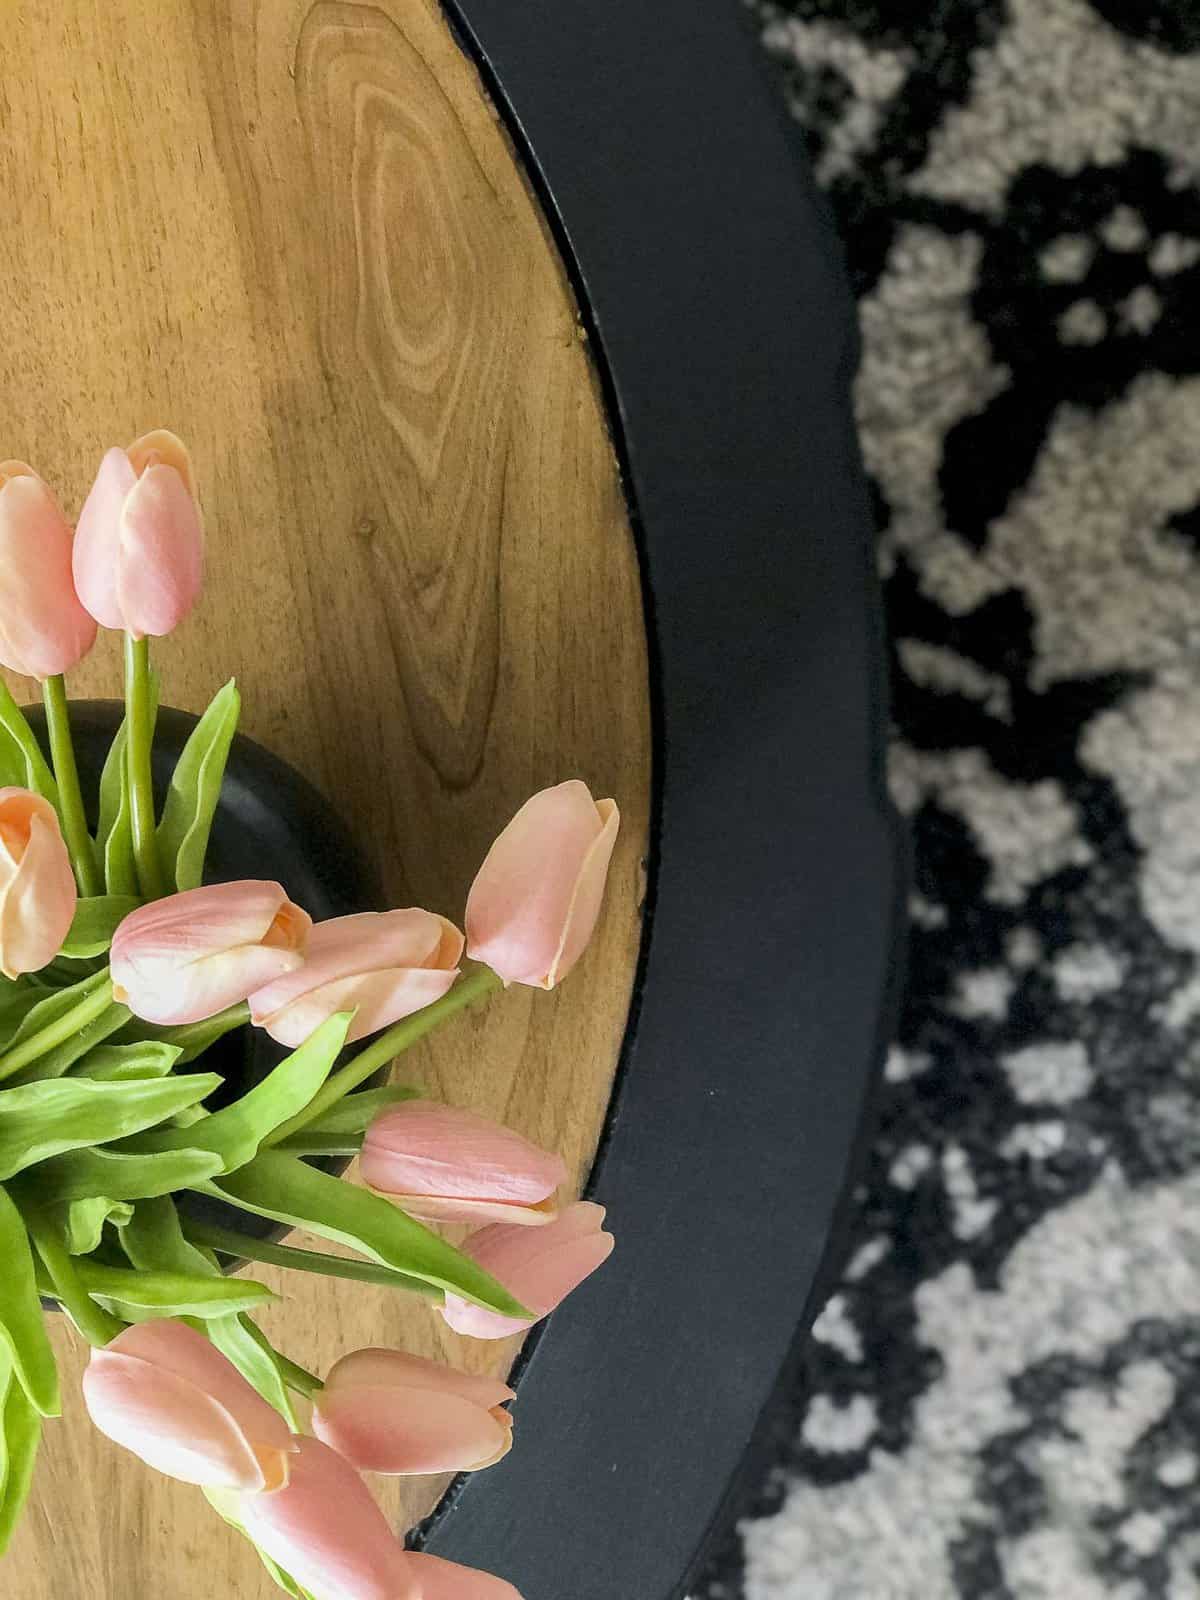
I’m really happy with the contrast of the stained wood and black paint. The wood warms it up and the paint modernizes it.
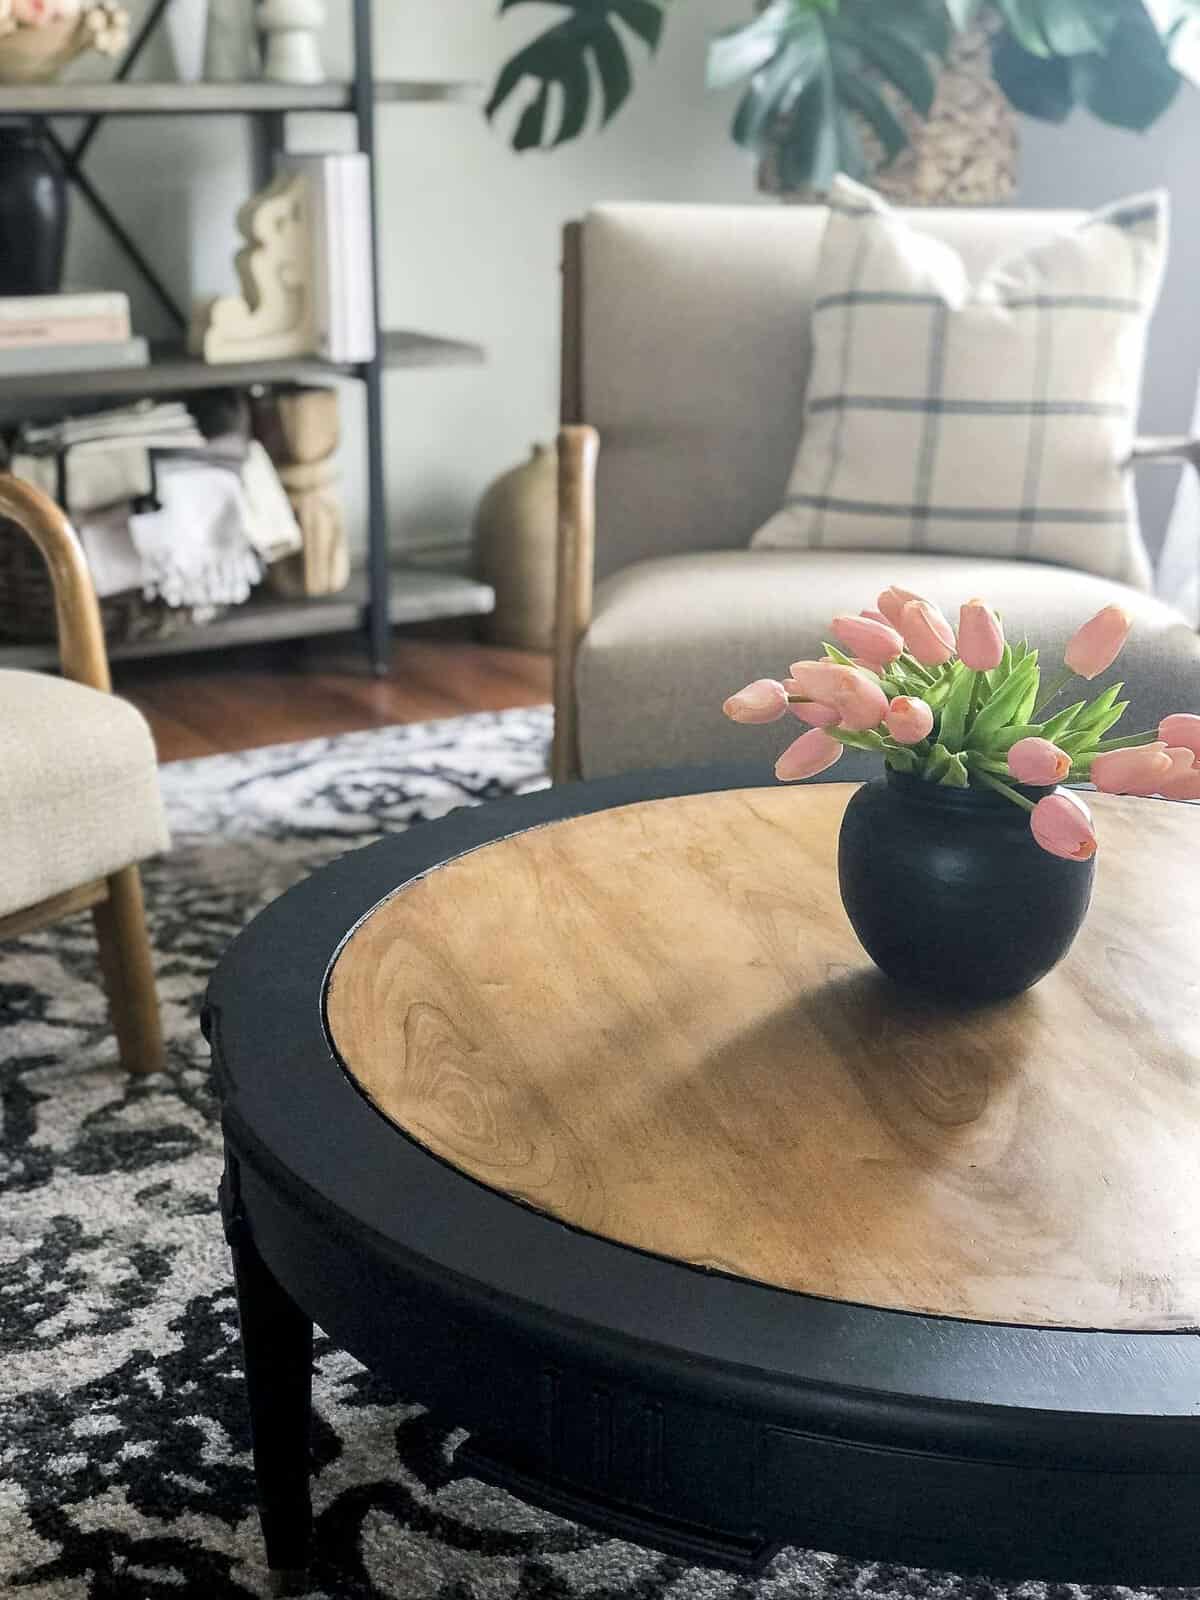
Plus, the dramatic black paint draws attention to some of the detailing on the legs.
What do you think of how it turned out? What’s your next DIY project going to be?
Also, make sure to check out what our living room looks like now! We’ve made some changes that have helped organize and streamline the function of this space dramatically!
Stay Connected
Thanks so much for stopping by the blog today! I hope this DIY furniture restoration tutorial was helpful to you!
14 Repurpose Project Ideas
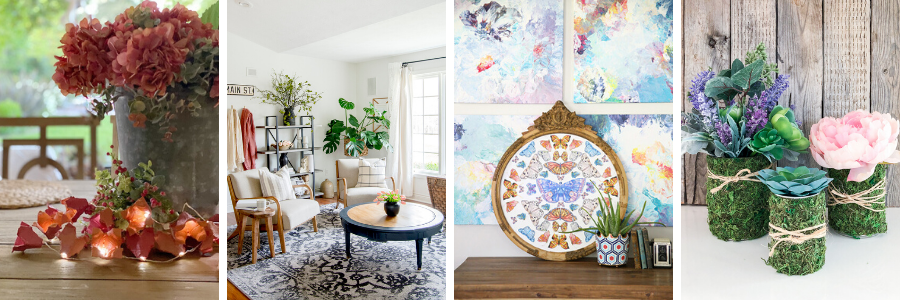
Egg Carton Crafts String Lights – My 100 Year Old Home // DIY Furniture Restoration – Grace In My Space // Butterfly Kaleidoscope Art – The Handmade Home // Moss Covered Tin Can Vases – The Happy Housie
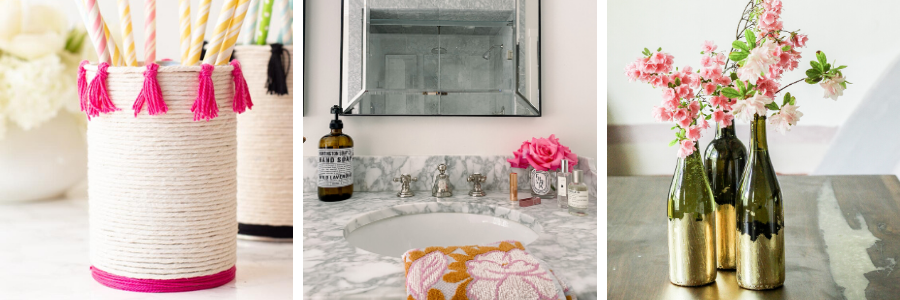
Easy Tin Can Project – Happy Happy Nester // 3 Ways To Repurpose Your Candle Jars – Modern Glam // Gold Leafed Wine Bottles – Cassie Bustamante
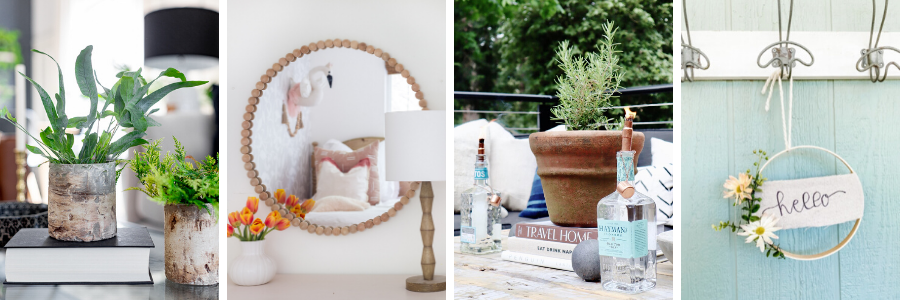
Faux Cement Planter DIY – Craftberry Bush // DIY Wooden Ball Mirror – Zevy Joy // DIY Tabletop Tiki Torch – My Sweet Savannah // Canvas Banner Hoop Wreath – Lolly Jane
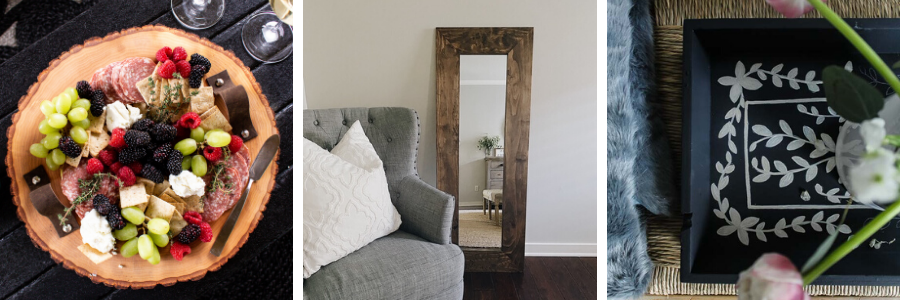
DIY Wood Slice Serving Board – Taryn Whiteaker Designs // DIY Farmhouse Wood Framed Mirror – She Gave It A Go // Faux Mother of Pearl Inlay Tray – A Blue Nest


Pin Tutorial for Later

I like the new look and isn’t citristrip the best!
This looks much more stylish, so pretty. Pinning for a reference, great tutorial. Thank you!
Thank you so much! I hope it’s helpful!
Why didn’t you sand your project? I am about to refinish a piece of furniture and I bought a sander because I thought I needed one.
Sanding can be helpful if you aren’t able to get all the paint off with the stripper first. I was able to, so I didn’t end up needing to sand!
SUCH a great transformation – amazing job on this project, Sarah! It’s beautiful!
Thank you so much Krista!
What a transformation!! Love it, girl!
Thank you my friends!
it turned out so beautifully!!! love the new look and isn’t citristrip the best!!!
Thanks Cassie! I think it is so easy to work with!
Sarah,
What an amazing transformation of your new coffee table! It looks so modern and beautiful!
Thank you Janine!