
How to Make a Wooden Peg Rack with Shaker Pegs
Making a wooden peg rack is a beginner woodworking project! Learn how to use shaker pegs to make shaker peg rail for 1/3 the cost of store bought racks!
Post may contain affiliate links for your convenience.
DIY Wooden Peg Rack
During my mudroom remodel, I learned very quickly that what I was dreaming of in my head would be hard to find. I wanted to place a wall hook rack around the perimeter of my mudroom.
Like the Oprah of shaker pegs: Hanging hooks everywhere!
However, I only found a few stores that offered shaker peg rail that was substantial enough in size for my vision. This store bought wooden peg rack was the closest thing to what I was looking for, but it only came in certain lengths. Plus, the backboard wasn’t as substantial as I wanted.
I also found some great options on Etsy, but the price of custom-built peg racks added up very quickly!
I ordered 130″ of peg rack thinking it would work for my space. When it arrived, it was so tiny! I kept one for a small section I created for my daughter, but sent the rest back.
With all of my efforts coming up dry, I decided to make my own!
How to Build a Shaker Peg Rail
This project felt intimidating before I started. I was going to be using some tools I’d never used before. I didn’t even know if it would be sturdy once I was finished! But I gave it a try and am so happy with the results.
It only took me one morning to build 130″ worth of peg rail. Plus, I was able to customize the size and length for my room.
The Material List
First step: Gather your materials.
Tools Needed
- Drill with 1/2″ spade
- Wood glue or liquid nails
- Measuring Tape
- Level
- Square
- Rubber mallet
- Wet rag
- Gloves (optional)
- Miter saw or circular saw (You can also have your wood cut to size at home improvement stores.)
Peg Rack Materials Needed
- Shaker Pegs
- Wood for back board
- Wood filler
Shop Materials

I chose to use 1×6 select pine for my project.
Poplar is another good choice for durability. You can use whatever size wood you like the look of, making sure that there is enough space to place the shaker pegs. 1x4s offer a more modern and clean look. 1×6 – 1×8 offer a more traditional look.
Wooden Peg Rack Process
First, cut your board to size to fit the space you are placing it in your room. My wooden peg rack surrounds my mudroom, so I made sure to use miter cuts in the corner.
Measure and Mark Spacing
Next, draw a level line down the center of your board. This will be your guide to place all the shaker pegs.
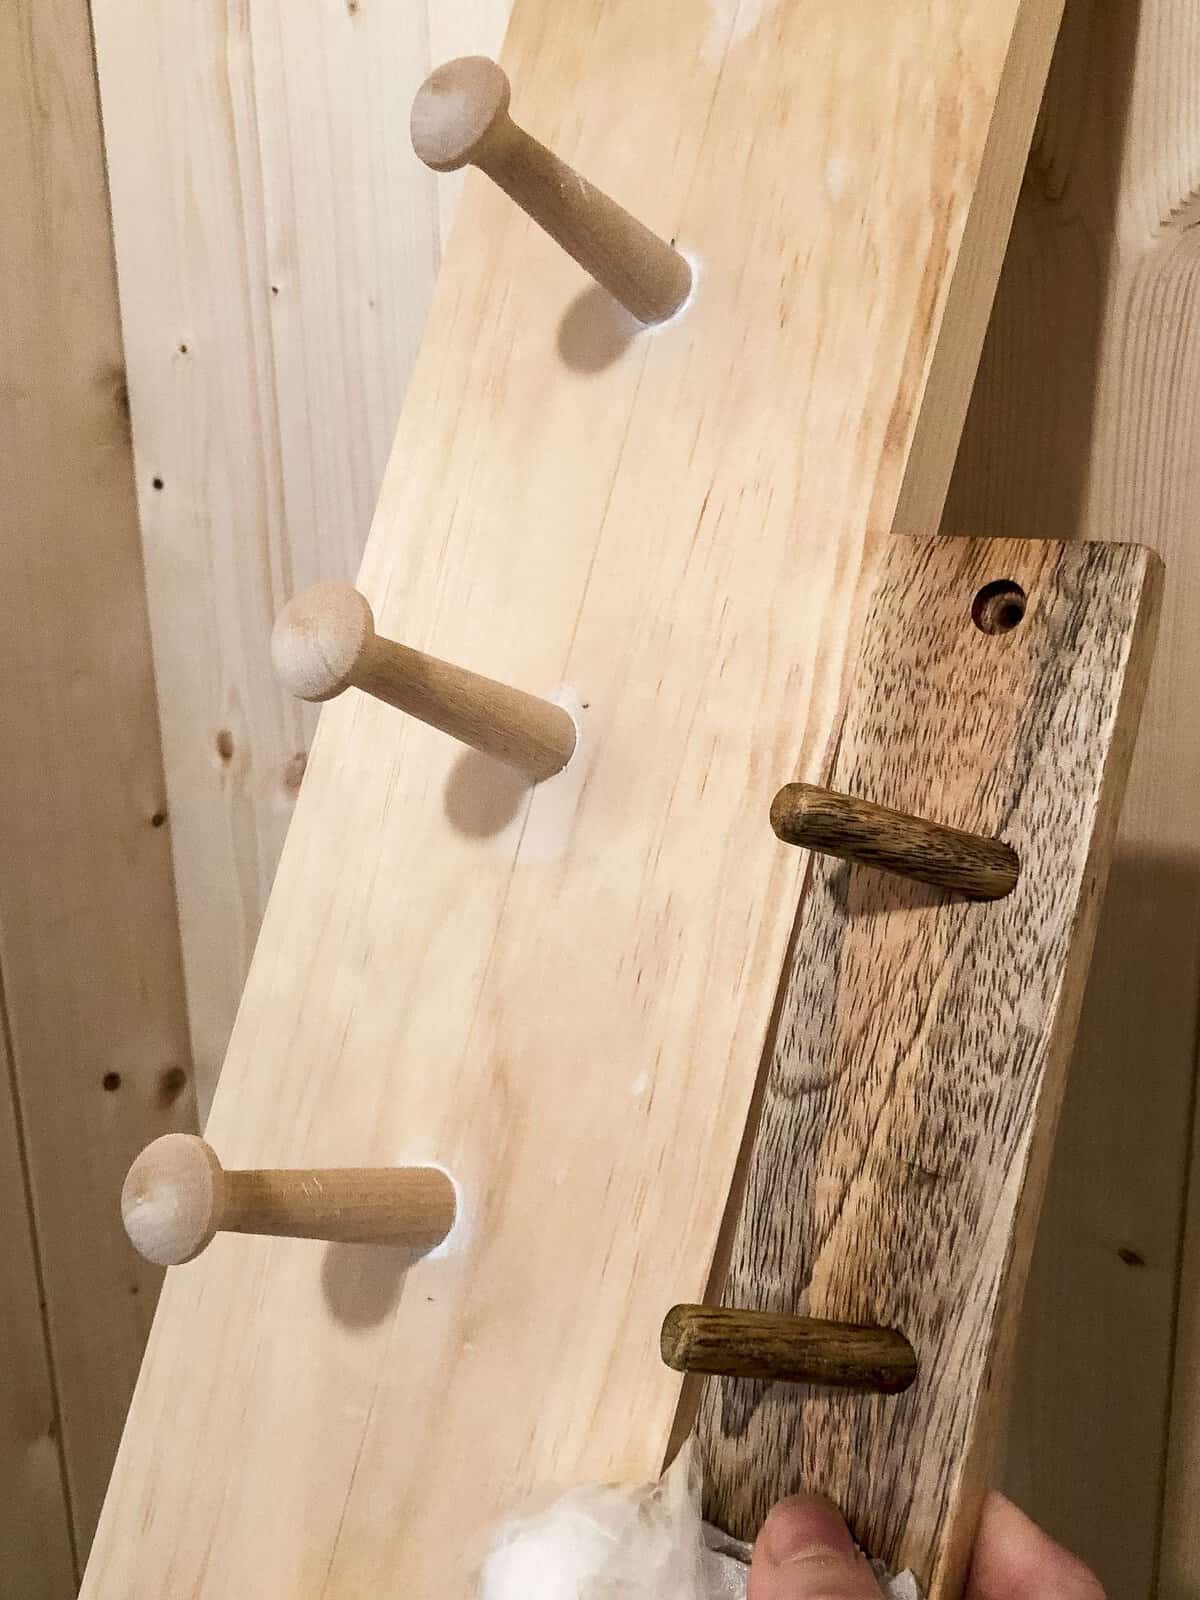
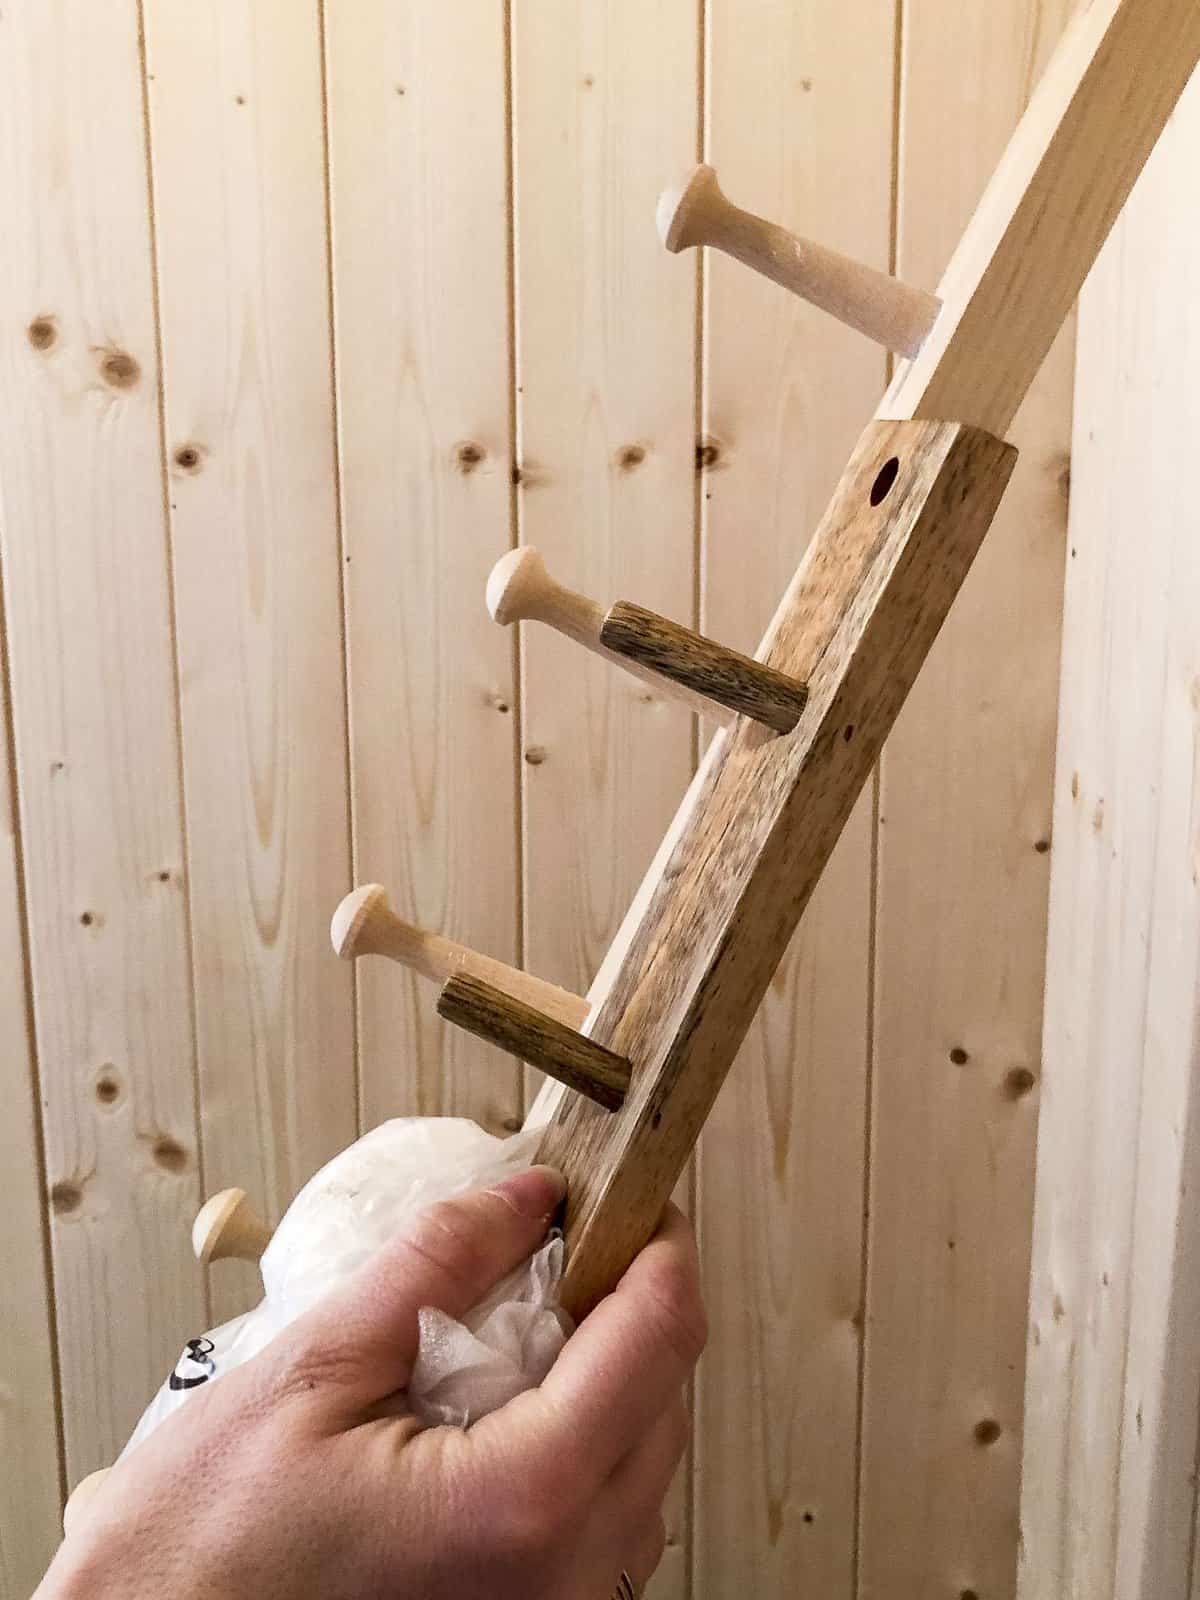
Once you have your guide-line, you need to determine how far apart you want your pegs to be placed.
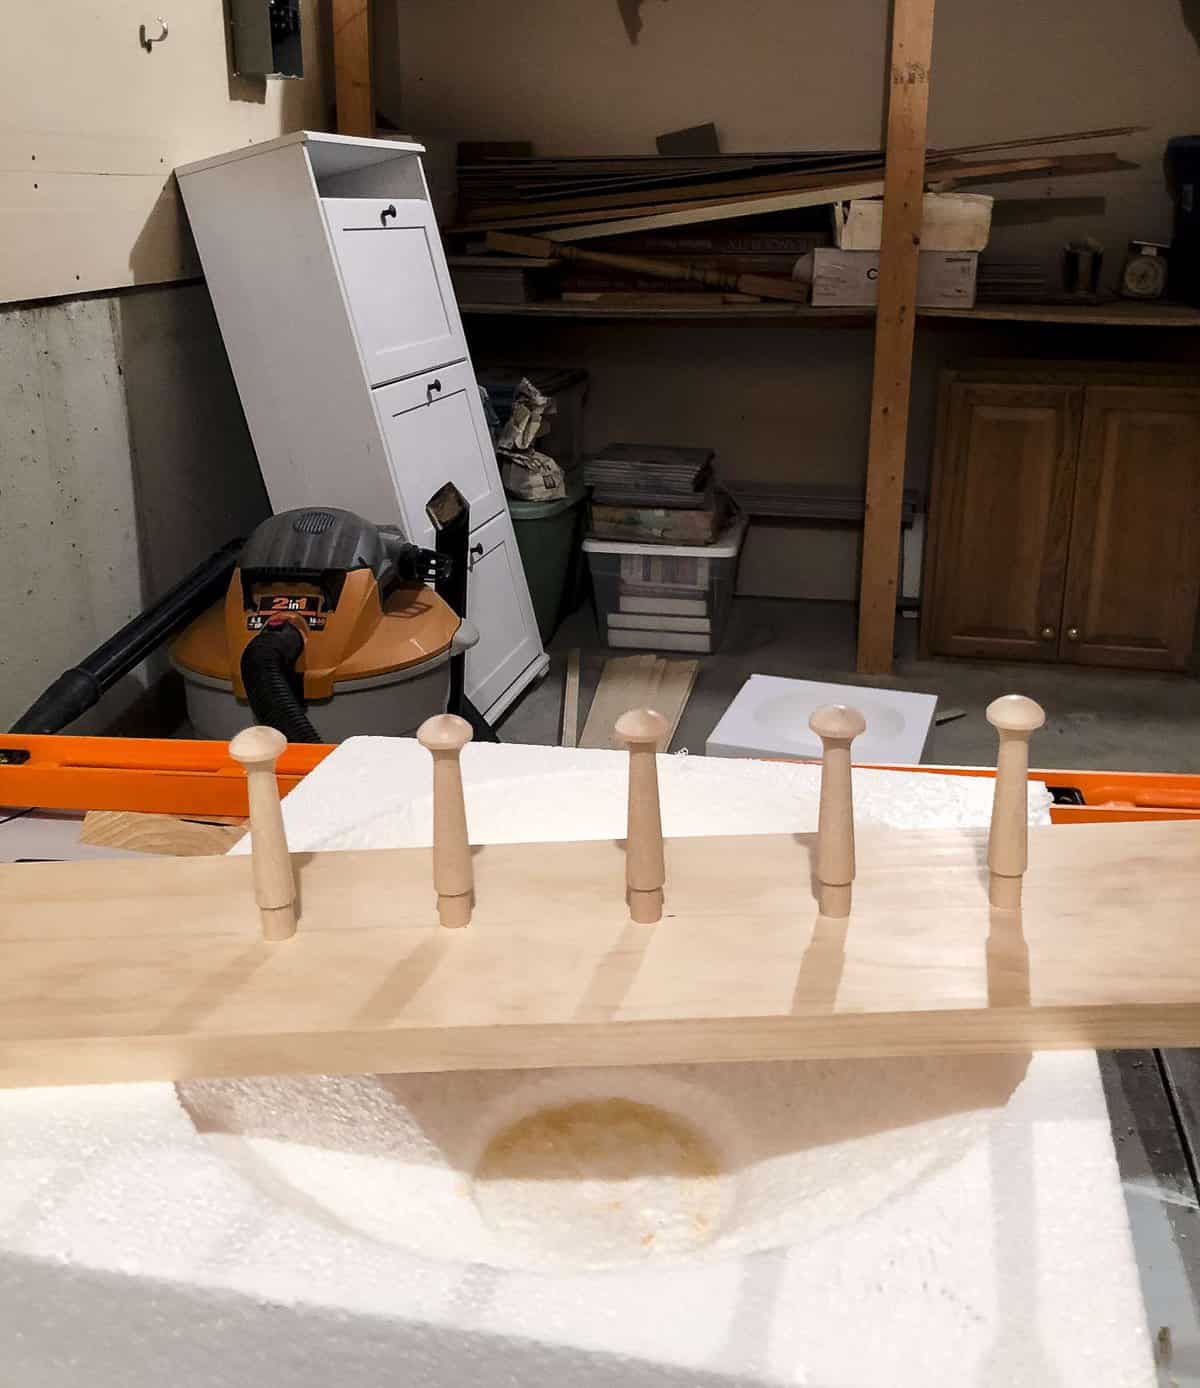
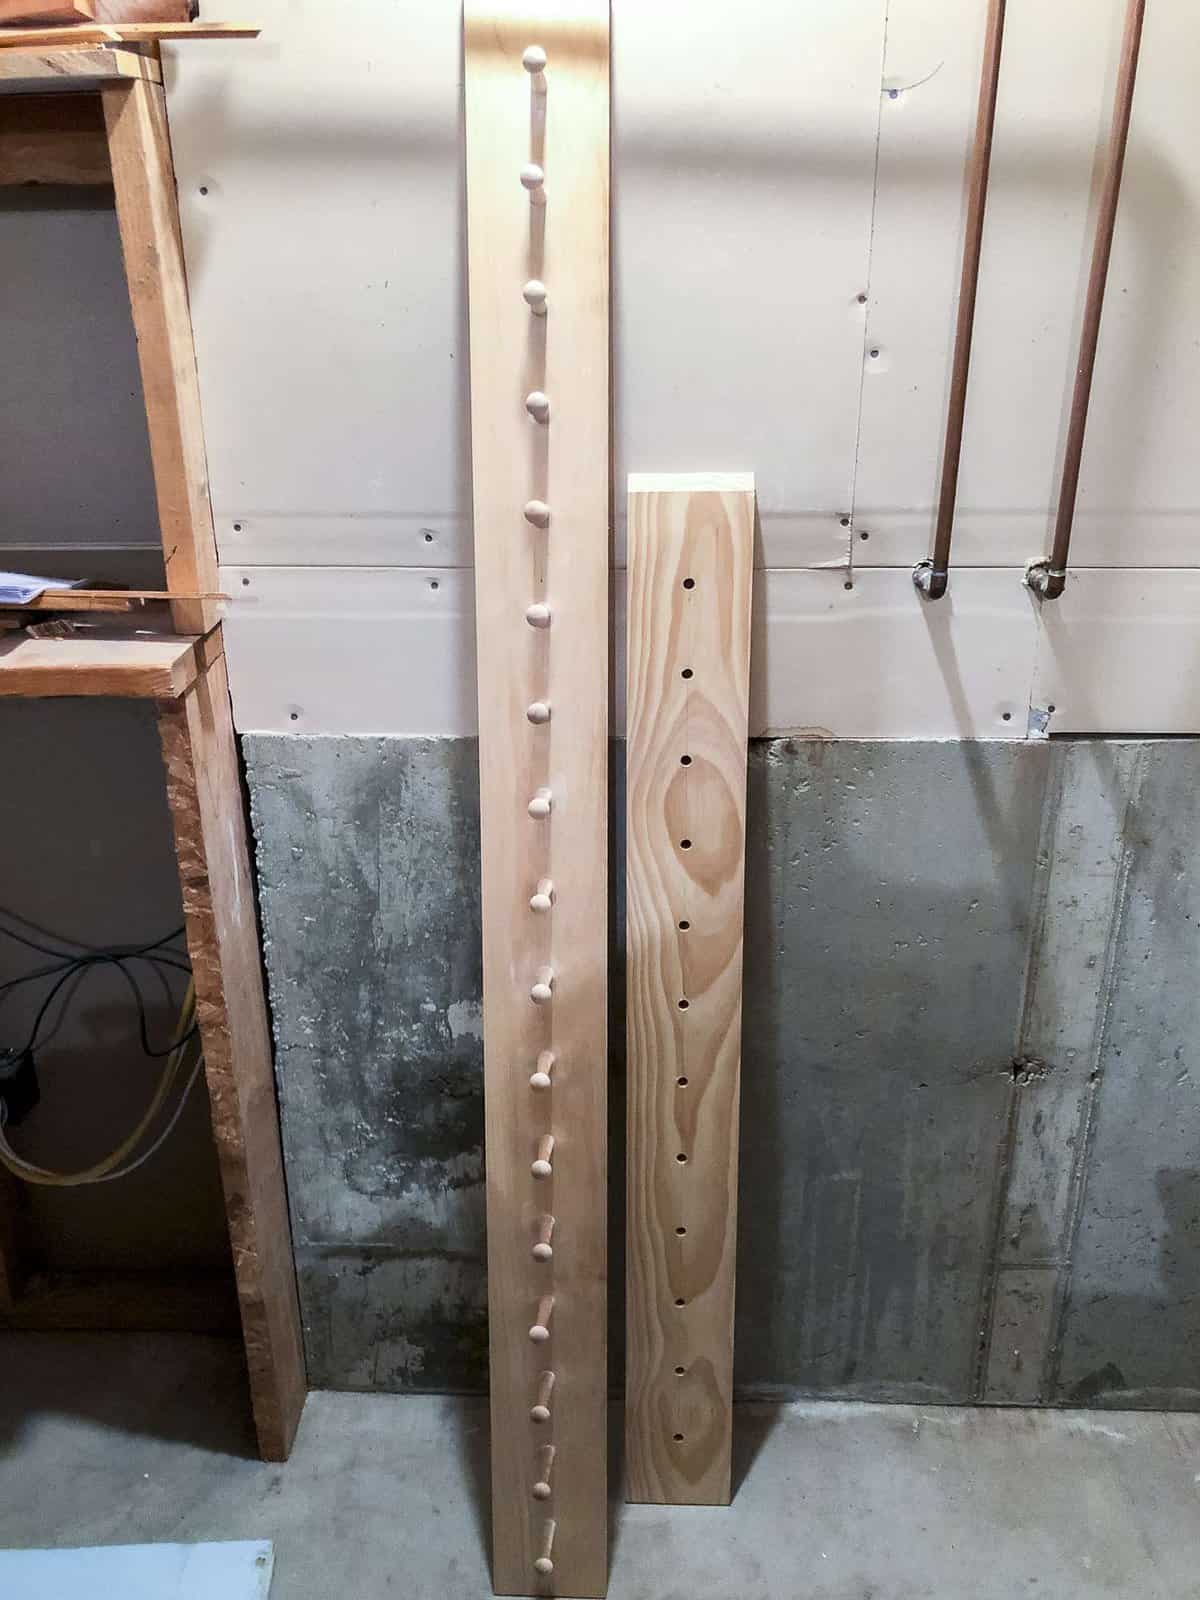
I played around with the spacing before I drilled any holes. The photo above was a 3″ on center placement. The photo below is 5″ apart. In the end, I decided to meet in the middle and spaced my pegs 4″ apart.
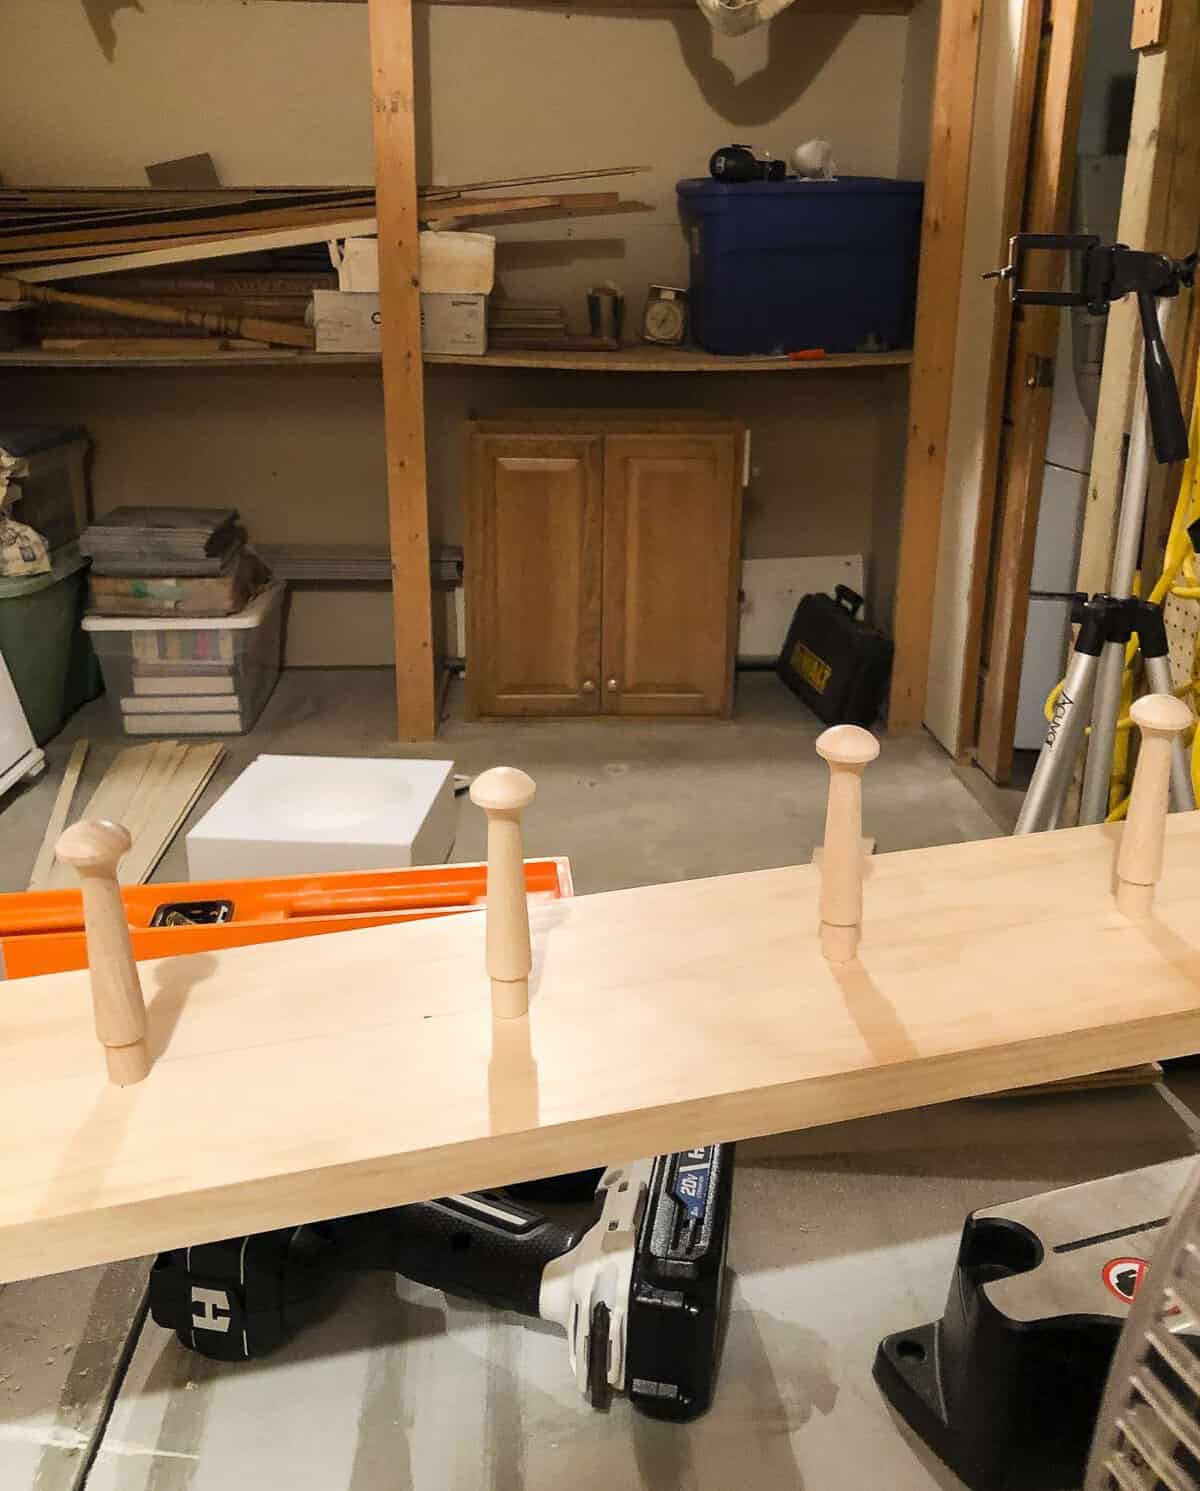
Three inches was too close together to be able to hang coats easily. Five inches didn’t give me enough pegs to utilize for winter gear!
Once you’ve determined your placement, use your measuring tape to mark where each peg will go. I started 3″ in from the end (to allow for screws) and then marked every 4″ on my center line.
If you’re placing your peg rail around a room like I did, make sure you allow spacing for the corner pegs. One wall will have to have a gap of pegs so that the opposite wall has a functioning peg. Otherwise, they will overlap.
Drill Your Holes
The next step is to drill your holes. My shaker pegs have a 1/2″ tenon, so I used a 1/2″ spade to drill each hole. There are multiple ways you can drill your holes if you have other tools. However, this is the most basic way for beginners.
I chose to drill straight in rather than on an angle. I went all the way through my board, though I’ve been told by some talented people there is a way to keep 1/4″ of your back board solid to have a sliver to screw your peg into.
That is something I may try in the future, however, my method worked just fine!
Glue (Or Screw) Your Pegs In
The final step is to glue your pegs into your back board. I used liquid nails because that is what I had on hand. Wood glue also works great. If you’re planning to paint your wooden peg rack then just make sure the glue is paintable!
I placed a bead of glue around the tenon of my peg, put some around the inside of my drilled hole, and then tapped the peg in lightly with a rubber mallet.
Make sure to have a wet rag handy to wipe the excess glue off.
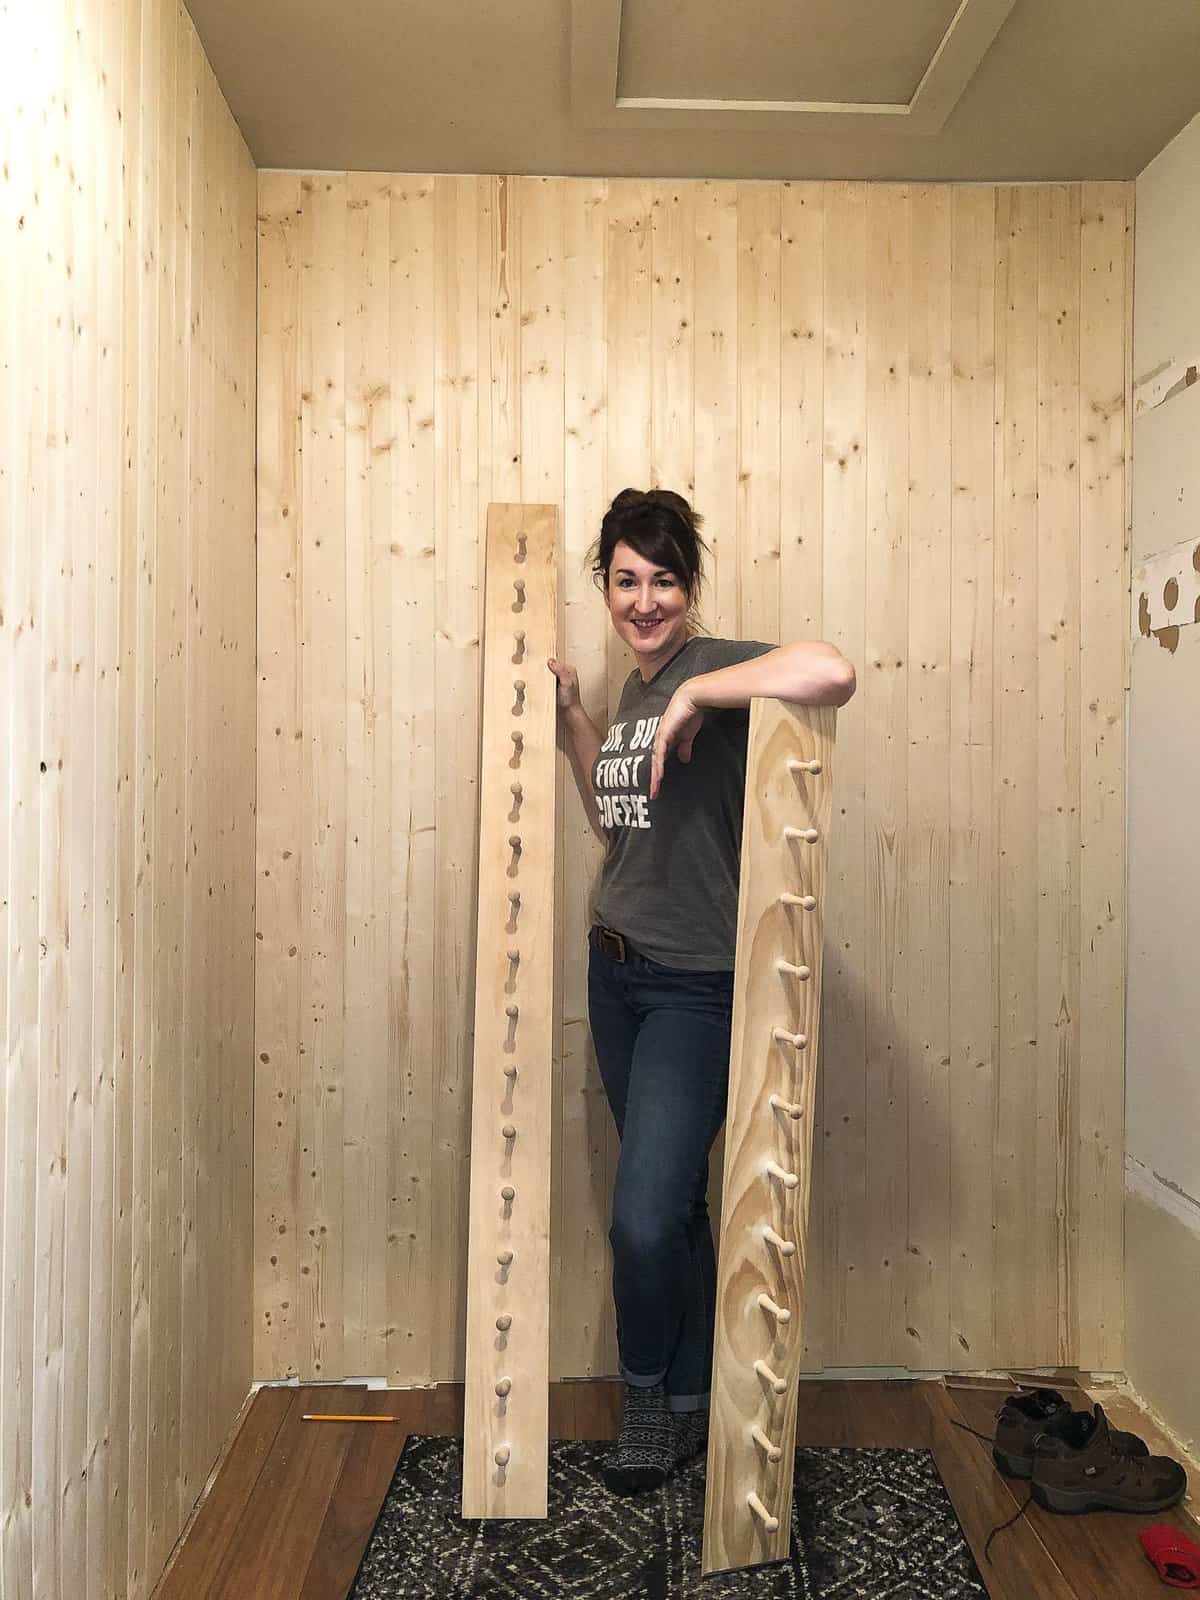
Let your pegs dry per the glue instructions and you are DONE! It took me one morning to build these DIY shaker peg rails and I got the exact look I was going for.
Install and Paint
Once your glue has fully dried, install your peg rack into studs with screws. Make sure you countersink your holes so that you can cover the screws with wood filler for a seamless finish.
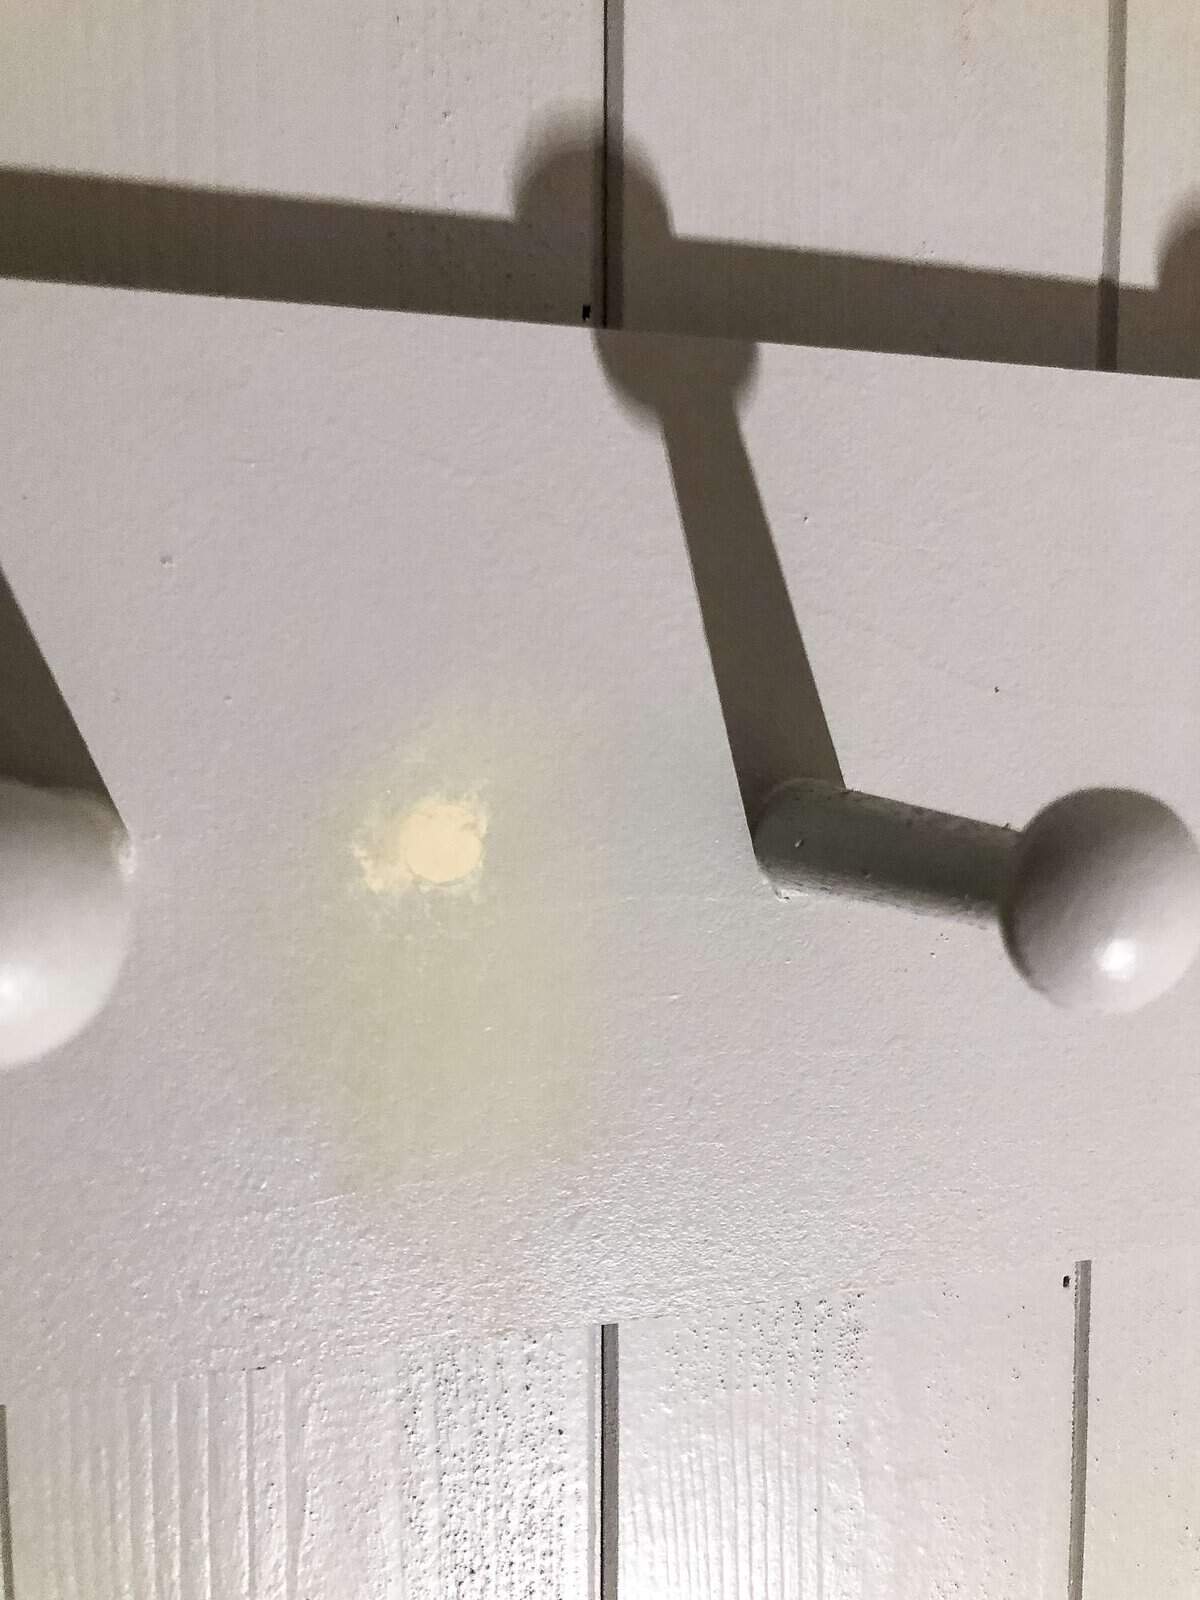
Then, caulk your corners and seams and finish with paint!
Homemade v. Store Bought Wooden Peg Rack
When I originally purchased the peg rack that I returned, it cost me $110 and it was so tiny!
While a smaller peg rack certainly has its uses (like the one I kept for my daughter), it would have been a compromise for me to use it around the entire room.
Plus, when all was said and done, my DIY wooden peg rack only cost $30 to make! That’s 1/3 the cost of store bought. Now I’m planning to make a ton more peg racks to use in our garage when I reorganize it this summer.
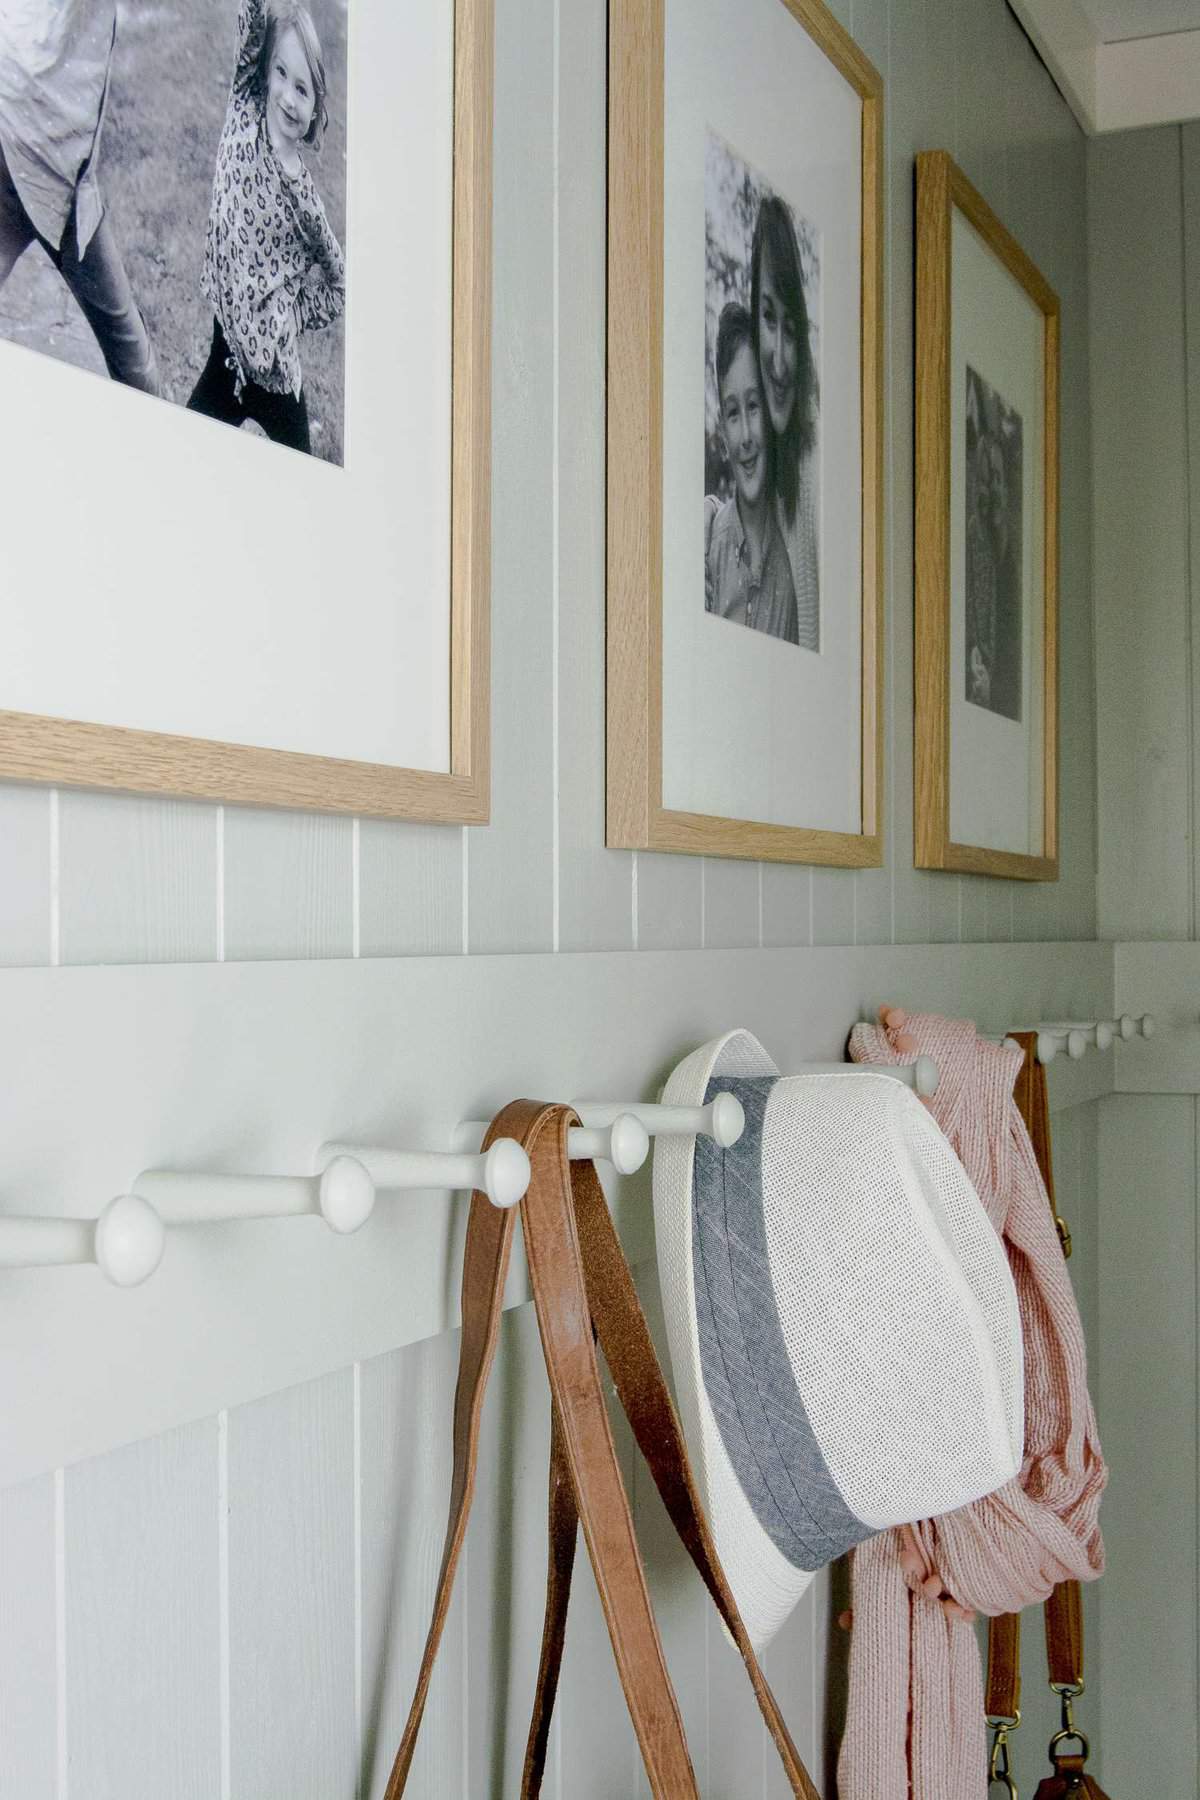
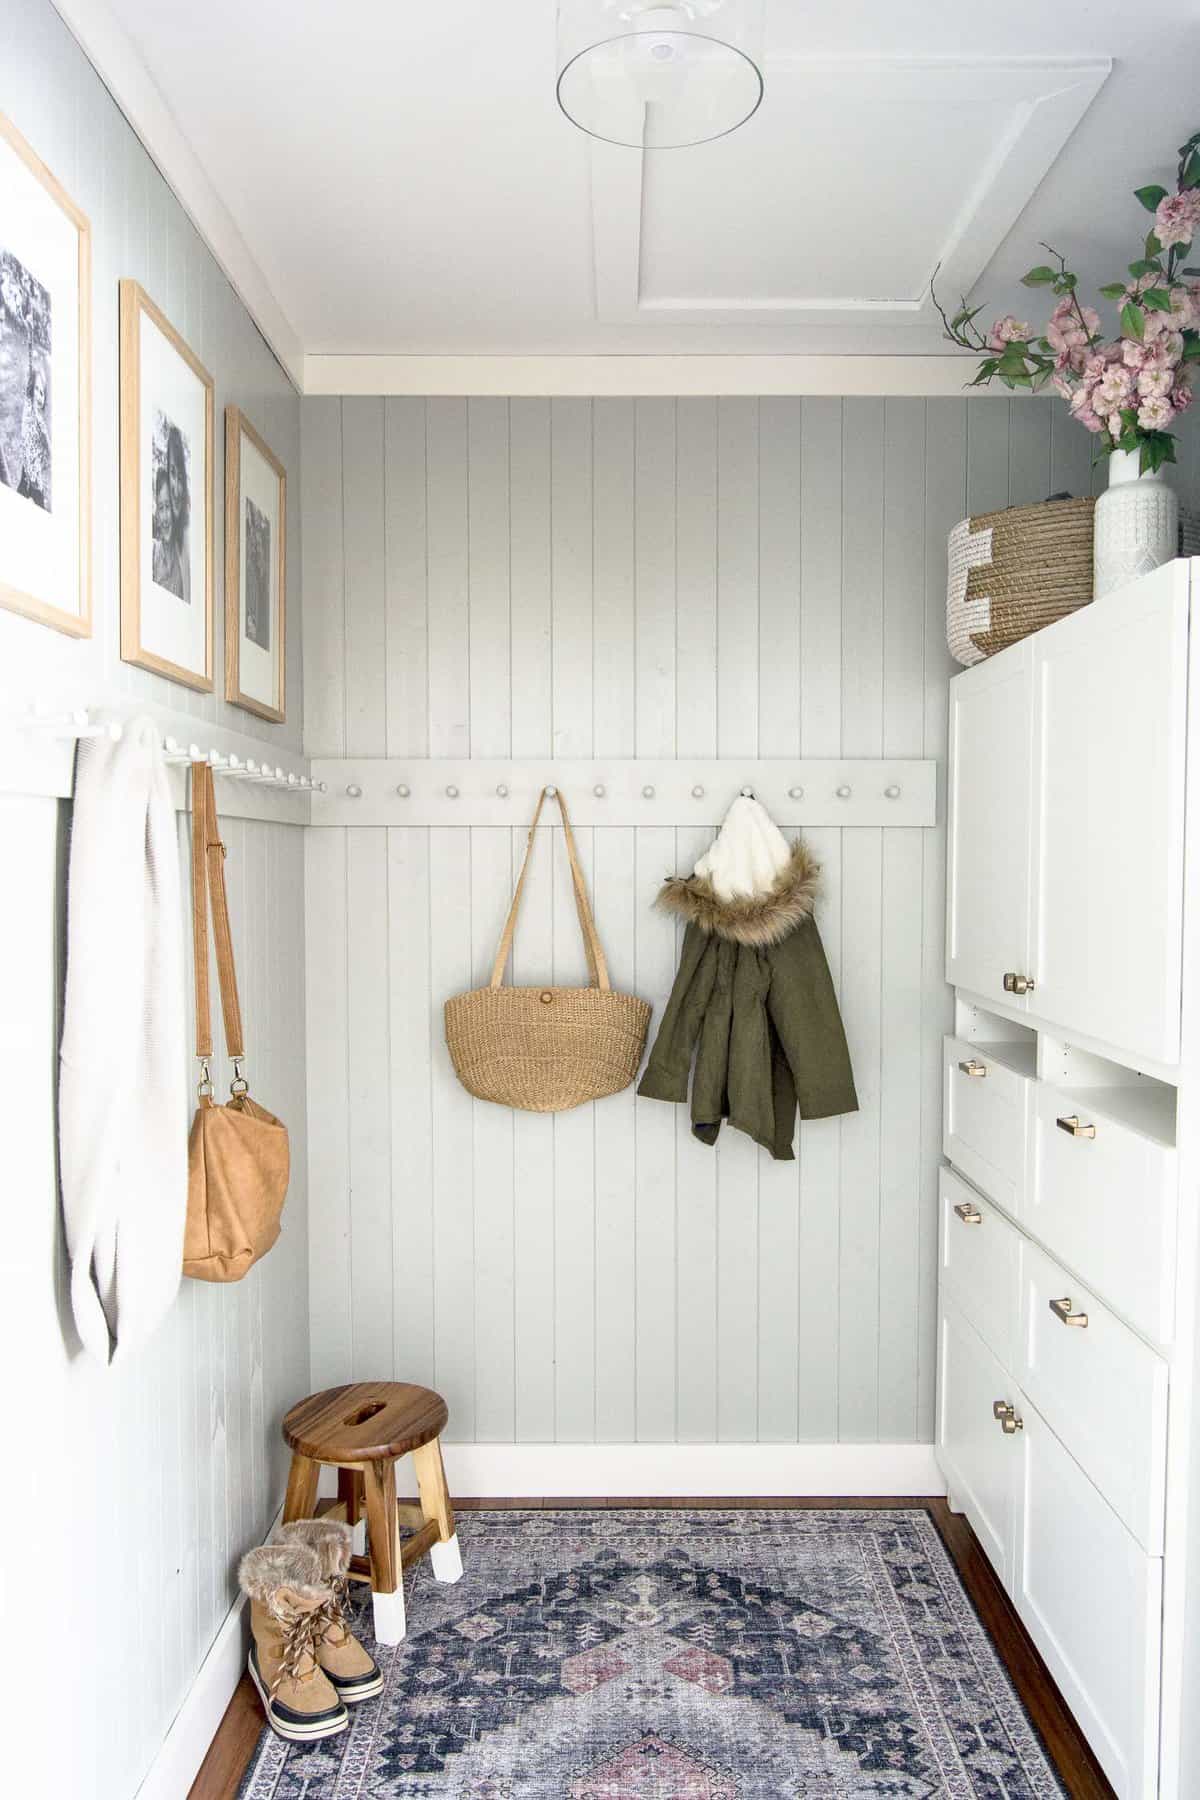
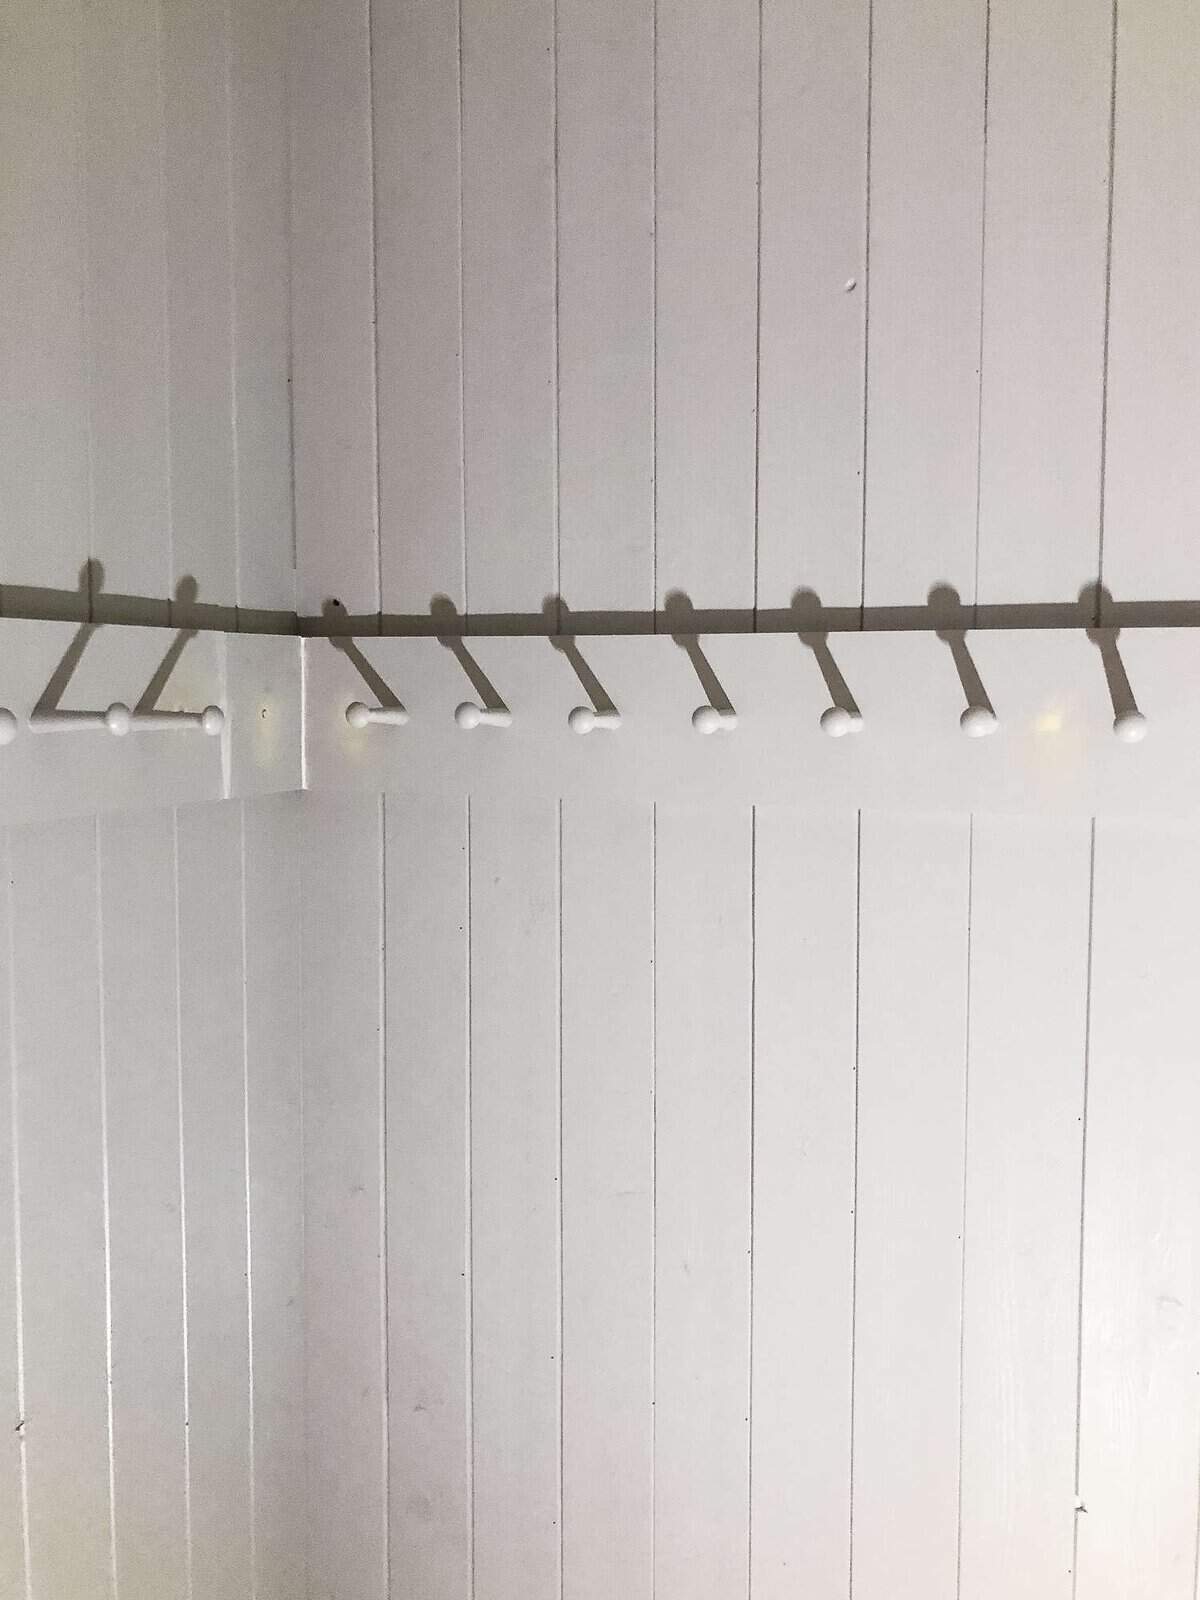
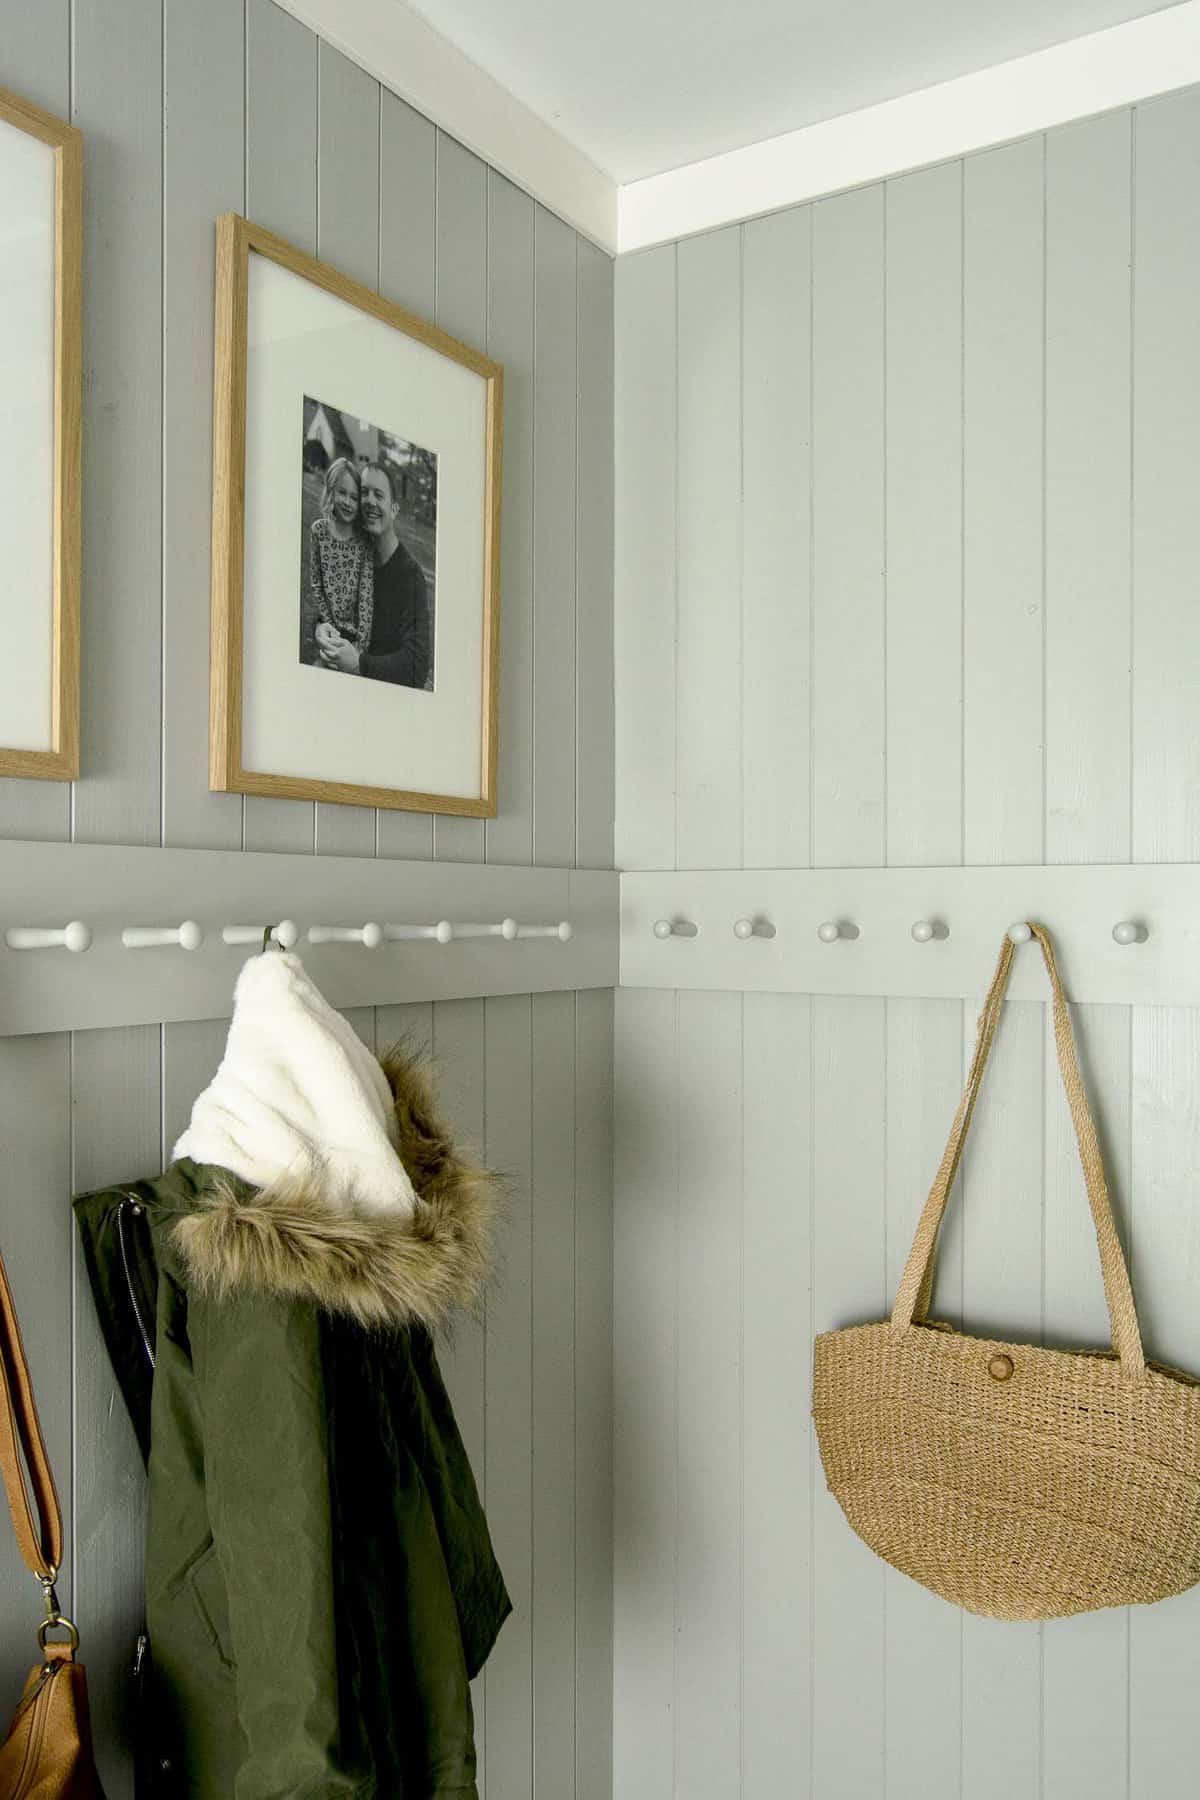
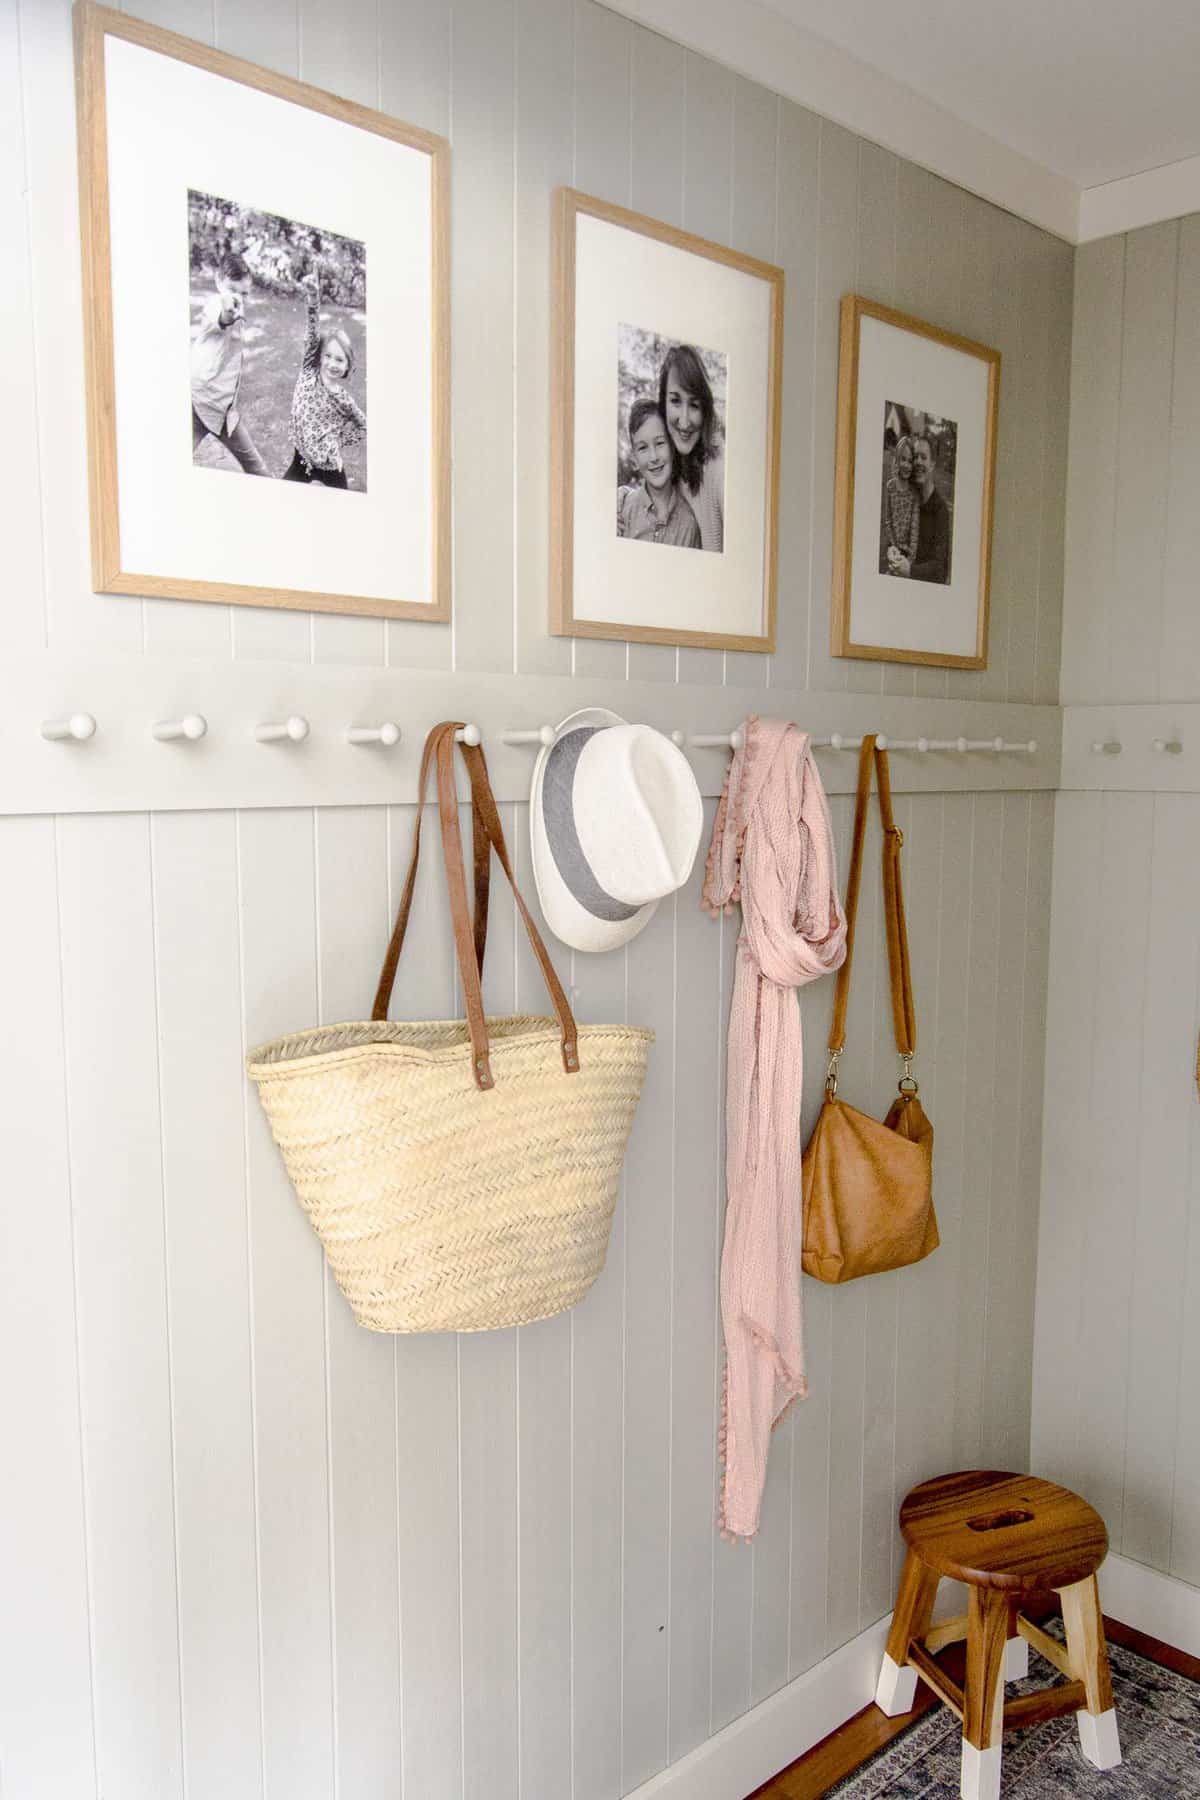
Finished Shaker Peg Rail
I’m so happy with how it turned out! My kids have actually been hanging all their gear rather than throwing it on the floor because they’re lockers were full. MOM WIN!
I was able to create my vision for this space more affordably and quickly!

You can see all the details and sources for my mudroom design here. What do you think of how it turned out?!
Stay Connected
Thanks so much for stopping by the blog today! I hope this DIY wooden peg rack tutorial was helpful to you! Leave me your questions in the comments and I’ll update the post with answers.
And make sure to tag me on Instagram if you decide to make your own! I’d love to see all your projects!!


That’s a great idea for my hallway and holding so many bags etc.
What height did you install it at? We want to put one in our bathroom but I’m struggling with picking height.
Mine is about 5 feet. I based that off of our family, and we are all tall. It also depends on what you are going to use it for. Long robes or bath towels will necessitate a higher height so the fabric doesn’t puddle on the floor. 🙂
Great blog! I will add this to the list of projects to do. This is worth the work that I’ll put into, glad that you shared this Sarah!
I’m glad you enjoyed it!
This looks great, I am going to attempt it next week! Do the pegs hold much weight? My kids hang their full backpacks from our current peg rack (which has fallen off the wall). I just want to make sure these are secure. Thank you!
Have fun with the project! Yes, they hold my kids full backpacks and more just fine!
Beautiful! What is the paint color you used? I love it!
It ended up being a custom mix. 🙂
This is an excellent tutorial, thank you!
I’ve been meaning to make peg rails for our new home but all of the tutorials I’ve reviewed previously, while informative, were also a bit intimidating.
This is a perfect beginner tutorial for the faint of heart or nervous with a drill press 🙂
Yay!! That makes me so happy to hear. Good luck on your project!