Painting Interior Doors with a Paint Sprayer
Painting interior doors is an amazing way to update your home interior, and it just got faster! Learn how to use the best home paint sprayer with ease!

This post is graciously sponsored by Wagner Spray Tech. All thoughts and opinions are my own.
This post may contain affiliate links where I earn a small commission on your purchases.
Painting Interior Doors
My last two homes have had solid wood interior doors. These are an amazing element to have in a home for their durability and sound proofing. However, I have never been a huge fan of wood doors.
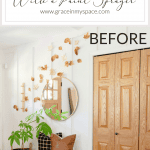
Painted Wood Doors | Before
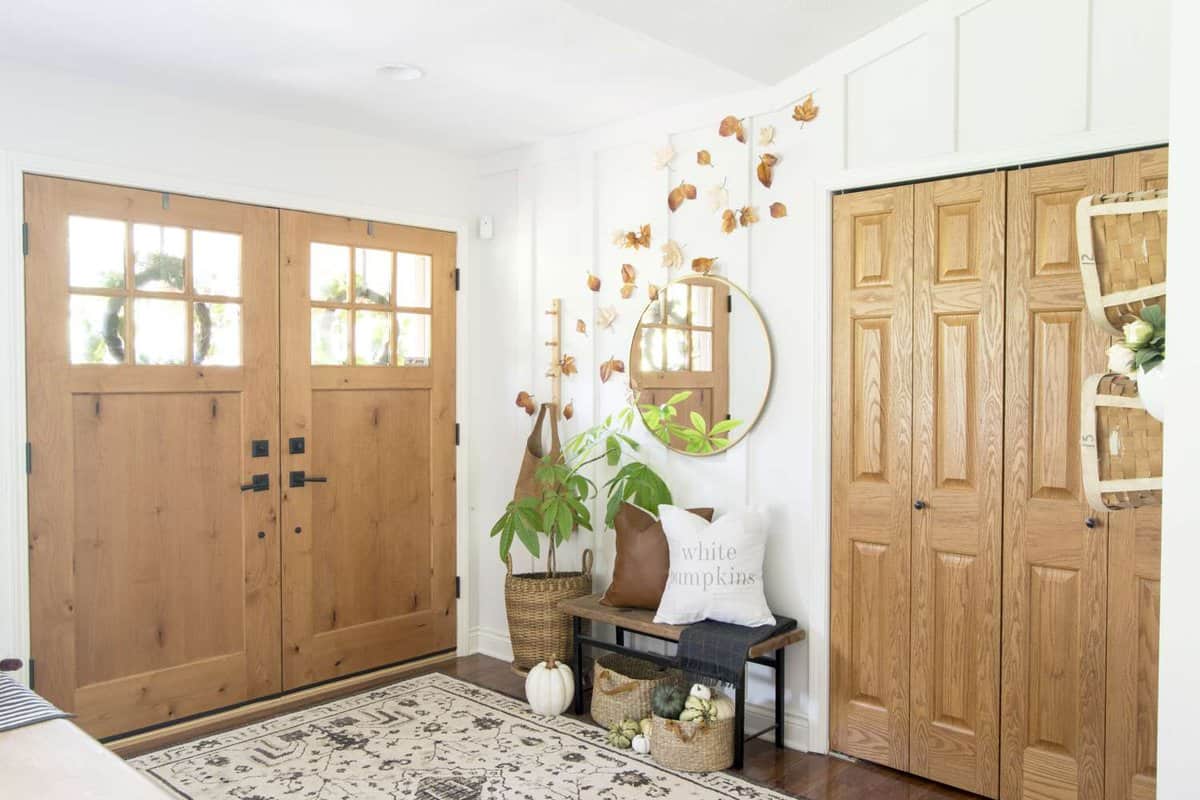
I’m more drawn to certain stain colors than others and the orange hue of our existing entryway closet doors has always thrown me off.
I LOVE our exterior entry doors and the wood tone they offer. I do not plan to change those because I love the character, but the closet doors being so close to the exterior doors always felt too dark. Almost like they competed with each other.
So, I decided to paint these entryway closet doors with the Flexio 5000 Paint Sprayer by Wagner Spray Tech. Today I’ll be sharing the step by step tutorial!
Spraying Interior Doors Tutorial
Before I began this project I perused Wagner Spray Tech’s website to find the best paint sprayer for this project. I chose the Flexio 5000 because I wanted an interior paint sprayer for smaller projects and this model came with two finishing nozzles.
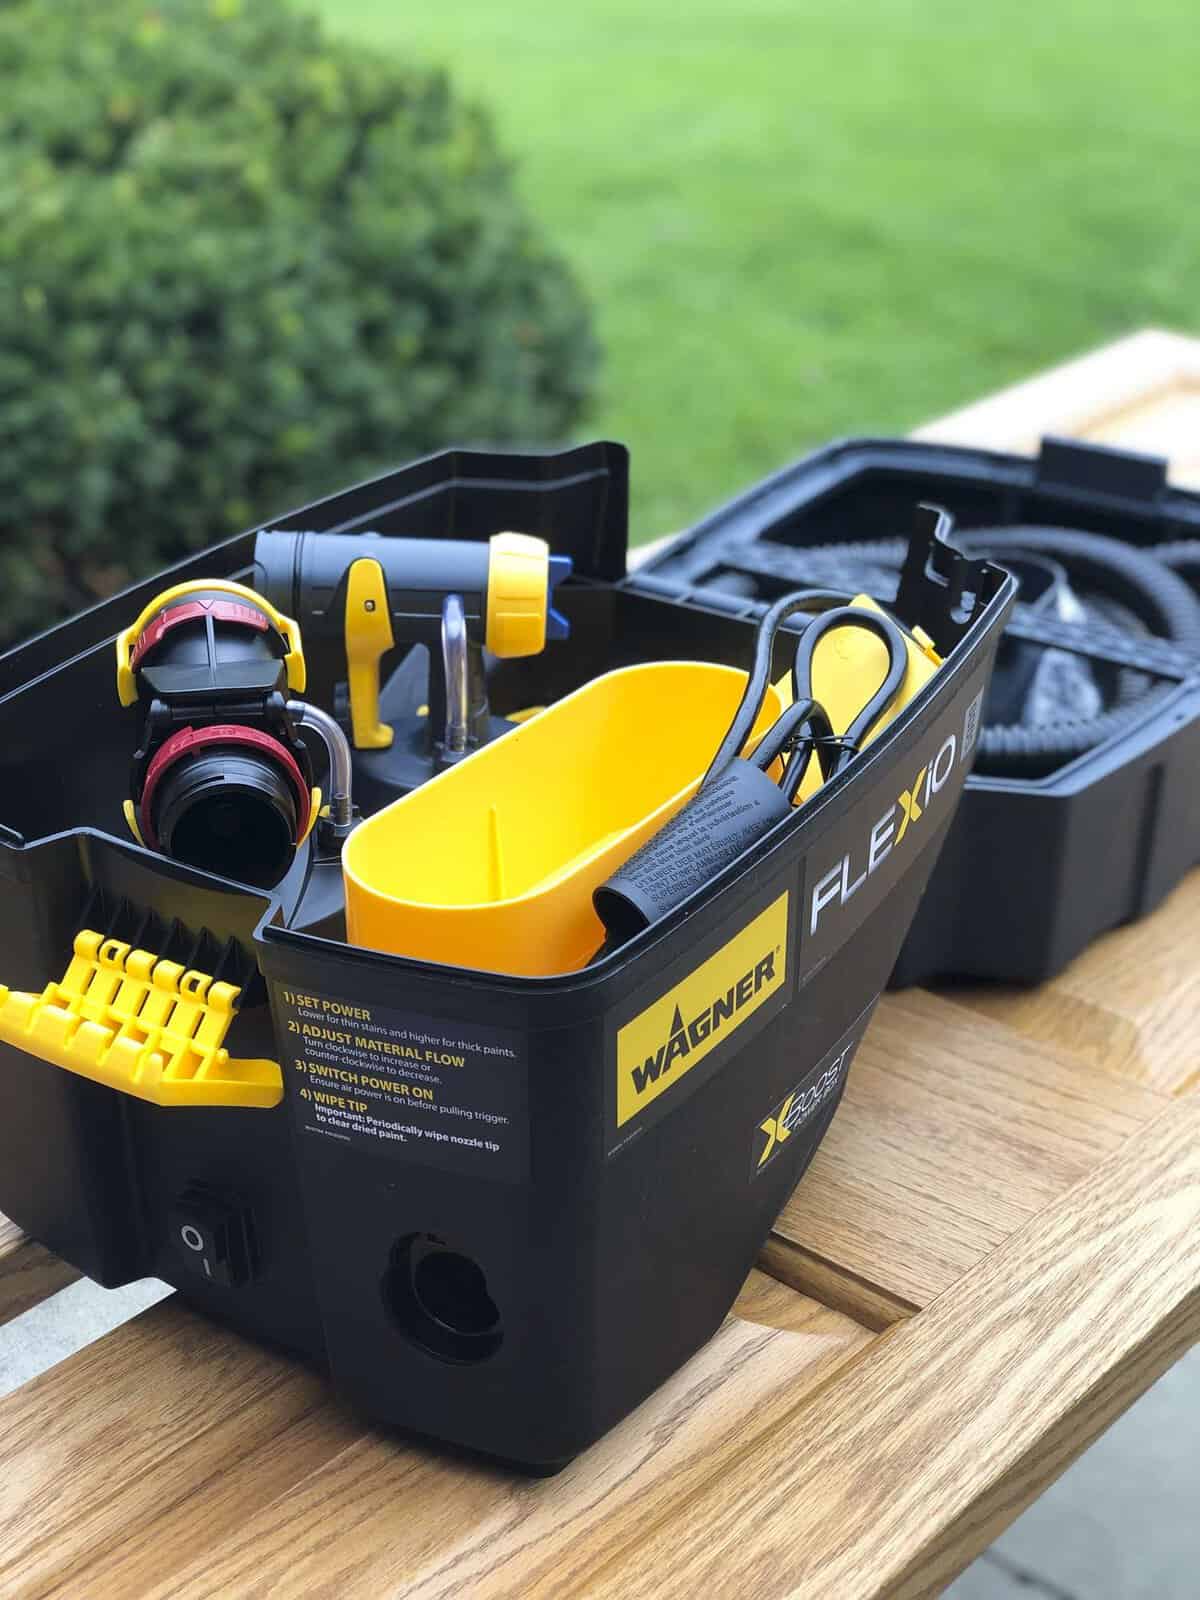
So while I will be able to use it for indoor projects, it has the flexibility to also be used on larger projects in and outdoors.
Prep Steps
The first step is to remove the doors and their hardware. The Flexio 5000 is also made to be used indoors and out, however I chose to do this project outdoors to avoid my kiddos running through my paint stream. 😉
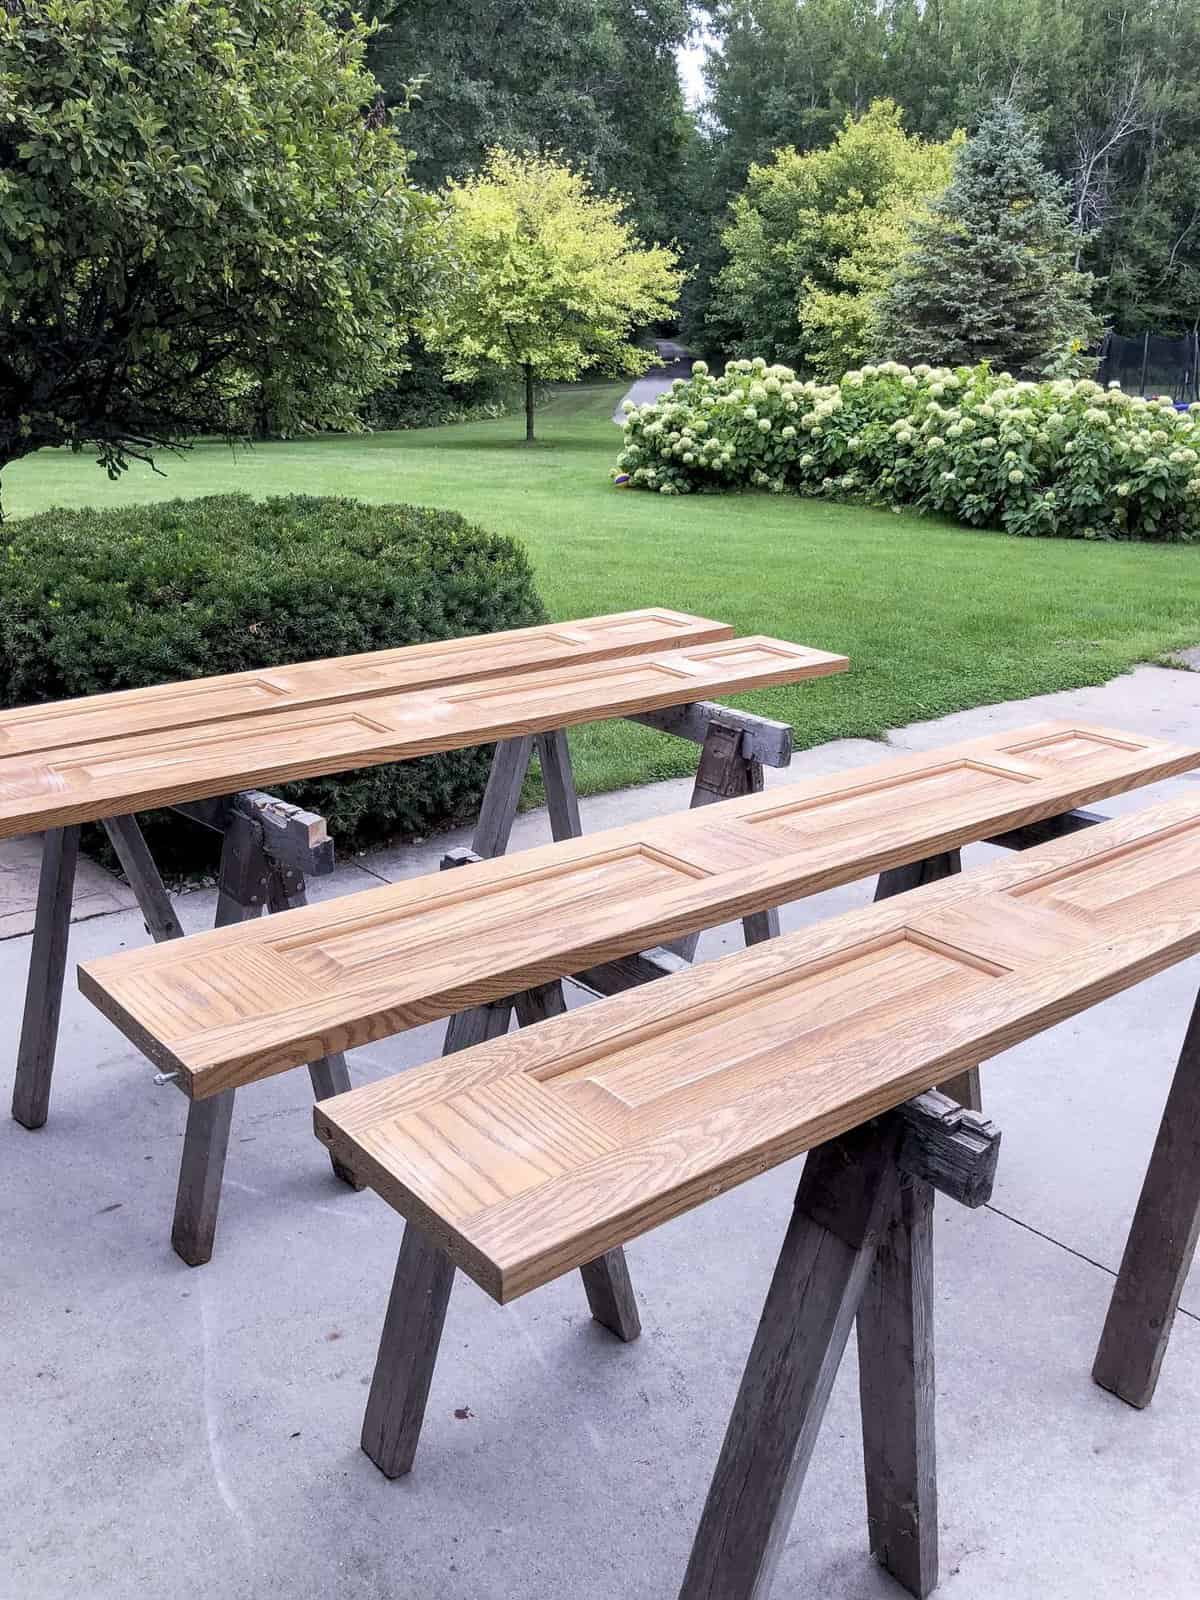
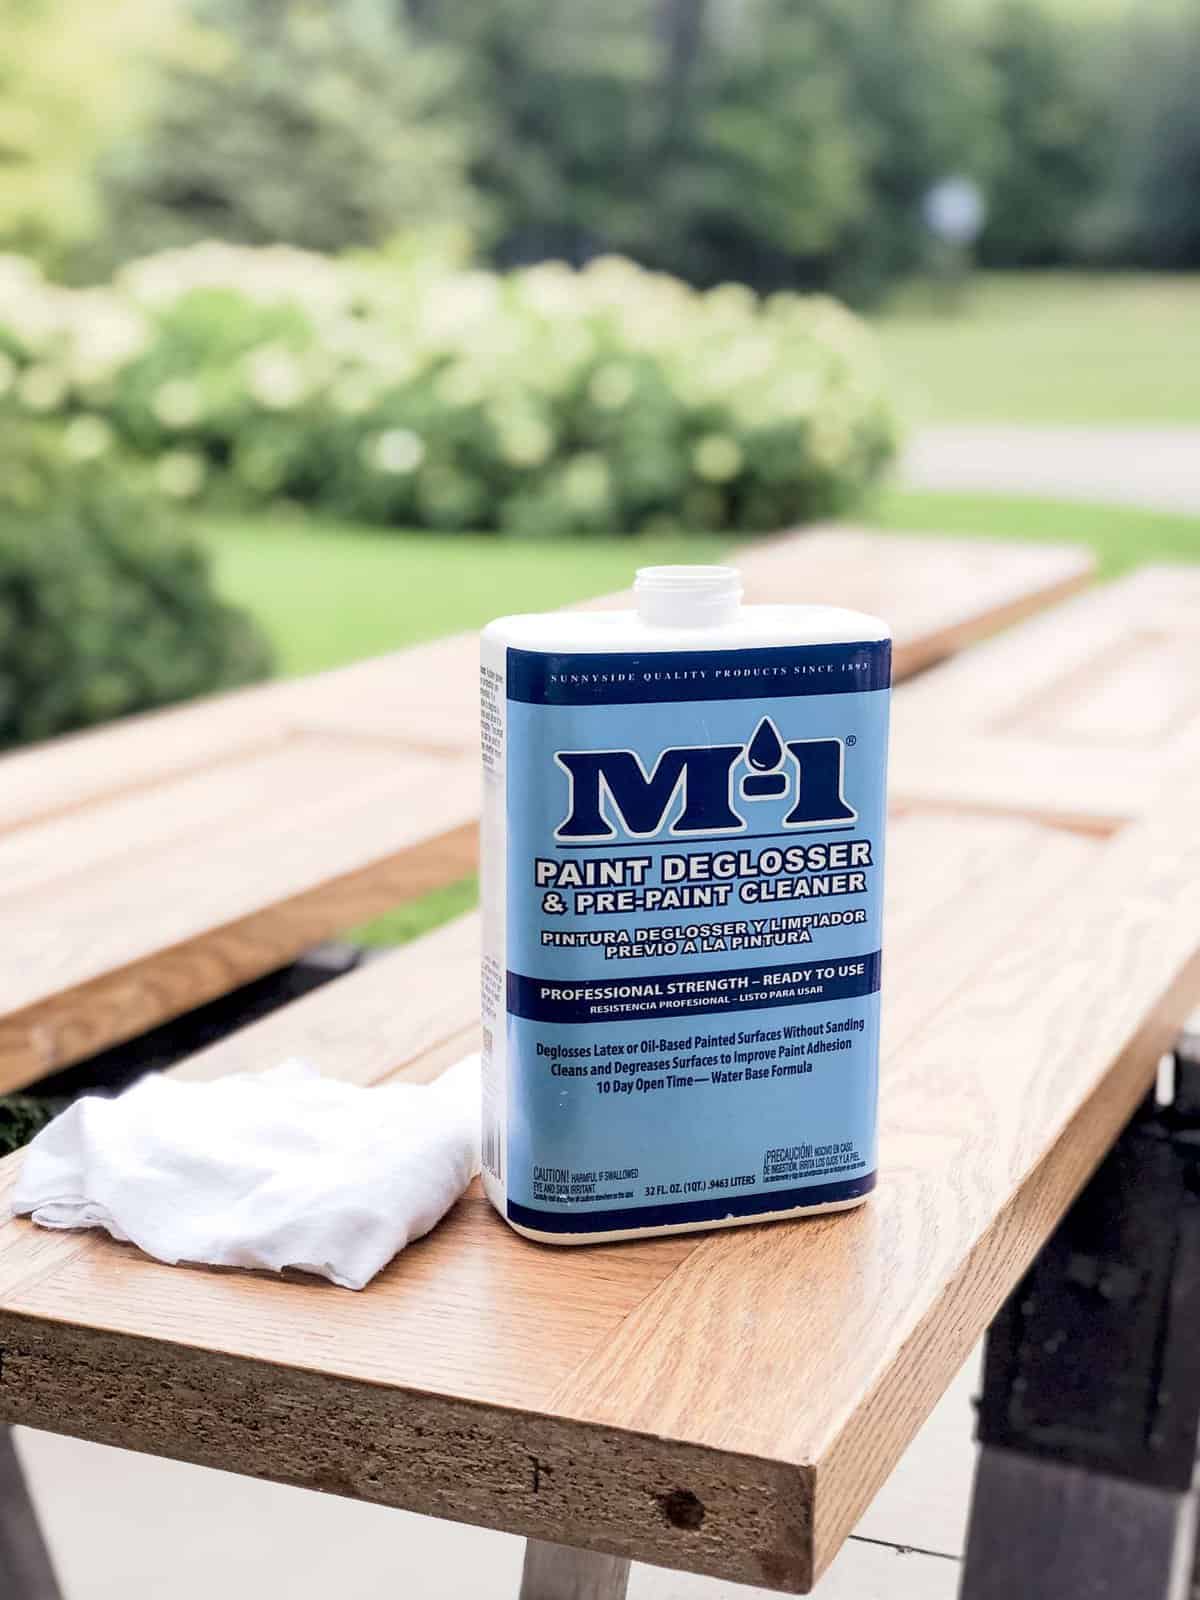
Next, prepare your interior doors for the paint. I used a deglosser to get into all the nooks and crannies of these tightly molded doors first. Then, I followed it up with a light sanding.
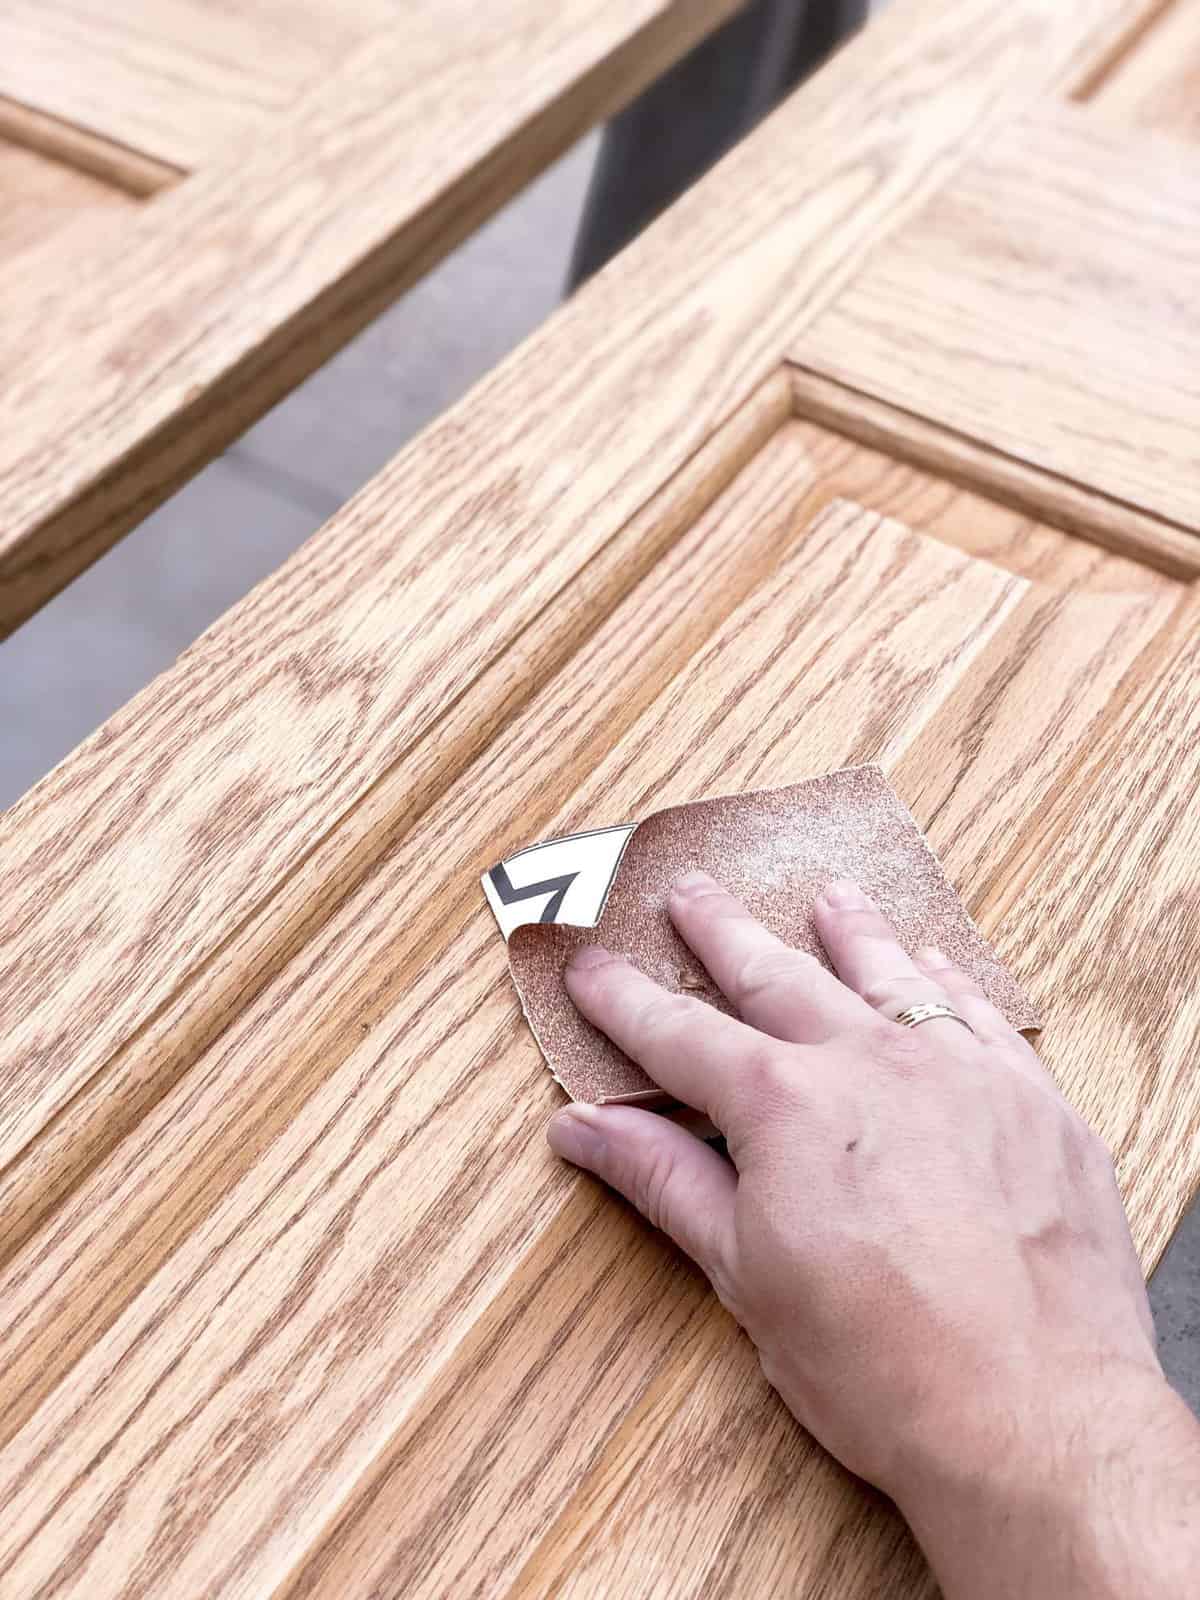
These steps help the paint adhere once I’m ready to use the paint sprayer. I’d follow these same steps to prepare any wood surface to accept paint whether using a sprayer, brush or roller.
After I finished preparing my interior doors, I set them up vertically. I felt this would be the easiest way to use the paint sprayer rather than trying to paint standing over them laying flat.
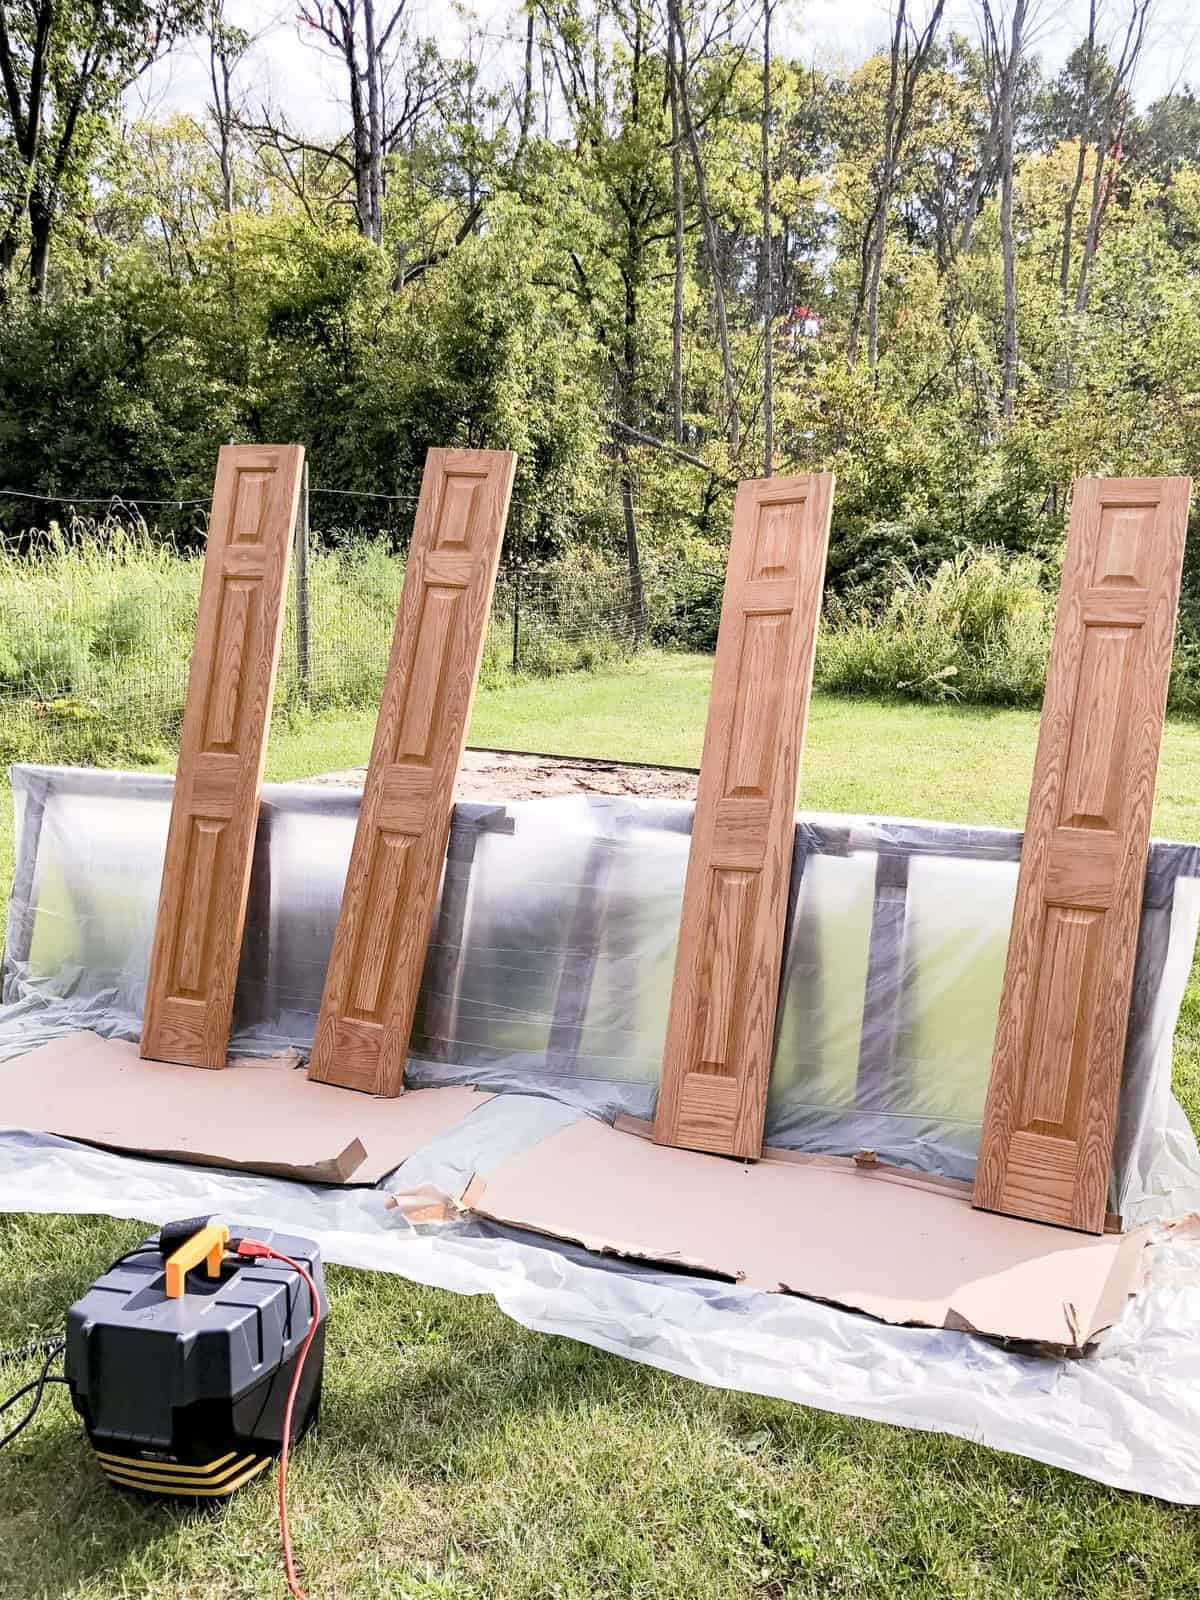
Fair warning: Don’t do what I did. I rigged up some rickety saw horses that went tumbling over halfway through my project. Thankfully, I had already sprayed the first coat of paint and it had dried!
Pro Tip: Make sure your interior doors are stable before painting. 😉
~The One Who Needs to Follow Her Own Advice
Paint Steps
Once you’ve established a stable surface for your doors, prepare the paint sprayer! This was so simple.
I used Magnolia Home Cabinet Paint in Shiplap that was left over from my kitchen cabinet renovation. Man, do I ever WISH I had this paint sprayer for that project!
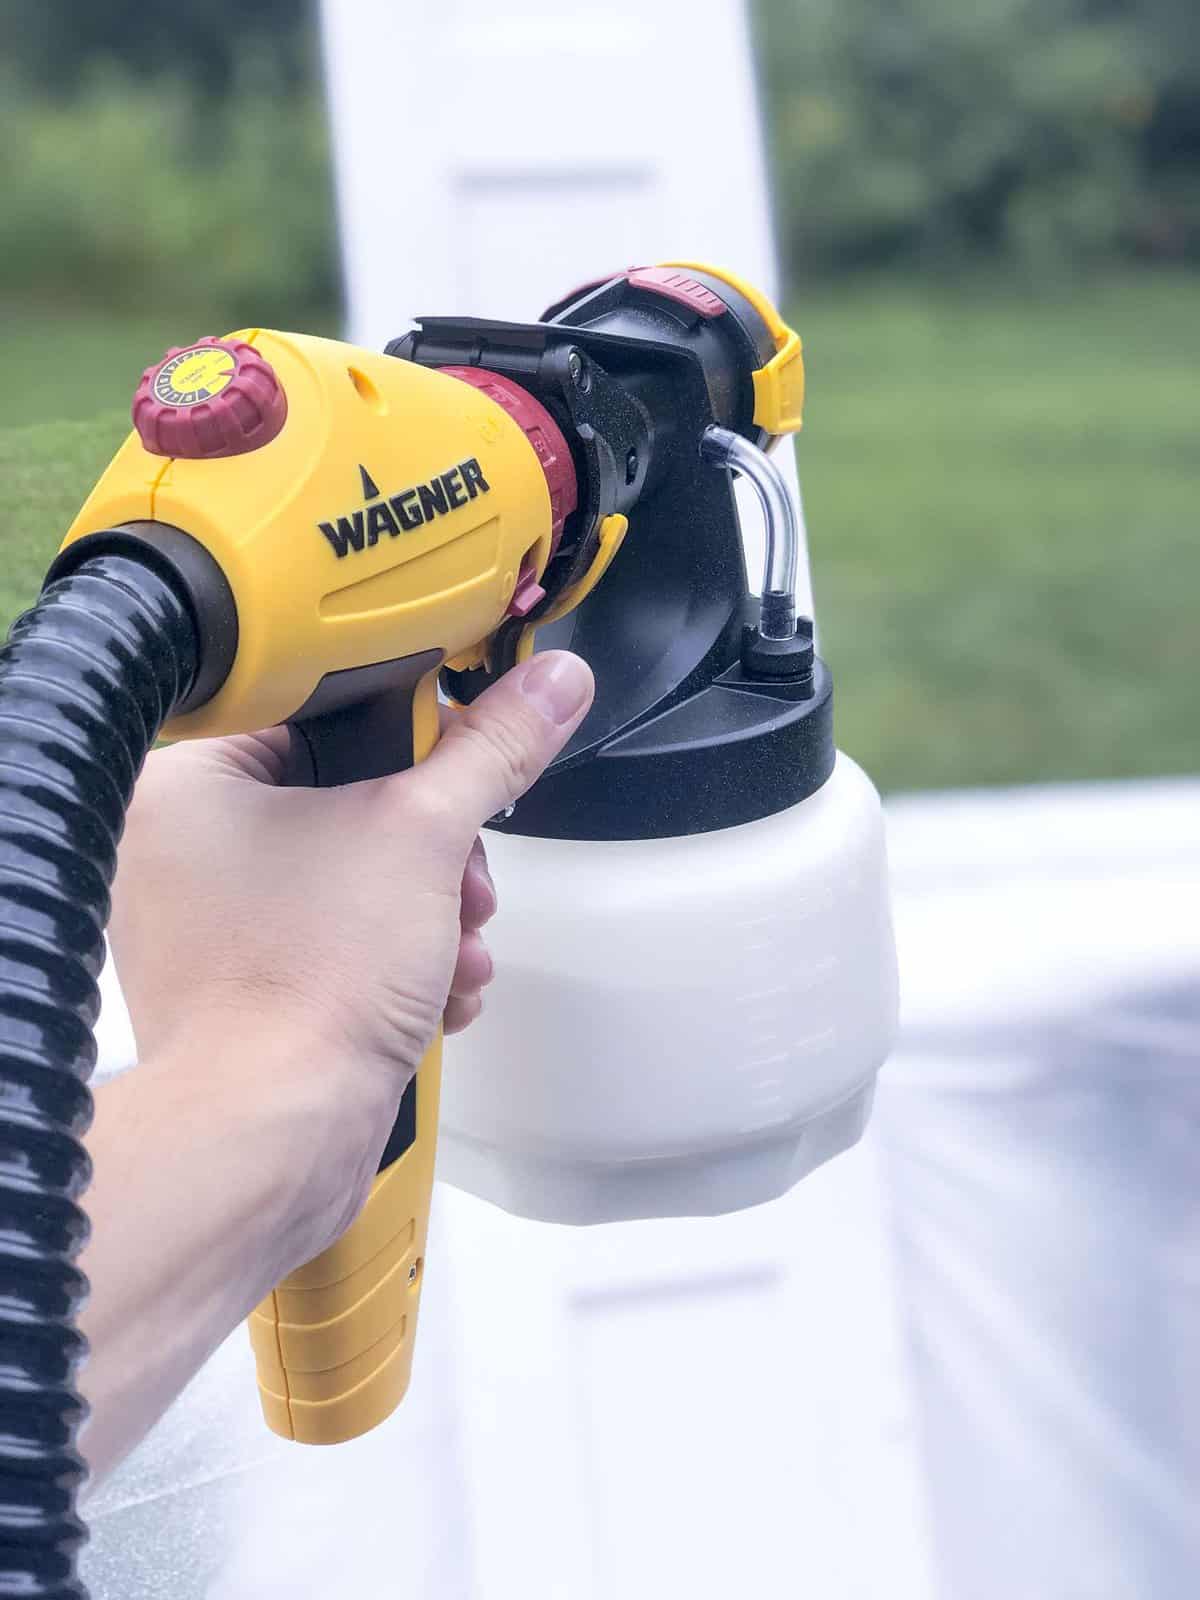
After filling the tub with my paint I followed the directions for the appropriate spray width and speed at which the paint is released.
The painting technique is very similar to the same way I’ve always used a can of spray paint. Start your spray slightly off the top of the door and while the paint is spraying move the sprayer in even up and down motions, top to bottom.
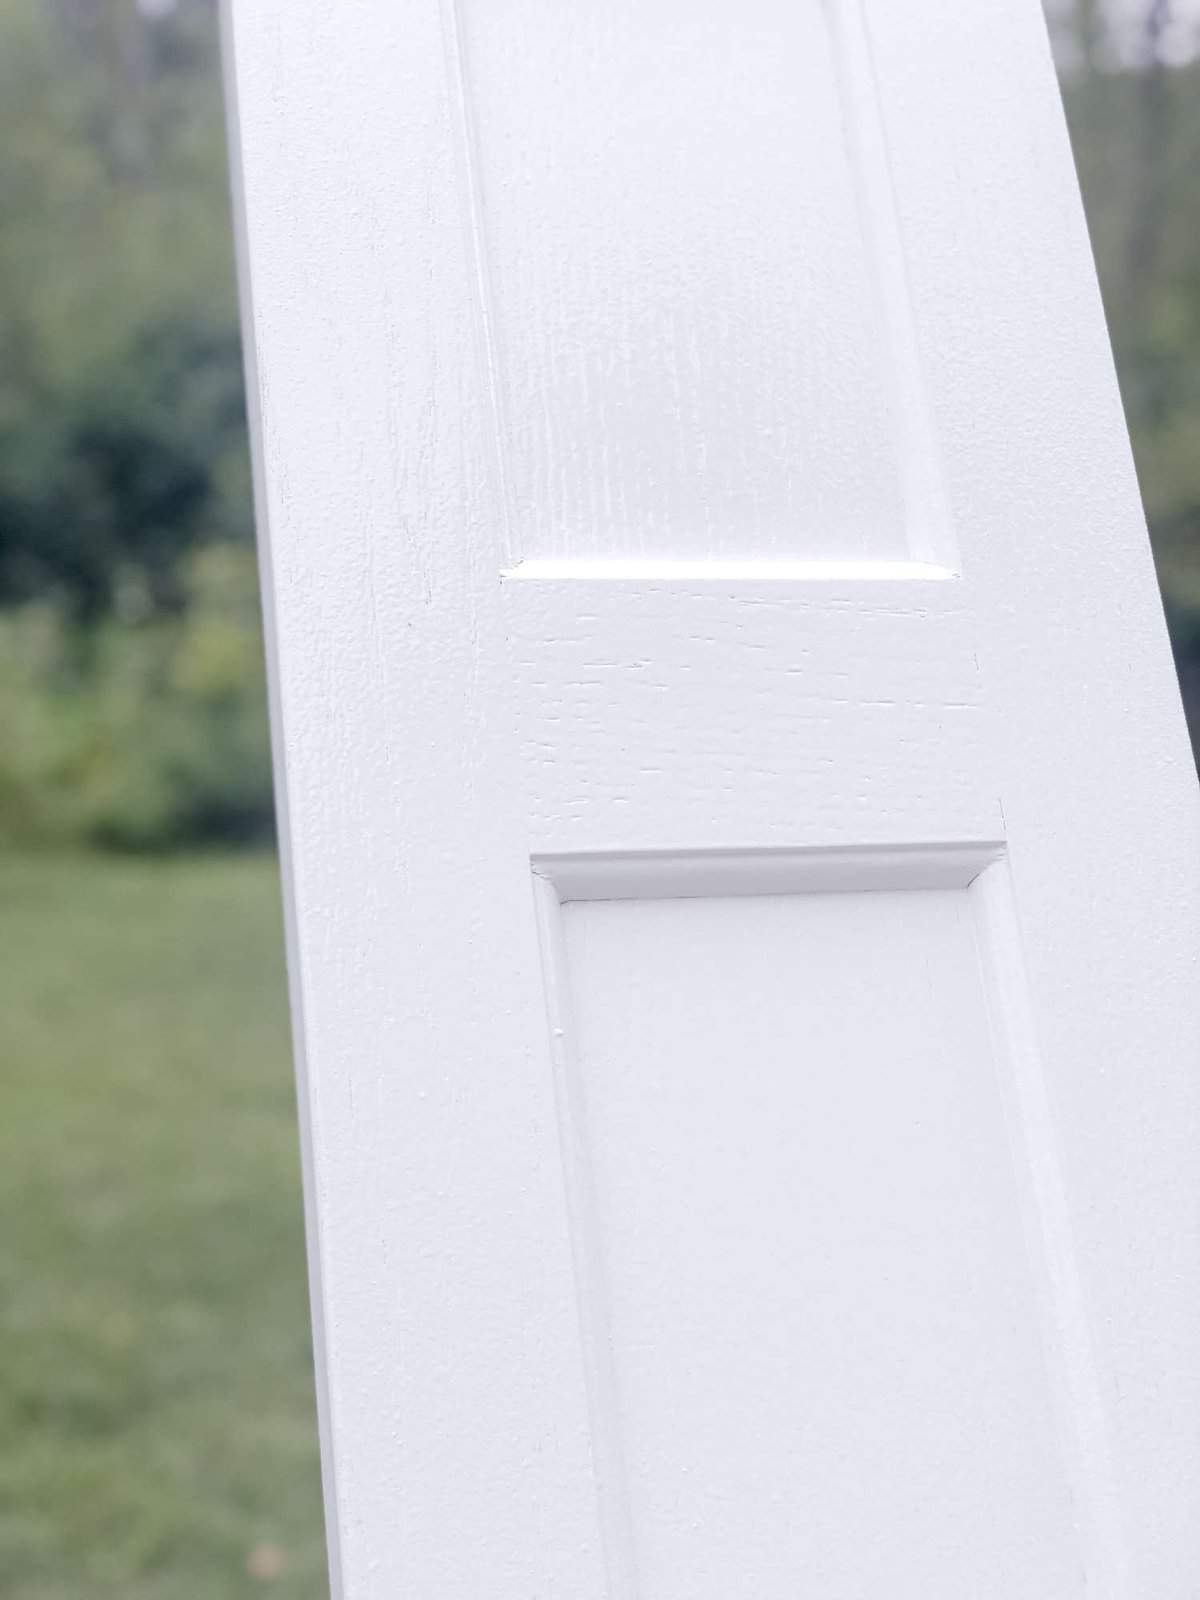
Never stop your paint sprayer on the door without continual motion as that will cause the paint to pool in that one spot and form drips.
Always begin the paint spray off the door and then move onto it in even sweeping motions. The Flexio 5000 came with a practice sheet, which helped me get the hang of the sweeping motion very quickly.
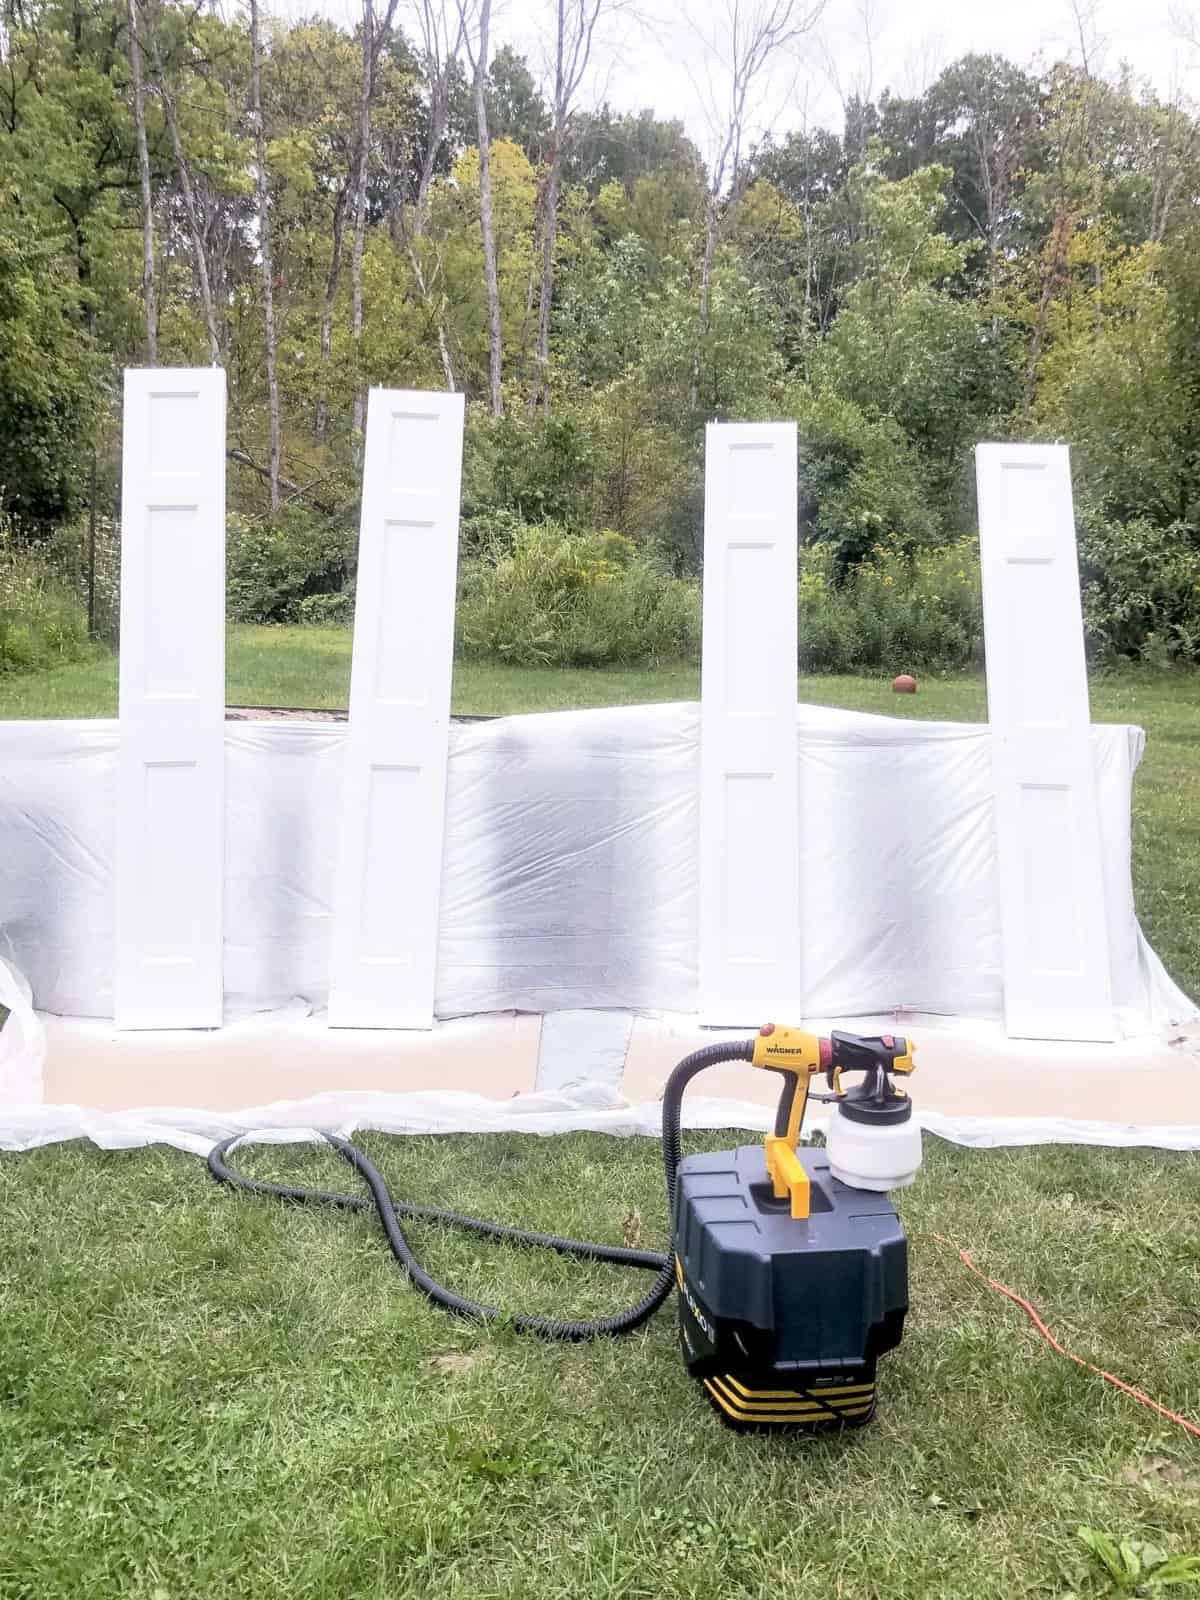
I painted one coat of primer and two top coats. Each coat took me 5 minutes for all four doors!
Ya’ll, I’ve been converted. The finish is so smooth and professional looking. No brush strokes to sand out. No corners and cracks that weren’t covered instantly. It was so much easier than the traditional brush, which I’ve always used on my interior doors.
Painted Hardware Update
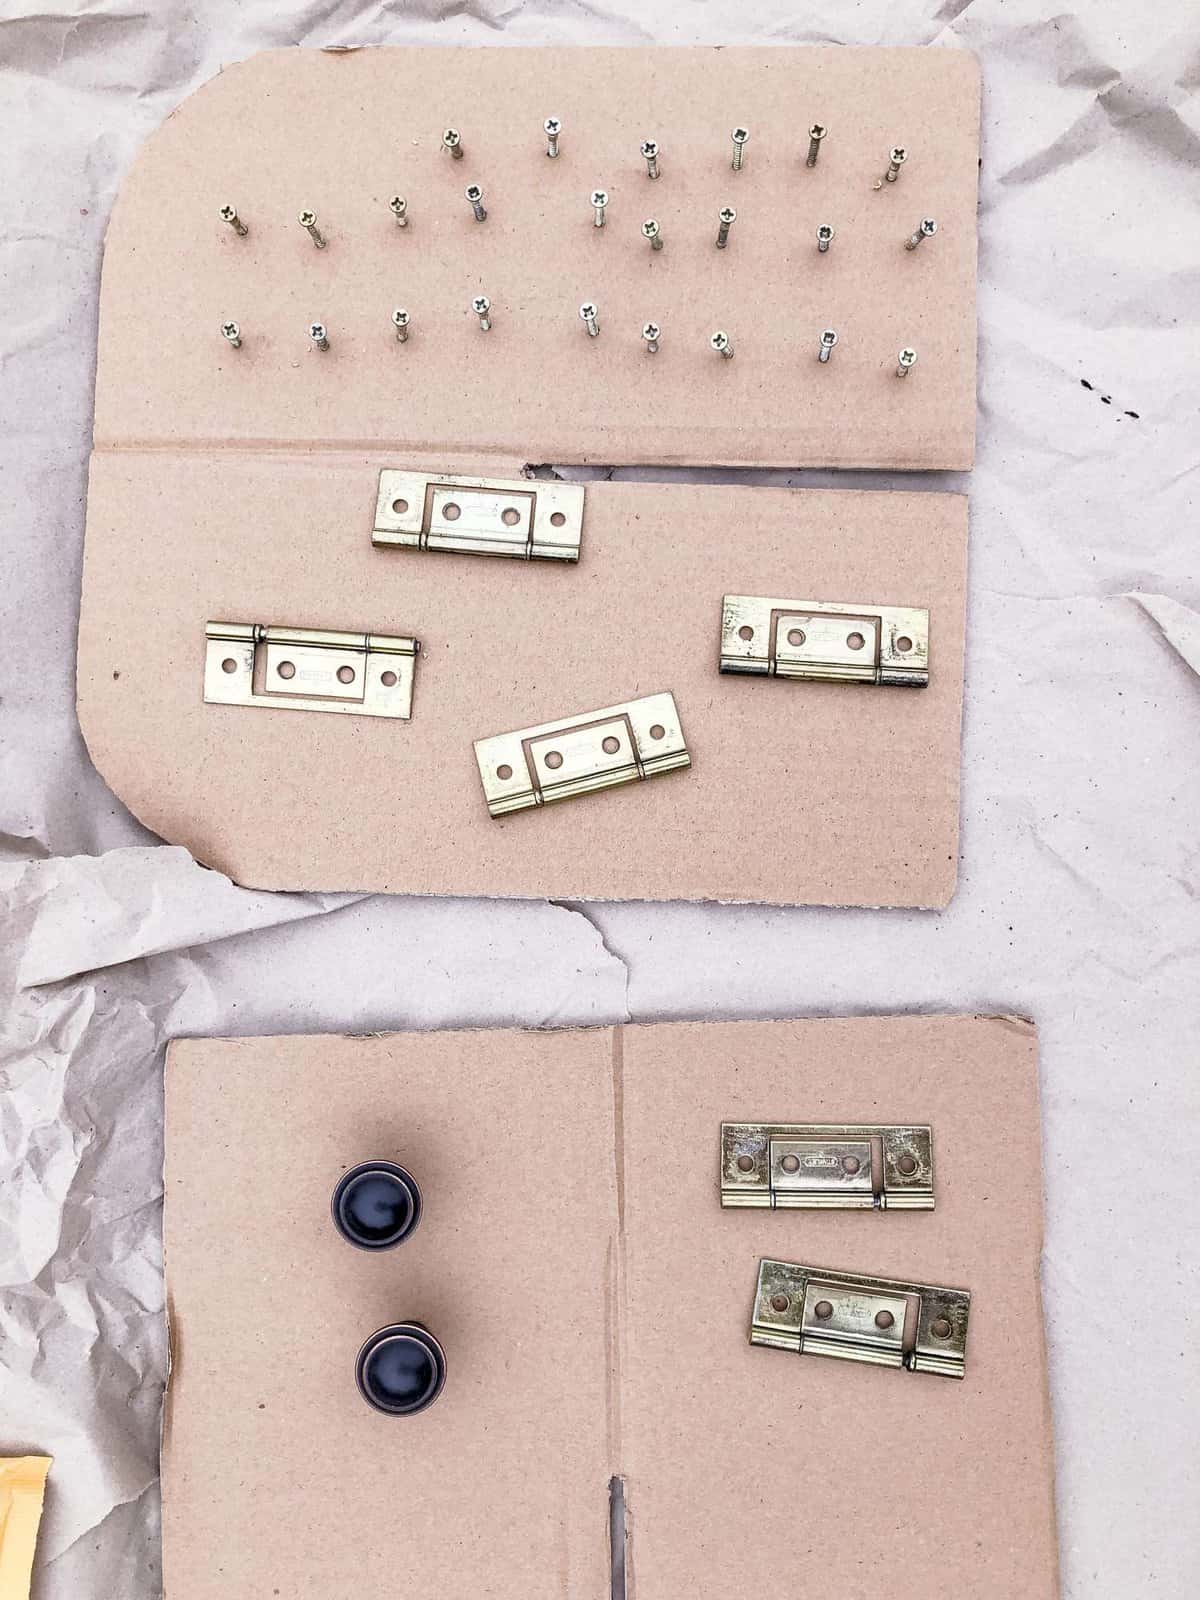
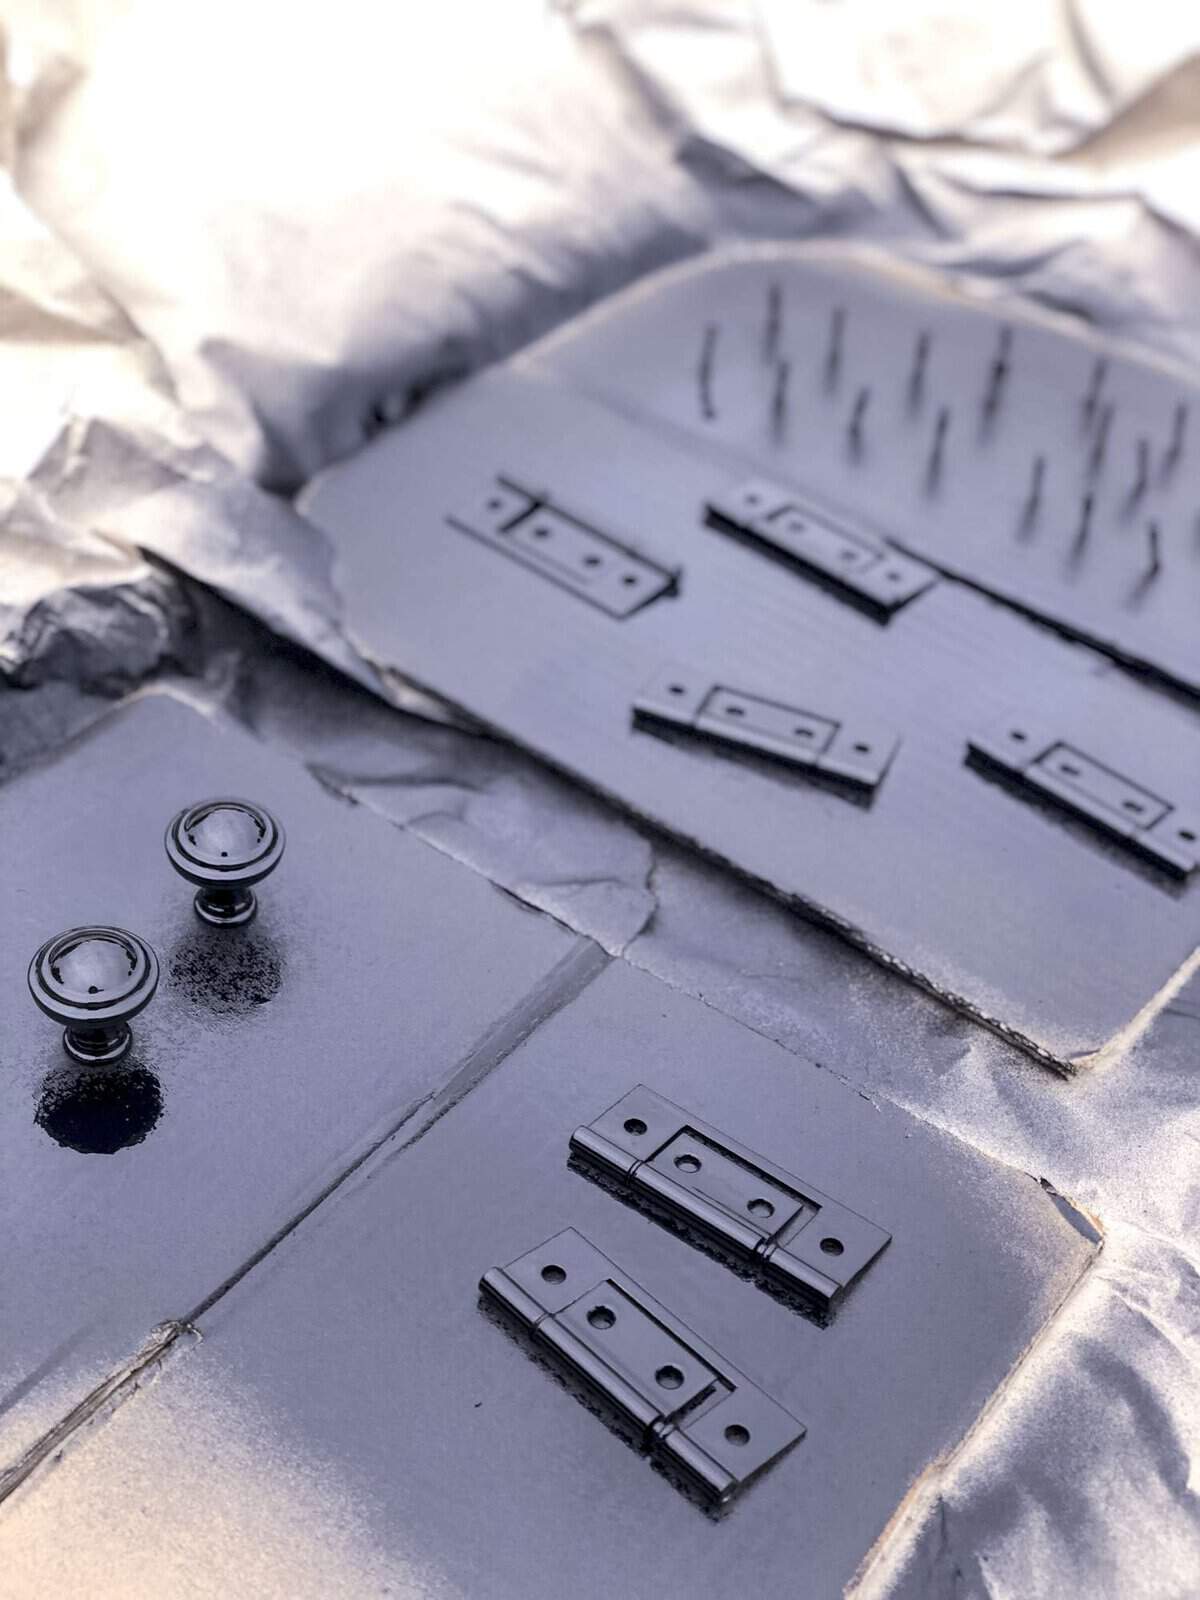
Also, for a quick and free update to the hardware, I painted them black. This took the mis-matched brass and oil rubbed bronze into my more modern farmhouse style.
The Final Product
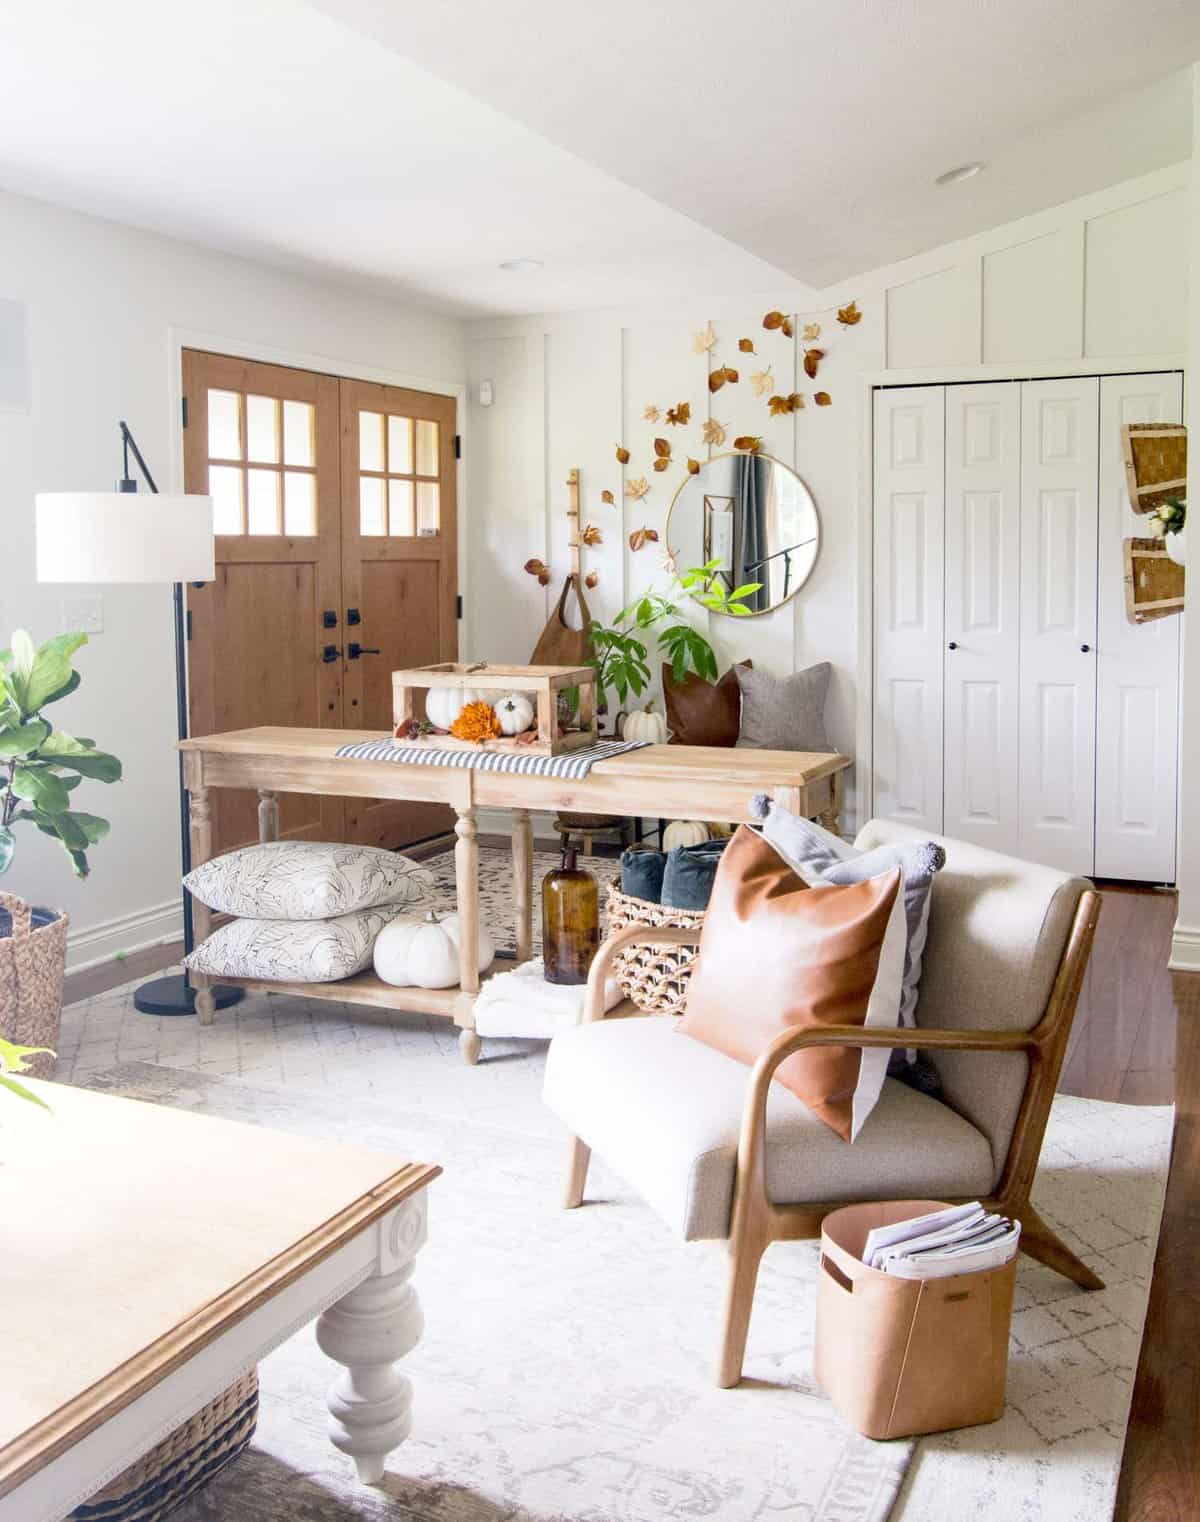
I’m so happy with how the finish of these doors turned out!
Shop This Look
They brighten my entryway so much and make it feel larger. The closet doors had a rich wood tone, but they broke up the small wall too much for my liking. Plus, they competed with my exterior doors.
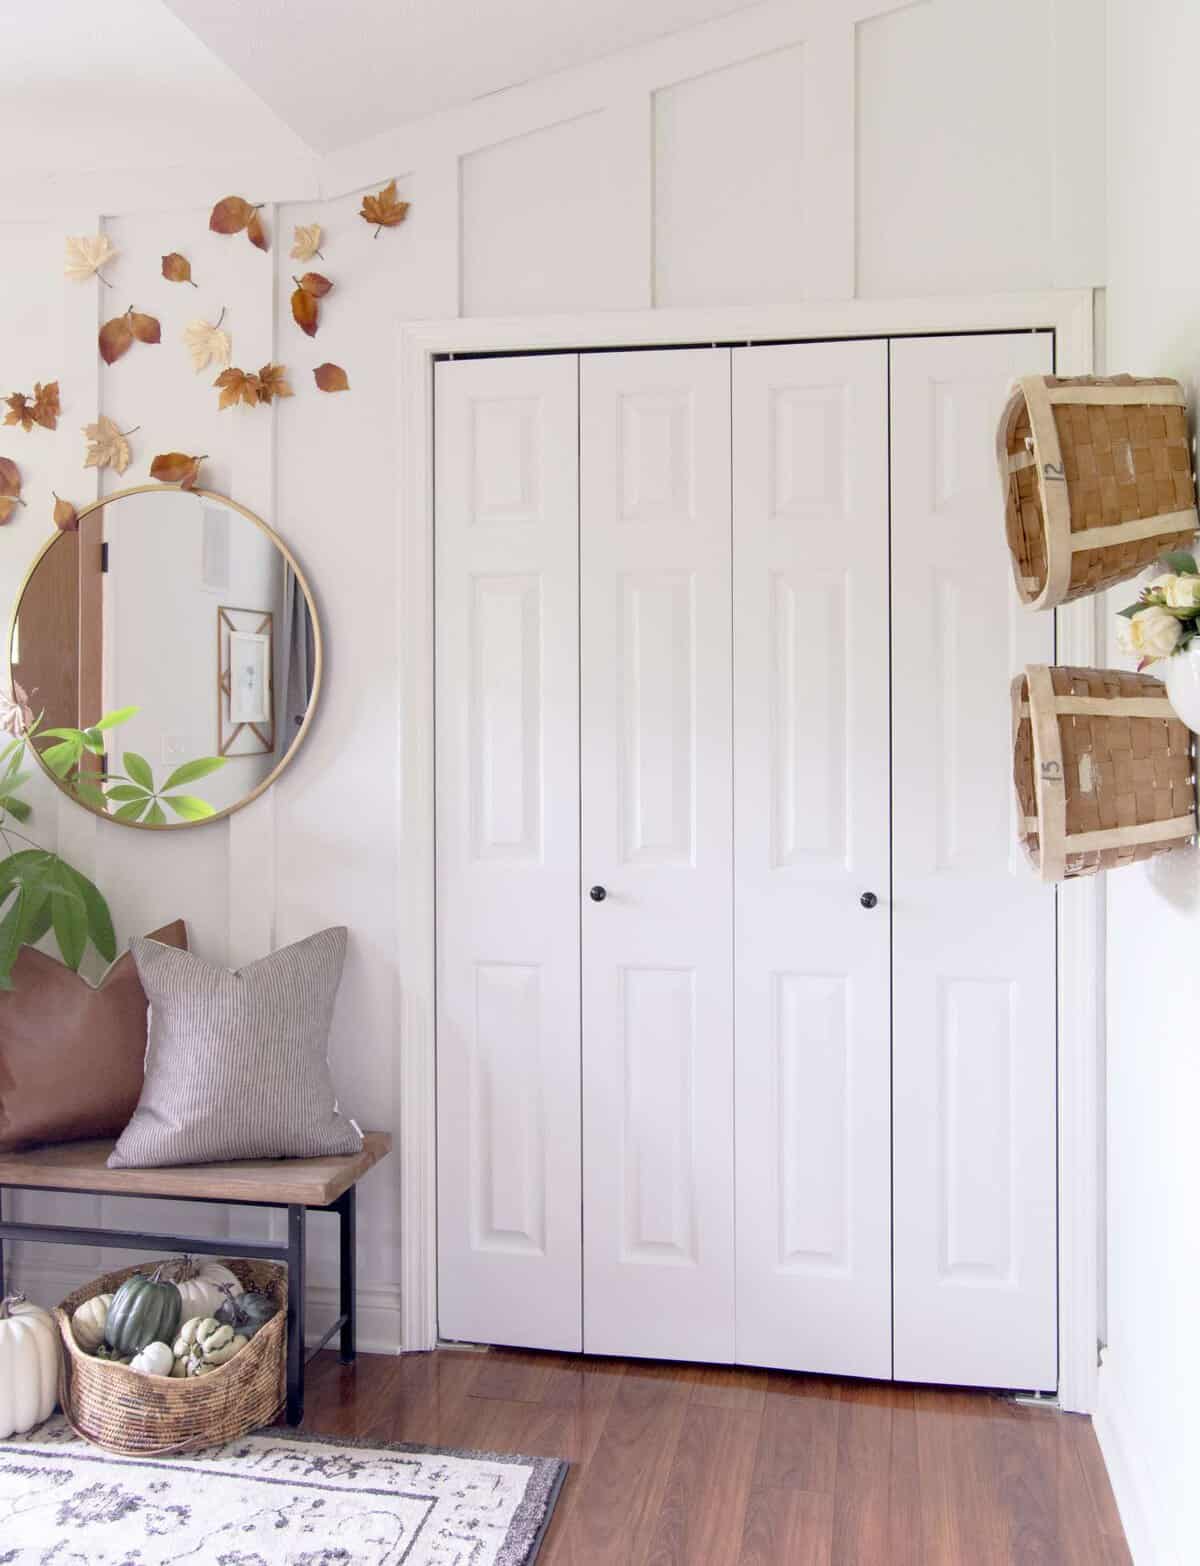
Now the wall feels larger and more seamless. Plus, the finish is so professional looking. I’m so glad I chose to spray these interior doors with the Flexio 5000 Paint Sprayer.
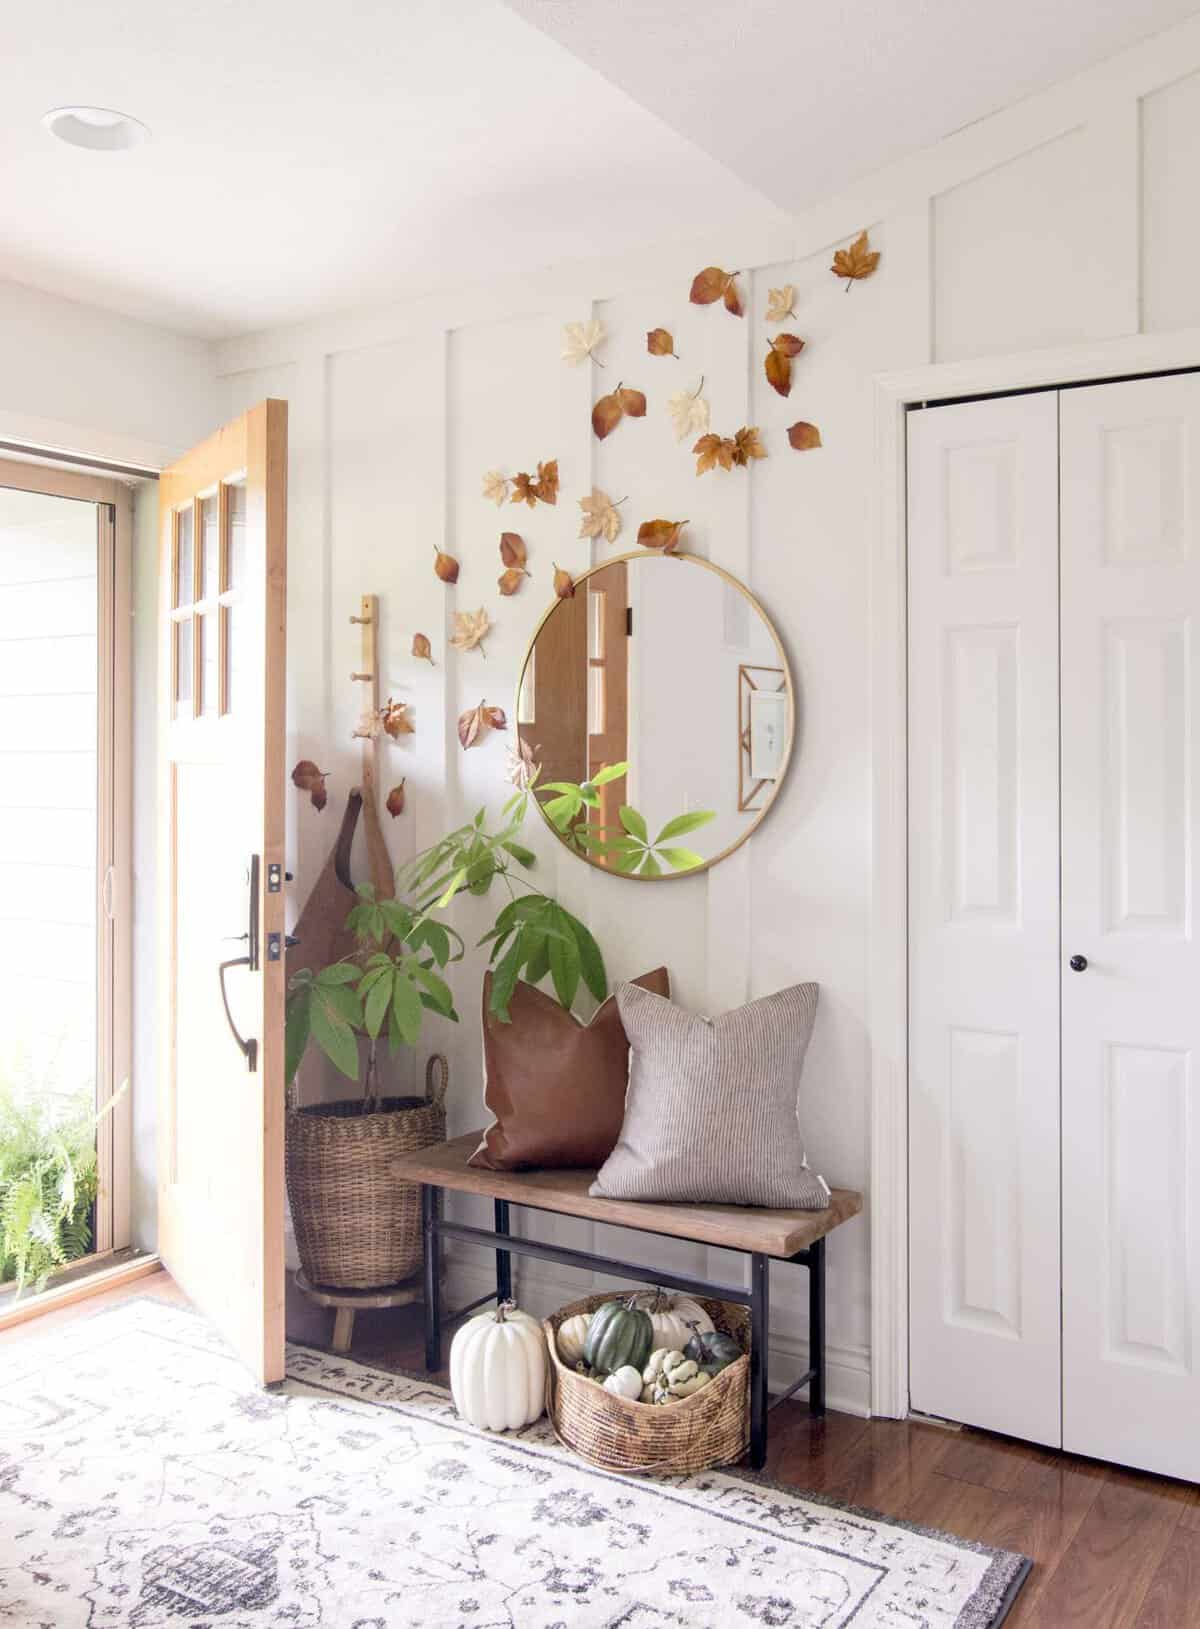
The clean up was also very easy. I simply emptied the leftover paint back into the can and washed out the spray nozzle and tub according to directions. After a first rinse outside, I brought the pieces in to wash in soapy water.
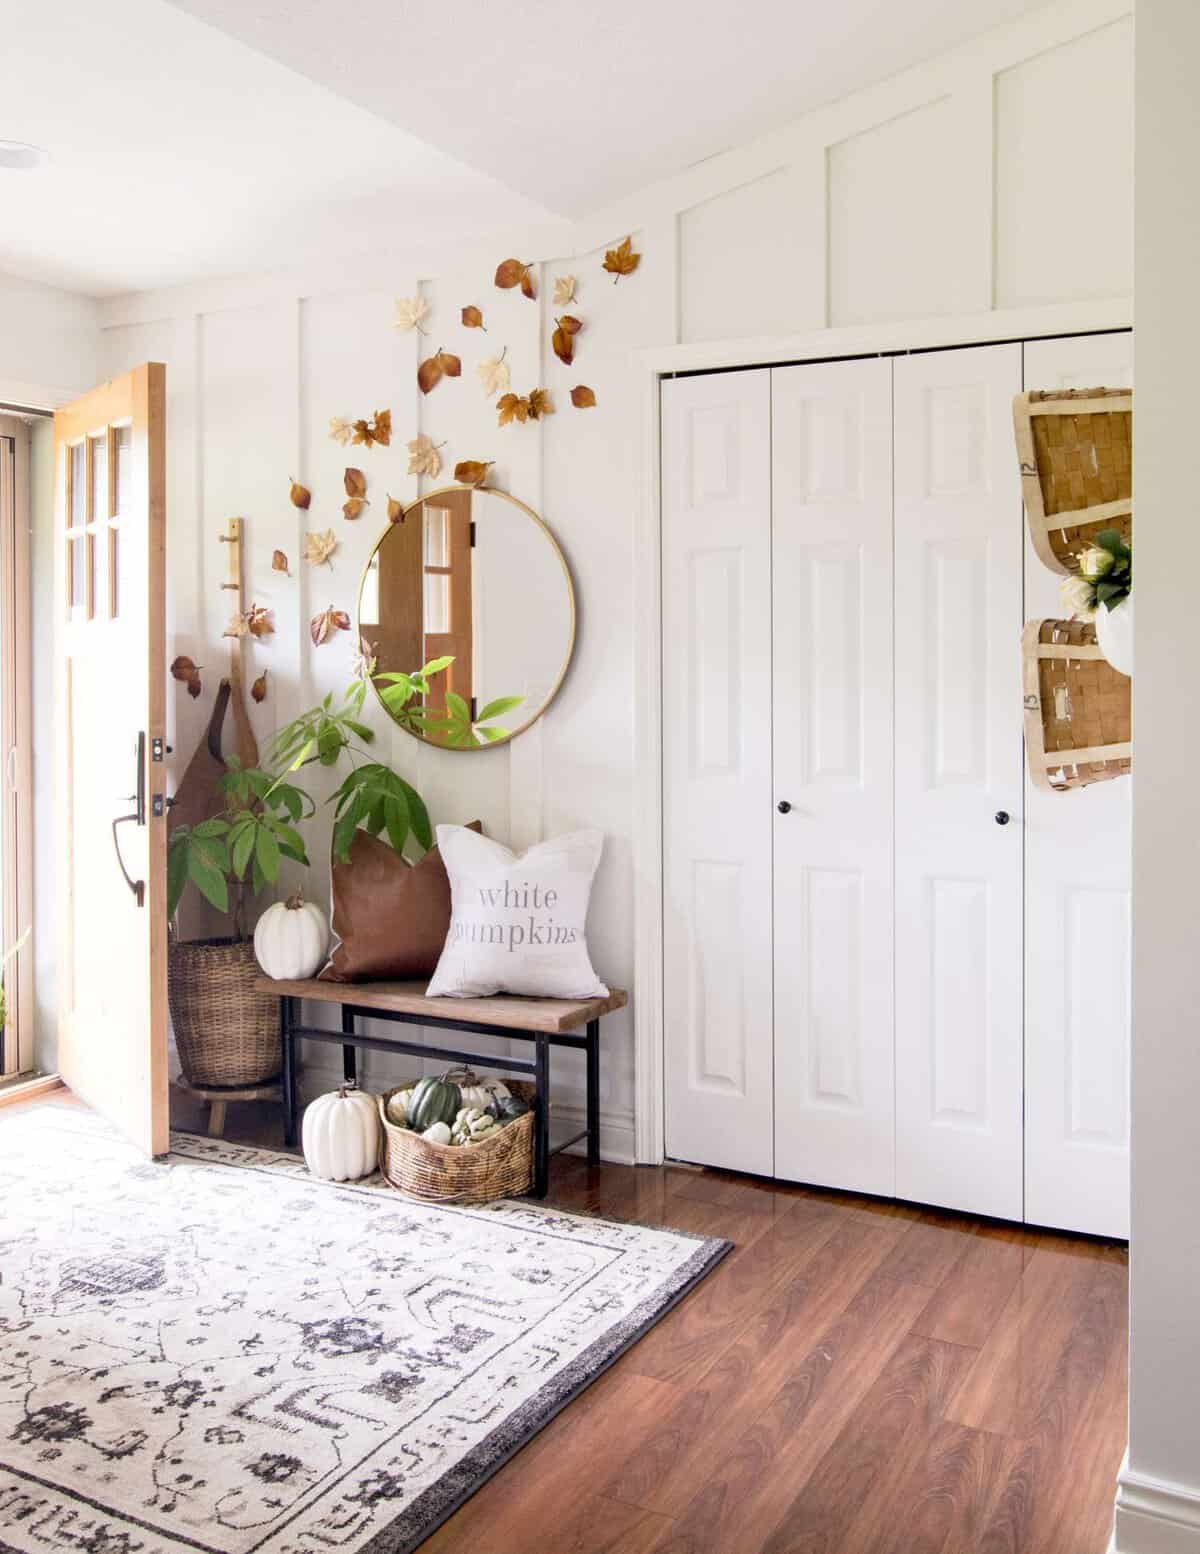
Anyone else always been intimidated by cleaning a paint sprayer? For years I avoided using them thinking it would be extremely time consuming to clean up. However, it was so fast and simple!
{Make sure to check out how I did this super simple fall leaf display!}
So, what do you think of the final product? Now that you’ve seen how easy it is to use a Wagner Spray Tech paint sprayer, what’s going to be on your project list?





It looks beautiful! Thanks for the tips! I so need one of these sprayer myself!
Thank you Tammy! It was so easy to use. Good luck on your projects!
I love the beautiful designs. Keep it up!
Thank you!
They turned out so pretty! Love wood but I know how it can break up a small wall! Love it! I want that sprayer! Man that looked so much simpler than a brush! ?
It was so fast!! I love the finish on it too. Makes me want to bring all my dated furniture outside to spray it!
Closet doors look great painted white! Good choice!
Thank you so much Mary! I’m glad you like them!
They look wonderful. I’m guessing you used latex paint for these.
Yes! I used Magnolia Home’s cabinet paint. 🙂