
DIY Small Wood Projects to Use As Decor

Small wood projects are a great way to decorate your home affordably! Use this tutorial, with video, to learn how to make a DIY wood centerpiece styled for fall!
Post may contain affiliate links for your convenience.
Seasonal Simplicity Fall DIYs
Joining me today are some amazingly talented bloggers each sharing their own DIY project for fall, hosted by sweet Krista from The Happy Housie. Make sure to visit each of their projects linked at the bottom of this tutorial.

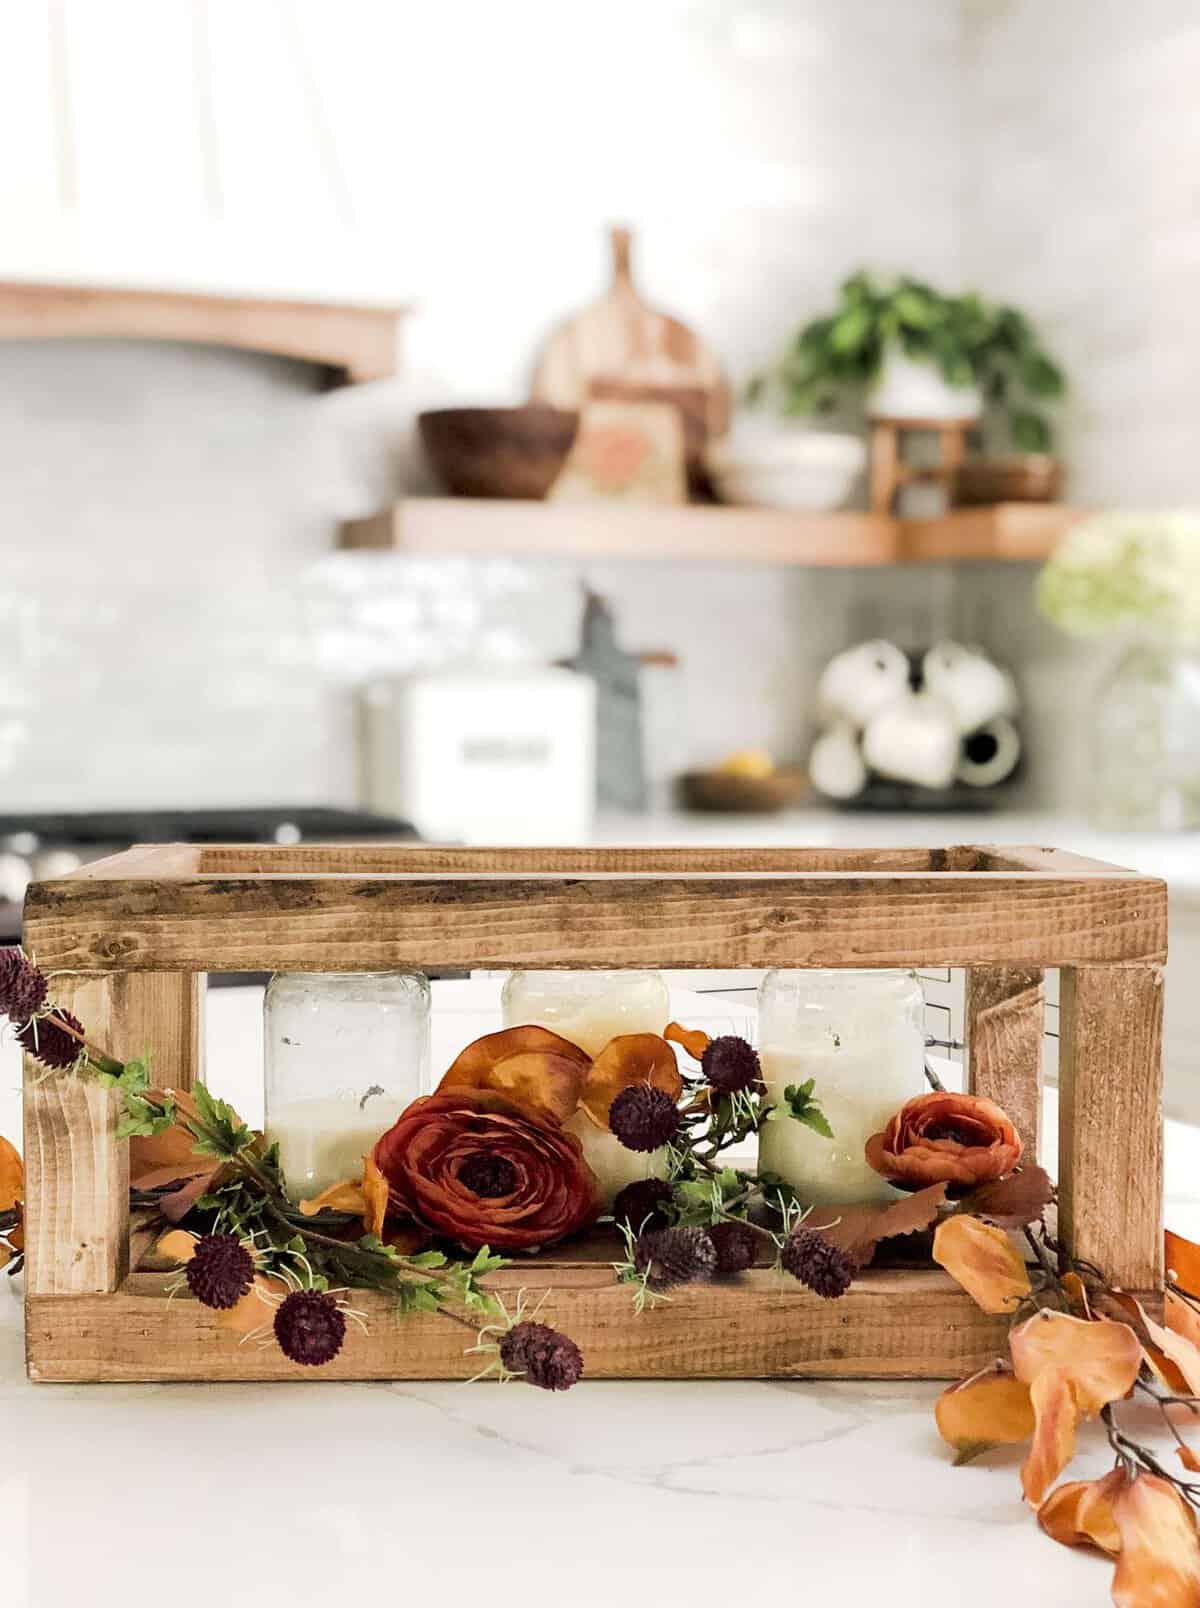
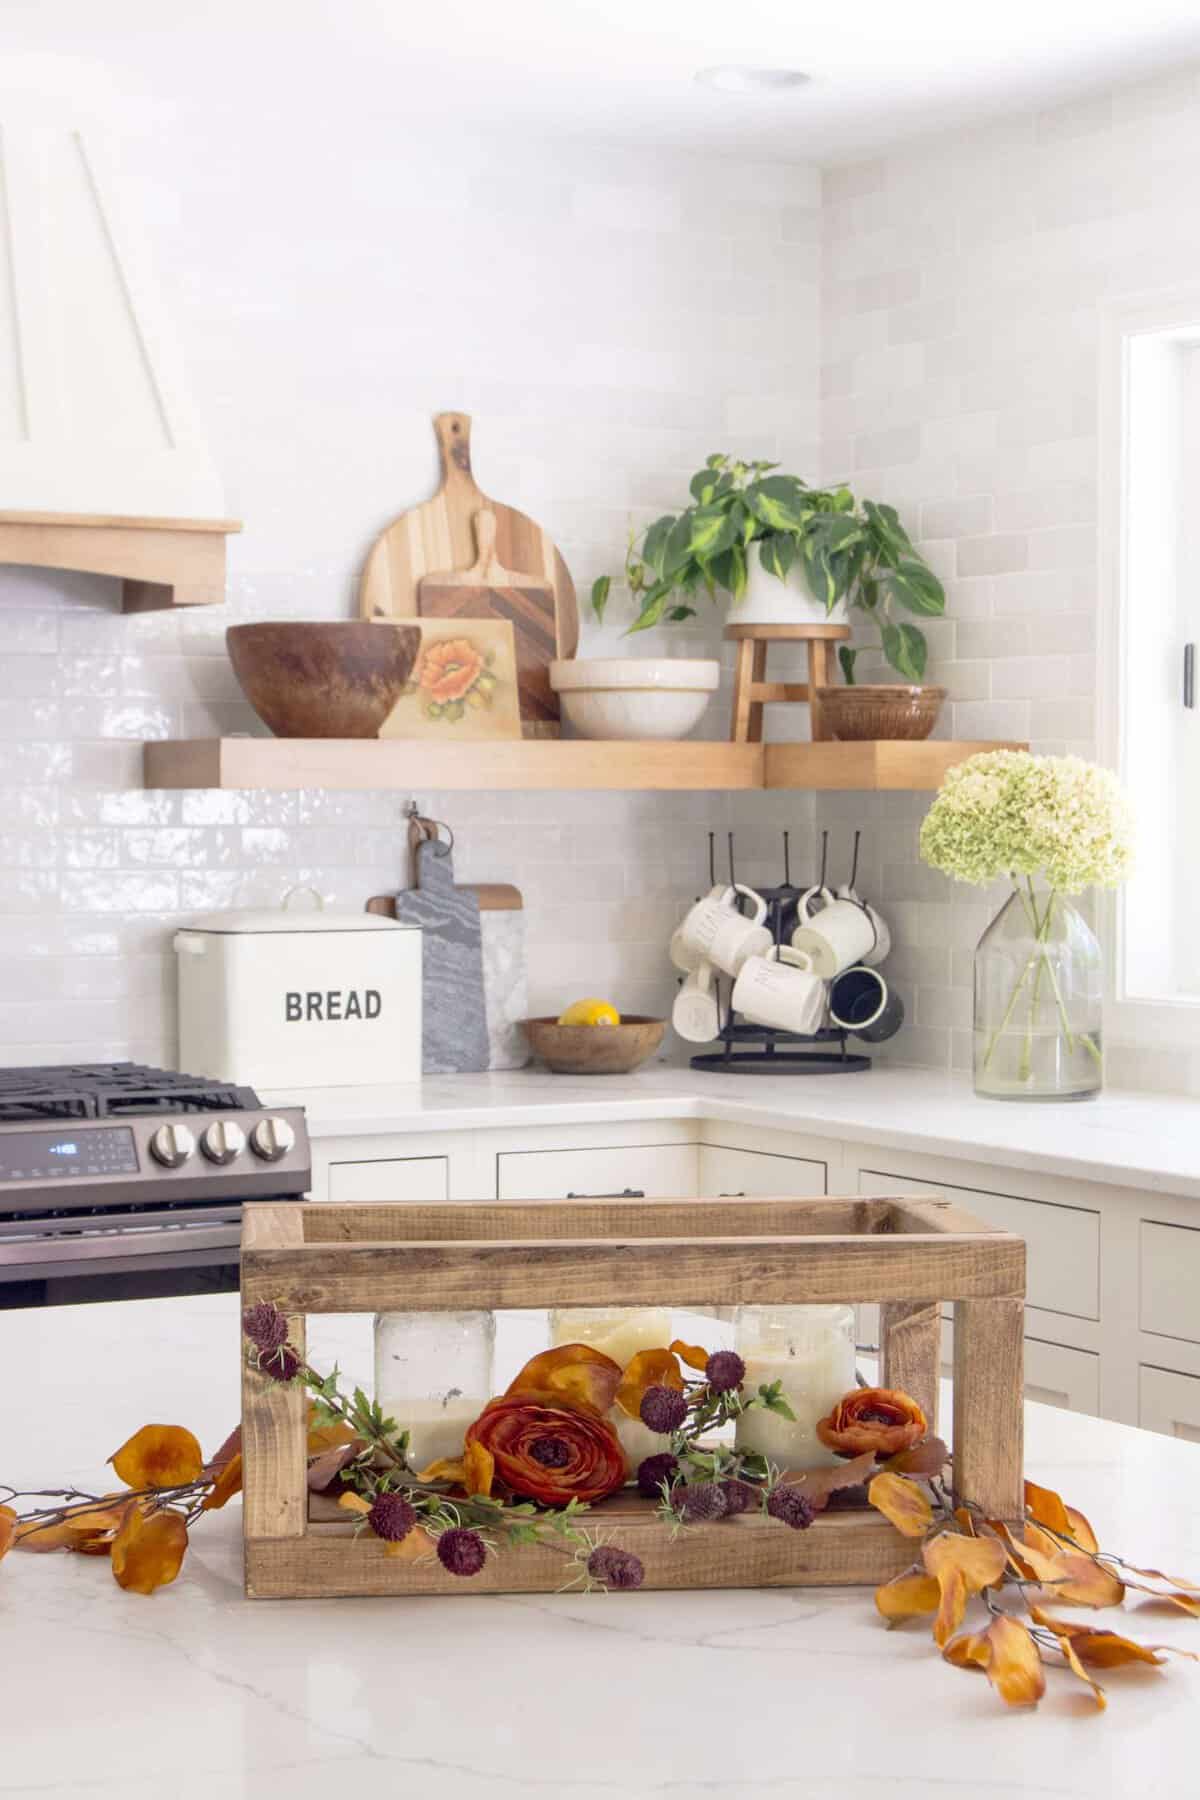
DIY Small Wood Project for Fall
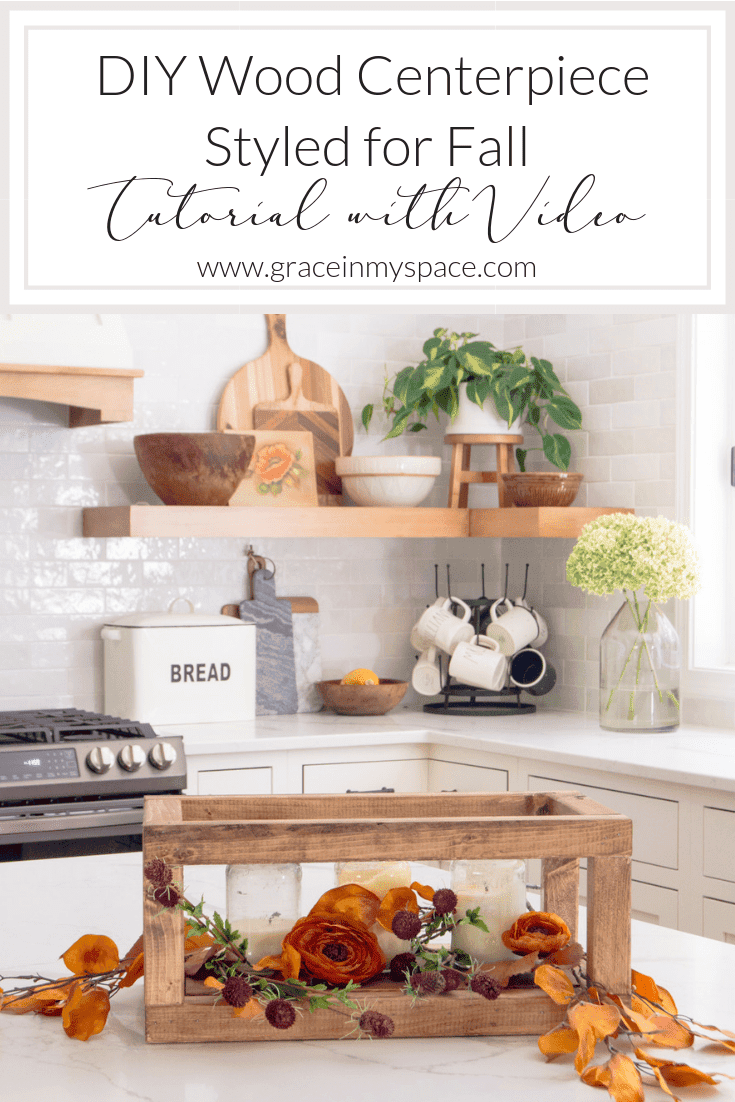
As I gathered ideas for my fall decor, I came across a simple wood project in Marshalls. I almost bought it because I loved the simplicity and versatility of it. Then I thought, I bet I could make that! This is the piece I found in the store for reference.
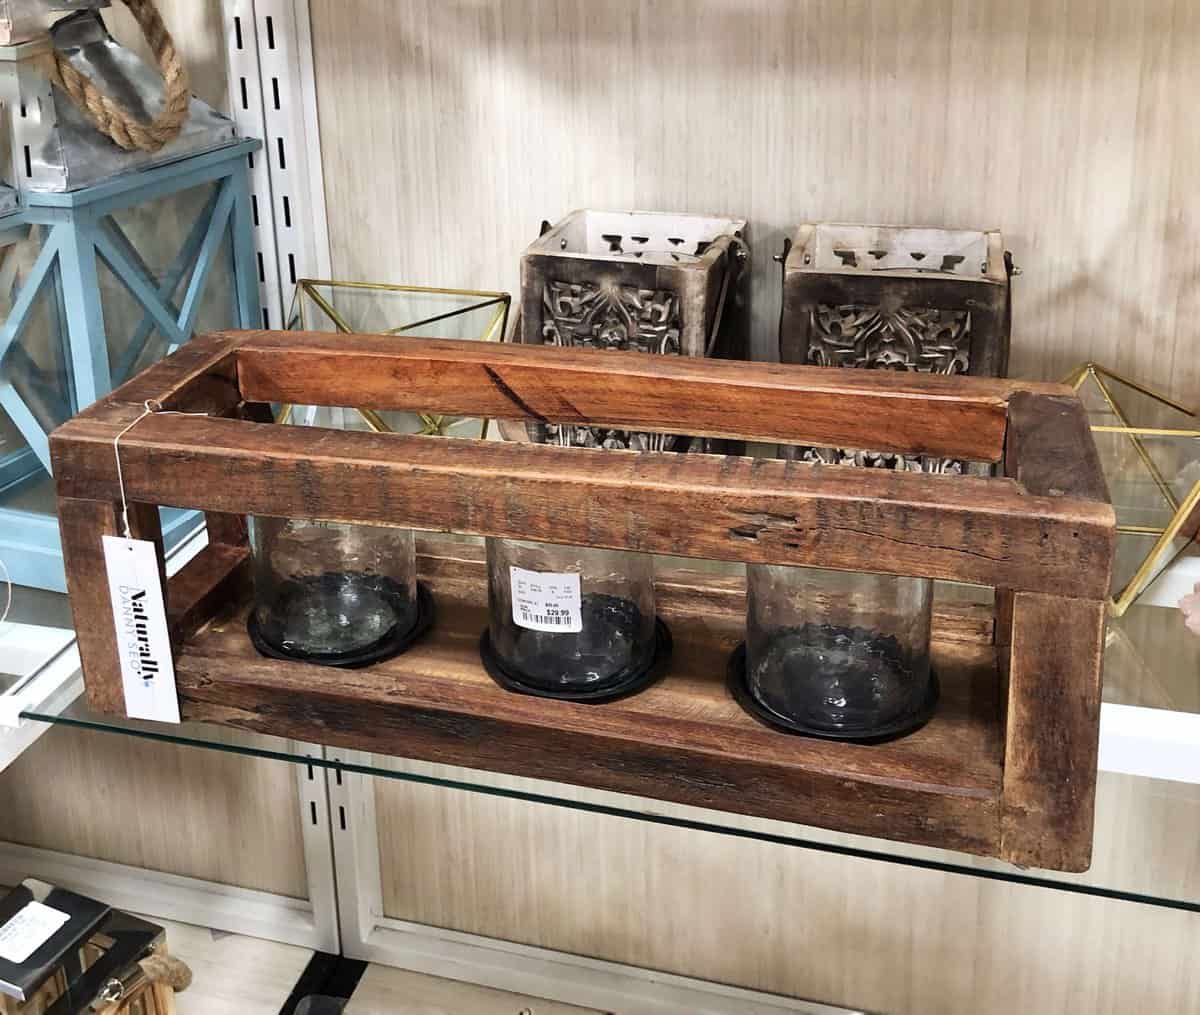
Their product was priced at $30, which is still a fairly reasonable price. But guess how much I made mine for? $5!! Woot!
Here is the simple written tutorial. Make sure to follow me on YouTube as well to watch the video tutorial for all you visual learners!
Easy Wood Project Tutorial
First, take note that this small wood project tutorial can be altered to fit your needs! Measurements can be changed to make your DIY centerpiece taller or shorter and wider or skinnier. The measurements listed are what I used and create a fairly substantial sized piece.
Materials
I used 2x2x8 furring strips. This is cheap wood, it has lots of knots and “character” and isn’t all that straight. However, it is cheap! If you want a cleaner look then I’d recommend using 2x2x8 select pine.
Alternately, you could also use scrap wood for this project! You simply need to have enough to match the measurements of the finished piece.

One of the beautiful options for this project is that you have the ability to have your wood cut at a home improvement store. Many stores offer this service for free or a very small charge.

So, if you don’t have a saw at home, take the measurements listed above with you into the store and have it all pre-cut before you ever arrive home!
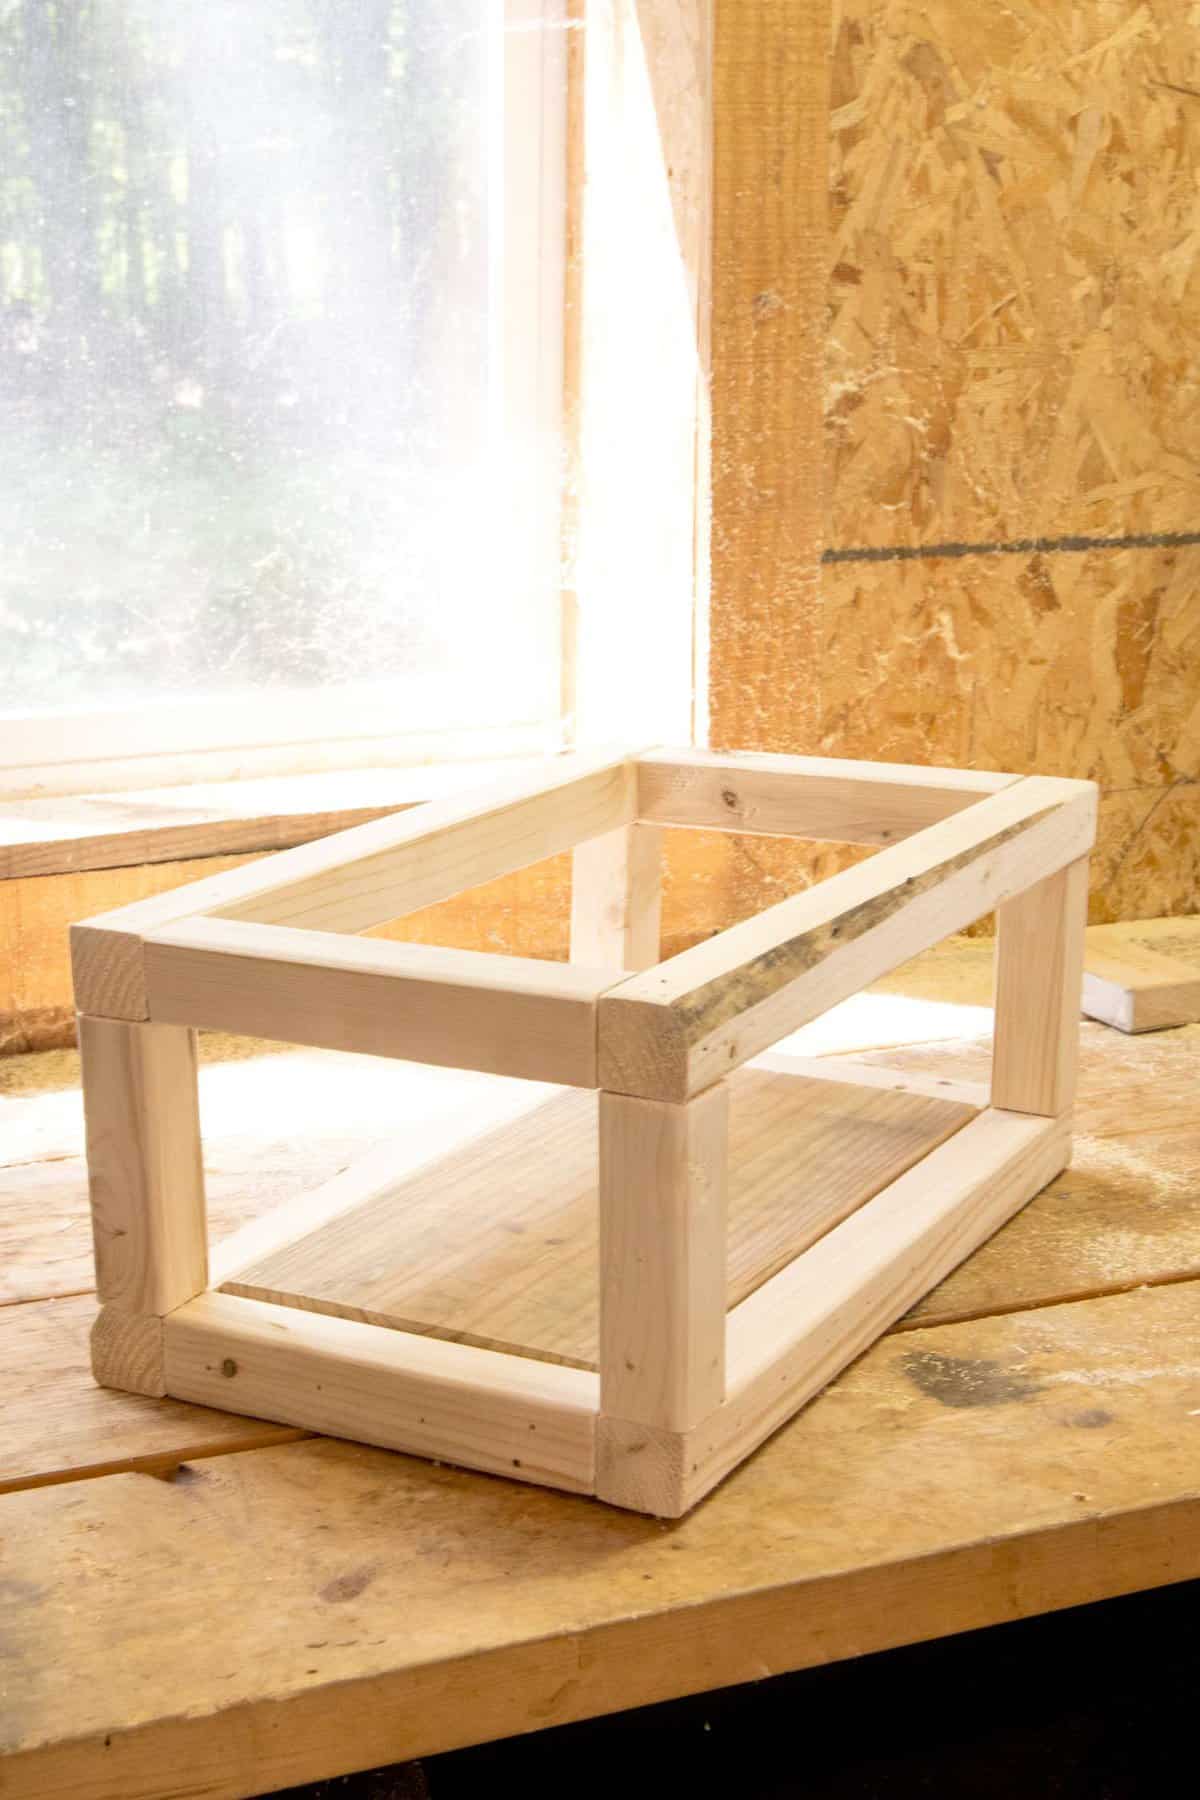
Measure, Cut, Sand, Assemble
There are really only four steps to this simple project. That’s exactly why I love small wood projects, simplicity! Five steps, if you want to stain or paint it.

First, if you are doing your own cutting, then measure your furring strips. You need:
- (4) 8″
- (4) 18″
- (4) 5″
- Optional for the bottom: 2″x15″x7 7/8″
Cut along your measurements to create the pieces needed to build your centerpiece.
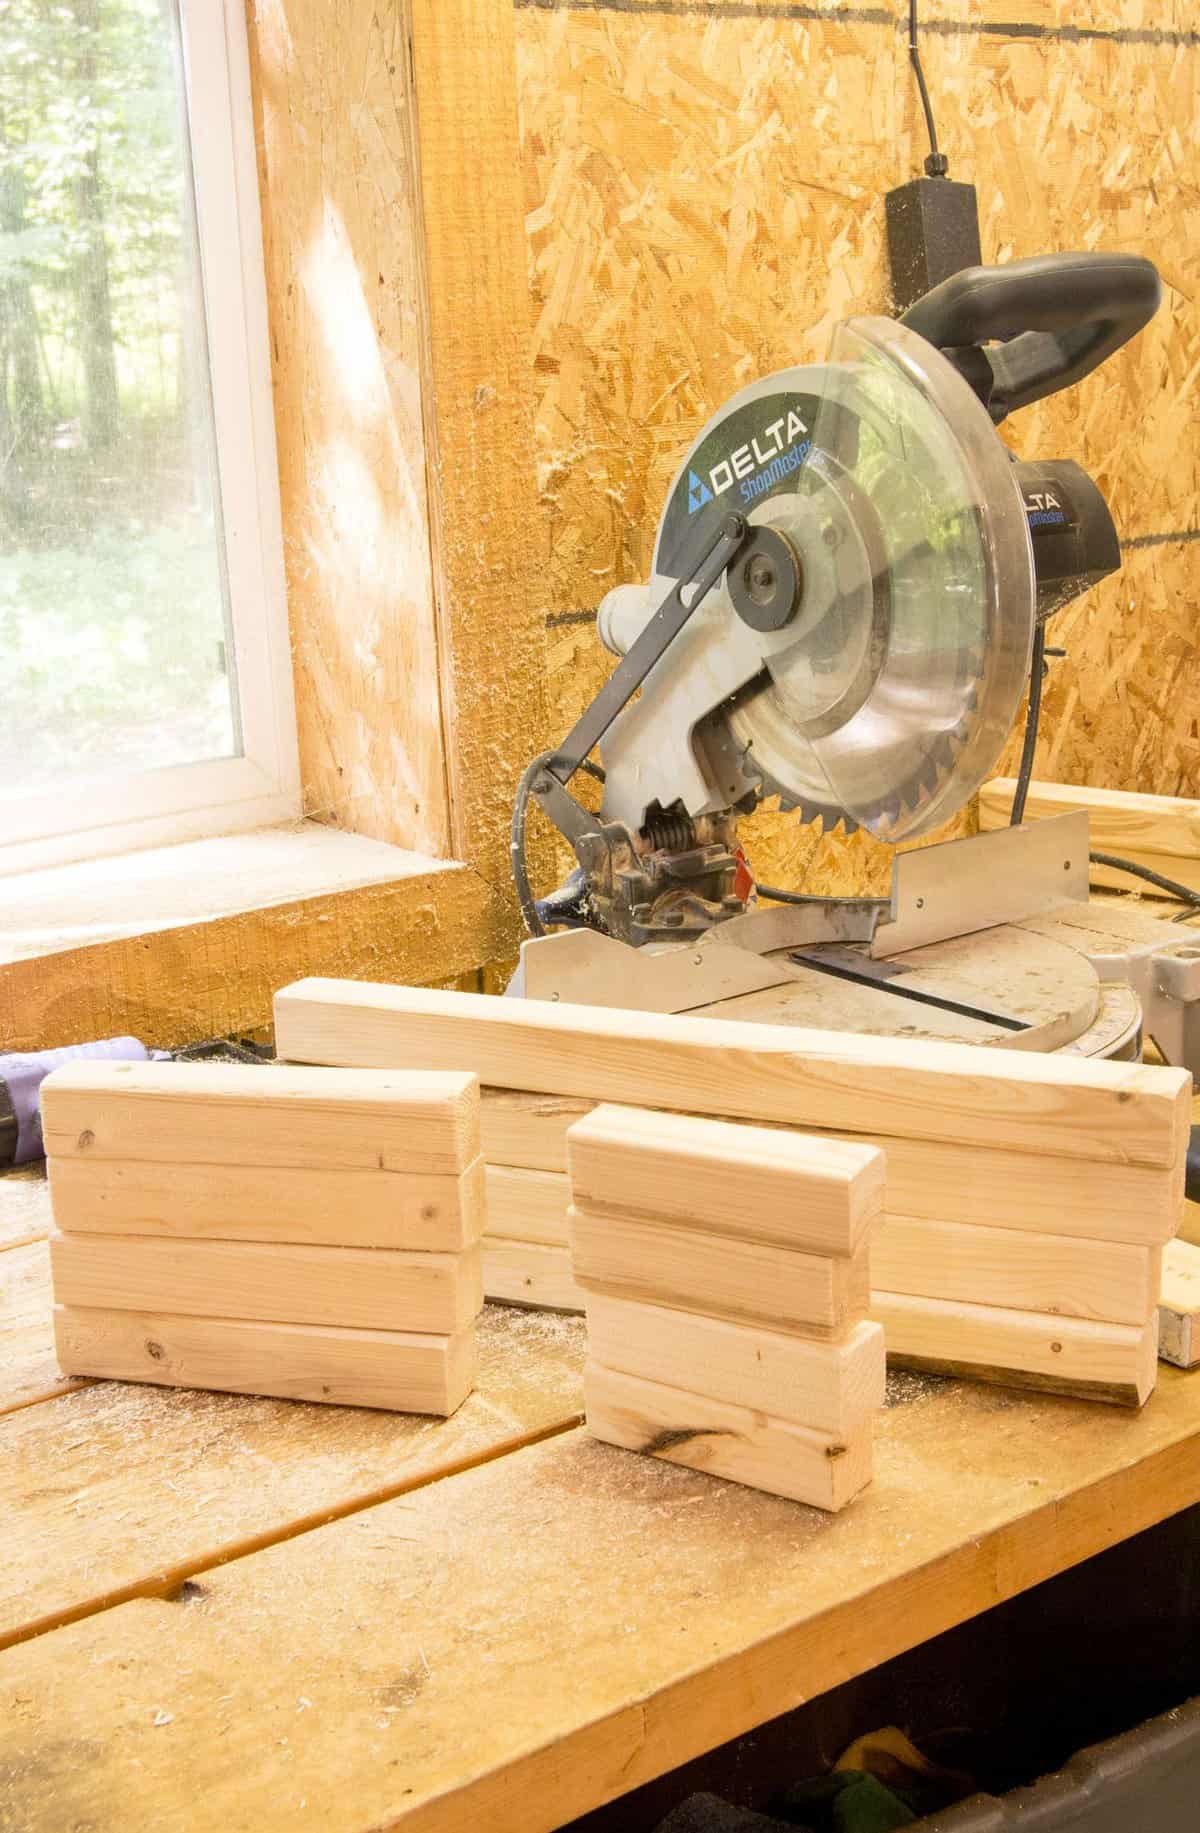
Once you’ve cut all your pieces, sand down each edge to smooth out any rough edges. This will give your piece a more finished look.

Next, assemble your frame, starting with the base. I used a nail gun with 2″ finish nails. If you don’t have access to a nail gun then a good ol’ hammer and nails will work as well.
You’re basically just creating two rectangles on top and bottom with pillars in the middle.

After you’ve assembled the base, add the four corner pillars. Finish by building the top and then nailing it onto the pillars.
You can see here that I added a base to the middle of my project. This is entirely optional, but I think it will help if you plan to use it for multiple decor ideas. It will elevate whatever you place inside and creates a flush bottom.
I used a 2×10 piece cut to size to create this. You can use whatever type of wood you have available!
Stain or Paint
The last step is also completely optional! I chose to stain my piece to give it a finished look. I used Early American stain I had left over from the DIY kitchen shelves I built.
You can choose your favorite stain or paint color to match your preference!
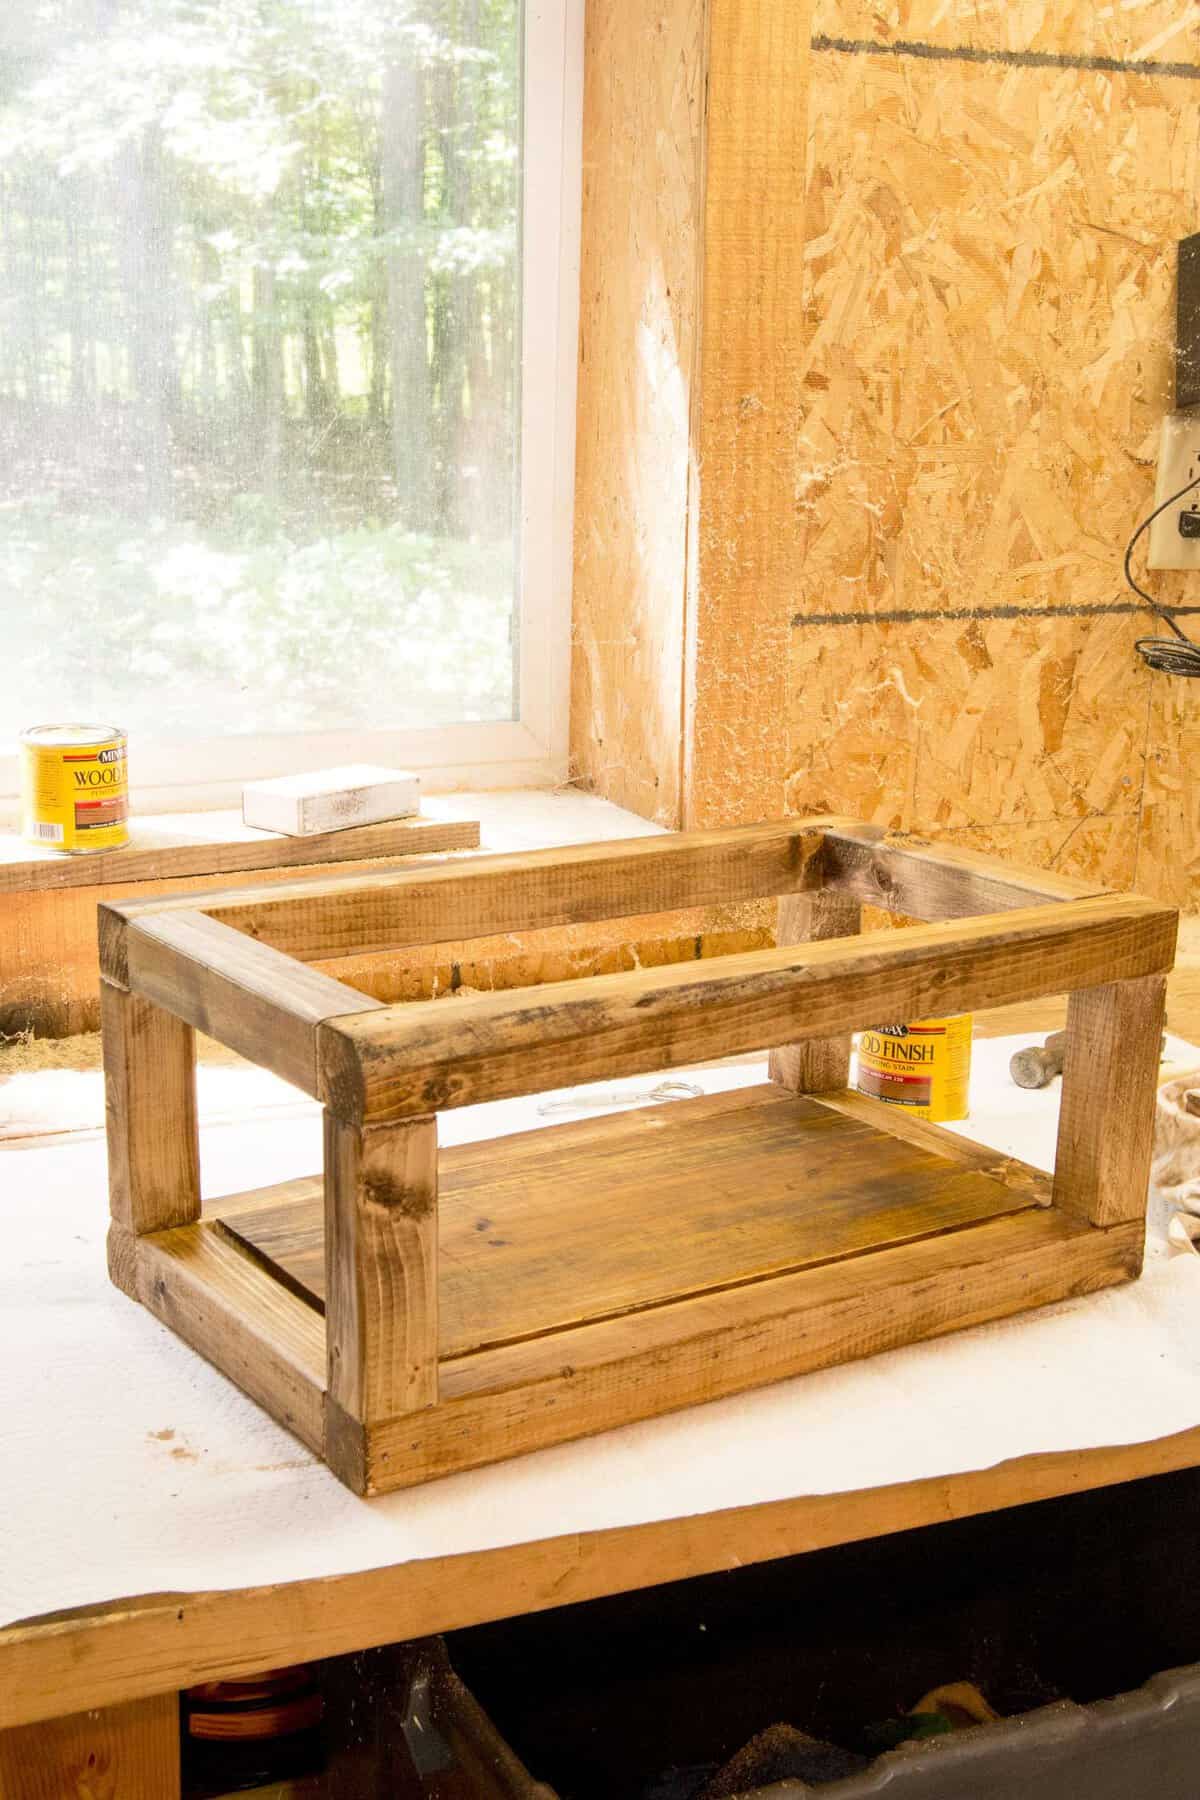
My favorite way to apply stain is to use an old cut up white t-shirt from my husband’s t-shirt graveyard. It wipes on really nicely without lint!
Video Tutorial

Fall Table Decor
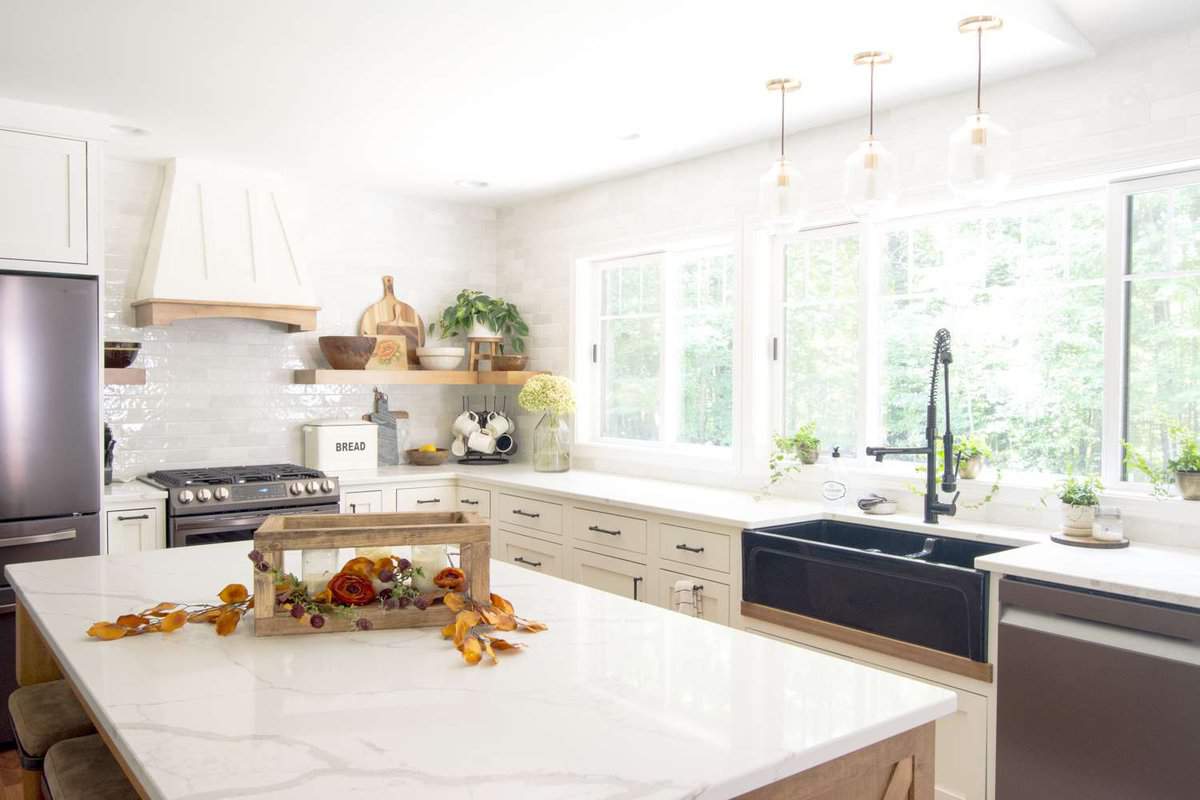
Now, all that’s left to do is style your centerpiece! This easy wood project can be used for fall table decor, (truly, it can be styled as a table centerpiece for any season), candle holder, piled with pumpkins or fall foliage, filled with hurricane vases like the inspiration piece was…etc.
The options for styling this versatile piece are only limited by your imagination!

As an example, I styled it two ways for fall on my kitchen island. I think it will eventually end up on my entryway console table to use in my fall decor. I can definitely see myself adding round vases (dollar stores have great options!) and affordable pillar candles.
This was such a fun project! When I considered things to build with wood I never really thought of an actual decor piece. However, I’m so glad I tried it!
The entire project took about an hour and would have taken much less time if I’d had the wood pre-cut at the store.
I hope that this project inspires you to try some simple building projects! It’s much less intimidating than it looks and this is a great starter project for someone not familiar with building.

Shop My Kitchen Decor

Follow Along With Me
If you create this piece I’d LOVE to see how you style it! Make sure to tag me on Instagram and show me your completed project!
Thank you so much for visiting the blog today! I hope you enjoyed this project. Please feel free to subscribe to the blog for more DIY inspiration and freebies I offer to my blog buddies!
Enjoy the other amazing fall DIY projects my fellow bloggers have in store for you as well!
Modern Geometric Painted Vases at The Happy Housie
How to Make Easy Fall Sweater Pumpkins at Tatertots and Jello
Room Spray for Fall at Modern Glam
Fall Candle Rings at She Gave it a Go
How to Build a Tray at The Handmade Home
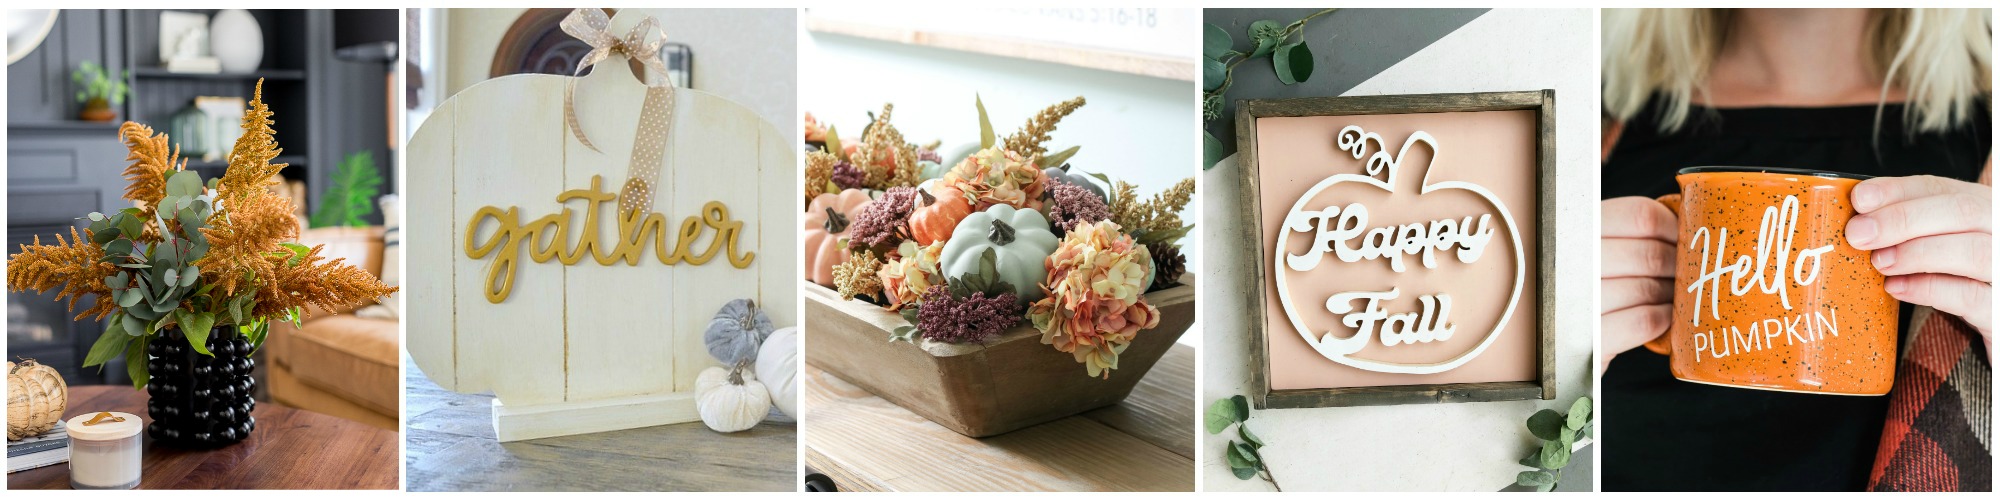
Textured Vase at Craftberry Bush
Farmhouse Slat Pumpkin at My Uncommon Slice of Suburbia
Pumpkin & Dough Bowl Fall Centerpiece at The Turquoise Home
Happy Fall Sign at Lolly Jane
Personalized Fall Mug at Jenna Kate at Home
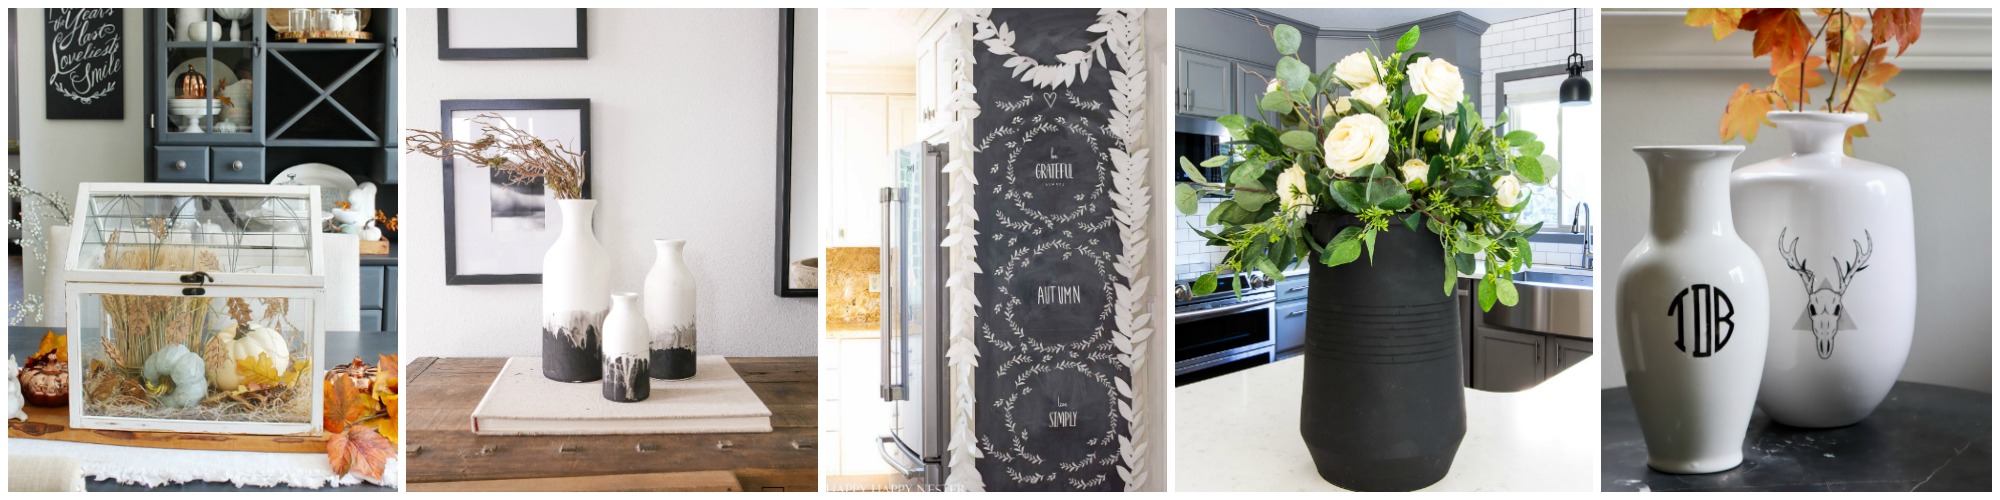
Fall Terrarium Centerpiece at Clean and Scentsible
Black & White Modern Ceramic Vases at Taryn Whiteaker Designs
Fall Chalkboard Art at Happy Happy Nester
Fall Faux Centrepiece at Inspiration of Moms
Monogrammed Vase at My Sweet Savannah
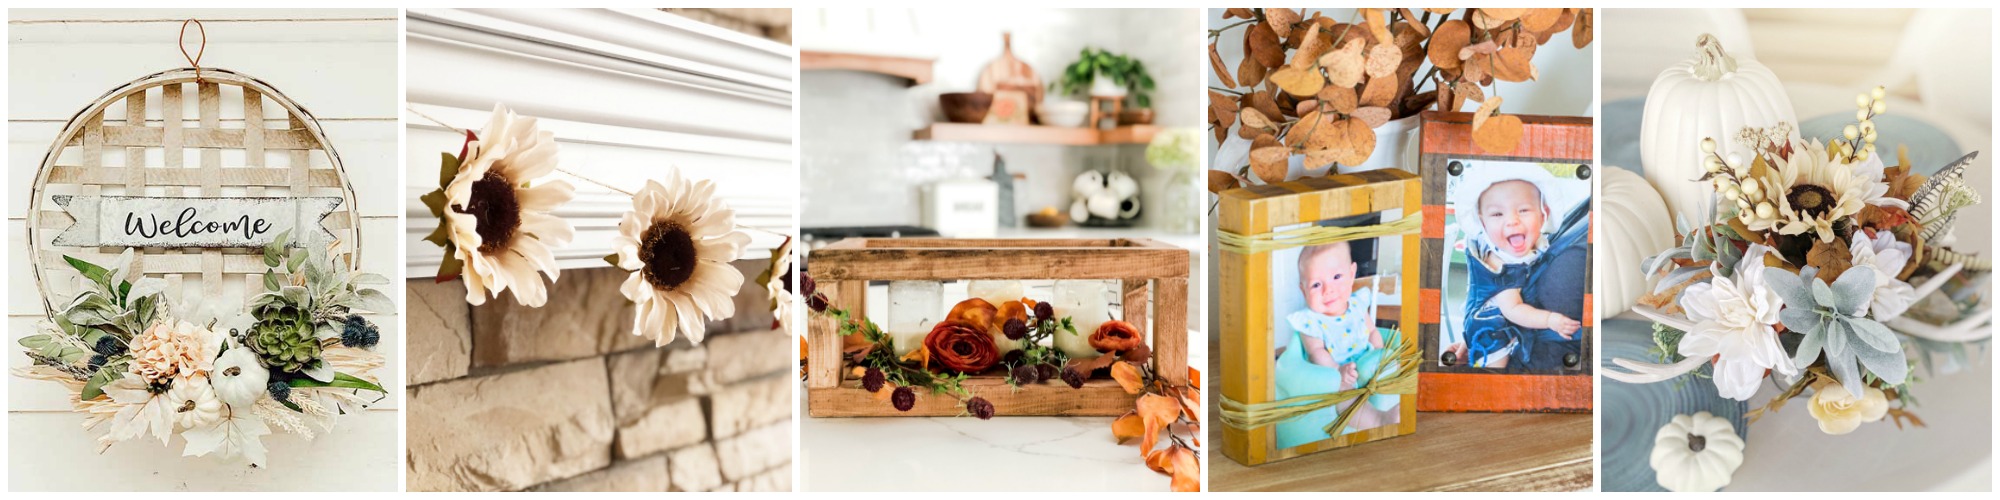
Tobacco Basket Wall Hanging with Flowers at Hallstrom Home
10 Minute $10 Sunflower Garland at a Pretty Life in the Suburbs
Small Wood Projects to Use as Decor at Grace in My Space
Fall Inspired Wood Photo Holders at In My Own Style
Neutral Fall Floral Arrangement at All Things With Purpose
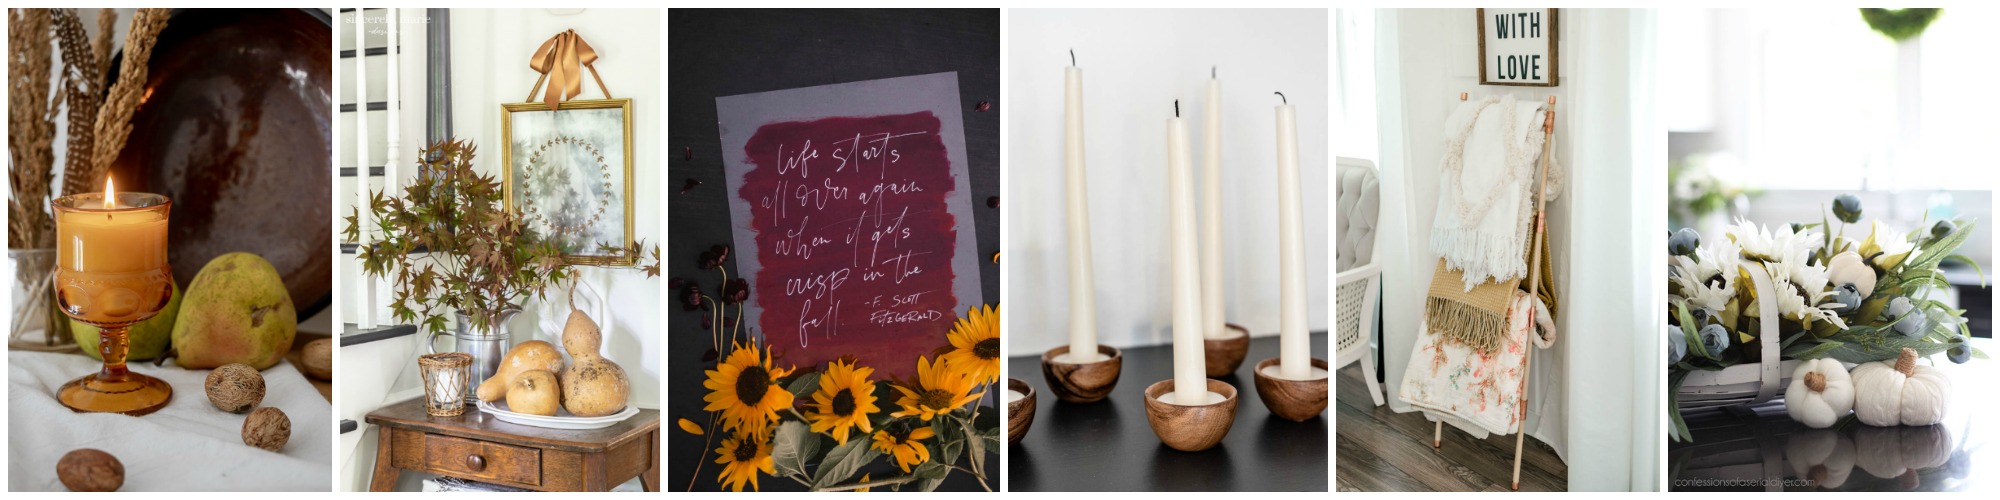
Vintage Amber Glass Candle at Seeking Lavender Lane
Vintage Wreath Mirror at Sincerely, Marie Designs
Fall Acrylic Sign at Lemon Thistle
Wooden Bowl Candle Holder at Cherished Bliss
Blanket Ladder from Copper Pipe Dowels at The DIY Mommy
Thrift Store Basket Turned Fall Arrangement at Confessions of a Serial DIYer


Awesome writing!
Totally agree with you, Wood is a great natural insulator which means there will be significantly less heat lost from your home than with brick, concrete or stone.
Such a great small project for those chilly days! Looks great!
Thank you so much! It is a really great beginner project.
Sarah, this is so easy, and so beautiful! I’ve pinned this to hopefully do this season (great for any seasonal decor… Christmas anyone?) I don’t know if you link-up at any parties, but we would love to have you join us at Tuesday Turn About this coming week… we open at 5pm CST. Hope to see you there!
Thank you so much Julie! I will certainly look into that!!
Sarah I LOVE this! I can’t believe you replicated that and for such a good price. It turned out so cute!
Thank you so much Deb! It was a fun project!
Thanks for sharing this DIY project on the blog hop. It looks gorgeous in your kitchen!
Thank you for hosting an amazing hop Krista!
I love this – and I am totally jealous that your kitchen is that clean!
Thank you! Don’t be too jealous, it’s a rare occasion. 😉
This is so rustic and fun! LOVE the look and the warm colors!
Thank you so much Ashley!
This is so beautiful! Next time the tools are out I might have to try this!
Please do!! Tag me so I can see how it turns out!
How gorgeous! The stain you chose is perfection with your fall flowers! Love it
Thank you so much! I love this stain color. It’s my go-to!
This is so cool and cute! Plus it looks easy. I am loving it
Thank you Rhonda! It was super easy!
This is so adorable! I love that you could use this more all kinds of things and throughout the seasons. Have a wonderful fall!
Thank you my friend! I’m excited to style it a few different ways throughout the season!
I love this fall DIY – but can we talk about your shelf styling skills?!?!? Amazing! Come help me with mine!
Haha thanks Ashley! Somehow I think your shelf styling skills are on point. 😉
What a wonderful project! I love the way it looks in your kitchen!
xoxo
Thank you so much Jen!
I love this idea! So many ways that you can dress it up!
Yes! I love how versatile it is.
Kudos to you for choosing to DIY this pretty centerpiece! It looks fantastic and just a good as the original. plus you can dress it up for any holiday! The boy mom in me had to mention that you were photobombed by a nerf gun dart in your last photo lol. That is so my life…love it! 🙂 XO
LOL!! I didn’t even see it! I love that you noticed that. Boy moms unite!