
DIY Texture Art Made With Leftover Supplies
Do you love the look of abstract texture art, but don’t want to pay hundreds of dollars? I fell in love with the simplicity of this type of artwork, but everywhere I looked this artwork cost over $100. So I made my own, for free! Learn how to create this DIY texture art using leftover materials!
Post may contain affiliate links for your convenience.
How to Make DIY Texture Art for Free
I love the simplicity of this simple artwork. It has a lot of texture to keep the otherwise neutral color scheme interesting. I have been pinning images of this type of artwork for weeks but could never pull the trigger on the price.
Then, a few of my friends on Instagram created their own artwork, DIY style, and it gave me an idea!
My friend Cynthia, from Cynthia Harper Living, used an old farmhouse sign to create her own mountain scene by painting right over the previous image. Then, Erin, from The Heart and Haven, created her own texture art using caulk.
So I thought, I could combine those two ideas to make my own texture art!
I love being inspired by other’s creativity and Erin and Cynthia are two very creative individuals that I’m sure you would enjoy following along with!
Texture Art Tutorial
I only used materials I had on hand, making this artwork completely free. This was my supply list:
- Old sign to use as the frame and “canvas”
- Joint compound
- Putty knife
- Painter’s tape
- Two colors of paint (or whatever necessary to create the design you want)
Step 1 | Tape off Your Frame
I had an old farmhouse-style wood sign that was no longer my style that I used as the canvas and frame. I decided to keep the sign on the front and simply use the back for my canvas. This actually gives me two different pieces of art. It is reversible!
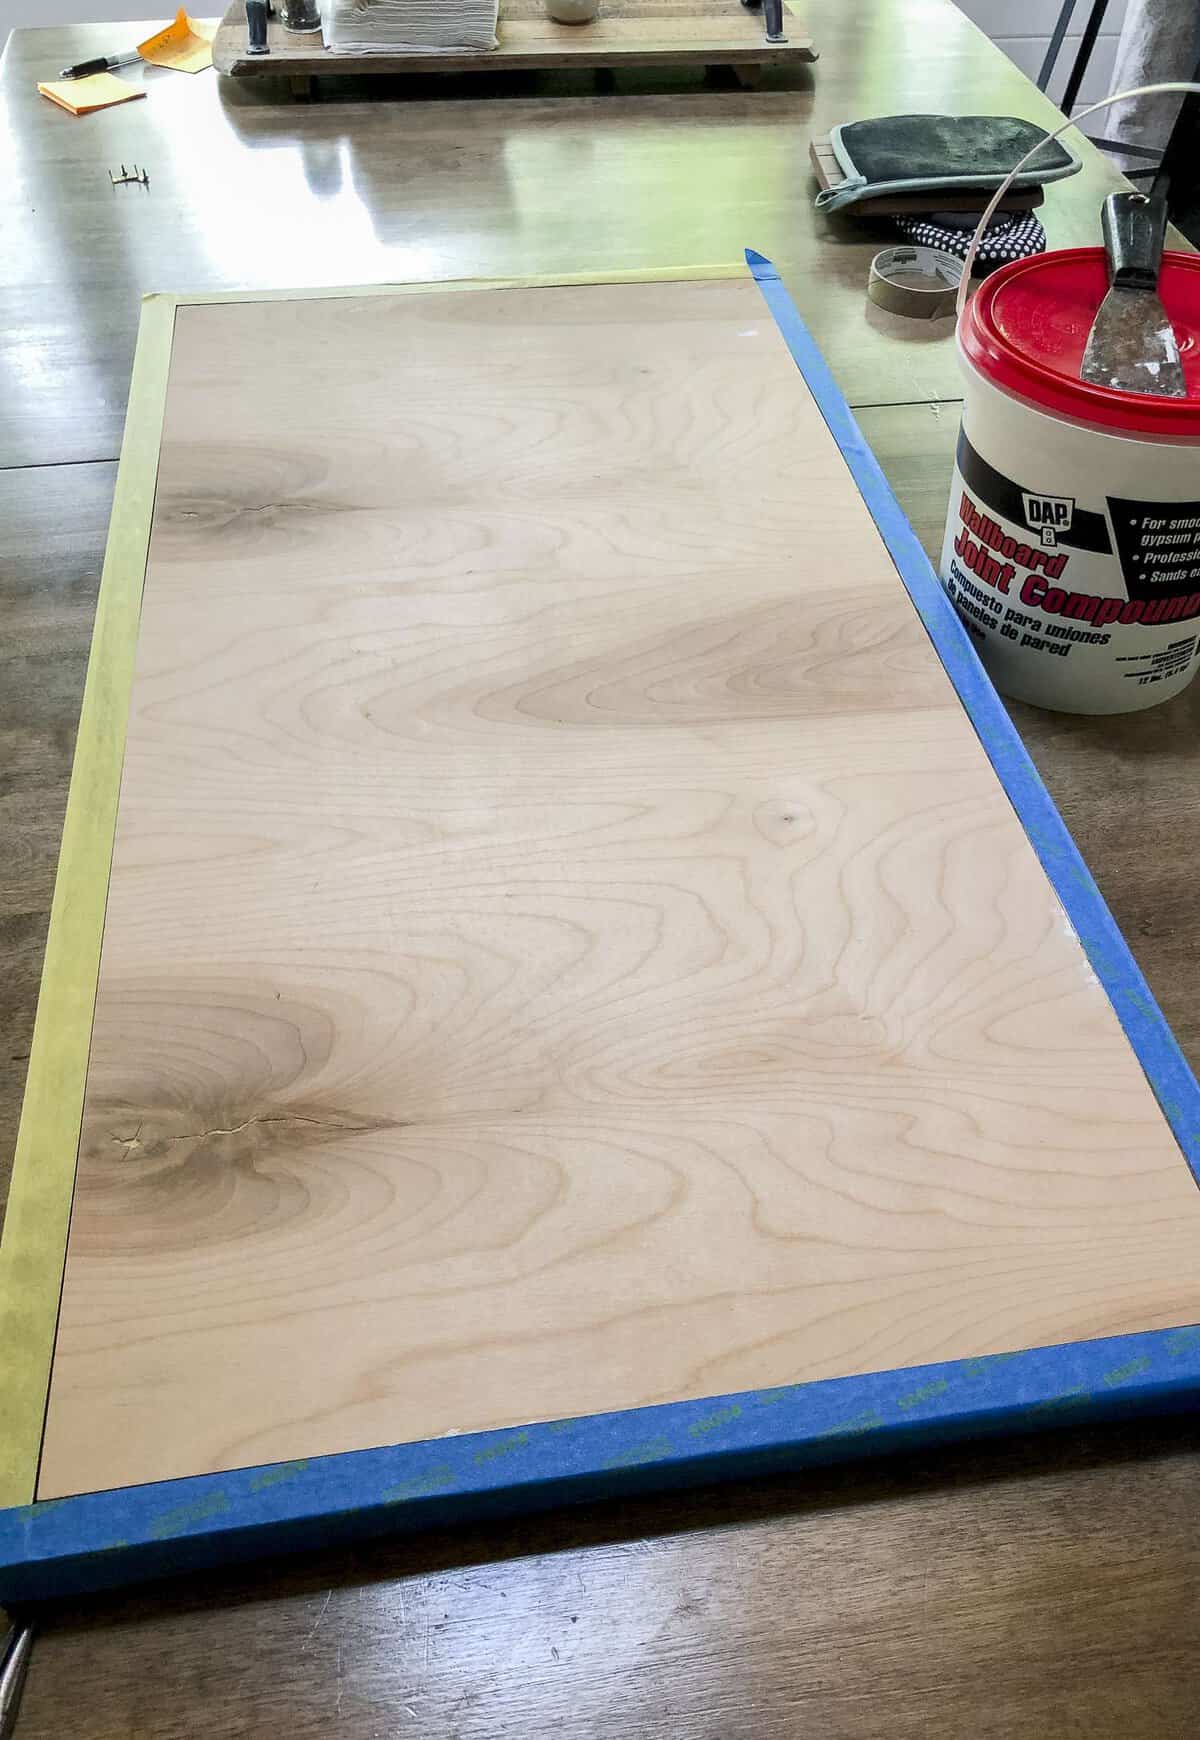
The first step is to tape off the frame to protect it from the joint compound. Conversely, you could also use the front of your sign or make your own frame! This is a very versatile project.
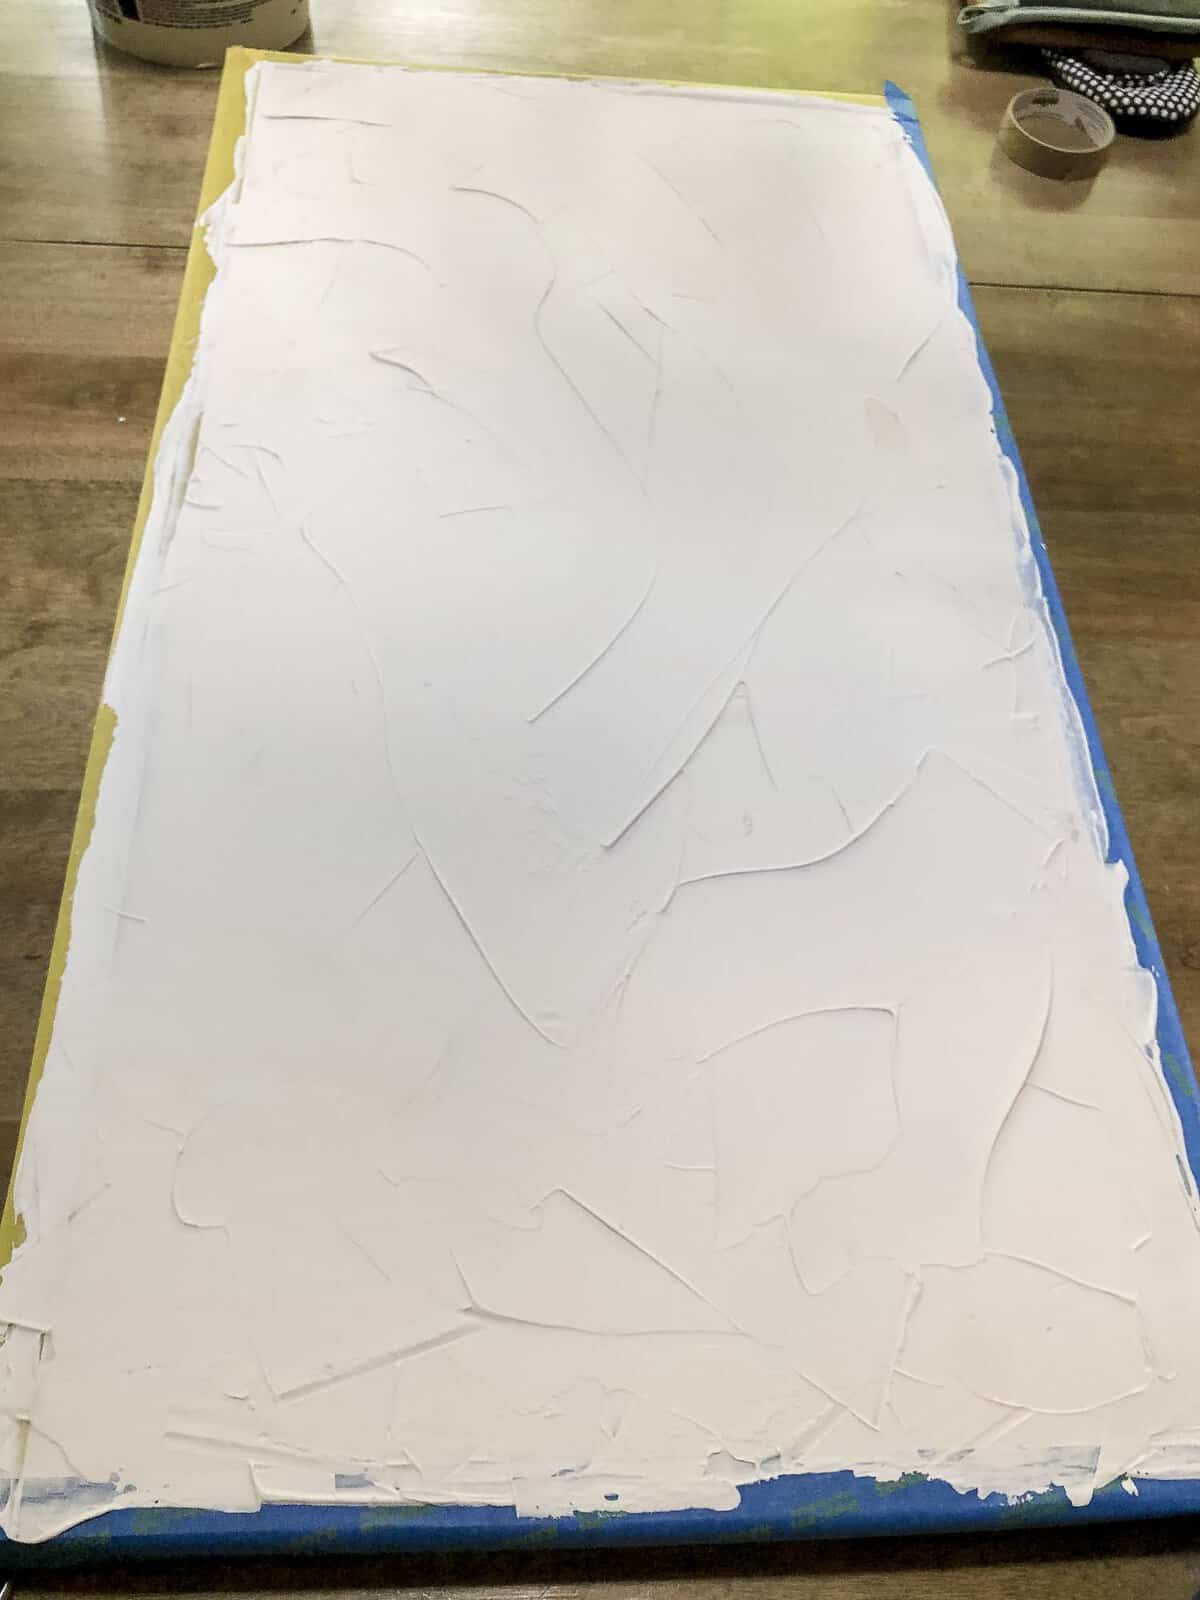
Step 2 | Apply Joint Compound
The next step is to apply the joint compound. Erin used caulk, and my other friend Allie, from Proverbs 31 Girl, used plaster. However, I had joint compound on hand, so that’s what I used!
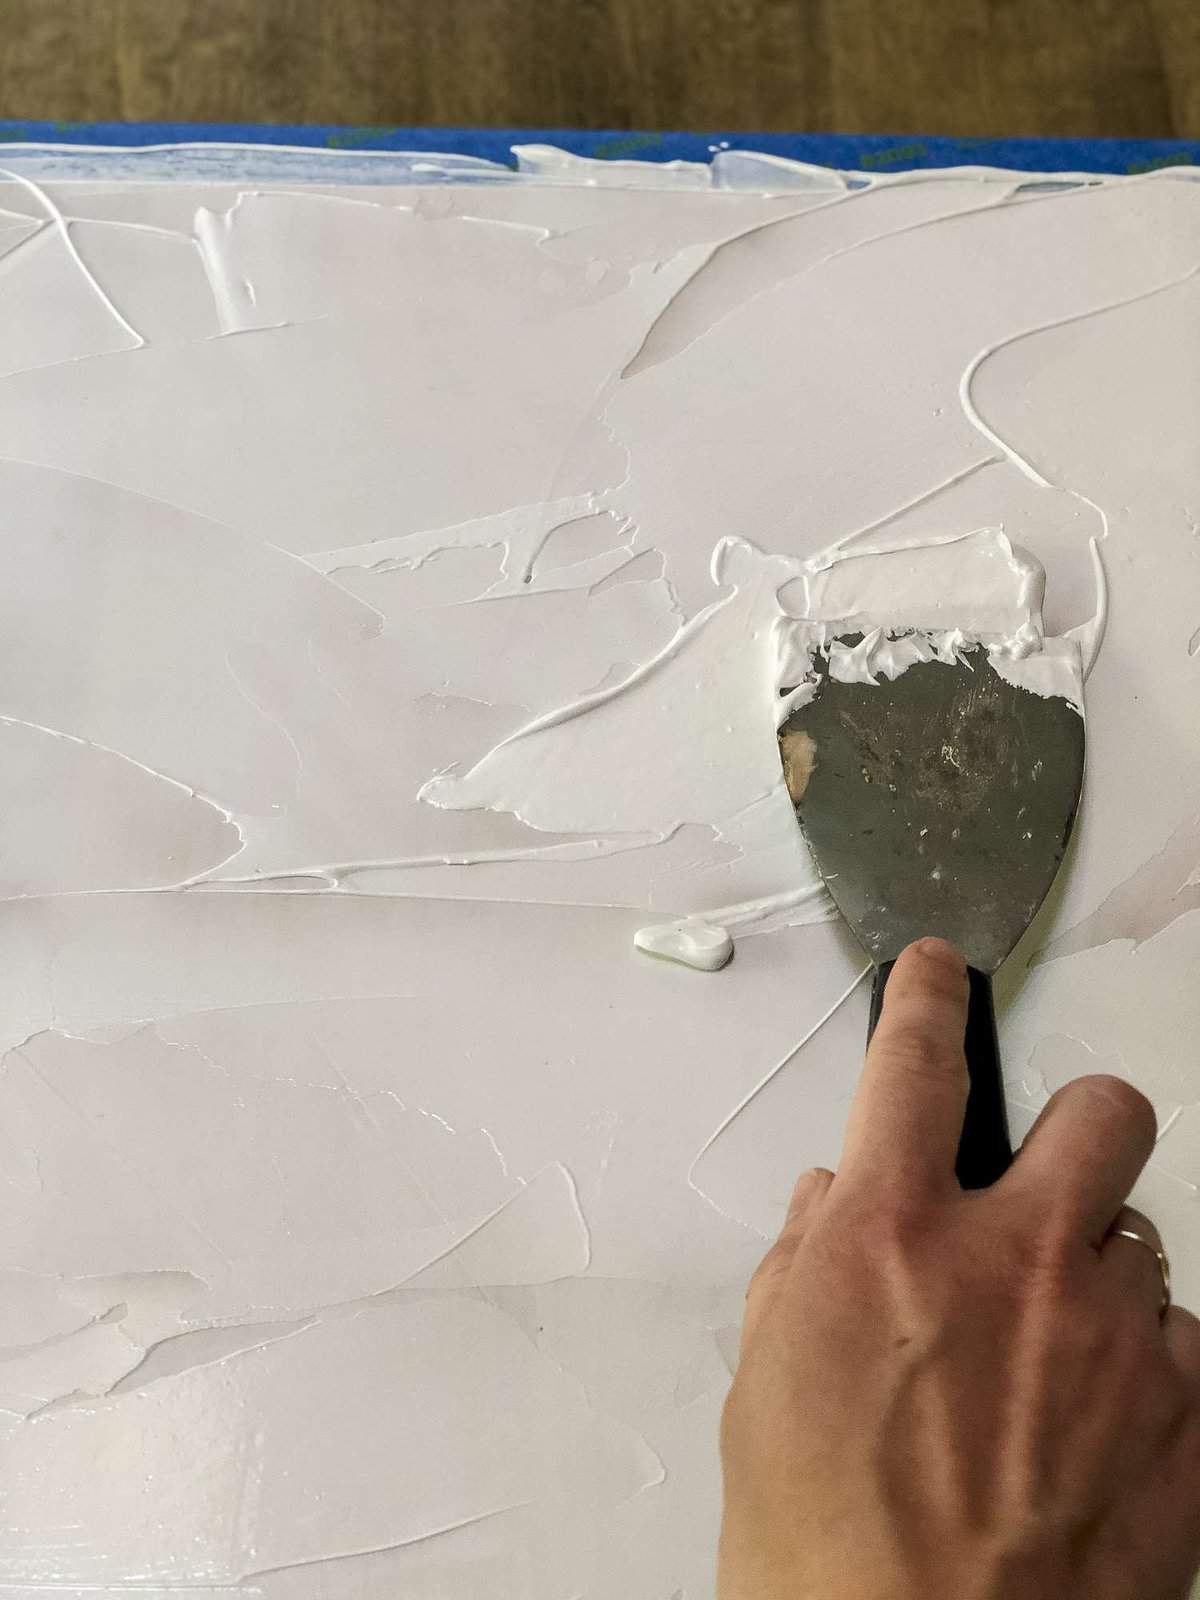
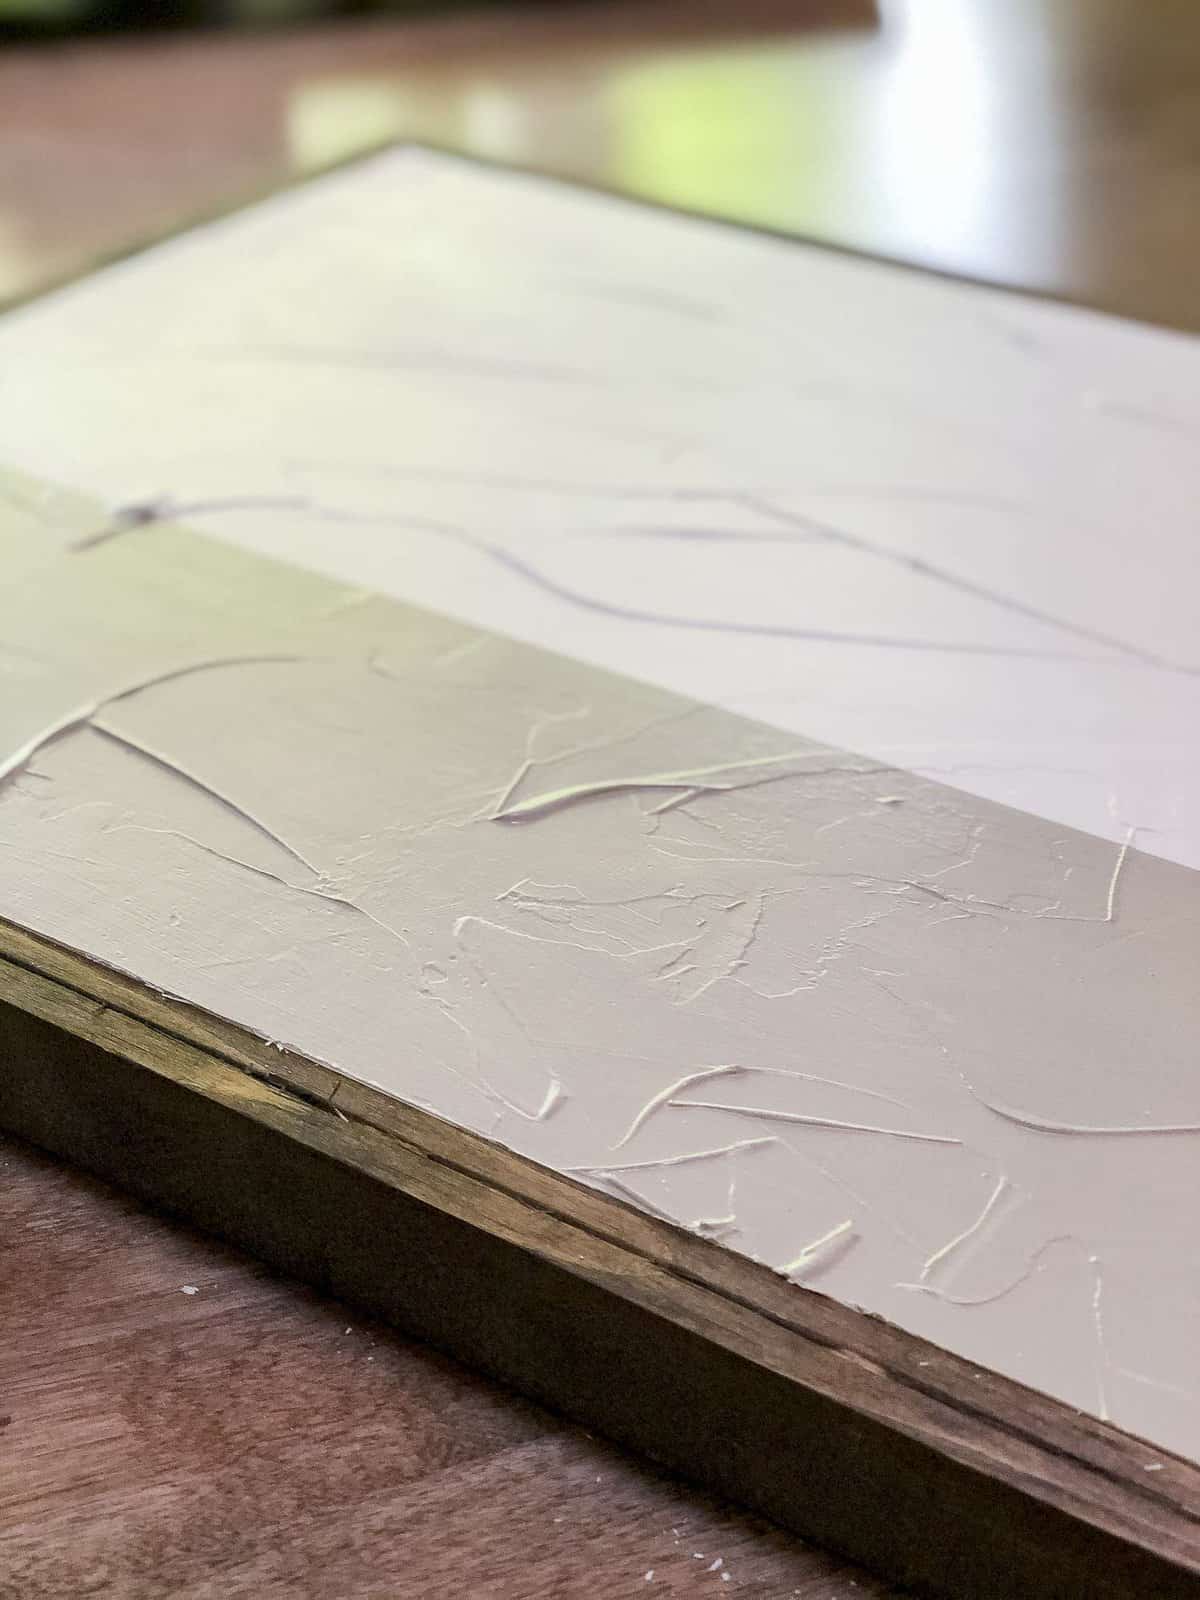
Simply apply the joint compound with a putty knife. Layer it on so that it is thick enough to cover and create some ridges, but not heavy enough that it will impede drying.
I applied one light layer and then added strategically placed globs about 10 minutes later once the first layer had begun to set up.
Then, smooth out the compound to the desired texture. There is really no right or wrong with this type of texture art! You can create any design!
Step 3 | Paint
Once your surface is completely dry, paint your base color over the entire surface.
At this point of the project, you can take your DIY texture art and do anything you want with it! The sky is the limit to how and what you paint on your artwork. I’ll continue sharing how I made mine if you want to create something similar.
I painted the entire surface in Sherwin Williams Snowbound, which is a soft white.
Step 4 | Tape Your Pattern
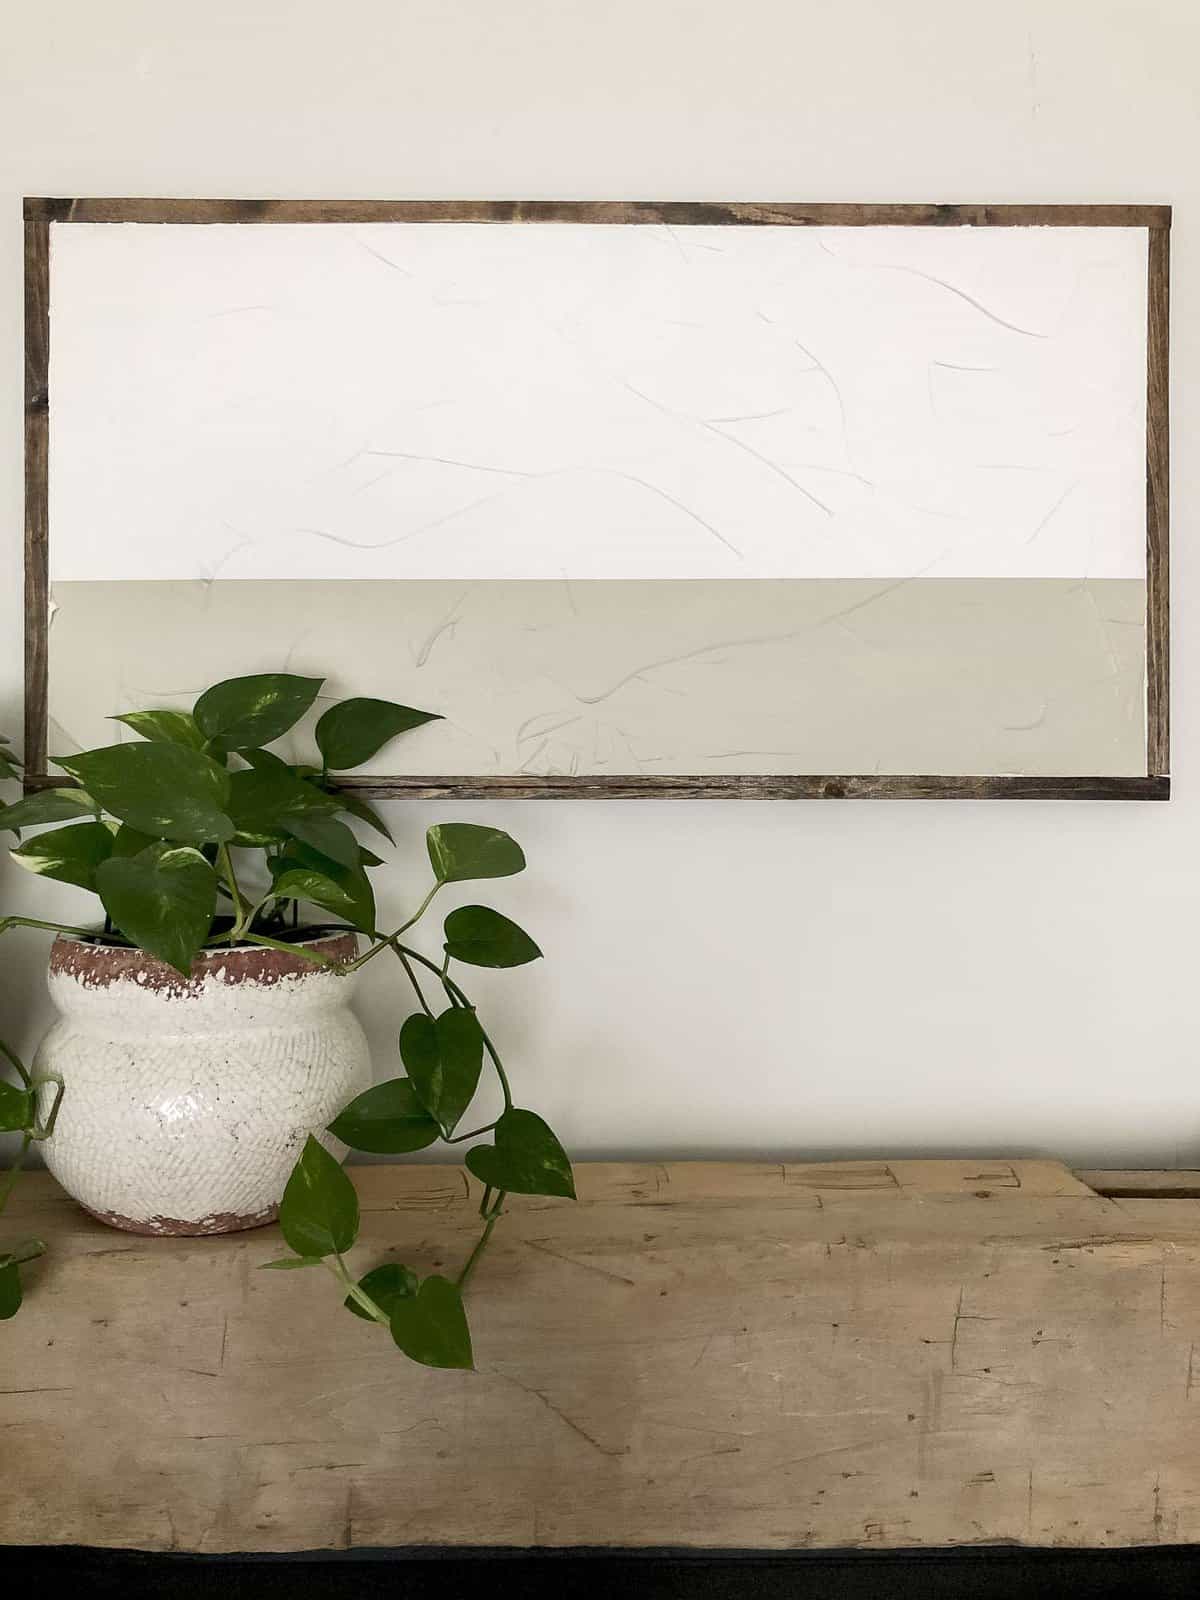
Once your base layer of paint is dry, tape off the line or pattern you want to create. I did a simple 1/3 color blocking.
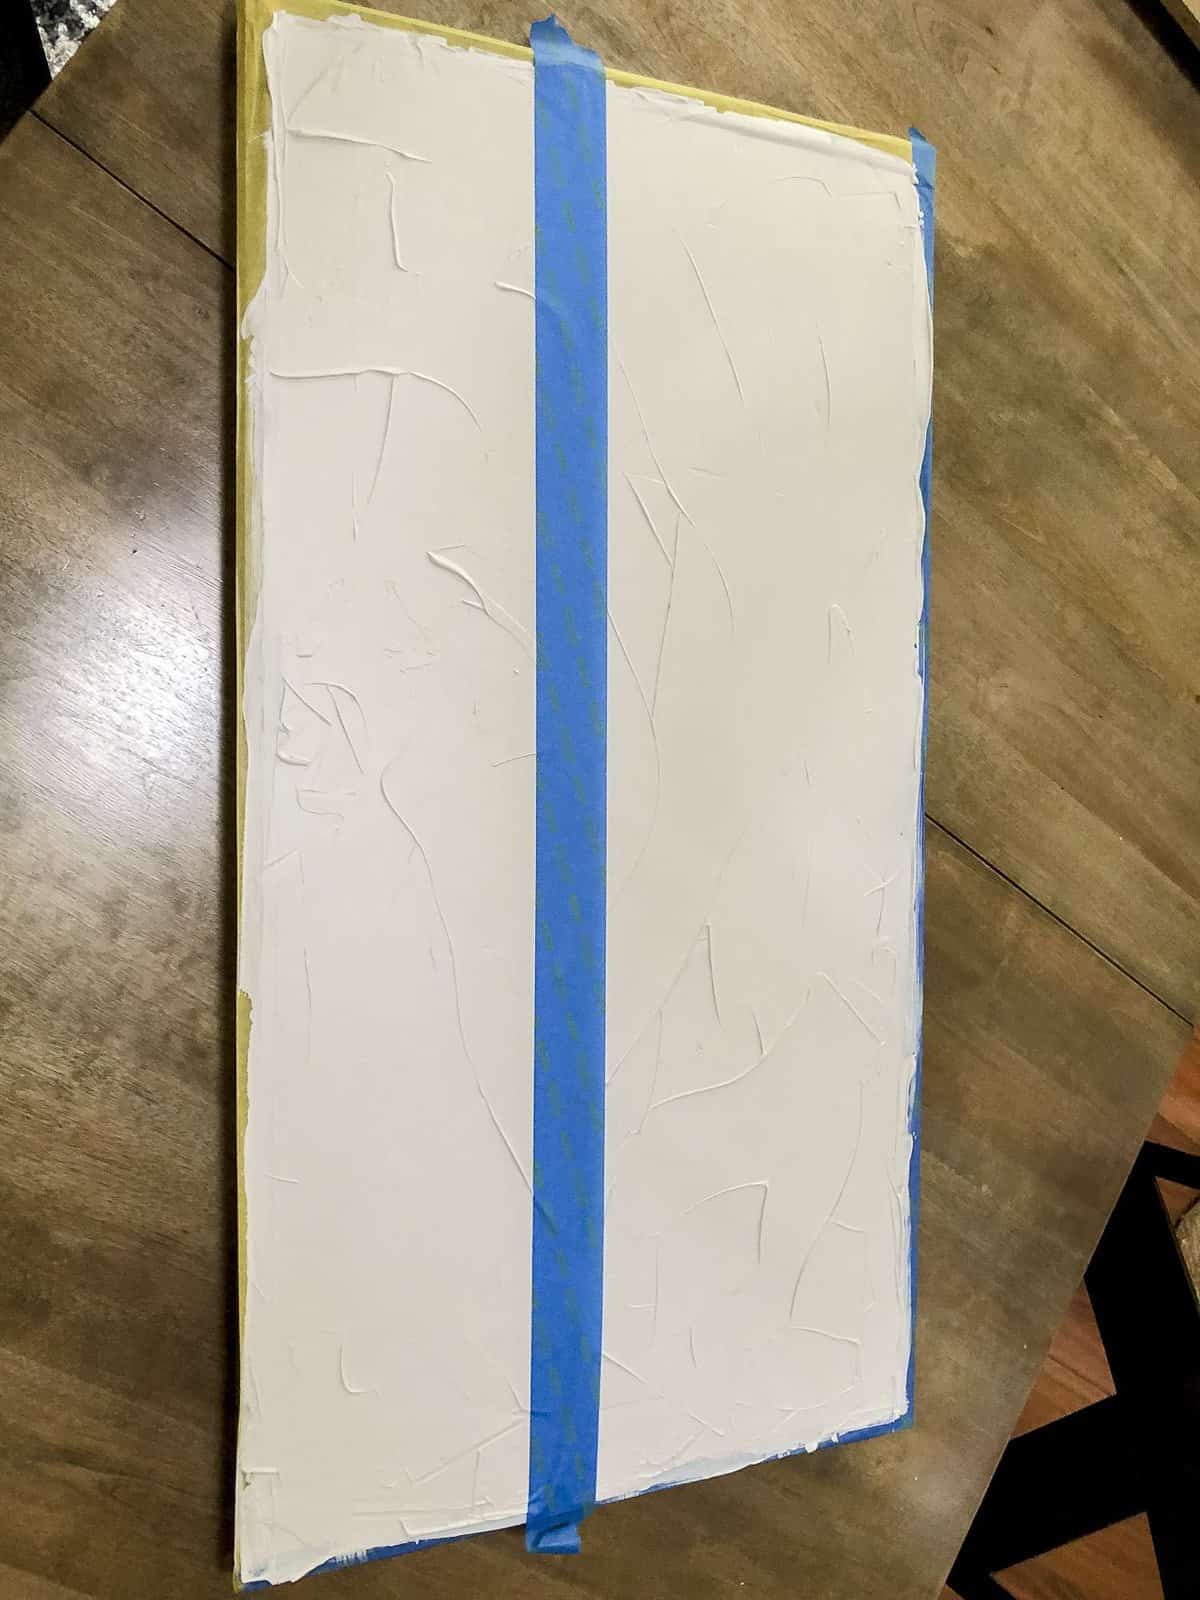
The key to getting crisp lines on a textured surface is to paint your base color over the tape line as a sealant. You can see more about how to do this in my color-blocking wall art tutorial.
Step 5 | Paint your contrasting color
The final step is to paint a contrasting color. I used Sherwin Williams Jogging Path. It is a light neutral taupe with warm undertones.
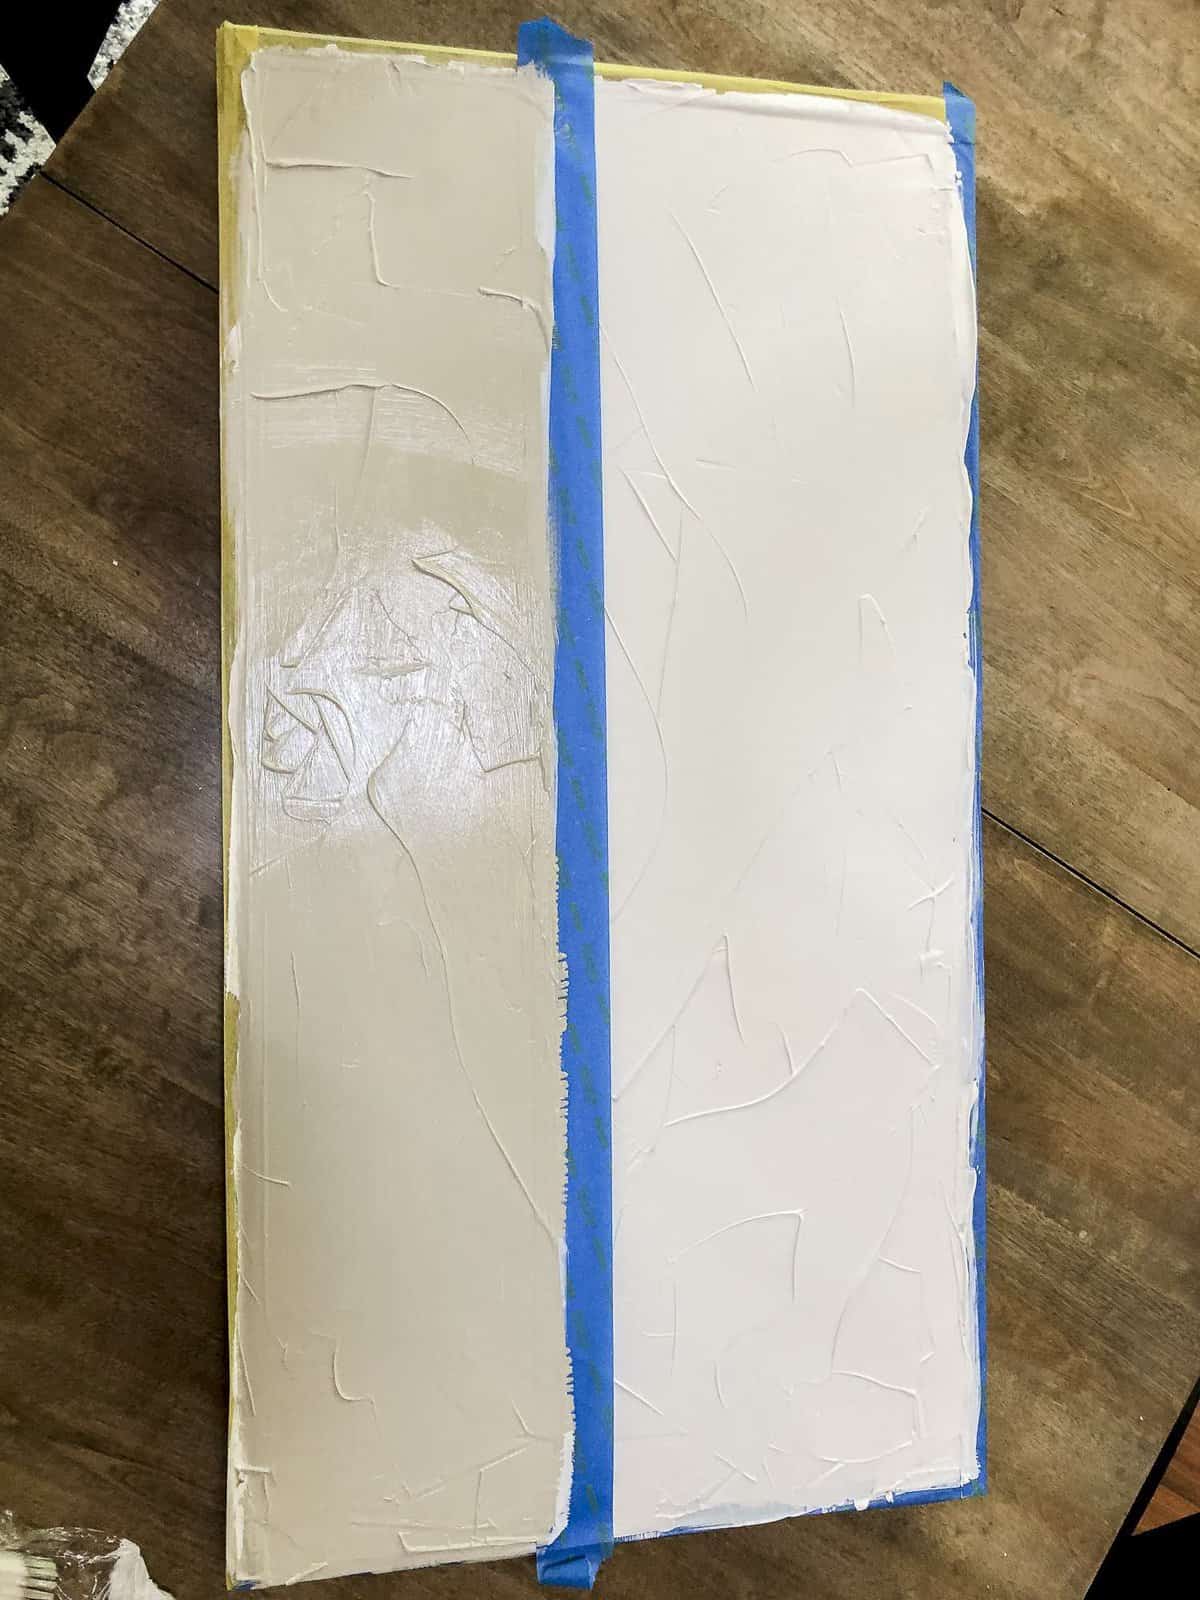
Once you’re completely done painting, remove the painter’s tape while the paint is still wet. You may need an exacto knife to score the edge to avoid peeling up any paint.
DIY Texture Artwork
That’s it! You’re done! This is such a simple DIY art project. The majority of the time it takes is for the joint compound and paint to dry. I completed mine in less than 24 hours with hands-on time being under 30 mintutes.
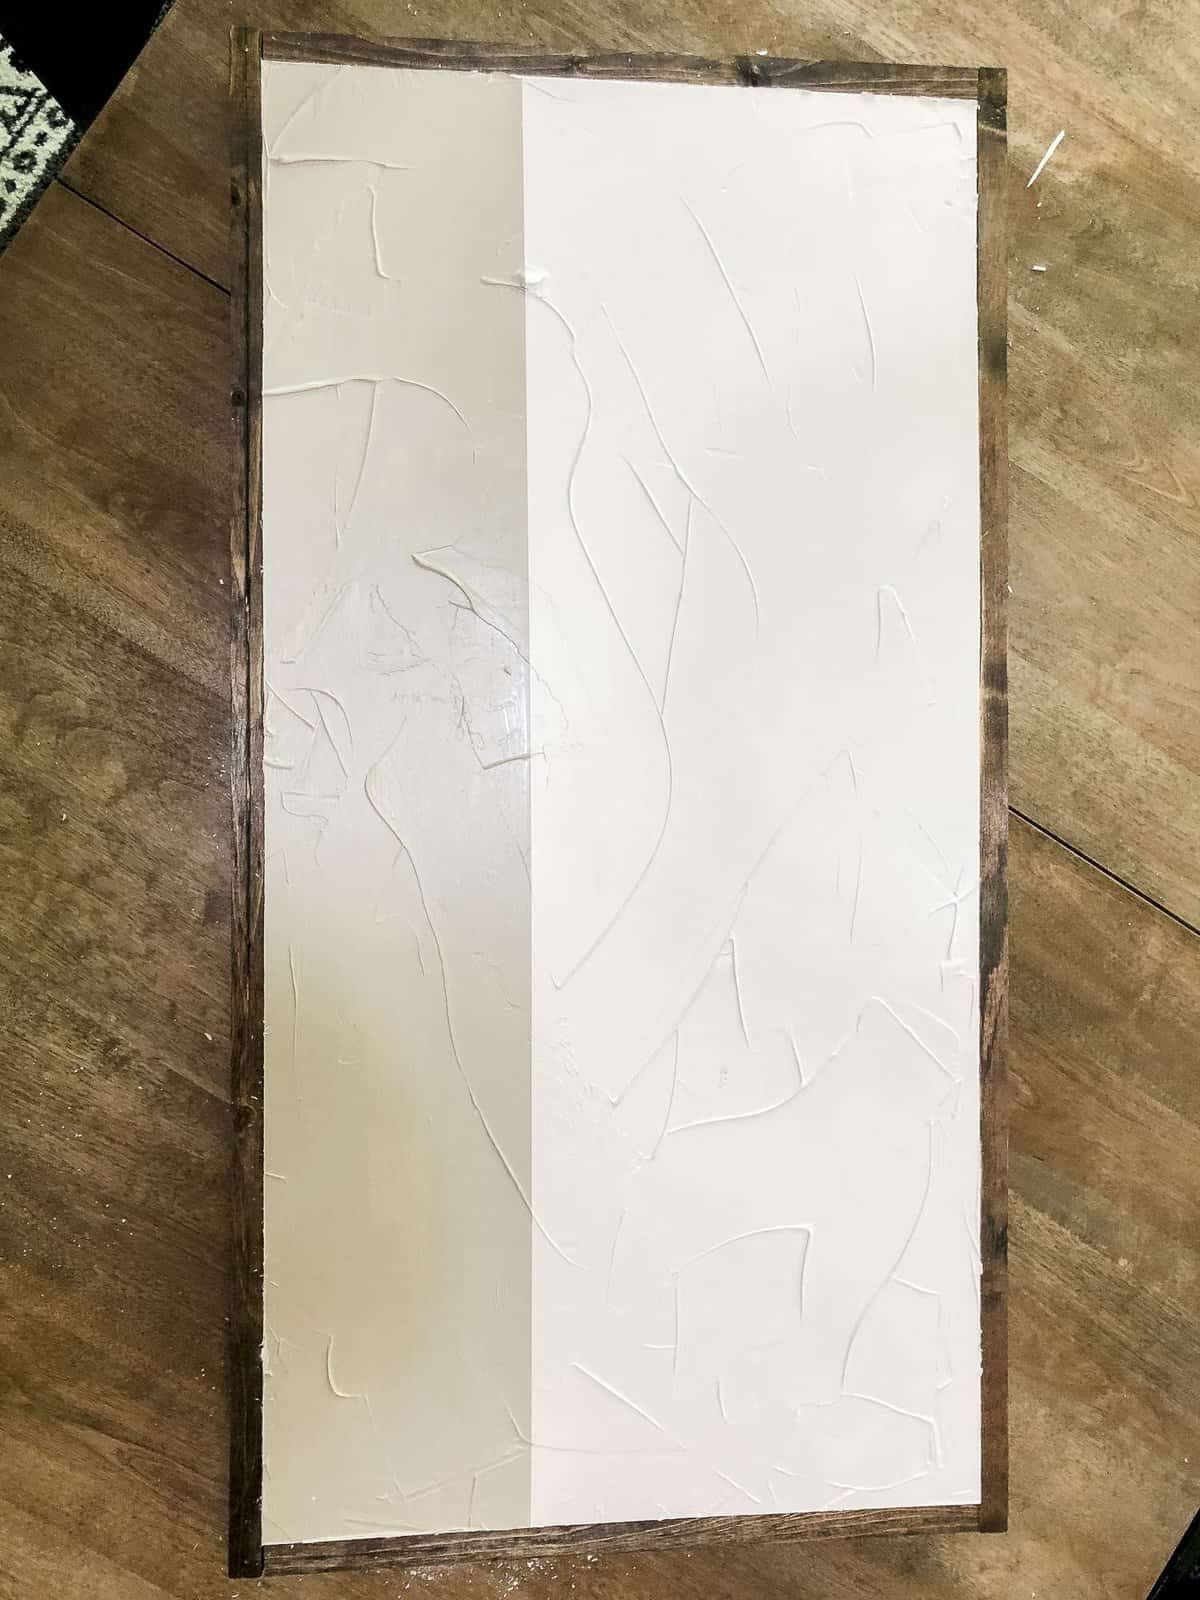
And the best thing is, it was all free since I used leftover project supplies.
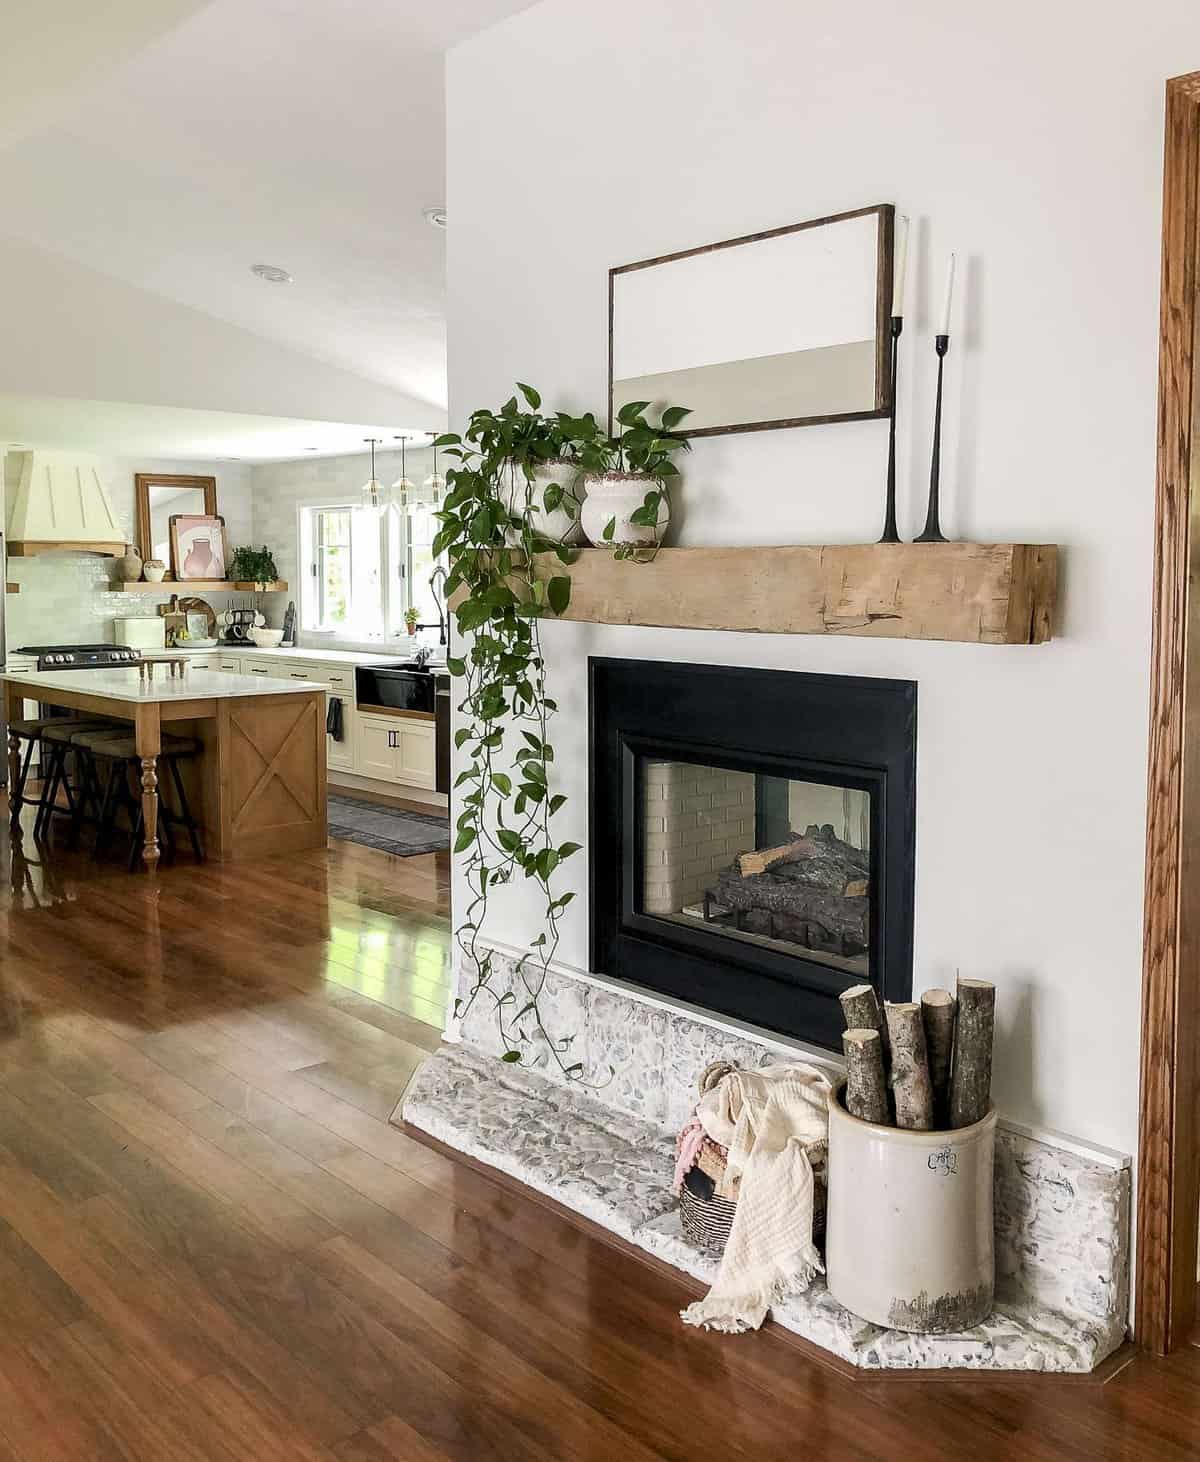
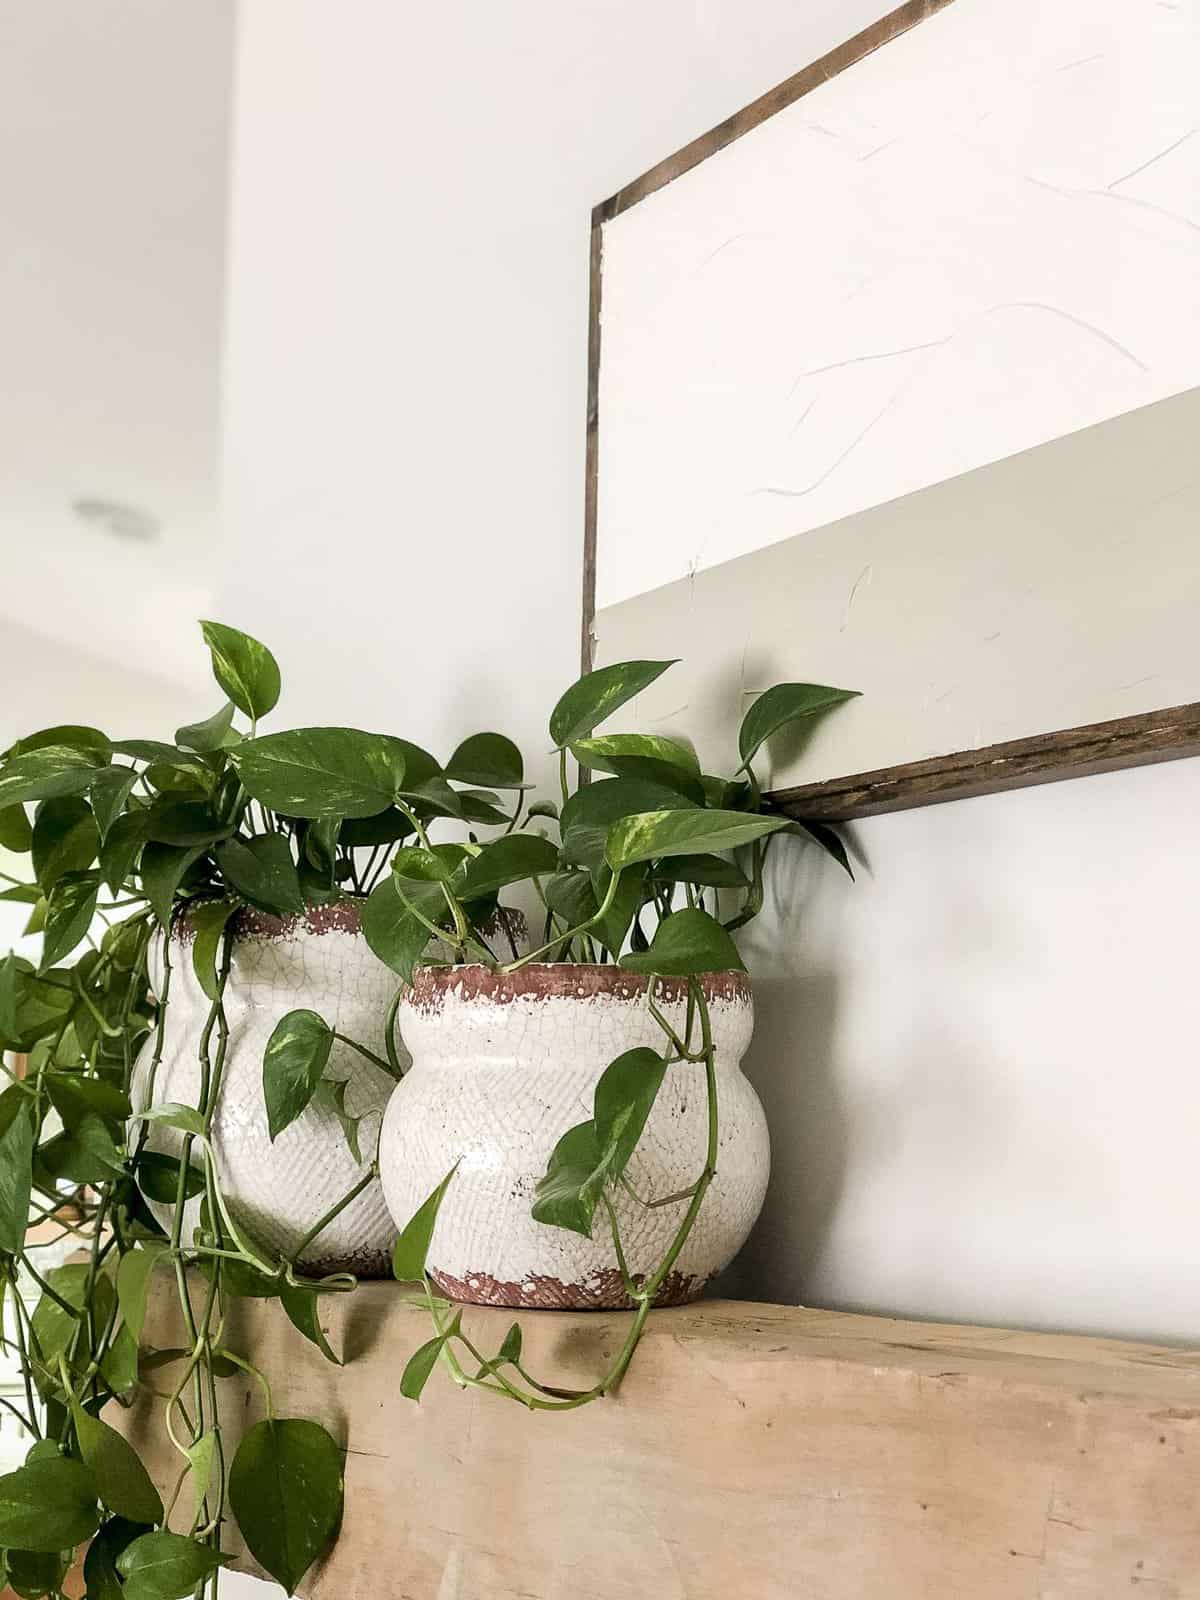
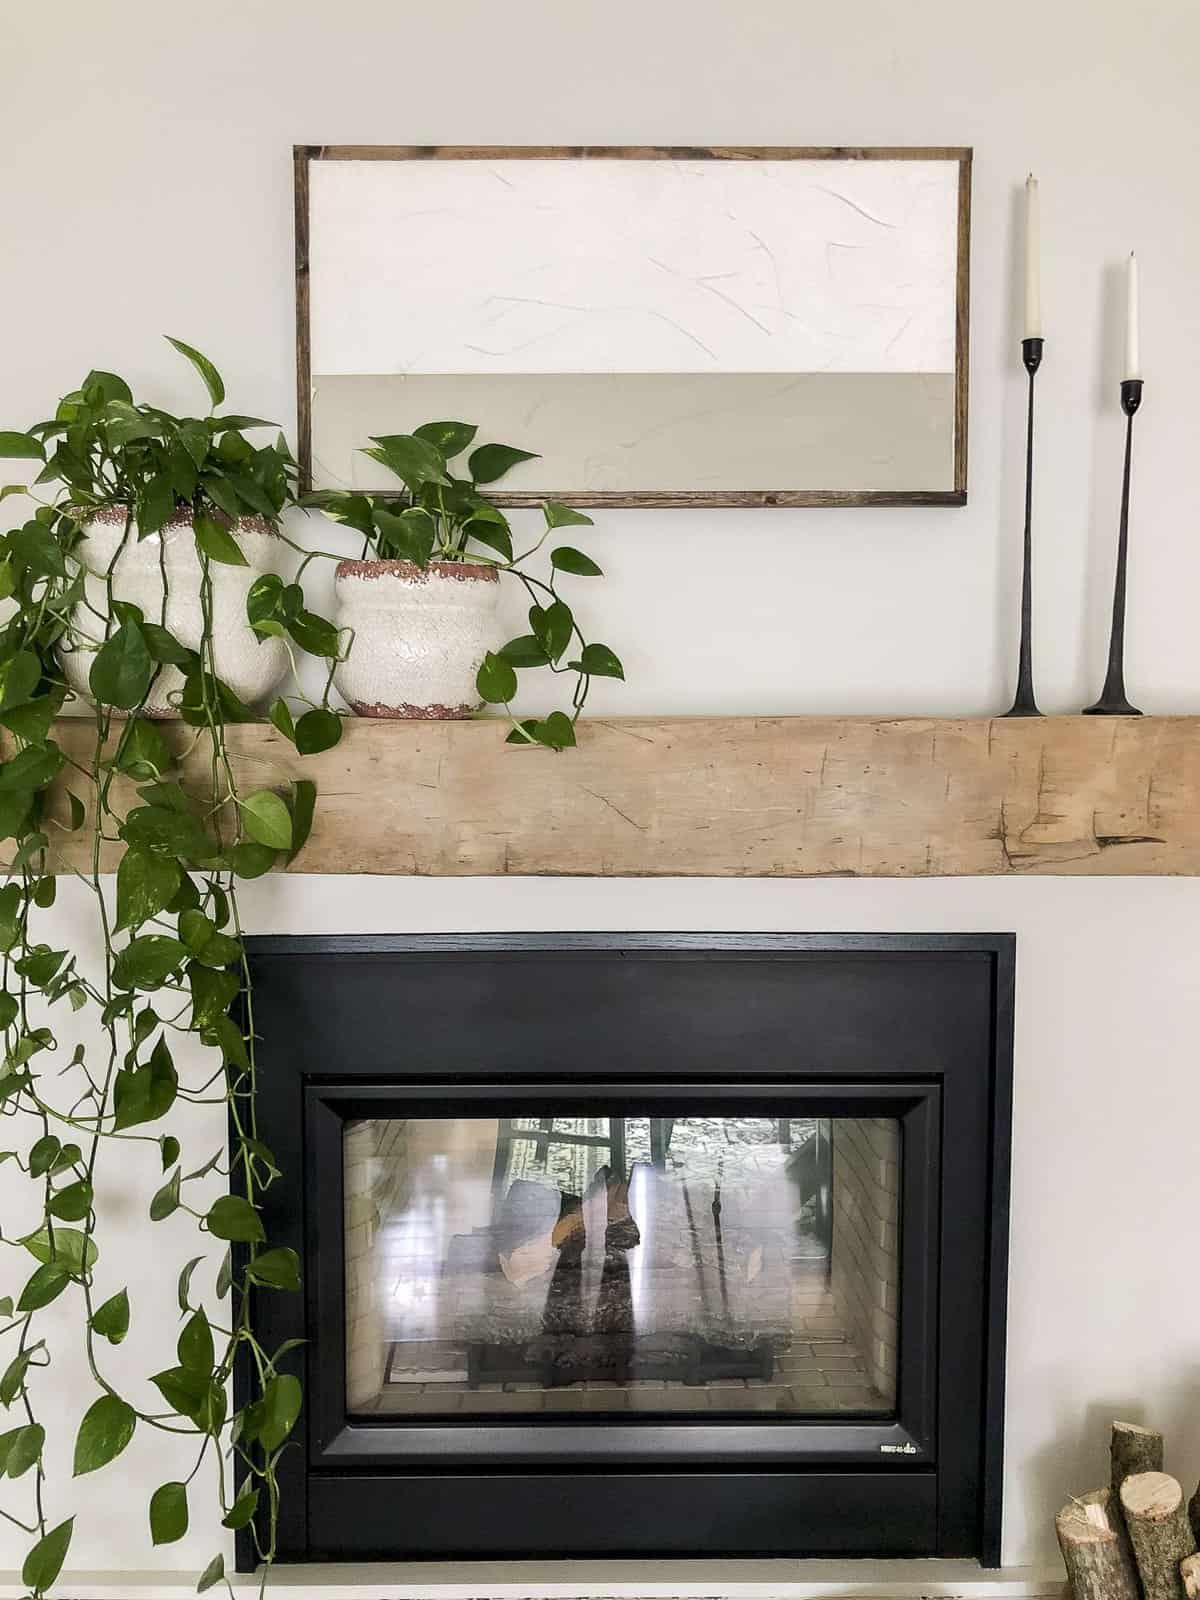
I love how it turned out and decided to hang it over my mantel for summer. You can see it styled for summer in this post!
The texture makes it such an interesting piece that is hard to capture from a distance in photography. But that up close is pretty amazing!
Stay Connected
Thanks so much for stopping by the blog today! Make sure to also visit Erin, Cynthia and Allie’s blogs I linked above who provided inspiration for this piece!
You can see a video tutorial for how I made my DIY texture art by following me on Instagram as well!


I love how this project turns leftover supplies into something so stylish and high-end! The texture adds so much depth, and the neutral tones make it perfect for modern interiors. DIY ideas like this are such a great way to refresh a space without overspending. I’ve been seeing more creative textured wall art lately, especially from brands like My Home, Art & Decor, and this tutorial is such great inspiration for anyone wanting to try the look themselves. Great job!