Using Color Block Art to Accentuate Wall Decor
If you want to accentuate wall decor, consider a simple color block technique! This affordable paint tutorial shares how to get the crisp lines we desire!
Post may contain affiliate links for your convenience.
Color Block Paint Tutorial
Personally, paint is the first source I go to when I am dreaming up home makeover plans. It is easy, affordable, and the easiest way to make a big impact on a makeover.
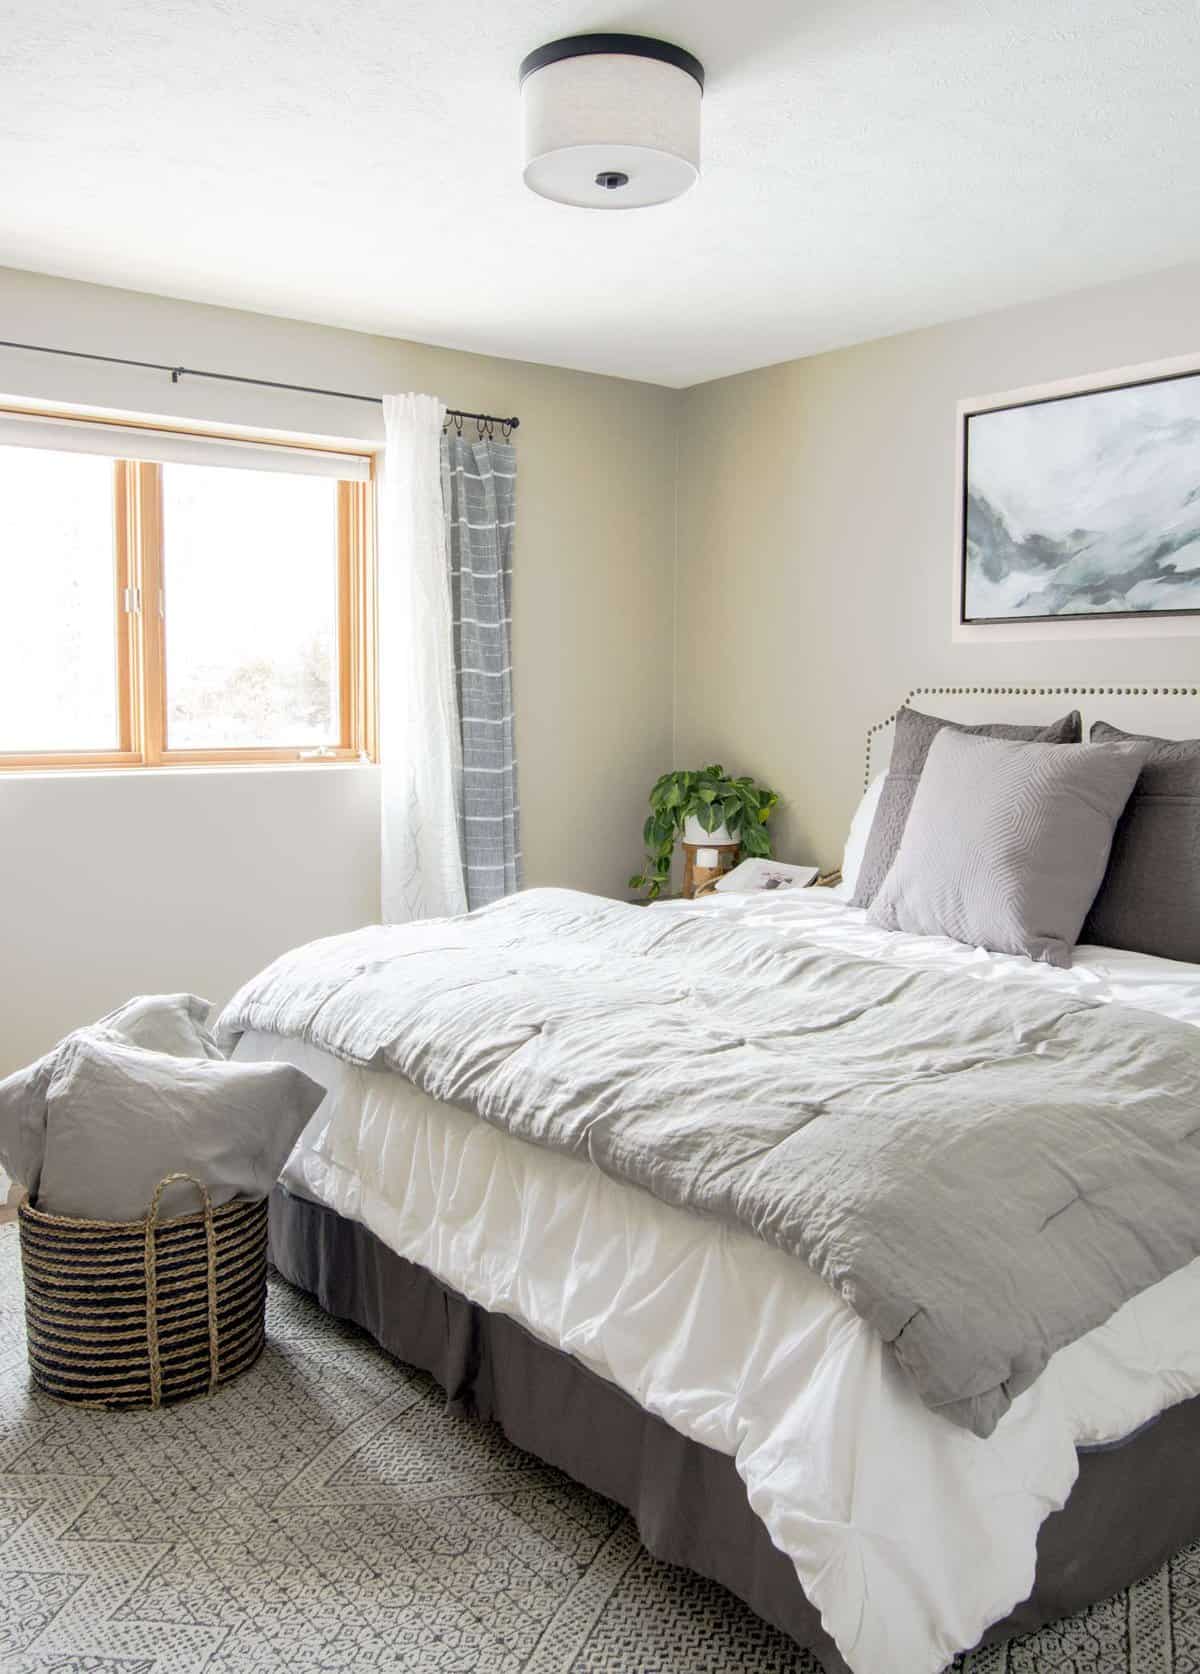
So, when I started planning my guest room remodel, I knew I wanted to do something special with a paint accent. I hope that this simple color block paint tutorial gives you some ideas of out of the box ways to use paint!
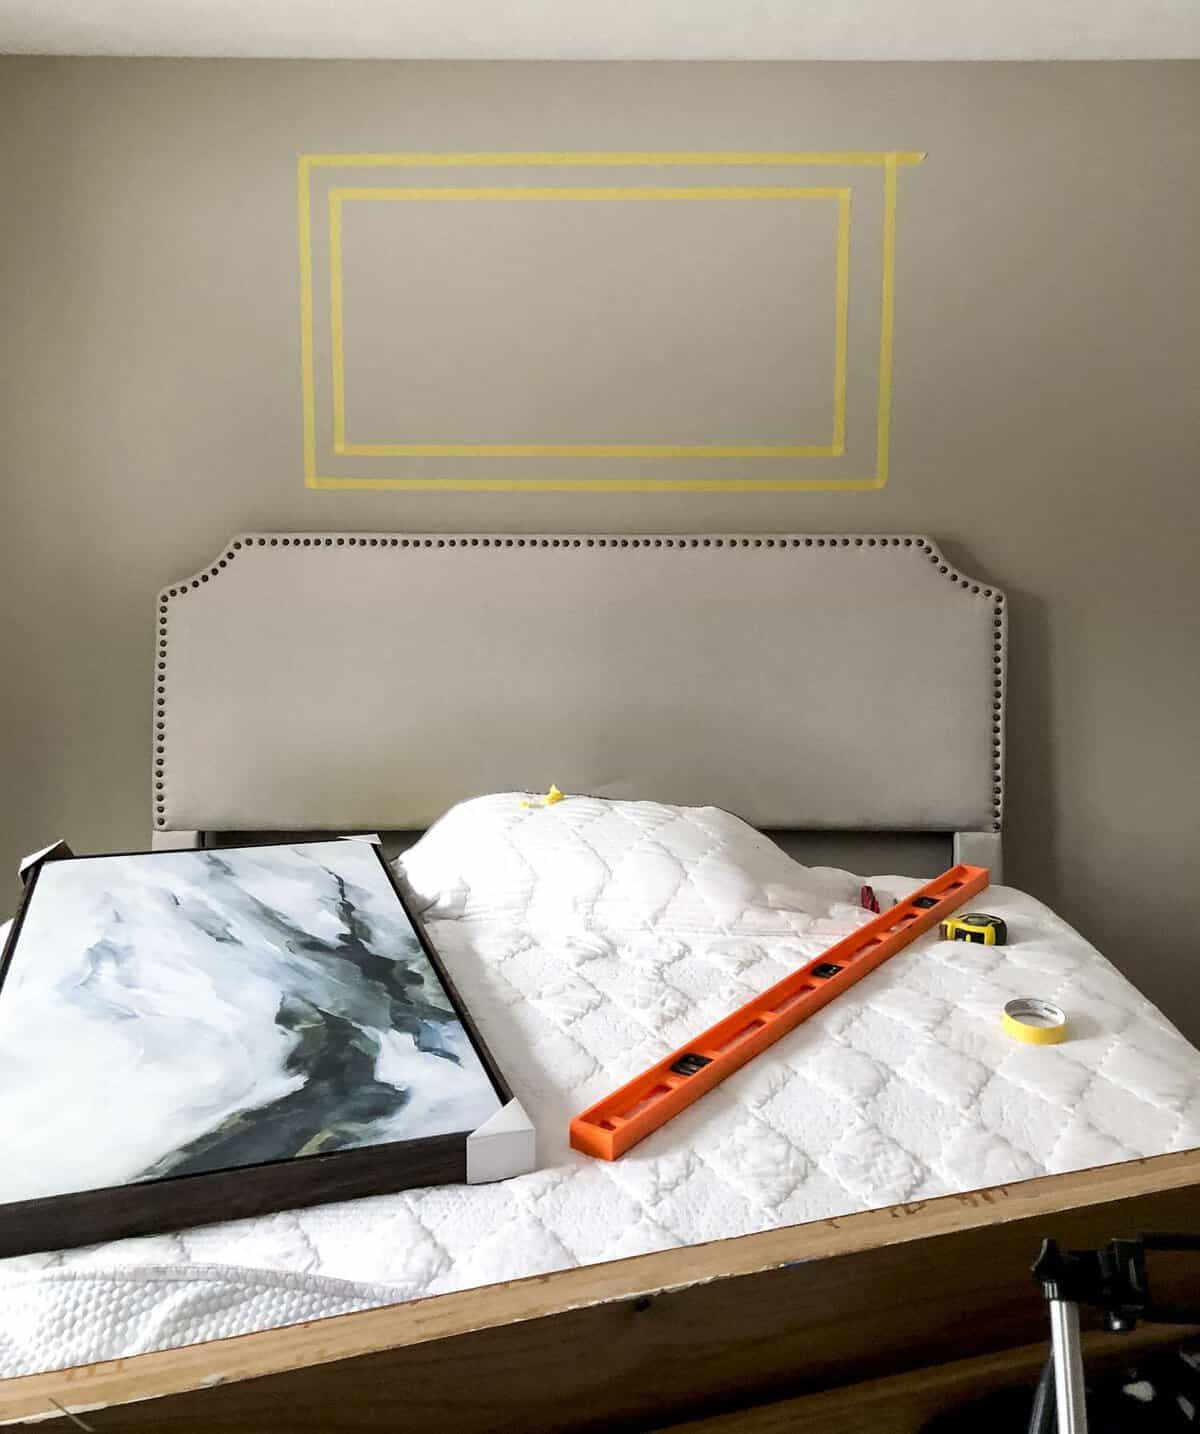
Step 1 | Tape Off Your Design
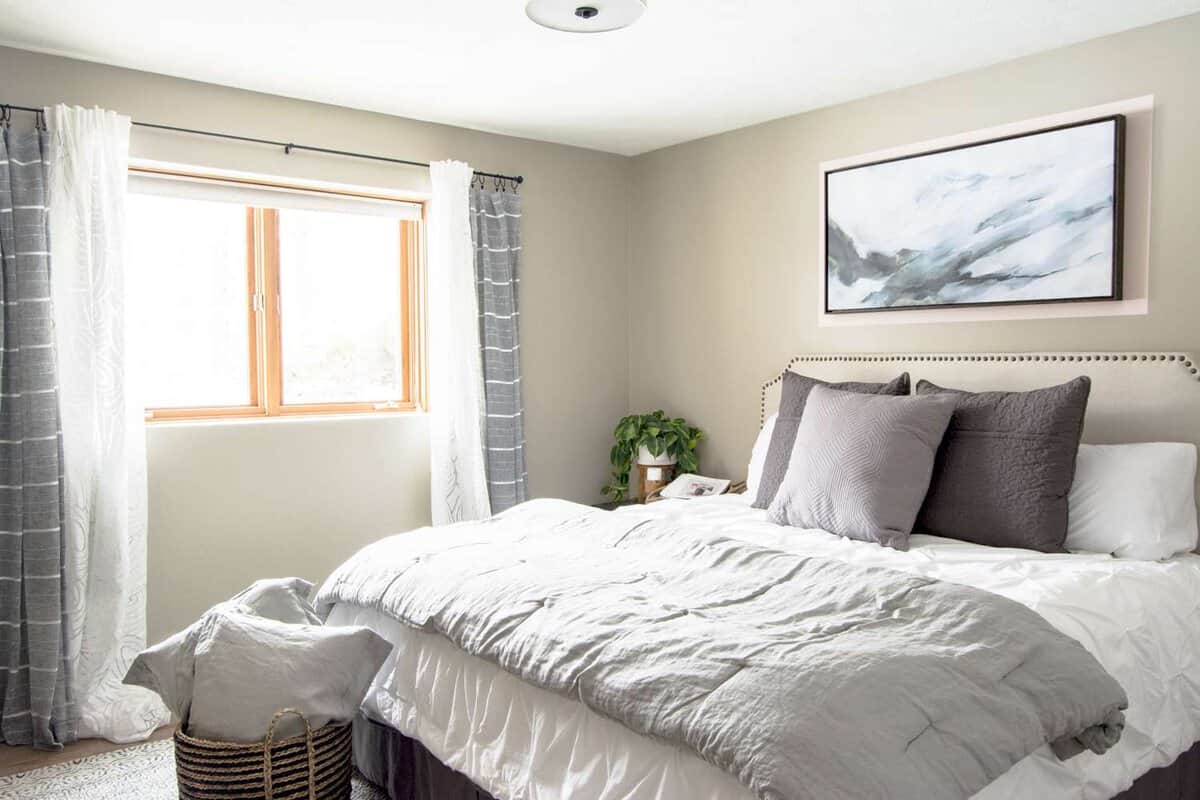
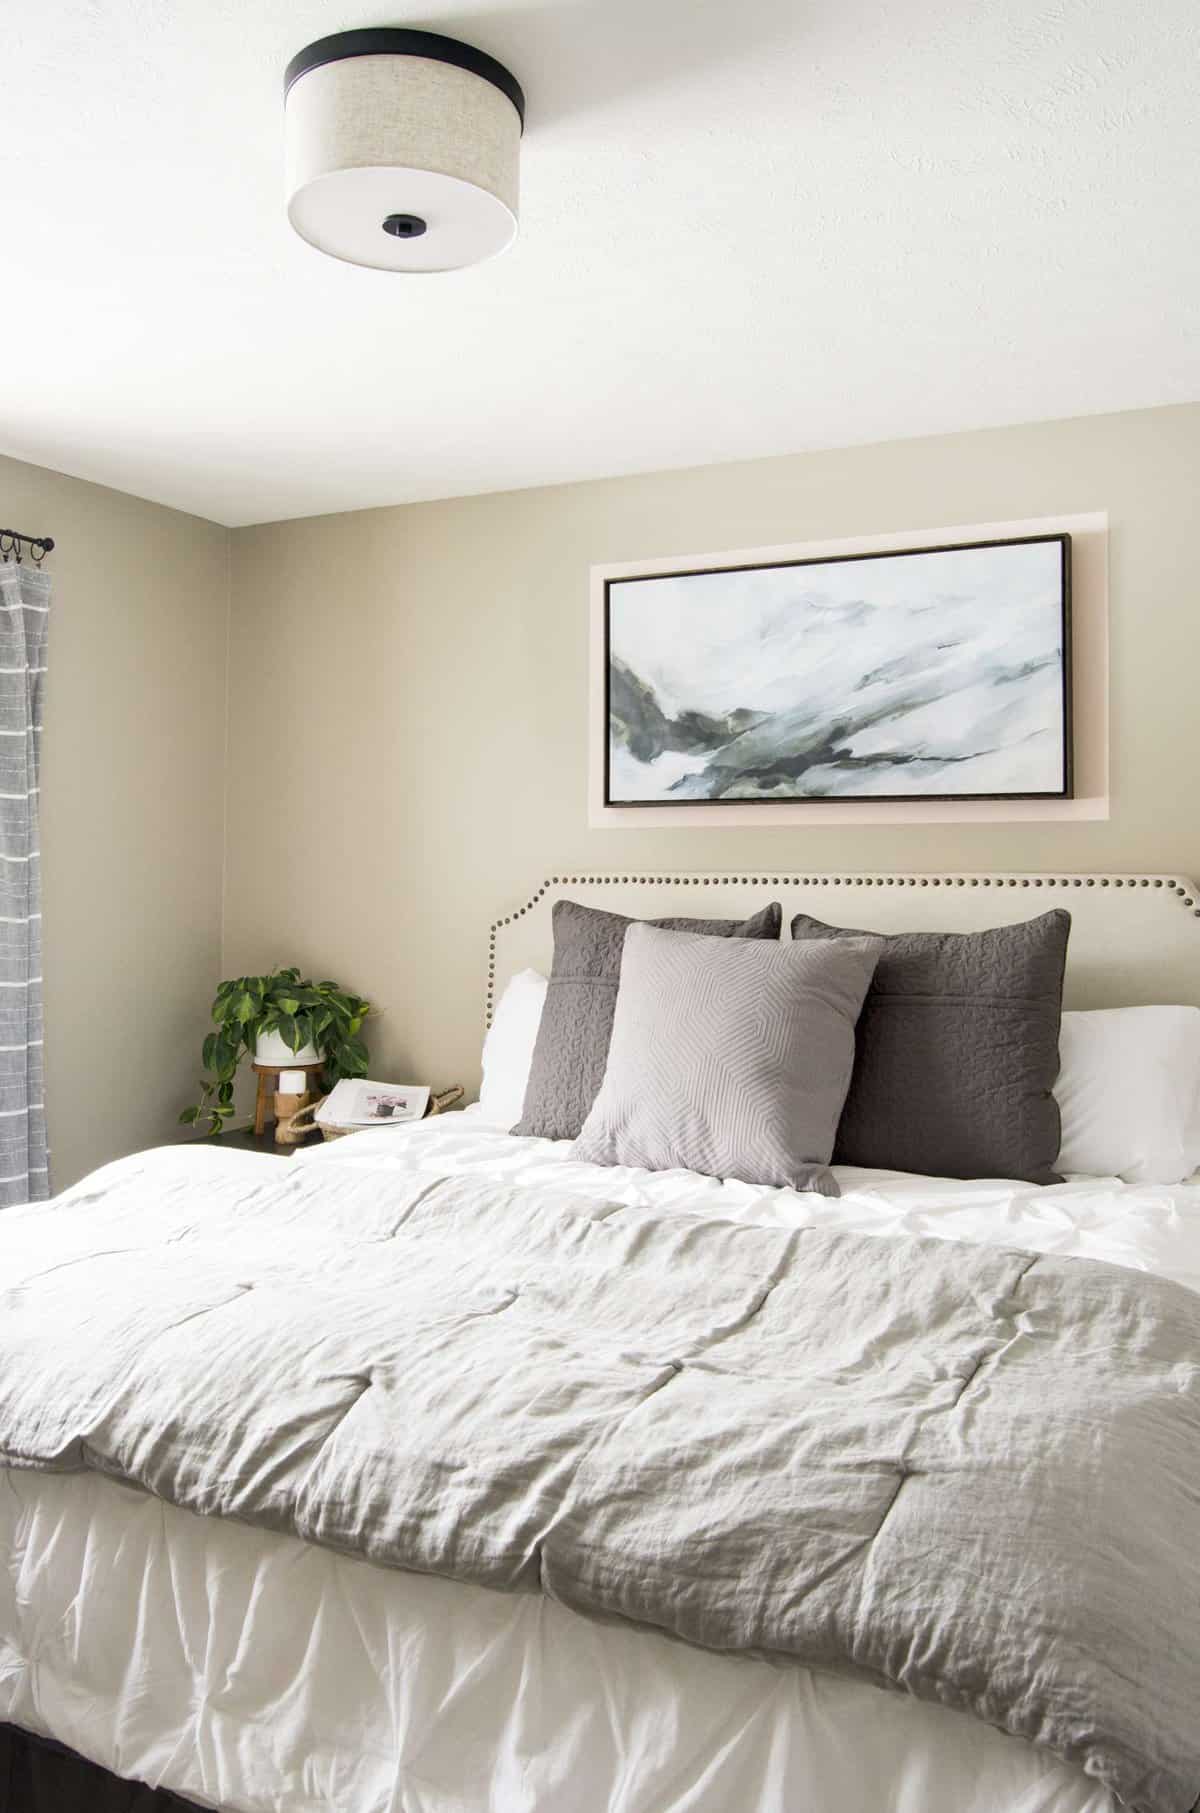
My goal for this color blocking method was to draw attention to this artwork above my guest bed.
Placing artwork above a bed can be tricky. It can look too small very easily, especially with a king size bed. Rather than clutter this wall with additional hangings, I wanted to make the artwork appear more substantial to fill the wall.
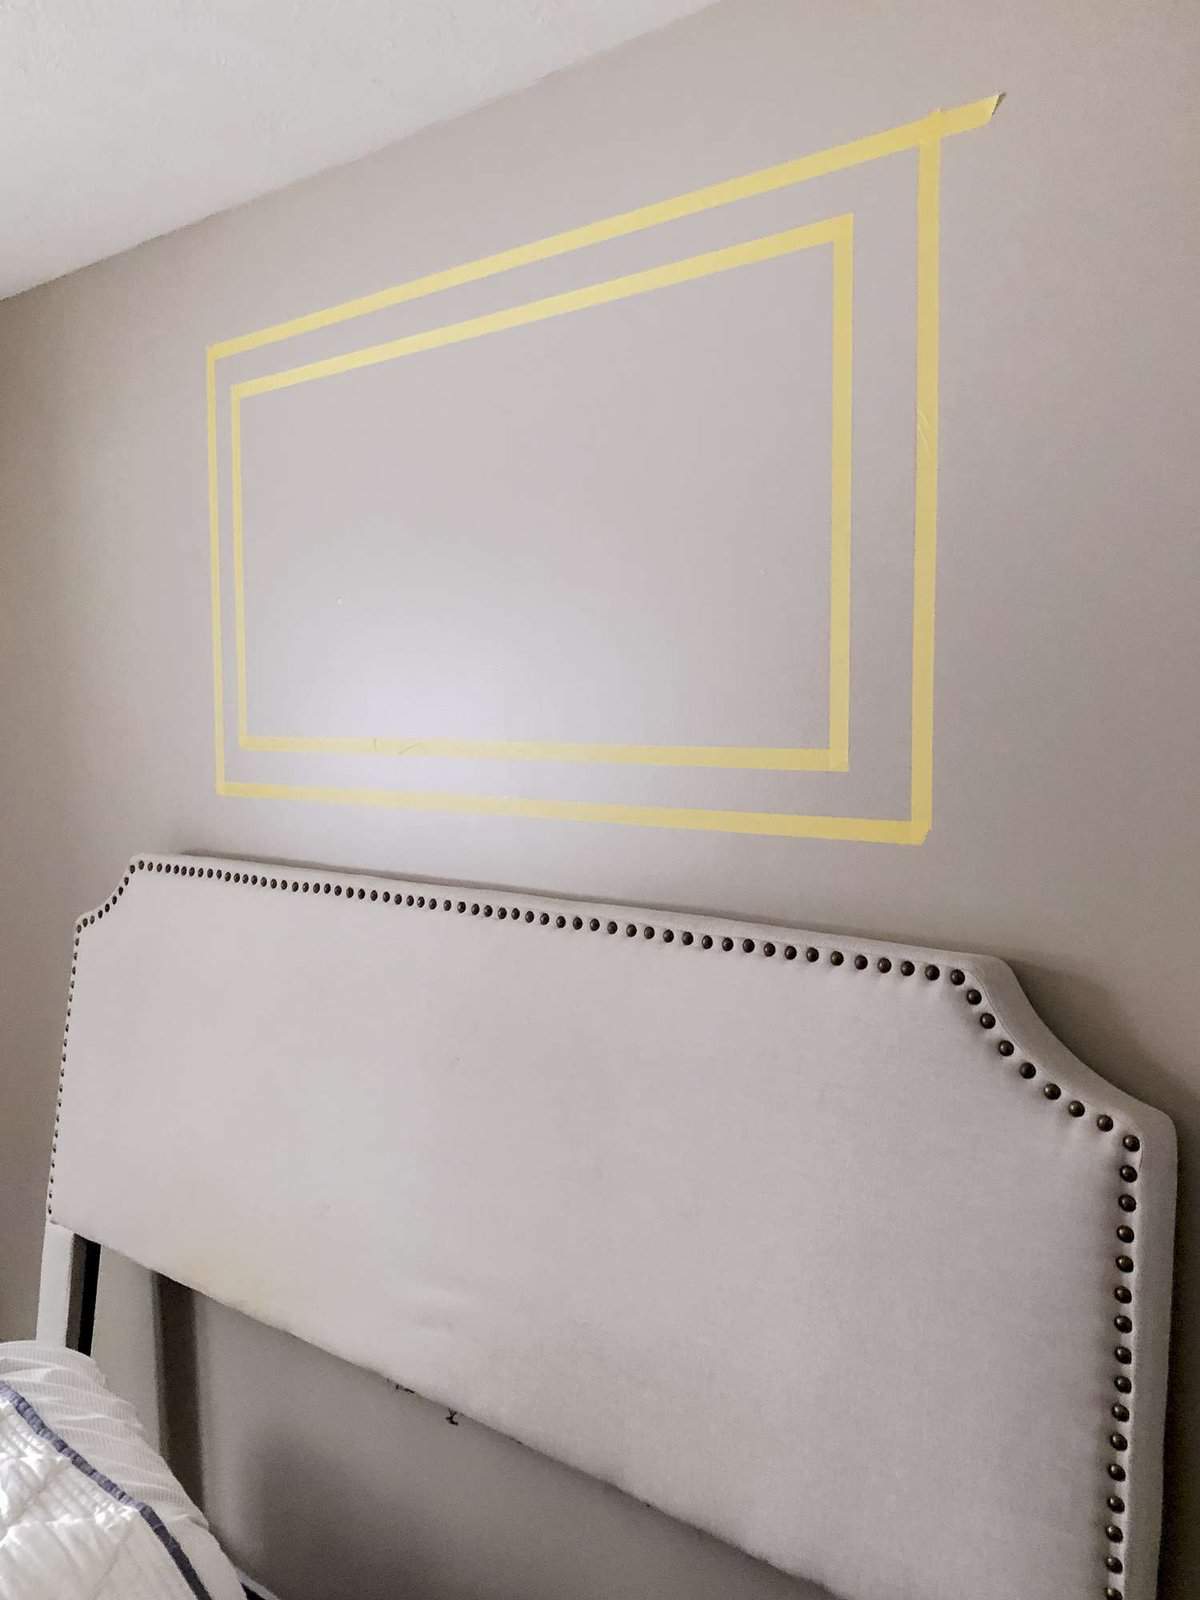
The first step to color blocking is to tape off your design. I chose a very simple rectangle that would give my artwork the appearance of an extended frame. Almost like a matting.
Use quality painters tape and make sure you adhere it tightly to the wall. I typically like to use a flat edge (think credit card or trowel) to push down on the edges.
You can use any design you can dream up!
Step 2 | Paint The Inside Edges
In order to get crisp lines in your color block art, you must paint the inside edges of your tape with same color that you’re painting over.
For example, I lightly went over the tape with my wall color, Gristmill Greige, so that any bleed through from the tape is the same color as my wall.
This allows that background color to seal the tape so that your accent color does not bleed through. It’s a magical and necessary step for crisp lines!
Step 3 | Paint Your Accent Color
Once your wall color “sealer” has dried, paint the inside of your taped design with your accent color. This is how you create the color block pattern.
I used the color Romance by HGTV Home by Sherwin Williams.
Shop This Look

I paint two coats to ensure it has the full saturation of color against the wall color. Then, simply peel off your tape!
I love how adding this color block art emphasizes my wall decor. It helps bring the scale of the piece into balance and adds a subtle pop of color.
The beauty of this DIY is that you can create any pattern you want! As long as you can dream up the design, you can tape it off and paint your color blocking artwork.
It’s also a beautiful option to add interest to a space as a stand alone DIY wall art.
Want to See More of the Guest Bedroom?
Thank you so much for stopping by the blog today! These simple DIYs are so fun to share with you. I loved making over this guest bedroom. If you’re interested in the entire process, you can see all the updates I made to create a mini-haven for my guests:
Stay Connected