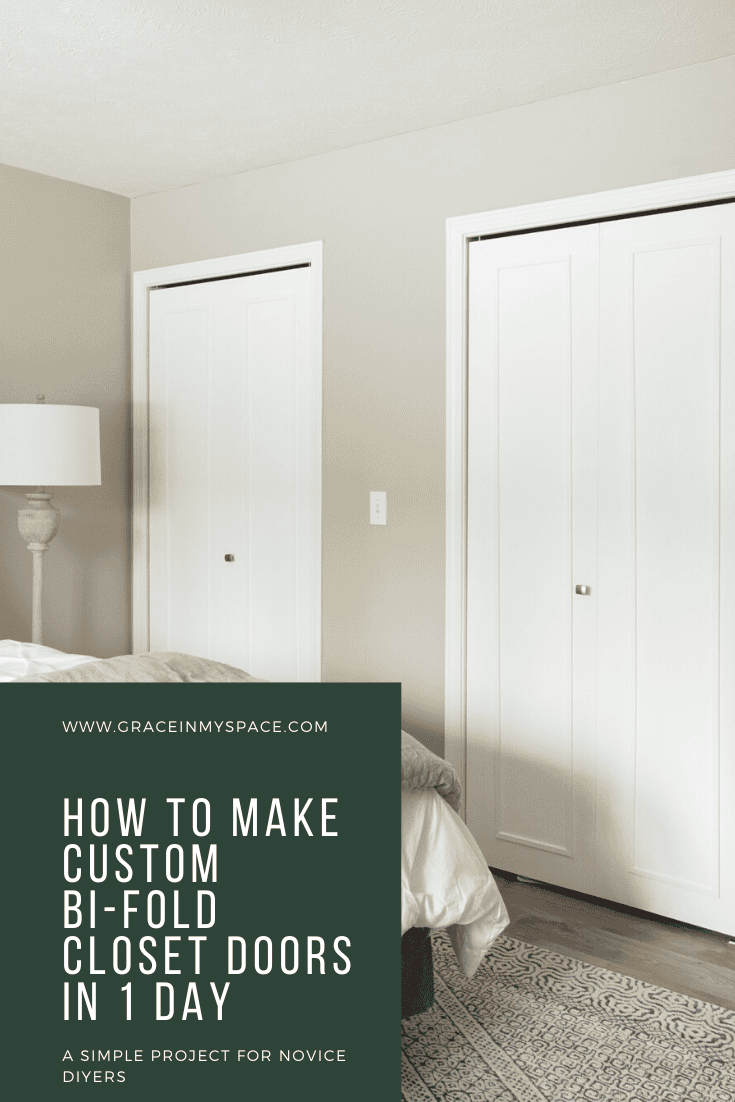
How to Make Custom Bifold Closet Doors
Do you have plain, flat panel bi-fold closet doors you want to update? Learn how to make custom bifold closet doors with this simple tutorial.
Post may contain affiliate links for your convenience.
Custom Bifold Closet Doors | The Tutorial
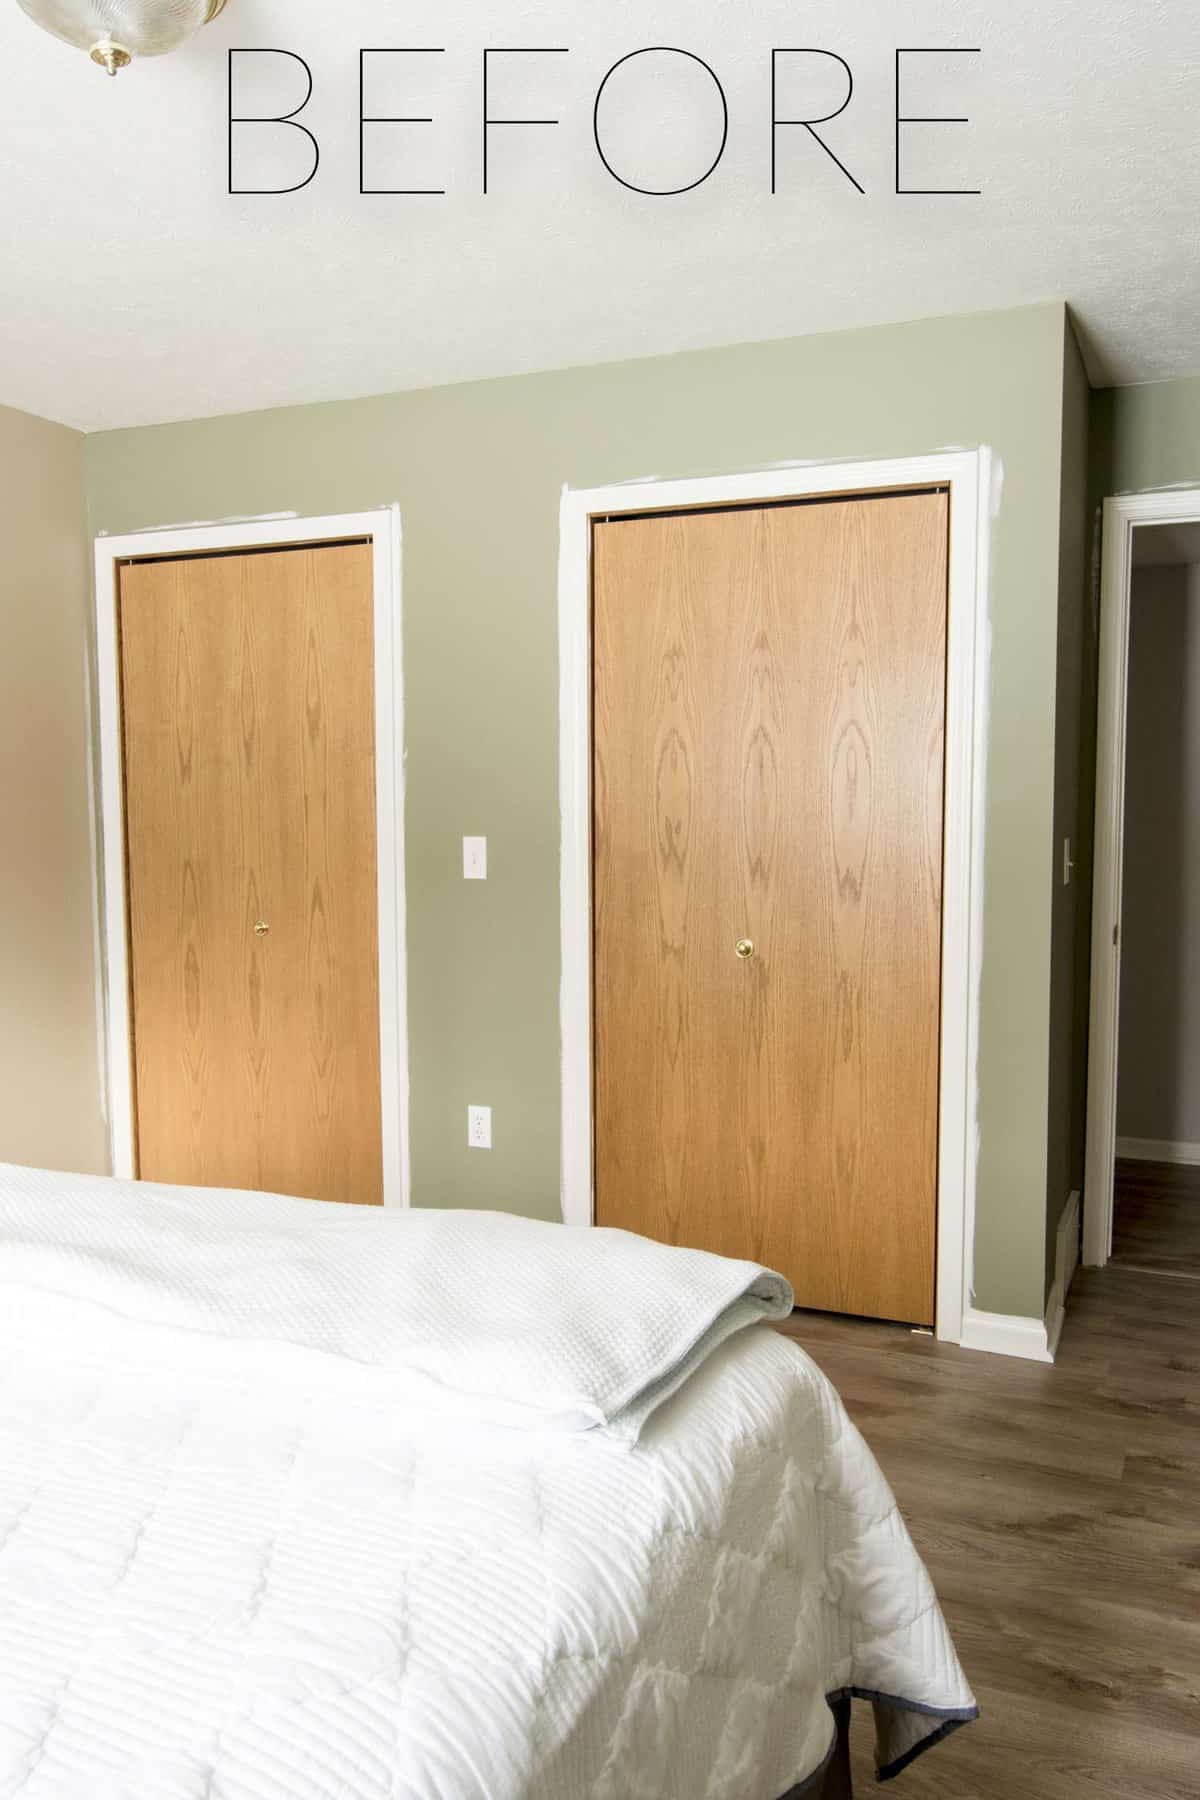
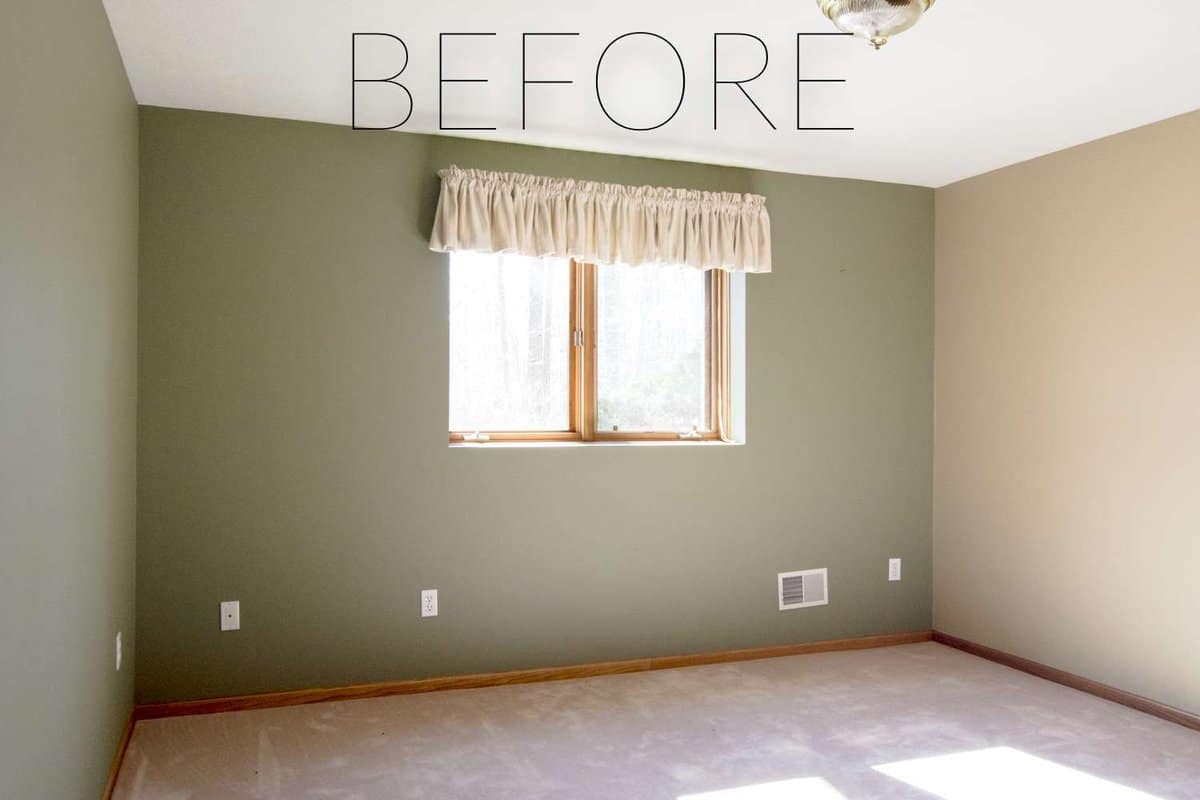
We all have them. Flat panel, pain Jane, brown particle board bi-fold closet doors. The are boring! But, they are also extremely easy to update!
So today, I’m going to take you through the simple process of adding wood trim to your closet doors to create custom bifold closet doors that are updated affordably and quickly!
The Materials
You’ll need some simple materials for this project.
- Compound Miter Saw (This is the one I have and LOVE)
- Wood Trim of choice: I used this trim.
- Primer
- Paint
- Liquid Nails
- Caulk
- Paint Brush & Roller
Prime and Paint
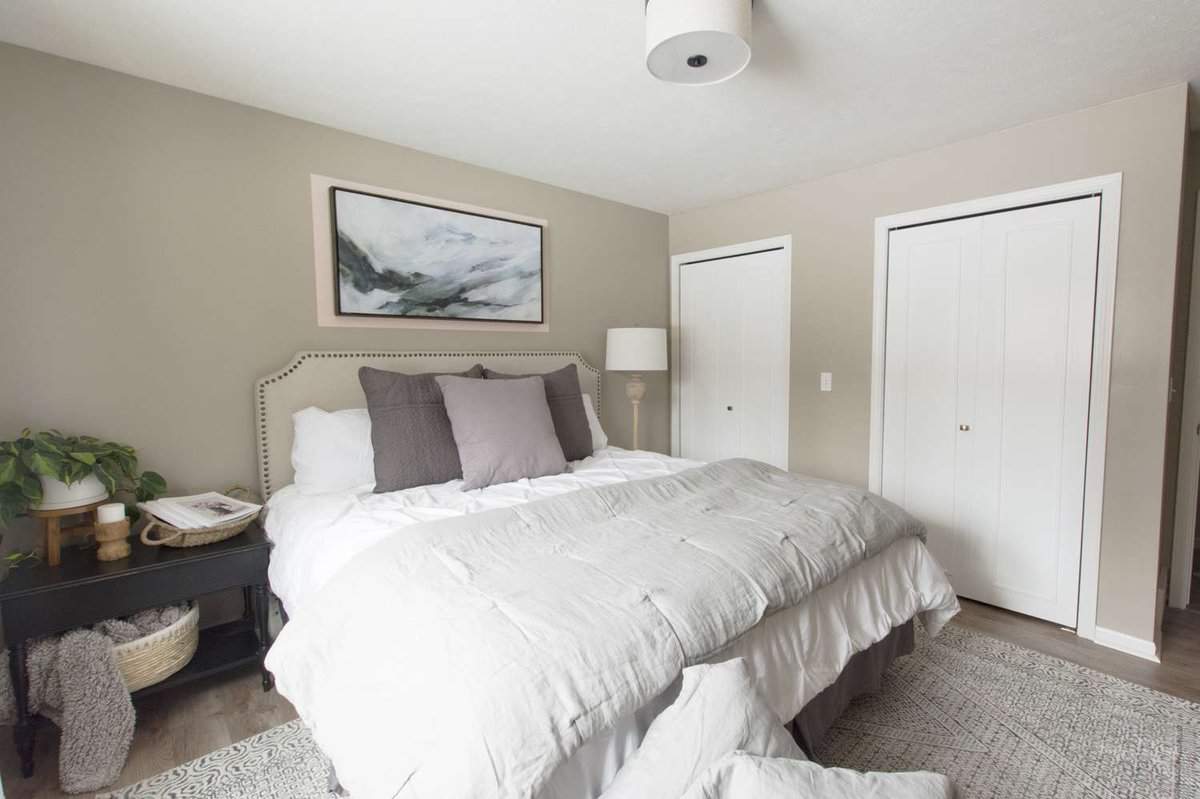
The first step in this process is to prime and paint your bi-fold closet doors. I chose to use HGTV Home by Sherwin Williams Fundamental White. It is a crisp, clean true white. It brightened up the entire space!
(Soon, I’ll be sharing my entire guest bedroom makeover. So stay tuned for the room reveal and DIY faux fireplace tutorial!)
I like to prime and paint the doors before adding moulding so that I can easily use a roller without having to work around the trim. This gives the doors the smoothest finish.
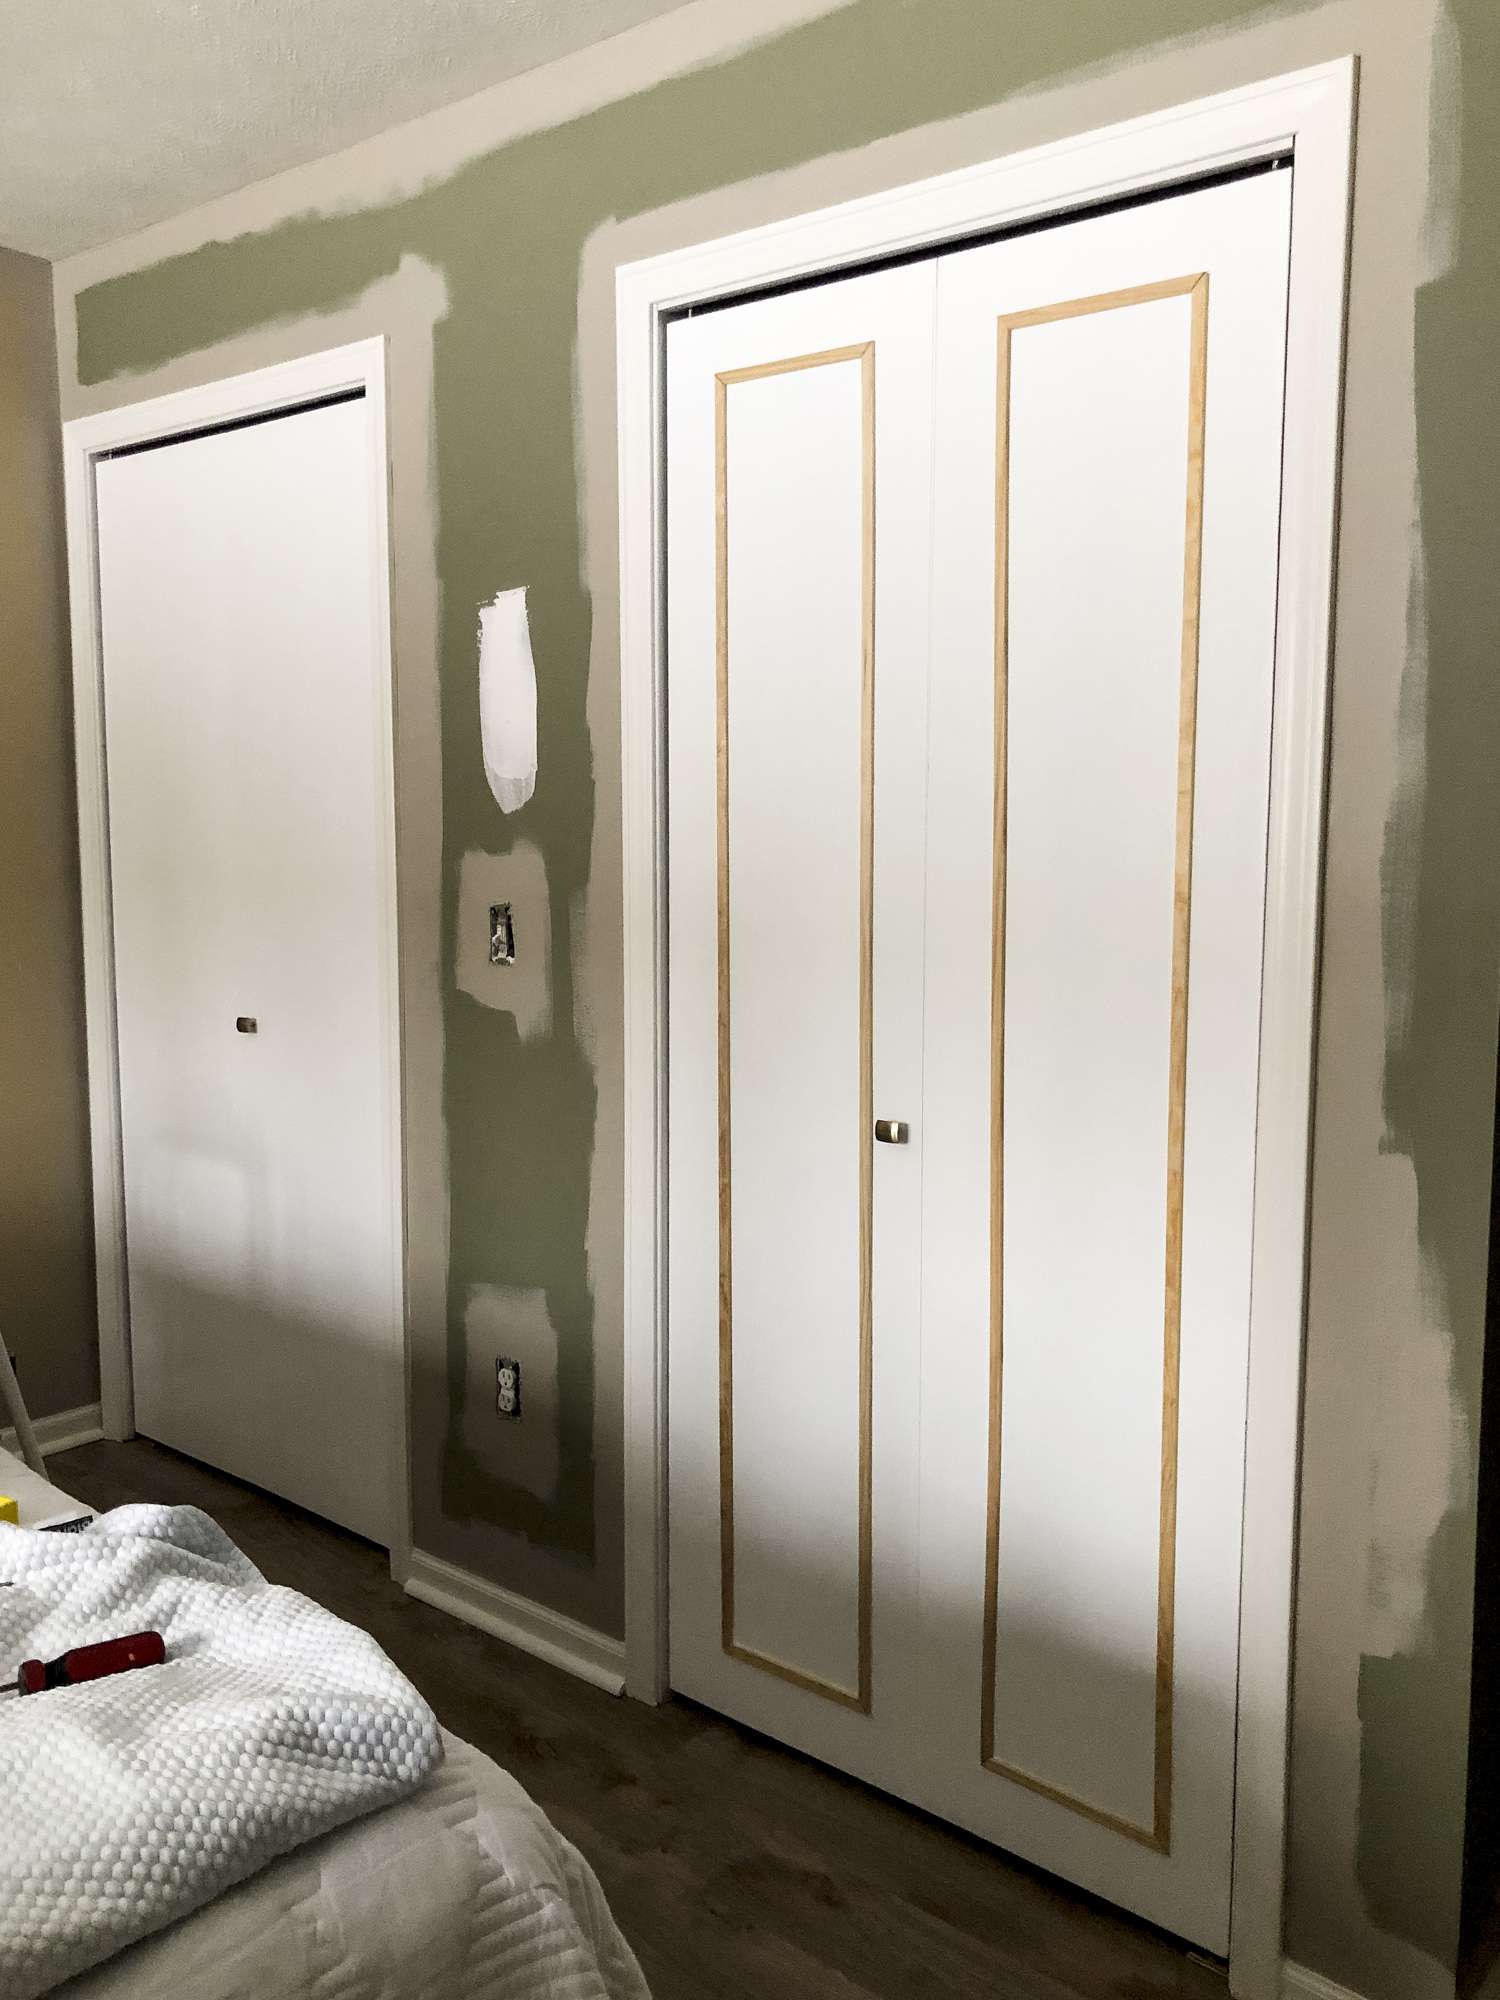
Cut and Glue Wood Trim
The second step in this simple tutorial is to cut your wood trim. I used super simple 45 degree corner cuts to create a rectangle. Your measurements will be dependent on the size of your closet doors.
I simply measured the width and length of each individual panel and then cut my wood so that it would be centered on the door.
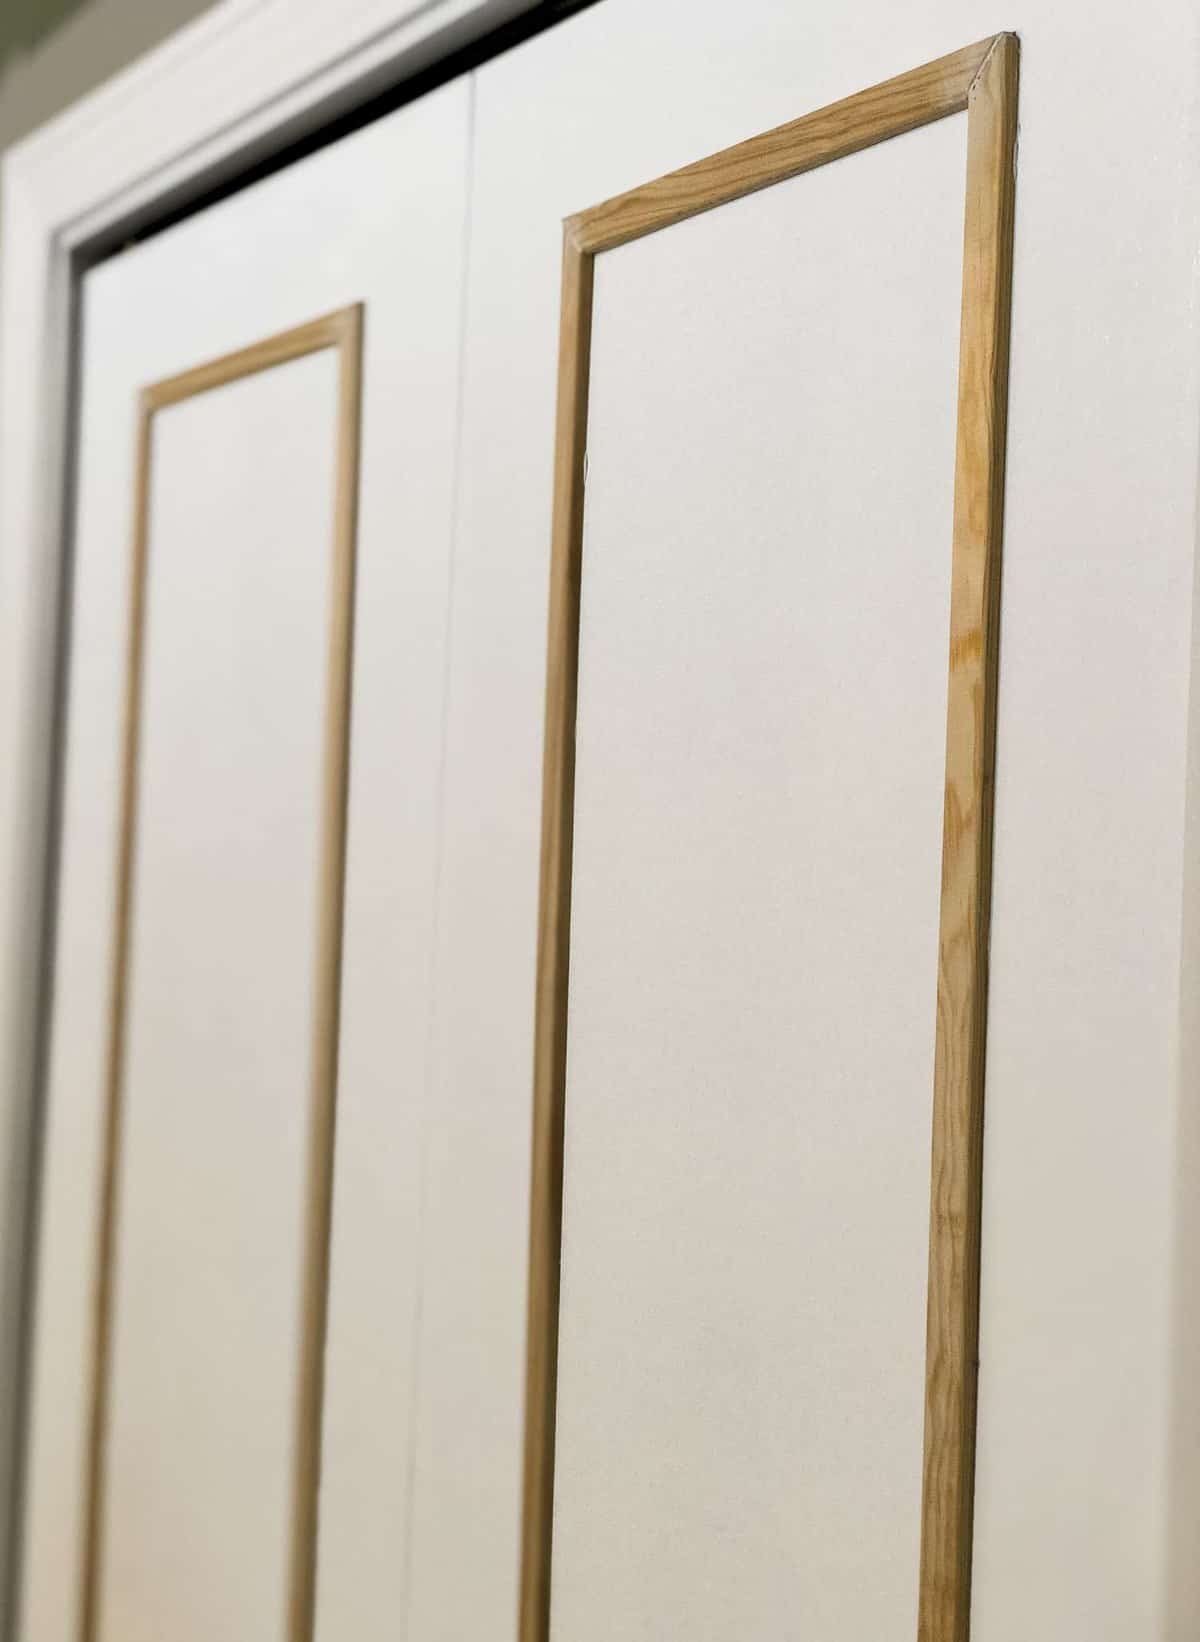
Since my wood trim is so thin, I glued it directly to the existing panel with Liquid Nails. You can use painter’s tape to help hold it in place while it dries.
Then, I caulked all the corner seams and edges to give it a seamless look.
If you choose to use thicker wood trim, you also have the option to nail it on with finish nails.
You can also use this method to create any pattern you choose! I went with a very traditional and simple style. However, you can create geometric designs very easily with a little math and patience.
The sky is the limit on how you can use wood trim to create custom bifold closet doors.
Paint the Moulding
The last step, after caulking, is to paint the moulding the same color as your closet doors. This gives the “built in” look and makes it look polished.
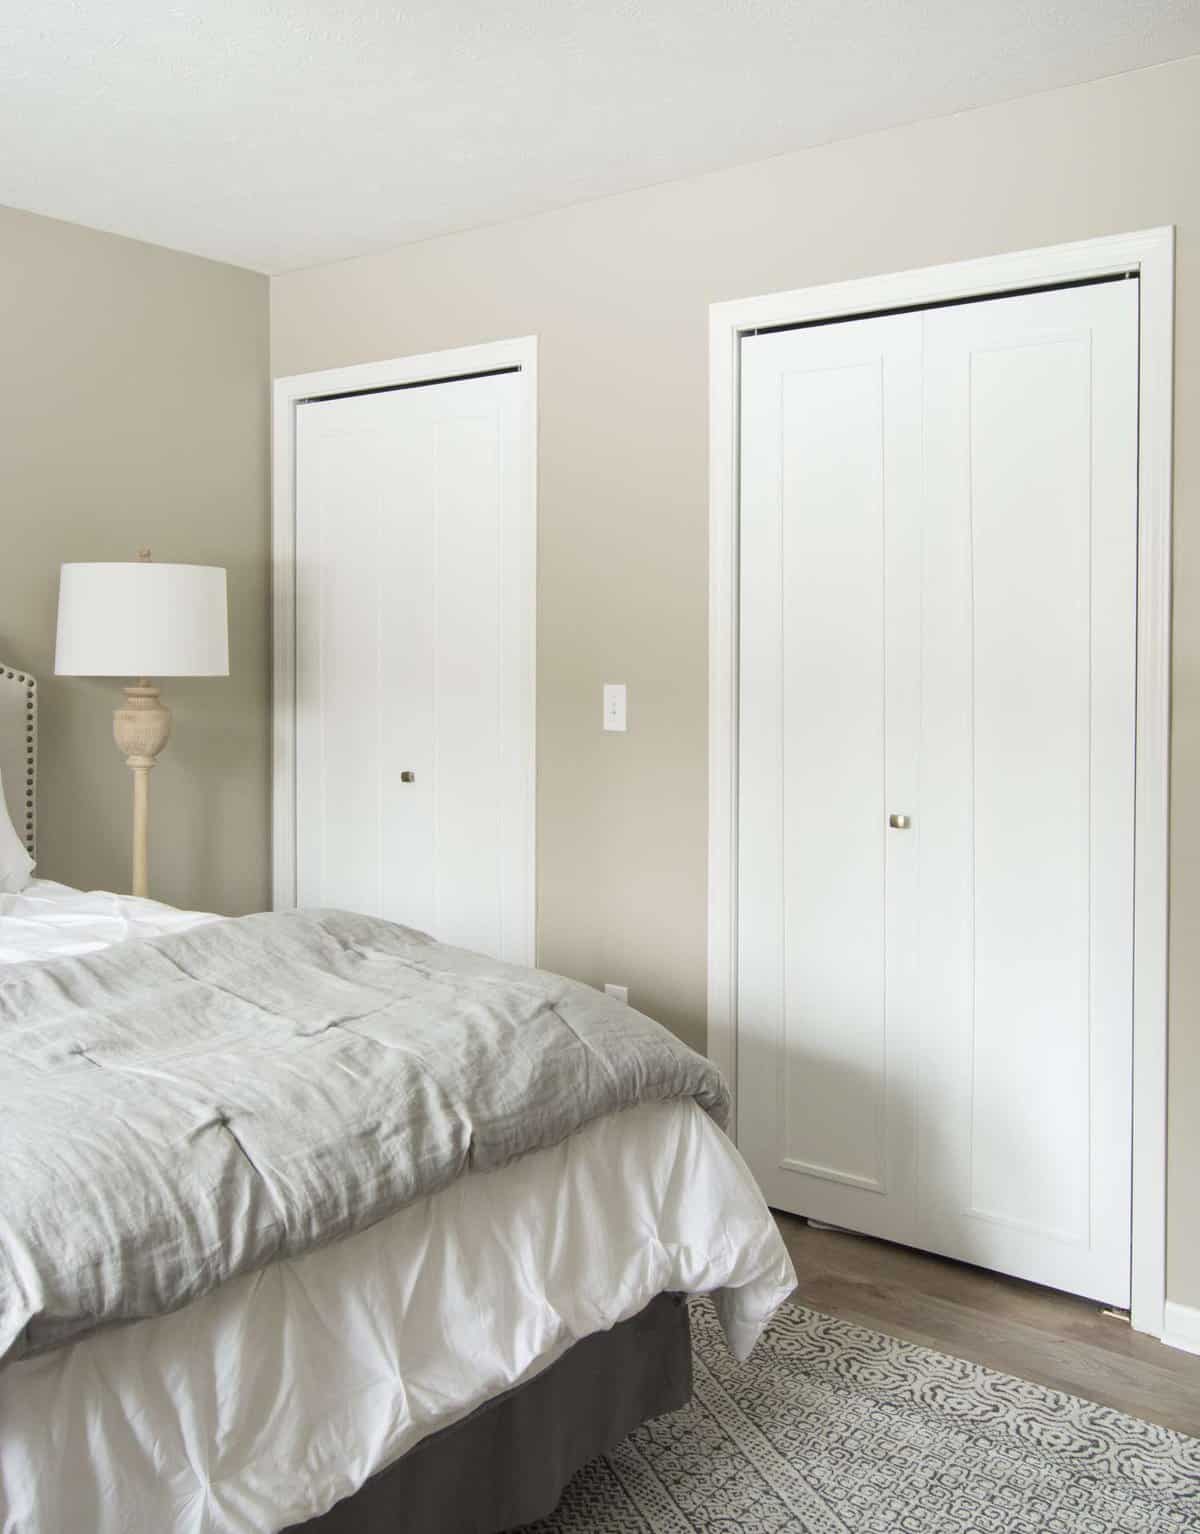
And that is it! I also replaced the knobs with a simple updated knob.
The hands-on time for this project is less than an hour. With paint and caulk drying time, it can be done in a day!
Guest Bedroom Makeover
I hope that this simple tutorial gives you some ideas for how to update your bi-fold closet doors affordably! Make sure to check out the full guest bedroom reveal where I share all the details from our guest bedroom makeover! (Including decor sources and paint colors!)
Stay Connected
Thank you so much for stopping by the blog today! If you’re looking for more simple DIY projects, some of my reader faves may interest you!
- DIY Faux Fireplace Mantel Tutorial
- DIY Board and Batten
- Modern Farmhouse Bedroom Accent Wall
- How to Paint your Kitchen Cabinets
- How to Paint Your Kitchen Backsplash
- Building a Shiplap Accent Wall to Hide Your TV