
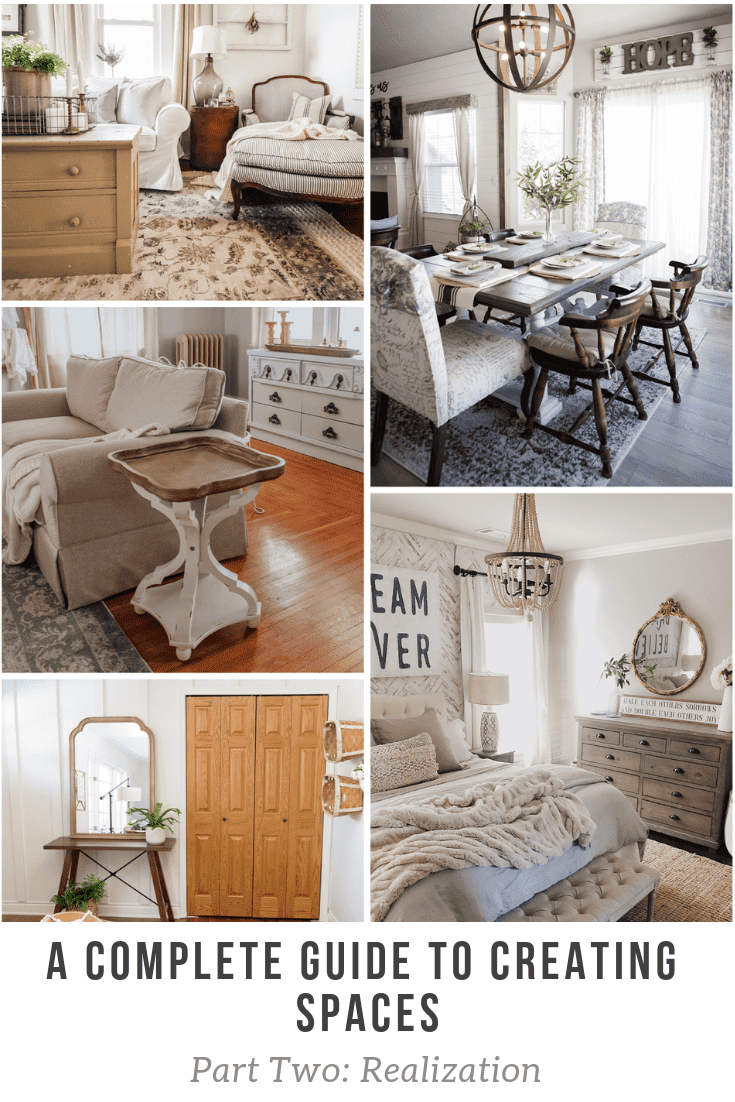
Home Interiors Realization: How to Design Spaces Part 2
Hello my friends and welcome to part two of my three part series on creating spaces you love! Today we are talking all about the realization process for designing home interiors.
If you’re just joining me, make sure to start the series with part 1: inspiration. Also, this series is in collaboration with other amazing bloggers each sharing their own strategy on creating spaces you love. Make sure to read their articles from the links at the end of this post.
Post may contain affiliate links for your convenience.
Posts in this Series
Part 1: Inspiration | Part 2: Realization | Part 3: Implementation
Home Interiors: How to Design Spaces Part 2
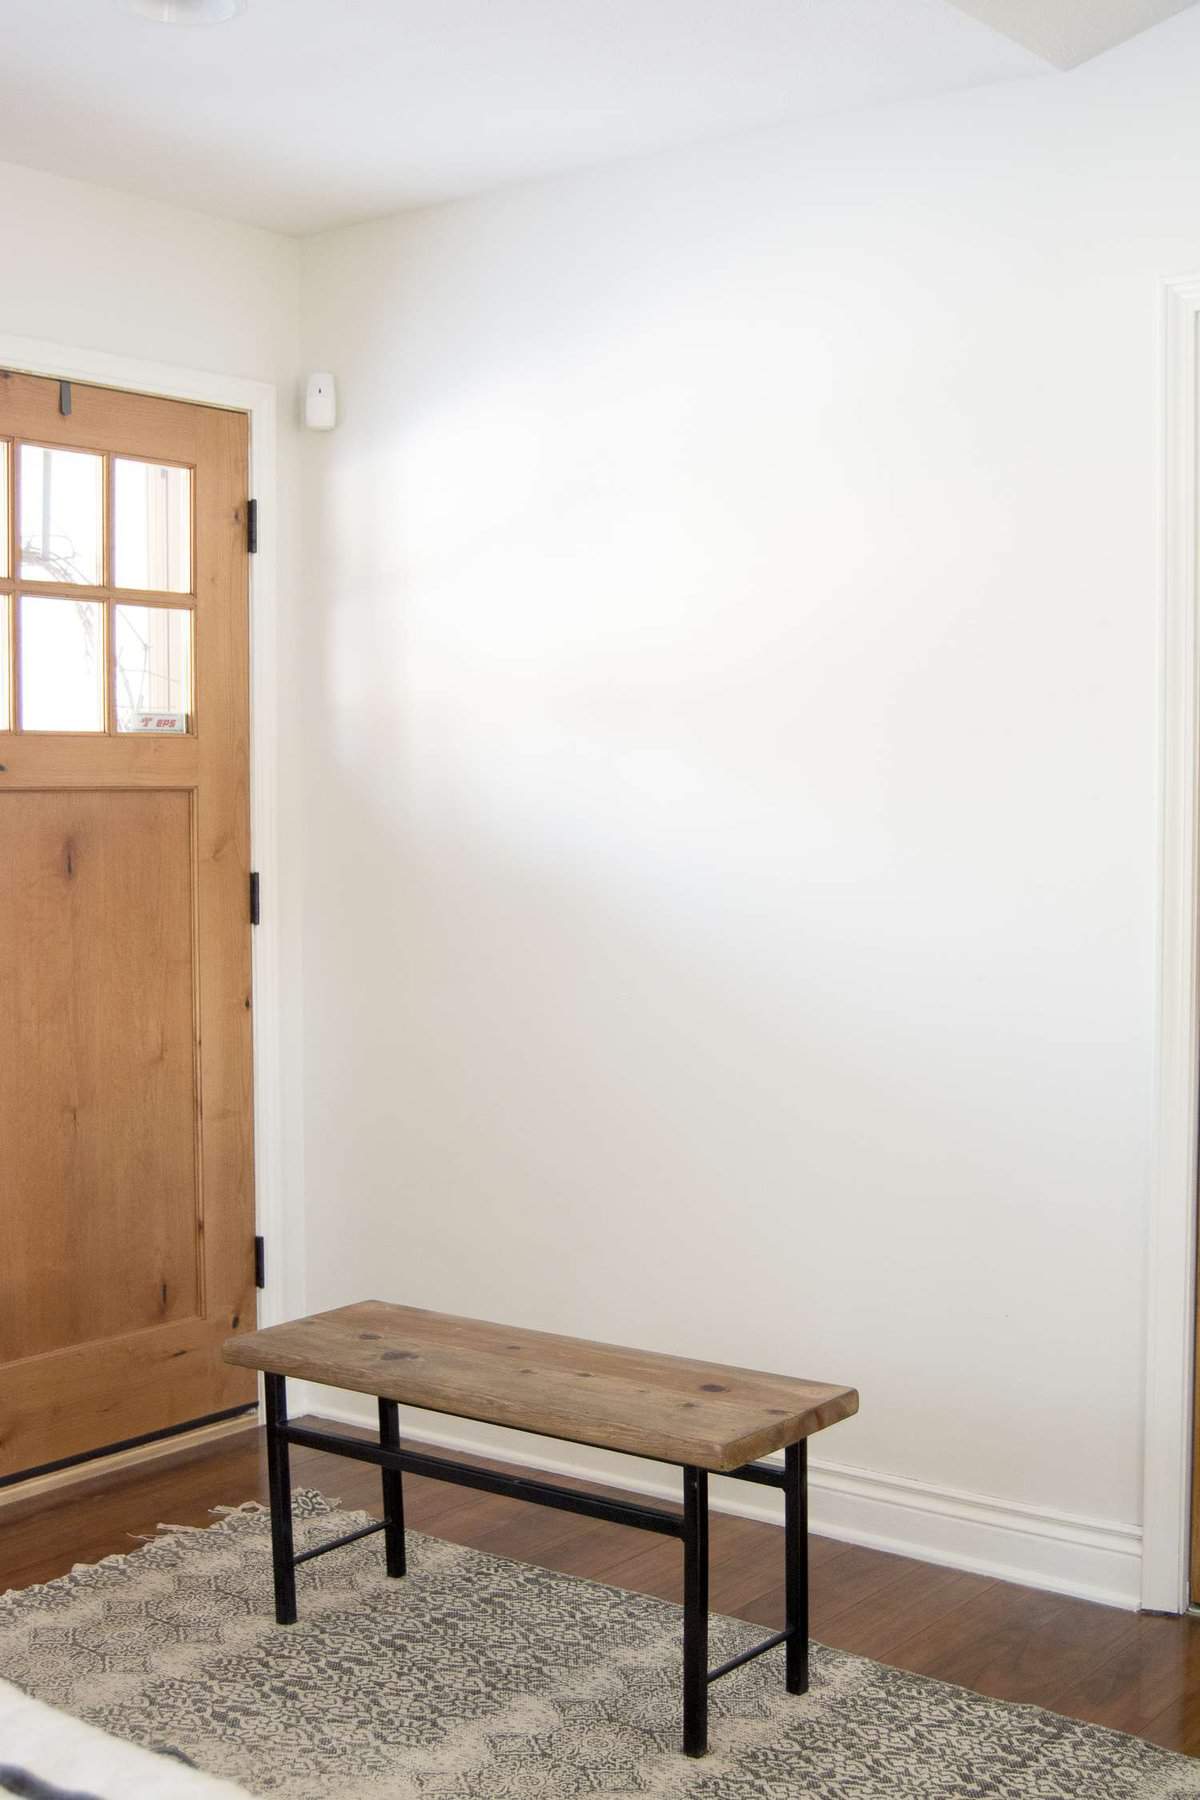
Let’s begin by taking a look at this project. If you remember from post 1, I am refreshing my entryway to help walk you through my design process. This is the before/middle of the project after I’ve removed everything that existed prior and left a few decor staples to consider.

Realization
When I analyzed my inspiration photos {here} I came to the conclusion that my vision for this new entryway included:
- A board and batten accent
- Woods and Whites
- Plants
- Baskets for texture and warmth
- Balanced/Simplified Design
My previous entryway consisted of a gallery wall that felt overly complicated to me.
So let’s walk through the steps to designing home interiors that are realistic for your own space! “Part 2: Realization” is about taking your inspiration dream list and comparing it to your reality. This allows you to see what you can actually accomplish.

Step 1: Define Any Problems/Barriers
The first step in creating a space you love, after you’ve identified specific pieces of inspiration you want to incorporate, is to define any barriers you have to design. For example, in my inspiration photos one of the elements I loved was beautiful (and long) console tables.
However, when I look at my own space, I simply do not have the square footage to use a large console table. Some of the barriers to this include closet doors to my right and exterior doors to my left. If I added a long console table then I wouldn’t be able to open my front doors wide enough to comfortably let guests enter. That’s not very welcoming!

Shop This Space

Another barrier for my space in comparison to my dream list is that my entryway doesn’t get a lot of light. Therefore, plants will need to be carefully selected to ensure they can handle low light. Or, I will have to alter my plans and go with some of my favorite faux plants!
Step 2: Complete Big Projects First
The next step is to tackle the larger projects first. I was 100% positive I wanted to install board and batten so this is the first task I completed. Once those larger scale projects are done, you can seamlessly flow into decorating.

I created this board and batten wall using 1x4x8 common boards using the same method from my bedroom accent wall {tutorial here}. It was quite a fun project and if you follow along with me on Instagram then you saw the progress! It really was a simpler project than it looks like. I did it 80% on my own after my dad gave me a few starter pointers!
It is often these structural updates that make the biggest impact to home interiors! Honestly, after adding the board and batten I felt much less eager to add decor because it makes a statement on its own!
Step 3: Shop Your Home
Once you’ve identified any barriers to your design plans, and completed the bigger pieces of the project, then my next recommendation is to shop your home. For example, I had a smaller console table in my basement that I thought may work for this space. So my first step was to walk through my home looking for items that ticked one of my dream list boxes.
I also identified a plant I already owned and a couple of my favorite baskets that were being hidden away in a closet that I could incorporate.

Additionally, I already owned the round mirror that previously hung in my entryway. But I also thought I might try out more of a french farmhouse mirror that was in my basement.
Step 4: Trial & Error
The final step in the realization process is trial and error, or experimentation. Let’s take the below two photos as an example. I already had both pieces, the bench and the console table. So I decided to start by experimenting with which main piece would work best for the size entryway I have.
Option 1: Small Bench

Option 2: Small Console Table

At this point you’ll notice that I’m simply staging the space. I propped the mirror rather than hanging it until I’m sure which direction I’ll go. This is so helpful because it allows you to step back and look at the space in its entirety to see how it is flowing.
It’s most helpful to have someone available to help you hold things on a wall so you can take a step back to assess the situation. However, if you don’t have another person available, propping pieces works as well as taking a photograph while you’re holding the piece yourself.
From my experimentation I discovered that I like both the bench and the console table! However, the bench works best for the physical size of the space. It is narrower and shorter to allow the entry door to fully open. I did search for a smaller console table, however, in the end I decided that the bench is more practical!
Sometimes practicality wins over design and that’s a part of designing home interiors to create your haven! One of the elements of my haven mission statement {something I discuss further in my book} is that I want my home to be welcoming to all who enter. Part of creating a welcoming space is offering a seat for guests to use when taking shoes off/on.
Next Steps: Implementation
Now that you’ve narrowed down your dream list, assessed what is realistic for your own space, and played with different design ideas, it is time to implement! The final post in this series will discuss the implementation process, coming soon! {UPDATED: Post 3 is live here.} In the meantime, you can always see all 10 steps to the haven making process that I’ve outlined in my book, Designing a Life: From House to Haven!
Until next week my friends! Make sure to visit my fellow bloggers to see what genius tips they have to help your home interiors design plan come to life!
Grace In My Space | Aratari At Home | City Girl Meets Farmboy
She Gave It A Go | Mid County Journal


Some of the barriers to this include closet doors to my right and exterior doors to my left. If I added a long console table then I wouldn’t be able to open my front doors wide enough to comfortably let guests enter. That’s not very welcoming!
Hello
I really like your ideas for creating spaces in our home. The idea which I love the most is trial and error. I really love d your step by step guide. Thank you so much for sharing, this helped me a lot. I really enjoyed it. Keep Sharing.
Thank you! I’m so glad you enjoyed it.
you did an amazing job by sharing this great post. It really guided me a lot through the whole process of creating spaces for my new home. Some of the best tips I have ever read. I really like your ideas for creating spaces in our home. The idea wh
Thank you so much! I’m so glad it was helpful.
Hello
I promise you will love each one of them. Flowers were very well served. Beautifully all done) and the boy is very cute in the last picture. I really liked this leather macrame hanging succulent planter. This is looking very nice. I just love this tutorial. Thanks a lot for sharing this post.