How to Decorate Kitchen Shelves
Open shelving is the new standard for modern kitchens. I think the “trend” is here to stay and I personally love my kitchen shelves. So today I’m sharing simple and easy tips for how to decorate kitchen shelves no matter your style.
This post may contain affiliate links where I earn a small commission on your purchases.
Kitchen Shelves Myth Buster
Before I get to my tips on how to style kitchen shelves, I want to bust a myth! The number one question I receive about my open shelving is, “Don’t all your dishes get dusty?”
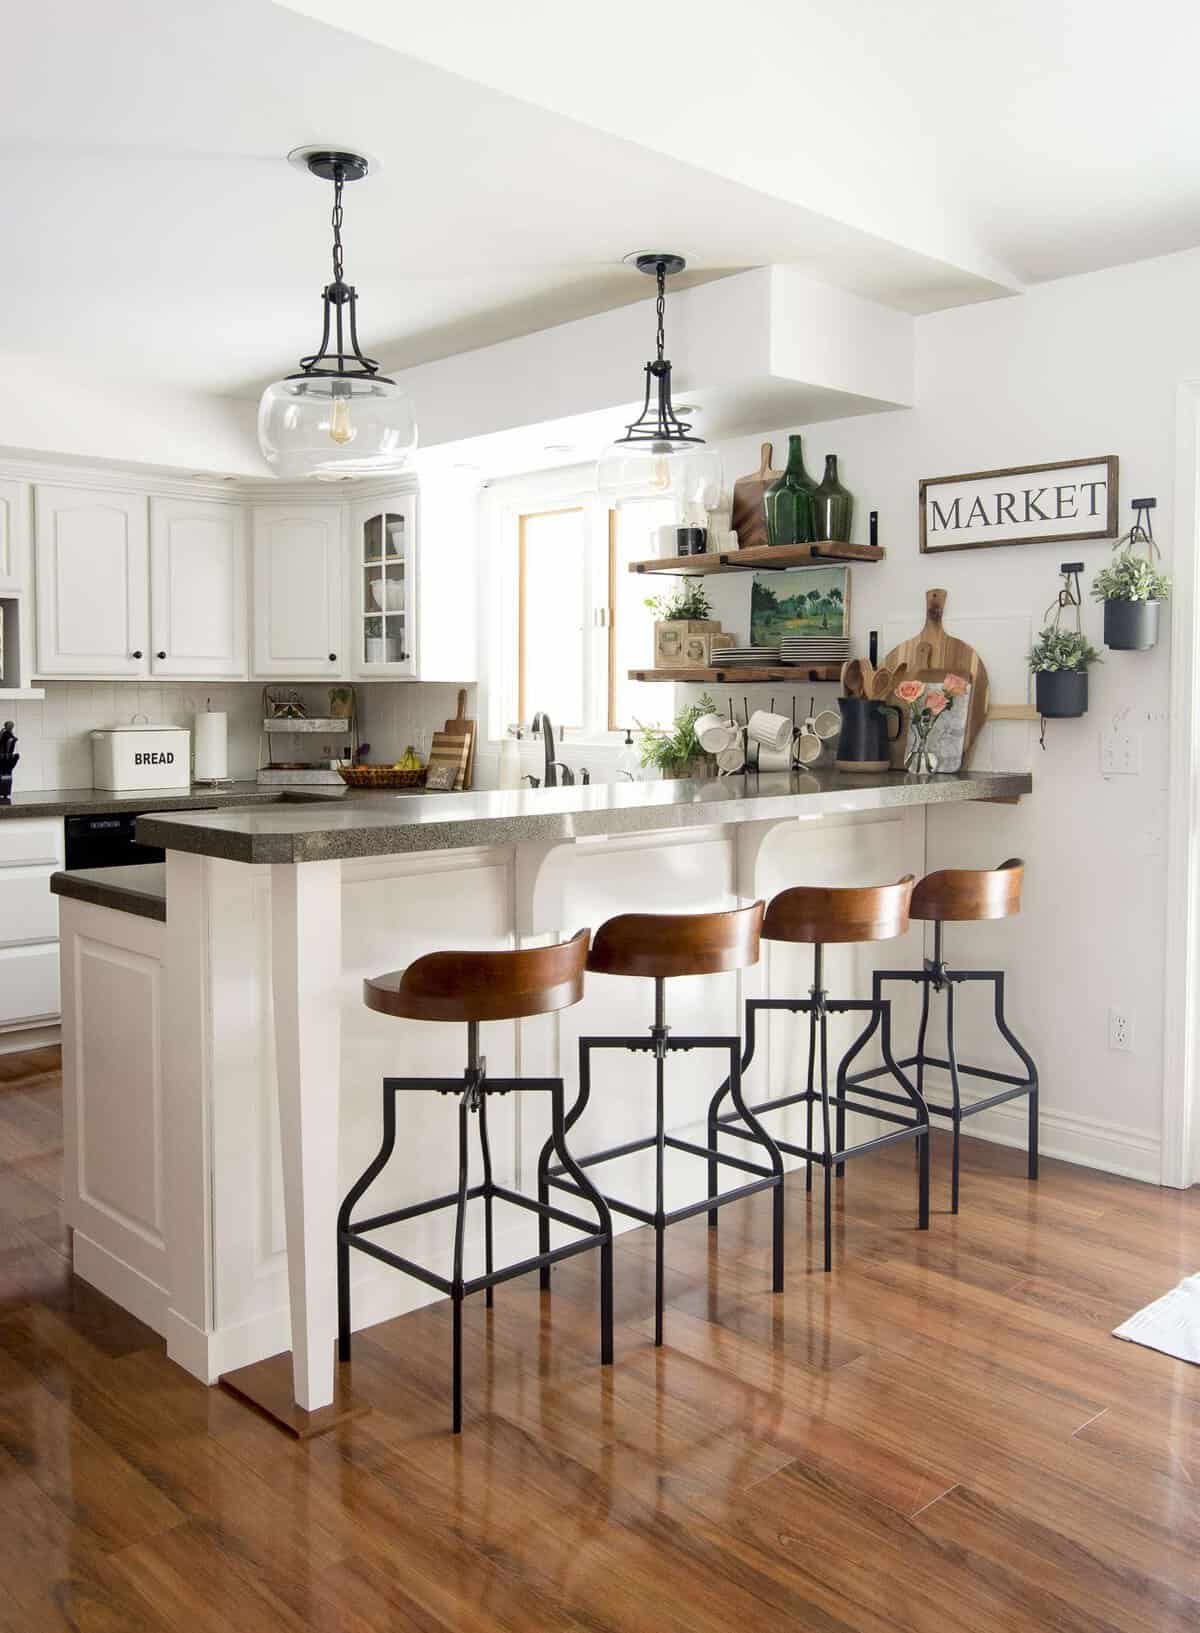
My answer? No….because we use them daily! The shelves themselves do need to be dusted just like any other flat surface in your home. However, if you use your kitchen shelves for dishes that are used each day then you don’t need to worry about eating dust at all. 😉
The number two question I get when I post my open shelving on Instagram (you can follow me here) is, “Where did you get your kitchen shelves?” The answer: I made them! You can find the entire tutorial, including the bracket source, in this post.
How to Decorate Kitchen Shelves
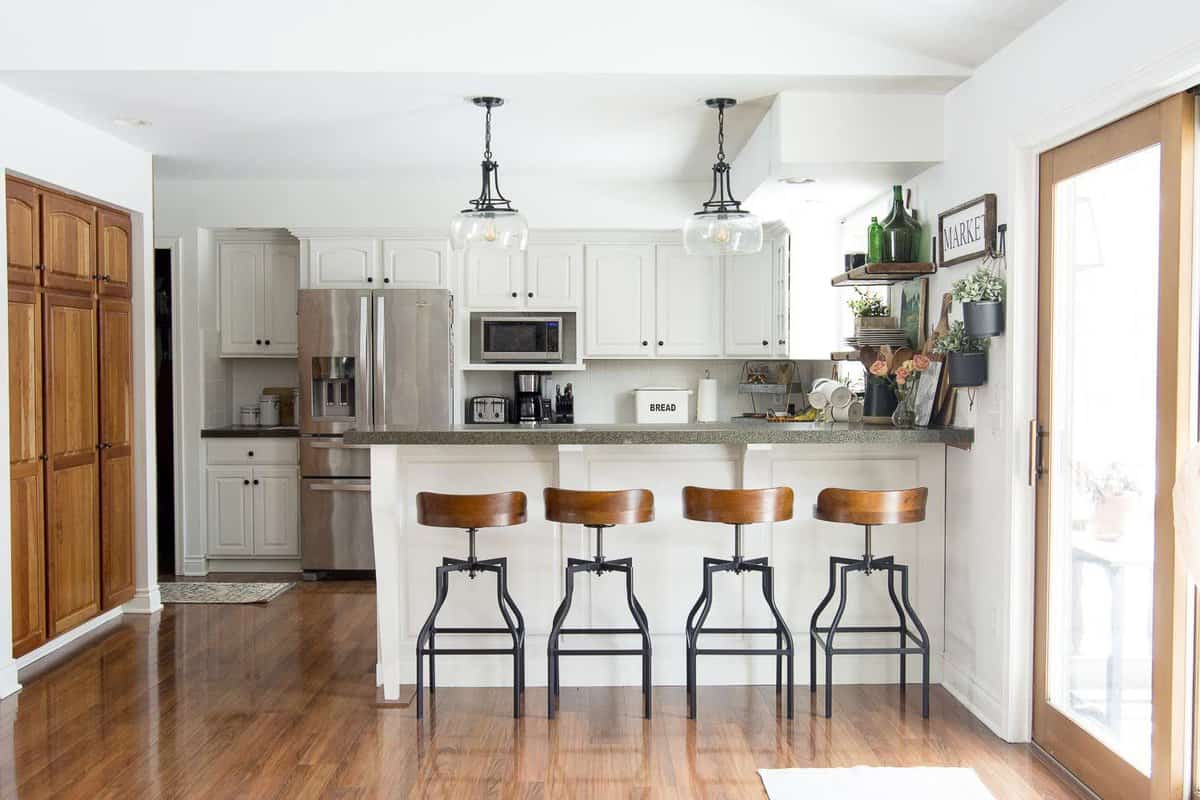
Now, let’s get down to it! Today I’m sharing my previous kitchen before we demoed the entire space for our new custom kitchen! I’m going to show you how to style kitchen shelves for daily use as well as for decorative purposes only.
Kitchen Shelves for Daily Use
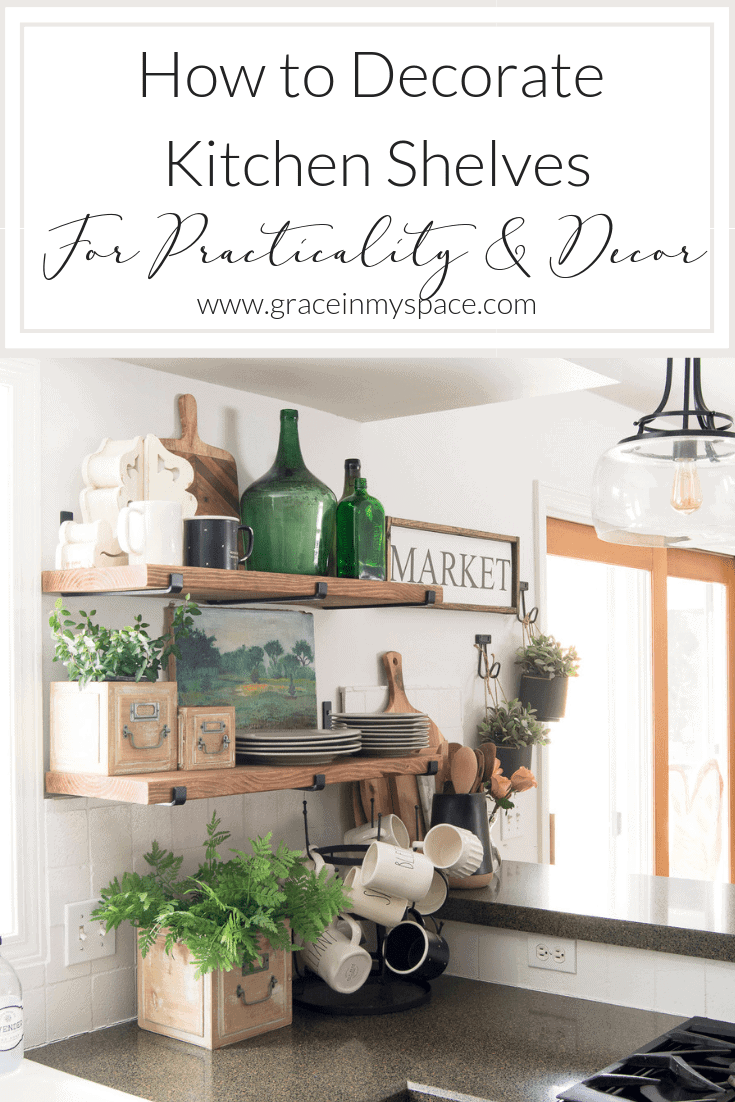
Tip 1: Use the Lowest Shelf For Daily Dishes
My husband and I are slightly above average in the height department. Neither of us have any issues reaching our top shelves. However, it can be comical (in the nicest way possible) when our height-challenged friends and family come over and try to reach our high shelving. So the first tip I have is to use the lowest shelf for your daily dishes.
We store our plates here for this purpose. We could easily fit bowls or glasses next to them if I removed the planter. This just allows for practical ease of use more than anything decorative.

Shop My Kitchen Decor
Next, store your non-daily, but still frequently used, items on the highest shelf. If you have to stretch to get that extra coffee cup once or twice a month it is less cumbersome than having to do it daily.
Tip 2: Use your Countertop as a Bottom Shelf
Often I see beautiful open shelving with nothing under it! In the design world that is chic and clean. In daily life that is a waste of space! If you have the need for extra storage, make sure to consider your countertop a bottom “shelf”. It is already perfectly suited because the shelving limits the use of that space anyways.
I like to put our necessities here: coffee mugs. A day without coffee? No thank you. This also allows you to put something that is wider down below. Kitchen shelving is often less than 11 inches deep so those wider items, like this mug rack, wouldn’t fit on the shelving itself.
Tip 3: Intersperse Decorative Items for Enjoyment and Interest
You’ll notice that I don’t only keep the necessities in this space. I’ve added simple greenery, vintage bottles and an antique oil painting for interest. While these aren’t necessary for daily life, they give me enjoyment! And that is all a part of creating a haven for me and my family!
You can learn more about my philosophy for haven making in my book, Designing a Life: From House to Haven.
Kitchen Shelves for Decor
Now for the fun part! How to style kitchen shelves purely for the love of decor. 🙂
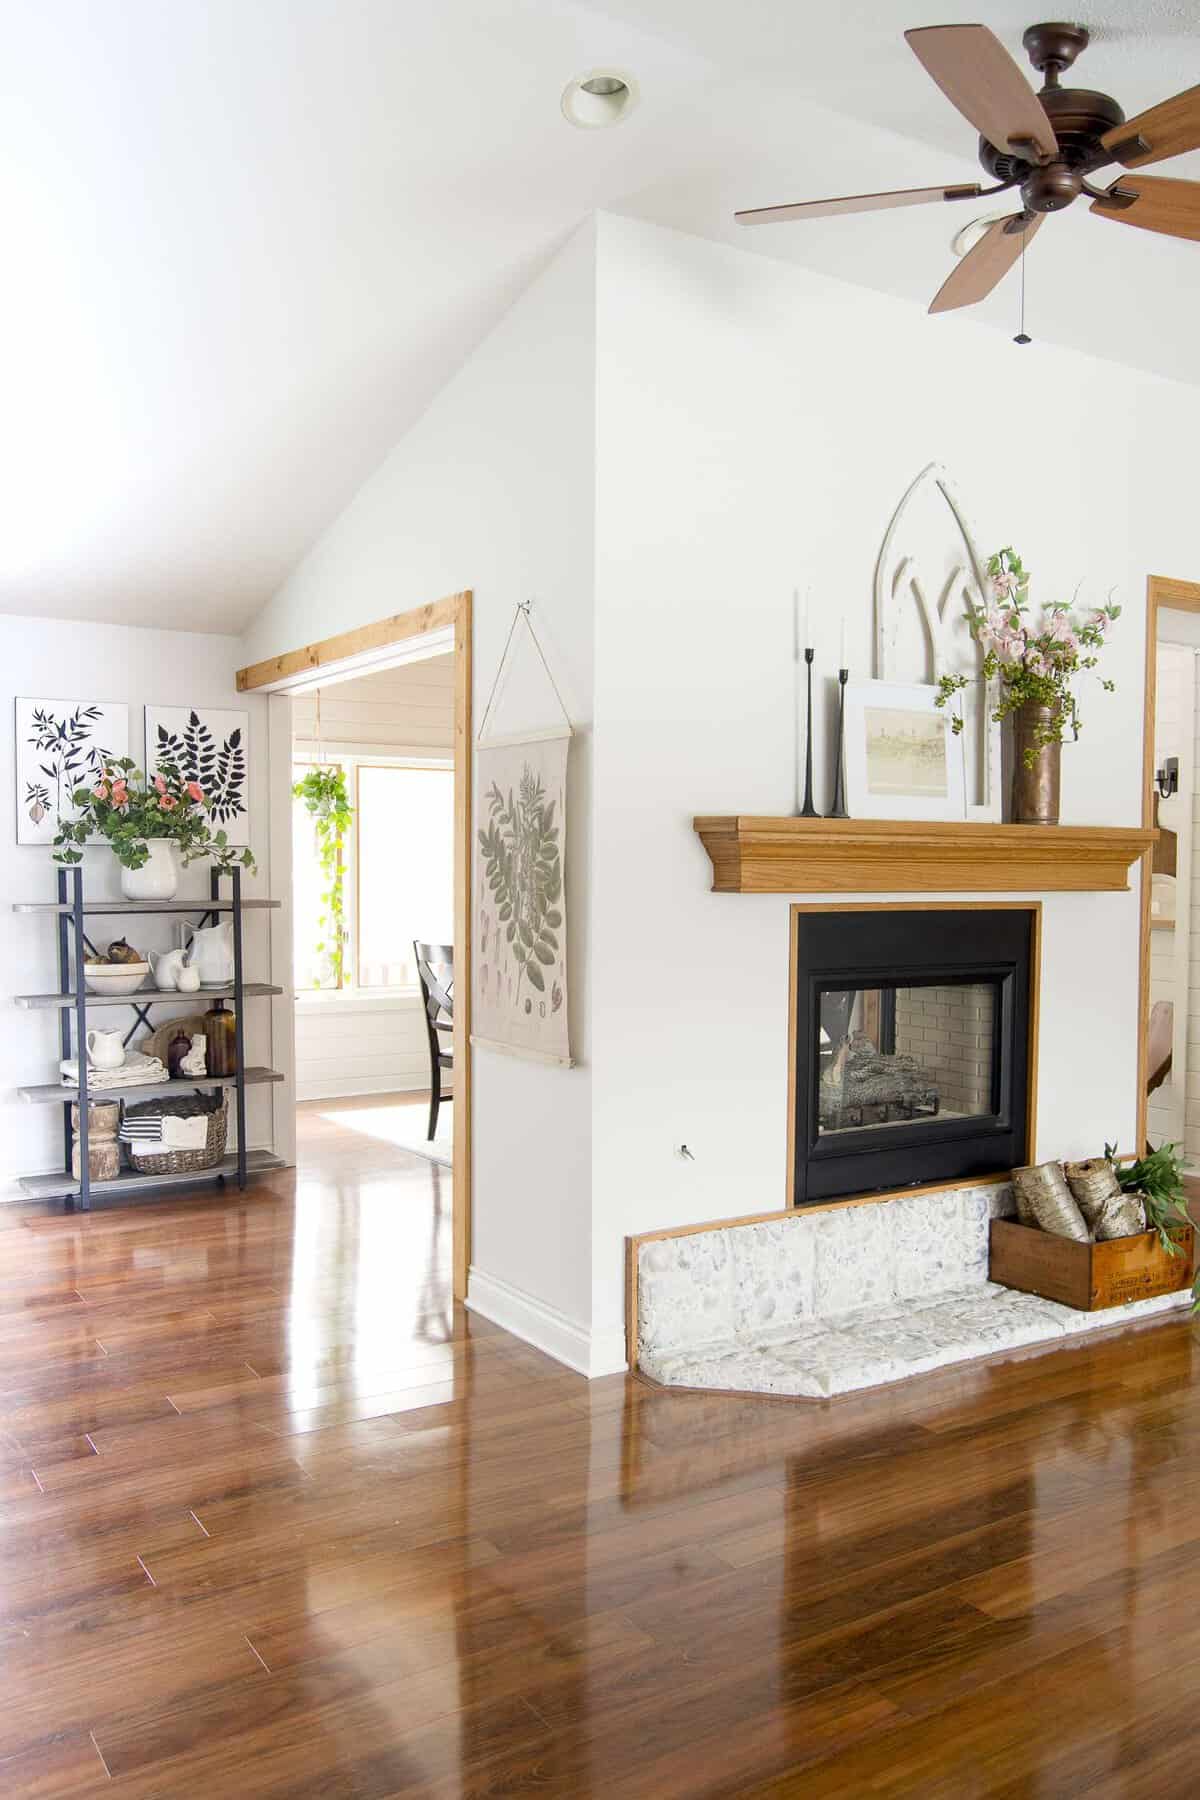
The shelving here is an extension from our kitchen and transitions into our dining room. I use this shelving just for my favorite ironstone, crocks and bowls. You could easily use a piece like this for practical everyday items as well.

Tip 1: Group in Odd Numbers and Alternate Colors
You can see the image above (diagrammed below) for an example of how to group in odd numbers and alternate colors within kitchen shelves.
First, you’ll notice that my groupings are either in groups of 3 or single pieces. Odd numbers are more pleasing to the eye.
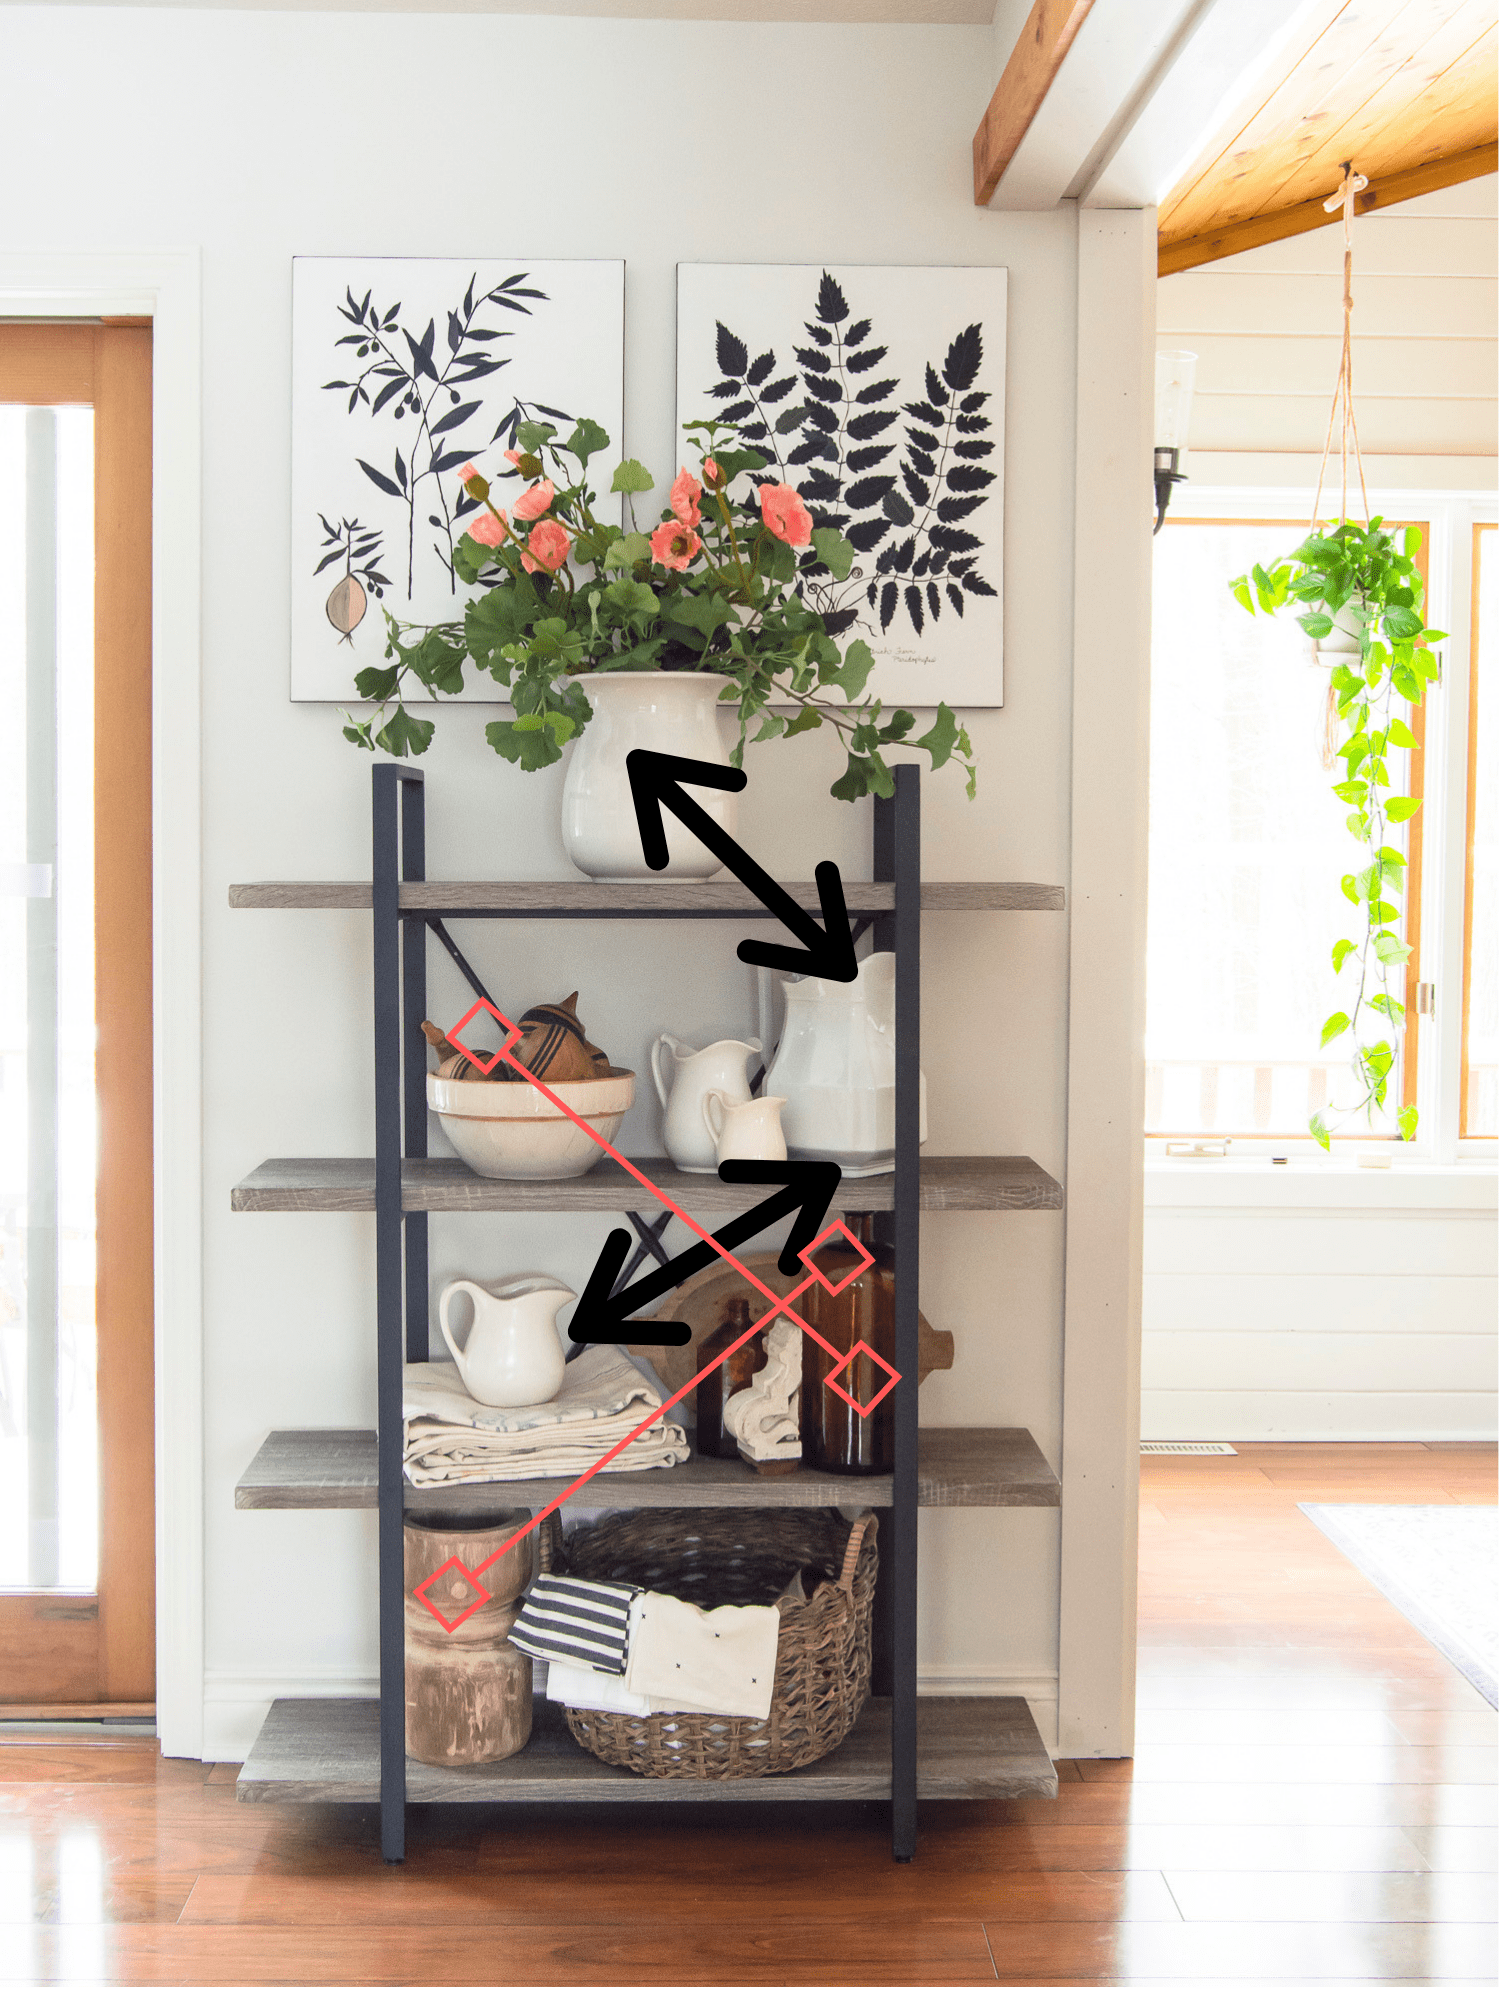
Next, you can see how I’ve carried the color scheme top to bottom by alternating the side the colors are placed. My whites/creams start at the top and go top-right-left. My wood tones start on the second shelf and go left-right-left down to the bottom.
Doing this allows your kitchen shelves to be cohesive and balanced.
Tip 2: Keep the Color Scheme Simple
One of the reasons many people struggle to style shelving is because it feels “busy” to them. My number one tip to overcome this issue is to keep the color scheme simple.
I have two main colors on this shelving unit. White/cream and wood/browns. Adding a pop of greenery and color at the top keeps it interesting without making the space busy.

On the other hand, if you want to add more color, choose 2 coordinating colors that pair well with the decor in the rest of your room. This keeps it cohesive without having to stick with a neutral palette.
So what do you think? Are you an open shelving naysayer or champion? I personally love that we updated our kitchen shelves rather than keeping the upper cupboards. Our new kitchen will have open shelving as well and I can’t wait to style them!




Great article thanks for sharing it with us and keep sharing.
Thanks so much!
Wonderful post! Keep up the good writing. Thanks for sharing with us!
Thank you so much!