
How to Make DIY Textile Artwork That Changes By Season
Textile art makes a beautiful statement in home decor. It is becoming a big trend since the texture and size can be so impactful in design. However, it can be pricey! So after searching for awhile to find fabric art that I could justify paying for, and coming up empty, I decided to make my own. Using this tutorial, you will learn how to make your own affordable DIY textile artwork that you can change out for the seasons!

This post may contain affiliate links where I earn a small commission on your purchases at no additional cost to you.
And when you’re finished with my tutorial, make sure to peruse more beautiful spring craft ideas from my friends linked at the bottom of this post!

DIY Textile Artwork for Spring
While preparing to decorate for spring, I’ve been on the hunt for a spring wall hanging. I wanted a fabric wall hanging or a large textile piece, but even after searching at discount stores and second hand shops I was coming up short. I’ve been spying vintage style rugs to frame, but have been having a hard time finding the perfect one.
So, in the meantime, I thought I would attempt my own framed fabric with some unique pizzazz. I recently got a Cricut and wondered what it would look like to create an organic feeling piece of fabric art using cut flowers for a spring design.

I was attempting to create a soft piece with lots of texture. I repurposed old linen napkins and a table runner that I no longer loved. Using materials I had on hand certainly saved money, but it left me without a frame. So I decided to make one!
How Do You Make Framed Fabric Wall Art?
For an oversized piece of framed fabric, textile frames can be extremely expensive. However, a trip to the hardware store and a car full of wood later, and you can create just about any size frame you need!

I decided to keep the cuts simple and use a 2×4 piece of pre-cut underlayment for my backing. This is very lightweight compared to most backer boards so it isn’t too heavy to hang on the wall. Then, I used 1×2 poplar for the framing.

Frame Materials
- 2×4 Underlayment
- 2 – 1x2x8 Poplar (Pine is also a good option. Just make sure the boards are straight!)
- Finish Nails
- Wood Glue
You can cut your frame two ways. I chose to do the simple method with straight cuts. If you want to dress it up, you can cut your frame boards at an angle with a miter cut so they form a perfect 45/45 for your 90 degree angles.
Simply cut the frame to the length of the backer board, glue the edges and nail it together, and then nail the backer board to the frame.

I chose to paint my backer board white to mimic the look of a frame mat. You can leave it wood or paint it any color you desire!
How do you frame textile art?
There are a few ways to frame textile art. Like I said above, I chose to create a backer board and attached my DIY textile artwork directly to the wood.
Here are a few other options for how to frame textile art.
- Create an open frame and stretch the fabric around it, securing it on the inside of the frame.
- You can also frame fabric art within a normal frame that you can purchase in stores if the textile is thin. Simply sandwich it between the glass and the backer board of the frame as you would any other artwork.
- One final option to create a DIY frame for textiles is to use the double frame method. Build two frames, one slightly smaller than the other. Stretch your fabric around the smaller frame, then build a frame around the fabric to hold it in place. This gives the frame a little more rigidity and stability when hanging on the wall.
DIY Artwork Ideas
If you are looking for some more ideas for how to create your own DIY artwork, make sure to visit the posts below! There are some extremely affordable ways to upcycle or create your own artwork available on the blog. And if you’re looking for some beginner DIY tips, make sure to download my free DIY tool kit printable! This will help get you started as a DIYer.
Other DIY wall art ideas:
- DIY Texture Art
- Earthy Artwork: Free Printable Art
- How to Make Your Own Printable Artwork
- How to Make DIY Evergreen Art
Fabric wall hangings are another simple way to add textural interest to the wall and one of the next DIYs I plan to tackle!
How to Make DIY Textile Artwork
Now let’s get to the tutorial! Once you’ve built your textile frame using one of the methods above, or your own creation, it’s time to create your fabric art. I love that this crafty DIY can be customized to your style, as well as changed for the seasons. I designed mine with spring in mind, but you can create something like this for any season by altering the cut out shapes and/or color scheme.

1. Choose Your Cut Out Design
The first step is to choose your cut out design. Using the Cricut, you can shop their selection or you can create your own. I decided to keep it simple for my first attempt at this DIY textile art and choose pre-made designs from the Cricut store. Since I wanted a spring theme, I chose floral designs.
The vision I had in my head for this piece was very earthy, raw and organic. I didn’t want it to feel too clean, but rather I wanted it to have some wear and tear. I was hopeful that this would help it feel more vintage and not “off the shelf”.
I chose two designs that were larger without intricate cuts and two designs that had lots of detail. This allowed the larger silhouettes to be immediately identifiable and the detailed silhouettes to be more abstract.
When you are looking through designs, make sure you keep that in mind. Since you’re cutting on fabric, rather than layering paper cuts, the final result will look different and less 3D than it would on paper.
2. Cut Out Your Designs
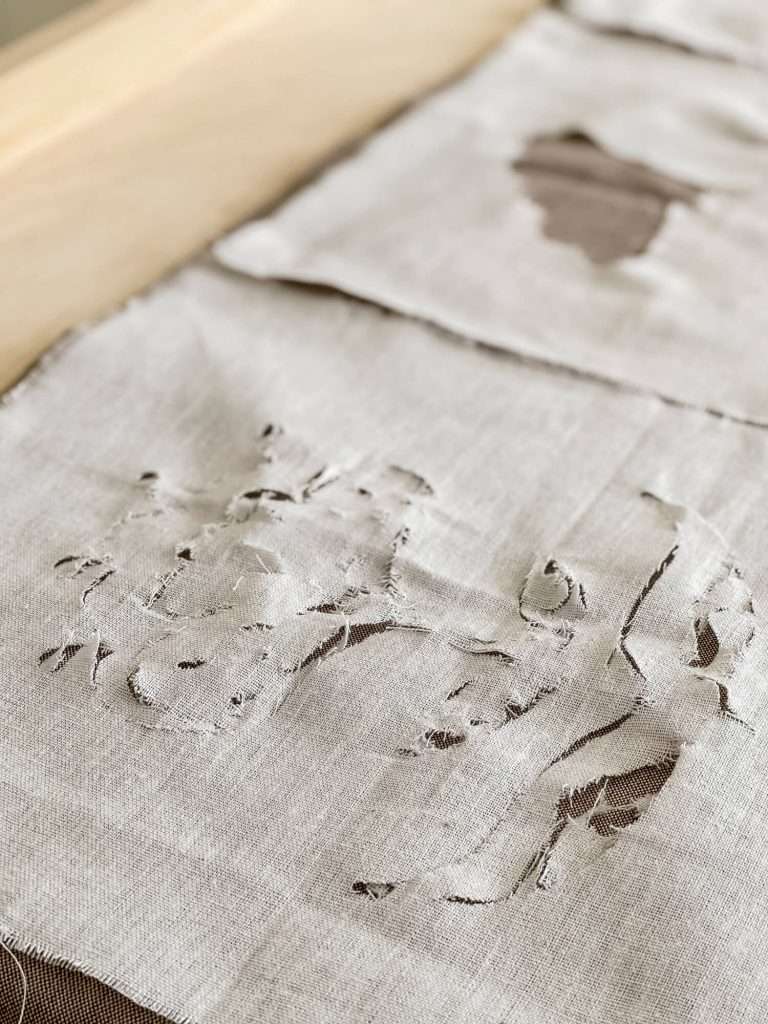
Once you’ve chosen your design or pattern, it’s time to cut! Like I said above, I used old linen napkins that I cut down to size to fit into my Cricut and also fill my 2×4 frame fully. You can choose any fabric you love.
The reason I chose linen is because it frays easily and I wanted it to have that unfinished look.

Cut out your designs on each piece of fabric, making sure to center your design on the Cricut template. You’ll need to make sure you use the proper Cricut mat and cutting tools for your fabric.
Once you have your designs cut, you can choose to fray the edges like I did by pulling out loose threads until you’re satisfied with the raw edge.
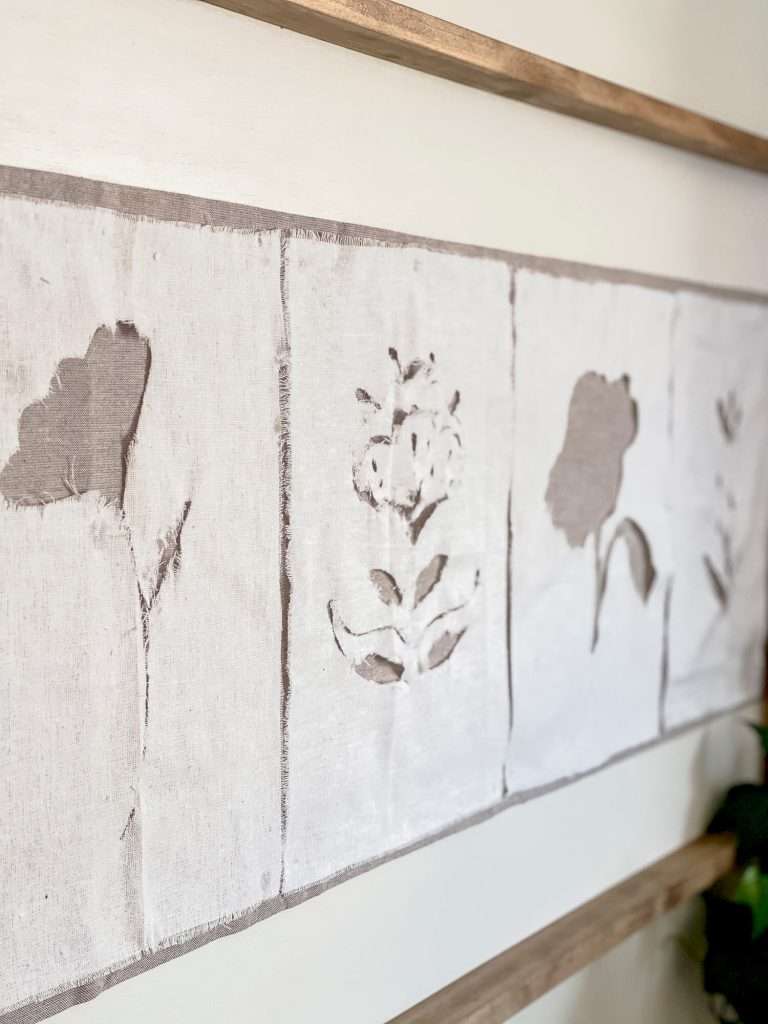
3. Choose a Contrasting Fabric
Once you have your designs cut, use a contrasting fabric color as the backing for your silhouettes. I had an old table runner that was a calm and organic feeling taupe that was the perfect size for my linen squares to lay on.

First, attach your base contrasting fabric to your frame. I used super glue to tack it along the top so it didn’t slouch when hung. Then, I wrapped it around the back and nailed it on when I attached the backerboard to the frame.
4. Attach Silhouettes to Base Fabric
Once you have attached your contrasting fabric, use fabric glue and place your cut out silhouettes onto your base. Make sure they are spaced evenly for the size frame you chose to make.

5. Add Hanging Hardware
That’s it! Once you’ve assembled all the pieces, simply add your hanging hardware and place it on the wall. Using the 2×4 thin plywood makes it extremely lightweight so all I needed to hang it was a simple saw tooth hanger.

Step by Step DIY Textile Artwork Summary
So let’s recap that process in a quick version!

- Build the frame
- Paint your 2×4 backer board, if desired
- Attach base/contrasting fabric to backer board
- Attach frame to backer board
- Cut out silhouette designs onto desired fabric
- Use fabric glue to attach silhouettes to base
- Hang!


Now you get to enjoy your DIY textile artwork for as long as you want! You can always swap out the fabric and reuse the frame for a seasonal change, or if you just want to look at something new. Fabric is relatively inexpensive, especially if you use old textiles from around the house like I did.

What do you think of how it turned out?! You can shop my living room furnishings and available home decor via the affiliate images below.


Stay tuned for more spring inspiration coming up and make sure to visit my friends’ spring craft tutorials below!

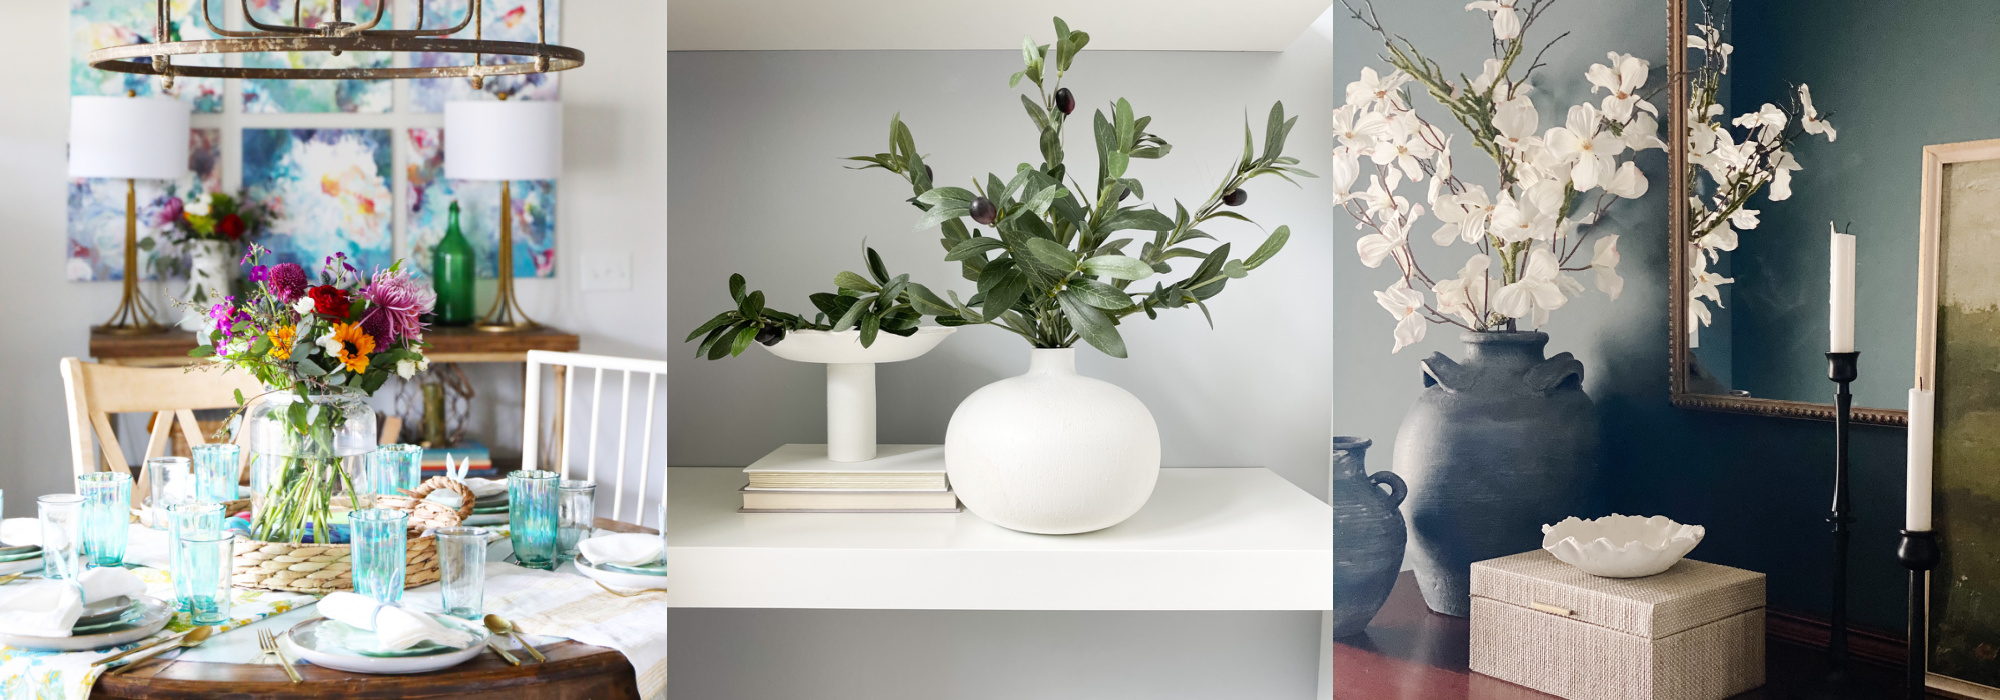
This week I’m joining some of my talented blogging friends for the Spring Seasonal Simplicity Series! We’re all sharing some fantastic spring DIY Ideas with you! Be sure to check out these fun spring crafts and DIY ideas by clicking on the links below each image.
My Best Spring DIY Craft Projects at The Happy Housie
DIY Black and White Botanical Art – My Sweet Savannah
Tropical Spring Centerpiece – Clean & Scentsible
DIY Textile Artwork that Changes by Season – Grace in My Space
Bunny Bowl Dupe – Craftberry Bush
How to Sew a Zippered Pillow Case from a Spring Cloth Napkin – Zevy Joy
DIY Eggshell Planter – Life is a Party
Bunny Ear Napkin Rings – The Handmade Home
DIY Vase Makeover with Paint and Baking Soda – This is Simplicite
Flower Petal Bowl – Deeply Southern Home
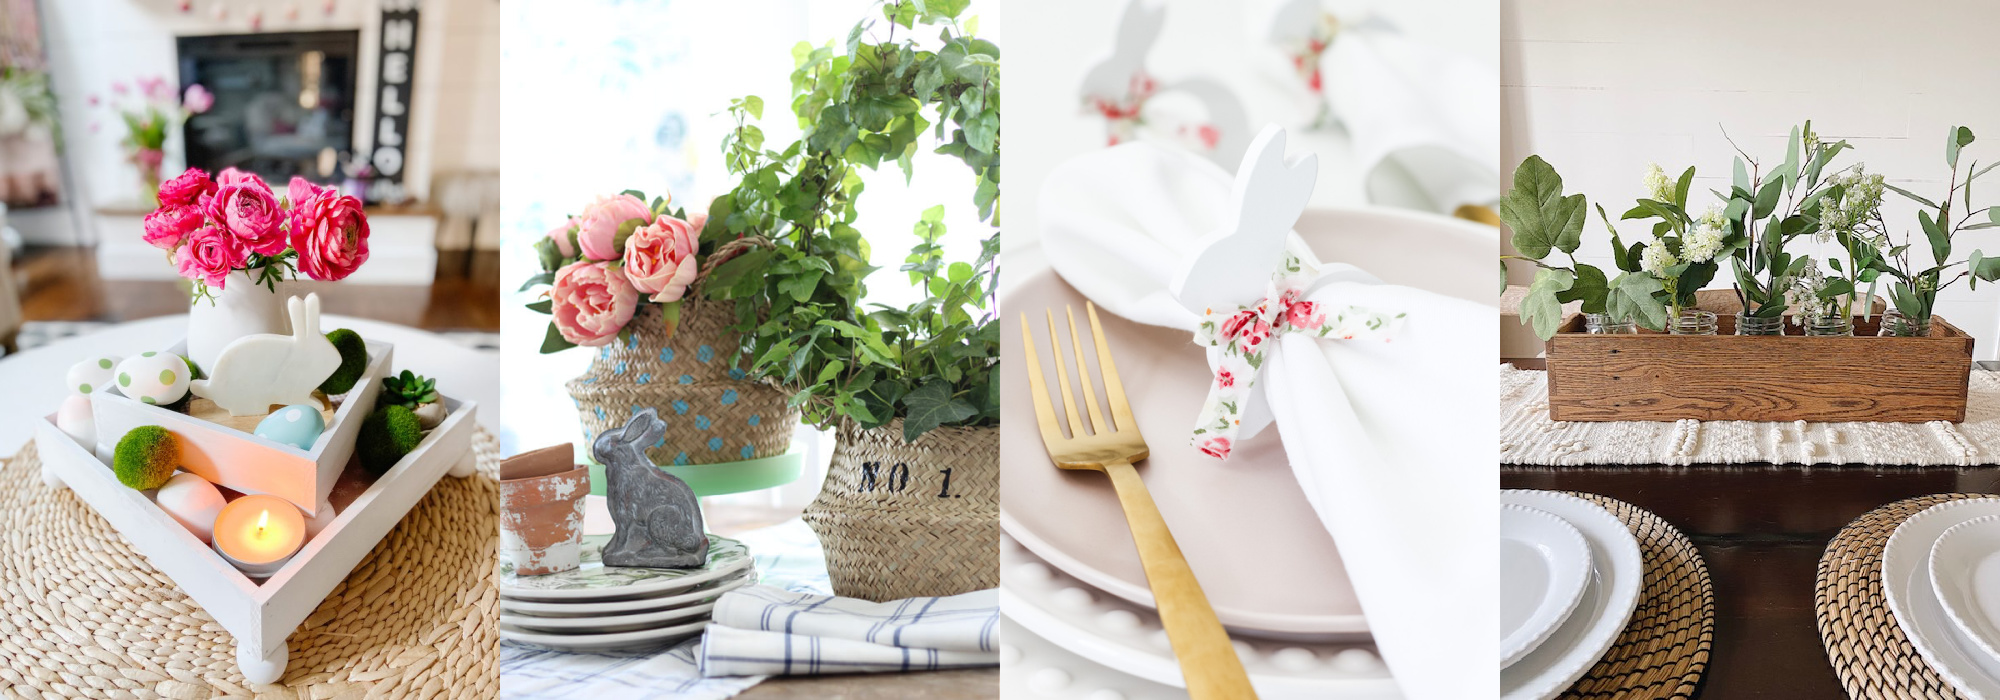
DIY Spring Footed Stacking Tray Centerpiece – Tatertots & Jello
The Easy Way to Stencil a Sea Grass Basket – The Tattered Pew
Easy Easter Napkin Rings – A Pretty Life
Easy Spring Mason Jar Centerpiece – She Gave it a Go


I have been looking into this diy tutorial, you are really a talented person. thank you so much for your help and information.
I have thought so many times of entering the blogging world as I love reading them. I think I finally have the courage to give it a try. Thank you so much for all of the ideas!
You’re welcome!
Hello. Thanks for this cool DIY guide and theme for my YouTube channel. By the way, I use movavi video converter for my videos, you can find it here . DIY is a very interesting thing, sometimes you can collect some kind of decoration or painting from a pile of unnecessary things.
I like your post and everything you share with us is up to date and quite informative. I would like to bookmark the page so I can come back here to read you because you did a great job.guided tours in Israel