
Make Your Own Pottery with Upcycled DIY Pottery
Someday, I want to learn how to throw pottery. I’ve tried my hand at it on a very small scale and failed miserably. It is such a beautiful art and requires much skill. Since I haven’t yet learned how to make pottery from scratch, today I’m sharing how to make your own DIY pottery by upcylcing existing vessels!

Post may contain affiliate links for your convenience.
Make Your Own Pottery Hack
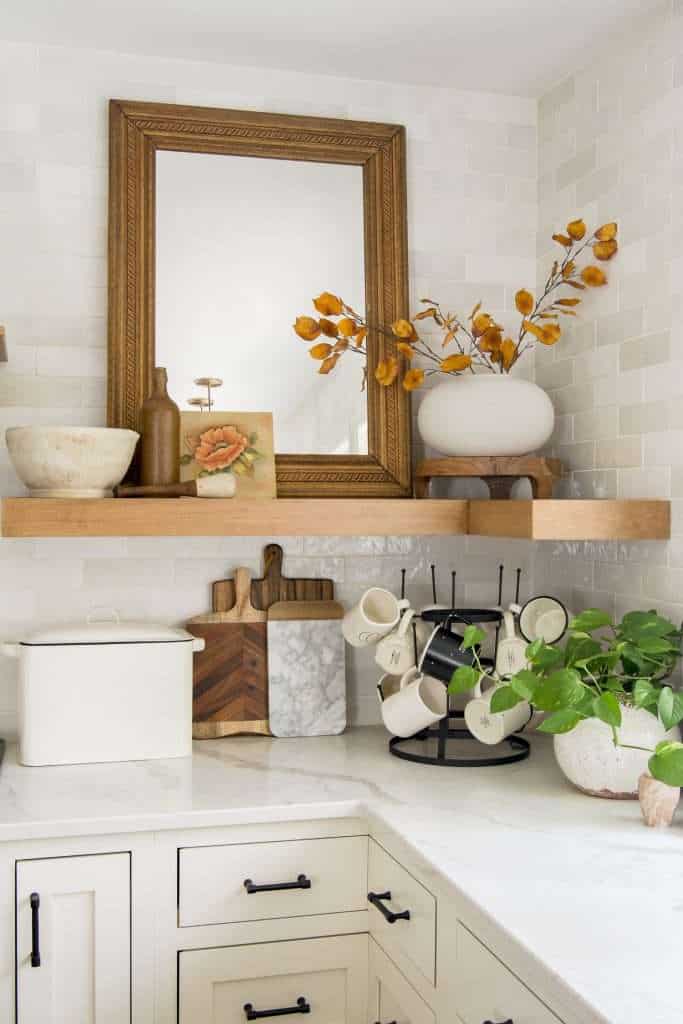
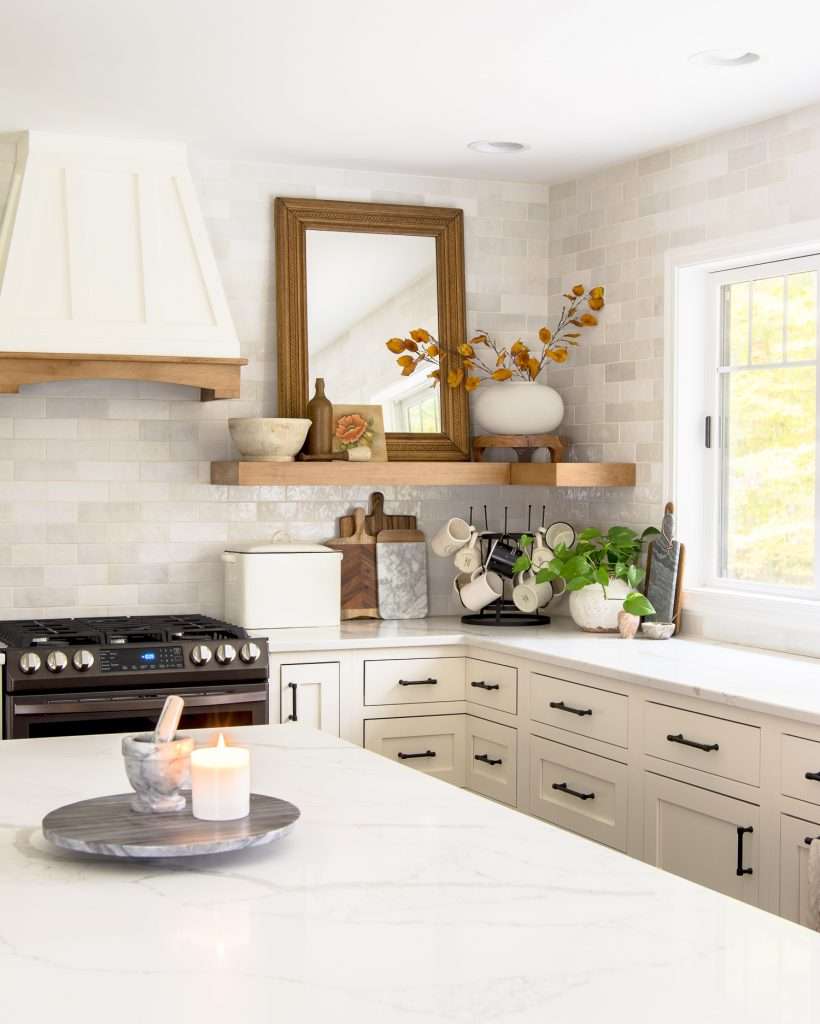
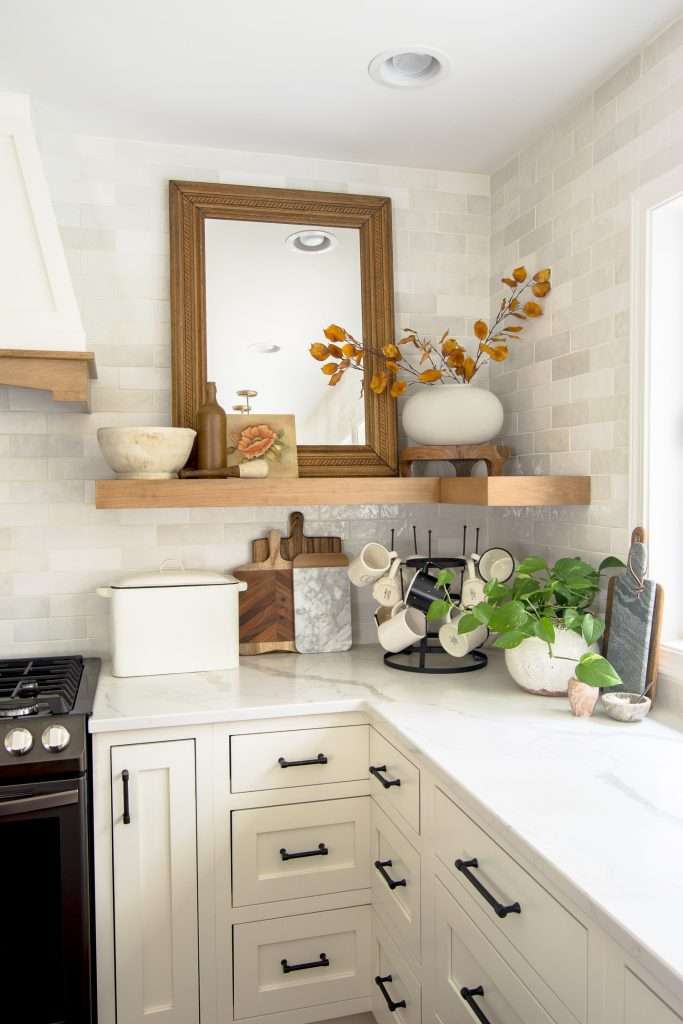
One of my favorite collections is my vintage pottery. Pottery adds texture and character to any room. It’s beautiful styled with florals, trinkets in a bowl, or as stand alone pieces.
I wanted to add more pottery to my home, but didn’t want the expense of buying new pottery.
I saw a hack floating around Instagram, shared by my friend Cynthia Harper, and tried it earlier this summer with my daughter. It didn’t turn out exactly as I’d hoped, so I decided to try it again making some tweaks!
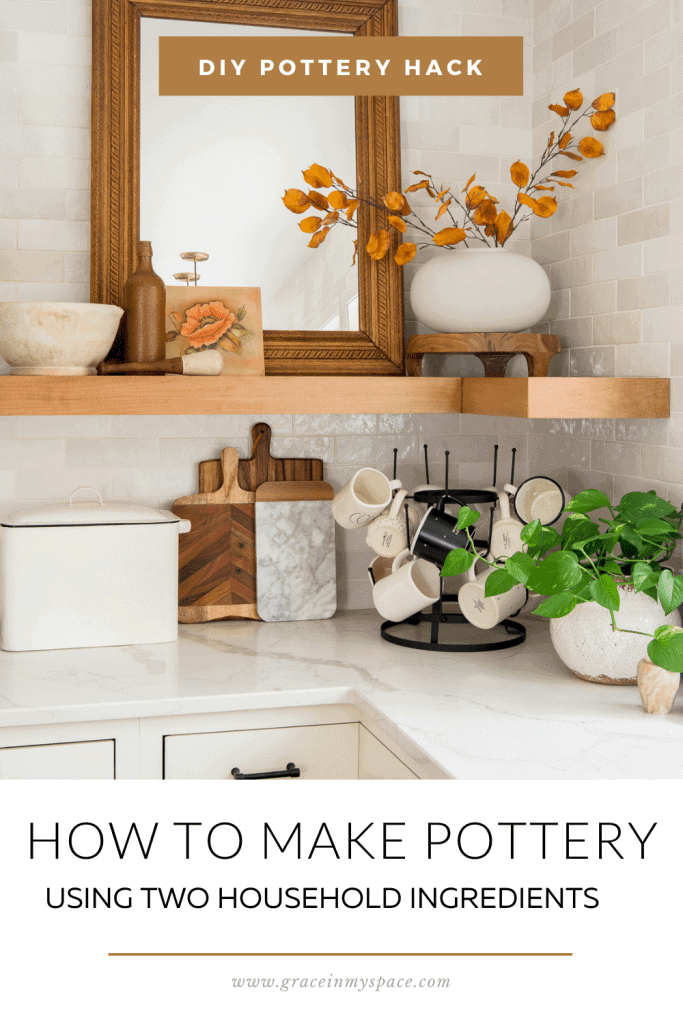
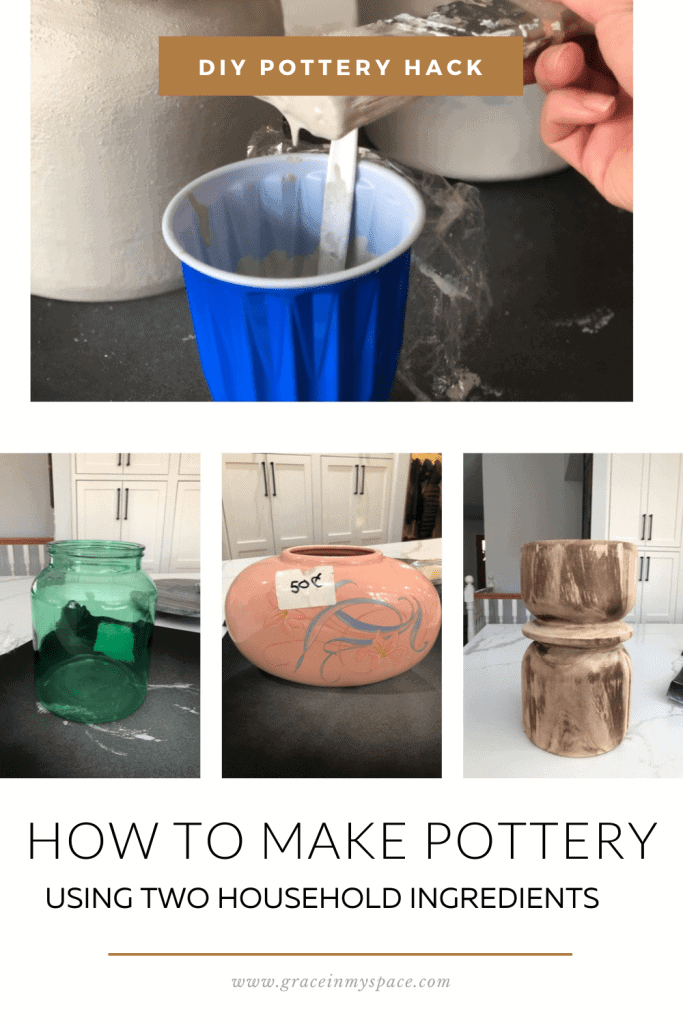
I’m excited to share how you can turn any vessel into a DIY pottery dupe using two simple ingredients!
DIY Pottery Tutorial
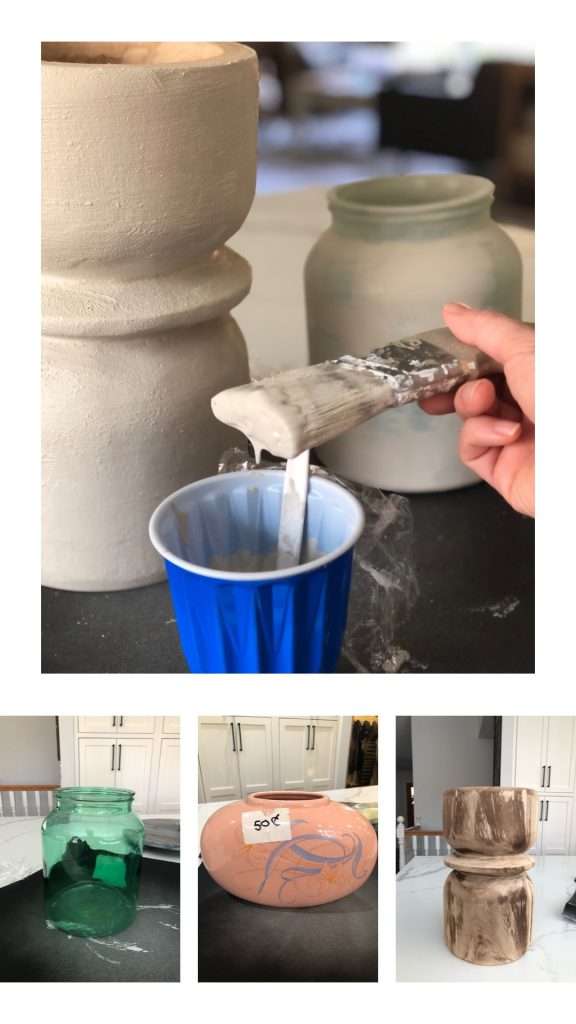
Start by gathering old vessels of various shapes and sizes. The material doesn’t matter!
I had all of these vessels laying around the house. I never used them for one reason or another (some more obvious reasons than the other- hello pink beauty.)
Next, choose a color that you want your pottery to be. I had Birchwood by Rust-Oleum on hand from Owen’s room makeover. It is a beautiful taupe and I LOVE how it turned out. It’s the perfect color for a light pottery.
You can use white, terra cotta hues, browns, tans, black…etc. It all depends on your taste and preference!
Next, the magic ingredient!
Baking soda.
DIY Pottery Materials
- Paint color of choice
- Baking soda
- Solo cups or other disposable mixing bowl
- Paint brush
- Work surface protection
- Various vessels
Start with a small amount of paint, approximately 1/2 cup, in your cup or bowl. I used left over latex paint, and craft paint would work as well.

Then, add baking soda, slowly mixing until the paint turns into a liquidy paste consistency. Start by adding 1 tablespoon at a time until it doesn’t loosely drip off a brush dipped into the mixture.
You really can’t go wrong with the amount of baking soda you add, unless it is too thick to brush on without pilling. Even a runny mixture will work.
A runny mixture creates a soft texture. The more baking soda you add, the thicker the texture will be.
Once you have the right consistency, paint!

My upcycled DIY pottery took one coat of paint on wood and papier-mâché surfaces and two coats of paint on glass and ceramic.
This is the simplest way to make your own pottery! “Make” is used loosely, but I’m always up for a DIY hack to create my own home decor!
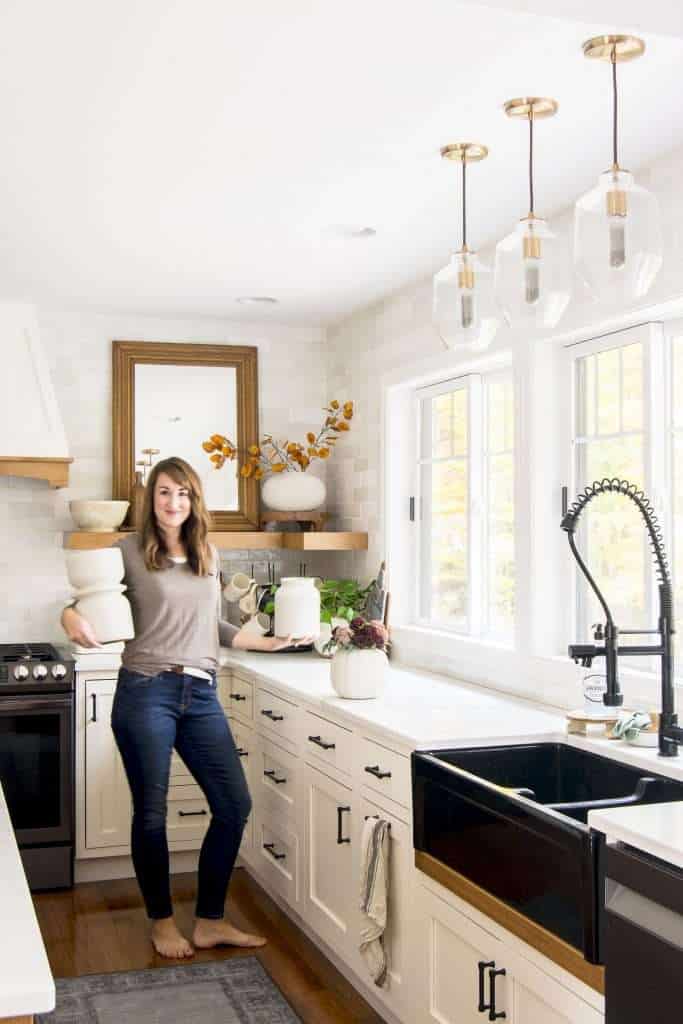
I spent zero dollars to make 4 new pieces of “pottery” in various shapes and sizes!
DIY Pottery Before and After
I always love a good before and after.

This hack is all about finding the right shape and size vessels to create interesting looking pottery.

It’s also a fun project that can easily be done with kids!

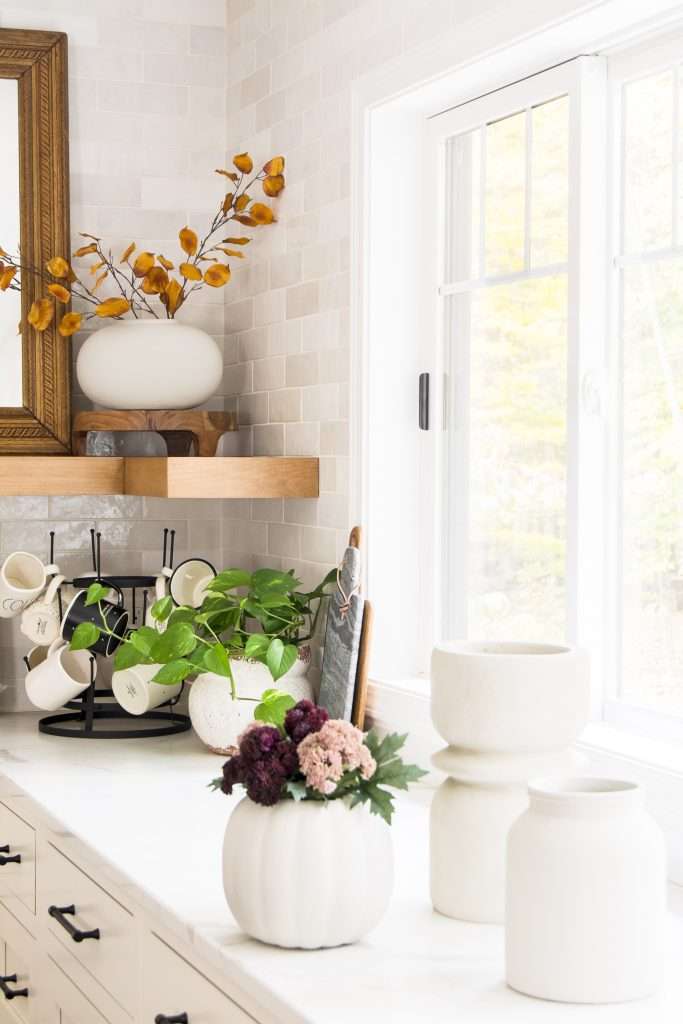
This last one was a happy accident! I was attempting to make a ceramic looking pumpkin and discovered my form was not hollow. I cut off the top and used the styrofoam to hold my faux sedum to make a cute pumpkin vase.
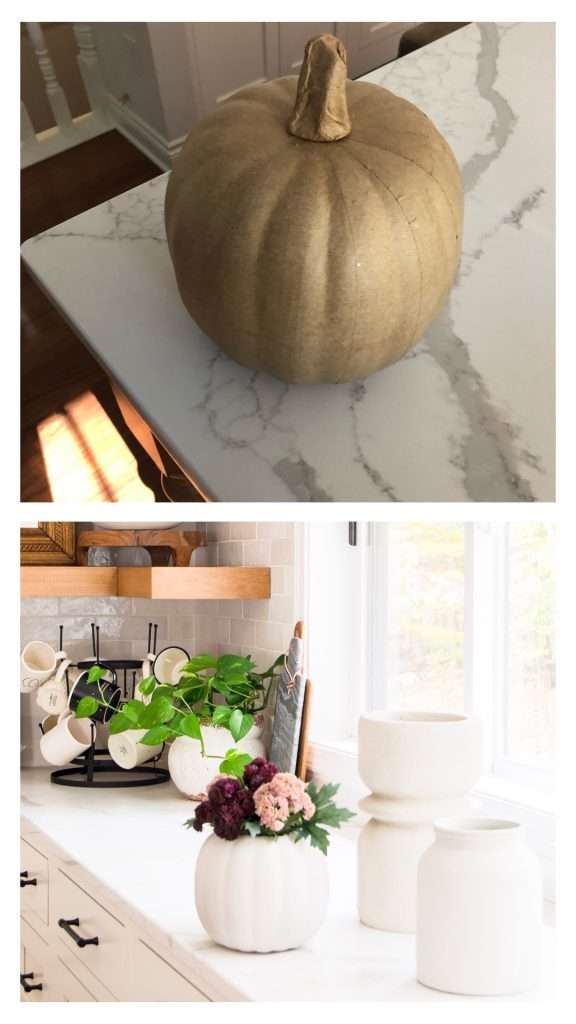
Simple and fast DIY projects that make a huge statement are my favorite. Try grouping several vessels together using the same color for a monochromatic look.
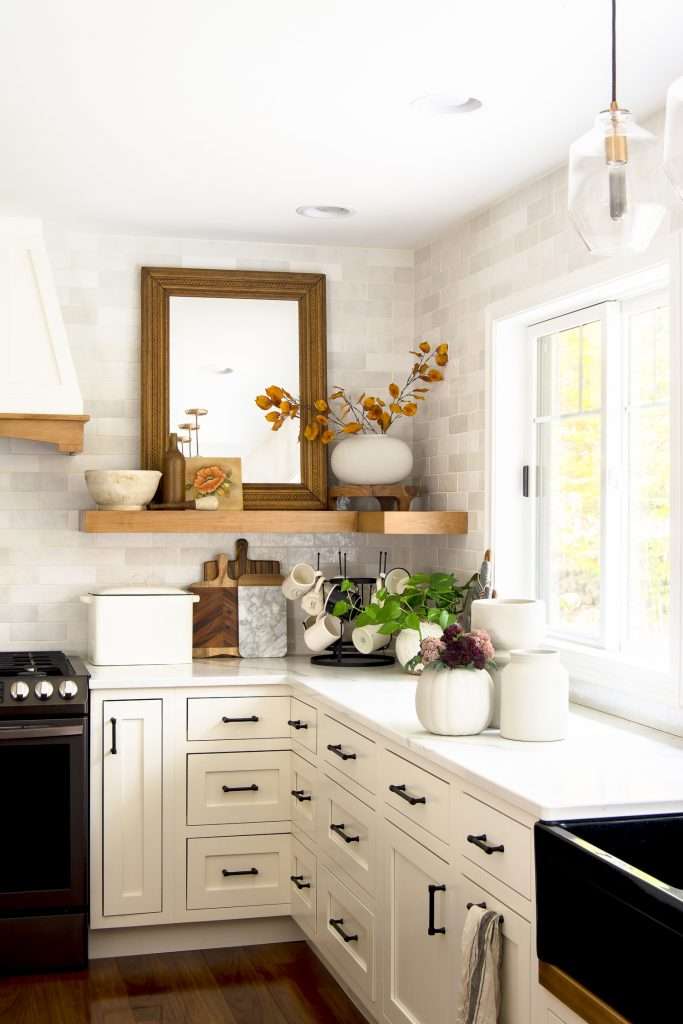
Or, style the pieces as stand alone statement makers. I think my favorite transformation is the pink vase I bought for $.50 at a flea market last summer. The oval shape is unique and perfect for styling stems.
What do you think of how they turned out? I’ll forever be on the hunt now for unique shaped pieces that I can make into my own pottery!
Kitchen Sourcebook

Stay Connected
I hope you are inspired to go make your own pottery by this simple DIY project! I’d love to see your projects! Tag me on Instagram so I can share how they turn out.


Looks great! This also is a great hack on old ceramic thrift pumpkin dishes or soup terrains, ceramic turkeys for Thanksgiving or a ceramic bunny for Easter. They looks awesome one you paint them!
I even painted àn ugly nativity set and it’s gorgeous now! Thrift stores are the bomb!
Yes! Now you’re making me want to go thrifting again!
how long to dry in between coats im not having any luck
I let mine dry a couple hours, but it depends on how thick you applied it.
I’ve done this with several pieces now and LOVE the outcome – I’m addicted ! I do have one question – do you think it would be okay to use this technique on a planter with a live plant in it?
I would be hesitant to do anything where water might touch the finish. I’m just not sure how it would hold up!
Great idea. I love the look and have many pieces I can try this on. Question though, do you use any type of sealer on pieces after they’re dry??
No sealer needed! You could apply a matte sealer if you are going to use them in a situation where they may get wet, but I just plan to use them for decorative purposes.
Such of fun idea. Thanks for sharing, they look great. Blessings.
So glad you like it!