Best DIY Outdoor Foot Washing Station
We’ve all experienced those moments when muddy or sandy feet come tearing through a freshly cleaned home. You don’t want to deter fun outdoor exploration, but you also don’t want to be constantly cleaning up after it. This is the perfect situation for an outdoor foot washing station.
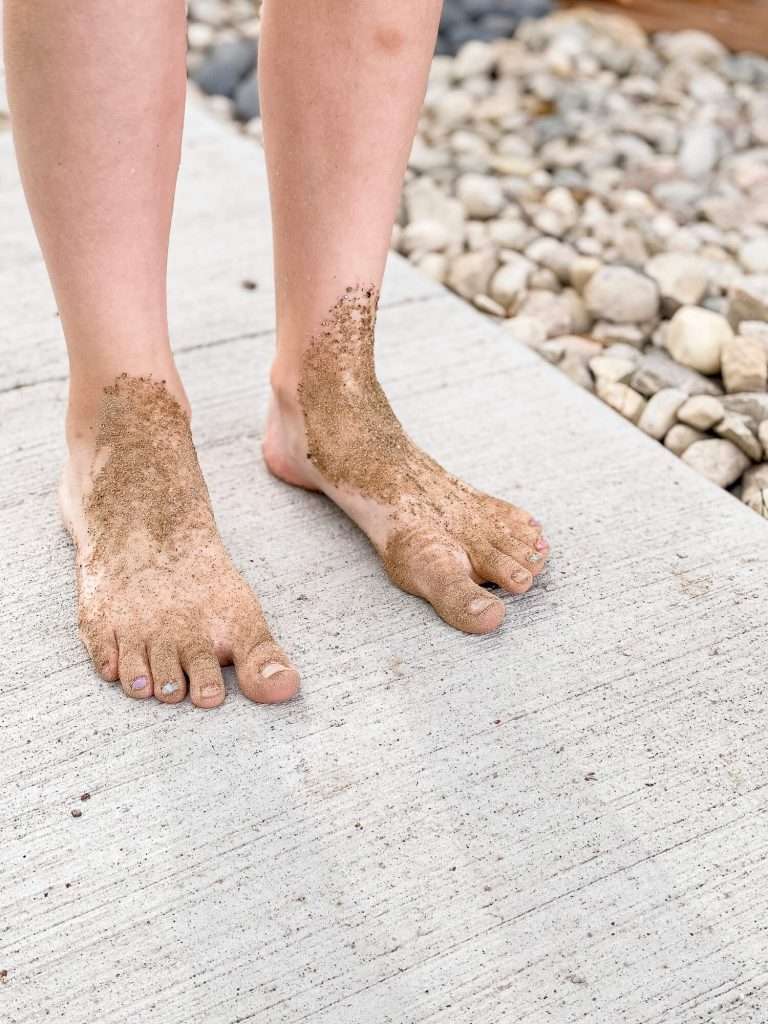
An outdoor foot shower allows messy outdoor play while keeping a clean indoors! There are many methods for an outdoor foot shower, but this one can easily be incorporated into beautiful landscaping. Learn how to make the best DIY foot wash station with this simple tutorial.
This post may contain affiliate links for your convenience.
Summer DIY Projects
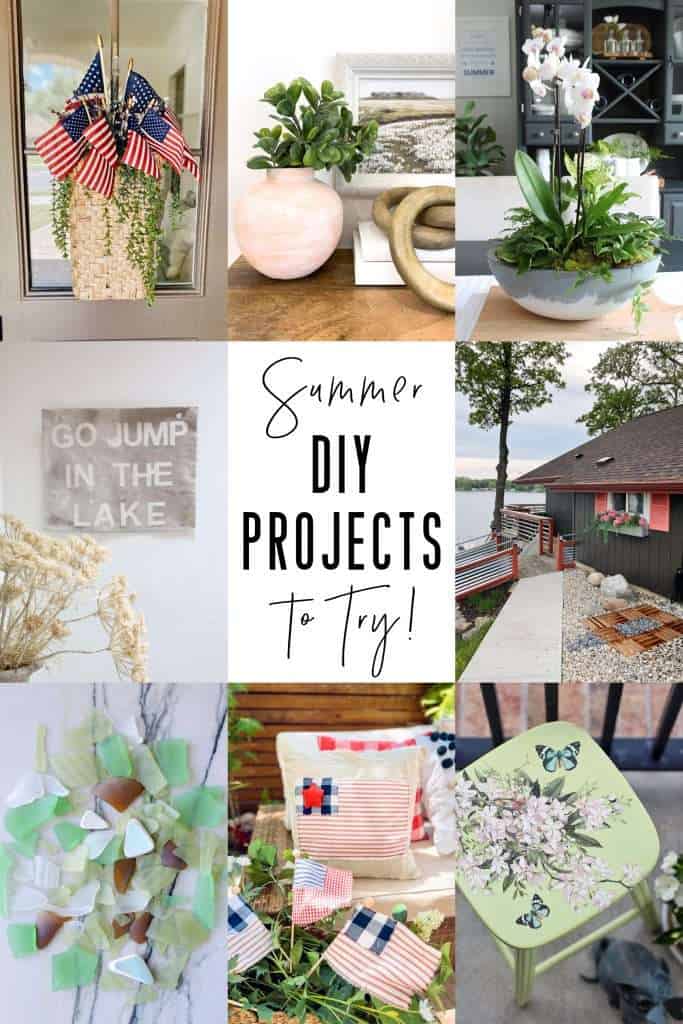
In addition to my DIY outdoor foot wash station, I’m also joining up with some talented bloggers each sharing their own DIY project or summer craft today! A huge thanks to Krista from The Happy Housie for hosting this fun blog hop. Make sure to check out all the fun tutorials linked at the end of this article.
Outdoor Foot Washing Station
Last summer was our first year at the Haven Cottage. Figuring out lake life didn’t take long, except for the constant vacuuming and sweeping up of sand.
It’s the perfect spot to host a party, but dozens of tiny feet in and out of the beach and house meant constant gritty floors. So, this year I wanted to nip this problem in the bud right away before summer is in full swing.
An outdoor foot wash station is the perfect solution. Plus, we happen to have the perfect spot for it.
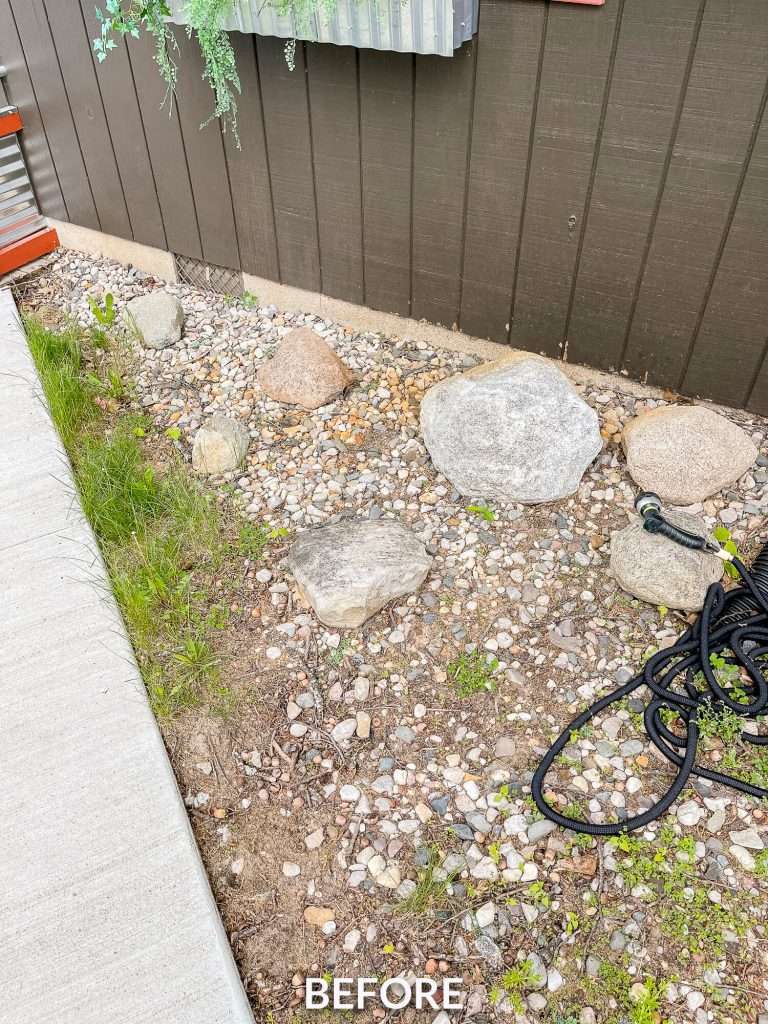
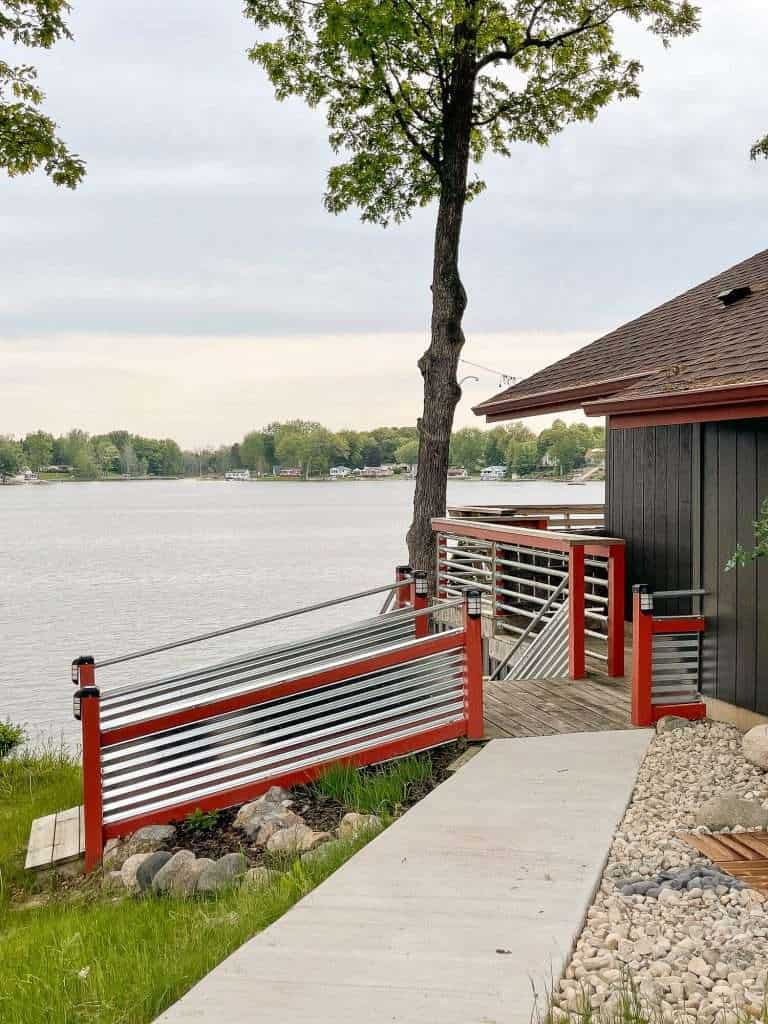
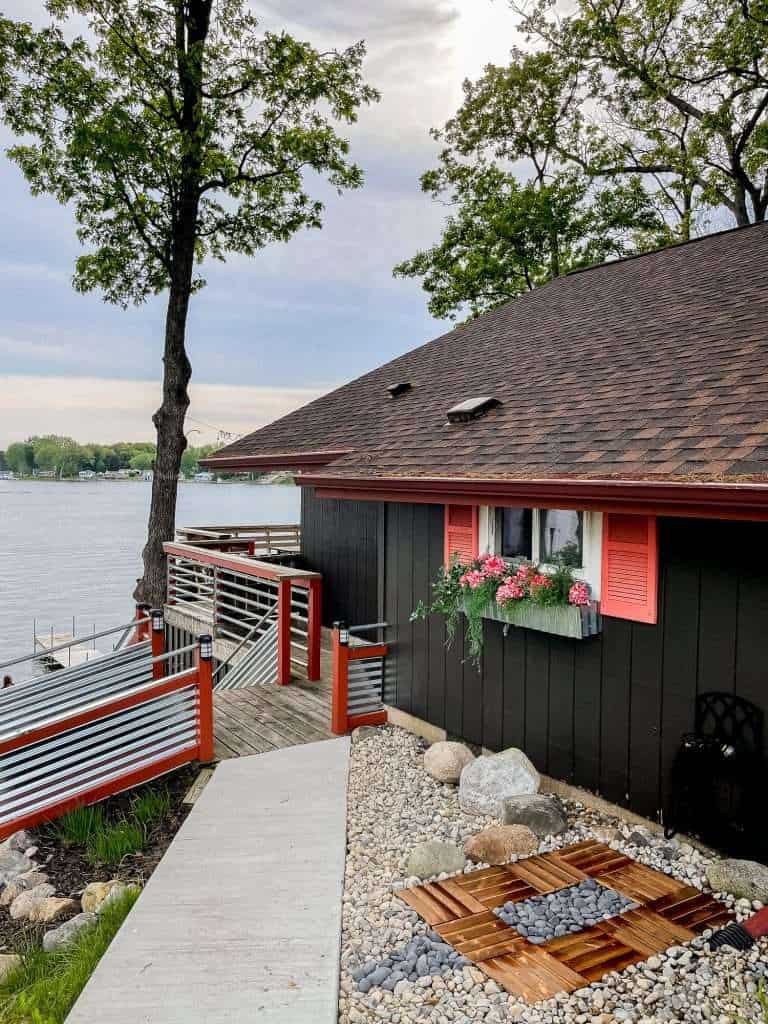
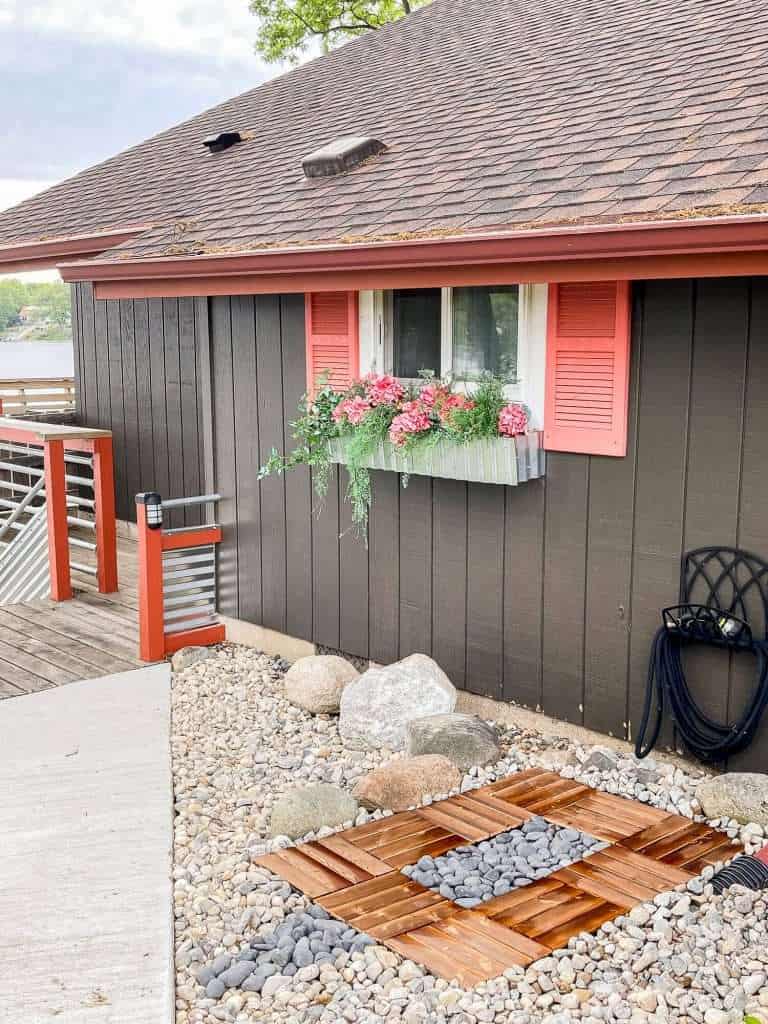
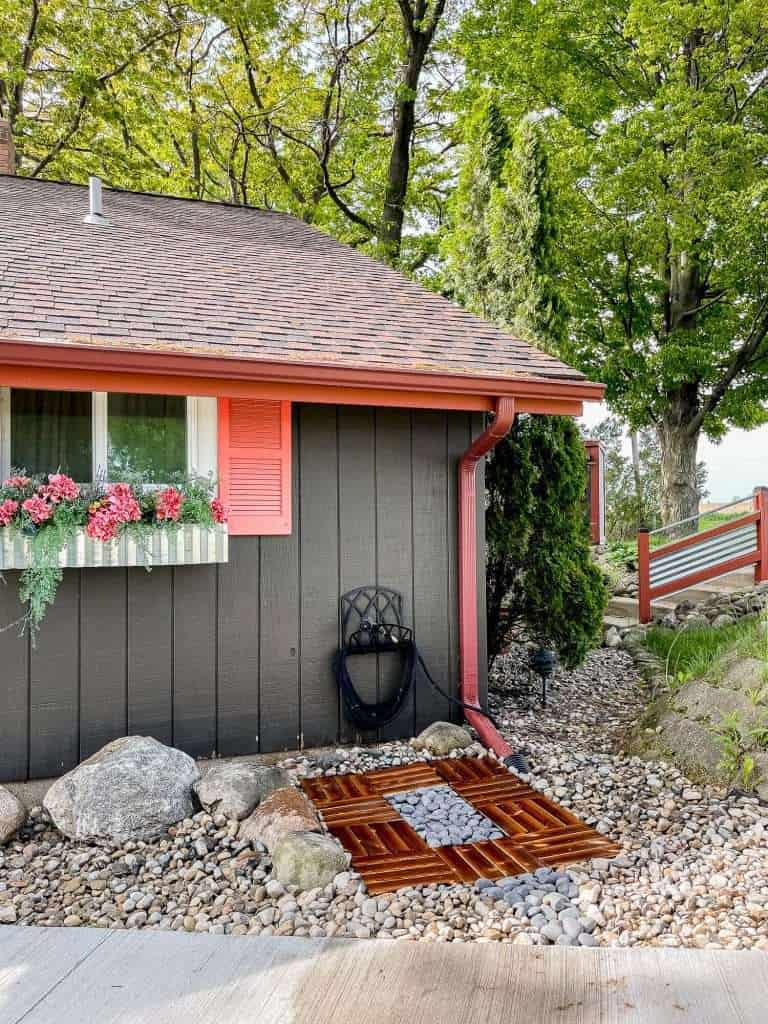
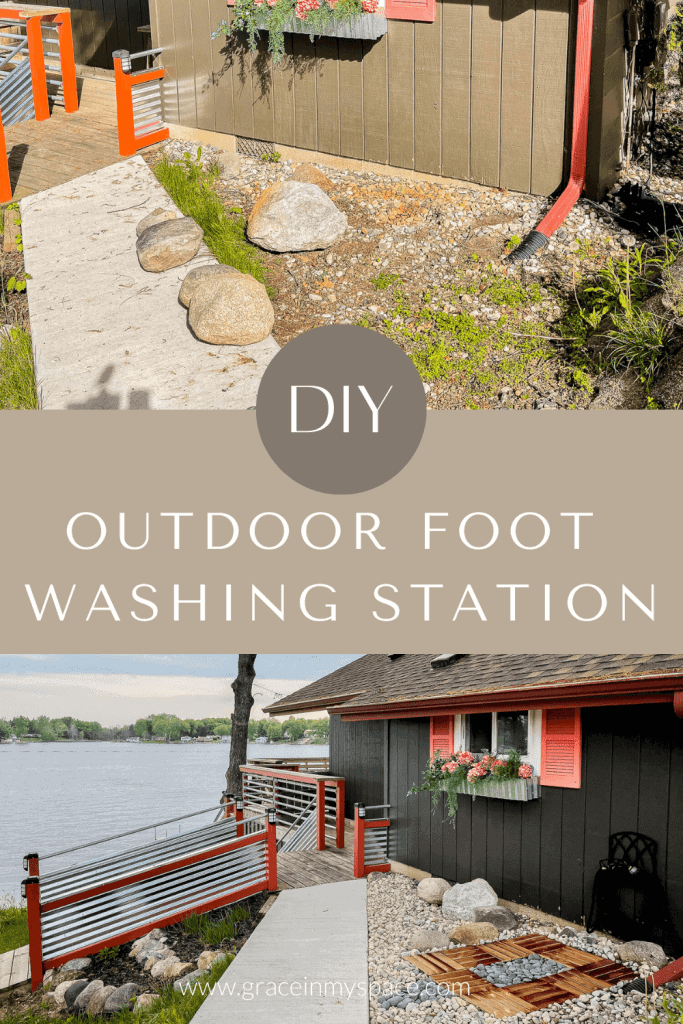
Right alongside the sidewalk we have this overgrown area with rocks. It happens to be perfectly situated right next to a spigot. As I thought through how I wanted this area to look, my idea for a DIY outdoor foot wash station came to life.
How Do You Make a Foot Washing Station?
Now, there are many ways to make your own foot washing station.
It can be super simple, like this awesome tutorial that could fit anywhere. Or, it could be extremely elaborate with a full outdoor shower and full plumbing.
I wanted to make mine more of a focal point within the landscaping, that is also a functional washing station.
At the same time, I didn’t want to invest in complicated plumbing or full builds. I found a happy medium with this method.
1. Gather Materials for an Outdoor Foot Washing Station
First, gather your materials. You’ll find affiliate shopping links provided below for your convenience.
For this project, all your material quantities will depend on how large you make your foot washing station.
My foot washing station is 4’x3′ and I used 10 interlocking tiles, 1 bag of Mexican beach pebbles and 12 bags of pond rocks for the surrounding area.
You will need:
- Landscape fabric and stakes
- Interlocking deck tiles
- Mexican beach pebbles (also found here in smaller quantities)
- Pond rocks (or other landscaping rock)
- Hose
- Nozzle
- Decorative hose hanger
Additionally, you will need these DIY materials:
- Shovel
- Garden hoe or other stiff metal rake
- Level
- Working gloves
2. Remove Debris and Level the Ground
Once you’ve gathered all the necessary materials, the next step is to remove weeds, debris, and any other landscaping that is impeding the area.
I had large rocks in the way that I later decided to use as part of the station.
The most difficult part of my project was leveling the ground. The ground must be level for the tiles to interlock properly.
This area of the cottage is on a downhill slope, plus there was years of old rocks lodged in the dirt.
Every time I got it to a point where the ground was level, a rock would stick out and cause it to go topsy turvy.
If you have an unlevel ground, I would highly recommend building a platform to lay your tiles on. I will likely go back to this project later this summer and build a solid platform, rather than laying the tiles directly on the ground. I believe it will give it the best chance of long-term use.
3. Dry Fit Your Tiles
Once you’ve leveled the ground, it’s time to dry fit your tiles.
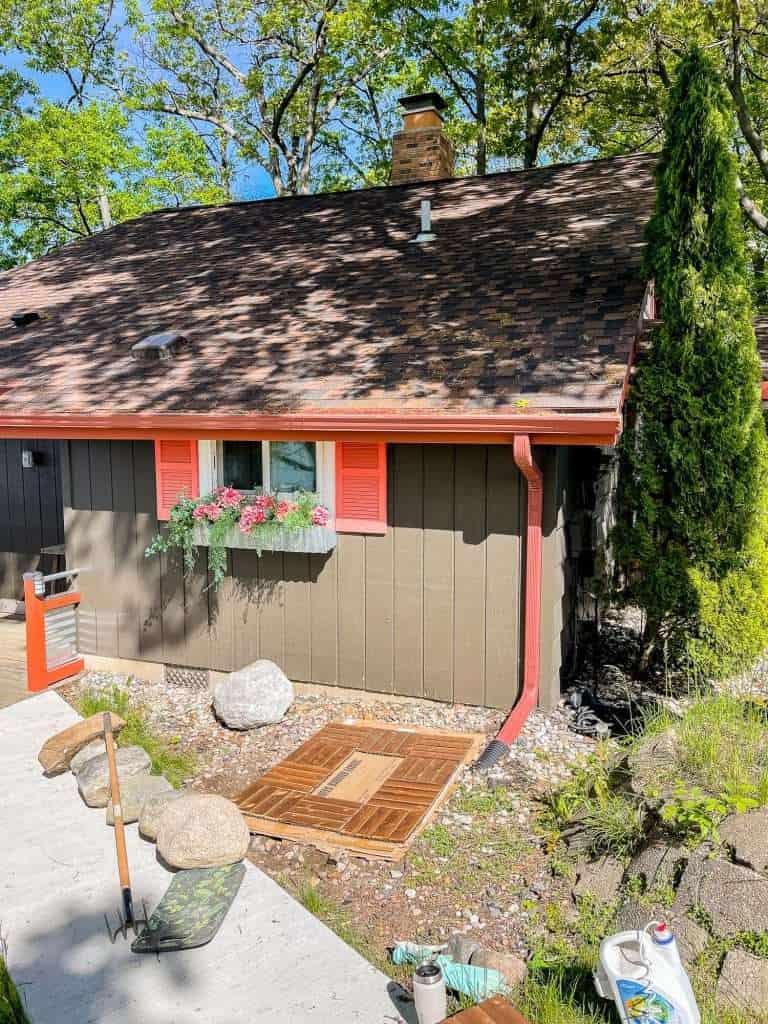
Lay them out in various configurations to see what fits your space the best. I ended up going with a 4’x3′.
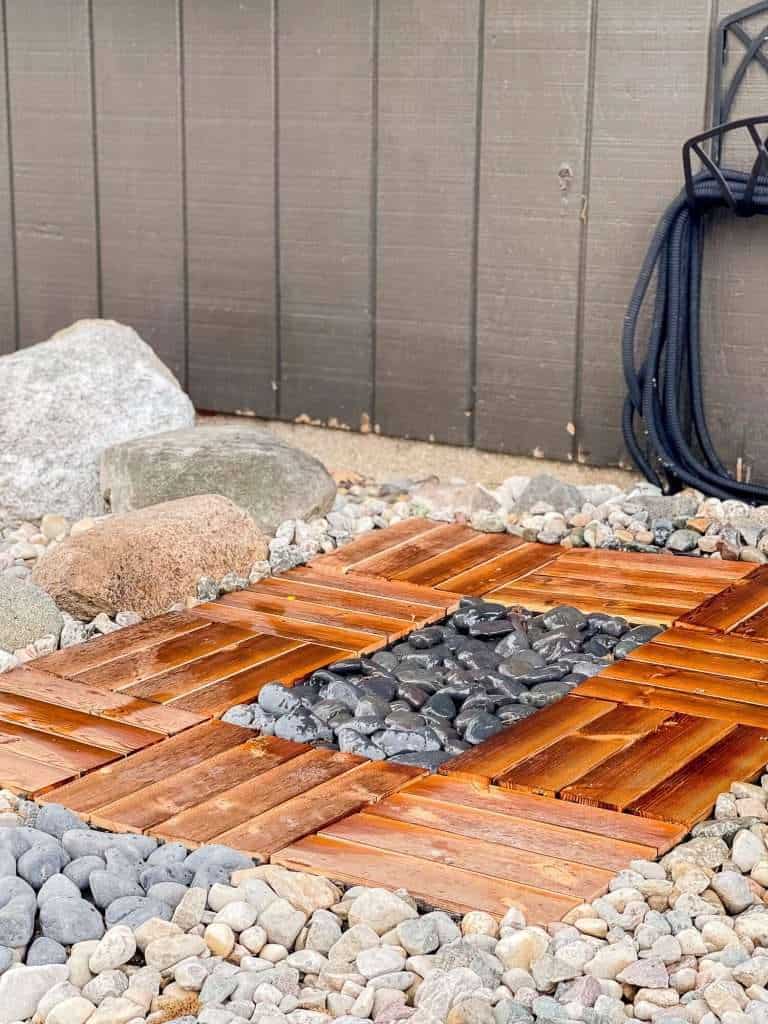
This allowed a 2’x1′ section in the middle to hold my Mexican beach pebbles.
4. Lay Weed Barrier
Next, lay down your weed barrier. This area will be heavily “watered” so you’ll want to try to keep the weeds at bay from the start.
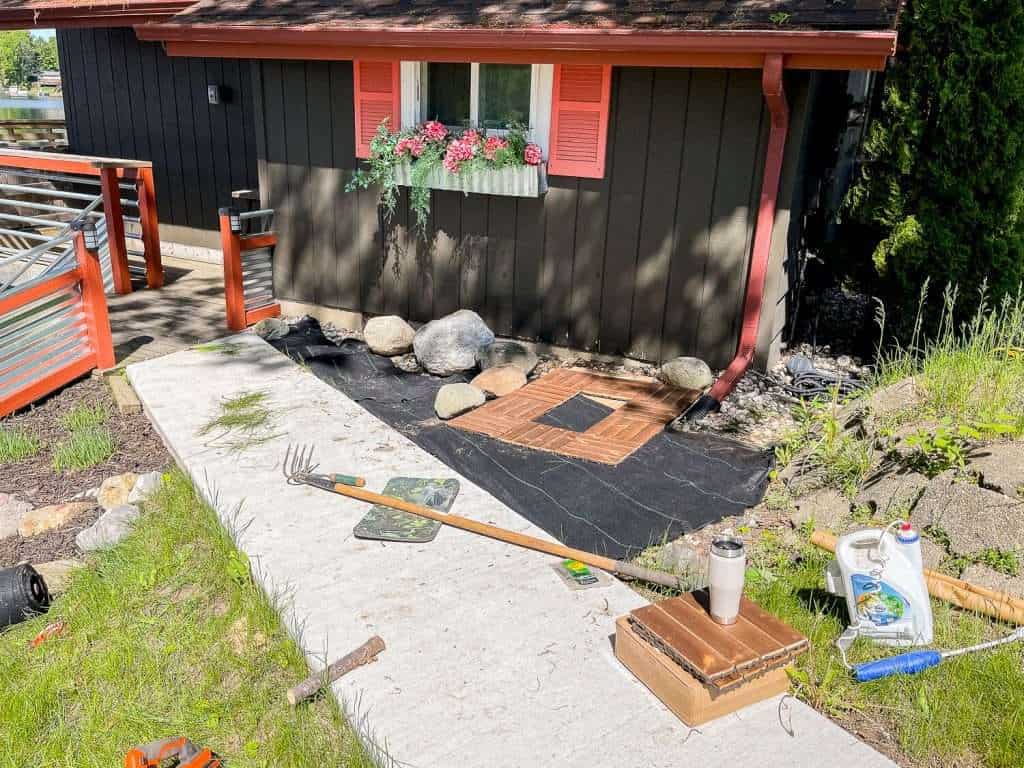
I used a combination of cardboard, which is a great natural weed barrier, and this heavy duty landscape fabric.
5. Assemble Foot Wash Station
Next, assemble your interlocking tiles in your chosen configuration.
Again, if your ground is not level, it will be difficult to get your tiles to interlock. Thankfully, the tiles do offer some flex. However, they will last the longest with a solid level surface underneath.
6. Add Rock
Once everything is assembled, it’s time to add the rock.
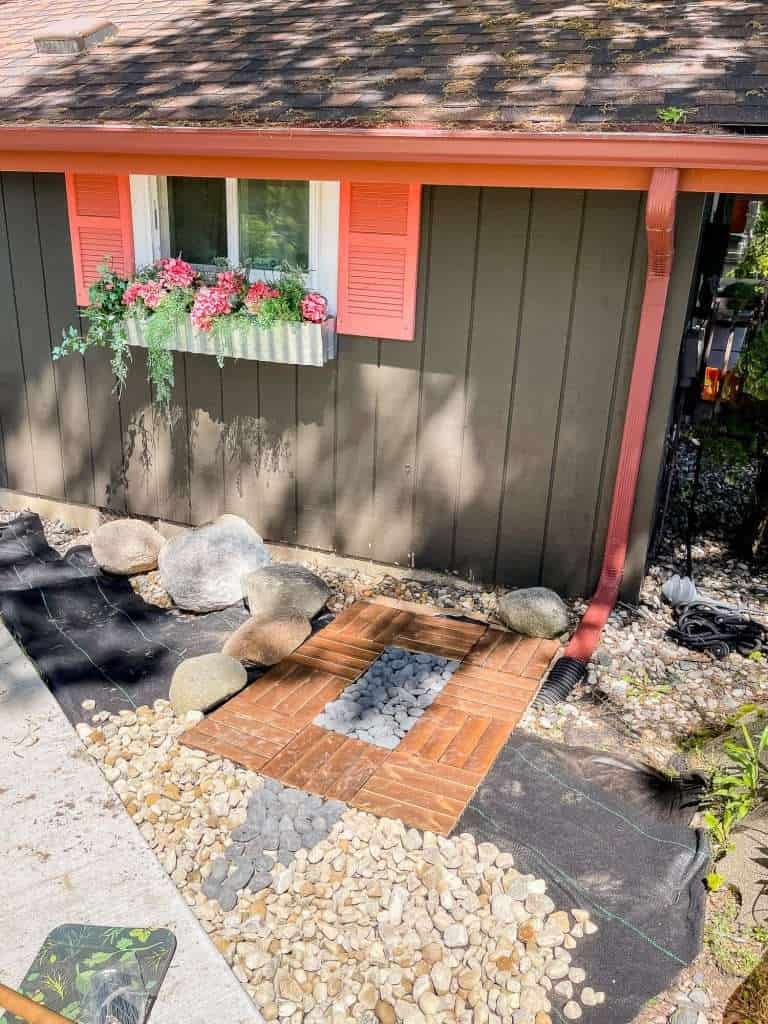
For my DIY outdoor foot wash station, I chose Mexican beach pebble because they are smooth. No one wants to step on sharp rocks. However, rocks offer the best drainage for a foot wash station.
For the inner portion where people would be stepping, I used the smoothest pebbles. For the outer portion, I went with more affordable pond rock.
7. Hang the Hose
The final step is to have a water source.
Ideally, you would install this outdoor foot shower close to an existing spigot.
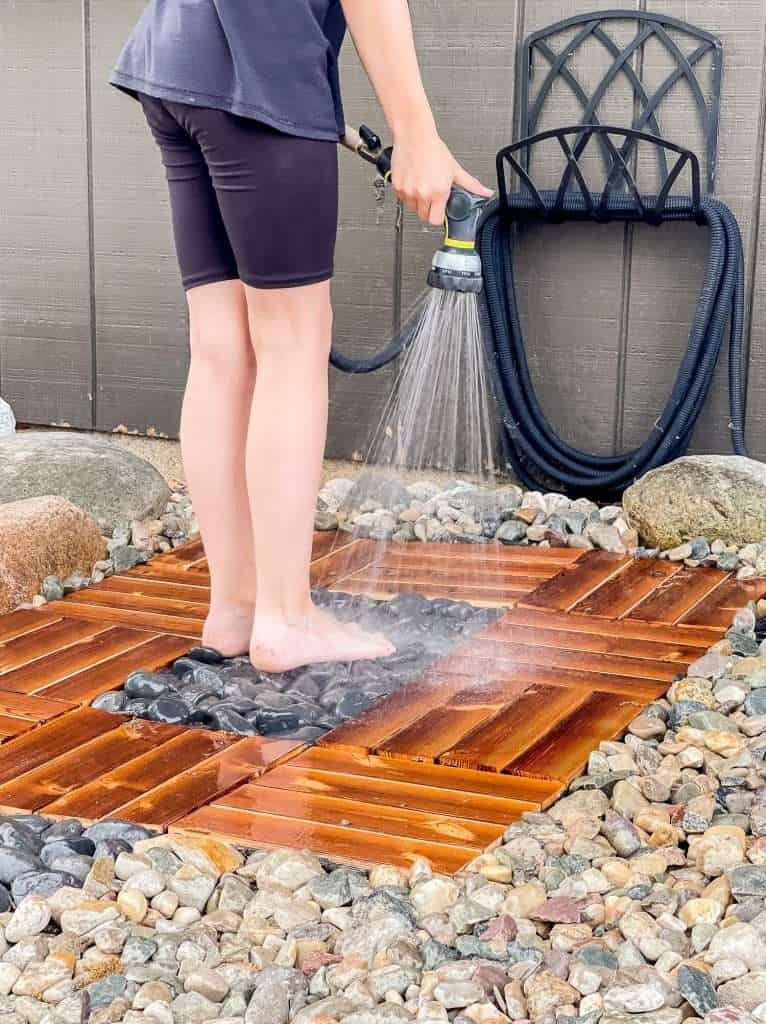
However, you can also run outdoor plumbing if needed.
Place the hose within easy reach of the station so you don’t have to step into dirt to turn it off afterward.
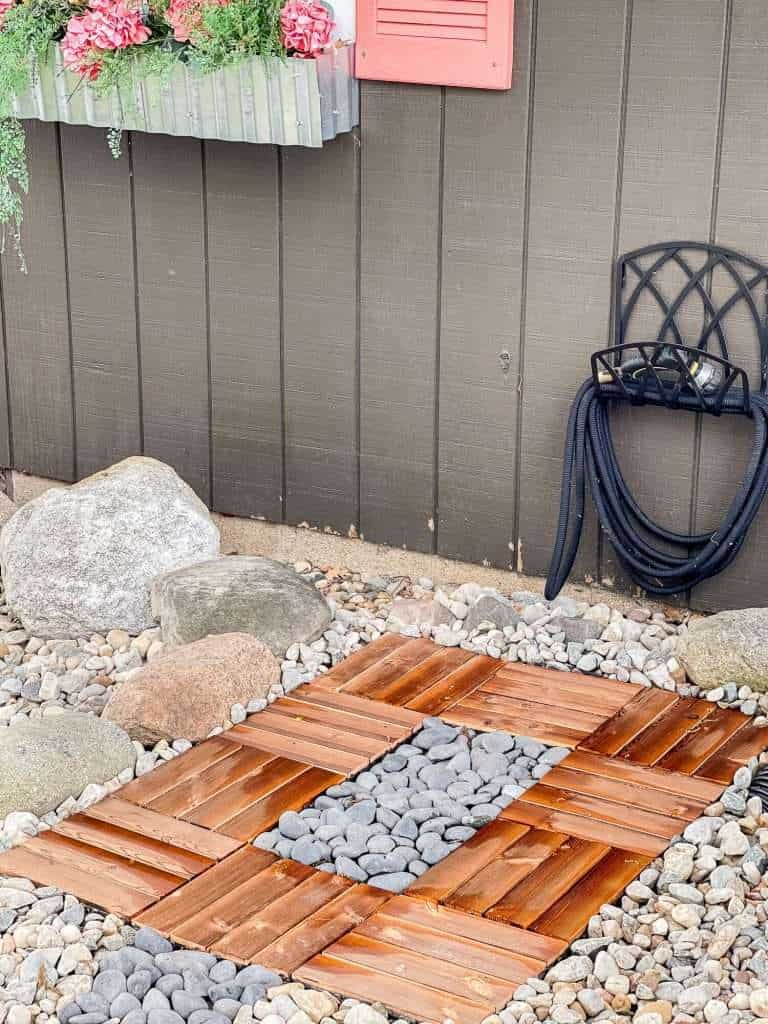
And that’s it! You’ve created your own outdoor foot washing station.
After: Purposeful and Pretty
Let’s take a look at the before and after of this project.

Video Tutorial
Originally, I wanted to create an outdoor foot wash station with a bench. However, as I got into the project I decided I would try it like this first. If the need for a bench becomes apparent throughout the summer, I can always add one later.
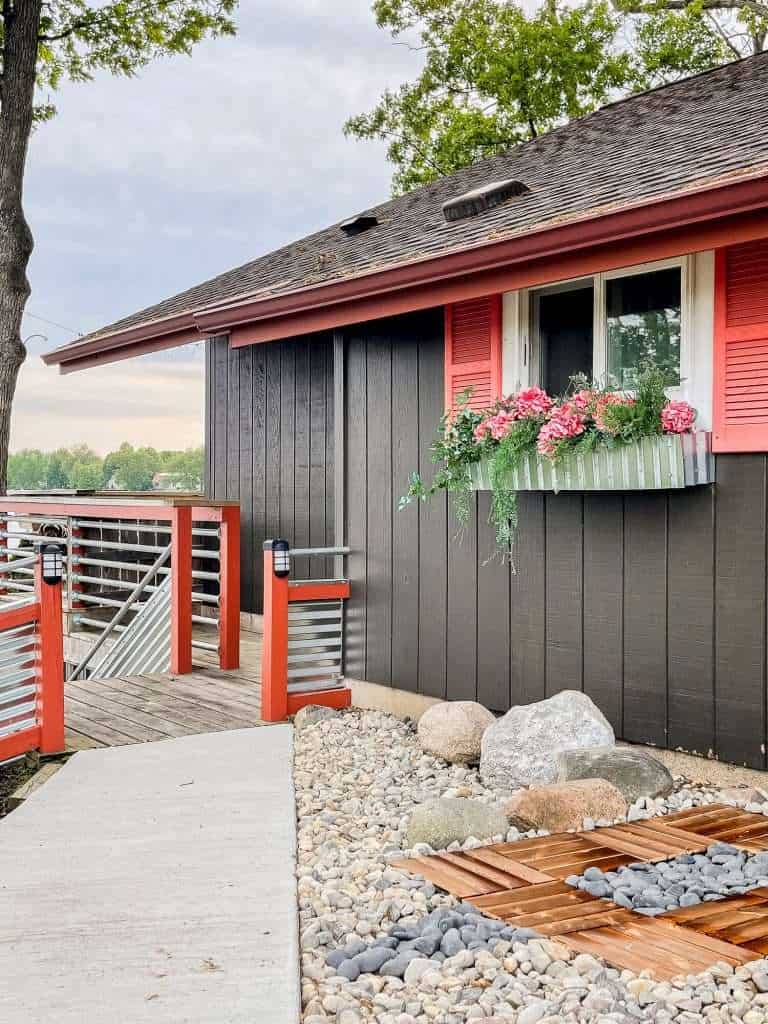
Now, it is very convenient to come up from the beach, wash off at the foot washing station, and then head onto the deck. This avoids going back through the yard or sand before going inside.
We were using it heavily this past weekend and I can already see that it is going to be so useful!
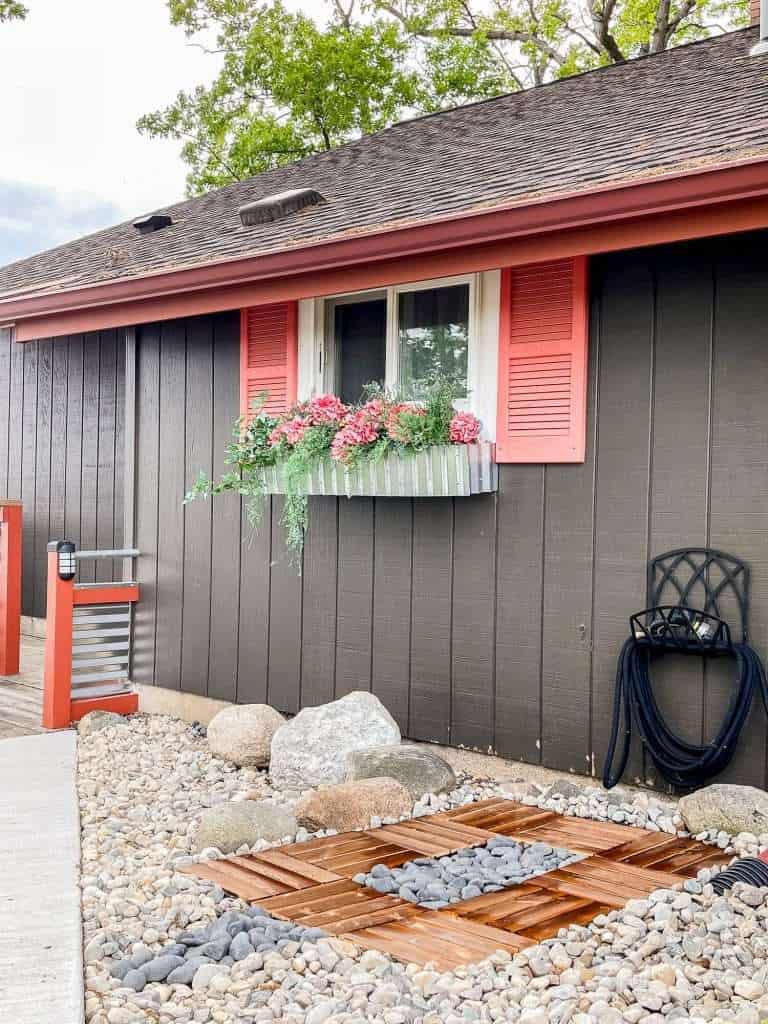

The key will be reminding the kids to get in the habit of using it!
This would be a practical project for any home, not just lake cottages.
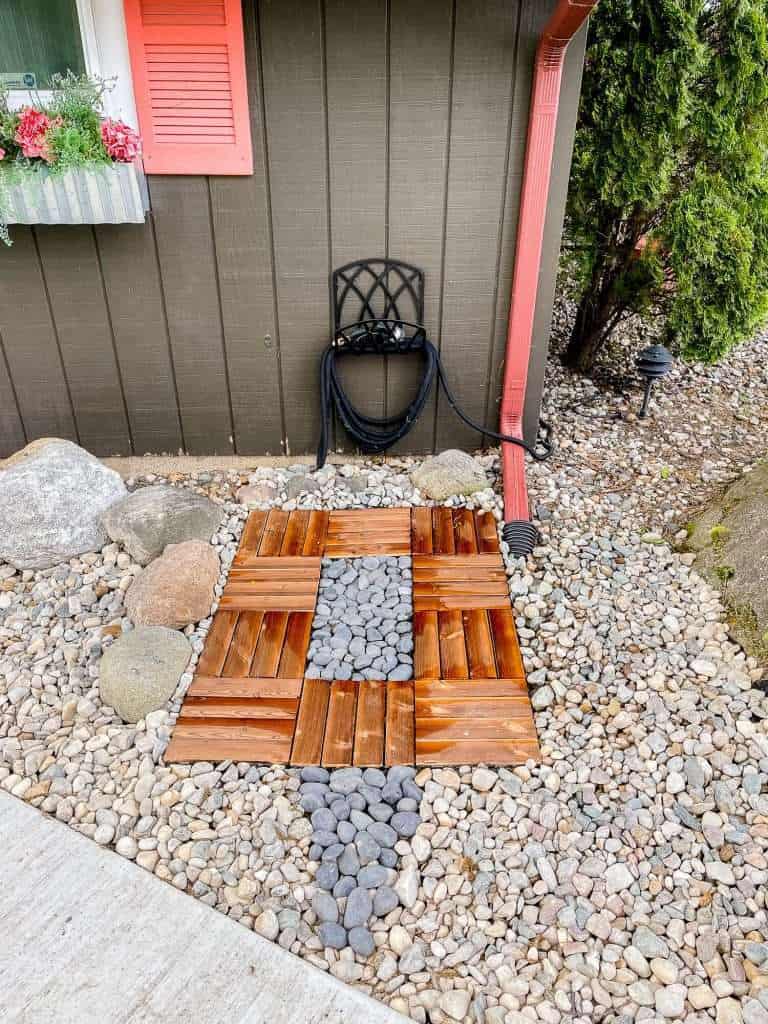
Whether you’re cleaning up sand, dirt or mud, you can install one of these to keep your indoors tidy.
Another alternative to this would be to omit the beach pebbles and just use a solid surface with the interlocking tiles.

I would recommend going that route if you are going to be using this outdoor washing station for dogs. While the pebbles would work fine for dogs, I can see them being knocked about by frisky dog paws, causing you to have to keep them tidy.
You Might Also Enjoy…
I hope you enjoyed seeing this project come together. It is a simple, but effective, summer DIY project.
If you’re looking for other outdoor projects, you might also enjoy these articles!
- No-Tool Needed DIY Raised Garden Beds
- How to Start a Garden From Scratch in 10 Steps
- 20 Low Cost Outdoor Living Ideas
Make sure to subscribe to the blog to access all my freebies and tutorial guides. And you can follow along with me daily on Instagram and weekly on YouTube!
~Sarah
More Summer DIYs and Crafts
 Today kicks off the Seasonal Simplicity Summer Series! For the next several weeks we will all be sharing some fun summer DIY and decor ideas with you. You can visit all of these great summer DIY ideas by clicking on the links below the images.

DIY Faux Clay Textured Vase at The Happy Housie
DIY Outdoor Foot Washing Station at Grace in My Space
How to Make Beach Glass at Dans Le Lakehouse
Summer Estate Sale Stool Makeover at Confessions of a Serial DIYer

DIY Tapestry at My Sweet Savannah
DIY Patriotic Door Basket at She Gave it a Go


Thanks for sharing the blog’s information and it’s importance. The content is very useful and informative.
I have read your blog it is very helpful for me.
What a great idea! It’s so pretty! Now I just need the beach/lake home! 😉
Haha! I’m also thinking of adding one to our country home for all the dirt and mud!
This is SO smart! And it looks great too – thanks for sharing this idea. I love the wooden tiles you used!
Thank you so much Krista!
Such a great and useful summer DIY! Pinned 🙂
xoxo
I’m so glad you enjoyed it!
My in-laws used to have a house at the beach and gritty floors was the number one complaint! This is so smart! It’s beautiful AND functional! XOXO
Thank you so much Christy!
Sarah,
I can completely relate to this need at our house too haha, and it is a beautiful outdoor washing station you created.
I am inspired to build one at our home this summer-pinned!
xoxo,
Brendt
Thank you so much my friend! I’d love to see if you make one!