Best Tips for How to Paint Trim Without Brush Strokes (2024)
One of the easiest updates we can do in our homes is putting up a fresh coat of paint. But, nothing ruins new paint like brush strokes! I’ve already shared how to paint interior walls in 5 steps, and now I want to turn our attention to trim! Here is the ultimate guide for how to paint trim without brush strokes in 5 easy steps.
This post may contain affiliate links where I earn a small commission on your purchases.
How to paint trim without brush marks
Even though the process of painting trim is relatively simple, there are a surprising number of elements that go into getting a clean and smooth finish. New DIYers often grab the first can of paint they see on the shelf and hope for the best.
But with these tips you’ll get it right the first time and avoid any long term regret. Because I’ll tell you what, you do NOT want to have to paint your trim twice.
As I’ve painted all of the trim in our house, I continuously received the question, “how do you paint baseboards without leaving brush marks?” Thankfully, the answer is simple and applies to all baseboards, trim, and door casings. Let’s get started!
But really quick, I have put together a free printable that helps you pick the right paint every time. Make sure to join the community to get your freebie!
Should you use a brush or a roller to paint trim?
Some people would recommend using a similar method to paint trim as they use to paint walls. Cut in with a brush, roll on the middle. However, I find that using a roller to paint trim is more work than it’s worth.
Typically, it is difficult to get clean lines when using two different tools on a small surface like trim work and baseboards.
It is easy to see where the brush left off and the roller started. Also, using foam rollers can leave a different texture on the surface than a brush, which only accentuates the lines.
So, while some people swear by this method, I recommend only using a paint brush to paint trim!
What brush should I use to paint trim
A quality brush should be used to paint trim.
There are several brands of paint brushes that I consider quality brushes, including Purdy, Zibra and Wooster. Overall, you want to make sure you buy a 2 to 2 1/2 inch angled brush for ease of use. I prefer soft bristles as well. The stiffer the bristles, the more brush strokes you will see.
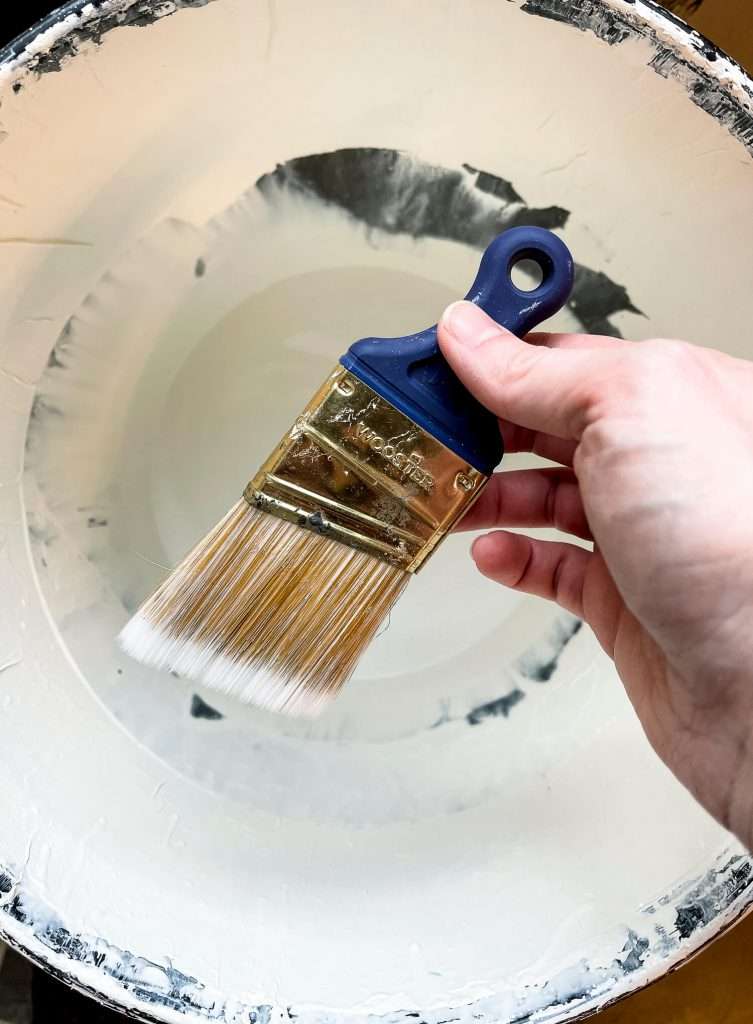
However, which paint brush you use will depend on your own preference. These are the top 3 paint brushes I’d recommend for trim.
- Purdy 2 Inch Angular Brush (Soft Bristles): Great for those who prefer the traditional long handled brush.
- Wooster 2 Inch Short Cut: This is my favorite brush! I love the shortened handle for easy control and tight spaces.
- Zibra 2 Inch Palm Pro Trim Brush: This brush has a great release of paint for smooth finishes.
- Wooster 2 Inch Oil Based Paint Brush: If you decide to use oil based paint on your trim, go with this brush made specifically for oil based paints.
What type of paint should I use on trim and baseboards?
Speaking of oil based paint, let’s talk about types of paint! The type of paint should you use on trim and baseboards is based on a number of factors. First and foremost, your tolerance for oil based paint.
Using Oil Based Paint on Trim
Oil based paint is an amazingly durable paint option which is perfect for painting trim. Once painted, your trim will clean up well, be extra durable, and have the smoothest finish.
However, the cons of using oil based paint for trim often cause people to opt for latex. Oil based paint is odorous and is a more time intensive clean up.
Plus, once you’ve painted with oil based paint, you should not paint overtop with latex as it won’t adhere well. So once you’ve chosen oil based paint for your trim, you’re all in!
Using Latex Paint on Trim
While oil based paint will give you the smoothest finish due to it’s longer drying time, many quality latex paints will offer great results! As the painting industry continually improves, you’ll find that latex paints are more versatile and durable than ever before.
If you choose to use a latex paint, start by making sure it is a reputable paint brand.
Then, for an extra smooth finish, consider adding a latex paint conditioner like Floetrol. This is optional, but adding a paint conditioner slows drying times for latex paint to make it more comparable to oil based options, but without the hassle and odor.
Using Ceramic Enamel or Urethane Alkyd Paint on Trim
I’ve grown very fond of using ceramic enamel paint on trim and baseboards. It comes in a semi-gloss or satin finish and dries to a hard, durable finish. It dries quickly and offers easy clean up. Our painter introduced me to this type of paint two years ago and it’s been my go-to choice of paint for trim since!
Another similar option is Urethane Alkyd Semi-Gloss Enamel. This provides a similar finish to oil based paint, but with water clean up. It is one of the most durable finishes and can also be painted on metal.
What sheen should I use on trim and baseboards?
Once you decide what type of paint you’d like to use, it’s time to decide what sheen to use on trim!
The most common mistake for new DIYers is using the wrong sheen on trim and baseboards. If you choose to use a flat or matte sheen, then it will be much less durable. And if you have kids or pets, baseboards and trim take a beating!
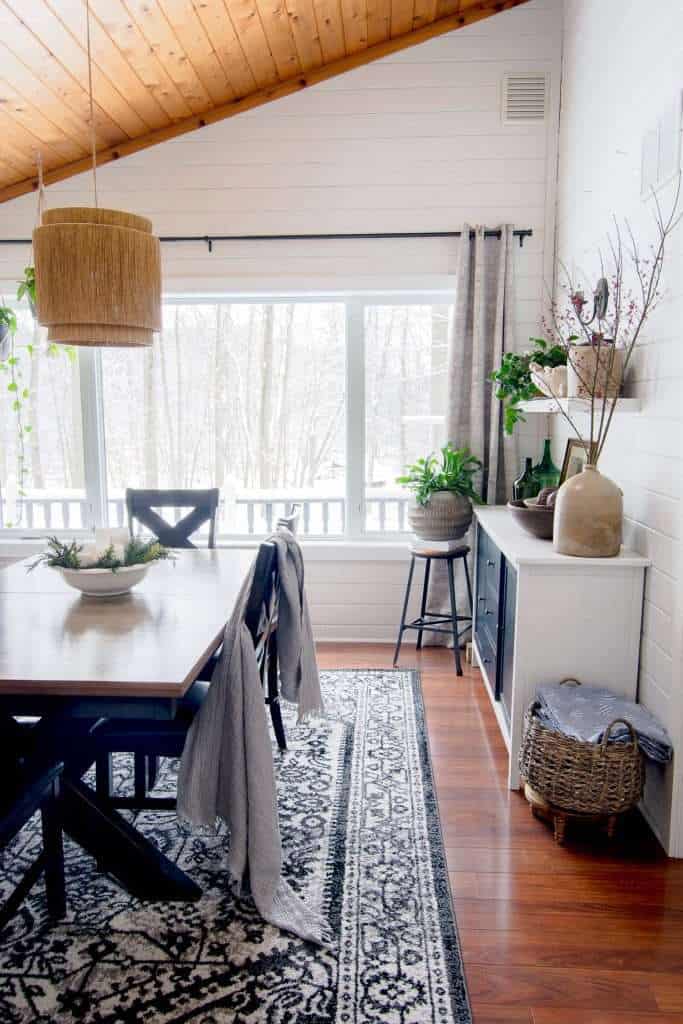
The most highly recommended sheens for trim are satin and semi-gloss. These are both durable options that clean up well. Satin has a slight luster that is less bold, yet still durable. Semi-gloss has a noticeable shine that helps trim work stand out more.
If you want a bold design, you can also use gloss which will highlight architectural details well. However, take care when using gloss as it is less forgiving for dents in your trim and will accentuate flaws.
How to Paint Trim Without Brush Strokes
Now that we’ve covered some of the pre-painting basics, let’s learn how to paint trim without brush strokes!
You’ll want to start by gathering your materials. As we’ve already discussed, the materials you choose will determine how easily you can paint trim without brush strokes. If you choose low-quality brushes and paint, then your brush strokes will be more visible.
Materials Needed to Paint Trim
- Sand paper: sanding blocks and 320 grit sand paper for finish sanding
- Wood putty to repair damage
- Vacuum
- Tack cloth or sponge and water bucket
- Primer
- Paintable Caulk
- Quality Paint Brush
- Paint
- Painter’s Tape (optional)
Shop Painting Supplies
You can find all my favorite DIY painting tools rounded up for easy purchasing on my Amazon Storefront!
How Do You Prepare Trim for Painting?
Painting trim without brush strokes is possible due to your prep work. You want the surface of your trim to be as smooth as possible. Any high spots, splintering, or rough surfaces will show a different appearance in the paint and your brush strokes immediately.
- To begin, repair any dents, marks, or cracks in the trim with wood putty.
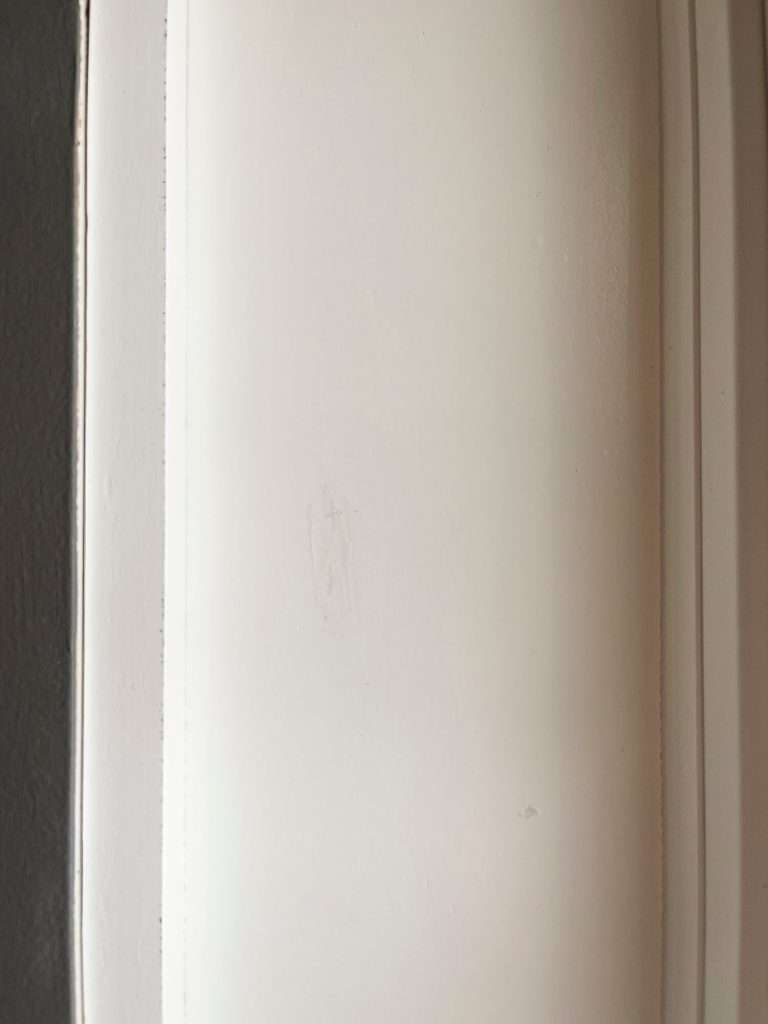
- Clean any residue or build up in the corners of window sills or on the top edge of baseboards by scraping with a putty knife or razor blade.
- Sand repaired portions of your trim with a sanding block.
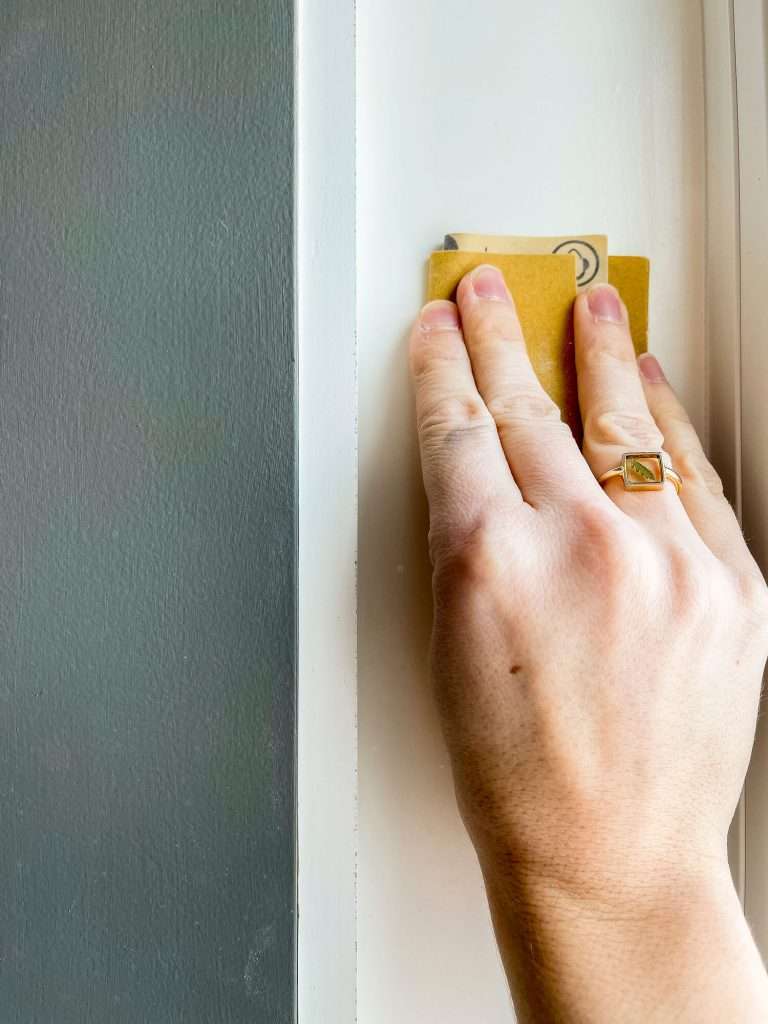
- Dust and vacuum your entire trim, including the top ledges, which are often overlooked.
- Look for high spots from your repairs and sand them flush with 320 grit sandpaper, making sure to feather them out.
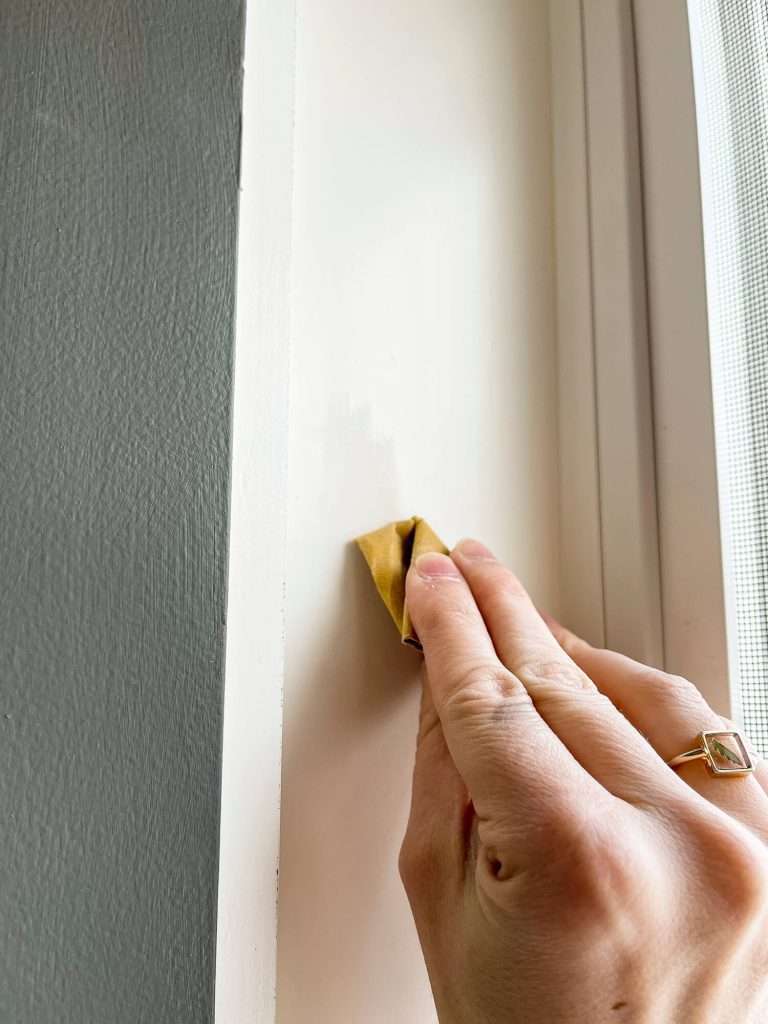
- Vacuum again, and then use a tack cloth or sponge and water to wash your trim fully.
Do I need to Prime Before Painting Trim?
After you’ve prepared your trim for painting, you may need to prime it. If you are painting over raw wood, you will want to prime your trim before painting. This gives your final top coat the best adhesion and longevity.
However, if you are painting trim that has already been painted, you most likely do not need to prime. In cases where you are painting a light color over a dark color, priming will help reduce the number of top coats you need to apply.
But if you are painting over a light color, simply give the baseboards a light sanding to rough up the existing paint. This will help create that smooth finish that we are looking for!
When Do I apply Caulk to Trim?
One of the most overlooked elements for getting a professional finish when painting trim is caulking. Caulking fills in any gaps along the wall or window to give it a completed look.
You can see the difference between trim that has been caulked and trim that hasn’t in my post on how to modernize a space with painted trim.
I prefer to apply my caulk after priming, or if the trim has been previously painted, I apply it after all of the prep work is done but before my finish coats. This is a personal preference, but if you go this route make sure you are using paintable caulk!
Another option is to complete the painting process, and then do a finish step of caulking. This is totally acceptable as well. I simply prefer to caulk before painting so any color difference between my paint and the caulk isn’t visible.
The Technique for How to Avoid Brush Strokes When Painting
And….finally! Here we are!
Are you ready for the painting techniques for how to paint trim without brush strokes? I bet you didn’t know there were so many decisions to be made. But in reality, everything we talked about so far will set you up for success so that the next few tips and tricks are attainable.
3 Tips and Tricks for Painting without brush strokes
- Tip: Slap your paint brush on the side of the paint bucket instead of wiping off the tip. This keeps the brush bristles loaded so paint is being applied to your trim rather than bare bristles streaking across it.
- Go with the grain. In any painting project, trim included, paint with the grain of your wood rather than across it. This ensures the smoothest finish.
- Cut in first, and then paint the middle. Do this in short 2 foot increments, rather than cutting it everywhere first and then coming back and doing all the middle portions.
Painting Trim Method
The basics of how to paint trim after it has been prepared and primed, if needed, are:
- Cut in
- Paint the middle
- Don’t over-brush
- Feather out
- Never start a brush stroke on applied paint
Working in 2-3 foot sections, use your angled brush and dip it about an inch into the paint. You never need to dip your brush more than halfway up the bristles as that will overload it too much.
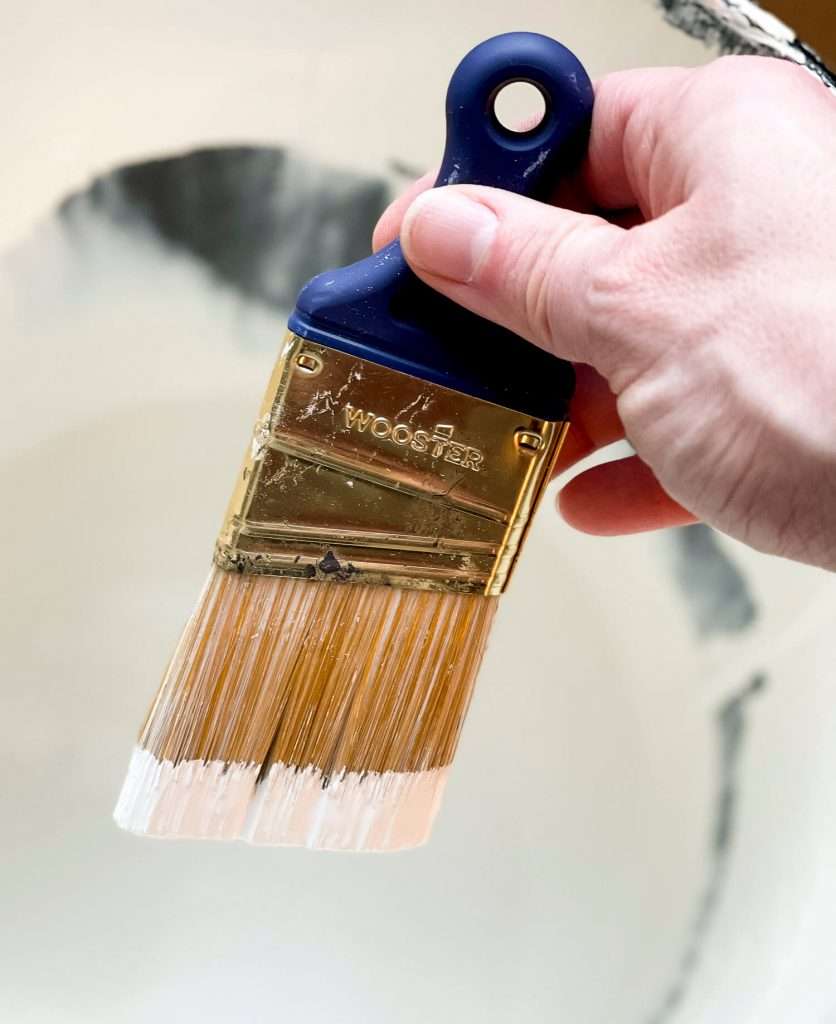
Slap off the excess paint and then cut in along the edges and on top/bottom of baseboards. Then, come back and fill in the middle.
Hold your brush at an angle, and gently swipe your brush across the surface. Using this motion, rather than applying it straight on, will avoid any dab marks.
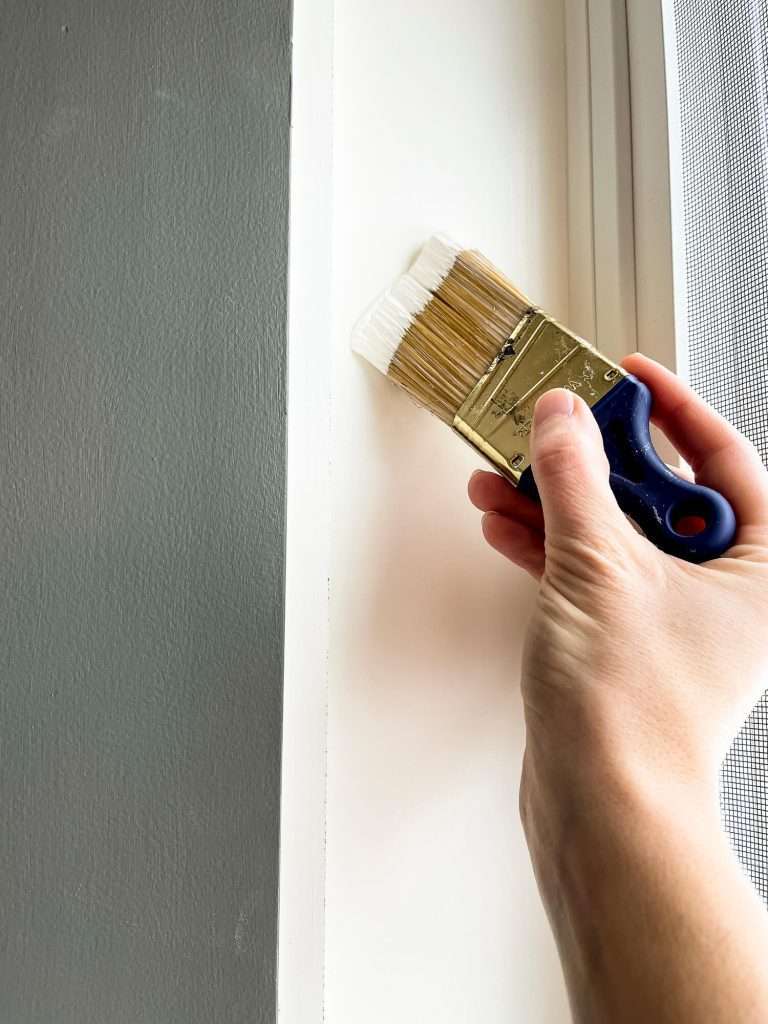
Do not apply too much pressure as you paint, but rather let the paint do the work of self-leveling as it dries. Many people think that brushing harder will smooth out the paint, but it actually does the opposite.
Similarly, make sure not to over-brush. This simply means, once you’ve applied a stroke of paint, don’t brush back over it more than 2-3 times. If you do this, you will spread your paint too thin, causing brush strokes to be visible.
Along those same lines, ensure that you are feathering out your start/stop points.
Once you’ve finished a 2-3 foot section, move 2-3 feet down your trim and repeat, working backwards towards your already painted trim. Never start your brush stroke on already applied paint as it will show that starting point.
When you meet in the middle from applied paint to fresh paint, feather out your brush strokes with an upward sweeping motion.
Repeat this process for all of your trim with a first coat, making sure not to overload your brush, which can cause drips.

Once your first coat of paint is dry, lightly sand with 320 or 360 grit sandpaper. Most people skip the sanding step between coats, but this will give you the smoothest finish.
Next, repeat the same process with your finish coat of paint. Most trim only requires two coats of paint. If you are painting over a dark color and didn’t prime, it may require three.
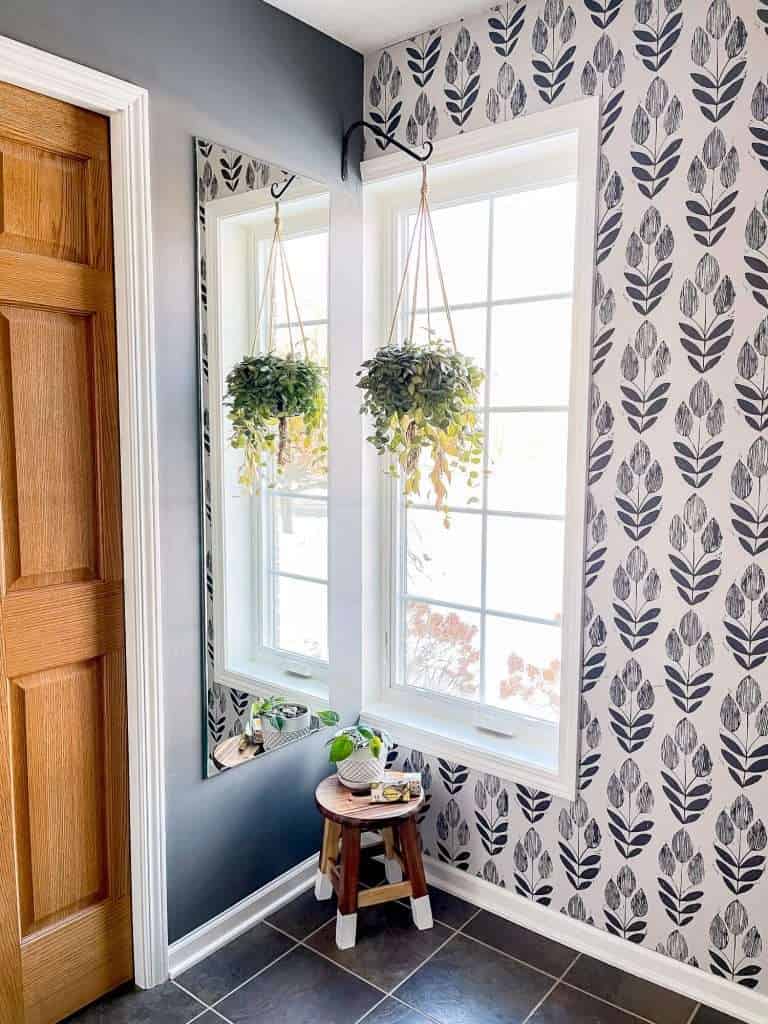
New Windows with Painted Trim
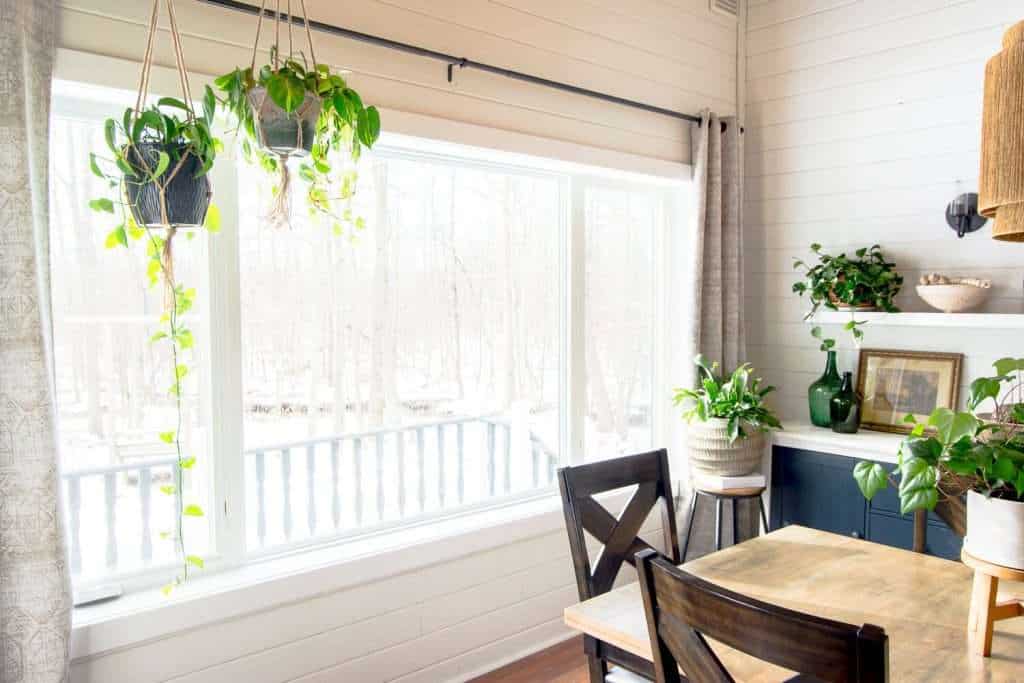
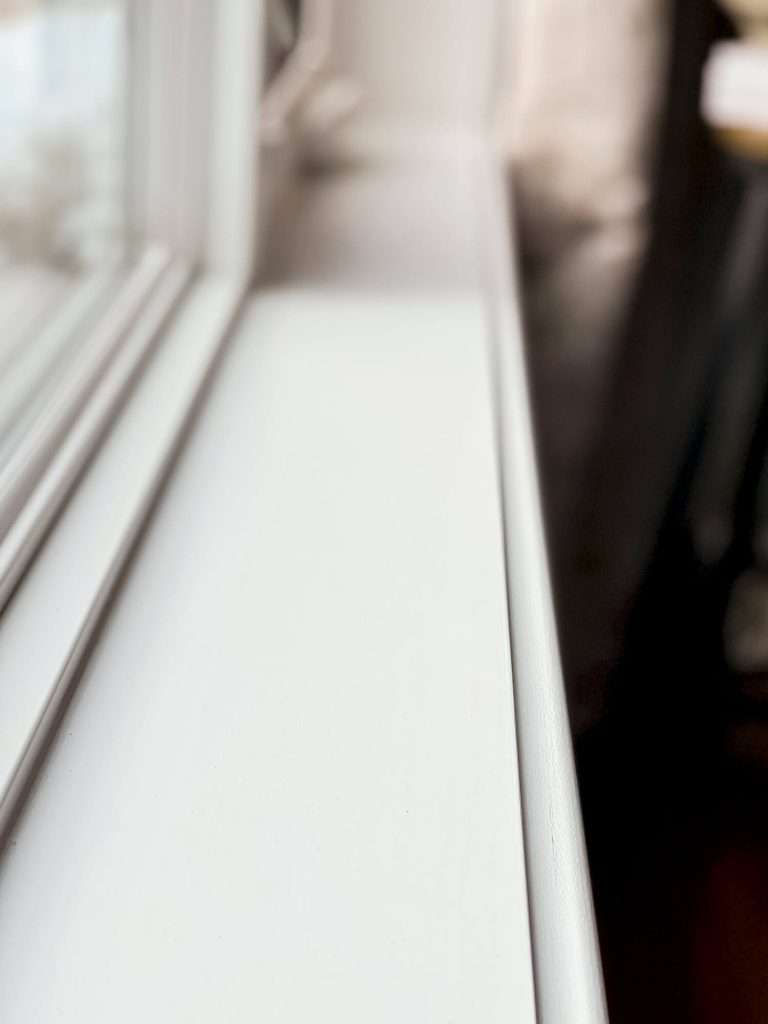
I decided to tackle this topic on the blog because we recently had all of our windows replaced! Much of the trim, which was already painted, got dinged up and marred, or had dirty spots from the install. Plus, some windows had the wrong trim color installed, that needed to be repainted. Bummer…
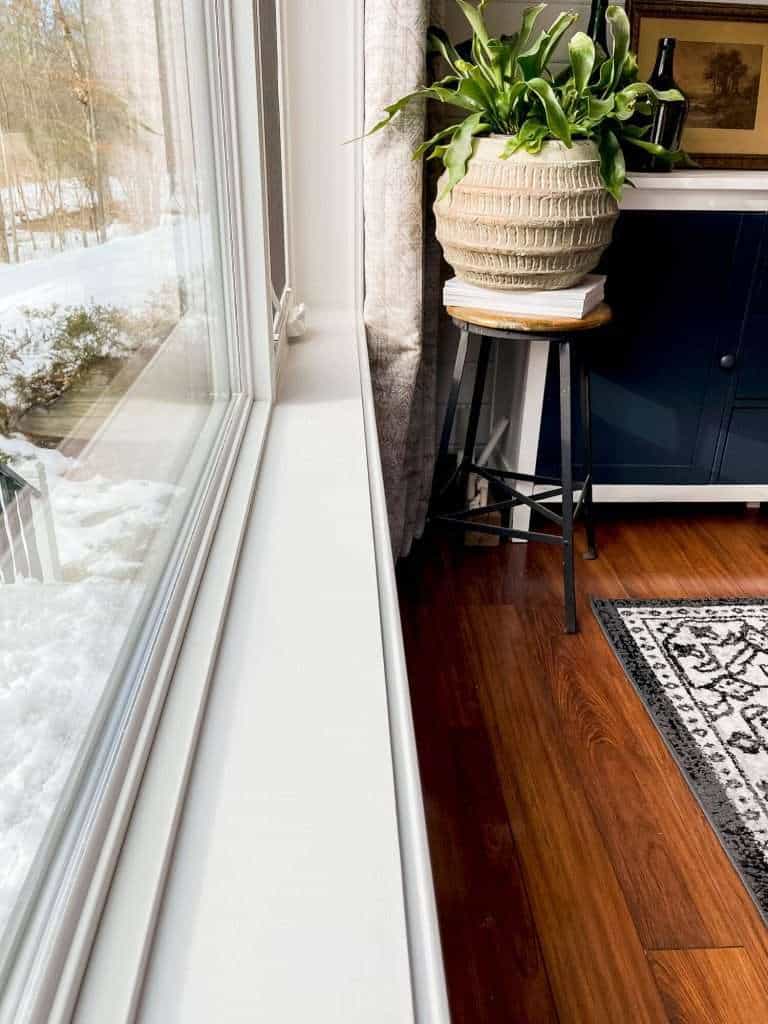
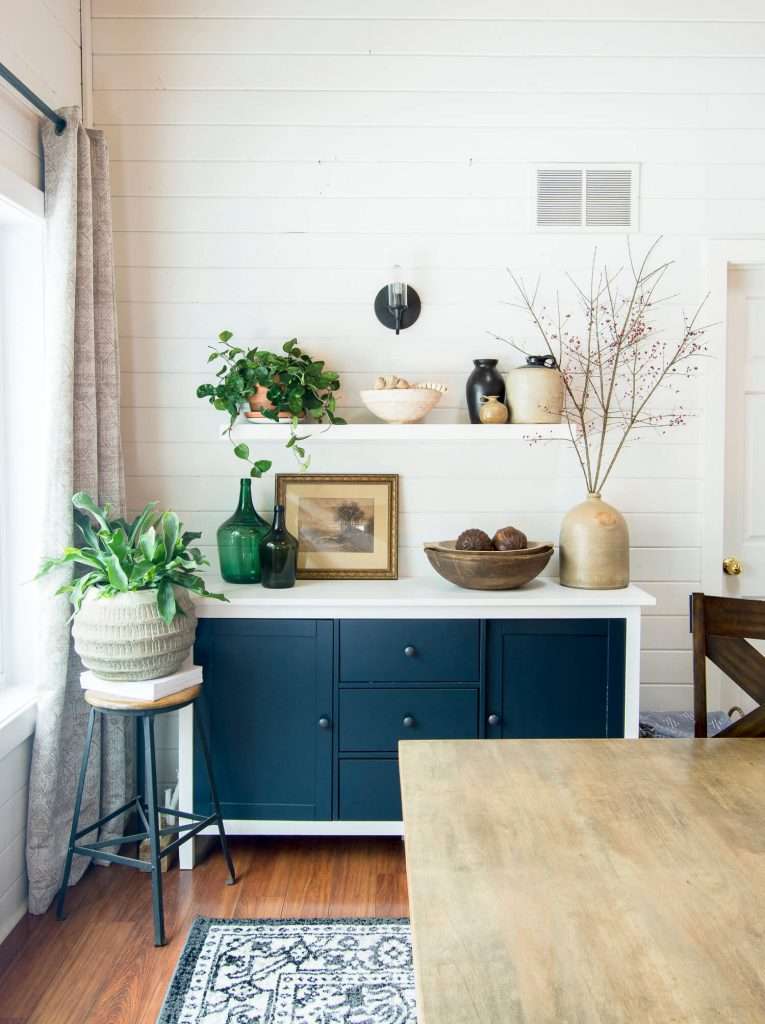
So it needed a fresh coat of paint. You can see how well the bathroom and dining room painted trim turned out. Now on to the rest of the house!
You’re Ready to Paint Trim!
I hope that this article on how to paint trim without brush strokes has been helpful to you!
If you’re looking for more painting tips, check out these articles below!
- How to Modernize a Home With Painted Trim
- How to Paint Windows Without Tape
- How to Paint a Deck
- How to Paint a Tile Backsplash
- How to Paint Kitchen Cabinets
- How to Paint Shiplap Cracks and More
- How to Paint Interior Walls in 5 Steps
- How to Paint Trim Without Brush Strokes



Why apply two coats of high quality white paint like Benjamin Moore Regal Select latex paint, as one coat should suffice if trim surface previously sanded and primed?
Two coats gives the best durability and saturation coverage for the color.
I am repainting oil based trim but need help! The trim is smooth and only 7 years old. Do I have to sand just to touch up? I don’t know which sand papers to use. I tried sanding with 110 and got a smooth finish but when I paining I got crazy brush strokes. Any advise will help!
If you have uneven edges, or have filled holes, then you will want to sand before a touch up. Start with 110 and then finish with 220 for a smoother finish. For the brush strokes, are you using the same paint (oil based) as before?
Love your details Sarah on painting trim without brush strokes!!!
Question – I am painting new interior doors, they are primed from the factory. What is the best way to paint doors?? Would love your technique details. Please let me know. I will look at your link to painting kitchen cabinets.
Thank you!
Painter Lady Renee
These tips have helped me immensely in my goal to sell my house and I just wish that I knew about these tips before. I absolutely love the content.
Thanks for sharing such great tips in your article.
Thank you for sharing this informative article! All the information provided by you is really very helpful for all. Whenever we do a paint job so the problem we face is to remove dust particles from the surface. I agreed that by using tack cloth you can keep your project dust-free and it is useful for cleaning fine dust off a surface before staining. Everyone should follow the tips provided by you, it will make their work easier. Keep Posting! Keep Sharing!
Thank you so much! I’m so glad it was helpful.
Thank you. Post came just in time as I begin my trim refresh.
I hope it’s helpful!
These tips are are best paint starters. Thank you for sharing!
My pleasure!