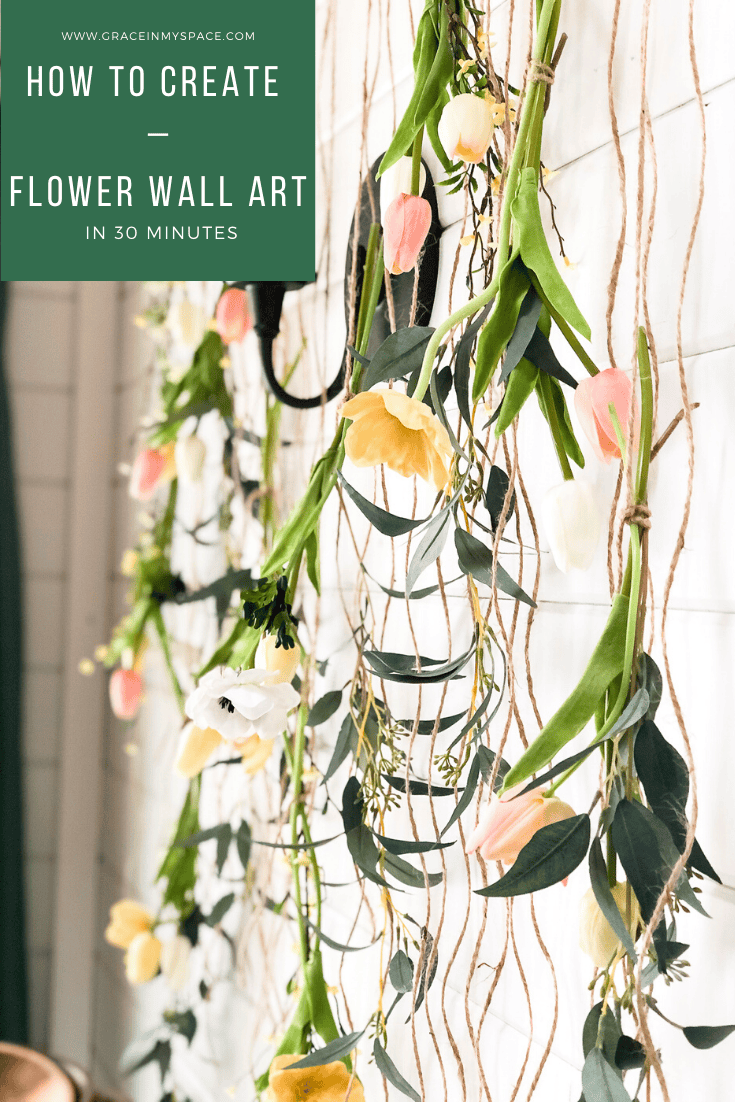
How to Create Flower Wall Art in 30 Minutes
Floral walls are a stunning backdrop for weddings and photoshoots, but why not enjoy them in your home? Today, I’ll be sharing how to create flower wall art in 30 minutes to enjoy all season long!
Post may contain affiliate links for your convenience.
DIY Flower Wall Art
You’ve probably seen wedding flower walls and elaborate floral store displays before. But, have you ever thought of creating one in your own home?
This spring, I wanted to try to think outside the box to create an interesting wall display after having to take down my vertical garden. So, since nothing says spring like tulips, I decided to attempt to make my own floral wall.
I love being creative in my home! I’ve put together a free 3 module e-course to help you learn how to define your design style and meet goals in your own home! Make sure to sign up below to take the course on your own time via email.
Flower Wall Materials
This was such a simple project! It only took about 30 minutes to put together.

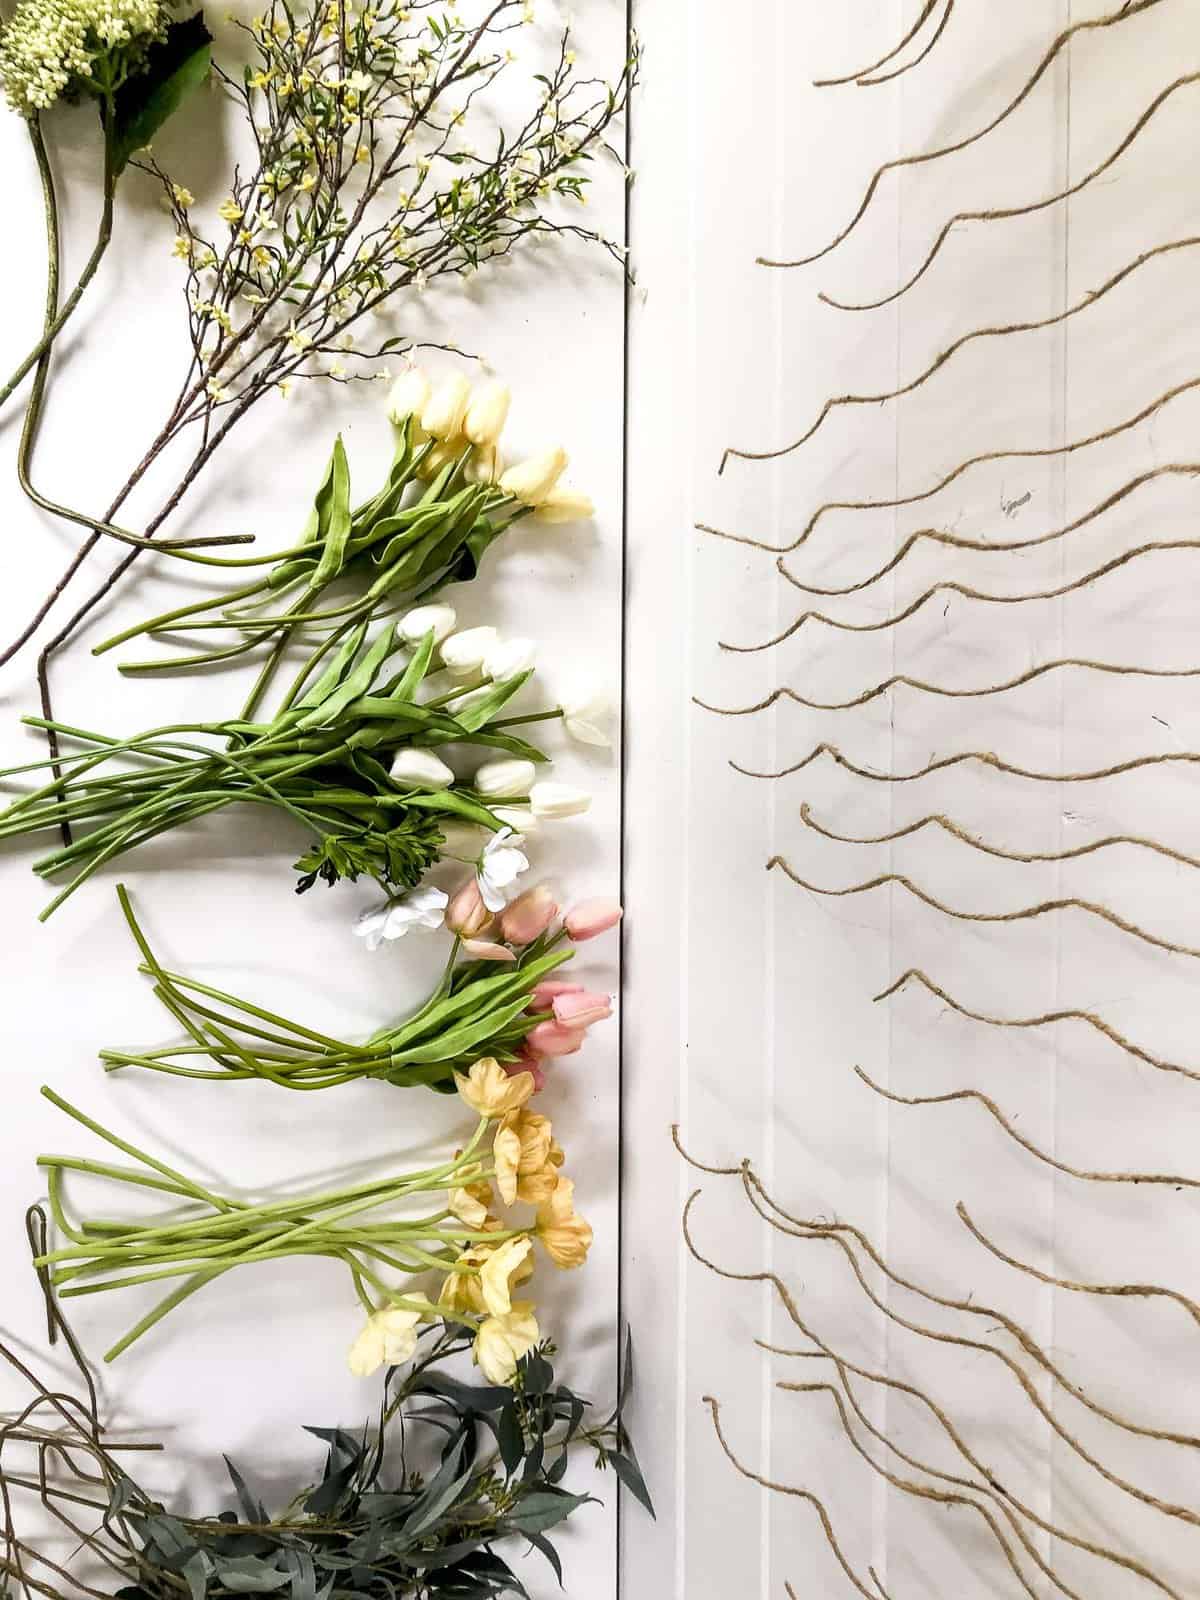
Start by gathering your materials:
- 4-5 foot branch (or smaller depending on your space)
- Twine
- Scissors
- Faux Flowers (I’ve linked the ones I used below)

Step 1: Tie Twine
The first step for this flower wall decor display is to tie long tendrils of twine directly onto your branch.
Make sure to hang your branch high enough on your wall to accommodate 3 feet or more of twine, depending on your preference.
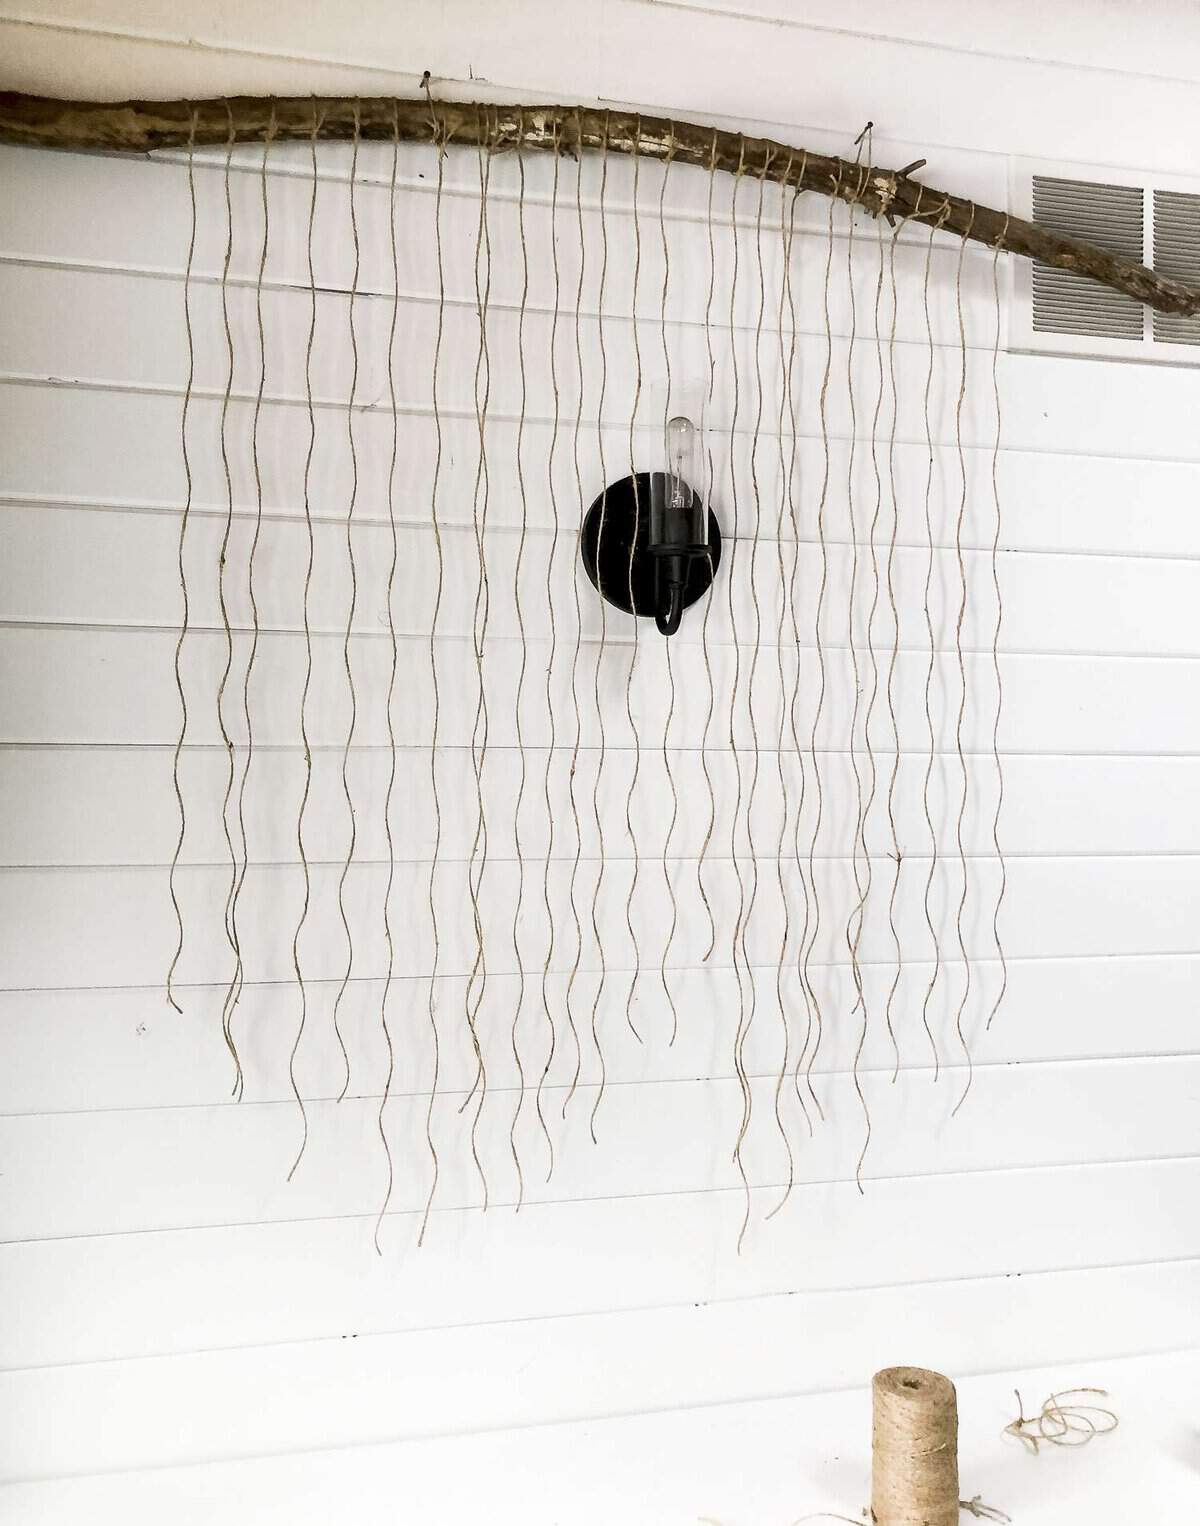
I didn’t measure my twine precisely. I simply cut the first strand to length and then used it as a guide for the remaining pieces.
Add enough twine so that your tendrils are spaced 1-2 inches apart.
Step 2: Group Your Florals
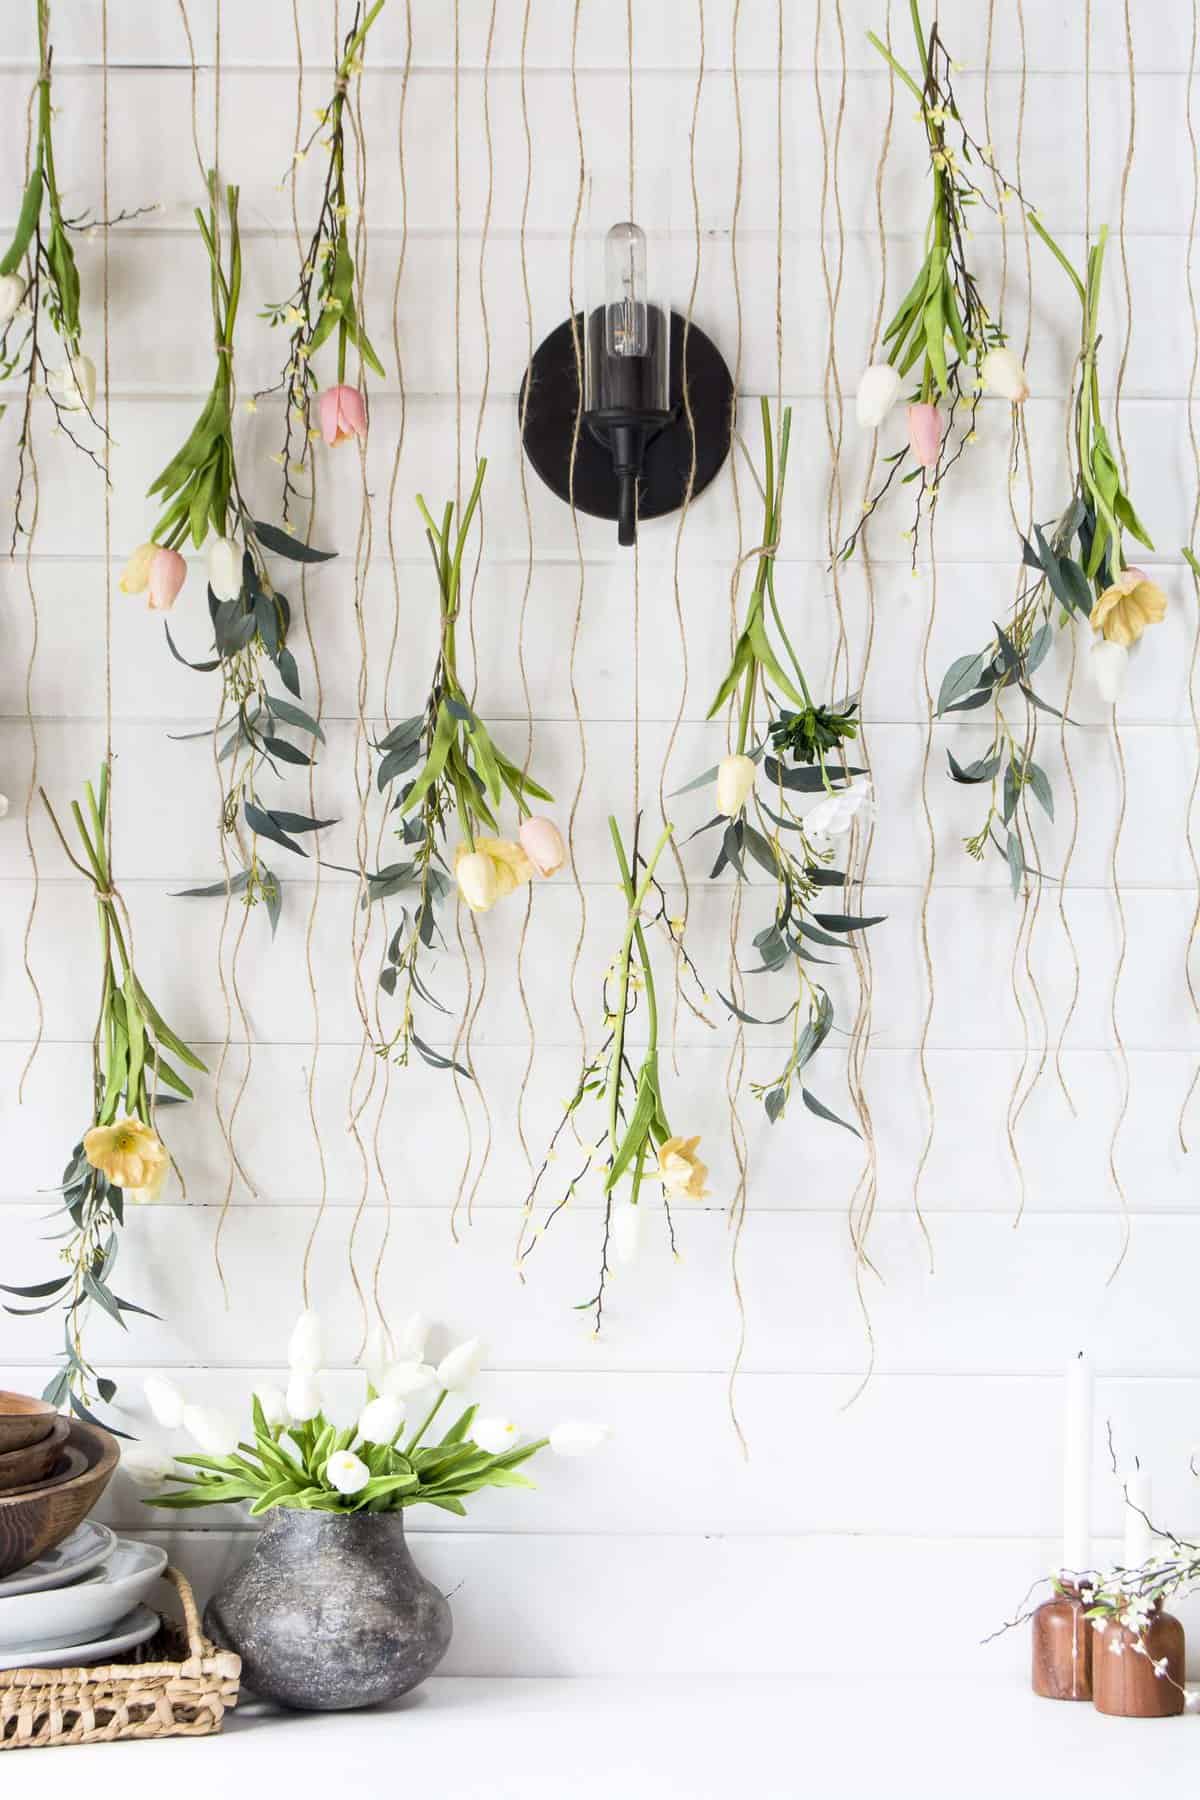
Next, decide how you want to group your florals into each bundle. I didn’t have a rhyme or reason to my groupings, other than making sure I had varying colors and flower types in each bundle.
I think this flower wall art makes the biggest statement when your eye moves through the piece. Adding varying colors and types of faux flowers helps achieve that.
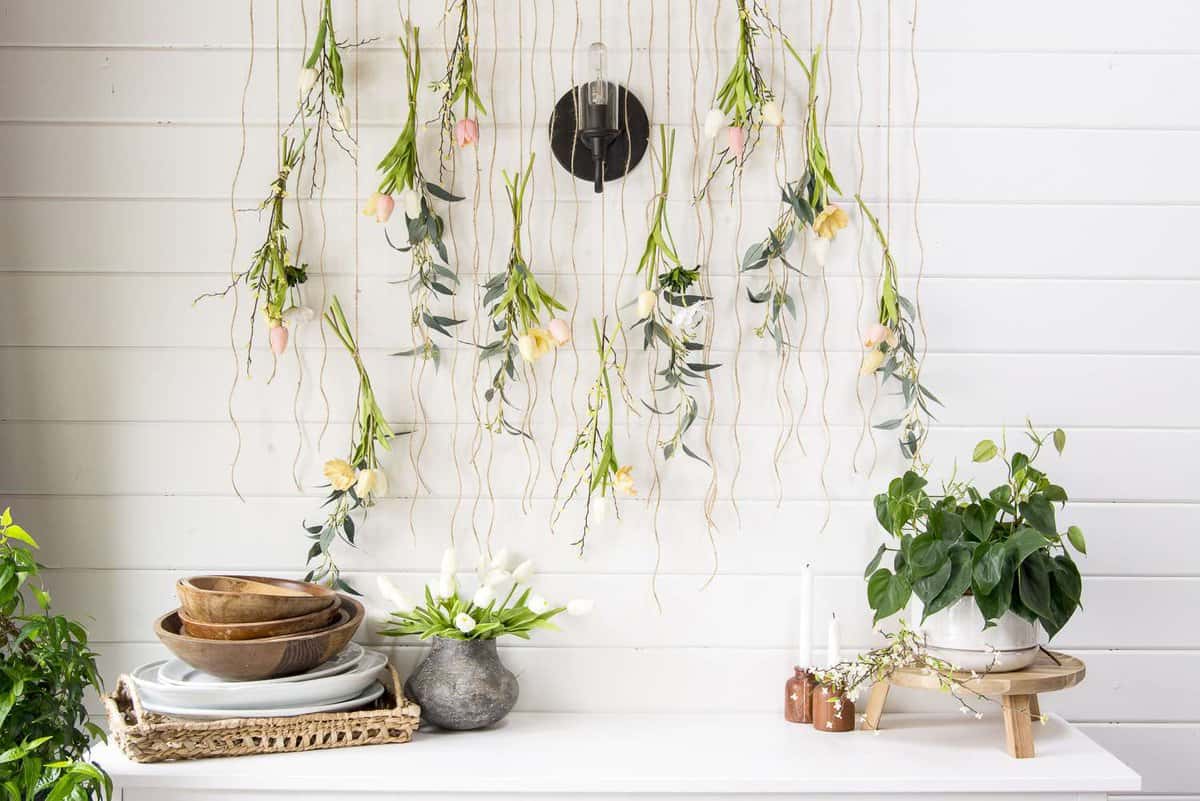
Step 3: Tie Flower Bundles at Varying Heights
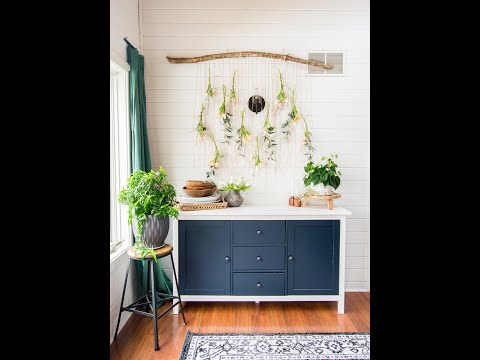
The final step is to tie each flower bundle directly to the twine! Make sure to check out my video tutorial for a good explanation on how to do this.
I found it to be most interesting to place my bundles at varying heights and to leave 2/3 of the twine without a bundle.

I used 30 strands of twine to cover the width of my wall and only tied on 11 bundles of flowers. This keeps it from being overwhelming and helps distinguish each bundle.
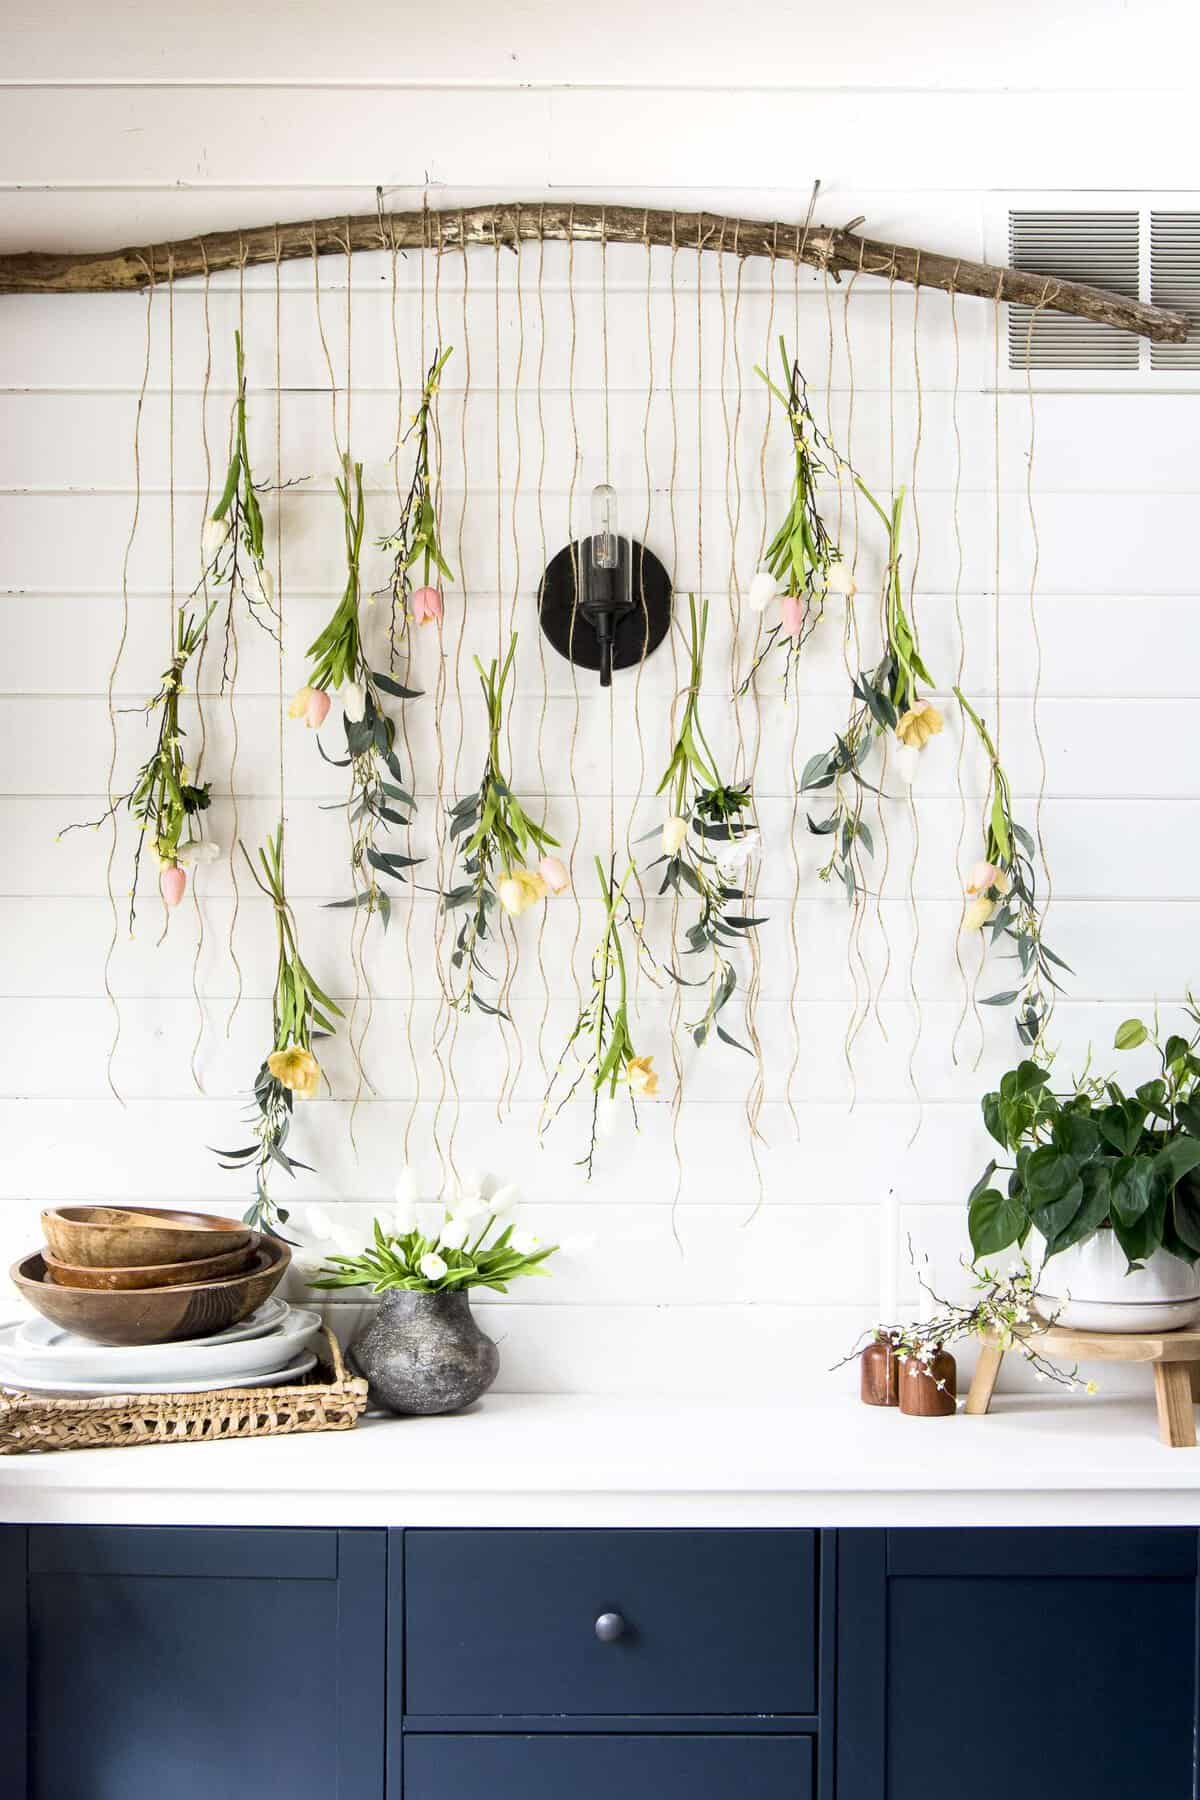
It also allows the twine to be as much a part of the display as the flowers are.
Floral Wall for Spring
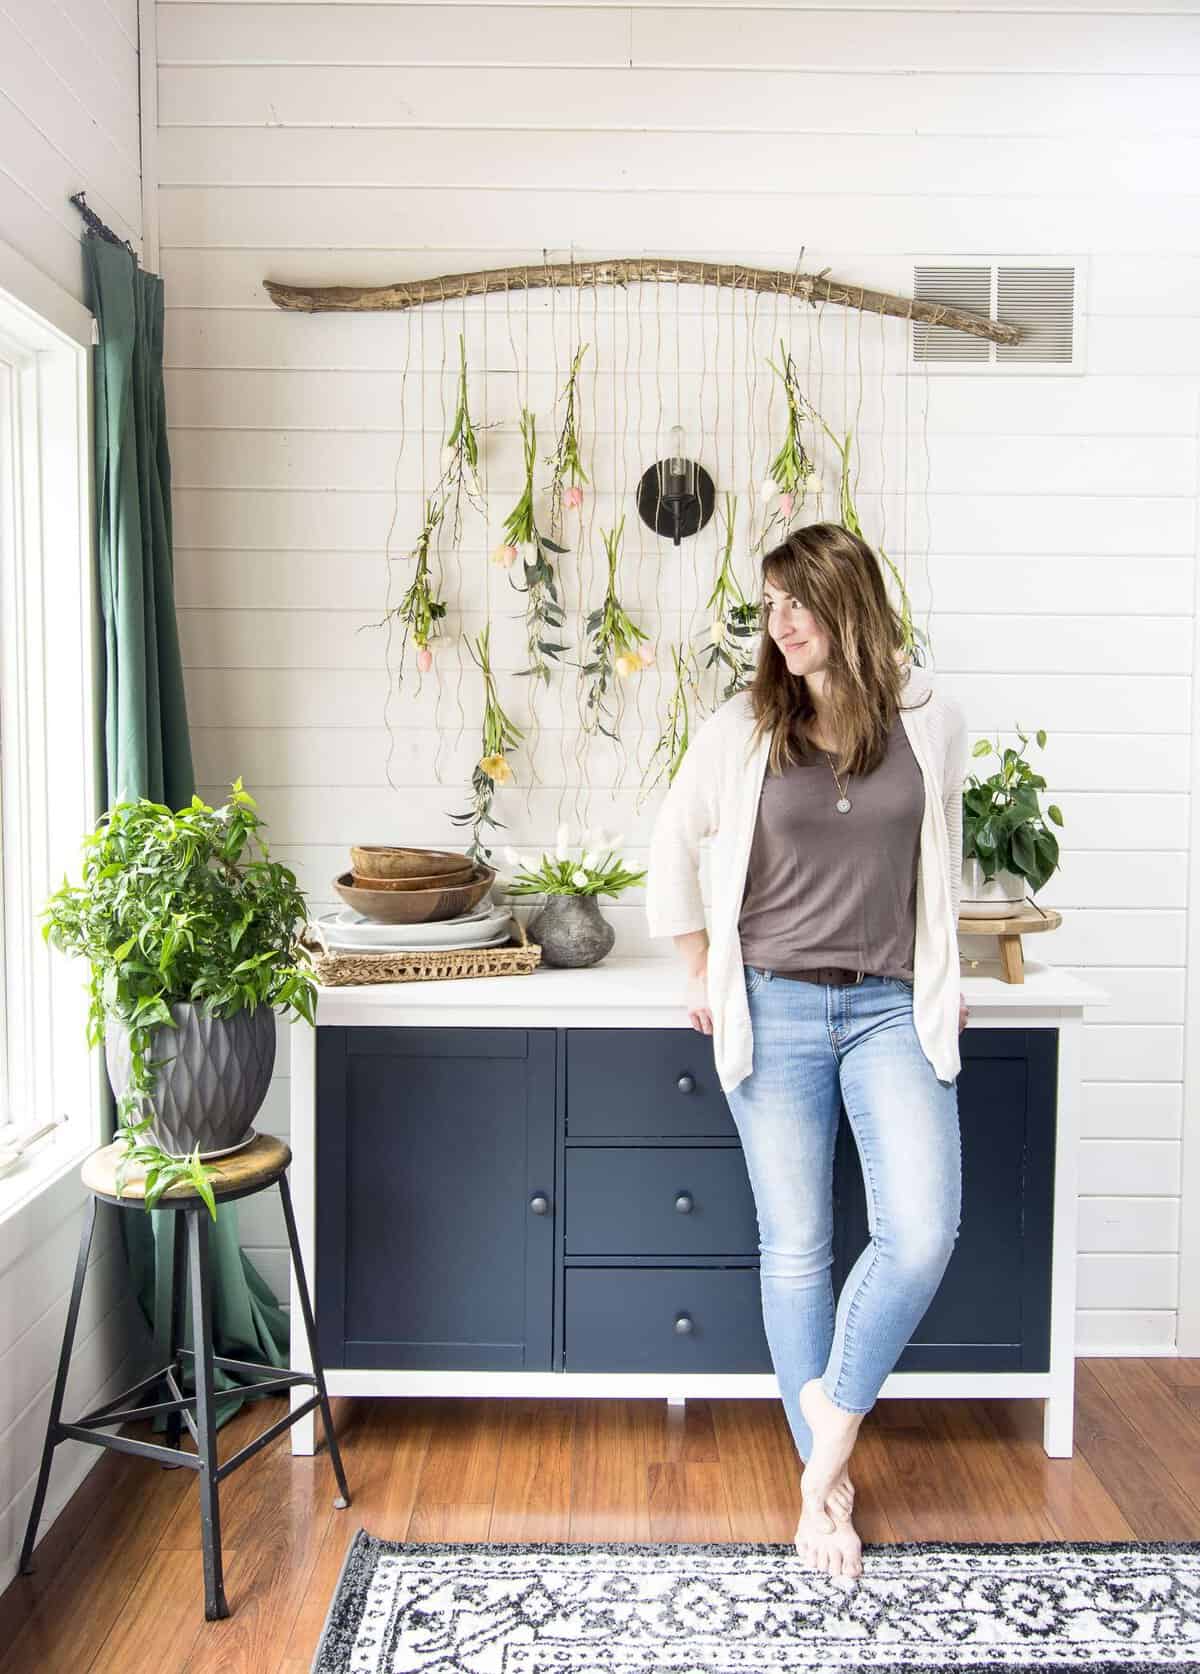
That’s it! This is such a simple project. I love that this floral wall screams spring and is unique to my home.
If you want to try this project, make sure to select flowers that are your favorite! Perhaps you don’t love tulips, but do love roses or orchids. This can be customized to your own personal taste so easily.

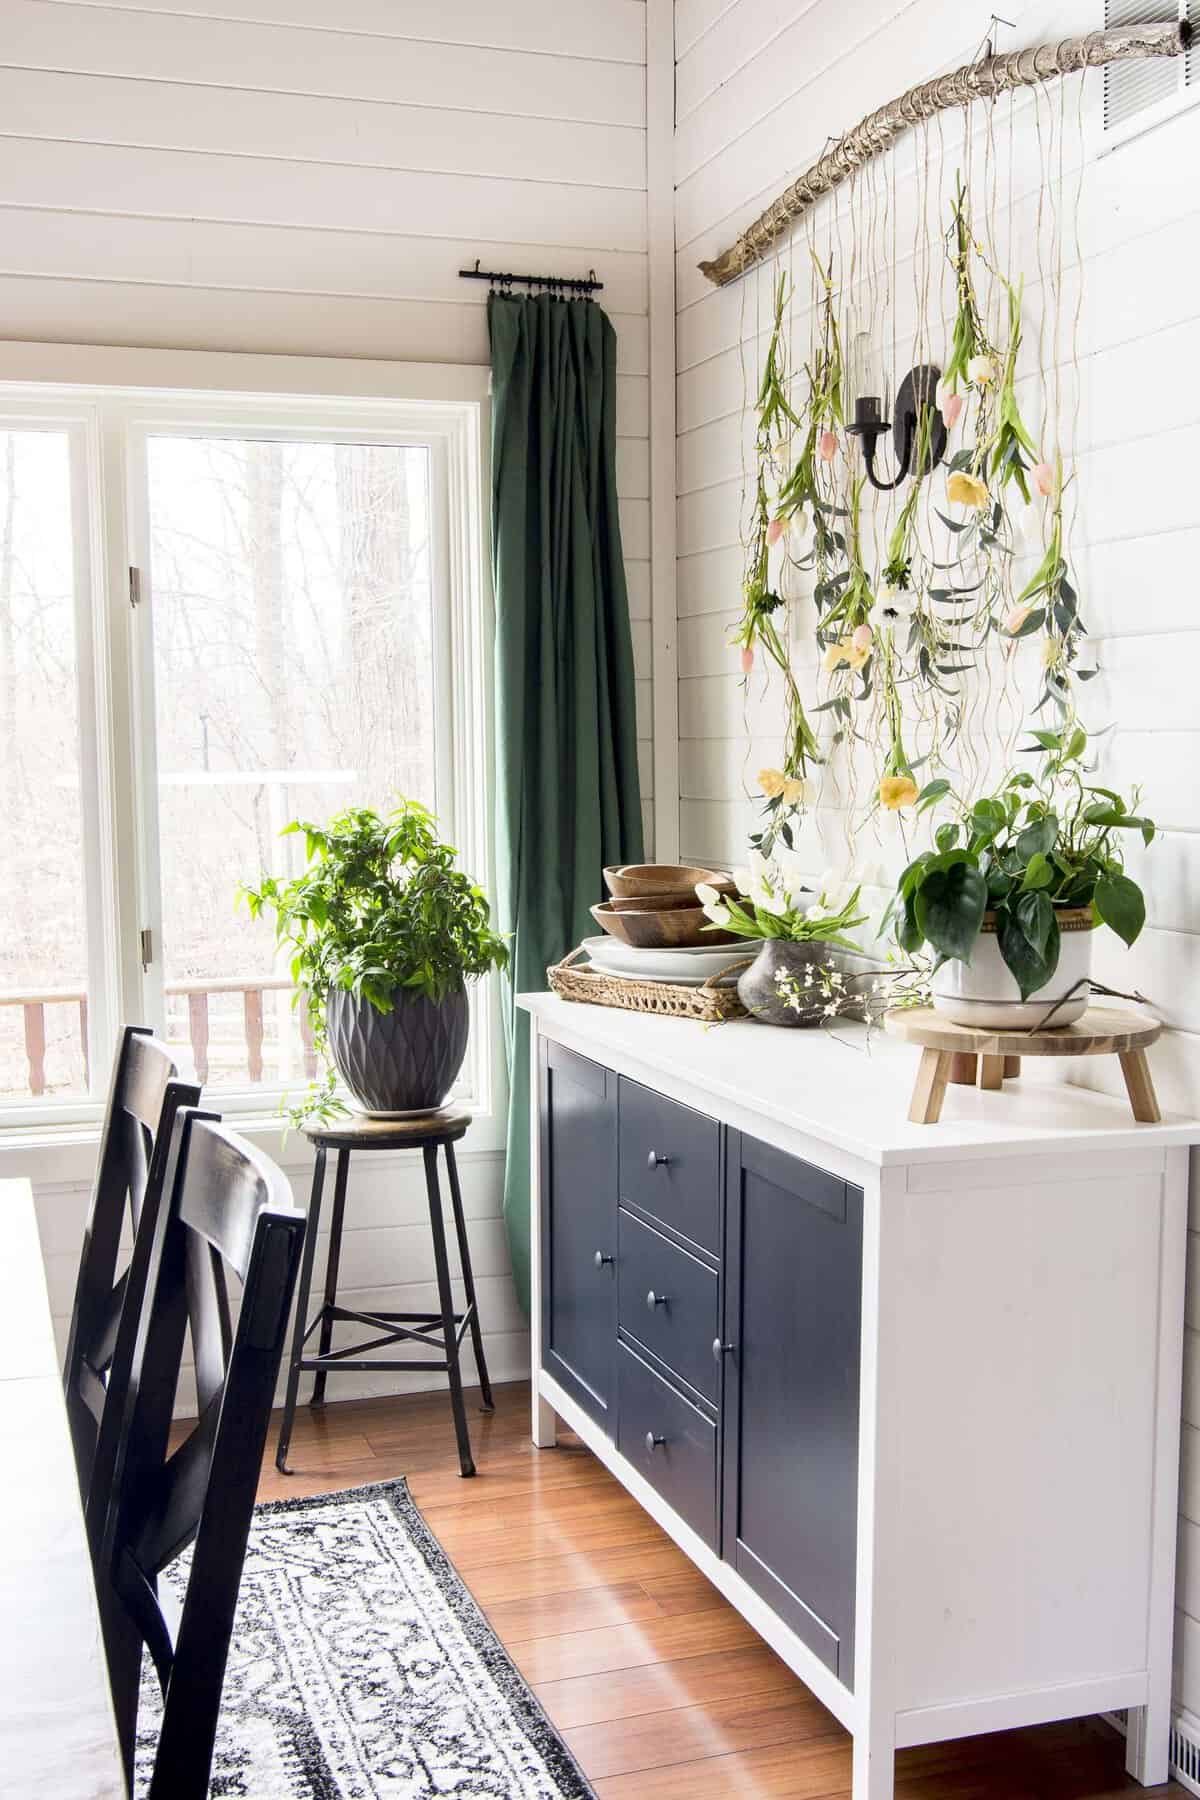
It’s also a great way to use up a large space. This wall above my buffet has always been difficult for me to style because the sconce is so low.
It has always severely limited the type and size of artwork I can display. So I love that this flower wall allows me to design right around it!
Stay Connected
Thanks so much for stopping by the blog today! I hope that this simple tutorial gives you an idea for how to add a pop of color and some unique spring decor to your home!
If you recreate your own flower wall, I’d love to see it! Tag me on Instagram @graceinmyspace!
Also, make sure to check out my spring home tours this year.
- Spring Master Bedroom
- Spring Shelf Styling
- Spring Mantel Decor
- Spring Kitchen Decor
- Spring Living Room Decor
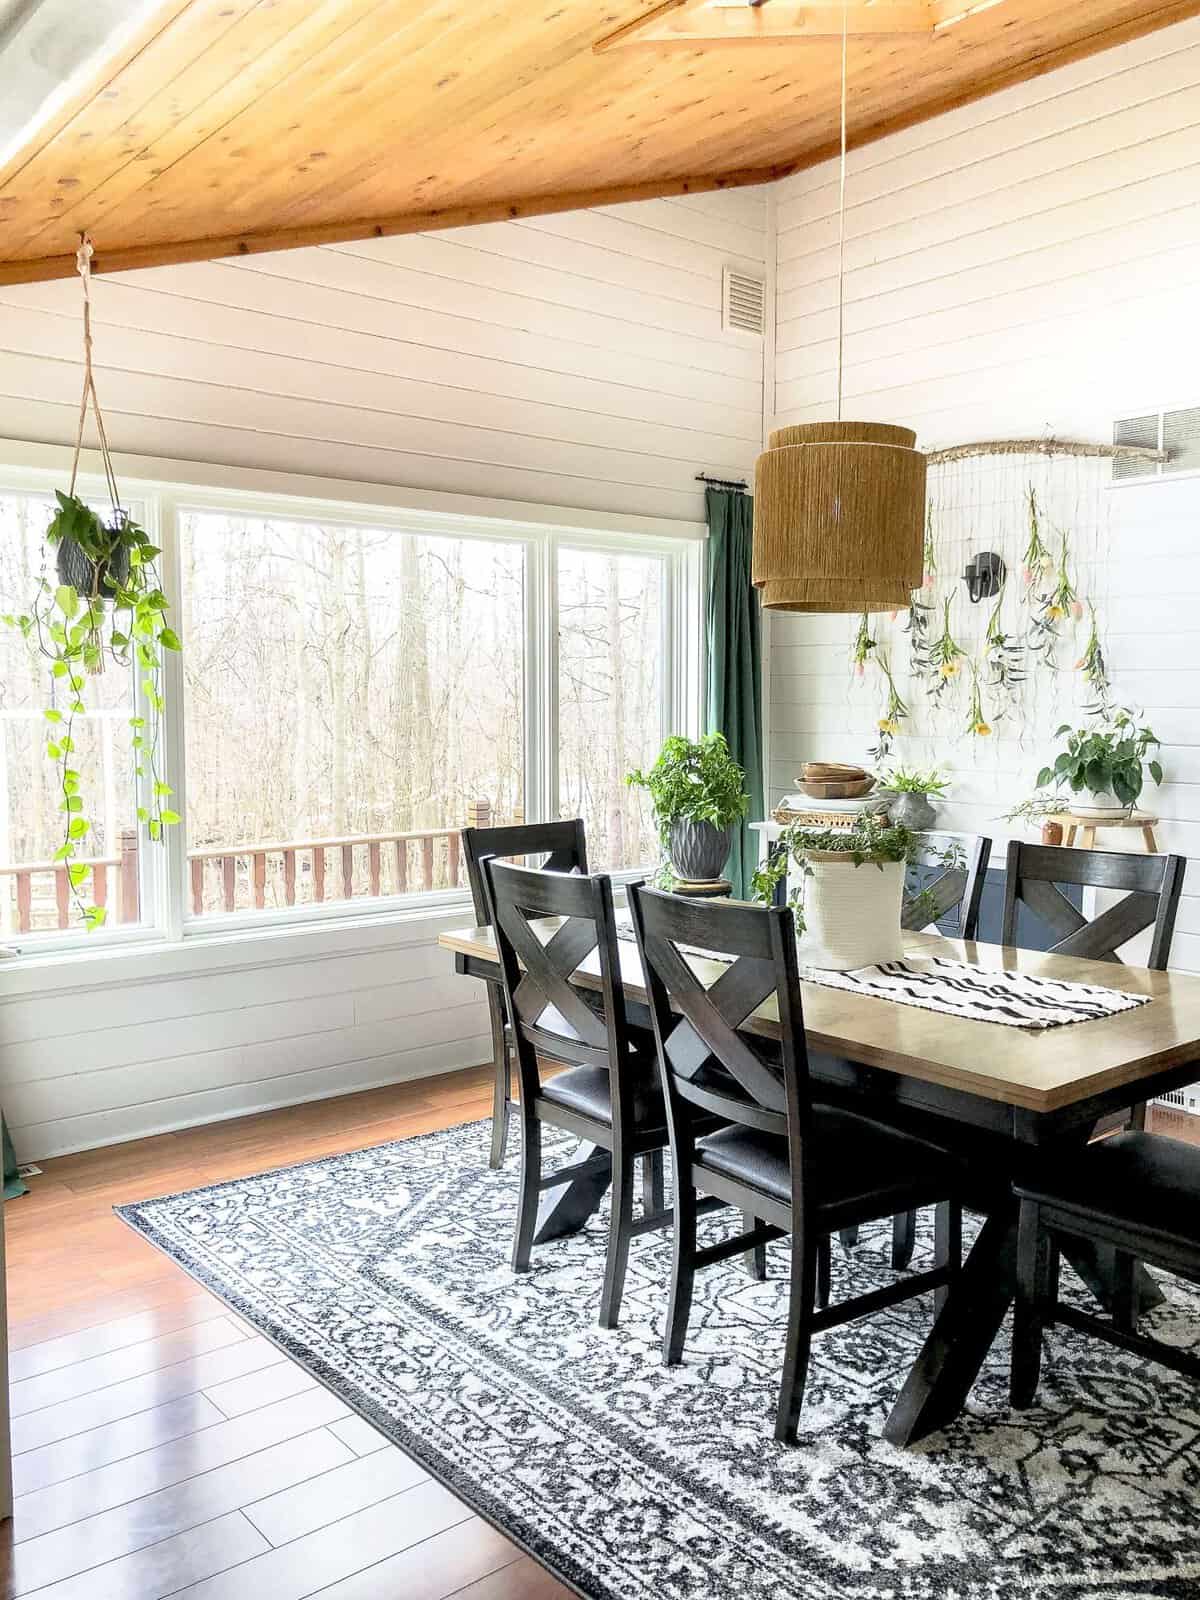
Here’s a little sneak peak at my dining room, hitting the blog next week!


Pin It For Later