
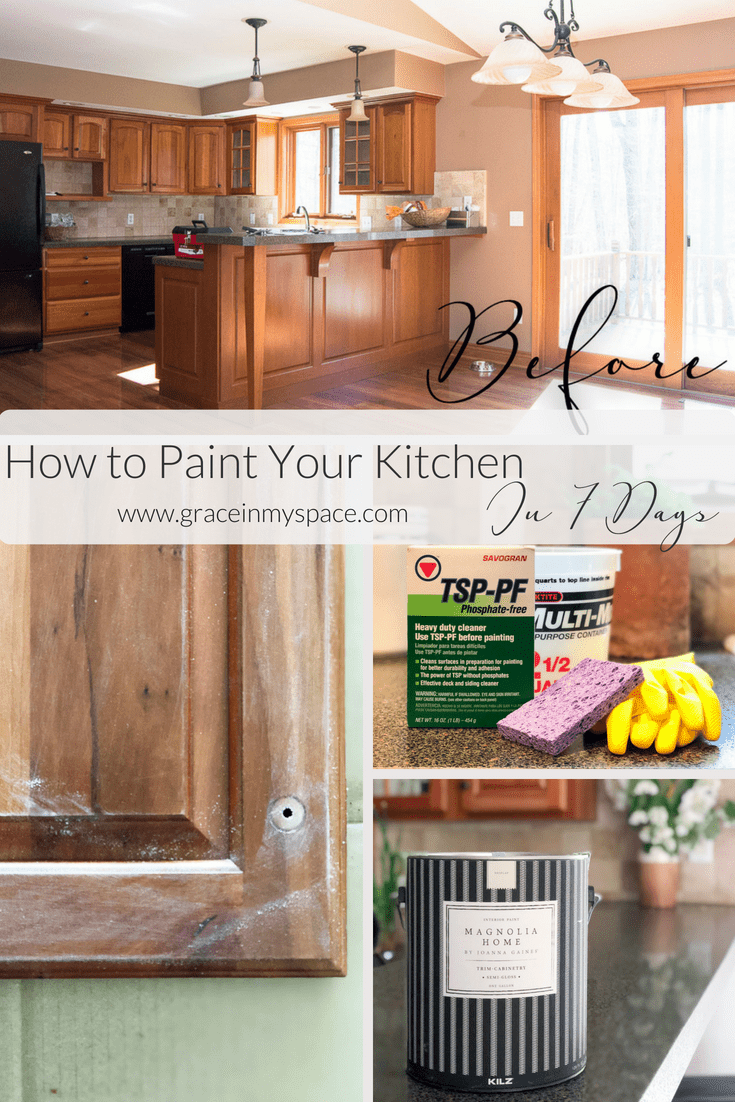
Paint Your Kitchen Cabinets in 7 Days | Paint Steps
This is the second post in my series on how to paint your kitchen cabinets in 7 days. I’m excited to share the tips and tricks I learned along the way while remodeling my kitchen, purely with paint!
If you missed the first post, you can read all about what you need to do to prepare for this project, plus the full materials list {here}.
This post may contain affiliate links where I earn a small commission at no additional cost to you. The Magnolia Home by Joanna Gaines paint featured in this post was provided by KILZ; all opinions and reviews are my own.
How To Paint Your Kitchen Cabinets in 7 Days | The Paint
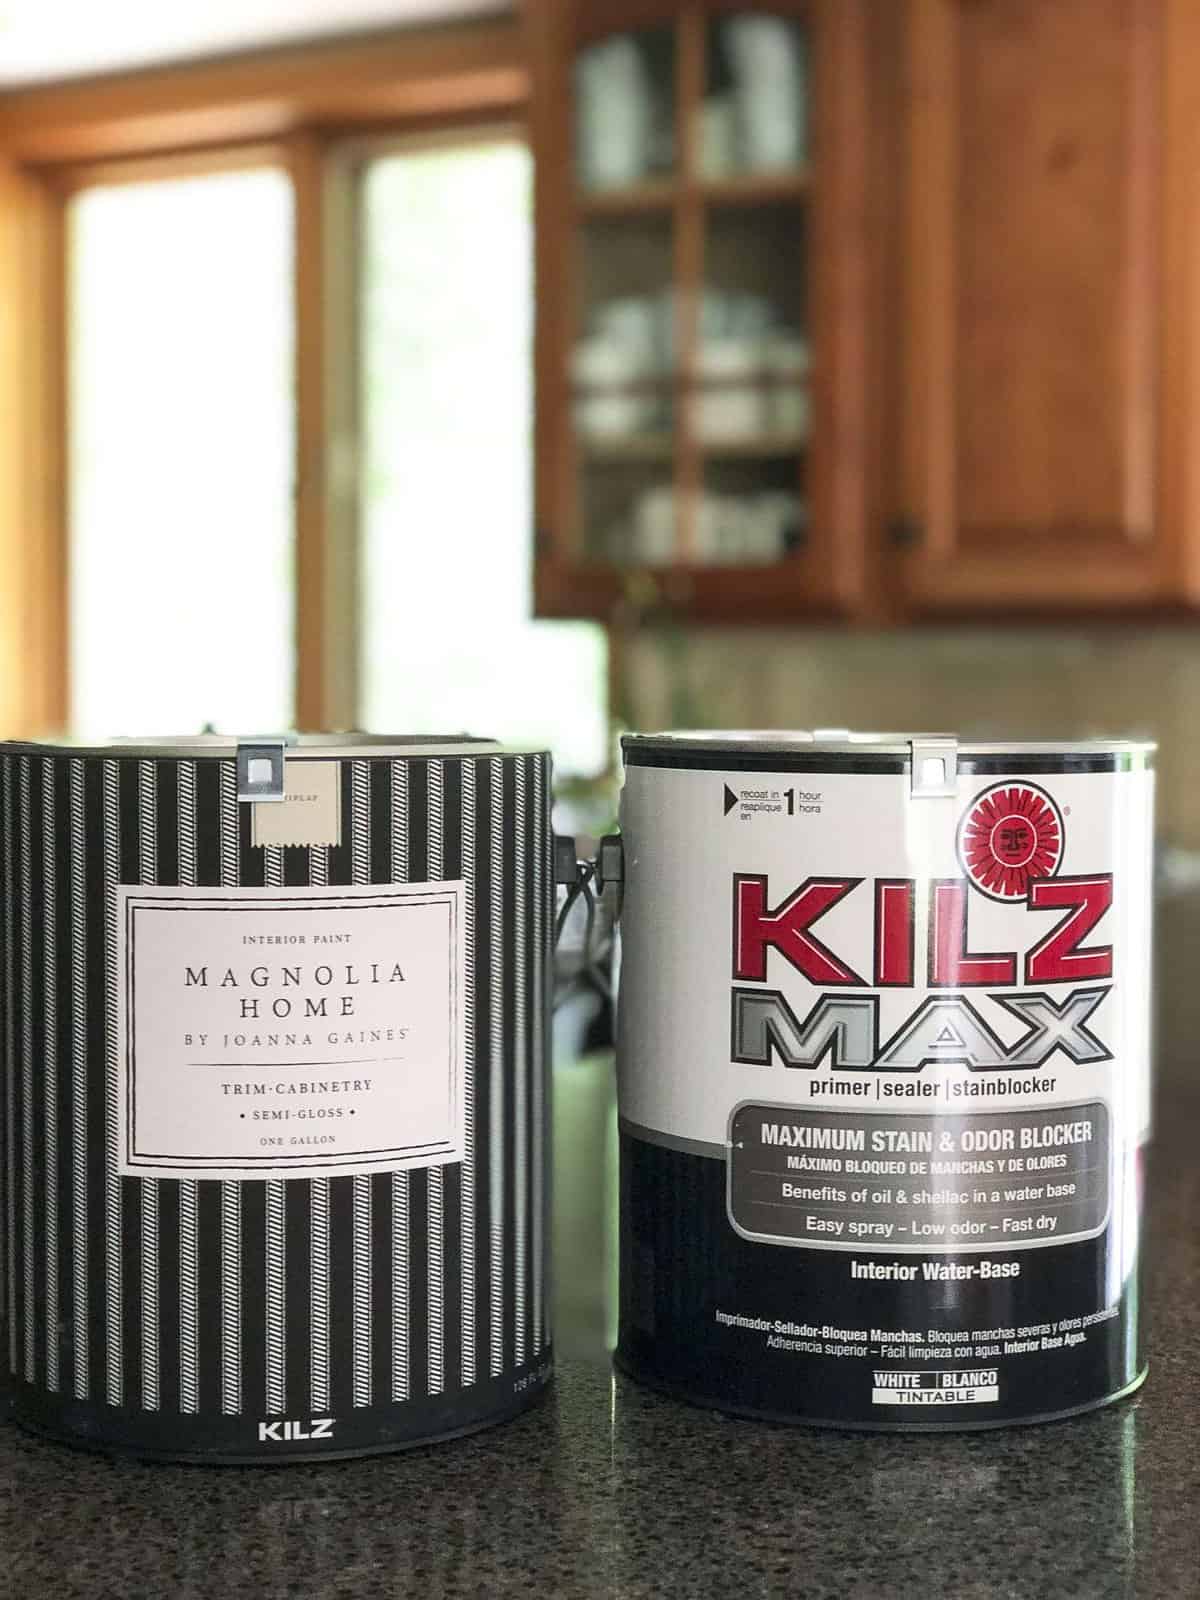
The first step in transforming your kitchen the DIY way is to choose a quality paint.
As you read in my first post of this series, I chose to use Magnolia Home’s Trim-Cabinetry paint in the color, Shiplap. Magnolia’s paint is a KILZ product so the quality is superior and I’m so happy I went with this brand. The final sheen is a semi-gloss which is perfect for durability and wiping up my kiddo’s dirty hand prints (and foot prints, if we are being honest here).
Whichever brand you choose to use, I would highly recommend at least a semi-gloss. For those who might choose chalk paint, make sure you seal it well to increase the durability.
Also, make sure to choose a high quality primer if you are covering wood cabinetry to seal in the tannin. It would be a sad day if in a year your pristine white cabinets started turning yellow from the tannin bleeding through.
Moral of the story: Don’t skimp on your primer and paint! Buy high quality, even if that means you have to shell out a few more dollars.
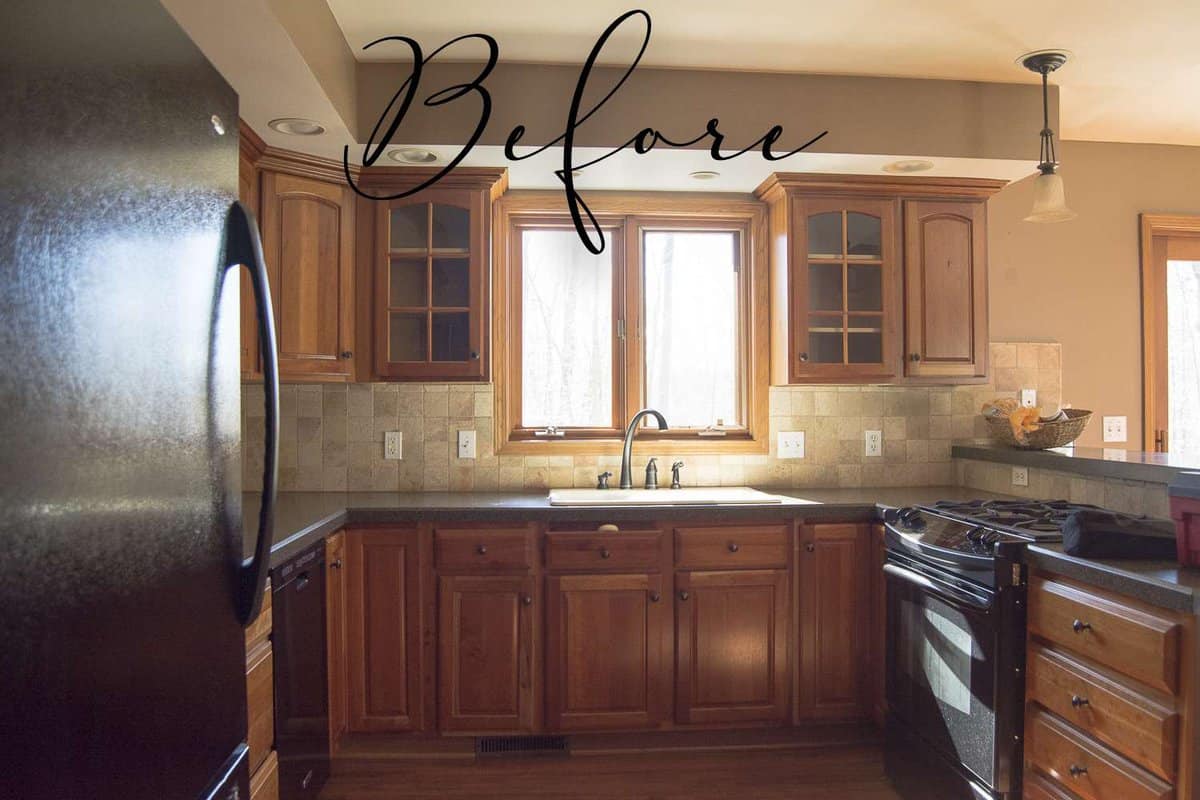
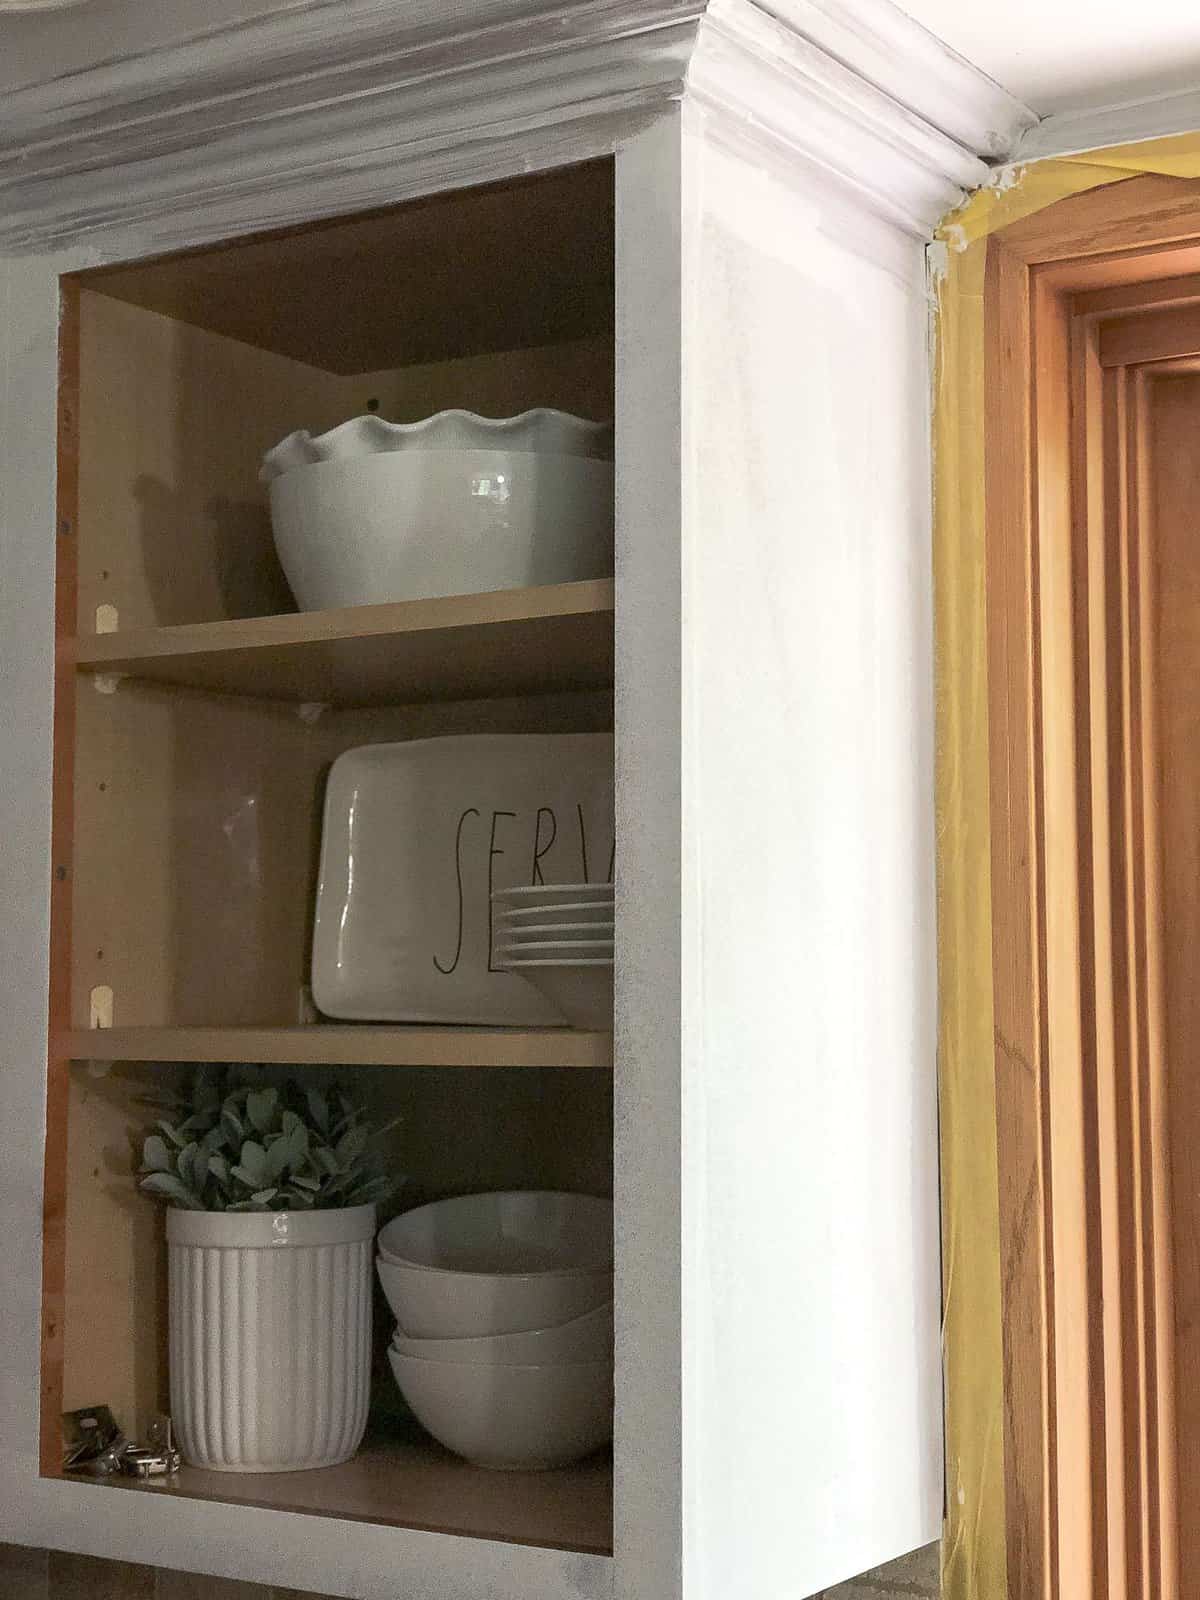
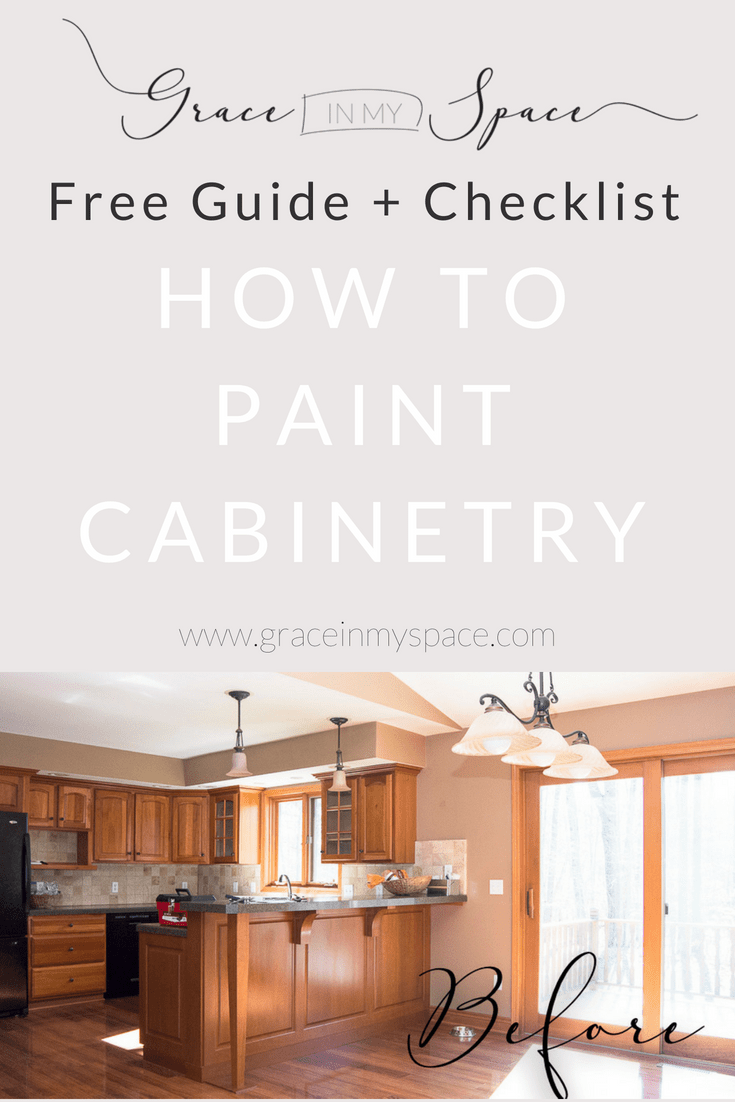
To start us out, let’s take a gander at the BEFORE.
Paint Steps
Once you have prepared your cabinetry by removing the hardware, cleaning, and sanding, like I laid out for you {here}, you are ready to paint!
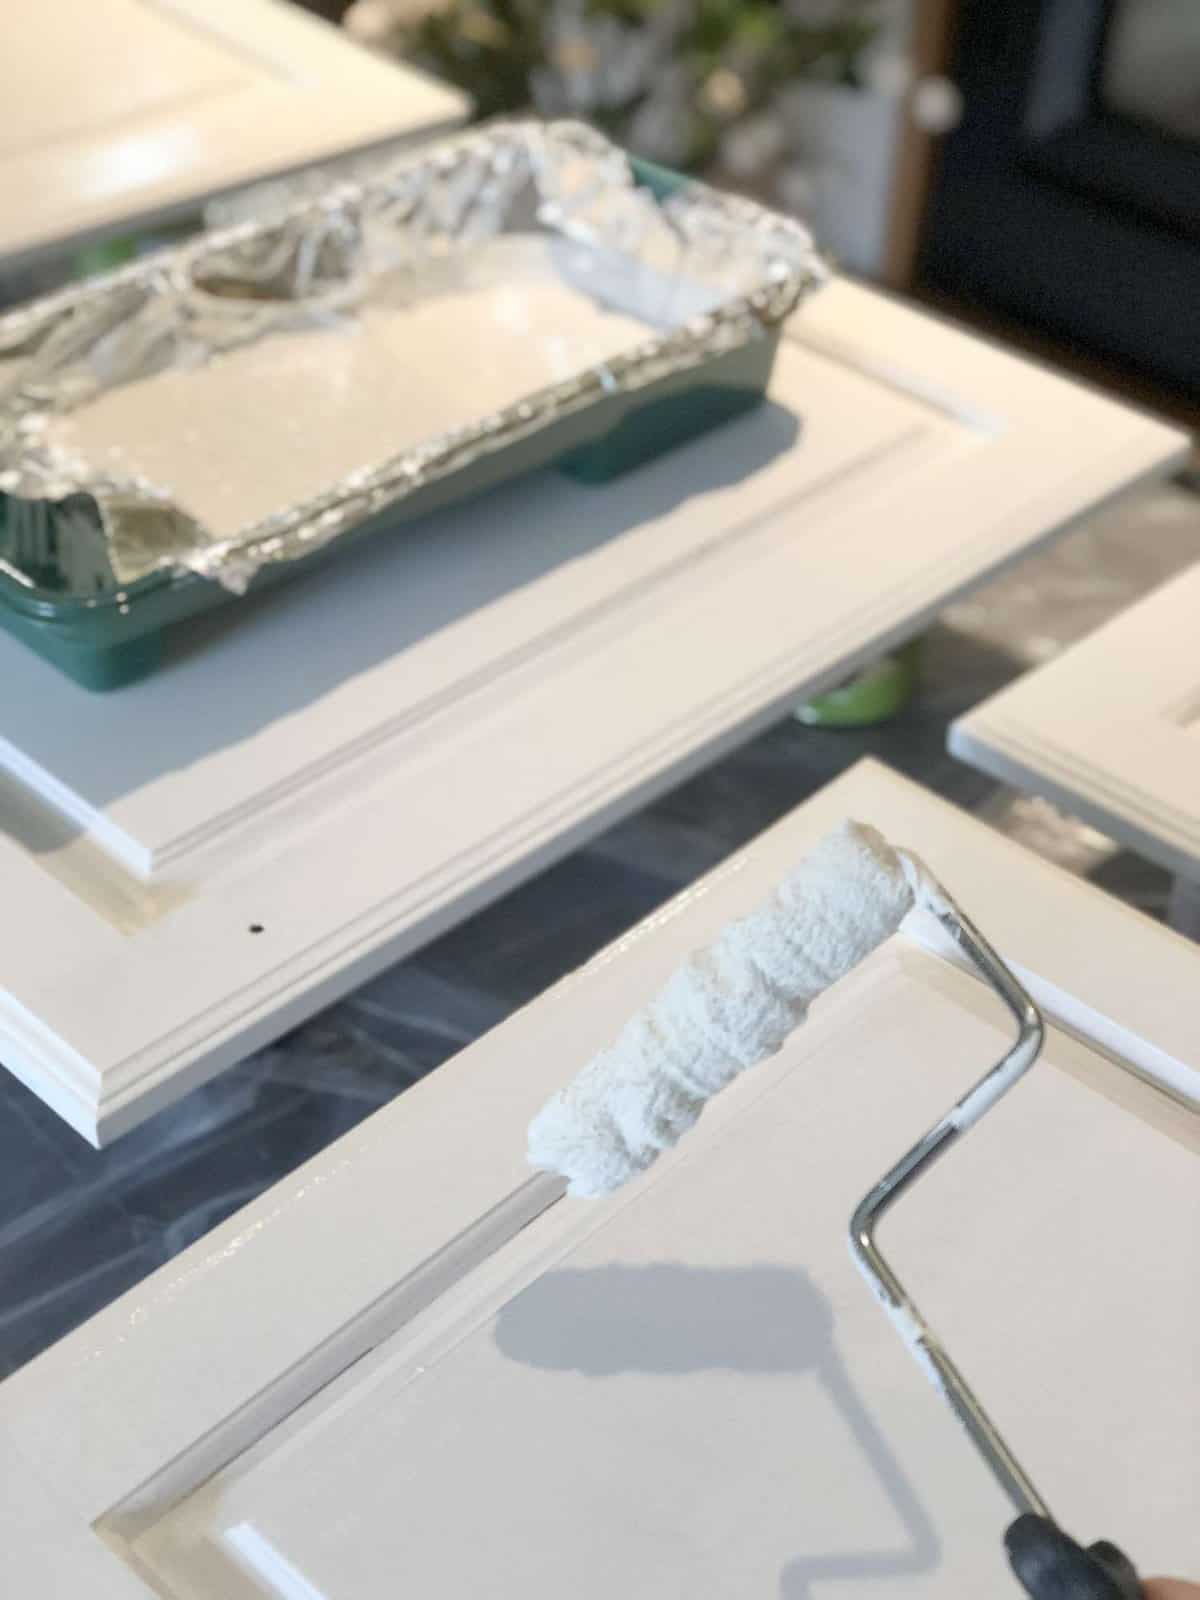
If you follow along with me on Instagram then you know I filmed my entire project and posted them to Instagram stories. I started by setting up a work station using canned goods to elevate the doors.
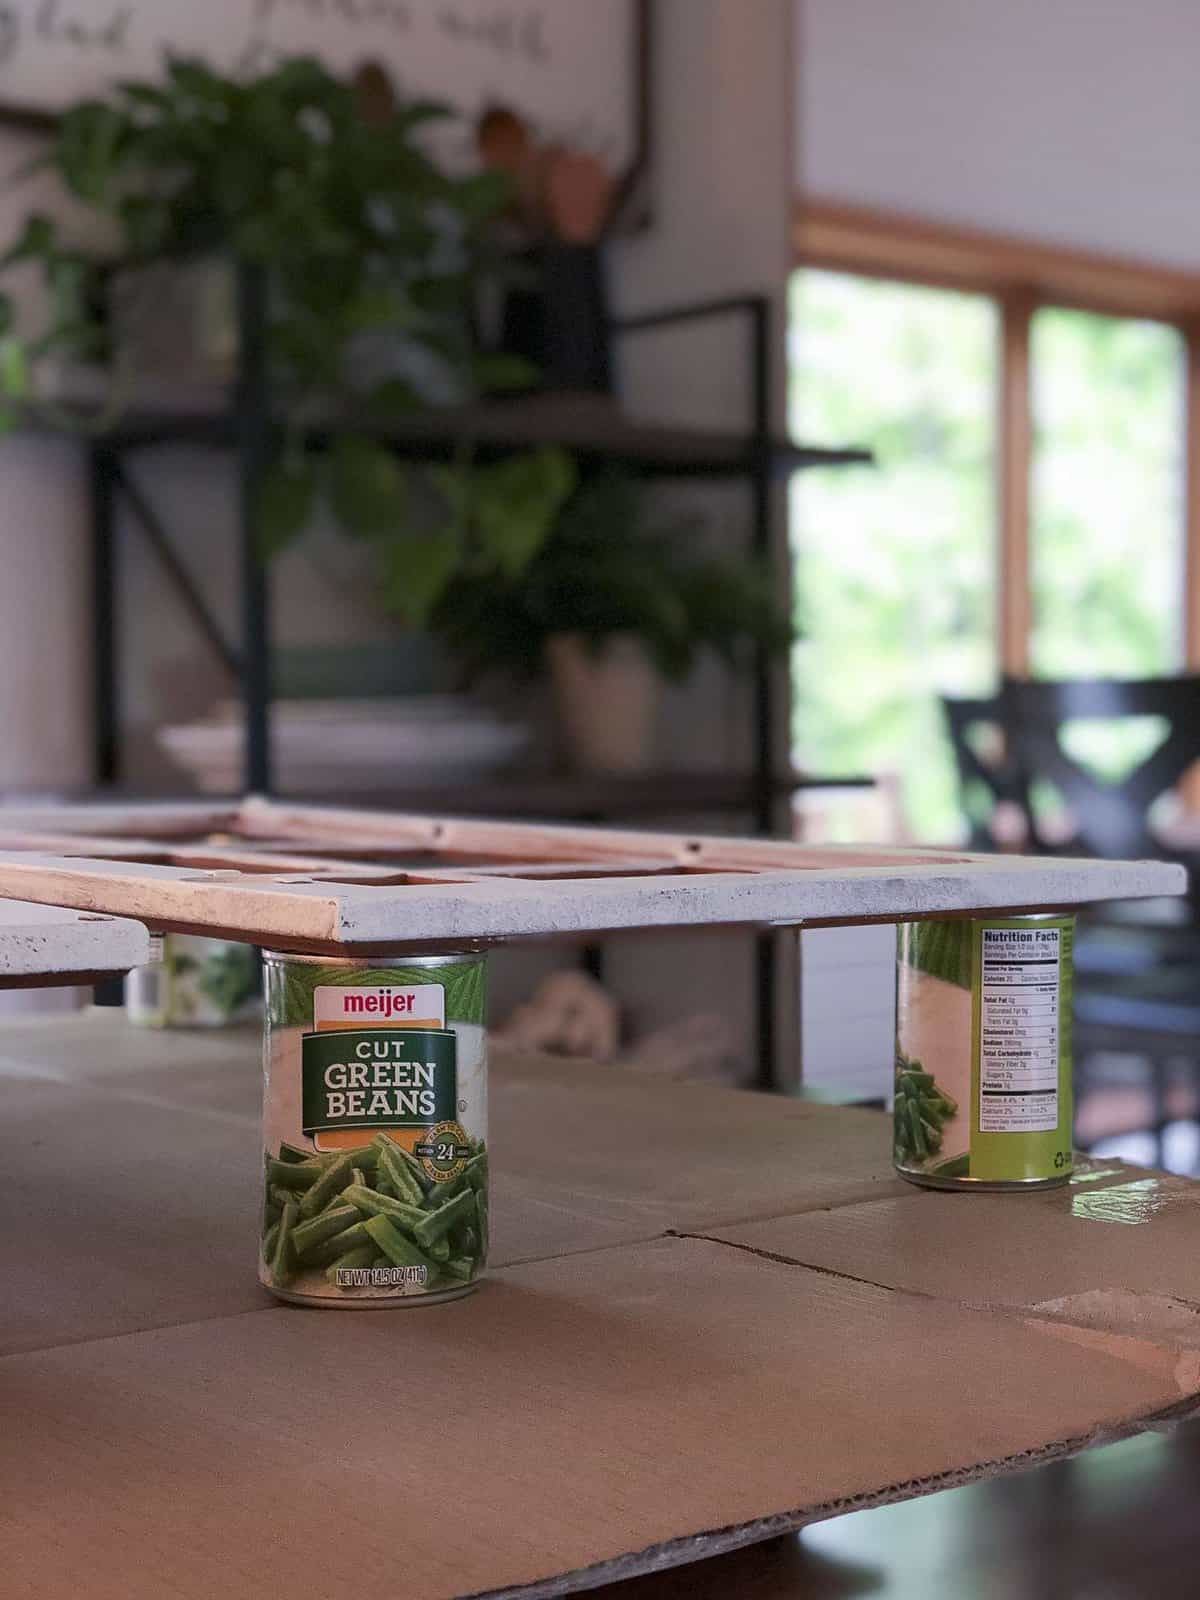
Oh sure, you can be all boring and buy the paint pyramids they make specifically for this purpose…but you can also just use what’s in your cupboard! 😉
After I propped all my doors up to make it easier to paint the edges, and spread out my drawers willy nilly wherever I could find a spot, I started to trim the cabinets with primer.
Prime
If you are wondering why I used a primer when Magnolia’s paint already has Kilz in it, then let’s just say I am extra precautious. These wood cabinets are very orange and I wanted to ensure that the tannin wouldn’t bleed through by properly priming them.
Plus, a good coat of primer is an important base for your final paint coat to stick to. Simply put: It increases longevity and durability.
After taping areas you want to avoid painting, start the priming process by using a high quality brush (my favorite brush can be found {here}) to trim out the areas that you aren’t able to fit a small roller.
I started with the cabinet base, then worked on the drawer fronts, and finished the project with the cupboard doors.

Once you have trimmed out the space, you can start rolling on primer with a 4 inch roller.
Tip: Don’t be goopy! When you’re using a roller, make sure not to saturate it too heavily. This can cause drips and can clog up your hardware holes. You don’t want to cause yourself more frustration down the road by having to sand down drips or dig paint out of your existing screw holes.
I chose to apply two coats of primer for extra coverage.
Caulk
After you’ve primed you’ll start to notice areas where seams are showing. This can occur in between cabinets, around moldings, or on cupboard doors.
If you want a professional finish you MUST caulk these areas prior to painting. Caulking is very easy to do; just make sure you use a paintable caulk.
As you can see, before there are exposed seams where the paint has beaded showing unsightly gaps.

A little caulk, some messy fingers, and 30 minutes later the gaps are filled and my cabinets instantly looked more professional.

Paint
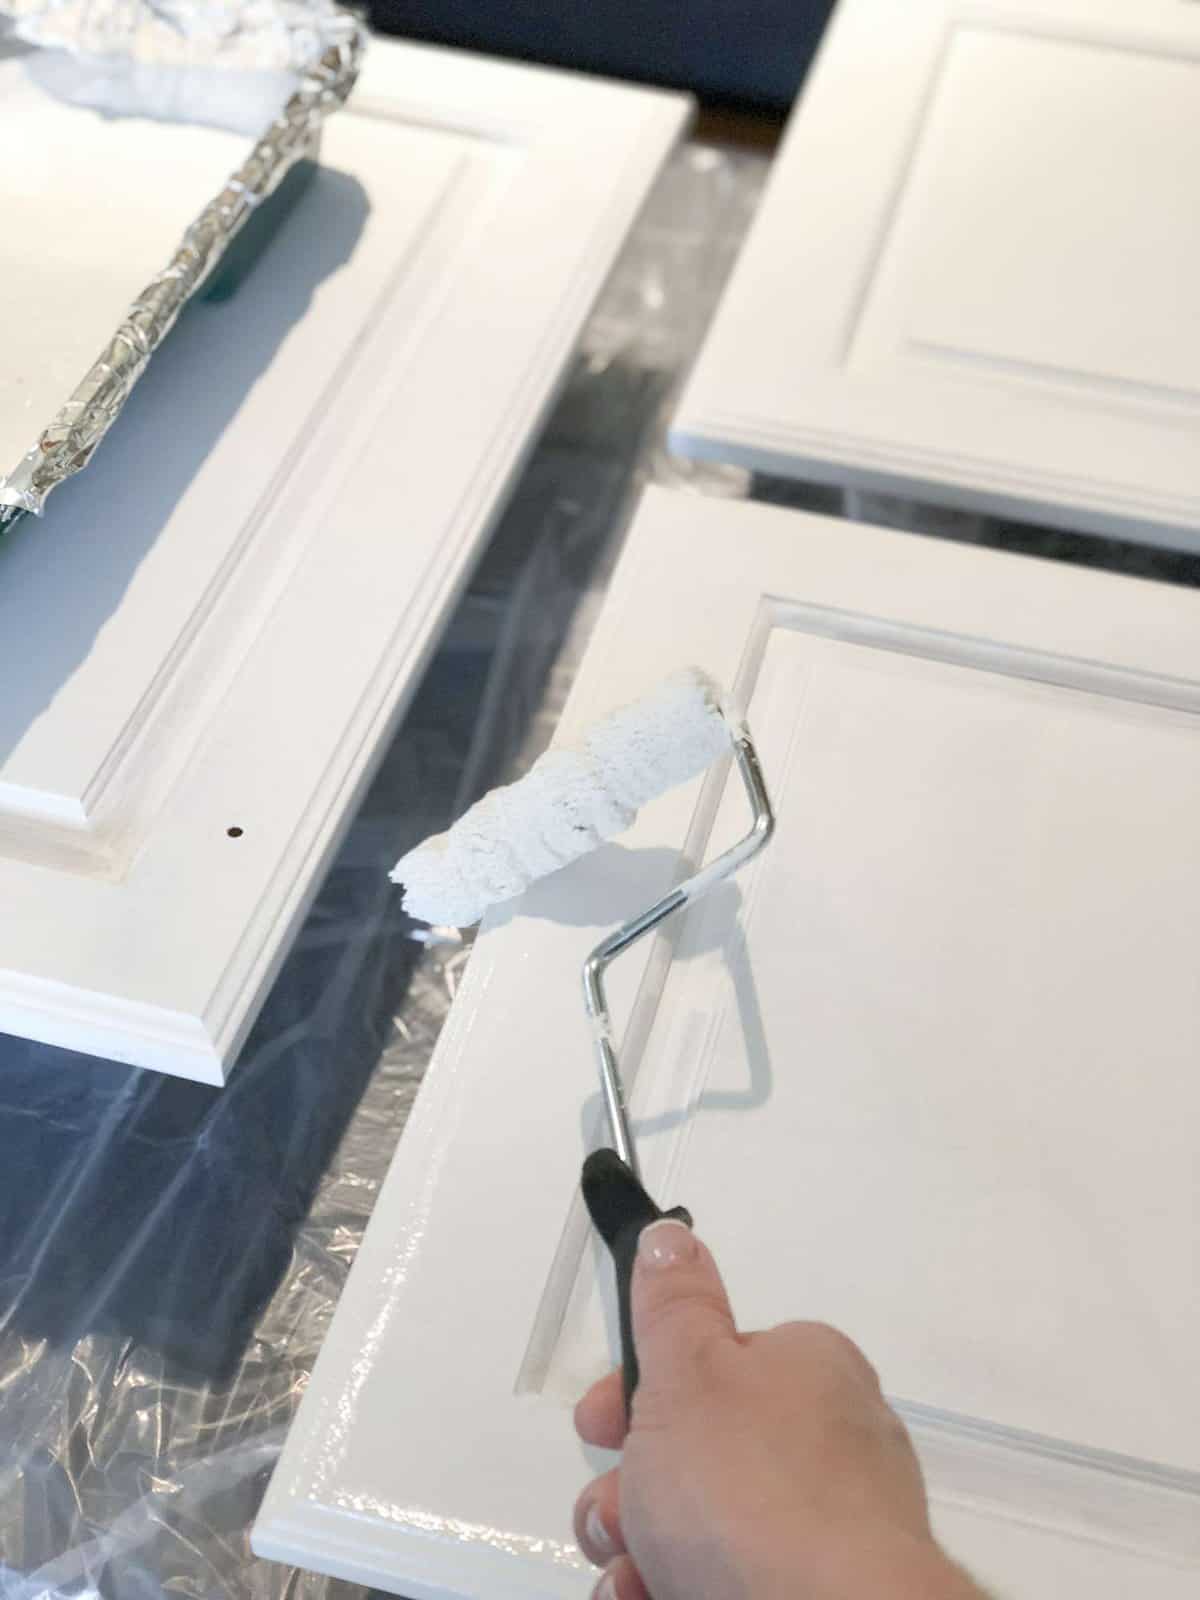
Once you have thoroughly primed the space and caulked all your showing seams, you simply repeat the paint process two more times!
Tip: Paint the backs of your cupboard doors first! This way you can put the final coat on the face of the cabinet without worrying about laying it face down and potentially marring your paint job.
When I was applying my final coat of paint to the cupboard doors I liked to use the dip and dab method to get into odd angles and around moldings.
Dip & Dab
Using your roller, dip only the tip of the roller into the paint and then dab it lightly on your paint tray to remove the excess.
Next, start in the MIDDLE of your cupboard door, not at a corner, and use only the tip of your roller to “draw” a line of paint around the molding.
By starting in the middle of the door you are able to, more or less, push the paint around the perimeter of the door without the corners getting too saturated with paint.
If you were to start in the corners, all of the paint would pool up there first and it would be difficult to move it around the rest of the door.
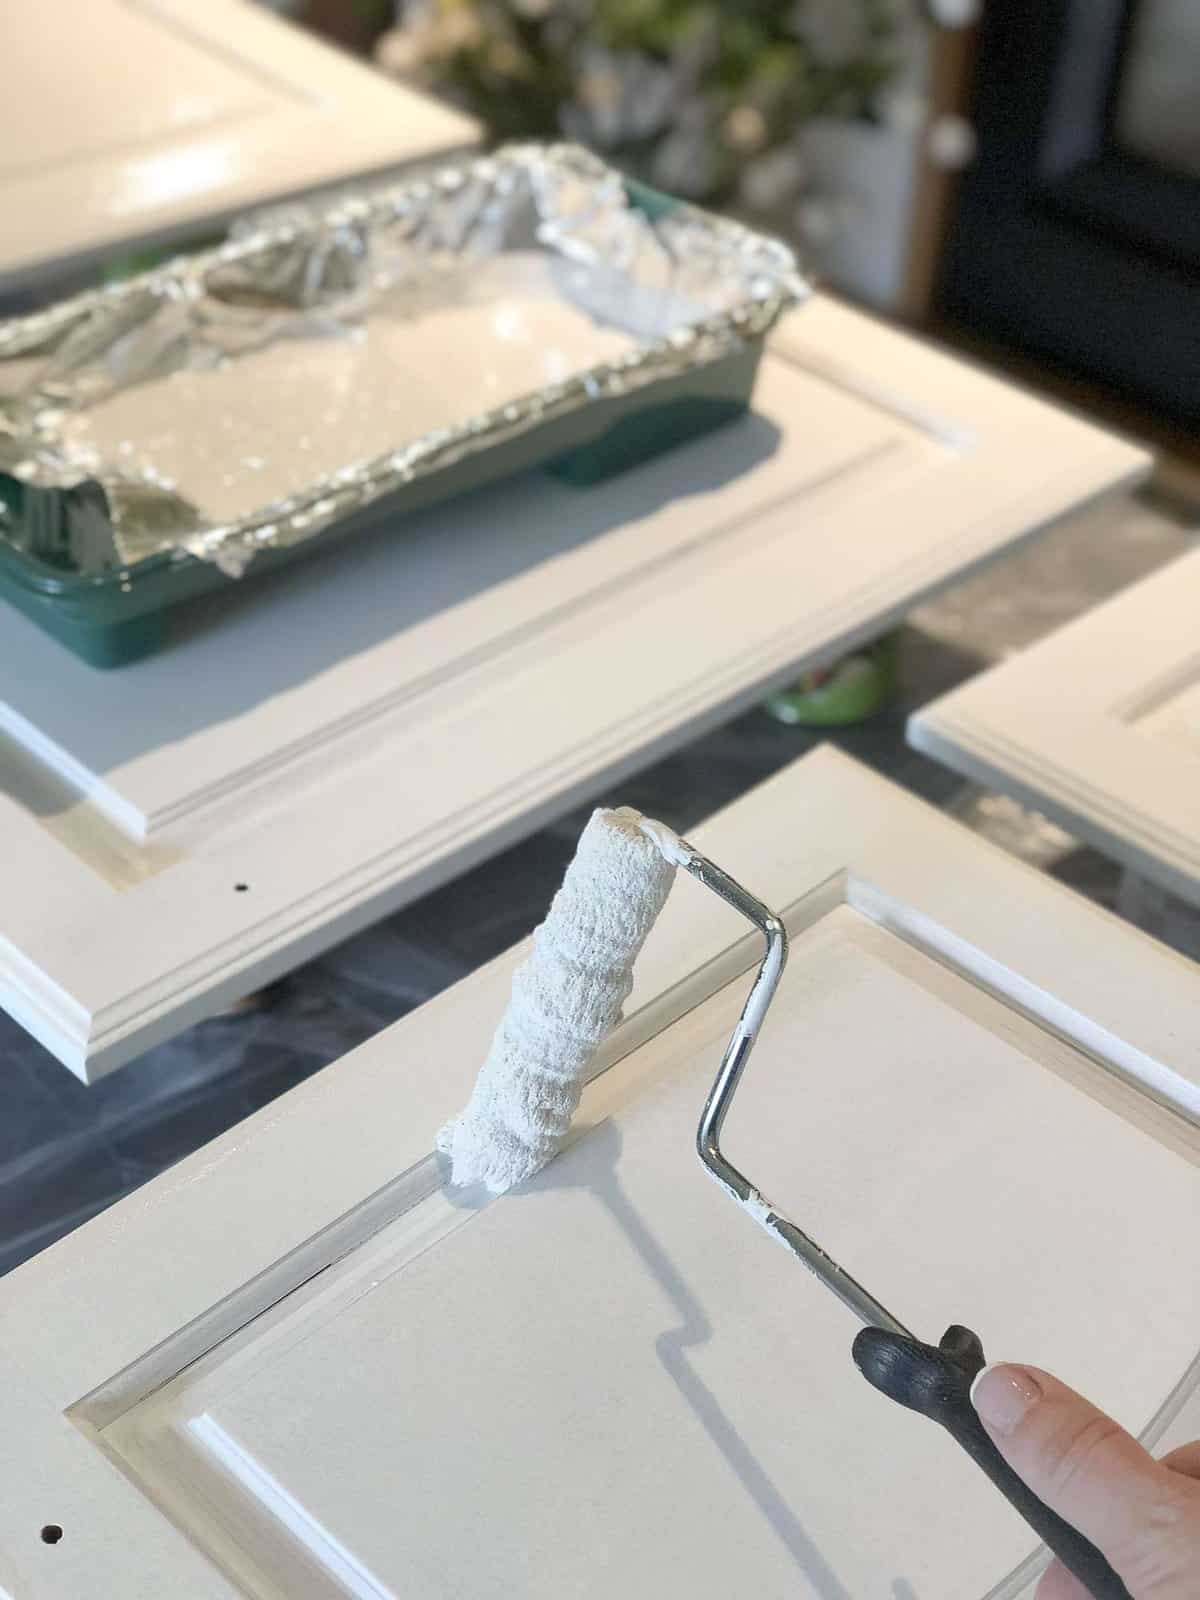
You can also use your roller for all of the drawer and door edges. Simply angle the roller however you need to in order to get into the ridges and roll on the paint, again, making sure not to oversaturate the roller.
Let Cure
Once you have finished painting your cabinets (I used two coats of primer and two coats of paint) you must allow them to cure.
Follow the instructions on your paint can to determine how long to allow your cabinets to cure before using them again. For instance, Magnolia’s paint advised at least 4 hours of dry time before touching but 7 days before washing. So while it is acceptable to reinstall your drawers and doors fairly quickly, it is another thing to heavily use them.
The wait time is the worst. I totally get it. I allowed my doors to dry off the hinges for a full 24 hours before reinstalling them. And then I severely warned my family not to use the kitchen hard for a full week. 😉
Re-Install Hardware
After you’ve let your cabinets cure for the recommended time period you can reinstall the hinges and knobs or pulls. This is the best step!!! I love putting a project back together. It’s satisfying to piece the puzzle back together after living in chaos for a week.
I also spray painted my existing knobs Satin Black before reinstalling them. Rather than spending over $100 on new hardware, I spent $4 on one can of spray paint and took 20 minutes to spruce them up.
This is such a simple solution to outdated hardware if you’re looking for a budget friendly way to update those as well.
Next Step: Update the Backsplash
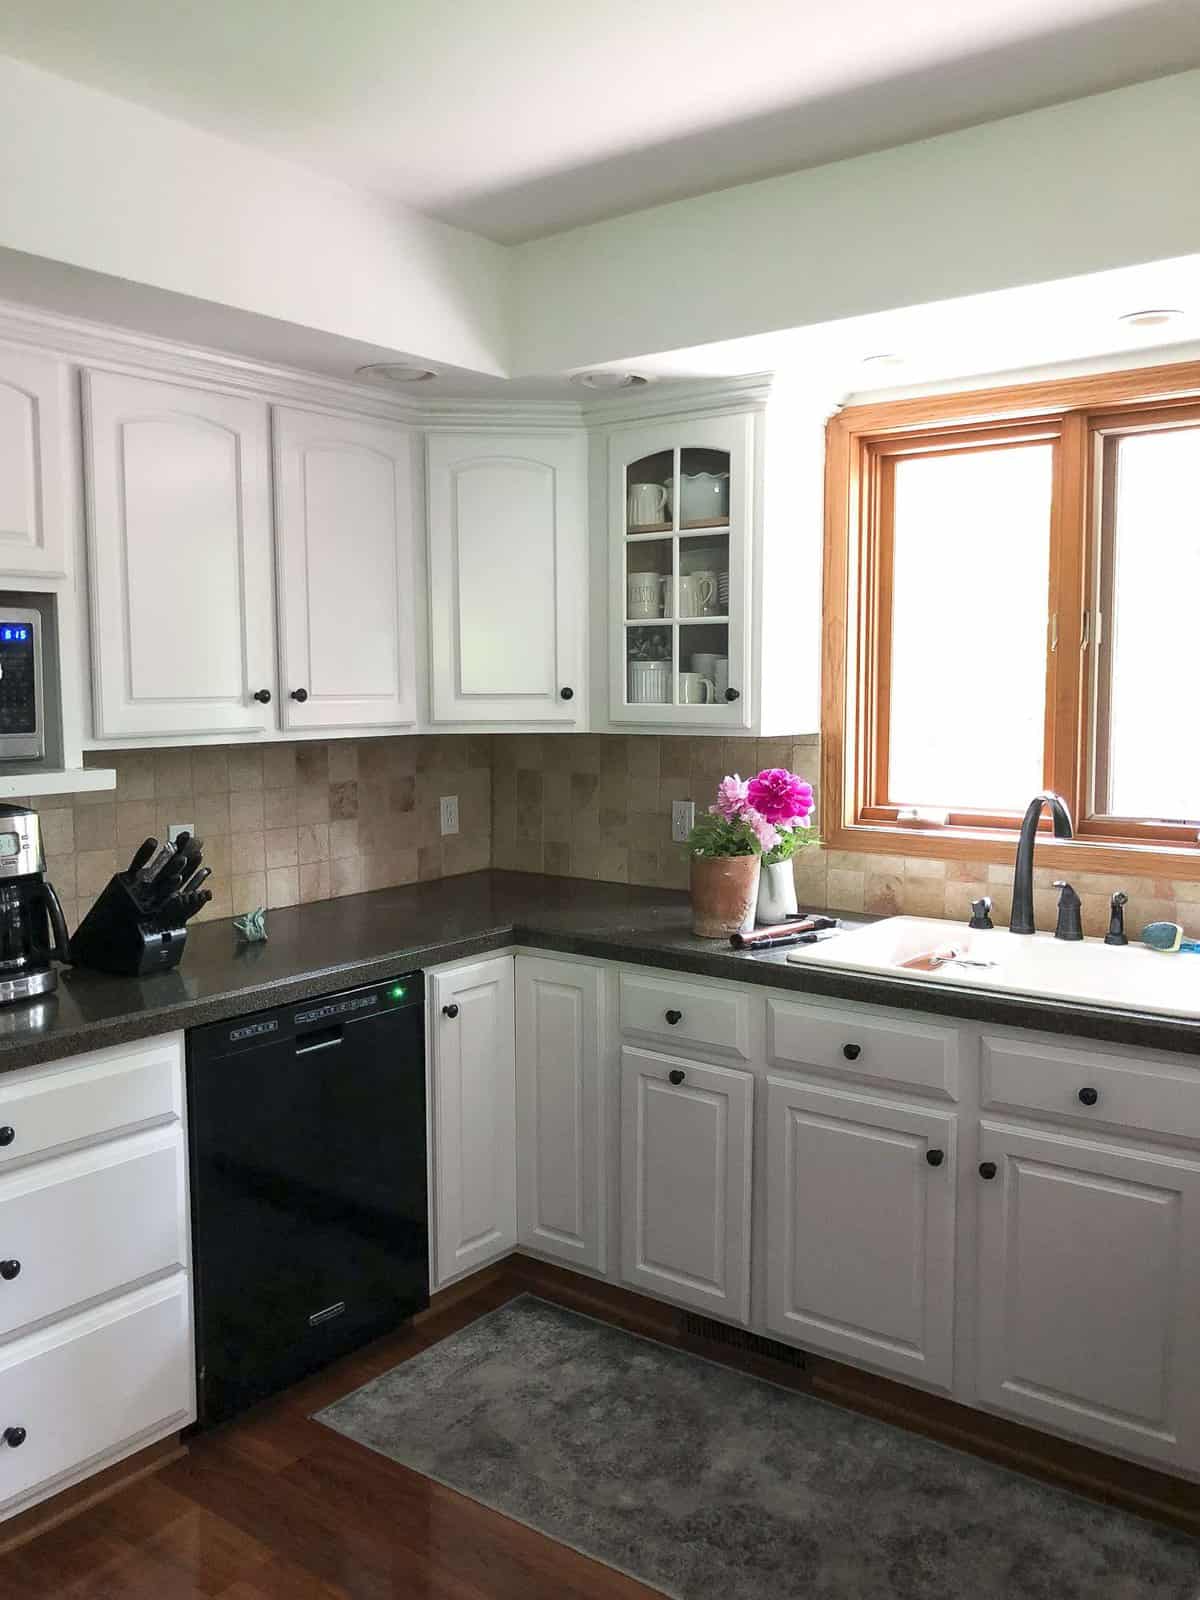
Painting the cabinetry moved my kitchen into the 21st century by leaps and bounds. But I was still not in love with the other finishes. The backsplash wasn’t my style, the pendant lights are outdated and too small for the space and the upper cabinets made me feel claustrophobic.
So in the next post of the series I’ll show you how I updated this backsplash as well!
UPDATED: The Post is live on how I painted my tile backsplash! You can find the full tutorial {here}.
And my final post {HERE} will show all the finishing touches, plus how I opened up the space without removing the soffit.
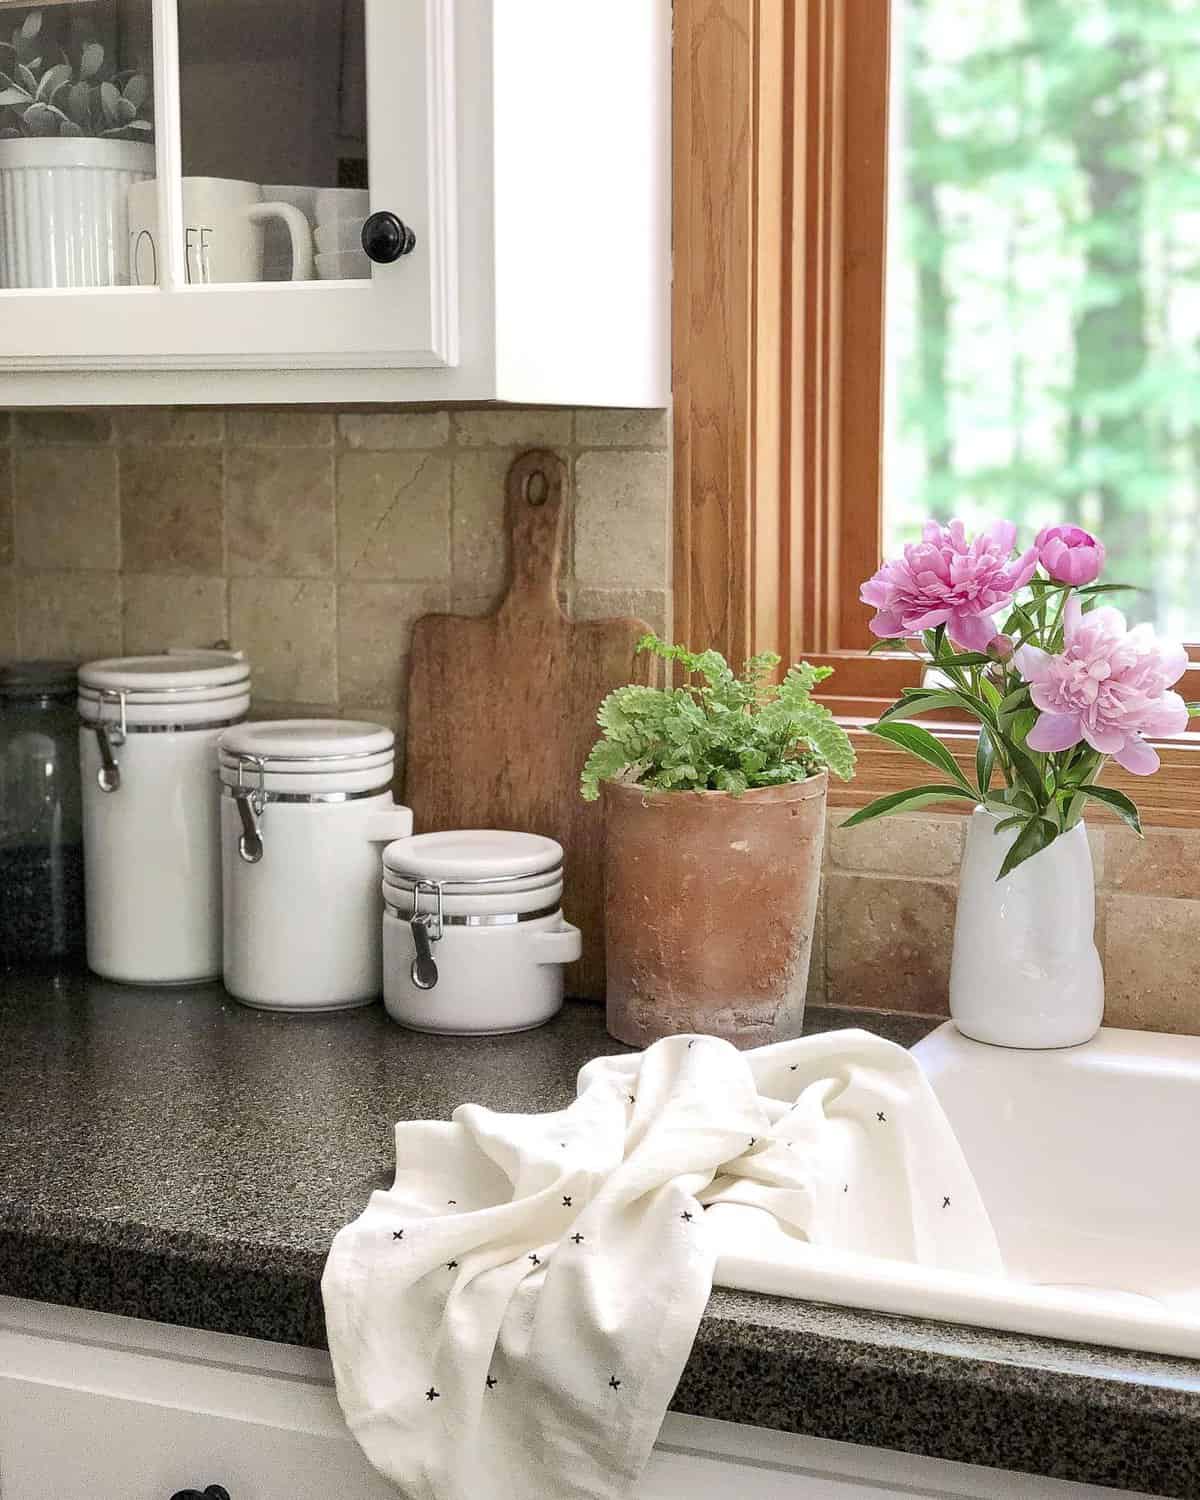
It kind of kills me a little to leave you without all the styled and pretty pictures of this space, but they are coming!! The next two posts will show the continued transformation. I hope this has been helpful to you as your attempt to paint your kitchen cabinets in 7 days!
Looking for More Painting Tips?
- How to Paint a Room Fast in 5 Steps
- How to Paint Wood Trim
- How to Paint Windows Without Tape
- How to Paint a Deck
- How to Paint a Tile Backsplash

Want a Free Guide + Printable Checklist for This Project? Subscribe Now.
Hind sight? If you had it to do over, would you still choose the Magnolia Cabinetry paint? Durability? Would you use chalk paint instead?
I love the Magnolia paint line! It’s my preferred choice.
Thanks for share……
Your blog is amazing it gives so much information and ideas. Thanks for the pictures that you included.
I’m so glad it was helpful!
Since painting your cabinets have you had any chipping? I’ve been wanting to do this but worried about the paint chipping.
There will always be a risk of chipping on painted cabinets. Even my cabinets that are professionally painted have small chips. But they are easy to touch up!
Please send me your guide to painting kitchen cabinets.
Thank you
Useful guide on painting kitchen cabinet. I got some very good idea by reading this post.
Thanks for your good share!
Wonderful, I’m so glad!
I used the kitchen and cabinets paint , could I use a clear coat of polyurethane over top. To prevent chipping?
You can do that! But there are a couple of things to think about. First, if you did all the prep steps and used a quality paint then you shouldn’t need an additional layer of poly. If you want that extra protection, it won’t hurt anything. However, if you are painting over white then sometimes poly can yellow over time and it may change the color of your cabinets in the long run!
Did you sand between each coat of primer and each coat of paint?
Wow that color ?I kind of go back and forth with DIY vs hiring out cabinet painters. I do think that DIY is certainly a ton of fun, but I kind of struggle with the overall workload now. I’m now a little more drawn to using companies like N-Hance because they’re quick and cheap. That said I do love a good project and I absolutely loved this Sarah! Great job and very fun story to read and see!
We are painting our cabinets with the Joanna Gaines paint. Priming has turned out to be a real chore. We are using “Stix” and it is so thick and goopy, but leaves brush marks and covers poorly.
Is the Kilz primer easy to work with??
Oh no! I’m so sorry to hear that you’ve been having a hard time! Kilz was very easy to work with. Definitely not goopy and had a nice smooth coverage. I’d recommend it!
Very pretty.
How do you feel about the paint now that you have lived with it for a while?
It’s been great! Cleans up nicely and the only spot I’ve had a chip is on the pull out trash can where my kids bang their plates. 😉
Sarah, your post has been our go-to guide! We can’t thank you enough for sharing all of these tips and tricks, they’re truly a lifesaver. Your kitchen is stunning my friend, amazing job!!
I’m so glad Brendt! I’m sure your kitchen is going to be AMAZING!
Sarah, I SO want to paint my orange-y oak cabinets to update them, but have been so intimidated by the whole idea. Your great tips and detailed tutorial have given me the courage to at least think about this! I just finished making our outdated kitchen set “farmhouse” by chalk painting the chairs and table legs/base white and staining the table top a dark walnut. I am still recovering 🙂 But I just LOVE how it turned out! Thanks for making me feel brave enough to plan the next step!
Haha! I feel like I’m recovering too. Just take a break and when you’re ready the tutorial is still here! I’m sure your kitchen will turn out amazing!
Wow Sarah! What a fabulous transformation!! Love it!
Thank you so much Meg! I’m so happy I put the work into it!
Sarah this was SO helpful! I am always curious what types of paint are the best and your checklist is just amazing! Saving it for when I attempt to paint my own cabinets!!!
Thank you Kelly! I’m so glad it was helpful! It’s a great project for a dramatic change!