
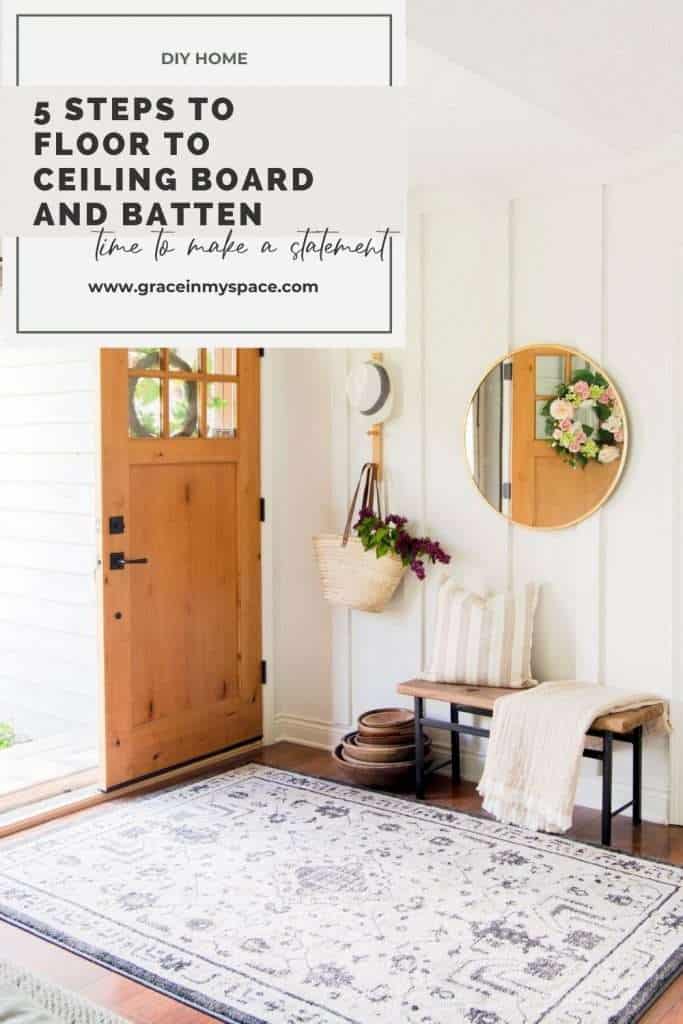
5 Steps to Floor to Ceiling Board and Batten Entryway
Your entryway is the first thing that you and your guests see when they enter your home. So why not create a welcoming showstopper? This easy board and batten design is perfect for even a novice DIYer. Create a statement making entry with this simple floor to ceiling board and batten entryway! Set the tone for your home and get the look in 5 steps and a DIY-filled weekend.
This post may contain affiliate links where I earn a small commission on your purchases at no additional cost to you.
Board and Batten Entryway Design
Board and batten walls are one of the easiest ways to make a space feel custom. Thankfully, it doesn’t take too much skill to be able to install board and batten. I’ve done it in many rooms in my home, completely by myself!
I find that DIY board and batten is the way to go since the cuts are quite simple and the installation is straightforward.
Many people have asked the question, “Is board and batten out of style?” To which my response is, “never.”
While various board and batten sizes and designs seem to ebb and flow as a trend, the main concept of board and batten remains classic and timeless.
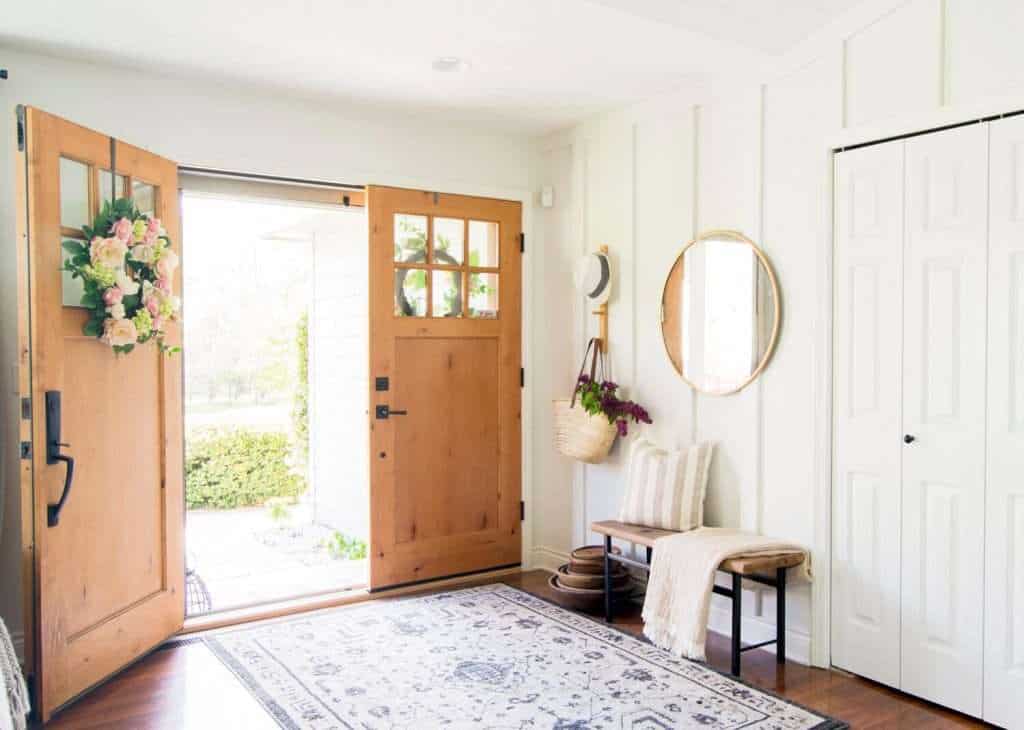
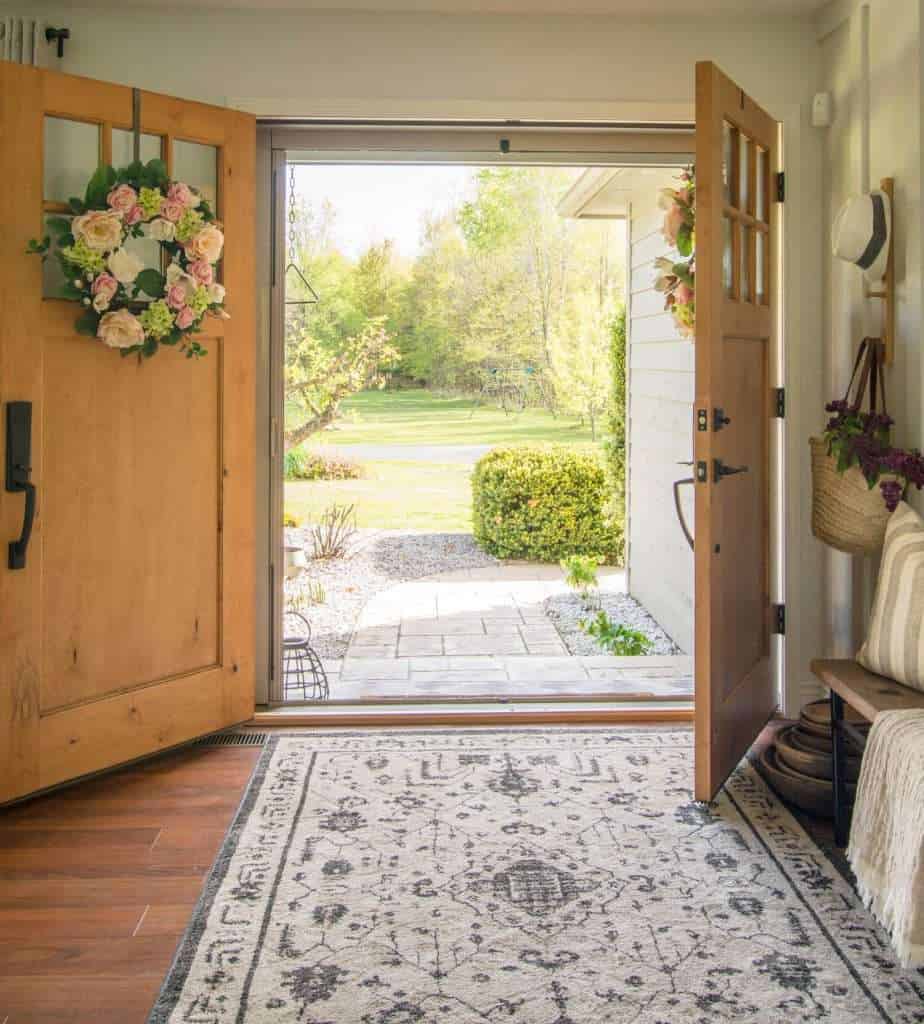
For quite a while, vertical board and batten was very popular. This is the style of board and batten in my entryway. It has also been coined as modern board and batten.
While it remains a popular style, traditional board and battens are starting to come back onto the scene as well.
Overall, board and batten as a design statement is always a good idea if you love it!
If you are a new DIYer, make sure to download my free tool kit checklist. This will help you stock your tool kit with the necessities for novice DIYers so you can get the most bang for your buck on home improvement projects!
Floor to Ceiling Board and Batten
In my opinion, the easiest way to install a board and batten wall treatment is with floor to ceiling board and batten.
Usually, there are less cuts involved (as long as your ceilings aren’t sky-high), and it involves less complicated math.
Other types of wall treatments involve:
- Lots of 90 degree angles that require miter cuts
- Spacing difficulty
- Multiple wood sizes
- Complicated math to determine how much wood to buy
- More caulking and filling gaps
Floor to ceiling board and batten is easily the simplest form of a wood accent wall for beginner DIYers.
With that said, let’s get to the tutorial!
5 Steps to Floor to Ceiling Board and Batten Entryway
If you’re looking to recreate my board and batten entryway design, you can head to that post for further details.
However, today, I want to focus on how to install floor to ceiling board and batten in 5 steps. This gives you some flexibility to use these steps in your own home since your space will not be identical to mine.
Take these five steps and tweak them to fit your needs for your space.
It’s also important to note that this wall treatment can be used anywhere in your home!
It isn’t only for entryways.
You can see how I did a board and batten bedroom wall, as well, in this post.
Board and Batten Options
There are two main options you can choose from for board and batten installation.
The simplest method is to install battens (the skinny vertical pieces shown) directly onto your wall. This is what I’ve done in my entryway. This requires less time for installation, as well as less money for materials.

This is a viable option for any wall material. I have smooth drywall.
Smooth drywall is the most ideal wall material if you are going to install your battens directly to the wall. It gives the cleanest look.
If you are trying to install board and batten on textured walls (textured drywall, plaster, or another material) then you have a few options. You can either skim coat your walls smooth, sand them smooth, or buy board to install overtop your textured walls. (Hence, BOARD and batten.)
You can also choose to leave the texture as-is, if it doesn’t bother you!
Your second option is what I just mentioned. Board and batten is traditionally the installation of a full panel of boards onto the wall, with battens on top. This creates a fully-wood wall.
In recent years, many tutorials you’ll find skip the step of adding full board paneling first, and then battens. This is because with modern day materials the board paneling is less necessary and a more expensive option.
So it is your choice! Start by picking which method you’ll use.
- Battens on top of existing wall
- Board panels with battens on top
The Process
The process of installing board and batten is quite simple. I’ll be explaining how to do this with the option of battens on top of the existing wall.
It involves these 5 basic steps.
- Paint your existing wall the final color you want it to be. (This makes it easier to finish at the end.)
- Measure spacing and buy wood according to your design.
- Cut and install each batten.
- Caulk all gaps and seams and fill nail holes with wood putty. Sand any high areas.
- Paint battens a final coat of paint the same color as your walls. (Alternatively, your design could include contrasting battens. It’s up to your creative genius!)
That’s it! It really is that simple. Of course, just because it is simple, doesn’t mean it isn’t time intensive.

But floor to ceiling board and batten is the least time intensive option for this type of wall treatment. That is due to being able to use full boards, making less cuts, and having less calculations for where pieces join up.
Even a beginner DIYer can install this type of vertical board and batten in a weekend if you prepare all your materials ahead of time.
Step 2: Measure and Purchase Materials
After painting your wall your color of choice, it’s time to measure and purchase materials.
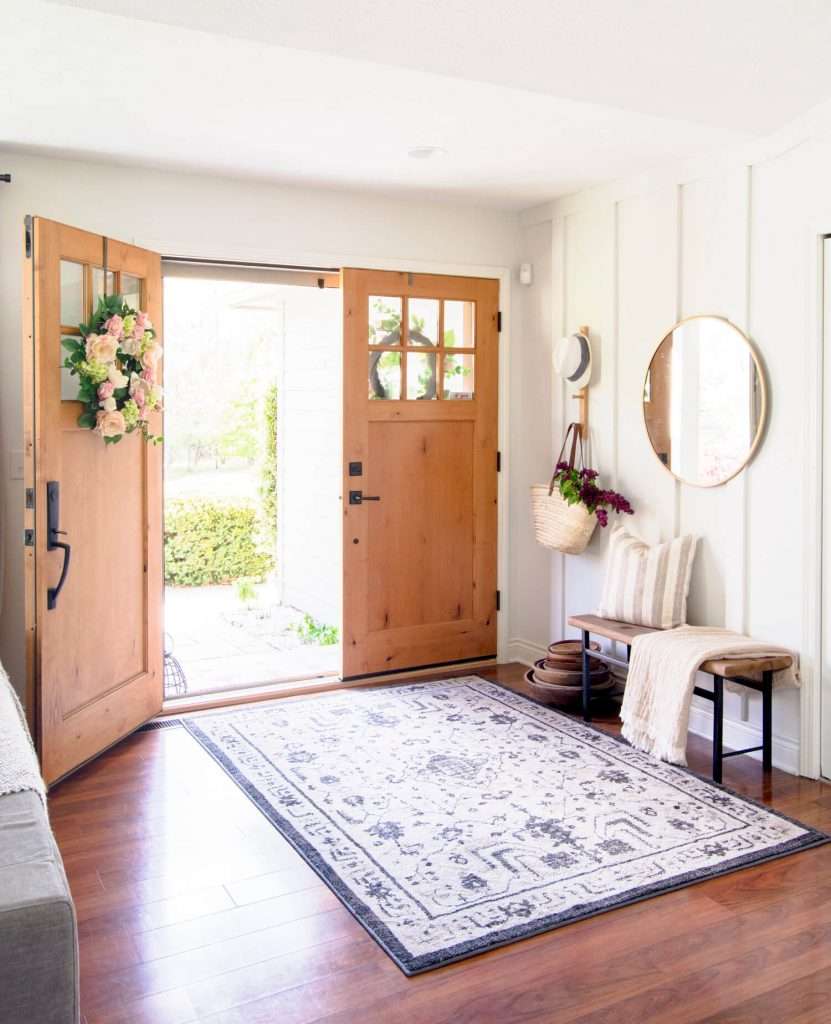
In my entryway, I decided to install my vertical battens on the studs. This allowed me to have fairly reliable spacing of 16″ apart on center.
In my bedroom, my battens are closer together. This is 100% a design decision.
Your space might warrant larger gaps between battens, or you might decide you like the look of them closer together.
I highly recommend laying out your design prior to measuring. You can do this a couple of different ways ahead of time. This will streamline the process for you in the end.
- Use painter’s tape to mimic the look of battens. This will help you visualize what the spacing looks like without much expense.
- Grab a few pieces of scrap wood and place them with a few different spacing options. After each set up, take a photo so you can compare how they look once you’re done.
- Use design software to layout your design. Even something as simple and user friendly as using the marker tool on Instagram stories, over a photo of your space, can help you visualize the final product.
Once you’ve determined the spacing you want between each vertical batten, you can measure how many battens you will need. Then, purchase the amount of wood based off your calculations.
Tips for Purchasing Wood for your Battens
Here are a couple of quick tips for purchasing your battens.
- Purchase pieces as long as, or longer, than your floor to ceiling height. Not only is this usually more economical, but it will have a cleaner look with less seams to fill.
- No matter what species of wood you buy, don’t buy common boards. Go for the select pieces of wood. These are a higher quality board with less imperfections. Common boards are cheaper, but are often warped, have large knots and are more difficult to work with.
- When at the lumber store, pull each piece of wood down to the ground and hold it out from you at an angle. Look for any warping in the boards that will prevent it from being straight on the wall.
- You can use any size batten you like. 3″ is fairly common, but smaller or larger sizes will give a different look. Make sure to account for the width of your board in your measurements.
Step 3: Cut and Install Battens
Once you have all your wood materials, you are ready to cut and install! Here are the materials you’ll need for this project.
- Finish Nail Gun (I recently bought this battery powered nail gun and it made me question every accent wall I’ve ever done with my previous nail gun! It is extremely convenient and powerful.)
- 2″ Finish nails
- Power saw (I prefer miter saws for my accent walls but circular or table saws will work too.)
- Measuring tape
- Pencil
- Long level
- Optional: Construction adhesive. I never use adhesive in addition to nails because it will ruin drywall if you ever take down the battens. But some people prefer the extra security.
- Paintable caulk
- Wood putty
- Sand paper
Start by adding your trim border on the ceiling, floor and side walls (if you’re only doing one wall) with a long level. Then, you can measure how long each vertical batten needs to be.
Once you’ve cut each vertical batten to length with your floor to ceiling measurement, you can install them using 2″ finish nails and a long level.
I highly recommend using your level, rather than your ceiling or walls, to determine your batten placement. 99% of the time, ceilings and walls are not 100% plumb and level. So using a level will give you the best installation experience and avoid wonky seams.
Step 4: Caulk, Fill, Sand
Step 4 tends to be overlooked by many novice DIYers. However, it is the most important step to get a finished and professional look!
There is nothing that ruins the look of a board and batten entryway faster than gaps and seams. The point of board and batten is that it looks like one continuous wood design. Gaps break up that design and feel unfinished.
To remedy that, make sure to caulk all seams and gaps where the wood meets the wall or another wood piece. Then, fill all the nail holes with wood putty and sand smooth.
Step 5: Paint
The final step is paint! Like I mentioned above, most of the time you will paint your battens the same color you painted your wall before you started.
This gives a cohesive and seamless look.
Alternatively, you can choose to make your board and batten pop with one of these options:
- Paint battens a contrasting color to the wall to highlight the design.
- Paint battens the same color as the wall, but in a glossier sheen for an interesting look without the high contrast.
Other Wood Wall Treatment Design Options
And there you have it! This is such a simple wood wall treatment that any novice DIYer can tackle in one weekend. I love the look of floor to ceiling board and batten as it feels clean, modern and fresh.
Alternatively, I’ve done a variety of other wood wall treatments that you might enjoy! These are all a variety of board and batten, wainscoting and just a wood wall design that I came up with from nothing!
Sometimes, all it takes is some creativity and out-of-the-box thinking to make a unique focal point in your home.
Head next to see some of the other wall treatment designs I’ve installed.
- Beginner Level
- Intermediate Level
- Advanced Level
Stay Connected
If you’d like to see how my board and batten entryway has been styled and decorated over the years, make sure to visit my entryway archives on the blog. I have lots of seasonal inspiration, as well as how I styled it before I applied the wall treatment, saved for you to browse.
Thanks so much for stopping by the blog today! I hope this has been a helpful breakdown for you to follow if you want to install your own board and batten wall treatment.
Make sure to subscribe to the blog to get your DIY tool kit checklist and follow along with me daily on Instagram to see projects unfold in real time!


I like the style of this house very much.
I like such an arrangement.
thanks for sharing about 5 STEPS TO FLOOR TO CEILING BOARD AND BATTEN ENTRYWAY